OnSong Manual
Entire Manual
Deprecated: strlen(): Passing null to parameter #1 ($string) of type string is deprecated in /var/www/html/docs/all.php on line 192
Deprecated: strlen(): Passing null to parameter #1 ($string) of type string is deprecated in /var/www/html/docs/all.php on line 192
Deprecated: strlen(): Passing null to parameter #1 ($string) of type string is deprecated in /var/www/html/docs/all.php on line 192
Deprecated: strlen(): Passing null to parameter #1 ($string) of type string is deprecated in /var/www/html/docs/all.php on line 192
Deprecated: strlen(): Passing null to parameter #1 ($string) of type string is deprecated in /var/www/html/docs/all.php on line 192
Deprecated: strlen(): Passing null to parameter #1 ($string) of type string is deprecated in /var/www/html/docs/all.php on line 192
Deprecated: strlen(): Passing null to parameter #1 ($string) of type string is deprecated in /var/www/html/docs/all.php on line 192
Deprecated: strlen(): Passing null to parameter #1 ($string) of type string is deprecated in /var/www/html/docs/all.php on line 192
Deprecated: strlen(): Passing null to parameter #1 ($string) of type string is deprecated in /var/www/html/docs/all.php on line 192
Deprecated: strlen(): Passing null to parameter #1 ($string) of type string is deprecated in /var/www/html/docs/all.php on line 192
Deprecated: strlen(): Passing null to parameter #1 ($string) of type string is deprecated in /var/www/html/docs/all.php on line 192
Deprecated: strlen(): Passing null to parameter #1 ($string) of type string is deprecated in /var/www/html/docs/all.php on line 192
Deprecated: strlen(): Passing null to parameter #1 ($string) of type string is deprecated in /var/www/html/docs/all.php on line 192
Deprecated: strlen(): Passing null to parameter #1 ($string) of type string is deprecated in /var/www/html/docs/all.php on line 192
Deprecated: strlen(): Passing null to parameter #1 ($string) of type string is deprecated in /var/www/html/docs/all.php on line 192
Deprecated: strlen(): Passing null to parameter #1 ($string) of type string is deprecated in /var/www/html/docs/all.php on line 192
Deprecated: strlen(): Passing null to parameter #1 ($string) of type string is deprecated in /var/www/html/docs/all.php on line 192
Deprecated: strlen(): Passing null to parameter #1 ($string) of type string is deprecated in /var/www/html/docs/all.php on line 192
Deprecated: strlen(): Passing null to parameter #1 ($string) of type string is deprecated in /var/www/html/docs/all.php on line 192
Deprecated: strlen(): Passing null to parameter #1 ($string) of type string is deprecated in /var/www/html/docs/all.php on line 192
Deprecated: strlen(): Passing null to parameter #1 ($string) of type string is deprecated in /var/www/html/docs/all.php on line 192
Deprecated: strlen(): Passing null to parameter #1 ($string) of type string is deprecated in /var/www/html/docs/all.php on line 192
Deprecated: strlen(): Passing null to parameter #1 ($string) of type string is deprecated in /var/www/html/docs/all.php on line 192
Deprecated: strlen(): Passing null to parameter #1 ($string) of type string is deprecated in /var/www/html/docs/all.php on line 192
Deprecated: strlen(): Passing null to parameter #1 ($string) of type string is deprecated in /var/www/html/docs/all.php on line 192
Deprecated: strlen(): Passing null to parameter #1 ($string) of type string is deprecated in /var/www/html/docs/all.php on line 192
Deprecated: strlen(): Passing null to parameter #1 ($string) of type string is deprecated in /var/www/html/docs/all.php on line 192
Deprecated: strlen(): Passing null to parameter #1 ($string) of type string is deprecated in /var/www/html/docs/all.php on line 192
Deprecated: strlen(): Passing null to parameter #1 ($string) of type string is deprecated in /var/www/html/docs/all.php on line 192
Deprecated: strlen(): Passing null to parameter #1 ($string) of type string is deprecated in /var/www/html/docs/all.php on line 192
Deprecated: strlen(): Passing null to parameter #1 ($string) of type string is deprecated in /var/www/html/docs/all.php on line 192
Deprecated: strlen(): Passing null to parameter #1 ($string) of type string is deprecated in /var/www/html/docs/all.php on line 192
Deprecated: strlen(): Passing null to parameter #1 ($string) of type string is deprecated in /var/www/html/docs/all.php on line 192
Deprecated: strlen(): Passing null to parameter #1 ($string) of type string is deprecated in /var/www/html/docs/all.php on line 192
Deprecated: strlen(): Passing null to parameter #1 ($string) of type string is deprecated in /var/www/html/docs/all.php on line 192
Deprecated: strlen(): Passing null to parameter #1 ($string) of type string is deprecated in /var/www/html/docs/all.php on line 192
Deprecated: strlen(): Passing null to parameter #1 ($string) of type string is deprecated in /var/www/html/docs/all.php on line 192
Deprecated: strlen(): Passing null to parameter #1 ($string) of type string is deprecated in /var/www/html/docs/all.php on line 192
Deprecated: strlen(): Passing null to parameter #1 ($string) of type string is deprecated in /var/www/html/docs/all.php on line 192
Deprecated: strlen(): Passing null to parameter #1 ($string) of type string is deprecated in /var/www/html/docs/all.php on line 192
Deprecated: strlen(): Passing null to parameter #1 ($string) of type string is deprecated in /var/www/html/docs/all.php on line 192
Deprecated: strlen(): Passing null to parameter #1 ($string) of type string is deprecated in /var/www/html/docs/all.php on line 192
Deprecated: strlen(): Passing null to parameter #1 ($string) of type string is deprecated in /var/www/html/docs/all.php on line 192
Deprecated: strlen(): Passing null to parameter #1 ($string) of type string is deprecated in /var/www/html/docs/all.php on line 192
Deprecated: strlen(): Passing null to parameter #1 ($string) of type string is deprecated in /var/www/html/docs/all.php on line 192
Deprecated: strlen(): Passing null to parameter #1 ($string) of type string is deprecated in /var/www/html/docs/all.php on line 192
Deprecated: strlen(): Passing null to parameter #1 ($string) of type string is deprecated in /var/www/html/docs/all.php on line 192
Deprecated: strlen(): Passing null to parameter #1 ($string) of type string is deprecated in /var/www/html/docs/all.php on line 192
Deprecated: strlen(): Passing null to parameter #1 ($string) of type string is deprecated in /var/www/html/docs/all.php on line 192
Deprecated: strlen(): Passing null to parameter #1 ($string) of type string is deprecated in /var/www/html/docs/all.php on line 192
Deprecated: strlen(): Passing null to parameter #1 ($string) of type string is deprecated in /var/www/html/docs/all.php on line 192
Deprecated: strlen(): Passing null to parameter #1 ($string) of type string is deprecated in /var/www/html/docs/all.php on line 192
Deprecated: strlen(): Passing null to parameter #1 ($string) of type string is deprecated in /var/www/html/docs/all.php on line 192
Deprecated: strlen(): Passing null to parameter #1 ($string) of type string is deprecated in /var/www/html/docs/all.php on line 192
Deprecated: strlen(): Passing null to parameter #1 ($string) of type string is deprecated in /var/www/html/docs/all.php on line 192
Deprecated: strlen(): Passing null to parameter #1 ($string) of type string is deprecated in /var/www/html/docs/all.php on line 192
Deprecated: strlen(): Passing null to parameter #1 ($string) of type string is deprecated in /var/www/html/docs/all.php on line 192
Deprecated: strlen(): Passing null to parameter #1 ($string) of type string is deprecated in /var/www/html/docs/all.php on line 192
Deprecated: strlen(): Passing null to parameter #1 ($string) of type string is deprecated in /var/www/html/docs/all.php on line 192
Deprecated: strlen(): Passing null to parameter #1 ($string) of type string is deprecated in /var/www/html/docs/all.php on line 192
Deprecated: strlen(): Passing null to parameter #1 ($string) of type string is deprecated in /var/www/html/docs/all.php on line 192
Deprecated: strlen(): Passing null to parameter #1 ($string) of type string is deprecated in /var/www/html/docs/all.php on line 192
Deprecated: strlen(): Passing null to parameter #1 ($string) of type string is deprecated in /var/www/html/docs/all.php on line 192
Deprecated: strlen(): Passing null to parameter #1 ($string) of type string is deprecated in /var/www/html/docs/all.php on line 192
Deprecated: strlen(): Passing null to parameter #1 ($string) of type string is deprecated in /var/www/html/docs/all.php on line 192
Deprecated: strlen(): Passing null to parameter #1 ($string) of type string is deprecated in /var/www/html/docs/all.php on line 192
Deprecated: strlen(): Passing null to parameter #1 ($string) of type string is deprecated in /var/www/html/docs/all.php on line 192
Deprecated: strlen(): Passing null to parameter #1 ($string) of type string is deprecated in /var/www/html/docs/all.php on line 192
Deprecated: strlen(): Passing null to parameter #1 ($string) of type string is deprecated in /var/www/html/docs/all.php on line 192
Deprecated: strlen(): Passing null to parameter #1 ($string) of type string is deprecated in /var/www/html/docs/all.php on line 192
Deprecated: strlen(): Passing null to parameter #1 ($string) of type string is deprecated in /var/www/html/docs/all.php on line 192
Deprecated: strlen(): Passing null to parameter #1 ($string) of type string is deprecated in /var/www/html/docs/all.php on line 192
Deprecated: strlen(): Passing null to parameter #1 ($string) of type string is deprecated in /var/www/html/docs/all.php on line 192
Deprecated: strlen(): Passing null to parameter #1 ($string) of type string is deprecated in /var/www/html/docs/all.php on line 192
Deprecated: strlen(): Passing null to parameter #1 ($string) of type string is deprecated in /var/www/html/docs/all.php on line 192
Deprecated: strlen(): Passing null to parameter #1 ($string) of type string is deprecated in /var/www/html/docs/all.php on line 192
Deprecated: strlen(): Passing null to parameter #1 ($string) of type string is deprecated in /var/www/html/docs/all.php on line 192
Deprecated: strlen(): Passing null to parameter #1 ($string) of type string is deprecated in /var/www/html/docs/all.php on line 192
Deprecated: strlen(): Passing null to parameter #1 ($string) of type string is deprecated in /var/www/html/docs/all.php on line 192
Deprecated: strlen(): Passing null to parameter #1 ($string) of type string is deprecated in /var/www/html/docs/all.php on line 192
Deprecated: strlen(): Passing null to parameter #1 ($string) of type string is deprecated in /var/www/html/docs/all.php on line 192
Deprecated: strlen(): Passing null to parameter #1 ($string) of type string is deprecated in /var/www/html/docs/all.php on line 192
Deprecated: strlen(): Passing null to parameter #1 ($string) of type string is deprecated in /var/www/html/docs/all.php on line 192
Deprecated: strlen(): Passing null to parameter #1 ($string) of type string is deprecated in /var/www/html/docs/all.php on line 192
Deprecated: strlen(): Passing null to parameter #1 ($string) of type string is deprecated in /var/www/html/docs/all.php on line 192
Deprecated: strlen(): Passing null to parameter #1 ($string) of type string is deprecated in /var/www/html/docs/all.php on line 192
Deprecated: strlen(): Passing null to parameter #1 ($string) of type string is deprecated in /var/www/html/docs/all.php on line 192
Deprecated: strlen(): Passing null to parameter #1 ($string) of type string is deprecated in /var/www/html/docs/all.php on line 192
Deprecated: strlen(): Passing null to parameter #1 ($string) of type string is deprecated in /var/www/html/docs/all.php on line 192
Deprecated: strlen(): Passing null to parameter #1 ($string) of type string is deprecated in /var/www/html/docs/all.php on line 192
Deprecated: strlen(): Passing null to parameter #1 ($string) of type string is deprecated in /var/www/html/docs/all.php on line 192
Deprecated: strlen(): Passing null to parameter #1 ($string) of type string is deprecated in /var/www/html/docs/all.php on line 192
Deprecated: strlen(): Passing null to parameter #1 ($string) of type string is deprecated in /var/www/html/docs/all.php on line 192
Deprecated: strlen(): Passing null to parameter #1 ($string) of type string is deprecated in /var/www/html/docs/all.php on line 192
Deprecated: strlen(): Passing null to parameter #1 ($string) of type string is deprecated in /var/www/html/docs/all.php on line 192
Deprecated: strlen(): Passing null to parameter #1 ($string) of type string is deprecated in /var/www/html/docs/all.php on line 192
Deprecated: strlen(): Passing null to parameter #1 ($string) of type string is deprecated in /var/www/html/docs/all.php on line 192
Deprecated: strlen(): Passing null to parameter #1 ($string) of type string is deprecated in /var/www/html/docs/all.php on line 192
Deprecated: strlen(): Passing null to parameter #1 ($string) of type string is deprecated in /var/www/html/docs/all.php on line 192
Deprecated: strlen(): Passing null to parameter #1 ($string) of type string is deprecated in /var/www/html/docs/all.php on line 192
Deprecated: strlen(): Passing null to parameter #1 ($string) of type string is deprecated in /var/www/html/docs/all.php on line 192
Deprecated: strlen(): Passing null to parameter #1 ($string) of type string is deprecated in /var/www/html/docs/all.php on line 192
Deprecated: strlen(): Passing null to parameter #1 ($string) of type string is deprecated in /var/www/html/docs/all.php on line 192
Deprecated: strlen(): Passing null to parameter #1 ($string) of type string is deprecated in /var/www/html/docs/all.php on line 192
Deprecated: strlen(): Passing null to parameter #1 ($string) of type string is deprecated in /var/www/html/docs/all.php on line 192
Deprecated: strlen(): Passing null to parameter #1 ($string) of type string is deprecated in /var/www/html/docs/all.php on line 192
Deprecated: strlen(): Passing null to parameter #1 ($string) of type string is deprecated in /var/www/html/docs/all.php on line 192
Deprecated: strlen(): Passing null to parameter #1 ($string) of type string is deprecated in /var/www/html/docs/all.php on line 192
Deprecated: strlen(): Passing null to parameter #1 ($string) of type string is deprecated in /var/www/html/docs/all.php on line 192
Deprecated: strlen(): Passing null to parameter #1 ($string) of type string is deprecated in /var/www/html/docs/all.php on line 192
Deprecated: strlen(): Passing null to parameter #1 ($string) of type string is deprecated in /var/www/html/docs/all.php on line 192
Deprecated: strlen(): Passing null to parameter #1 ($string) of type string is deprecated in /var/www/html/docs/all.php on line 192
Deprecated: strlen(): Passing null to parameter #1 ($string) of type string is deprecated in /var/www/html/docs/all.php on line 192
Deprecated: strlen(): Passing null to parameter #1 ($string) of type string is deprecated in /var/www/html/docs/all.php on line 192
Deprecated: strlen(): Passing null to parameter #1 ($string) of type string is deprecated in /var/www/html/docs/all.php on line 192
Deprecated: strlen(): Passing null to parameter #1 ($string) of type string is deprecated in /var/www/html/docs/all.php on line 192
Deprecated: strlen(): Passing null to parameter #1 ($string) of type string is deprecated in /var/www/html/docs/all.php on line 192
Deprecated: strlen(): Passing null to parameter #1 ($string) of type string is deprecated in /var/www/html/docs/all.php on line 192
Deprecated: strlen(): Passing null to parameter #1 ($string) of type string is deprecated in /var/www/html/docs/all.php on line 192
Deprecated: strlen(): Passing null to parameter #1 ($string) of type string is deprecated in /var/www/html/docs/all.php on line 192
Deprecated: strlen(): Passing null to parameter #1 ($string) of type string is deprecated in /var/www/html/docs/all.php on line 192
Deprecated: strlen(): Passing null to parameter #1 ($string) of type string is deprecated in /var/www/html/docs/all.php on line 192
Deprecated: strlen(): Passing null to parameter #1 ($string) of type string is deprecated in /var/www/html/docs/all.php on line 192
Deprecated: strlen(): Passing null to parameter #1 ($string) of type string is deprecated in /var/www/html/docs/all.php on line 192
Deprecated: strlen(): Passing null to parameter #1 ($string) of type string is deprecated in /var/www/html/docs/all.php on line 192
Deprecated: strlen(): Passing null to parameter #1 ($string) of type string is deprecated in /var/www/html/docs/all.php on line 192
Deprecated: strlen(): Passing null to parameter #1 ($string) of type string is deprecated in /var/www/html/docs/all.php on line 192
Deprecated: strlen(): Passing null to parameter #1 ($string) of type string is deprecated in /var/www/html/docs/all.php on line 192
Deprecated: strlen(): Passing null to parameter #1 ($string) of type string is deprecated in /var/www/html/docs/all.php on line 192
Deprecated: strlen(): Passing null to parameter #1 ($string) of type string is deprecated in /var/www/html/docs/all.php on line 192
Deprecated: strlen(): Passing null to parameter #1 ($string) of type string is deprecated in /var/www/html/docs/all.php on line 192
Deprecated: strlen(): Passing null to parameter #1 ($string) of type string is deprecated in /var/www/html/docs/all.php on line 192
Deprecated: strlen(): Passing null to parameter #1 ($string) of type string is deprecated in /var/www/html/docs/all.php on line 192
Deprecated: strlen(): Passing null to parameter #1 ($string) of type string is deprecated in /var/www/html/docs/all.php on line 192
Deprecated: strlen(): Passing null to parameter #1 ($string) of type string is deprecated in /var/www/html/docs/all.php on line 192
Deprecated: strlen(): Passing null to parameter #1 ($string) of type string is deprecated in /var/www/html/docs/all.php on line 192
Deprecated: strlen(): Passing null to parameter #1 ($string) of type string is deprecated in /var/www/html/docs/all.php on line 192
Deprecated: strlen(): Passing null to parameter #1 ($string) of type string is deprecated in /var/www/html/docs/all.php on line 192
Deprecated: strlen(): Passing null to parameter #1 ($string) of type string is deprecated in /var/www/html/docs/all.php on line 192
Deprecated: strlen(): Passing null to parameter #1 ($string) of type string is deprecated in /var/www/html/docs/all.php on line 192
Deprecated: strlen(): Passing null to parameter #1 ($string) of type string is deprecated in /var/www/html/docs/all.php on line 192
Deprecated: strlen(): Passing null to parameter #1 ($string) of type string is deprecated in /var/www/html/docs/all.php on line 192
Deprecated: strlen(): Passing null to parameter #1 ($string) of type string is deprecated in /var/www/html/docs/all.php on line 192
Deprecated: strlen(): Passing null to parameter #1 ($string) of type string is deprecated in /var/www/html/docs/all.php on line 192
Deprecated: strlen(): Passing null to parameter #1 ($string) of type string is deprecated in /var/www/html/docs/all.php on line 192
Deprecated: strlen(): Passing null to parameter #1 ($string) of type string is deprecated in /var/www/html/docs/all.php on line 192
Deprecated: strlen(): Passing null to parameter #1 ($string) of type string is deprecated in /var/www/html/docs/all.php on line 192
Deprecated: strlen(): Passing null to parameter #1 ($string) of type string is deprecated in /var/www/html/docs/all.php on line 192
Deprecated: strlen(): Passing null to parameter #1 ($string) of type string is deprecated in /var/www/html/docs/all.php on line 192
Deprecated: strlen(): Passing null to parameter #1 ($string) of type string is deprecated in /var/www/html/docs/all.php on line 192
Deprecated: strlen(): Passing null to parameter #1 ($string) of type string is deprecated in /var/www/html/docs/all.php on line 192
Deprecated: strlen(): Passing null to parameter #1 ($string) of type string is deprecated in /var/www/html/docs/all.php on line 192
Deprecated: strlen(): Passing null to parameter #1 ($string) of type string is deprecated in /var/www/html/docs/all.php on line 192
Deprecated: strlen(): Passing null to parameter #1 ($string) of type string is deprecated in /var/www/html/docs/all.php on line 192
Deprecated: strlen(): Passing null to parameter #1 ($string) of type string is deprecated in /var/www/html/docs/all.php on line 192
Deprecated: strlen(): Passing null to parameter #1 ($string) of type string is deprecated in /var/www/html/docs/all.php on line 192
Deprecated: strlen(): Passing null to parameter #1 ($string) of type string is deprecated in /var/www/html/docs/all.php on line 192
Deprecated: strlen(): Passing null to parameter #1 ($string) of type string is deprecated in /var/www/html/docs/all.php on line 192
Deprecated: strlen(): Passing null to parameter #1 ($string) of type string is deprecated in /var/www/html/docs/all.php on line 192
Deprecated: strlen(): Passing null to parameter #1 ($string) of type string is deprecated in /var/www/html/docs/all.php on line 192
Deprecated: strlen(): Passing null to parameter #1 ($string) of type string is deprecated in /var/www/html/docs/all.php on line 192
Deprecated: strlen(): Passing null to parameter #1 ($string) of type string is deprecated in /var/www/html/docs/all.php on line 192
Deprecated: strlen(): Passing null to parameter #1 ($string) of type string is deprecated in /var/www/html/docs/all.php on line 192
Deprecated: strlen(): Passing null to parameter #1 ($string) of type string is deprecated in /var/www/html/docs/all.php on line 192
Deprecated: strlen(): Passing null to parameter #1 ($string) of type string is deprecated in /var/www/html/docs/all.php on line 192
Deprecated: strlen(): Passing null to parameter #1 ($string) of type string is deprecated in /var/www/html/docs/all.php on line 192
Deprecated: strlen(): Passing null to parameter #1 ($string) of type string is deprecated in /var/www/html/docs/all.php on line 192
Deprecated: strlen(): Passing null to parameter #1 ($string) of type string is deprecated in /var/www/html/docs/all.php on line 192
Deprecated: strlen(): Passing null to parameter #1 ($string) of type string is deprecated in /var/www/html/docs/all.php on line 192
Deprecated: strlen(): Passing null to parameter #1 ($string) of type string is deprecated in /var/www/html/docs/all.php on line 192
Deprecated: strlen(): Passing null to parameter #1 ($string) of type string is deprecated in /var/www/html/docs/all.php on line 192
Deprecated: strlen(): Passing null to parameter #1 ($string) of type string is deprecated in /var/www/html/docs/all.php on line 192
Deprecated: strlen(): Passing null to parameter #1 ($string) of type string is deprecated in /var/www/html/docs/all.php on line 192
Deprecated: strlen(): Passing null to parameter #1 ($string) of type string is deprecated in /var/www/html/docs/all.php on line 192
Deprecated: strlen(): Passing null to parameter #1 ($string) of type string is deprecated in /var/www/html/docs/all.php on line 192
Deprecated: strlen(): Passing null to parameter #1 ($string) of type string is deprecated in /var/www/html/docs/all.php on line 192
Deprecated: strlen(): Passing null to parameter #1 ($string) of type string is deprecated in /var/www/html/docs/all.php on line 192
Deprecated: strlen(): Passing null to parameter #1 ($string) of type string is deprecated in /var/www/html/docs/all.php on line 192
Deprecated: strlen(): Passing null to parameter #1 ($string) of type string is deprecated in /var/www/html/docs/all.php on line 192
Deprecated: strlen(): Passing null to parameter #1 ($string) of type string is deprecated in /var/www/html/docs/all.php on line 192
Deprecated: strlen(): Passing null to parameter #1 ($string) of type string is deprecated in /var/www/html/docs/all.php on line 192
Deprecated: strlen(): Passing null to parameter #1 ($string) of type string is deprecated in /var/www/html/docs/all.php on line 192
Deprecated: strlen(): Passing null to parameter #1 ($string) of type string is deprecated in /var/www/html/docs/all.php on line 192
Deprecated: strlen(): Passing null to parameter #1 ($string) of type string is deprecated in /var/www/html/docs/all.php on line 192
Deprecated: strlen(): Passing null to parameter #1 ($string) of type string is deprecated in /var/www/html/docs/all.php on line 192
Deprecated: strlen(): Passing null to parameter #1 ($string) of type string is deprecated in /var/www/html/docs/all.php on line 192
Deprecated: strlen(): Passing null to parameter #1 ($string) of type string is deprecated in /var/www/html/docs/all.php on line 192
Deprecated: strlen(): Passing null to parameter #1 ($string) of type string is deprecated in /var/www/html/docs/all.php on line 192
Deprecated: strlen(): Passing null to parameter #1 ($string) of type string is deprecated in /var/www/html/docs/all.php on line 192
Deprecated: strlen(): Passing null to parameter #1 ($string) of type string is deprecated in /var/www/html/docs/all.php on line 192
Deprecated: strlen(): Passing null to parameter #1 ($string) of type string is deprecated in /var/www/html/docs/all.php on line 192
Deprecated: strlen(): Passing null to parameter #1 ($string) of type string is deprecated in /var/www/html/docs/all.php on line 192
Deprecated: strlen(): Passing null to parameter #1 ($string) of type string is deprecated in /var/www/html/docs/all.php on line 192
Deprecated: strlen(): Passing null to parameter #1 ($string) of type string is deprecated in /var/www/html/docs/all.php on line 192
Deprecated: strlen(): Passing null to parameter #1 ($string) of type string is deprecated in /var/www/html/docs/all.php on line 192
Deprecated: strlen(): Passing null to parameter #1 ($string) of type string is deprecated in /var/www/html/docs/all.php on line 192
Deprecated: strlen(): Passing null to parameter #1 ($string) of type string is deprecated in /var/www/html/docs/all.php on line 192
Deprecated: strlen(): Passing null to parameter #1 ($string) of type string is deprecated in /var/www/html/docs/all.php on line 192
Deprecated: strlen(): Passing null to parameter #1 ($string) of type string is deprecated in /var/www/html/docs/all.php on line 192
Deprecated: strlen(): Passing null to parameter #1 ($string) of type string is deprecated in /var/www/html/docs/all.php on line 192
Deprecated: strlen(): Passing null to parameter #1 ($string) of type string is deprecated in /var/www/html/docs/all.php on line 192
Deprecated: strlen(): Passing null to parameter #1 ($string) of type string is deprecated in /var/www/html/docs/all.php on line 192
Deprecated: strlen(): Passing null to parameter #1 ($string) of type string is deprecated in /var/www/html/docs/all.php on line 192
Deprecated: strlen(): Passing null to parameter #1 ($string) of type string is deprecated in /var/www/html/docs/all.php on line 192
Deprecated: strlen(): Passing null to parameter #1 ($string) of type string is deprecated in /var/www/html/docs/all.php on line 192
Deprecated: strlen(): Passing null to parameter #1 ($string) of type string is deprecated in /var/www/html/docs/all.php on line 192
Deprecated: strlen(): Passing null to parameter #1 ($string) of type string is deprecated in /var/www/html/docs/all.php on line 192
Deprecated: strlen(): Passing null to parameter #1 ($string) of type string is deprecated in /var/www/html/docs/all.php on line 192
Deprecated: strlen(): Passing null to parameter #1 ($string) of type string is deprecated in /var/www/html/docs/all.php on line 192
Deprecated: strlen(): Passing null to parameter #1 ($string) of type string is deprecated in /var/www/html/docs/all.php on line 192
Deprecated: strlen(): Passing null to parameter #1 ($string) of type string is deprecated in /var/www/html/docs/all.php on line 192
Deprecated: strlen(): Passing null to parameter #1 ($string) of type string is deprecated in /var/www/html/docs/all.php on line 192
Deprecated: strlen(): Passing null to parameter #1 ($string) of type string is deprecated in /var/www/html/docs/all.php on line 192
Deprecated: strlen(): Passing null to parameter #1 ($string) of type string is deprecated in /var/www/html/docs/all.php on line 192
Deprecated: strlen(): Passing null to parameter #1 ($string) of type string is deprecated in /var/www/html/docs/all.php on line 192
Deprecated: strlen(): Passing null to parameter #1 ($string) of type string is deprecated in /var/www/html/docs/all.php on line 192
Deprecated: strlen(): Passing null to parameter #1 ($string) of type string is deprecated in /var/www/html/docs/all.php on line 192
Deprecated: strlen(): Passing null to parameter #1 ($string) of type string is deprecated in /var/www/html/docs/all.php on line 192
Deprecated: strlen(): Passing null to parameter #1 ($string) of type string is deprecated in /var/www/html/docs/all.php on line 192
Deprecated: strlen(): Passing null to parameter #1 ($string) of type string is deprecated in /var/www/html/docs/all.php on line 192
Deprecated: strlen(): Passing null to parameter #1 ($string) of type string is deprecated in /var/www/html/docs/all.php on line 192
Deprecated: strlen(): Passing null to parameter #1 ($string) of type string is deprecated in /var/www/html/docs/all.php on line 192
Deprecated: strlen(): Passing null to parameter #1 ($string) of type string is deprecated in /var/www/html/docs/all.php on line 192
Deprecated: strlen(): Passing null to parameter #1 ($string) of type string is deprecated in /var/www/html/docs/all.php on line 192
Deprecated: strlen(): Passing null to parameter #1 ($string) of type string is deprecated in /var/www/html/docs/all.php on line 192
Deprecated: strlen(): Passing null to parameter #1 ($string) of type string is deprecated in /var/www/html/docs/all.php on line 192
Deprecated: strlen(): Passing null to parameter #1 ($string) of type string is deprecated in /var/www/html/docs/all.php on line 192
Deprecated: strlen(): Passing null to parameter #1 ($string) of type string is deprecated in /var/www/html/docs/all.php on line 192
Deprecated: strlen(): Passing null to parameter #1 ($string) of type string is deprecated in /var/www/html/docs/all.php on line 192
Deprecated: strlen(): Passing null to parameter #1 ($string) of type string is deprecated in /var/www/html/docs/all.php on line 192
Deprecated: strlen(): Passing null to parameter #1 ($string) of type string is deprecated in /var/www/html/docs/all.php on line 192
Deprecated: strlen(): Passing null to parameter #1 ($string) of type string is deprecated in /var/www/html/docs/all.php on line 192
Deprecated: strlen(): Passing null to parameter #1 ($string) of type string is deprecated in /var/www/html/docs/all.php on line 192
Deprecated: strlen(): Passing null to parameter #1 ($string) of type string is deprecated in /var/www/html/docs/all.php on line 192
Deprecated: strlen(): Passing null to parameter #1 ($string) of type string is deprecated in /var/www/html/docs/all.php on line 192
Deprecated: strlen(): Passing null to parameter #1 ($string) of type string is deprecated in /var/www/html/docs/all.php on line 192
Deprecated: strlen(): Passing null to parameter #1 ($string) of type string is deprecated in /var/www/html/docs/all.php on line 192
Deprecated: strlen(): Passing null to parameter #1 ($string) of type string is deprecated in /var/www/html/docs/all.php on line 192
Deprecated: strlen(): Passing null to parameter #1 ($string) of type string is deprecated in /var/www/html/docs/all.php on line 192
Deprecated: strlen(): Passing null to parameter #1 ($string) of type string is deprecated in /var/www/html/docs/all.php on line 192
Deprecated: strlen(): Passing null to parameter #1 ($string) of type string is deprecated in /var/www/html/docs/all.php on line 192
Deprecated: strlen(): Passing null to parameter #1 ($string) of type string is deprecated in /var/www/html/docs/all.php on line 192
Deprecated: strlen(): Passing null to parameter #1 ($string) of type string is deprecated in /var/www/html/docs/all.php on line 192
Deprecated: strlen(): Passing null to parameter #1 ($string) of type string is deprecated in /var/www/html/docs/all.php on line 192
Deprecated: strlen(): Passing null to parameter #1 ($string) of type string is deprecated in /var/www/html/docs/all.php on line 192
Deprecated: strlen(): Passing null to parameter #1 ($string) of type string is deprecated in /var/www/html/docs/all.php on line 192
Deprecated: strlen(): Passing null to parameter #1 ($string) of type string is deprecated in /var/www/html/docs/all.php on line 192
Deprecated: strlen(): Passing null to parameter #1 ($string) of type string is deprecated in /var/www/html/docs/all.php on line 192
Deprecated: strlen(): Passing null to parameter #1 ($string) of type string is deprecated in /var/www/html/docs/all.php on line 192
Deprecated: strlen(): Passing null to parameter #1 ($string) of type string is deprecated in /var/www/html/docs/all.php on line 192
Deprecated: strlen(): Passing null to parameter #1 ($string) of type string is deprecated in /var/www/html/docs/all.php on line 192
Deprecated: strlen(): Passing null to parameter #1 ($string) of type string is deprecated in /var/www/html/docs/all.php on line 192
Deprecated: strlen(): Passing null to parameter #1 ($string) of type string is deprecated in /var/www/html/docs/all.php on line 192
Deprecated: strlen(): Passing null to parameter #1 ($string) of type string is deprecated in /var/www/html/docs/all.php on line 192
Deprecated: strlen(): Passing null to parameter #1 ($string) of type string is deprecated in /var/www/html/docs/all.php on line 192
Deprecated: strlen(): Passing null to parameter #1 ($string) of type string is deprecated in /var/www/html/docs/all.php on line 192
Deprecated: strlen(): Passing null to parameter #1 ($string) of type string is deprecated in /var/www/html/docs/all.php on line 192
Deprecated: strlen(): Passing null to parameter #1 ($string) of type string is deprecated in /var/www/html/docs/all.php on line 192
Deprecated: strlen(): Passing null to parameter #1 ($string) of type string is deprecated in /var/www/html/docs/all.php on line 192
Deprecated: strlen(): Passing null to parameter #1 ($string) of type string is deprecated in /var/www/html/docs/all.php on line 192
Deprecated: strlen(): Passing null to parameter #1 ($string) of type string is deprecated in /var/www/html/docs/all.php on line 192
Deprecated: strlen(): Passing null to parameter #1 ($string) of type string is deprecated in /var/www/html/docs/all.php on line 192
Deprecated: strlen(): Passing null to parameter #1 ($string) of type string is deprecated in /var/www/html/docs/all.php on line 192
Deprecated: strlen(): Passing null to parameter #1 ($string) of type string is deprecated in /var/www/html/docs/all.php on line 192
Deprecated: strlen(): Passing null to parameter #1 ($string) of type string is deprecated in /var/www/html/docs/all.php on line 192
Deprecated: strlen(): Passing null to parameter #1 ($string) of type string is deprecated in /var/www/html/docs/all.php on line 192
Deprecated: strlen(): Passing null to parameter #1 ($string) of type string is deprecated in /var/www/html/docs/all.php on line 192
Deprecated: strlen(): Passing null to parameter #1 ($string) of type string is deprecated in /var/www/html/docs/all.php on line 192
Deprecated: strlen(): Passing null to parameter #1 ($string) of type string is deprecated in /var/www/html/docs/all.php on line 192
Deprecated: strlen(): Passing null to parameter #1 ($string) of type string is deprecated in /var/www/html/docs/all.php on line 192
Deprecated: strlen(): Passing null to parameter #1 ($string) of type string is deprecated in /var/www/html/docs/all.php on line 192
Deprecated: strlen(): Passing null to parameter #1 ($string) of type string is deprecated in /var/www/html/docs/all.php on line 192
Deprecated: strlen(): Passing null to parameter #1 ($string) of type string is deprecated in /var/www/html/docs/all.php on line 192
Deprecated: strlen(): Passing null to parameter #1 ($string) of type string is deprecated in /var/www/html/docs/all.php on line 192
Deprecated: strlen(): Passing null to parameter #1 ($string) of type string is deprecated in /var/www/html/docs/all.php on line 192
Deprecated: strlen(): Passing null to parameter #1 ($string) of type string is deprecated in /var/www/html/docs/all.php on line 192
Deprecated: strlen(): Passing null to parameter #1 ($string) of type string is deprecated in /var/www/html/docs/all.php on line 192
Deprecated: strlen(): Passing null to parameter #1 ($string) of type string is deprecated in /var/www/html/docs/all.php on line 192
Deprecated: strlen(): Passing null to parameter #1 ($string) of type string is deprecated in /var/www/html/docs/all.php on line 192
Deprecated: strlen(): Passing null to parameter #1 ($string) of type string is deprecated in /var/www/html/docs/all.php on line 192
Deprecated: strlen(): Passing null to parameter #1 ($string) of type string is deprecated in /var/www/html/docs/all.php on line 192
Deprecated: strlen(): Passing null to parameter #1 ($string) of type string is deprecated in /var/www/html/docs/all.php on line 192
Deprecated: strlen(): Passing null to parameter #1 ($string) of type string is deprecated in /var/www/html/docs/all.php on line 192
Deprecated: strlen(): Passing null to parameter #1 ($string) of type string is deprecated in /var/www/html/docs/all.php on line 192
Deprecated: strlen(): Passing null to parameter #1 ($string) of type string is deprecated in /var/www/html/docs/all.php on line 192
Deprecated: strlen(): Passing null to parameter #1 ($string) of type string is deprecated in /var/www/html/docs/all.php on line 192
Deprecated: strlen(): Passing null to parameter #1 ($string) of type string is deprecated in /var/www/html/docs/all.php on line 192
Deprecated: strlen(): Passing null to parameter #1 ($string) of type string is deprecated in /var/www/html/docs/all.php on line 192
Deprecated: strlen(): Passing null to parameter #1 ($string) of type string is deprecated in /var/www/html/docs/all.php on line 192
Deprecated: strlen(): Passing null to parameter #1 ($string) of type string is deprecated in /var/www/html/docs/all.php on line 192
Deprecated: strlen(): Passing null to parameter #1 ($string) of type string is deprecated in /var/www/html/docs/all.php on line 192
Deprecated: strlen(): Passing null to parameter #1 ($string) of type string is deprecated in /var/www/html/docs/all.php on line 192
Deprecated: strlen(): Passing null to parameter #1 ($string) of type string is deprecated in /var/www/html/docs/all.php on line 192
Deprecated: strlen(): Passing null to parameter #1 ($string) of type string is deprecated in /var/www/html/docs/all.php on line 192
Deprecated: strlen(): Passing null to parameter #1 ($string) of type string is deprecated in /var/www/html/docs/all.php on line 192
Deprecated: strlen(): Passing null to parameter #1 ($string) of type string is deprecated in /var/www/html/docs/all.php on line 192
Deprecated: strlen(): Passing null to parameter #1 ($string) of type string is deprecated in /var/www/html/docs/all.php on line 192
Deprecated: strlen(): Passing null to parameter #1 ($string) of type string is deprecated in /var/www/html/docs/all.php on line 192
Deprecated: strlen(): Passing null to parameter #1 ($string) of type string is deprecated in /var/www/html/docs/all.php on line 192
Deprecated: strlen(): Passing null to parameter #1 ($string) of type string is deprecated in /var/www/html/docs/all.php on line 192
Deprecated: strlen(): Passing null to parameter #1 ($string) of type string is deprecated in /var/www/html/docs/all.php on line 192
Deprecated: strlen(): Passing null to parameter #1 ($string) of type string is deprecated in /var/www/html/docs/all.php on line 192
Deprecated: strlen(): Passing null to parameter #1 ($string) of type string is deprecated in /var/www/html/docs/all.php on line 192
Deprecated: strlen(): Passing null to parameter #1 ($string) of type string is deprecated in /var/www/html/docs/all.php on line 192
Deprecated: strlen(): Passing null to parameter #1 ($string) of type string is deprecated in /var/www/html/docs/all.php on line 192
Deprecated: strlen(): Passing null to parameter #1 ($string) of type string is deprecated in /var/www/html/docs/all.php on line 192
Deprecated: strlen(): Passing null to parameter #1 ($string) of type string is deprecated in /var/www/html/docs/all.php on line 192
Deprecated: strlen(): Passing null to parameter #1 ($string) of type string is deprecated in /var/www/html/docs/all.php on line 192
Deprecated: strlen(): Passing null to parameter #1 ($string) of type string is deprecated in /var/www/html/docs/all.php on line 192
Deprecated: strlen(): Passing null to parameter #1 ($string) of type string is deprecated in /var/www/html/docs/all.php on line 192
Deprecated: strlen(): Passing null to parameter #1 ($string) of type string is deprecated in /var/www/html/docs/all.php on line 192
Deprecated: strlen(): Passing null to parameter #1 ($string) of type string is deprecated in /var/www/html/docs/all.php on line 192
Deprecated: strlen(): Passing null to parameter #1 ($string) of type string is deprecated in /var/www/html/docs/all.php on line 192
Deprecated: strlen(): Passing null to parameter #1 ($string) of type string is deprecated in /var/www/html/docs/all.php on line 192
Deprecated: strlen(): Passing null to parameter #1 ($string) of type string is deprecated in /var/www/html/docs/all.php on line 192
Deprecated: strlen(): Passing null to parameter #1 ($string) of type string is deprecated in /var/www/html/docs/all.php on line 192
Deprecated: strlen(): Passing null to parameter #1 ($string) of type string is deprecated in /var/www/html/docs/all.php on line 192
Deprecated: strlen(): Passing null to parameter #1 ($string) of type string is deprecated in /var/www/html/docs/all.php on line 192
Deprecated: strlen(): Passing null to parameter #1 ($string) of type string is deprecated in /var/www/html/docs/all.php on line 192
Deprecated: strlen(): Passing null to parameter #1 ($string) of type string is deprecated in /var/www/html/docs/all.php on line 192
Deprecated: strlen(): Passing null to parameter #1 ($string) of type string is deprecated in /var/www/html/docs/all.php on line 192
Deprecated: strlen(): Passing null to parameter #1 ($string) of type string is deprecated in /var/www/html/docs/all.php on line 192
Deprecated: strlen(): Passing null to parameter #1 ($string) of type string is deprecated in /var/www/html/docs/all.php on line 192
Deprecated: strlen(): Passing null to parameter #1 ($string) of type string is deprecated in /var/www/html/docs/all.php on line 192
Deprecated: strlen(): Passing null to parameter #1 ($string) of type string is deprecated in /var/www/html/docs/all.php on line 192
Deprecated: strlen(): Passing null to parameter #1 ($string) of type string is deprecated in /var/www/html/docs/all.php on line 192
Deprecated: strlen(): Passing null to parameter #1 ($string) of type string is deprecated in /var/www/html/docs/all.php on line 192
Deprecated: strlen(): Passing null to parameter #1 ($string) of type string is deprecated in /var/www/html/docs/all.php on line 192
Deprecated: strlen(): Passing null to parameter #1 ($string) of type string is deprecated in /var/www/html/docs/all.php on line 192
Deprecated: strlen(): Passing null to parameter #1 ($string) of type string is deprecated in /var/www/html/docs/all.php on line 192
Deprecated: strlen(): Passing null to parameter #1 ($string) of type string is deprecated in /var/www/html/docs/all.php on line 192
Deprecated: strlen(): Passing null to parameter #1 ($string) of type string is deprecated in /var/www/html/docs/all.php on line 192
Deprecated: strlen(): Passing null to parameter #1 ($string) of type string is deprecated in /var/www/html/docs/all.php on line 192
Deprecated: strlen(): Passing null to parameter #1 ($string) of type string is deprecated in /var/www/html/docs/all.php on line 192
Deprecated: strlen(): Passing null to parameter #1 ($string) of type string is deprecated in /var/www/html/docs/all.php on line 192
Deprecated: strlen(): Passing null to parameter #1 ($string) of type string is deprecated in /var/www/html/docs/all.php on line 192
Deprecated: strlen(): Passing null to parameter #1 ($string) of type string is deprecated in /var/www/html/docs/all.php on line 192
Deprecated: strlen(): Passing null to parameter #1 ($string) of type string is deprecated in /var/www/html/docs/all.php on line 192
Deprecated: strlen(): Passing null to parameter #1 ($string) of type string is deprecated in /var/www/html/docs/all.php on line 192
Deprecated: strlen(): Passing null to parameter #1 ($string) of type string is deprecated in /var/www/html/docs/all.php on line 192
Deprecated: strlen(): Passing null to parameter #1 ($string) of type string is deprecated in /var/www/html/docs/all.php on line 192
Deprecated: strlen(): Passing null to parameter #1 ($string) of type string is deprecated in /var/www/html/docs/all.php on line 192
Deprecated: strlen(): Passing null to parameter #1 ($string) of type string is deprecated in /var/www/html/docs/all.php on line 192
Deprecated: strlen(): Passing null to parameter #1 ($string) of type string is deprecated in /var/www/html/docs/all.php on line 192
Deprecated: strlen(): Passing null to parameter #1 ($string) of type string is deprecated in /var/www/html/docs/all.php on line 192
Deprecated: strlen(): Passing null to parameter #1 ($string) of type string is deprecated in /var/www/html/docs/all.php on line 192
Deprecated: strlen(): Passing null to parameter #1 ($string) of type string is deprecated in /var/www/html/docs/all.php on line 192
Deprecated: strlen(): Passing null to parameter #1 ($string) of type string is deprecated in /var/www/html/docs/all.php on line 192
Deprecated: strlen(): Passing null to parameter #1 ($string) of type string is deprecated in /var/www/html/docs/all.php on line 192
Deprecated: strlen(): Passing null to parameter #1 ($string) of type string is deprecated in /var/www/html/docs/all.php on line 192
Deprecated: strlen(): Passing null to parameter #1 ($string) of type string is deprecated in /var/www/html/docs/all.php on line 192
Deprecated: strlen(): Passing null to parameter #1 ($string) of type string is deprecated in /var/www/html/docs/all.php on line 192
Deprecated: strlen(): Passing null to parameter #1 ($string) of type string is deprecated in /var/www/html/docs/all.php on line 192
Deprecated: strlen(): Passing null to parameter #1 ($string) of type string is deprecated in /var/www/html/docs/all.php on line 192
Deprecated: strlen(): Passing null to parameter #1 ($string) of type string is deprecated in /var/www/html/docs/all.php on line 192
Deprecated: strlen(): Passing null to parameter #1 ($string) of type string is deprecated in /var/www/html/docs/all.php on line 192
Deprecated: strlen(): Passing null to parameter #1 ($string) of type string is deprecated in /var/www/html/docs/all.php on line 192
Deprecated: strlen(): Passing null to parameter #1 ($string) of type string is deprecated in /var/www/html/docs/all.php on line 192
Deprecated: strlen(): Passing null to parameter #1 ($string) of type string is deprecated in /var/www/html/docs/all.php on line 192
Deprecated: strlen(): Passing null to parameter #1 ($string) of type string is deprecated in /var/www/html/docs/all.php on line 192
Deprecated: strlen(): Passing null to parameter #1 ($string) of type string is deprecated in /var/www/html/docs/all.php on line 192
Deprecated: strlen(): Passing null to parameter #1 ($string) of type string is deprecated in /var/www/html/docs/all.php on line 192
Deprecated: strlen(): Passing null to parameter #1 ($string) of type string is deprecated in /var/www/html/docs/all.php on line 192
Deprecated: strlen(): Passing null to parameter #1 ($string) of type string is deprecated in /var/www/html/docs/all.php on line 192
Deprecated: strlen(): Passing null to parameter #1 ($string) of type string is deprecated in /var/www/html/docs/all.php on line 192
Deprecated: strlen(): Passing null to parameter #1 ($string) of type string is deprecated in /var/www/html/docs/all.php on line 192
Deprecated: strlen(): Passing null to parameter #1 ($string) of type string is deprecated in /var/www/html/docs/all.php on line 192
Deprecated: strlen(): Passing null to parameter #1 ($string) of type string is deprecated in /var/www/html/docs/all.php on line 192
Deprecated: strlen(): Passing null to parameter #1 ($string) of type string is deprecated in /var/www/html/docs/all.php on line 192
Deprecated: strlen(): Passing null to parameter #1 ($string) of type string is deprecated in /var/www/html/docs/all.php on line 192
Deprecated: strlen(): Passing null to parameter #1 ($string) of type string is deprecated in /var/www/html/docs/all.php on line 192
Deprecated: strlen(): Passing null to parameter #1 ($string) of type string is deprecated in /var/www/html/docs/all.php on line 192
Deprecated: strlen(): Passing null to parameter #1 ($string) of type string is deprecated in /var/www/html/docs/all.php on line 192
Deprecated: strlen(): Passing null to parameter #1 ($string) of type string is deprecated in /var/www/html/docs/all.php on line 192
Deprecated: strlen(): Passing null to parameter #1 ($string) of type string is deprecated in /var/www/html/docs/all.php on line 192
Deprecated: strlen(): Passing null to parameter #1 ($string) of type string is deprecated in /var/www/html/docs/all.php on line 192
Deprecated: strlen(): Passing null to parameter #1 ($string) of type string is deprecated in /var/www/html/docs/all.php on line 192
Deprecated: strlen(): Passing null to parameter #1 ($string) of type string is deprecated in /var/www/html/docs/all.php on line 192
Overview
As a musician, you know that every second on stage counts, so we have created an easy-to-use application for your iPad or iPhone for quick music access. The OnSong app eliminates the need for messy and disorganized sheet music and allows you to quickly and easily access your music for performances. When you are on stage, the app can easily handle all aspects of performance. Use this manual to delve into the many unique features OnSong offers you as a musician.
We've heard from many of our users that OnSong is "deep". You may be accustom to basic apps that perform one or two functions. OnSong is a completely suite that manages your practice time as well as your on stage performance. It's used by hundreds of thousands of musicians around the world, every week.
What this means for you is... well, you have some learning to do! Besides this user manual, we've created a number of video tutorials to get you up and running quickly.
Beginner's Guide
This guide will take you through the most basic features of OnSong quickly so you get up to speed with common use cases and how to start playing immediately.
Features
It's hard to explain OnSong without sounding like an infomercial. Honestly, OnSong does so many great things that it's hard to coalesce into a single thing. This section of the user manual reviews core features of OnSong and links to the parts of the app that comprise the feature.
FAQ
Once you get going with OnSong, you may have some questions! This FAQ will help answer common questions you may have when using OnSong.
User Interface
For those who like to know what every part of an app is for, this guide you through every screen and function.
Settings
For every musician, there's a different way to do music. OnSong is built for customization. This section of our user manual will guide you through the various settings and what they do.
OnSong Console
 OnSong Console is a web application that allows you to manage your OnSong library from any computer running a modern web browser. It works by starting up a web site hosted by your device that you connect to by typing in the local web address. Once loaded, you can easily import, create, and edit your songs as well as manage your books and sets.
Frequently Asked Questions
Get answers to questions you likely have.
Connecting
To use OnSong Console, you must enable it in your OnSong app and then enter the web address that displays.
Header
The top is the header which contains the OnSong logo. To the left of the logo is the name of the current song. If you have made changes to the save, a save button will appear to the right of the song title allowing you to save changes back to your OnSong library on the device. Finally, the help link is located on the far right and provides access to this web site.
Sidebar
The sidebar can be accessed by tapping on the icon in the upper left corner. It's where you can view and manage collections, books, and sets.
Song List
The song list is where you view songs in your collection, book, or set. You can add, import, search, and manage your songs from the list.
Song Editor
When you tap on the song, it appears in the song editor. Here you can type lyrics and chords, change metadata, and perform other functions.
Song Viewer
As you edit your songs in the song editor, the changes appear in realtime in the song viewer. You can use functions here to change how your song looks and behaves.
Lyrics Projection
OnSong Console also features lyrics projection allowing you to place a web browser window in full screen and control from Console or from the OnSong app.
OnSong Console is available through an OnSong Premium subscription or to OnSong Pro users who have previously purchased it as an add-on
Connecting


OnSong Console is available to OnSong Premium subscribers or if you've previously purchased it as an add-on. To purchase, open the Utilities Menu and choose Account to view your options.
Enabling
To enable Console, go into the Utilities Menu and choose Console. Next, tap on the Enable Console button to turn on the web site on your iPad. The area below will show an IP address such as http://192.168.0.123
Loading
Type this web address into the location bar in a web browser on a computer that is connected to the same computer network. For instance, if you connect your iPad or iPhone to Linksys 5G, connect your computer to the same WiFi network. You may also be able to have a wired connection to the same network.
Troubleshooting
If you have trouble connecting to OnSong Console with your web browser, it is most likely caused by network or computer security settings on. Please review our troubleshooting guide if you have trouble connecting.
Whitelisting
To protect access to your OnSong library, you'll be prompted on your device to permit access to the web browser you are using. Tap on the Accept button to view the full interface and begin using OnSong Console.
OnSong uses cookies to allow the browser to connect again without prompting in the future. However, if you use another computer or web browser, you will be prompted each time to ensure your OnSong library is being accessed properly.
Troubleshooting
OnSong Console works by setting up your iOS device as a web server on the local network. That means that OnSong is acting as a website that only you can access. This allows access to OnSong Console to be safe and fast since there is no information transmitted over the Internet. However, there are a few issues that you may experience. Below are some common issues and ways to resolve them.
Why can't I access OnSong Console on my device without a premium subscription?
OnSong Console has always been a premium feature that is made available in addition to the base package of OnSong. In 2018, OnSong Console was rolled into the OnSong Premium set of features and is now only available as a subscription unlock with many other new features. If you had purchased OnSong as an add-on, you can still unlock the feature if you have since reinstalled OnSong. To do this, go into the Utilities Menu by tapping on the gear icon in the Menubar and choose Account. Make sure you are not signed into an OnSong account and Sign Out at the bottom if you are. You can then see an Add-Ons row that you can tap to view add-ons. Tap on the Restore Past Purchases button to unlock OnSong Console.
Why doesn't the Console website appear in the web browser?
When you first enable OnSong Console from within OnSong, you are displayed a web address, usually in the form of http://nnn.nnn.nnn.nnn This is called an IP address which is like a phone number which other computers on the local network can use to call and communicate with your device running OnSong. This number is only accessible by devices that are connected to your personal computer network and not to any other remote computers unless your network is configured to do so which is very unlikely. Make sure that you type in this web address exactly as it appears on the OnSong Console screen. If you type in this web address and omit the "http://" portion, your computer may try to search for this number instead or append an "https://" in front of the web address, causing the website to load.
Keep in mind that the OnSong app is running the web server software that creates this website. That means if you shut down OnSong or the device is put to sleep or falls asleep, the Console will no longer be available. While OnSong and OnSong Console are designed to keep your device awake when in use, you will want to ensure that you have not inadvertently caused the device to go to sleep.
My Console acted up in the web browser or disconnected. What can I do?
Sometimes things may change while you already have the Console open in the web browser. If the website is typed correctly, you may want to try force-refreshing the web page. To do this, press the SHIFT key on your keyboard and then tap on the refresh button in the web browser next to the location/URL bar. This will reload the web page from the server and usually fixes many issues.
Why am I seeing a network error when access the Console from a web browser?
If you're still having trouble, the likely cause is that OnSong has to be set up on your specific network. For instance, when you change computer networks, OnSong needs to start up the web server to run OnSong Console on that specific set of IP addresses. To ensure this, try to disable and reenable the Console from within the OnSong Console screen within OnSong and use the displayed web address to access, ensuring you are typing it correctly. If you are still having trouble, it is likely caused by how the computer network security is configured. For instance, your network may not allow a web server to be started. Web servers run on port 80 which is a port with special privileges. If this is the case, you may need to contact a network administrator to allow the web server to be used on the network. Another method is to switch to use a port by importing a settings file. This setting will run the Console web site on port 5076. Higher port numbers are usually not restricted in the same way. You would just have to append that port number to the end of the web address like this: http://nnn.nnn.nnn.nnn:5076. If you'd like to do this, please contact support.
Is there a way I can save this web address and use it multiple times?
Yes and no. One quirk with local computer networks is that most are designed to automatically assign new devices IP addresses and not every network is the same. This means that you will likely have a different IP address on one network and then a completely different IP address on another network. While most network routers will attempt to give each device the same IP address they were assigned before, but there is no guarantee that will happen unless you configure your router to reserve IP addresses for specific devices. Of course that is a more advanced networking topic than we have time to delve into here and how to do that differs with each router. Look up DHCP Reservations in your network router user manual for more details.
If you are looking to save the web address for future use and are using a Mac computer, you can tap on the web address within the OnSong Console screen in OnSong to toggle to a local domain name. This will display like http://my-computers-name.local instead of the IP address. Computers that are compatible with multicast DNS such as Macs can use this web address instead to access OnSong Console. This web address stays consistent as long as you don't change the name of your device even if the underlying IP address changes.
Why do I get a security warning when accessing the console website?
OnSong Console operates by making your iOS/IPadOS device a web server on the local network. Because of this, it is not possible to use SSL or TLS encryption for communication. This is because certificates for encrypted communication are provided by an Internet authority to ensure that the information being transmitted is coming from the legitimate owner of a domain name. Since the OnSong Console is not running on the world-wide web with a registered domain name, this sort of certificate is not available. While we could possibly self-sign a generated certificate, that often causes issues with most web browsers. Besides, the information being transmitted is not sensitive in nature and is only transmitted over the local network and never over the Internet. If you would like to secure the connection between your OnSong device and the devices accessing the content, please use a private network and do not use on a public access point. Also, this OnSong Connect API built into OnSong features a basic whitelist permissions system that requires confirmation to access any information transmitted over the network.
Why can't I seem to get console to activate on my device?
In iOS/iPadOS 14, Apple has added additional safeguards to prevent apps from using the local network unknowingly to the user. OnSong has always used the local networking on the device to enable wireless sharing, but now you may need to agree to this access when prompted by iOS/iPadOS. If you have not agreed to this at the prompt, OnSong will not be able to start the web server that Console uses. You can enable this access by opening the Settings app from your device's Home Screen, choosing OnSong on the left under Applications, and then turn on the switch next to Local Network Access.
What's the difference between OnSong Console and OnSong Console for Mac?
OnSong Console is built into OnSong and is unlocked view a previously-purchased add-on, or through an OnSong Premium subscription. OnSong Console for Mac was a separate purchase that has since been deprecated and not longer functions on newer versions of MacOS. Because of that, you will need to use the web-based OnSong Console instead. Please contact support so we can help get you using the latest version of OnSong Console.
Frequently Asked Questions
Here are some questions that you may have before purchasing, or when using OnSong Console.
- Does Console work on Windows or just Mac?
- OnSong Console works on both Windows and Mac, and most likely Linux too. It just requires a modern web browser that supports the HTML 5 and CSS 3 web standards.
- Do I need to purchase Console for every device I own?
- No. OnSong Console is purchased either as an in-app purchase, or is included in your OnSong Premium subscription. These are both available on multiple devices as long as you are signed in with your Apple ID or OnSong account.
- My computer is wired to my network, but my iPad is wireless. Will Console still work?
- Yes. As long as both devices are on the same computer network, a wired connection or wireless shouldn't matter. However, some routers set up different networks for each of these access methods. You will want to consult your network equipment user manual for more details on merging the networks if there are issues.
- Both my devices are on the same network but I only get a blank screen in my web browser. Why?
- OnSong Console works by turning your iPad or iPhone into a mini web server which may not be appreciated by some networks. Please try the following if you are having trouble connecting to Console:
- Ensure that your iPad or iPhone is on and OnSong is running. Console requires OnSong to be running in order to communicate.
- Disable and enable Console from the Console screen in the Utilities menu, or restart your iPad. In some cases, the web address that is shown may not be correct, especially when switching between networks.
- Make sure you are typing in the web address correctly. You must add the http:// before the four-part number called an IP address, and include the colon with the port number (5076).
- Some corporate networks do not permit other services to be running. Check with your IT staff to see if you are allowed to run console in that environment. OnSong Console operates on ports 80, 5076 and 5077. Some networks may block traffic on these ports. Log into your router and be sure to allow these ports to be active on the network. Some corporate networks do not permit other services to be running. Check with your IT staff to see if you are allowed to run console in that environment.
- If you are running a firewall on the computer, temporarily disable it to make sure that it is not inhibiting traffic.
- Try a different network to see if that helps resolved the issue.
- Can I use my iPhone or iPad hotspot connection instead of a WiFi access point to use Console?
- Yes. Turn on the hotspot in your device's Settings screen and use the WiFi option. Bluetooth or USB will not work. Connect your computer to the hotspot network, and connect your device if it is not already the hotspot. Keep in mind that some carrier may charge you for hotspot connectivity.
- My Console screen is telling me to type in 127.0.0.1:5076 and it doesn't work. Any ideas?
- 127.0.0.1 is essentially the iPad or iPhone referring to itself and is caused by the network IP address not being able to be resolved. Go into the Console screen and disable and enable the console again to see if that refreshes to a different web address. You can also go into the Share menu » Connect » Servers and use the IP address found under your device's name.
- My Console screen is telling me to type in an IP address that starts with 169...* and it doesn't work. Any ideas?
- IP addresses in this range are often generated in the event that proper DHCP (the assignment of IP addresses on a network) has failed. You may need to go into your network settings and renew the lease to force the network to assign a different IP address, if one is available.
- Why is the "Follow" button disabled in OnSong Console?
- The follow button in Console requires the operation of Web Sockets. This is a special way for two devices to directly communicate over a network. The Follow button is disabled when the OnSong web socket server cannot be started. This may be caused by too many devices using the socket port on the network or due to a network security setting.
- What web browsers does Console work with?
- OnSong Console is an HTML 5, web-based application. This means that it works on modern web browsers such as the latest versions of Chrome, Safari, Firefox and Internet Explorer. Different browsers have their quirks and we are continuing to refine around these. Older versions of Internet Explorer will definitely have some issues.
- I'm getting just the opening screen with the OnSong logo and it gets stuck. Why?
- OnSong Console requires Javascript to be enabled in order to communicate with your device. Make sure that Javascript is enabled in your web browser's preferences and that no additional security plugins are preventing Javascript from operating.
Header

The header portion of the console interface appears at the top of the browser window. This contains the following elements:
OnSong Logo
The OnSong logo appears on the left side of the header to visually reinforce the web app. In addition, this logo's glow will pulse subtly when network operations are occurring.
Song Title
The song title appears prominently and changes as you select a different song in the Song List.
Save Button
The save button will appear once you've made a change in the Song Editor or in one of the palettes.
Lyrics Projection Button
Tapping on the lyrics projection button will open a new window suitable for running lyrics projection from within a web browser on a remote machine.
Help Link
This will link to the Console help web page on the OnSong web site.
Lyrics Projection
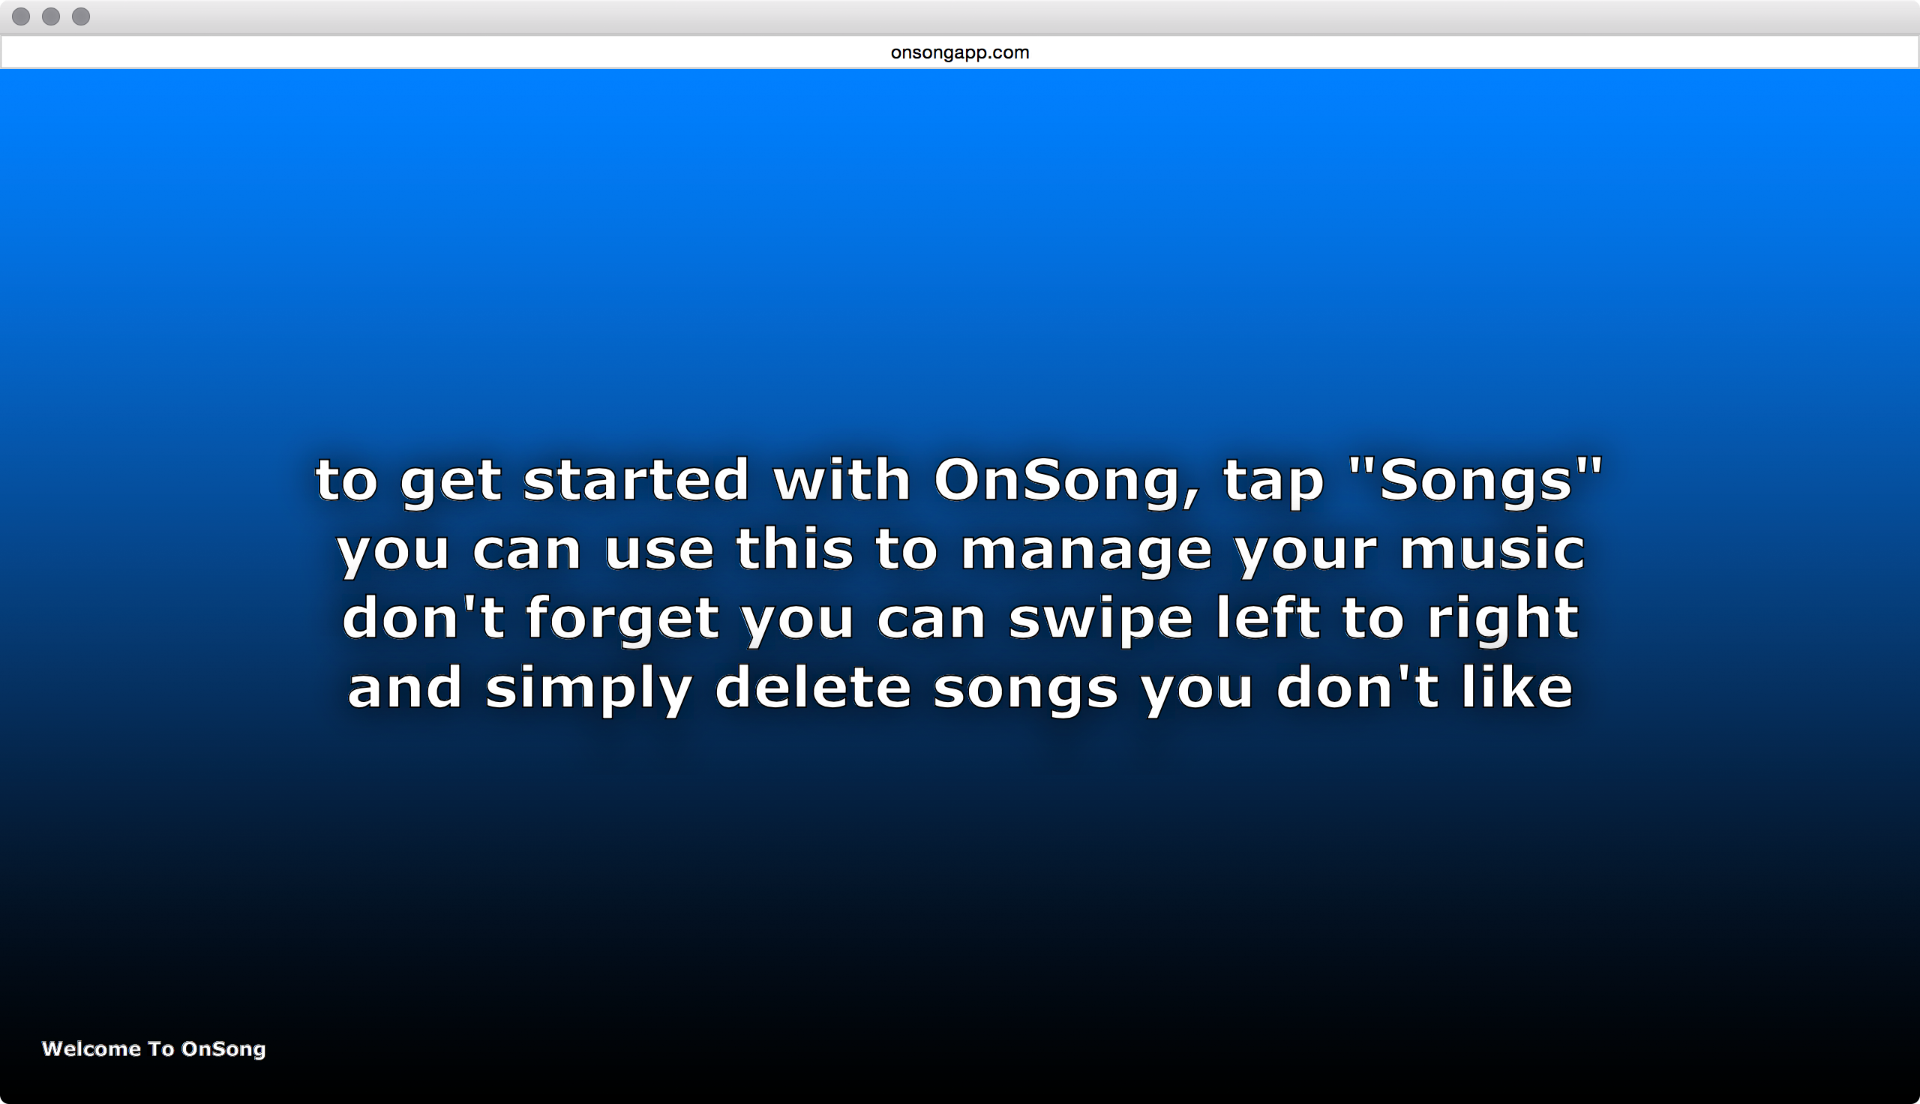
Tapping on the lyrics projection button in the Console will open a new window that displays the configured background and lyrics. This allows you to display lyrics from a remote computer and operate it with OnSong running on an iOS device, or through the console if the leading is enabled.
Full Screen Mode
Drag the window to the external screen you'd like to target and click in the body of the window. This will cause the window to enter full screen mode. You can then press ESC on the keyboard to exit full screen mode. Keep in mind that full screen mode acts differently depending on your browser and platform.
Navigation
When the lyrics window is enabled, you can use the arrow keys on the keyboard to move between sections.
Background and Styles
Currently all changes to the look of the lyrics projection must be performed through the External Video Menu from inside the host device.
Palettes
OnSong Console uses palettes to let you select and specific information. Palettes are like floating menus that can be repositioned on the screen. You can open and close palettes by using the menubar or the x icon in the upper right corner of the palette.
You can learn about each palette below:
Add Book Palette
This palette allows you to add new books to your library and is accessed through the Add Menu in the Sidebar.
Add Set Palette
This palette allows you to add new sets to your library and is accessed through the Add Menu in Sidebar.
Chords Palette
Gives you options for transposing and capoing chords, as well as controlling how chords and diagrams appear on the screen. This is similar to the bottom of the Style Preferences Menu. This palette is accessed from the menubar in the Song Viewer.
Import Files Palette
This palette lets you import one or more files from your computer and is accessed both from the Add Menu in the Sidebar as well as the Add Button in the Song List.
Insert Palette
This palette allows you to insert chords and section labels into the song and is accessed from the menubar in the Song Editor.
Metadata Palette
This palette allows you to change the metadata information about the song and is accessed from the menubar in the Song Editor. This is similar in function to the Metadata Editor found in the Song Editor within the OnSong app.
New Song Palette
This palette lets you create a new song from scratch and is accessed both from the Add Menu in the Sidebar as well as the Add Button in the Song List.
Style Palette
This palette lets you change how your songs lyrics and chords appear and is accessed via the menubar in the Song Viewer.
Text Tools Palette
This palette lets search and replace and alter the chord format of the song being edited. This is accessed through the menubar in the Song Editor.
Add Book
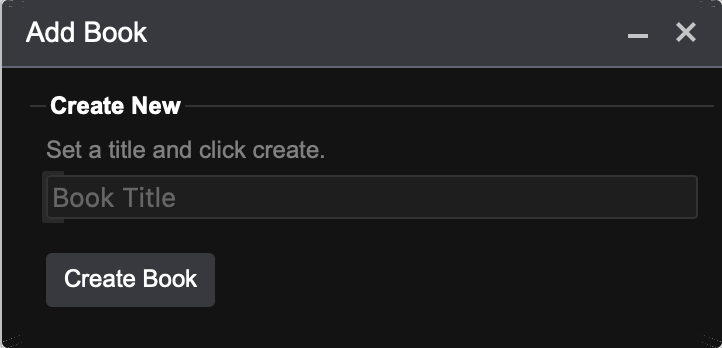
This palette allows you to simply set the name of the book to create. Type a name and click Create Book. You can then select the book from the sidebar to view the Song List in order to add new or existing songs to the book.
If you do not specify a name for the book and create it, no book will be added to your library.
Add Set
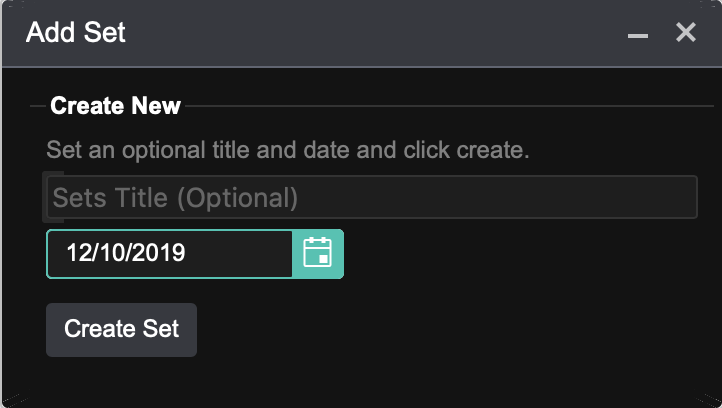
Use this palette to create new sets in your library. Simply enter a date or an optional title.
To select a date, either type it in the field or tap on the calendar icon to open a date picker. If you do not select a date, the current date is used. If you do not type a title, the full date will appear as the title of the set in your library.
To create the set, click on Create Set.
Chords
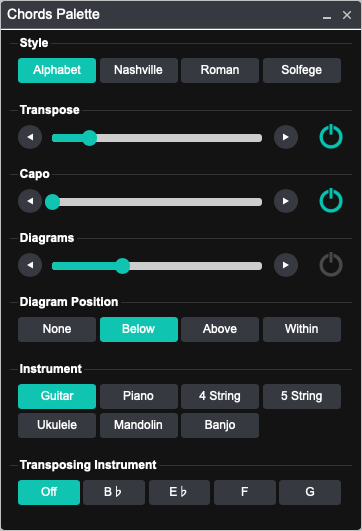
The chords palette provides tools for changing how chords appear in the chord chart. This affects both transposition, appearance, and chord diagrams.
Style
Typically chord charts use alphabetic characters to define chords. OnSong can convert alphabetic chords into numeric ones to better suit musicians that play using a number system. The selected style is highlighted. Choose from one of the following chord styles:
- Alphabet uses letters A-G with sharps and flats to indicate precisely what chord should be played. If using different chord localizations, this may also include an H. Default.
- Nashville uses a decimal numbering system which indicates the chord number based on the root chord of the key. In addition, this method uses symbols for different chord variations.
- Roman uses upper and lowercase Roman numerals for chords. Major chords are represented in uppercase while minor chords are lowercase. Symbols are also used to indicate different modes such as a minus symbol for minor.
- Solfege uses do, re, mi, fa, so, la, ti, do instead of numbers. Symbols are used to indicate different modes such as a minus for minor.
Transpose
Use this slider to transpose the song to any key. The key of C is placed on the far left and the key of Cb is on the far right. You can use the arrow keys to make fine-tune adjustments the key you would like to pick.
The power icon on the right turns transposition on and off. If turned off, and if no capo is applied, then no transposition is performed. This will display chords just as they appear in the Song Editor.
Capo
This slider allows you to apply a capo to the song. Slide from 0 to 11. This will modulate the chords of the song down to maintain the key of the song when a capo is applied. You can change the direction of this modulation in Settings » Display Settings » Song Formatting » Capo » Capo Modulates
You can turn the application of the capo on and off using the power icon on the right side. This allows you to maintain a capo and determine if you want to apply it or not depending on the instrument you are playing.
Diagrams
This section of the chords palette is used to toggle the chord diagram display on and off. Use the slider to adjust how many diagrams appear across the page. You can select a number between 4 and 10. Use the power icon on the right to toggle the visibility of chord diagrams on and off.
You can change how and where chord diagram appear in Settings » Display Settings » Song Formatting » Chord Diagrams.
Diagram Position
The diagram position chooser lets you determine where diagrams and drawn on the page. You can choose from:
- None turns off chord diagrams. Default.
- Below draws diagrams under the song content.
- Above draws diagrams above the song content directly below the title and metadata.
- Within draws chord diagrams in place of chords within the lyrics.
Instrument
This section allows you to select the instrument to use when displaying chords. The selected instrument is highlighted. Choose a different instrument to have the chord diagrams change to the selected instrument.
Transposing Instrument
If you are playing an instrument that does not play at concert pitch, you can adjust the chords that appear throughout the song to adjust for those instruments. Options include:
- Off used for concert pitch and most stringed or percussion instruments like piano.
- B-flat used for B-flat instruments such as trumpet, clarinet, bass clarinet, and soprano and tenor saxophones.
- E-flat used for E-flat tuned instruments such as soprano clarinet, or alto and baritone saxophones.
- F used for F tuned instruments such as French and English horns.
- G used for alto flute.
Note: Making changes in this palette does not affect the song content but is applied in addition to the original song.
Import Files
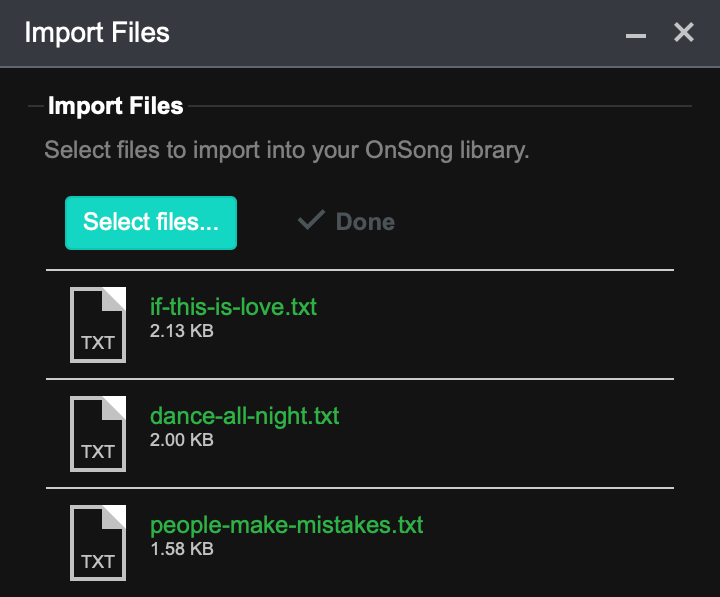
This palette allows you to import one or more files at once into OnSong. Click on the Select files... button to open a file chooser window. Browse and select a file to import. Use the shift, command and control keys on your keyboard to select more than one file to import.
When you are all done, click on the Choose button in the window. Console will automatically upload and import those files into your library and show you the import status below the Select files... button. You can then close the palette to continue editing.
Please note that OnSong will only permit Supported File Formats to be imported into your OnSong library.
Insert
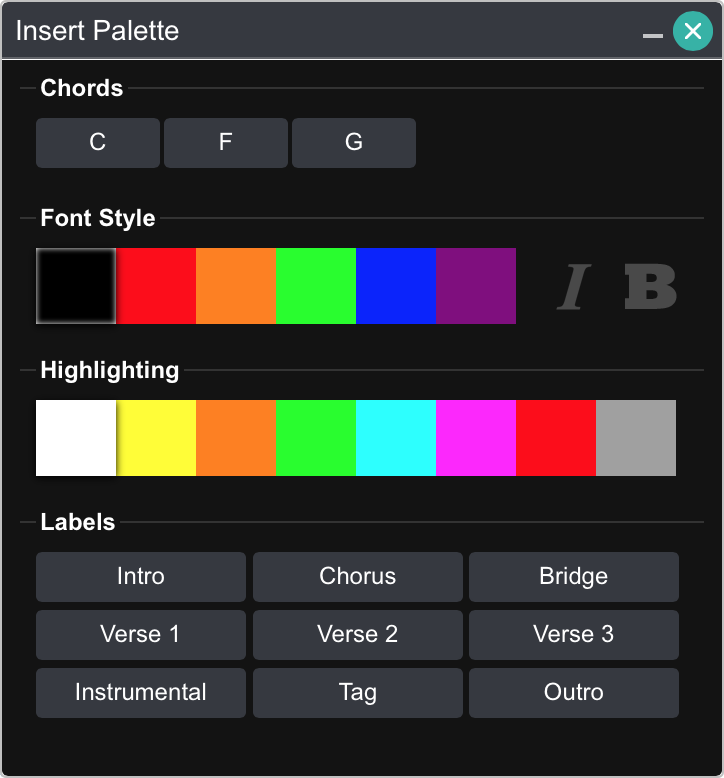
The insert palette is used to insert chords, line formatting, and section labels into a song. Position the text cursor where you would like to insert chords or on the line where you'd like to apply line formatting.
Chords
As you write new chords in the text editor, they will appear here. Position the text cursor where you would like to insert the chord and then click on a button to insert the chord in that location. Position of the cursor differs for each chord format:
- Bracketed Chords requires the cursor to be placed within lyrics where you would like the chord to be played.
- Chords Over Lyrics requires the cursor to be placed above lyrics and positioned above lyrics using spaces.
Font Style
Click on a color to insert color codes at the front of the line. You can also toggle the bold and italic buttons to insert those line formatting codes as well.
Highlighting
Click on a color to add highlighting line formatting code to the front of the line. The white option will remove the code.
Labels
Common section labels appear in this section. Tap on one to name the current section.
Metadata

The metadata palette automatically updates its fields as you select songs in the Song List. Change the contents of the fields to have OnSong update the metadata section of your song. This palette includes these fields:
Song Title
The title of the song.
Artist
The name of the artist or the byline to output under the song title.
Number
A number used to lookup the song in numbered music collections like hymnals.
Keywords
Keywords or topics to enter for the song. This is used in the By Topic tab in the Songs Menu.
Key
This sets the key of the song. If the key had been already set and there are chords in the song, this will also rewrite the chords of the song into that key.
You can also change the mode of the key to minor by clicking on the "m" button on the right side. The song contents are not rewritten when toggling between major and minor keys.
Capo
Sets the recommended capo level for the song.
Tempo
Set the tempo using this slider. Remember that you can click on the arrows to the left and right of the sliders to fine-tune adjust the values.
Time Signature
Click on a button that represents the time signature of the song to be written in the metadata section. If you do not want a time signature outputted, click on a selected time signature again to remove it. If the time signature you need is not in the list, congratulations on your rhythmic genius. Because of your skills, you'll just need to write the time signature yourself.
Duration
This is the time duration of the song. Set this to a default to enable autoscrolling with the approximate speed. This can be expressed as hh:mm:ss or numeric seconds.
Flow
This is the flow of the song used to arrange the parts of the song into a top-down fashion. Please see Flow for more details.
Copyright
This is the copyright line of the music. This will appear at the bottom of chord charts as well as in lyrics projection.
CCLI Song
This is the unique identifier for registering the song with CCLI SongSelect reporting. This will appear at the bottom of the chord chart on screen as well as at the bottom of lyrics projection.
Restrictions
These are a list of restrictions that are used to limit what recipients of the song can do with it. Please see Restrictions for a list of possible options.
New Song
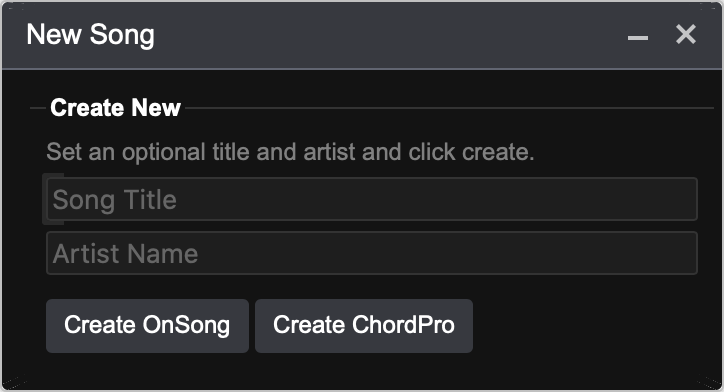
This palette allows you to create a new song for editing in the Song Editor where you can type lyrics, chords and then save to your library on the device.
To create a song, type in an optional title and artist name and then select either Create OnSong or Create ChordPro from the buttons below. This will create the template song in the Song Editor and open the Metadata Palette for you to custom the song content.
Style
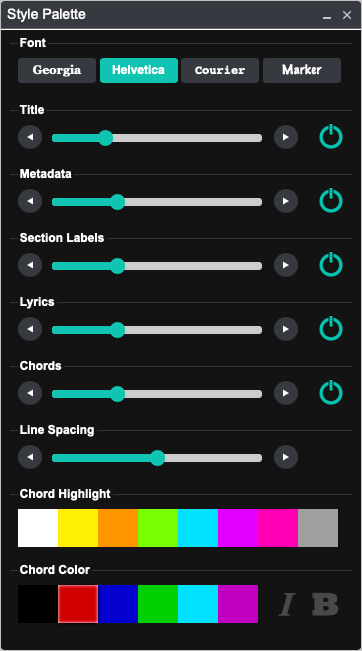
The style palette is used to change the way the chord chart looks in the Song Viewer. Use this to change the font, size, visibility, and color of different parts of the chord chart.
Font
This section contains toggle buttons that allow you to choose the typeface in which your chord chart should appear. Press the font button to make a change. The current font selection is highlighted.
Title
This slider allows you to the change the size and visibility of the title of the song. Slide to the left or right to decrease or increase the font size. The point size of the font is displayed as you adjust. You can also click on the arrow buttons to the left and right to fine-tune adjust the amount. Tap on the power icon on the right to toggle visibility of the title on and off.
Metadata
This slider allows you to the change the size and visibility of metadata of the song. This includes the artist name, key, capo, tempo, and time signature.
Slide to the left or right to decrease or increase the font size. The point size of the font is displayed as you adjust. You can also click on the arrow buttons to the left and right to fine-tune adjust the amount. Tap on the power icon on the right to toggle visibility of metadata on and off.
Section Labels
This slider allows you to change the size and visibility of section labels which are used to display a label for the upcoming lyrics and chords such as "Chorus" and "Verse".
Slide to the left or right to decrease or increase the font size. The point size of the font is displayed as you adjust. You can also click on the arrow buttons to the left and right to fine-tune adjust the amount. Tap on the power icon on the right to toggle visibility of section labels on and off.
Lyrics
This slider allows you to the change the size and visibility lyrics in the song. Lyrics comprise all content in the song other than chords such as musical instruction, section labels, etc.
Slide to the left or right to decrease or increase the font size. The point size of the font is displayed as you adjust. You can also click on the arrow buttons to the left and right to fine-tune adjust the amount. Tap on the power icon on the right to toggle visibility of lyrics on and off.
Chords
This slider allows you to the change the size and visibility of chords that appear above or within lyrics. Chords are detected in the song or have been surrounded with square brackets.
Slide to the left or right to decrease or increase the font size. The point size of the font is displayed as you adjust. You can also click on the arrow buttons to the left and right to fine-tune adjust the amount. Tap on the power icon on the right to toggle visibility of chords on and off.
Line Spacing
This slider is used to adjust the spacing between text in the chord chart. Slide to the left or right to decrease or increase the line spacing. You can use the arrow buttons to the left and right to fine-tune adjust the amount.
Chord Highlight
You can choose the highlight chords in your chord chart using this color picker. Click on the color of the highlight you desire. It will display under the chord in 50% opacity, just like a highlighter. Choosing the white color option removes the highlight.
Chord Color
This section allows you to change the color of the chords as well as their appearance. Click on a color in the color picker to change the color of the chord text. Choosing black uses the default text color which is black or white depending on the selected low light mode.
You can also toggle italic and bold appearance on and off for the chords as needed for extra visibility.
Text Tools
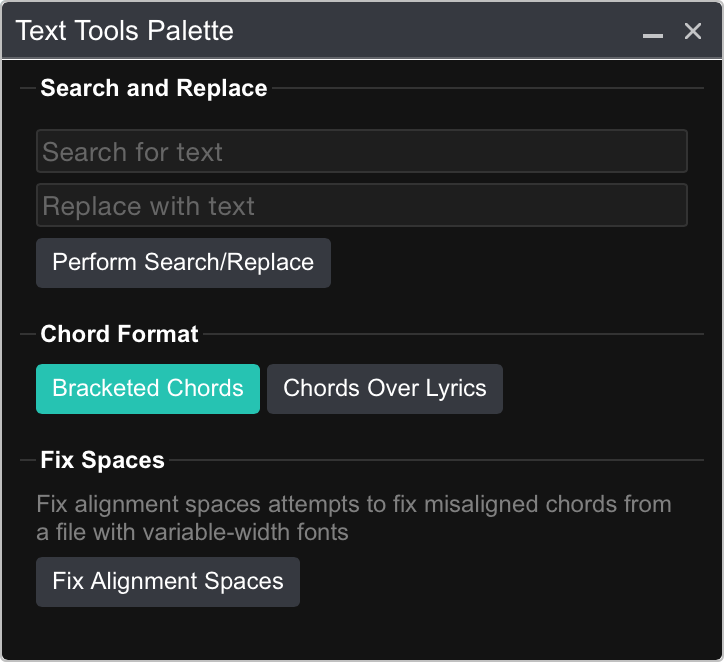
The text tools palette is used to perform operations on the text content of the song. This can help you change text quickly or switch and fix chord formatting.
Search and Replace
This section of the text tools palette is used to search and replace text in the Song Editor. This is useful for replacing words or chords when using bracketed chords. For instance, you can change all instances of [A4] to [Asus4].
To use, type the search value in the first field and the replace value in the second field. Then press the Perform Search/Replace button to perform the operation.
Chord Format
This section includes toggle buttons that allow you to switch between the two supported formats. If there are any square brackets located in the song content, the Bracketed Chords button is selected. Otherwise the Chords Over Lyrics button is selected. Press the opposite button to reformat the text content into the desired chord format.
It is useful to switch the bracketed chords when splitting or combining lines. This is because the chords will travel with the lyrics in this case. You can then switch to chords over lyrics if you would like to position chords in a more visual manner.
Fix Spaces
This section provides a single-use tool for correcting issues that may occur when converting text from a word processor. You may find that chords are pushed to the right and beyond the lyrics they used to reside over. This is due to variable-width fonts that require many more space characters to align chords above lyrics.
Press the Fix Alignment Spaces button to have chords detected and the space between the chords reduced by a specific amount. This usually will align the chords very close to their original positions when viewed in a word processor or printed. From there you can more easily adjust the chord positions.
Sidebar

The sidebar is where you can view and manage your collections, books, and sets in OnSong Console. To access the sidebar, tap on the icon in the upper left corner that appears as three horizontal lines. This will cause the sidebar to slide in from the left. Tapping on an option in the sidebar will collapse the sidebar and reveal the Song List contained in your selection.
The sidebar is organized in a hierarchy in these three categories:
Collections
This contains the All Songs and Unbound Songs collections that you're familiar with in OnSong. Tapping on All Songs will display all songs in your library in the Song List. Once you select an option here, the sidebar disappears to reveal the songs list. You can import songs in the song list, or by right-clicking to reveal the Add Menu.
Books
This contains all books that are used to organize songs in your library. You can tap on the arrow icon on the left to expand to reveal books. If you have no books in your library, no arrow icon appears. You can add a book by right-clicking on Books to reveal the Add Menu to add songs, books, and sets.
Sets
This contains the sets and folders that you use to play songs for a specific event. Tap on the arrow icon to reveal set folders. You can expand All Sets to view all sets in your library. To view a set, tap on the name. To add a set, right-click anywhere to open the Add Menu to add songs, books, or sets.
Add Menu
You can add songs, books, or sets by tapping on the + button in the lower-left corner. This will reveal a menu where you can choose what to add to your library.
Add Menu

You can use this menu to add songs, books, and sets to your library. In addition, if the menu appears when selecting an item in the sidebar, you can also delete that item. The following actions are available.
Add Song
The add song menu item reveals two ways in which you can add songs to your library.
- Add New will open the New Song Palette where you can set a song title, artist, and create the OnSong or ChordPro format in the song editor.
- Import Files will open the Import Files Palette where you can select one or more files to be imported into your library.
Add Book
Selecting this option will open the Add Book Palette to enter a name and create the book.
Add Set
Selecting this option will open the Add Set Palette to enter an optional set title and date for the set to create a new one.
Delete
Selecting the delete option (where available) will delete the selected book or set from the library after a prompt. This option is not available when selecting the + button at the bottom of the sidebar.
Song Editor
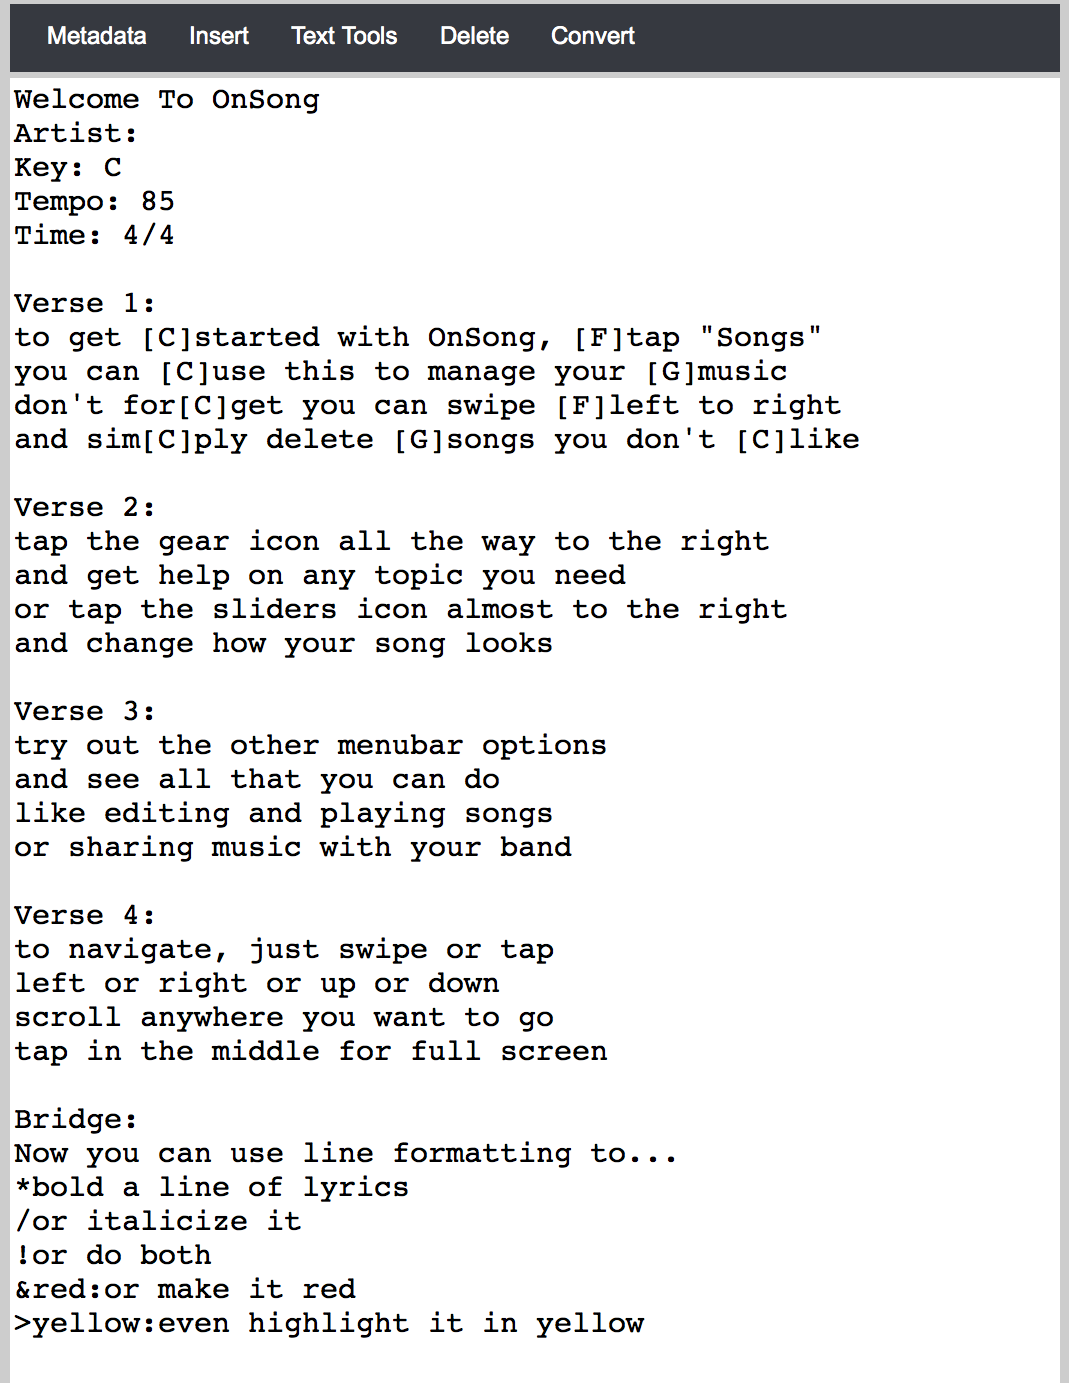
The song editor contains tools and a large text area used to change the text-based content of the song.
The text editor component of this pane allows you to type content using the full-sized keyboard of your computer. As you type, the changes you make are reflected in the Preview Pane on the right. This gives you feedback on what the song will look like to avoid trial and error.
In addition to typing content in the text editor, you can also use palettes accessible from the toolbar to get the song looking just right. The toolbar buttons include:
Metadata
This toolbar button toggles the Metadata Palette on and off. Use this to set information about the song without knowing OnSong or ChordPro tags.
Insert
This toolbar button toggles the Insert Palette on and off. Use this palette to insert chords, section labels, and line formatting into the text editor.
Text Tools
This toolbar button toggles the Text Tools Palette on and off. Use this to change the formatting of the song or perform search and replace functions.
Delete
Click on this toolbar button to delete the song from your library. When you choose this option, you will be prompted prior to the song being deleted.
Convert
When you've imported a convertible file such as PDF or Microsoft Word, this option becomes enabled. Click on this to begin the conversion process on the host device. Once completed, the text editor is updated with the newly converted text.
Song List

The song list appears in the left-most pane of the web app and is used for finding and selecting songs to view and edit. Use one of the following to add, import, or edit songs:
Adding
The + button in the upper left corner displays a menu of options for adding songs to the list. From here you can create new songs, import songs from your computer, or add existing songs to existing books or sets.
You can also drag and drop files from your computer onto the song list to import them into your library.
Searching
The search bar gives you an area to type keywords. Press enter on your computer keyboard to filter the list by those keywords. You can then clear the search field to view all songs again.
Browsing
The majority of this pane displays a table of songs. Three columns provide common information for browsing songs including:
- Icon column displays an icon that was picked from the Organizer Menu. You can sort songs by this attribute by clicking the table header in the column.
- Song Title displays the name of the song. You can sort the list by song title by clicking on the column header. The song list is sorted by the song title by default.
- Key displays the key of the song if one is provided. Clicking on the table header above this column will sort the songs by key.
Click on a song to load it into Console. The song's contents will appear in the Song Editor and the song will be displayed in the Song Viewer.
Reordering
If you are viewing a set list, you can drag and drop songs in the list to reorder the set.
Deleting
You can delete songs from your library or remove them from the selected book or set by selecting the song and then pressing the Delete key on your computer keyboard. You will be prompted to ensure you don't accidentally delete the song. The song will then be either removed from the selected book or set, or deleted from your library.
Add Menu
Add songs in the Song List can perform different actions. For instance, you may want to write a new song, or import files from your computer. Additionally you may want to add songs to a set that are already in your library.
New Song
This option will open the New Song Palette where you can set a song title, artist, and create the OnSong or ChordPro format in the song editor.
Existing Songs
If you are viewing a book or a set, this option is available. Selecting this option will open a slightly different interface depending on your current selection.
- Books will open the Add Songs to Book interface for selecting songs to place in the book from your library.
- Sets will open the Add Songs to Set interface for selection songs to place into your set from your library.
Import Files
This option will open the Import Files Palette where you can select one or more files to be imported into your library.
Song Viewer
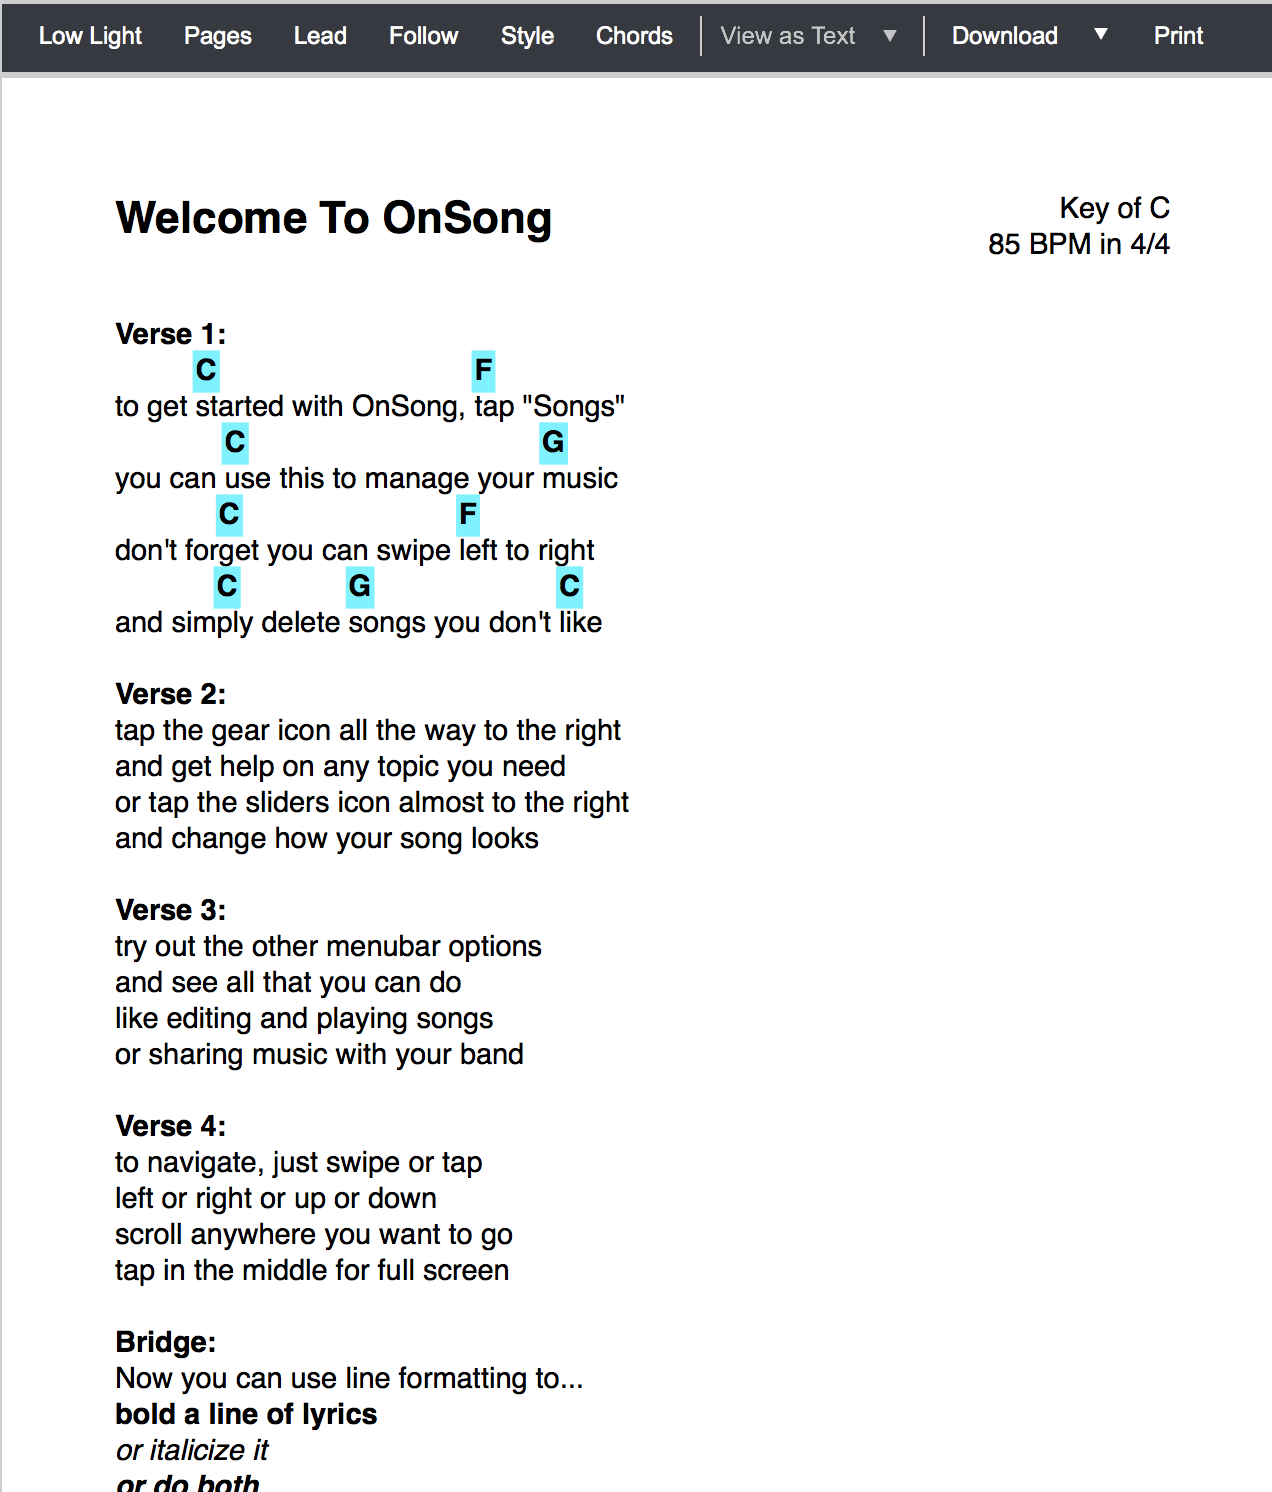
The song viewer pane displays how the song will look inside of OnSong. You can scroll this pane to view the entire song. Use the toolbar to toggle features and palettes on and off.
Note: If you are viewing a file that is not text-based, it is up to the web browser if and how the file will be displayed. Most web browsers can view PDF files in a browser window, but other documents such as Microsoft Word will be downloaded to your computer for viewing in a separate application.
Low Light
Click on this button to toggle low light mode on and off. Not only does this show you how the chord chart will look in the preview, but when you save your changes the host device will also switch to low light mode too.
Pages
Click on this button to toggle viewing the chord chart on physical pages. This will divide your song based on the Page Layout options you've set in settings. This can give you an idea of how the chord chart will print.
Lead
When you turn on lead, action you make in Console like changing songs, scrolling and selecting sections also take place on the host device. This allows Console to remotely control another iPad, iPhone or iPod touch.
Follow
When you turn on follow, Console will load the currently viewed song on the host device. In addition, the screen will scroll along with any changes made on the host device. This is handy for knowing the song that is loaded on the device.
Note that follow may not be available if your network disallows web sockets from running. Please try disabling and enabling Console again and refreshing the browser window.
Style
This opens and closes the Style Palette, allowing you to style how the song should appear in the preview and on the device.
Chords
This opens and closes the Chords Palette so you can transpose, capo, and change the way chords and diagrams appear on the screen.
View As...
When viewing external files such as a PDF, this will display the PDF in the preview pane. You can switch between that and the text-based version of the song similar to the Use the imported file instead of OnSong switch in the Conversion Toolbar of the Song Editor.
Download
Click on the down arrow to choose a format to download the chord chart in. This will use the host device to create the file so be sure to save your changes first.
Click on the print button to have the host device generate the print-ready PDF file and print it from your computer. This will prompt you to save your changes before printing.
Download Menu
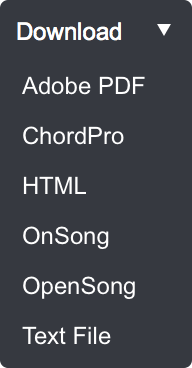
When you click on the down arrow next to the download toolbar button, you can choose one of the following formats to download to your computer.
Note: This uses the host device to generate the content so you will be prompted to save any changes prior to the file being generated.
Console for Mac
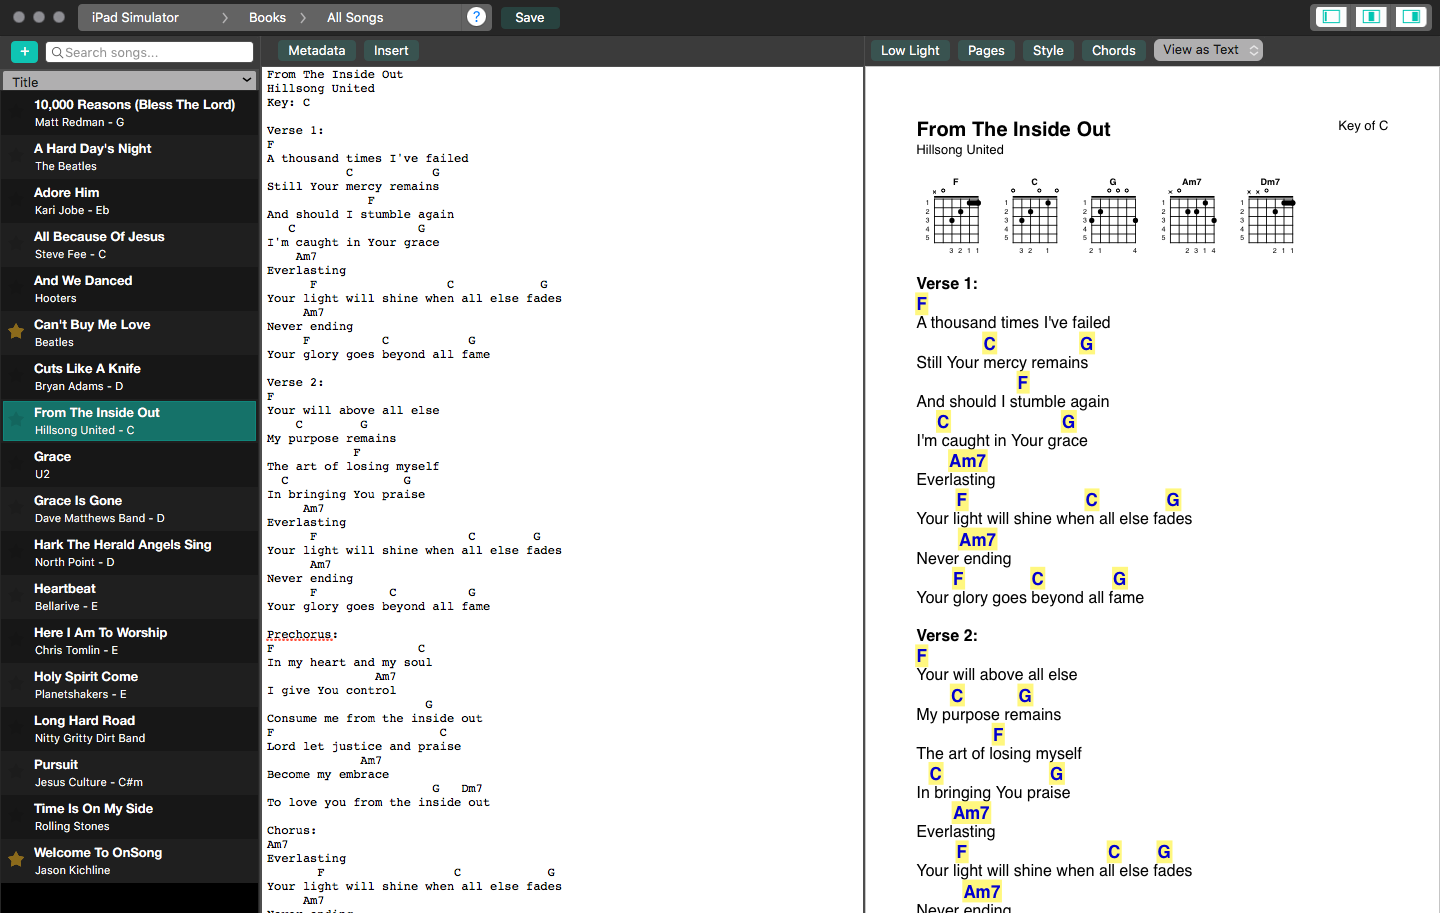
OnSong Console for Mac is a Mac application that lets you connect to and manage your OnSong library.
Connecting
OnSong Console for Mac connects to iOS devices running OnSong. While choosing devices and switching between them are easy, there are a few steps that may help get you up and running quickly.
Overview
Once you've connected to your iOS device, you can start importing, editing and managing songs in your OnSong library. This overview will show you how to use the application.
Other Platforms
Console for Mac is limited to Apple desktop computers. If you're looking for console features on other devices that operate a modern web browser, use the Console Add-On.
OnSong Console for Mac requires OS X 10.9 and higher and an iOS device (iPad, iPhone or iPod Touch)
Connecting
 OnSong Console for Mac connects to your iPad or iPhone device using web-based standards. To make the connecting between your Mac and iOS device, please watch our video tutorial.
Here are a few pointers to keep in mind:
Same Wireless or Wired Network
Make sure that both of your devices are connected to the same computer network. Most routers support both wired and wireless connections. While iOS devices typically are not connected to a network with an Ethernet cable, your Mac may be. Just make sure both are connected to the same network.
Share Your Library With Others
As a security precaution, you need to enable OnSong to share your library with other devices. To do this, open the Share Menu and then open the Connect Screen. On the Servers Tab there is a Share your library with others switch that must be enabled.
Network Security Settings
Keep in mind that network security settings can hamper a proper connection between the Mac app and the iOS device. This connection uses OnSong Connect technology. This works by setting up your iOS device as a web server and announces itself on the network using multicast DNS, sometimes referred to as Bonjour or mDNS. Some network routers may not support this protocol, or it may be limited due to other network restrictions like firewalls.
Check with your network administrator if you experience issues, or try another network to see if that resolves the connection problem.
Overview
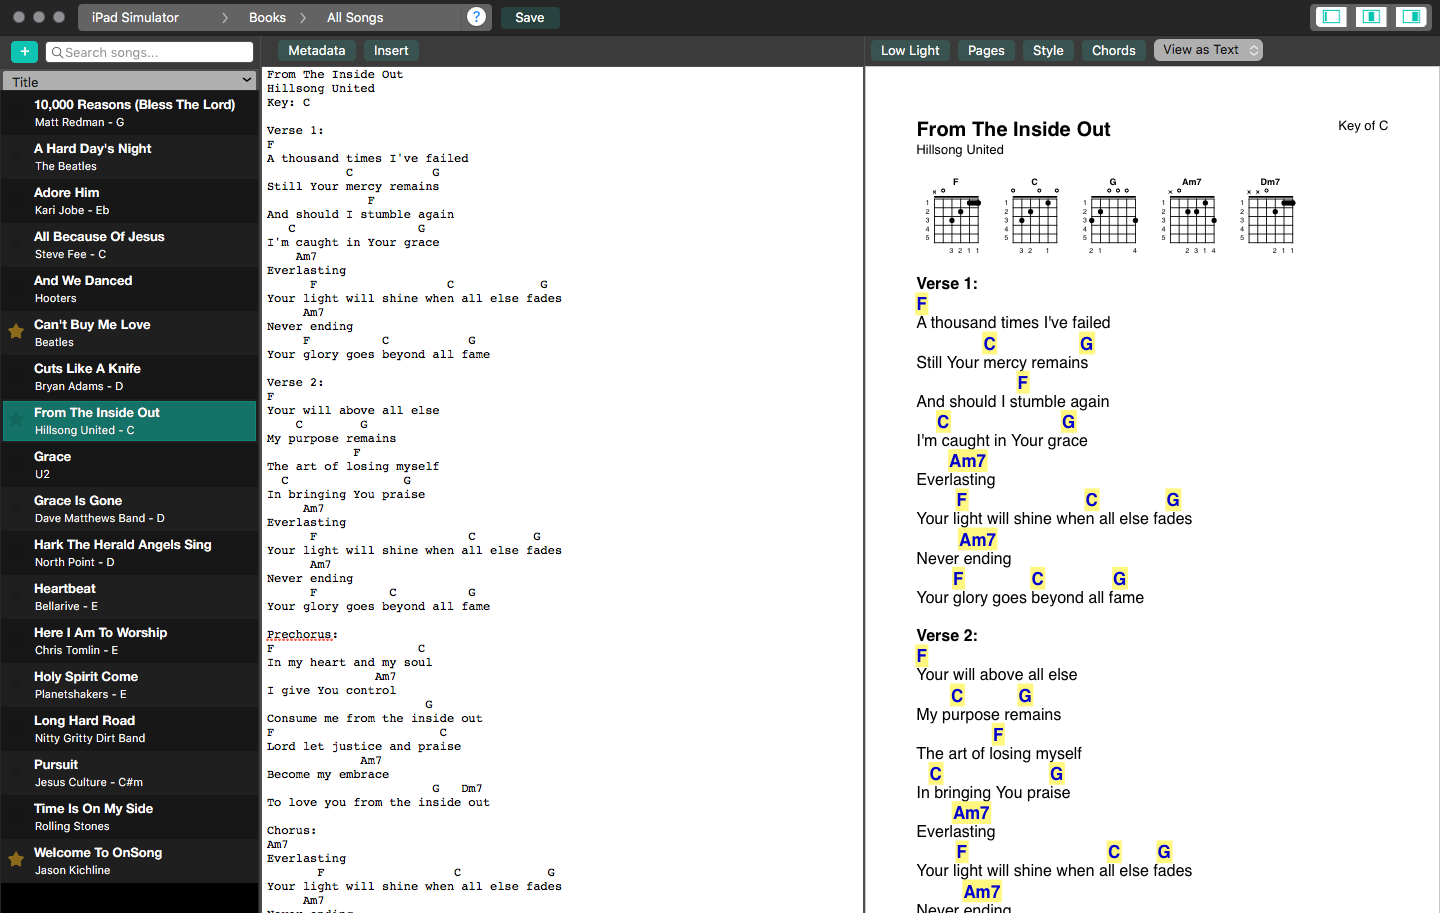
Let's get familiar with the user interface:
Title Bar
The top of the screen provides basic window management as well as the Navigator which allows you to switch between devices, books and sets.
Songs List
On the left side of the screen is a list of songs that are retrieved according to what is selected in the Navigator. In addition, this area provides a search bar, sort bar and the add button for importing and creating new songs.
Song Editor
The center area provides a text box and palettes for modifying the underlying content and information about the song.
Song Viewer
The viewer is located on the right side of the screen and displays either the rendered text-based chord chart or the imported file associated with the song.
Title Bar

The title bar appears at the top of the screen and provides for basic window management and content navigation.
From right to left, it includes:
Window Management
On the left side are the standard three OS X buttons for closing, minimizing and maximizing the window. Closing the window does not close down the application. To close down the application, you need to close it from the Menubar. Minimizing the window will minimize into the OS X dock. Maximizing the window will take the application full screen in OS X. To make the window the size of the current display, press the OPTION key when clicking on this button.
Navigator
The navigator is used to switch between devices, books and sets.
Save Button
The save button highlights once changes are made to the selected song. Tapping on the save button will send changes to the selected device to save those changes.
Pane Controls
The three buttons on the right are used to toggle the visibility of each of the application's panes. The position of these buttons corresponds with the song list, song editor and song viewer accordingly. You can click on the button to hide the pane and then click again to show it.
Note: You can also adjust the size of each pane by dragging the divider between the panes.
Getting Started
In this guide we will show you the core features of OnSong needed to start using OnSong right away. We will reference various screens in our in-depth user manual, but focus on getting you the know-how to use OnSong effectively, quickly.
Installing
OnSong is only available for purchase on the App Store. Search for "OnSong" in the App Store or follow this direct link. Tap on the buy button and enter your Apple ID and password. This will purchase the OnSong app directly from Apple and begin the download process.
Note: If you have already purchased OnSong you can download and install the app on another device for free as long as you are using the same Apple ID with which you first purchased the app.
Launch OnSong
When the app has finished downloading and installing, it will appear on your home screen. Tap on this icon to open OnSong. Once opened, you will find a Registration Screen. Fill out your information to receive periodic emails on new OnSong releases. You will then see the Getting Started where you can find information about OnSong. Close that screen by tapping on the Close button in the upper right corner.
Getting Oriented
Once you open the app, you will be immediately immersed in the OnSong user interface. You'll see the majority of the screen is filled with a demonstration song called Welcome to OnSong. Above that you'll find the Menubar which is where you will be accessing nearly all the tools and functions of the app. In the lower right corner is the Live Bar where you can toggle certain live features like Autoscroll, Backing Tracks and the Metronome. Let's first start by adding a new song to your song library.
Viewing Your Songs
Tap on the Songs button in the upper left corner of the screen to open the Songs Menu. This is where you organize all your songs and sets. Make sure the All Songs tab is selected at the bottom. Here you will see all the songs in your OnSong library. You should have only the Welcome To OnSong at this point.
Importing Songs
Tap on the + button in the lower right corner to view the Add Songs screen. Here you can find many ways to import files or subscriptions you have into OnSong. OnSong supports a variety of file formats. We are going to use Dropbox to import files that we have wirelessly and anywhere there's an Internet connection. You'll need to setup a Dropbox account and authorize OnSong to access your Dropbox. That's a one-time thing. After that, you just browse and select files you want to import and then tap on the Import button. The files will download and be added to your library. You'll be returned to the All Songs list and your imported songs will appear in the Song Viewer.
If you'd like to import content from the Internet, OnSong provides the Add To OnSong Safari Extension which lets you import from popular chord chart and lyrics websites. Some bands don't just post their chord charts, but also media like backing tracks and loops! The Add To OnSong Safari extension can import any type of file format OnSong supports too!.
Viewing Songs
Tap on the song in this screen that you want to view and it will be loaded into the Song Viewer. You can scroll this song up and down to view it. Does it look like you want? If not, you can make changes to it using the Song Editor.
Editing Songs
Text-based chord charts work best with OnSong, although you can also import chord charts you may have in Word, PDF, and other supported formats. To edit your chord chart, tap on the pencil icon in the Menubar to open the Song Editor. In here you can make changes to the song's lyrics and chords. You can learn more about the OnSong and ChordPro file formats.
When you're all done making changes, tap on the Done button to save the changes and redraw the screen with your updates.
Change Formatting
Tap on the sliders icon in Menubar to open the Style Preferences Menu. Here you can change the font, size of different elements of the page, as well as highlight the chords. Try to make some changes and see how it affects the chord chart you are viewing.
Add a Sticky Note
Now let's add a sticky note to the song. To do this, tap on the sticky note icon in the Menubar to open the Annotations Menu. Next, choose Sticky Note from the menu to place a sticky note on the screen. Use the Note Editor to write a note. Tap on Done and then tap and drag the note to place it where you like. Double tap on the note to open the editor again. Tap on the "A" icon to open the Appearance Menu where you can change the note color and other parameters. Tap Done to save your changes.
Create a Set List
Now that we have two songs, let's create a set. Tap on the Songs button in the Menubar to open the Songs Menu. Tap on the My Sets tab at the bottom. Make sure that you are on the All Sets screen and then tap on the + button at the bottom to create a new set. Set the date and optional title and then tap Done.
Tap on the new set to view the set and then tap on the + button on the bottom right to pick some songs. Tap on both songs in your library to place a checkmark next to them and then tap Done. Now you have a set with two songs. Rearrange these songs by tapping on the Edit button in the upper right corner to enter editing mode where you can drag and drop songs where you'd like. Tap Done to save your changes.
Backup Your Library
As you create your library of songs and sets, your OnSong library will become more and more valuable to you. Keep it safe by creating a backup. No matter what happens to your device or OnSong library, you can always restore from this backup file in the event of an emergency.
Continued Learning
OnSong is a deep app full of features that you can use. To get started, refer to the Features section of the user manual. If you want to learn more about a specific screen or tool inside of the app, refer to the User Interface section of this manual.
Technical Support
OnSong provides email-based support for paid users of OnSong. So whether you have purchased OnSong in the past, purchased OnSong Pro, or are a member of OnSong Essentials or Premium, we can help assist you. To get help, just go into the Utilities Menu by tapping on the gear icon in the Menubar and then choose Communicate and then Get Support.
If you're already a subscriber, your name and email will be filled in and you can provide a brief subject overviewing the issue you have as well as a more in-depth description that describes how we can replicate the issue you are having. This screen will automatically backup your library including your settings, and send them to our help desk staff along with the currently selected song, set, and book. This will allow us to see the issue you are having and provide resolution as quickly as possible.
OnSong does not provide telephone support. We have found that telephone support does not provide us with the details we need to help resolve most issues and also does not allow us to send vital resources such as attachments, images, or video that can help resolve your issue.
If you are an OnSong Premium member, you can access the same support system but opt to enable the Fast Track option. This will move your request to the top of our list and notify our team directly of the issue. We work to ensure our loyalty users get the best service we can offer.
Features
OnSong is designed to be the go-to app for musicians. Whether you're practicing, teaching, or performing live, OnSong has the tools and features to let you be free to play music.
The following is a dissection of OnSong as a series of features. Choose one to get an overview of the feature as well as links into the interface of the app that makes the feature work.
Add To OnSong
Add content to your OnSong library right from the Safari web browser.
Autoscroll
Scroll from the top of the chord chart to the bottom like a teleprompter.
Backing Tracks
Play backing tracks through your device while you play along with chord charts.
Backup
Save your entire OnSong library to a single file for easy restoration.
Books
Organize your songs into books to manage large music libraries.
Capo
Slap a capo on your guitar and let OnSong adjust what you need to play to stay in key.
Chords
Chords are detected in text-based documents letting you highlight, transpose, and even play them on a virtual instrument.
ChordVault
Access thousands of main stream songs and keep things legal.
Color
OnSong lets you use color to suit your music and mood through an intuitive color picker.
Connect
Wirelessly control your band's OnSong devices with music to meet their needs.
Console
Manage the library on your device from a web browser for fast edits.
Chromecast
Use an inexpensive dongle from Google to project lyrics without wires.
Developers
Create your website or app to integrate with OnSong through our URL scheme and OnSong Connect API.
Drawing
Draw on the chord chart with pens and highlighters.
Dropbox
Import, export, and sync with Dropbox to get content on and off your device.
External Video
Expand the OnSong experience beyond one device with lyrics projection and stage monitor mode.
File Formats
OnSong supports a number of text-based file formats, as well as the ability to view other types of files.
Files
Import and export to any app-based storage service that supports the Files app in iOS.
Flow
Write each section of your song once and let OnSong expand the content from top to bottom.
Foot Pedals
Your hands are busy on stage, so use your feet to control your music and perform other actions in the app.
Gears
Extend your control when using foot pedals to shift into different gears.
Hands-Free Operation
Your hands are busy when playing an instrument. OnSong can use foot pedals and more.
Low Light Mode
Increase readability and reduce light wash when in dimly lit environments.
Lyrics Projection
Project lyrics to a crowd, individuals, or to a congregation.
Messages
Send color-coded, custom messages to your team for hassle-free signaling.
Metronome
Play to a click track for practice or to start the song off right on stage.
MIDI Integration
Send MIDI to control the sound of instruments, or listen for song changes and more.
OnCue
Stream your set and songs to OnSong devices around you with Bluetooth or WiFi.
Output Options
OnSong features a number of ways to output your information to get the job done. Export, print, and open content into other apps.
Pitch Pipe
Play back tones to get acappella or vocal intros started without music.
Planning Center Integration
Download your songs or plans from Planning Center into OnSong for use on-stage.
Printing
Output your songs or sets to paper or PDF. Includes song lists and multipage printing.
Rockin' With The Cross
Access thousands of worship songs for a low monthly fee.
Scenes
Create dynamic stage lighting with coordinated lyrics projection backgrounds and control it all on stage.
Sets
Create sets for playing a venue or event. Flip through your songs with ease.
Stage Monitor
Connect one or more video screens and run your stage with one OnSong device.
SongSelect
Access PDF chord charts or text-based lyrics from this common service.
Sticky Notes
Stick notes on your chord chart to remind yourself of intros and more.
Synchronization
Maintain the same library on your personal devices.
Timeline
OnSong now features non-linear autoscrolling by recording navigation events onto a timeline for playback.
Transposition
Change the key of the song instantly without bringing up bad memories of music theory class.
Universal App
OnSong is an universal app so it works on iPad, iPhone and iPod touch. Install on your iPad and iPhone. Learn some differences in the user interface when using OnSong on a more mobile device.
WorshipReady.com
Get worship songs hand-crafted for use in OnSong with subscription tiers.
Ad Free
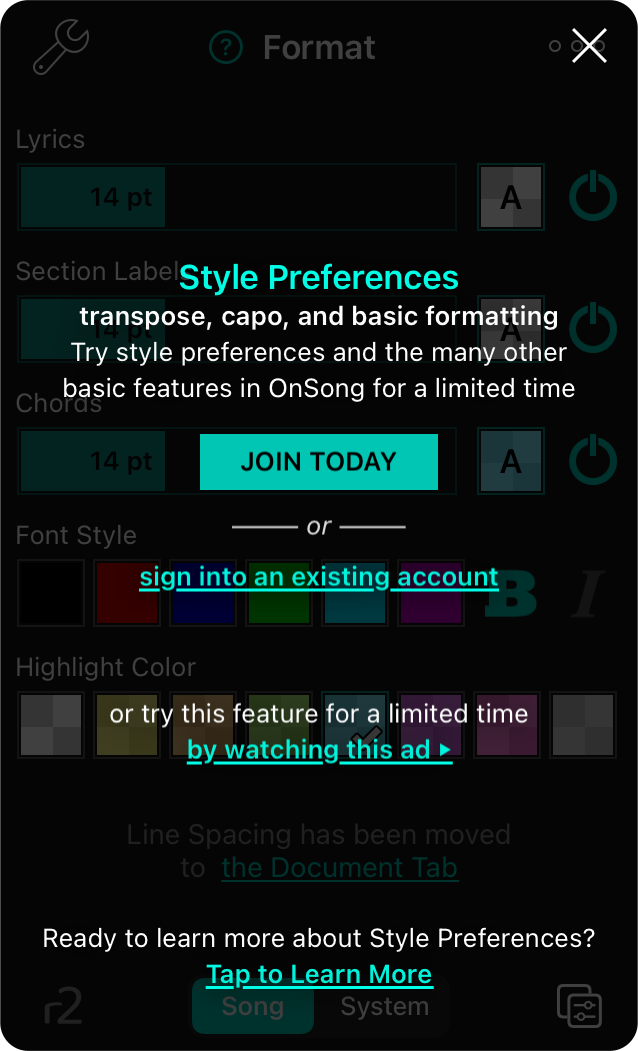
OnSong is a free download from the App Store that lets you try many of the features of the app before you subscribe. In addition to offering a free trial with a Premium subscription, OnSong also lets you try individual features by watching an advertisement.
When you access an Essentials or Premium feature that requires a subscription, you'll encounter an overlay.
Join or Renew Button
The main button lets you join and sign up for a subscription. This could also offer a free trial or renewal depending on the requested feature and account state.
Sign into Existing Account
If you are using a new device, you may just need to sign into your account to access features. You can tap here to sign in and access the features.
By Watching this Ad
You can also tap to view an ad to access the feature to preview it. After the ad is finished, you can access the feature. Each feature will only be available for a limited time until another ad must be viewed.
Tap to Learn More
You can tap below to read more information about the feature in the user manual.
Energy Management
 OnSong is designed for professional on-stage use. To that end, while running OnSong keeps the screen on and prevents the device from going to sleep. While this ensures that you have constant access to your charts, sheet music, and other musical assets, it can mean that your battery might not last for hours and hours. We've built some great tools for prolonging the battery on those long sets.
Dimming
While you may want the screen to stay on indefinitely during a performance, you may have times what you walk off the stage but can't shut down OnSong to preserve the battery. For those moments, OnSong can automatically dim the screen brightness as this accounts for a large portion of power draw.
Sleep
By default, OnSong will automatically stay running while in the foreground. To avoid draining your battery, you can automatically dim the screen. OnSong will restore the screen brightness as soon as you tap the screen, use a foot pedal, or other input is received.
Library Management
Library management is a collection of features that let you manage your repertoire and how you play. These include:
Libraries
What if one library of music isn't enough? You can manage completely separate libraries for different users or different bands.
Reporting
Keep track of what songs you played when. This can help you with copyright usage reporting or simply to play more variety.
Settings
Adjust settings to customize OnSong to fit your musical needs.
Live Performance Pack

The live performance pack is a collection of features that are perfect for using OnSong during live performances. This includes:
Autoscroll
Turns your device into a hands-free teleprompter, scrolling through your songs from top to bottom.
Cue
Announces parts of the song as they are selected. This can be integrated with in-ear monitors for a digital music director.
Flow
Arrange your songs so they scroll from top to bottom while repeating sections like choruses and bridges.
Heads-Up Display
Provides more information in the menubar like the next song, the timer, or backing track progress and volume.
Messages
Sends messages to your team using stage monitor mode or wireless streaming.
Moments
Allows you to turn your set lists into full run sheets with scheduled breaks or events.
Pitch Pipe
Plays a tone or tones to help start the song so you sing in the right key.
Quick Pick
Take requests and quickly add songs to your set with a tap.
Timeline
Trigger actions at specific times. Use this to record your playback and send MIDI events at the right time.
Viewport
Focus in on specific sections of the song when loaded or using actions.
OnSong® Cloud

OnSong® 2024 brings cloud connectivity to OnSong to make collaborating with your team easier. This includes:
OnSong® Drive
Your OnSong® Subscription now gives the ability to store and transfer files as you would with other services. Use OnSong® Drive to export and import files to yourself or your team.
Backup
Backing up your OnSong® App Library is an essential step in being ready to play at a moment's notice. The OnSong® App now backs up your library automatically to the cloud using your OnSong® Account.
Sharing
We've made it easy to share sets with your team whether they are nearby, or away. OnSong® Cloud takes the guesswork out of the best way to keep your team organized.
Backup
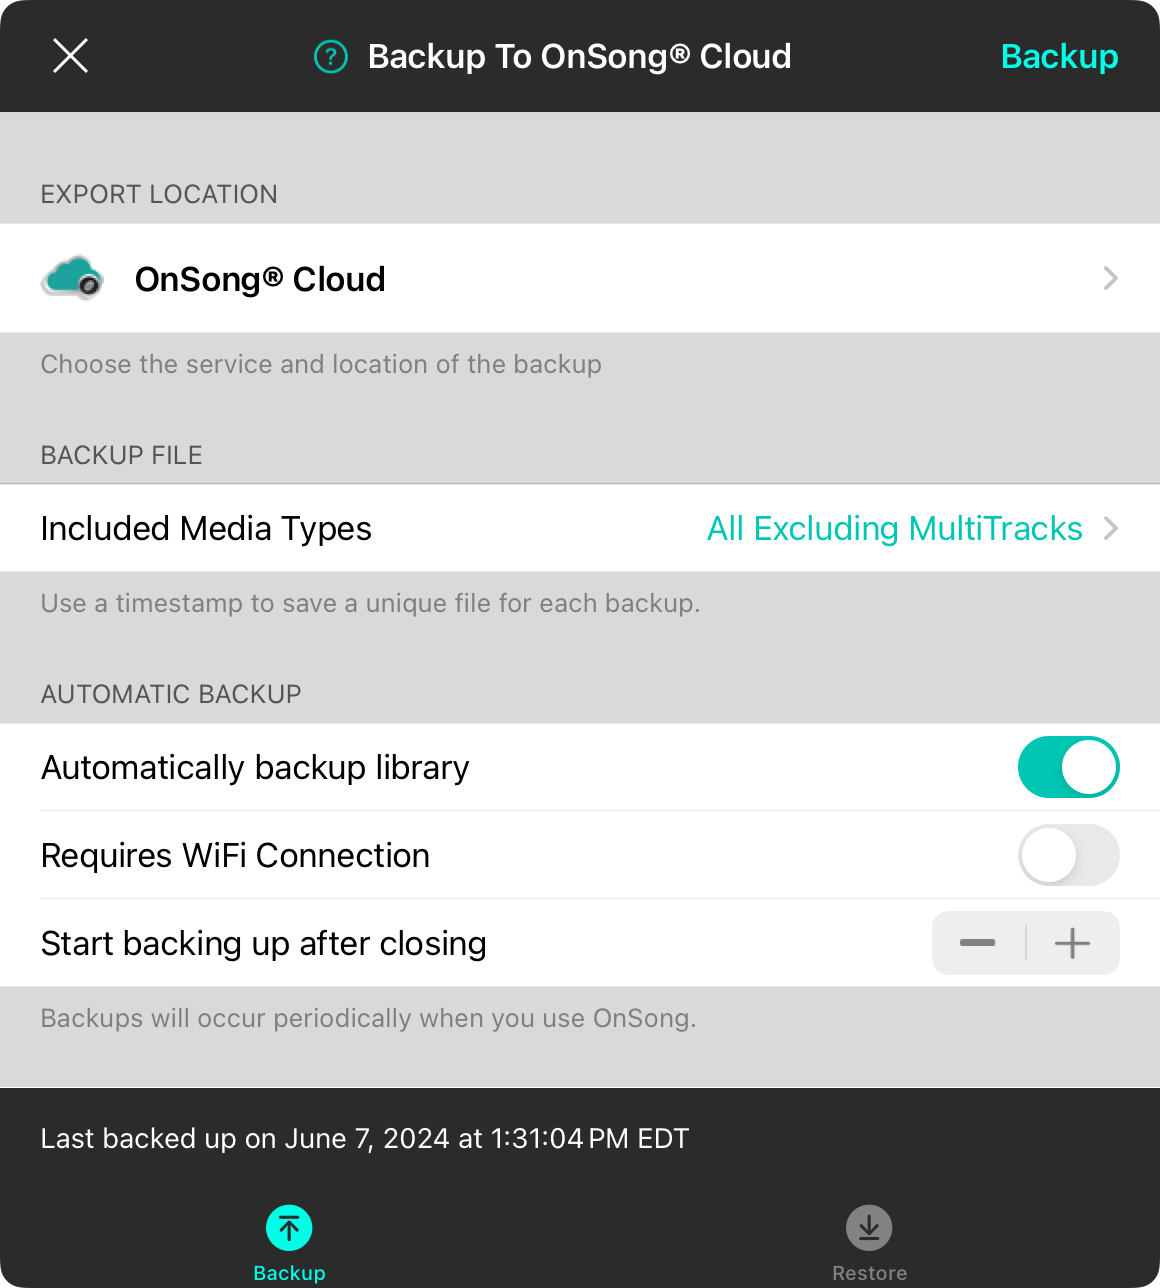
OnSong 2024 automatically backs up your library when you leave the app unless you've selected a different settings previously. The backup file is stored in OnSong® Cloud in your account for each device. If you sign into a device with the default blank library, OnSong will prompt you to restore one of your backup files by showing the restore backup screen.
Restore Backup
This screen appears when you first start OnSong with a default library. For instance, when you create a new library the screen will appear.
Configure Backup
Backing up your library to OnSong® Cloud is enabled by default, but you can change your backup strategy by opening the Backup Screen in the Utilities Menu.
Storage
Your OnSong® Backups take up storage on your OnSong® Account. Learn more about the amount of storage available to you and how to manage it.
Restore
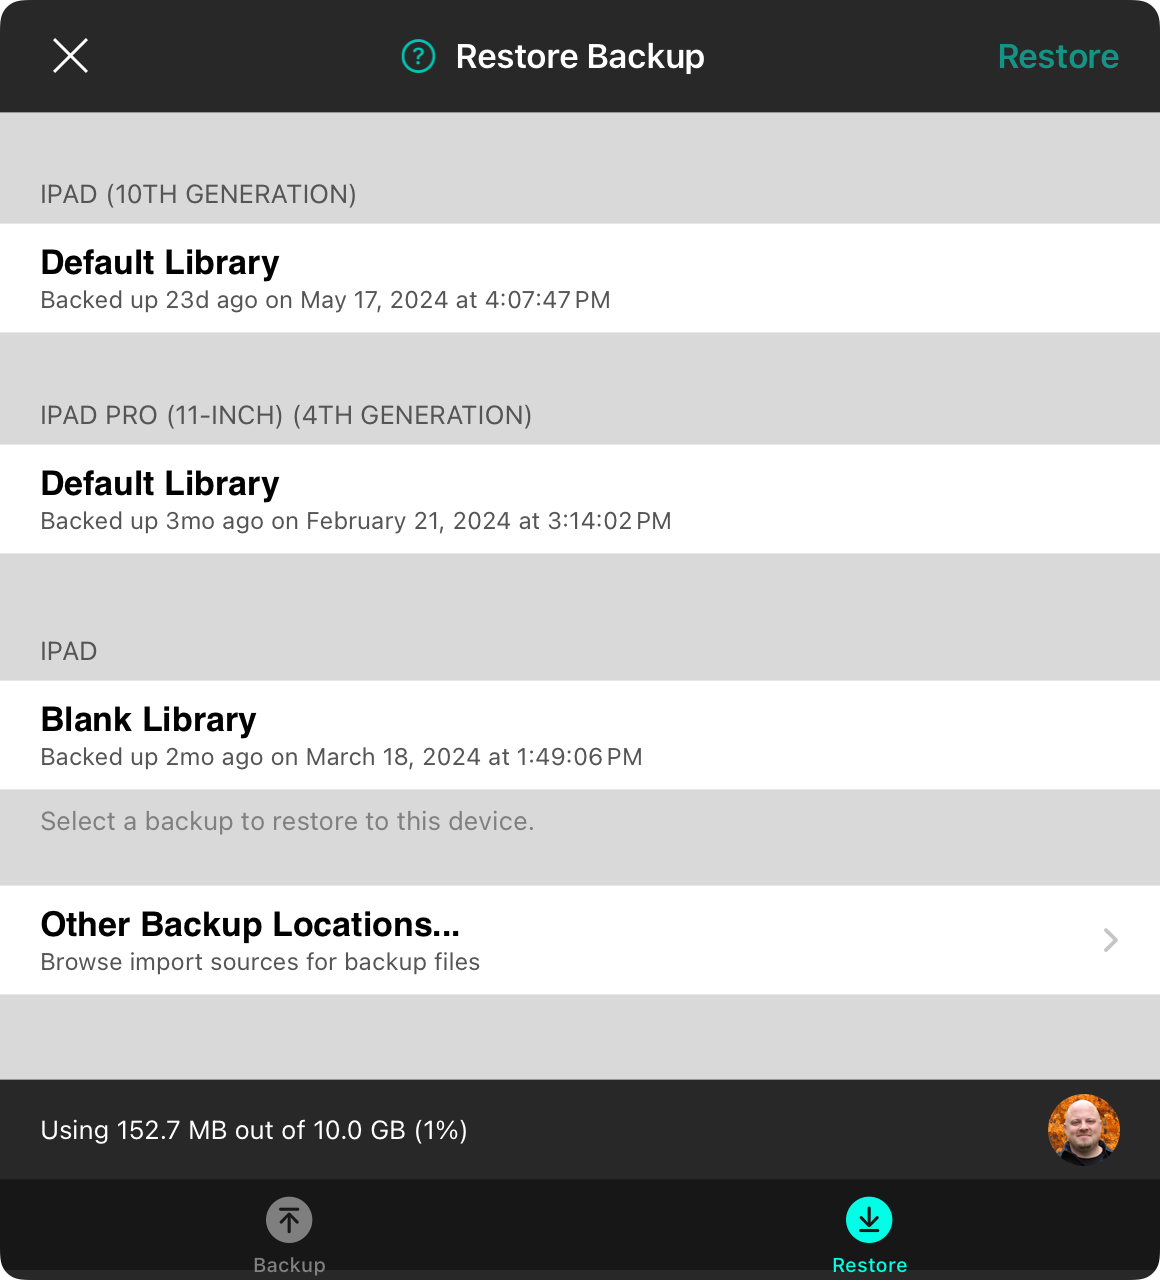
The restore backup tab gives you quick access to your OnSong® Cloud backup files as well as the ability to import OnSong Backup files from other locations like Dropbox, Google Drive, etc.
Devices
Each device that you use is displayed as a section. Within each section is the library that has been backed up. The name of the library is displayed prominently and the date and time the backup was made appears below. You can place a checkmark next to a backup to enabled the Restore button.
Restore
Tap on the Restore button in the upper right corner to restore the selected backup. This will prompt you to either overwrite your existing library, or to create a new library. If you'd like to restore to a specific library, you will need to select that first in the libraries menu.
Storage
The amount of storage you have available in OnSong® Cloud appears at the bottom of the screen along with the amount that is current used. Your avatar also appears in the toolbar on the bottom right. Tapping on this will open the Account Details where you can view more details or switch accounts.
R2 Engine
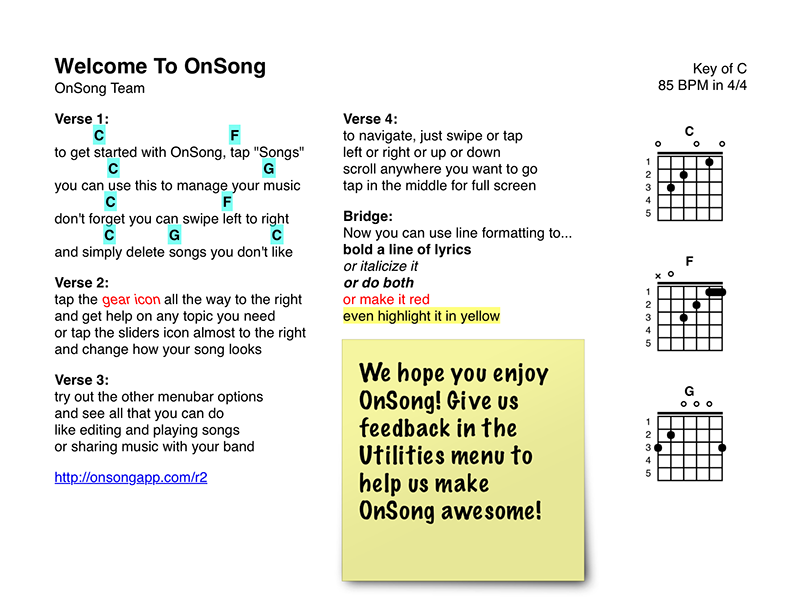
The core of the OnSong® App has always been its ability to display different types of content, especially text-based chord charts. In OnSong 2024, we've completely rewritten the rendering engine to work across platforms while retaining the same look that you've come to know and love. We call it R2 and it's packed with new features that you've requested:
2-Columns
OnSong can display the your content using two columns. You can simply turn that on in the Style Preferences Menu Document Tab to have OnSong layout your content in a more compact manner.
Inline Formatting
OnSong has allowed you to format lines using line formatting. You can now use a familiar syntax to format words and phrases within each line. We've even added some new formatting options like underline and back slant.
Hyperlinks
The new renderer can recognize URL web addresses and automatically link them. Tapping on a link in the chart will display it within the app. It's its a video, it will begin to play inside of a video player that can be minimized and viewed picture-in-picture along side the OnSong user interface. You can even name the link to make it even cleaner.
Pagination
The new rendering engine draws the chord chart by extending the size of the virtual paper it's drawn on. However, you can also enable pagination to view your chart just like it would look on paper. This also affects how columns are laid out.
Position Chord Diagrams
The new renderer can align chord diagrams to the left or right side of the chart as well as above, below, or within. This makes for an even better way to experience your music or print your charts.
Text Formatting
The new renderer works in conjunction with new, advanced text formatting for applying styles to all songs, or being more specific and stylizing individual sections or components of the song. Want to format Verse 2 differently than Verse 1? We got an easy way to do that!
Platform Agnostic
While not something that seems like a feature, R2 is a single renderer that replaces different versions in OnSong. That lets your charts look the same whether they're viewed in the app, online, in print, or on future versions of the app. It also gives us a solid foundation for building in the future.
Right-To-Left Language Support
For musicians using OnSong in Hebrew or Arabic, the new rendering engine supports right to left output. This is determined based on the language of the imported text file.
R2 is not guaranteed to view or print your content exactly like the original renderer. For this reason, it is not enabled by default but will be used if you explicitly choose to, or if you enable new features that require it.
Single Sign-On
Signing in or signing up to use OnSong is easy using Single Sign-On. Not only have we simplified signing into Your OnSong® Account, but you can also use other services to authenticate with OnSong.
Sign Into OnSong
Your OnSong® Account gives you access to features and services. Sign in with your existing OnSong® Account or create a new account.
Sign in with Apple
If you don't want to set up a new password for an OnSong® Account, you can easily sign in with your AppleID using FaceID or TouchID. OnSong will automatically use or provision an OnSong® Account for you.
Sign in with Google
If you use Google apps and workflows, you may find it easiest to sign into your Google account. Use this to sign in using your Google account that then signs you in or provisions an OnSong account for you. It even signs you into Google Drive.
Sign in with PraiseCharts
If you have a PraiseCharts account, you can quickly sign in using your account there. We even sign you into PraiseCharts for accessing your library and content. You can even sign up for a PraiseCharts Pro Access Subscription for on-demand chord charts.
If you've purchased OnSong 2020 or earlier from the App Store, you can install your purchased version if you don't want to subscribe to new versions and features.
Text Formatting
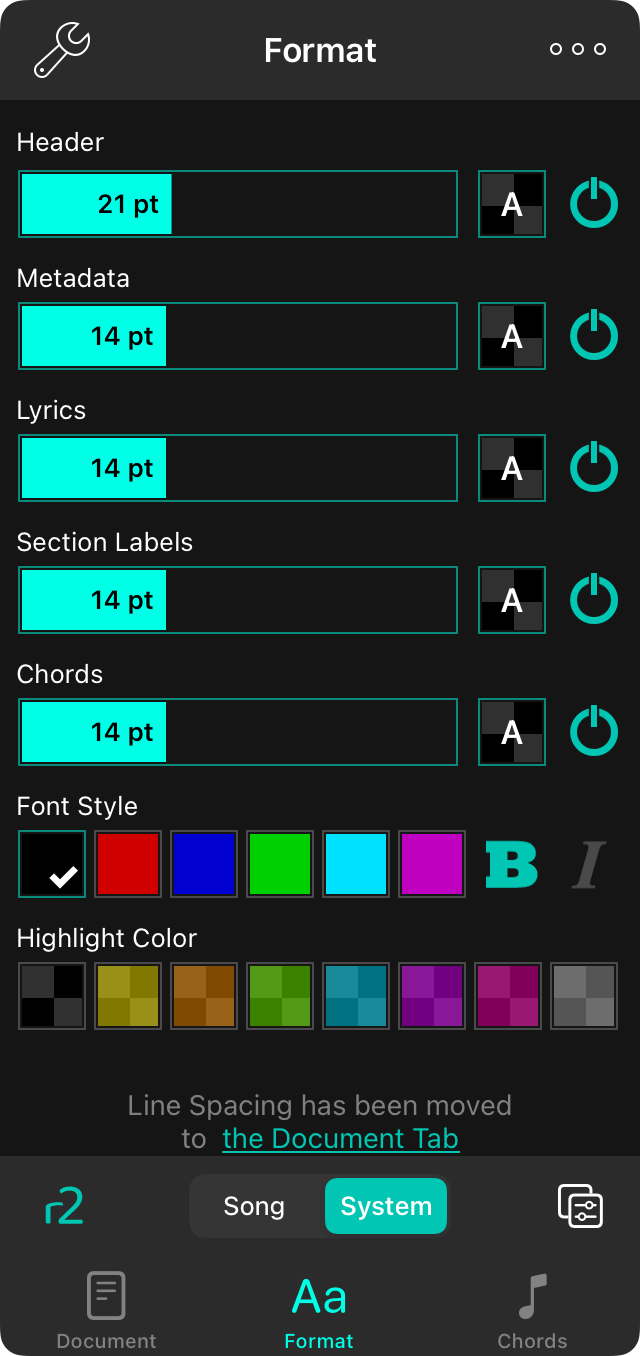
OnSong lets you stylize and format your text-based chord charts to fit your needs. Text Formatting gives you finer control over each aspect of your chart. All of this is done through the Style Preferences Menu. Here are some ways you can format your content.
Text Styles
Beyond just changing font size, you can now apply more formatting options like font color, background color, and bold or italics to each aspect of your chord chart. Just tap on the new style preview button to display formatting options beneath.
Section Formatting
Not only can you choose the font size of various components like the header versus lyrics, but now you can also format each section separately. You can just add what sections you want to format on the Style Preferences Menu Format Tab.
System Formatting
Many users like consistency, but changing how all your chord charts look. can be challenging. You can now set up the visual preferences of your charts using the new System tab. You can then customize just what you want to for a song. This lets the styling options of the song to be made using layers of style modifications.
Annotations
 Sometimes chords and lyrics are not enough to communicate how to play a song. In that case, the annotations menu can help. Tap on the additions icon in the menubar to access the annotations tab. Annotations are notes or drawings that can be placed on the chord chart. OnSong includes the following annotation options in this menu:
Annotation Library
Use the context menu on annotations to place them into your annotations library. You can then open the library to add those saved annotations to other documents.
Clip
Clips let you import pictures or create graphics, crop them to place on your chord charts and sheet music.
Drawing
The drawing annotation lets you draw on the page using a pen or highlighter.
Sticky Note
The sticky note annotation allows you to place colored, square notes on the page.
Text
The text annotation lets you break out of the sticky note box and just type on the page.
Clear All
Tapping on this option will remove all annotations from the song page. You are prompted before this takes place since it is not reversible.
Manage Storage
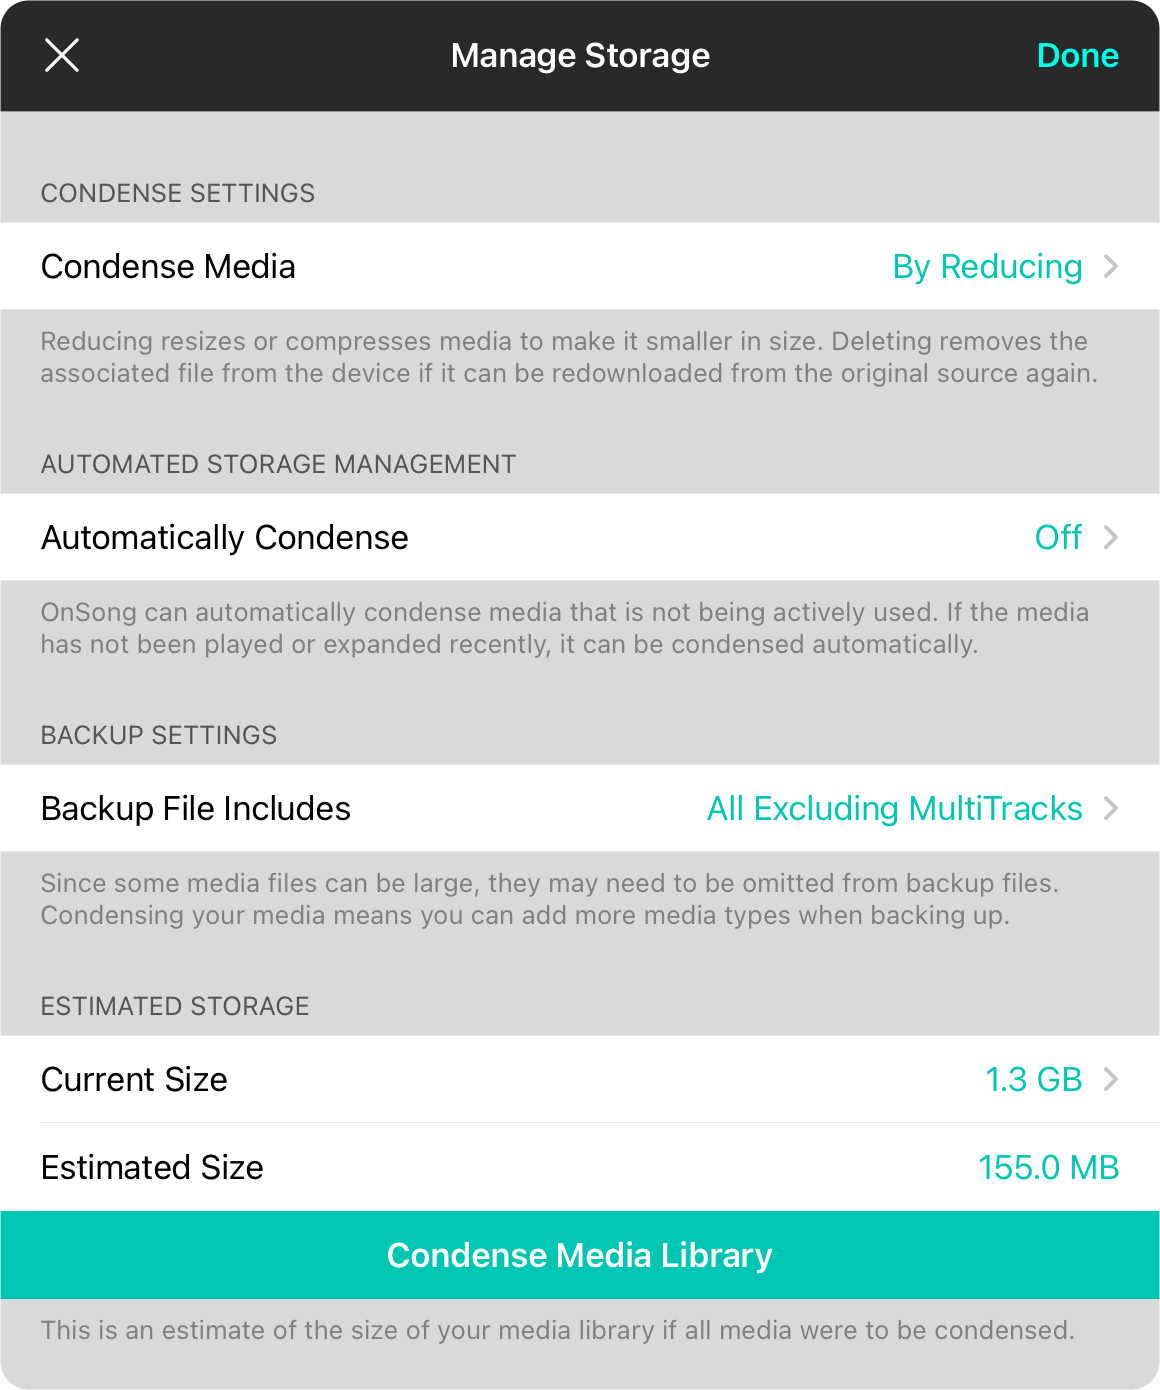
OnSong is much more than a simply chord chart viewer. It's a full-featured stage performance management app that lets you project lyrics, play backing tracks, show videos, mix MultiTracks, and much more. Because OnSong lets you manage so much, some of those files can take up a lot of space on your device. That's why we've built storage management right into the app.
You can open the Manage Storage screen from either the Audio Media Library or the Background Media Library.
Condense Media
When you import some media like MultiTracks or uncompressed audio, they can take up a lot of space. Whether you do so manually or automatically, OnSong can condense that media in a variety of ways.
Automatically Condense
By default, OnSong will not automatically condense your media. If this is enabled, OnSong will periodically check to look for unused media assets and condense them.
Backup File Includes
Because media can be so large, certain media items are excluded from the backup file by default. You can adjust what gets backed up here.
Estimated Storage
This area will show you the size of the entire media library and the estimated size if full condensed. You can manually condense the entire media library by tapping on the Condense Media Library button at the bottom.
Automatically Condense
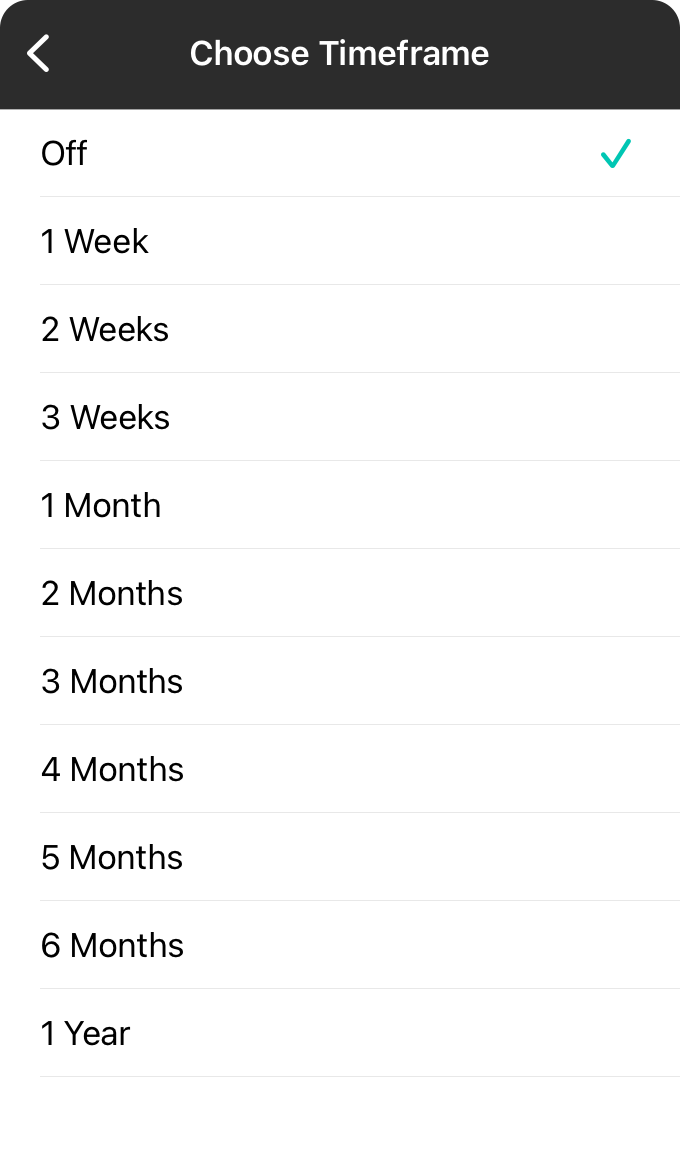
OnSong can automatically condense your media library by reviewing media items that have not been used and automatically condensing them in the background.
To do this, you'll need to choose a timeframe. If the media item was not used in that timeframe, it will be condensed. You can choose from:
Off
This is the default option and disables automatic condensing of media.
1-3 Weeks
Media that has not been used for a one to three weeks will be condensed.
1-6 Months
Media that has not been used for one to six months will be condensed.
1 Year
Media that has not been used for one year will be condensed.
Condense Settings
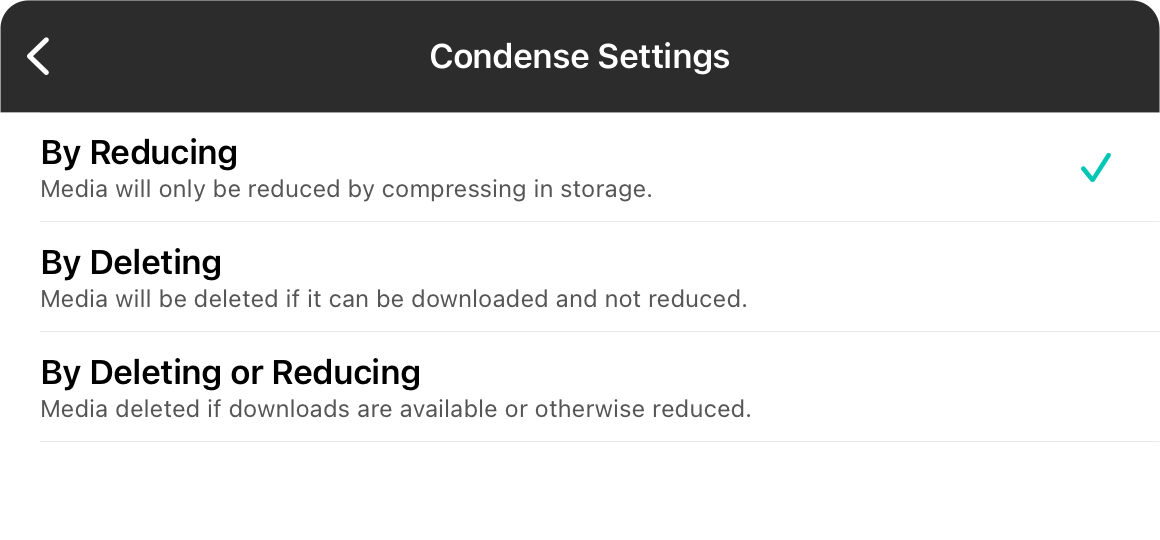
OnSong can condense media in a number of different ways depending on the type of media and how it was downloaded. OnSong will condense the media with the selected method.
By Reducing
This is the default option and will compress audio into the M4A format. This will reduce the size of the media in storage about 10x meaning a 100 Mb file will become about 10 Mb. This is a lossy compression so if the file was downloaded using a supported provide, OnSong will attempt to redownload the asset. This is the best option as it allows the asset to be used if the download is not available or the Internet is not accessible.
By Deleting
This condense settings will always delete the underlying asset whether it can be redownloaded or not. The file will not be reduced.
By Deleting or Reducing
If the asset can be redownloaded, it will be simply deleted so it takes up no storage. If you try to use the asset again, it will be redownloaded from the original source. If the media cannot be redownloaded, it will be reduced using lossy compression.
Include Media Types
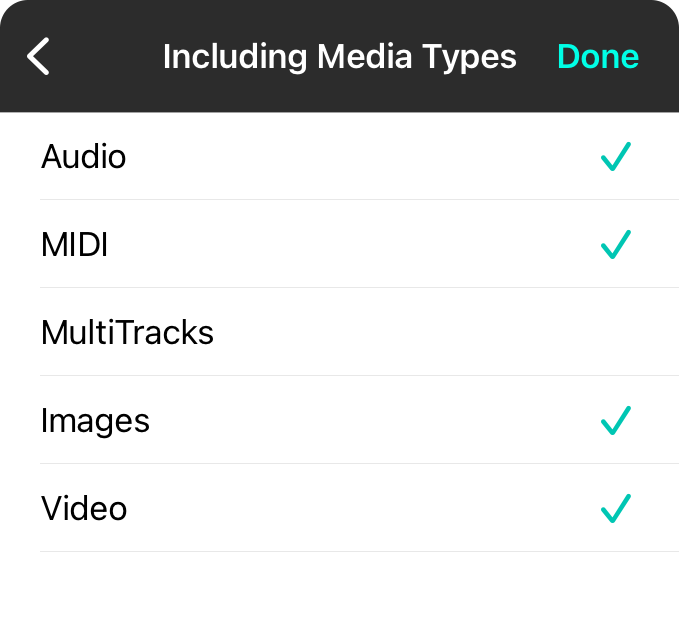
Backup files contain everything in your OnSong library like your songs, sets, styles, settings and media. However some media can be quite large and make a backup file a bit difficult to manage. You can choose what types of media are included in the backup file here including:
Audio
This includes all types of standard backing tracks with compressed or uncompressed audio whether MP3, M4A, WAV, AIFF, that are added to the Audio Media Library.
MIDI
MIDI files don't take up a lot of room, but they are a type of media that you can import and manage in the Audio Media Library.
MultiTracks
MultiTracks contain multiple, uncompressed stem files and can be incredibly large when imported into the Audio Media Library. Most MultiTracks can take up between 500 Mb and 1 Gb of space when uncompressed and ready to play. Because of that, OnSong does not include them in the backup by default.
Images
This includes all types of still images that are added to the Background Media Library.
Video
This includes all types of video and motion graphics that are added to the Background Media Library.
MultiTracks
 OnSong lets you link backing tracks to your chord charts and sheet music, allowing you to play along for practice and performance. But these can be somewhat limited in that you have one mix available to use and no click track to keep you on the beat. MultiTracks are backing tracks that contain multiple tracks of audio, one for each instrument, as well as a click and often a cue track that allows you to mix the music to your needs and listen with in-ear monitors to the click track.
Sounds complicated? While there are ways to use MultiTracks during a performance, many of them involved additional hardware and special software that is designed for audio engineers. In OnSong, playing multitracks is just like playing normal audio tracks.
Importing MultiTracks
Since MultiTracks contain multiple files or "stems", they can't be delivered as a simple MP3 file. Instead, they are often bundled together in a compressed ZIP archive. OnSong is designed to peek inside those ZIP files and determine if it's a multitrack and if it is, it goes in your Audio Media Library. This means you can download multitracks from a variety of websites, or make your own.
But we've made it even easier by partnering with MultiTracks for Worship and PraiseCharts so you can sign into your account and download multitracks directly from those services too.
Playing MultiTracks
Playing a multitrack is super easy. You just press the play button in the live bar just as you would a normal backing track. It's that easy. We automatically mute the click and cue tracks so it sounds like a normal backing track.
Mixing MultiTracks
Importing and playing multitracks is super easy, but you can do more with them. We've added the Mixer Widget that you can open from the Track Picker or from the Audio Media Library. From there you can mute channels or change the mix.
Using MultiTracks Live
Once you're listened to a MultiTrack, you'll want to add in the click and cue. Obviously you don't want these for everyone to hear so you'll want to make sure to play those through in-ear monitors for only you to listen. You can use the Settings screen in the Mixer Widget to customize how the click and cue tracks are outputted, auto muted channels and more.
Unlimited Imports
OnSong is available as a free download that can be unlocked with different subscription tiers. If you're using the free version, you're limited to 30 songs in your library. In addition, users of paid accounts can share sets with you that don't count against that quota. When you sign up for a paid Essentials or Premium subscription, you get an unlimited number of imports as well as all the features available in that tier.
Viewports
 Viewports like you focus in on a specific part of your content. You can easily zoom into a specific area of the page and save the viewport. That way the next time you view the song, you'll be at the right starting point. You can also create multiple viewports and switch between them within the viewports menu, or recall them with a foot pedal by using actions. It's all up to you!
Viewports Menu
To create and switch between viewports, open the Additions Menu and then choose the Viewports tab at the bottom. From there you can create new viewports, switch between them, and mark viewports as primary so they are used when you first view the document.
Configure Actions
You can configure actions to navigate to specific viewports for a variety of triggers like foot pedals, MIDI, or screen taps.
Clips
Use clips to import images and place them on your chord chart or sheet music. This could be anything such as an image of pedal settings or PDF score notation.
Adding
Tapping on the clip option in the annotations menu will open the clip edit and prompt you to import and image to begin.
Editing
Double tap on the clip to open the Clip Editor. You can also tap on a note to select it, and then tap on the edit button in the lower right to edit as well. On the lower right corner is a trash can icon. Tapping on this when the note is selected will delete the note from the page.
Placing
Once the clip is added to the page, you can tap to select the clip and then tap again to drag it. You can also use two fingers to tap and drag as well as rotate and scale.
Note: Clips are positioned relative to the size of the page. This means that if you add significant amounts of text to the song, or use Flow to arrange the song to be longer, the clip will likely shift position to accommodate for this change in height.
Audio Triggers
OnSong enables you to perform different actions within the app when triggered. Triggers can simply tapping on the screen or pressing a foot pedal. As a musician, you may have a need for OnSong to listen to audio input through the device's microphone or using an audio interface. For instance, you can set up an audio trigger that "hears" when you tap on the edge of your iPad. This could trigger the Tap Tempo action that can be used to set the tempo of the current song. Additionally, you could have this listen to a click track to do the same thing. Of course the possibilities are endless and OnSong can be configured to listen on multiple channels for different actionable inputs.
Configuring audio triggers happens in settings. To set up an audio trigger, go into the Utilities Menu by tapping on the gear icon in the Menubar and then choose Settings. Then navigate to the [Navigation Settings]](/docs/interface/menubar/utilities-menu/settings/navigation-settings/) and Audio Inputs. From here you can set an action for each channel as well as the sensitivity or level that must be reached before the action is triggered. You can also invert this so that OnSong listens for no sound instead.
MacOS App
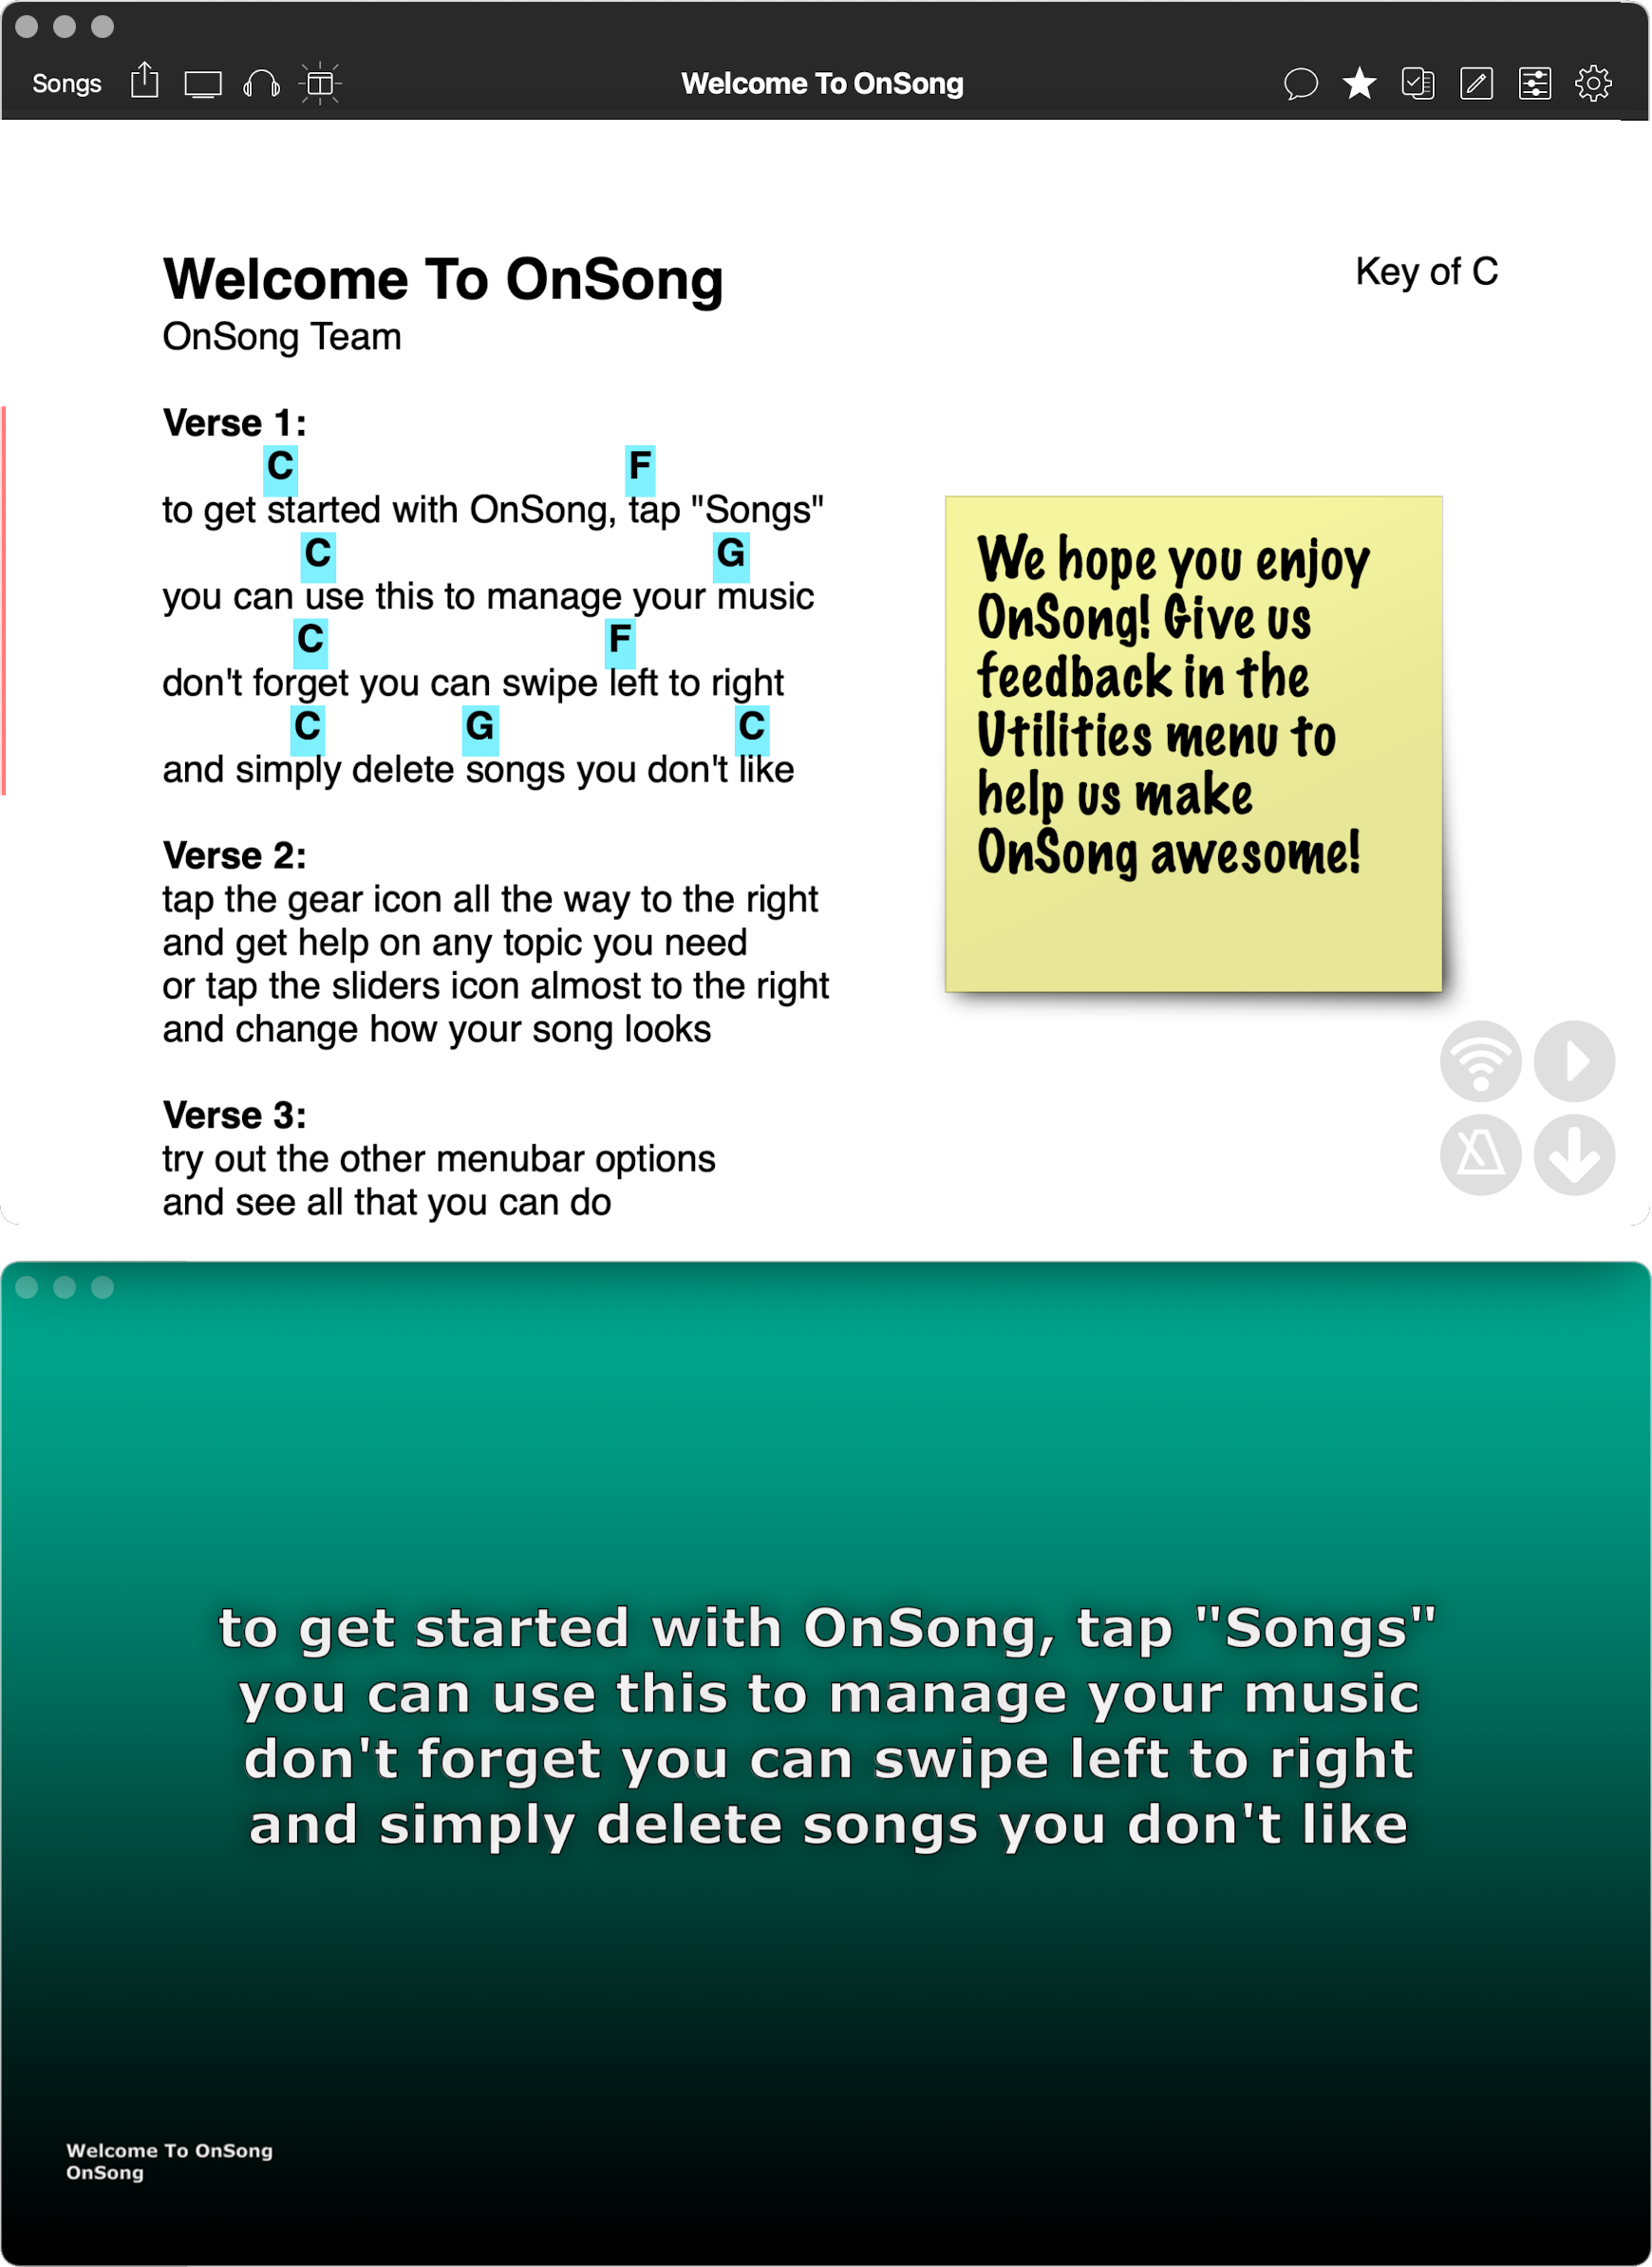
This is so much more than just a feature of OnSong, it's a whole new app! You can now download OnSong 2022 on any Mac running Big Sur or newer. This includes both Intel-based and Apple Silicon M-series Macs. While we've worked hard to maintain the same familiar user experience, some things have been changed to make OnSong work its best on the desktop.
Menu
When you launch an application on a Mac, it appears in a window and has an associated menu that appears at the top of the screen. OnSong is no different. Learn about menu options as well as keyboard shortcuts.
Windowed Interface
The main OnSong window displays the familiar chord chart, but also maintains the familiar menubar at the top of the window. You can make this window nearly any size, or use the window controls to go full screen. In addition, Lyrics Projection and Stage Monitor are also handled with windows that can be opened and closed using the Window Menu. You can move these to external displays and enable fullscreen.
Gestures
Mac laptops and workstations don't have multitouch screens. However these touch gestures translate fluidly into scroll and swipe gestures available on the trackpad and mouse. For instance, use the scroll gesture or scroll wheel to navigate lists or two-finger swipe on the trackpad to swipe through songs. You can also click on the screen to navigate the song viewer just as easily.
Context Menus
We've added context menus throughout OnSong to let you perform actions on item. In iOS/iPadOS, you can view context menus by tapping and holding on an item. In macOS, you can right click or CTRL+click to show the context menu.
Keyboard Shortcuts
On the Mac, the keyboard and trackpad/mouse are the preferred user input device. We've worked to add intuitive keyboard shortcuts to OnSong to make using it with the Mac even faster.
Not Supported
The Mac version of OnSong uses Mac Catalyst to bring the power of our iOS/iPadOS app to the Mac for the first time. But that doesn't mean that everything available in the iOS/iPadOS app is available within the Mac version. This is usually because the Mac does not support the option, or because a framework that we use has not been updated to work on a Mac.
Menu
The Mac version of OnSong contains a menu at the top of the screen that gives you access to application wide actions. Let's take a look at each menu and what's available.
OnSong
This is the default application specific menu available to all Mac applications.
File
This menu provides common import/export features as well as print and a way to close the app.
Edit
The edit menu gives you actions that can perform on text.
Format
The format menu gives you tools for formatting text.
View
The view menu can be used to show and hide user interface components.
Window
The window menu lets you enabled and disabled windows such as Lyrics Projection and Stage Monitor mode as well as other typical window functions.
Share
The share menu lets you share the current set or collection in various ways.
App Menu
The application menu is named after the app and has the following options.
About OnSong
This shows the name of the app as well as the version.
Preferences...
Certain user preferences are available here but you can adjust full OnSong settings in the app.
Services
This displays a list of services installed on the operating system.
Hide OnSong
This is used to hide the application and place it in the dock.
Hide Others
This will hide all other applications except for OnSong.
Show All
This will show all application windows.
Quit OnSong
Use this to quit the application.
Edit Menu
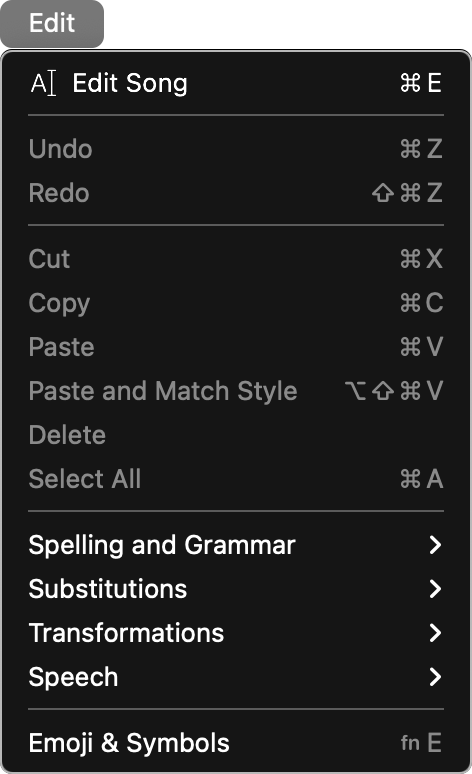
The edit menu provides common features for editing text.
Edit Song
This option will open the song editor for the currently viewed song.
Undo/Redo
These options enable when you are editing a song allowing you to undo and redo changes you've made.
Cut
This option allows you to cut text, removing it from the text field and placing it into the pasteboard.
Copy
This option allows you to copy text, retaining it in the text field while placing it into the pasteboard.
Paste
This option will insert or replace the current selection with the formatted value in the pasteboard.
Paste and Match Style
This option will insert or replace the current selection with the value in the pasteboard, using any styles of the surrounding text.
Delete
This option will delete the selected text from the text field.
Select All
This option will select all text in the text field.
File Menu
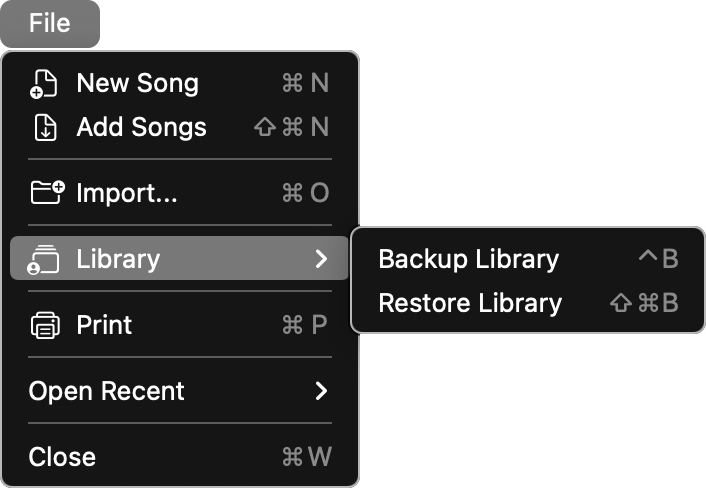
The file menu gives you fast access to create and import new songs.
New Song
This option will either open the Template Chooser to pick a song template to create a new song, or open the Song Editor with a blank song if no templates are available.
Add Songs
This option will open the Add Songs screen where you can choose how you'd like to import songs.
Import...
This option will open the macOS file chooser where your an select one or more files to import.
Library
This option contains child menu options that let you backup and restore your library.
- Backup Library will create a backup file of the current library and then open the Save File Dialog to choose where to save the backup file.
- Restore Library will open the Open File Dialog so you can choose an OnSong backup file to restore to the current library.
Opens the print preview screen where you can make adjustments to how OnSong prints the selected songs.
Close
Use this to close the app.
Open Dialog

On the Mac, you can open files using the built-in native file open dialog. This lets you choose common locations in the Favorite section on the left. You can then move around using the path selector at the top, view your files in different ways, and generally navigate to the folders and files you'd like to open.
When more than one file can be selected, you can hold down the SHIFT or CMD buttons on your keyboard to select multiple files. When you've selected the file, either click on the Open button or double-click on the single file to select. Tap Cancel to close the dialog.
Save Dialog
This screen appears when OnSong needs to save a file to a location on the Mac. You can click on the pull down to choose a different location, or expand the chooser by tapping on the down button next to the pulldown. Additionally, you can change the name of the file (but not the file extension) here as well. Click on the Save button to save the file, or click on the Cancel button to close the dialog.
Format Menu
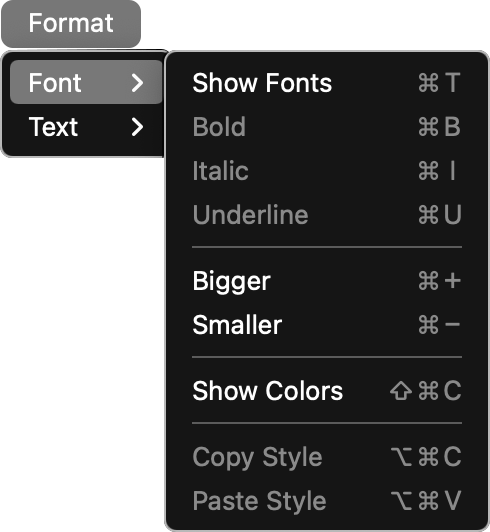
The format menu provides tools for formatting text. Many of these options are not available currently in the app.
Bigger
This option will increase the size of the font in the song viewer.
Smaller
This option will decrease the size of the font in the song viewer.
Share Menu
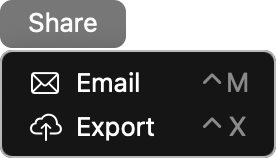
The share menu gives you quick access to sharing options for the currently selected set or song.
This option will open the Email screen with the currently selected song or set ready to be emailed with the default file format attachments.
Export
This option will open the Export screen with the currently selected song or set ready to be exported to the default location.
View Menu
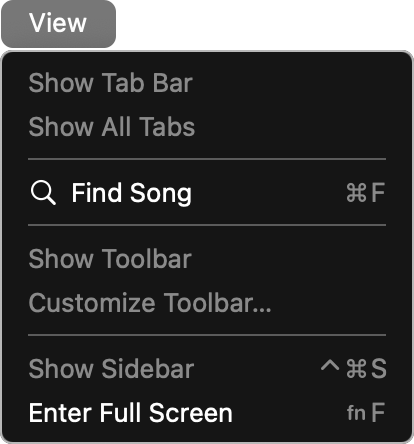
The view menu provides options to view content in the active window. Some options are currently unavailable.
Find Song
This option will open the Quick Pick screen to search your library and load the song into the song viewer.
Enter Full Screen
This option is available to the active window and will automatically make the screen take up the whole screen and hide the window chrome and controls.
Window Menu
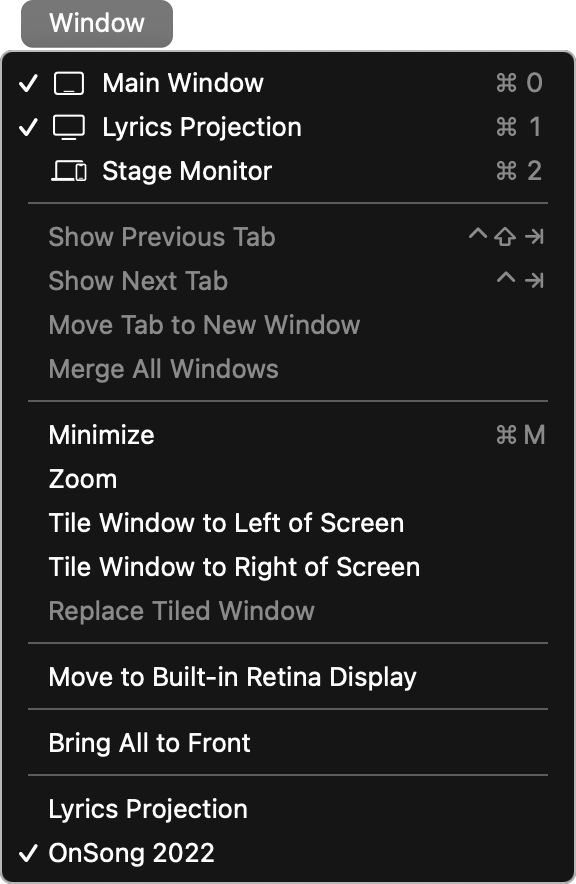
The window menu provides options for managing windows in the app.
Main Window
This is the main OnSong screen that contains the song viewer and the main user interface. You can tap to toggle this window on and off. You can drag and resize the window into the main screen or external screens. OnSong will retain the window size, position, screen, and fullscreen status.
Lyrics Projection
This option toggles the lyrics projection window. You can drag and resize the window into the main screen or external screens. OnSong will retain the window size, position, screen, and fullscreen status.
Stage Monitor
This option toggles the lyrics projection window. You can drag and resize the window into the main screen or external screens. OnSong will retain the window size, position, screen, and fullscreen status.
Minimize
This option will minimize the currently selected window into the dock.
Zoom
This option will cause the window to take up all available space on the current screen. You can choose this option again to go back to the original window size.
Tile Window to Left/Right Side of Screen
This option causes the window to be sized to fit in half of the screen and moved to the left or right side accordingly.
Move to Screen
This option will appear when more than one screen is available, allowing you to move the selected window to different screens without dragging and dropping it there.
Bring All to Front
This option will take all windows that have been placed under other applications to the foreground.
Typeahead Search
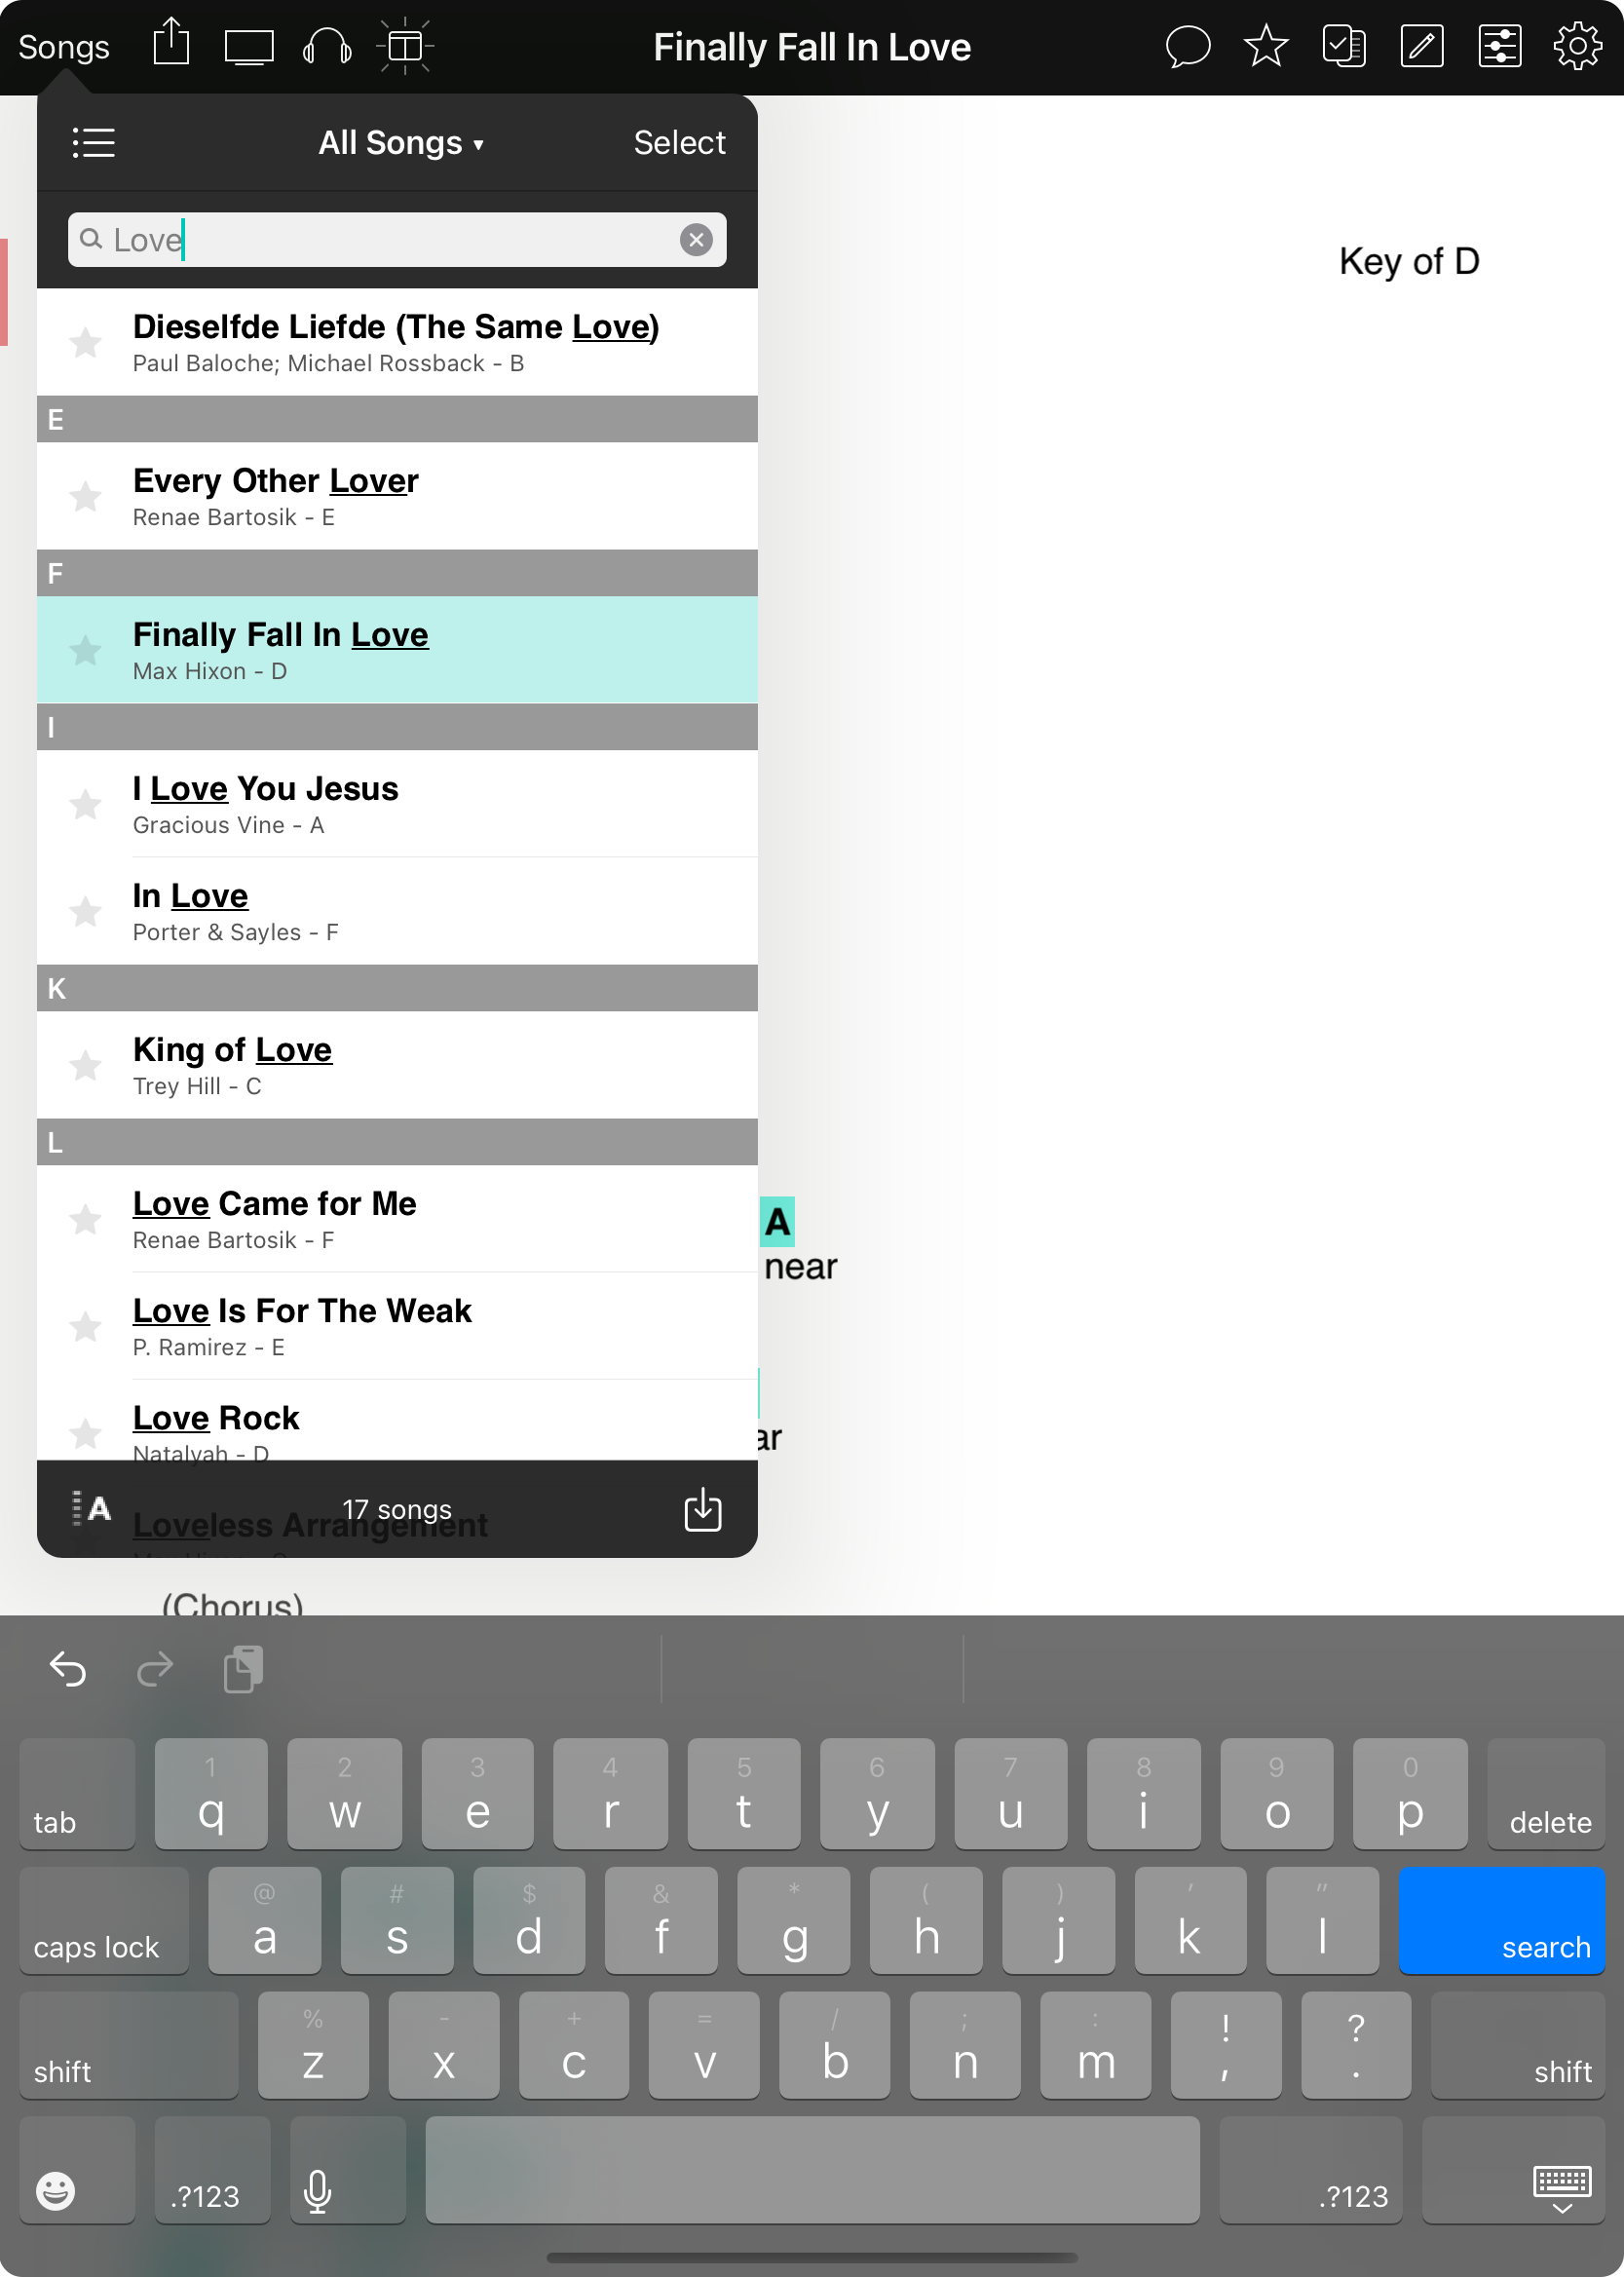
Finding what you're looking for quickly is paramount when you are performing live. OnSong's typeahead search feature helps get you to your content fast. Because your library is stored locally, there's no delay when browsing or search your library, even with thousands of songs! This method of search is found throughout OnSong too whether you are search sets, settings, etc.
The search bar appears in various places throughout the app and is prominently located at the top of the screen right below the main navigation bar. The search bar remains constant so you need need to scroll to find it. Tap into the field and start typing to begin searching. OnSong will start searching the title of songs for the text you type. Type up to three characters and OnSong will search for songs that begin with what you type. So if you want to find songs that start with "T", just type "T". If you want to find songs that start with "Th", you can type that too. If you type more than three characters, OnSong will locate songs where the title contains what you type. So if you type "Love", you'll see "Can You Feel The Love Tonight".
If no results are found using this method, or if you press the Search or Return keys on your keyboard, OnSong will perform a full-text search. This means that OnSong will find songs where the lyrics or metadata contain the search term.
The results are displayed with the search term underlined in the list.
Actions
 One of the first steps to automating your stage presence is actions. Actions are the things that can be done in OnSong such as scrolling down through the song, or flipping to the next song. Actions are performed by triggers which are the events that take place that cause the action. For instance, pressing a foot pedal on the floor would trigger an action like turning the virtual page.
Of course, that's the tip of the iceberg. OnSong has over 150 actions you can assign to each trigger, giving you boundless opportunities. With OnSong Premium, you get features like Double Tap and Multiple Actions to perform more actions with less hardware. It's as simple as assigning an action to a trigger.
Here's a look at some of the triggers where you can assign actions:
Foot Pedals
OnSong supports many wireless foot pedals from companies like AirTurn, CODA and PageFlip. This means you can finally put your foot down and get some action.
Smart Buttons
If you have enough going on with your feet, you may want to use Flic, a smart button that works over Bluetooth. Featuring microsuction mounting, you can place this on your instrument and perform up to three actions per button.
Screen Taps
Even if you don't have the budget or desire for more hardware, you can assign actions to regions of your screen, giving you control with just a tap.
MIDI
The very mention of this acronym can make even the most seasoned musician tremble, but MIDI gives you the power to fully automate your instruments and audio devices. In the most simple form, you can listen for signals from your instrument and have OnSong do all the things.
Sticky Notes
Sticky notes give you the ability to keep notes like what pedal board or keyboard patches you need to change. But what if you could tap on the note and have OnSong automatically configure your instruments and equipment instead? You can map actions to a sticky note press to automate your stage.
Triggers
Many actions are performed by your input. But what if you want to perform an action when something else happens? You can do that too. For instance, you can start a backing track as soon as you flip to another song.
Double Tap
Many users choose to control OnSong using foot pedals. In most cases, that's two pedals on the floor to keep things simple. But what if you need to do more with less? Double Tap unlocks additional functions by simply pressing the same foot pedal twice.
Double Tap works with every type of trigger in OnSong including foot pedal presses, screen taps, MIDI input, and sticky notes. This means you can double your control.
To use Double Tap, you first need to be an OnSong Premium member. This gives you access to all the premium features. Next, assign an action to a trigger as you normally would. At the bottom of the Actions Menu, tap on the Double Tap tab to assign an different action. That's it! You can now tap once with the original action, and tap twice for another action.
When you assign a double tap action, the single tap action will incur a slight delay of a few milliseconds in order to determine if a single tap or a double tap was intended. Do not use Double Tap if you intend to use a time-sensitive action on the single tap.
Multiple Actions
Simply put, actions let you control OnSong from a physical or external trigger. For instance, pressing a foot pedal can perform a single action. While Double Tap lets you double the utility of a single pedal, you may still want even more control for more sophisticated setups.
The Multiple action is available in the Actions Menu and allows you program a single trigger (pedal, tap, MIDI input, etc) to perform different actions each time the same trigger is activated.
Multiple Actions is a premium feature and requires an OnSong Premium membership.
Moments
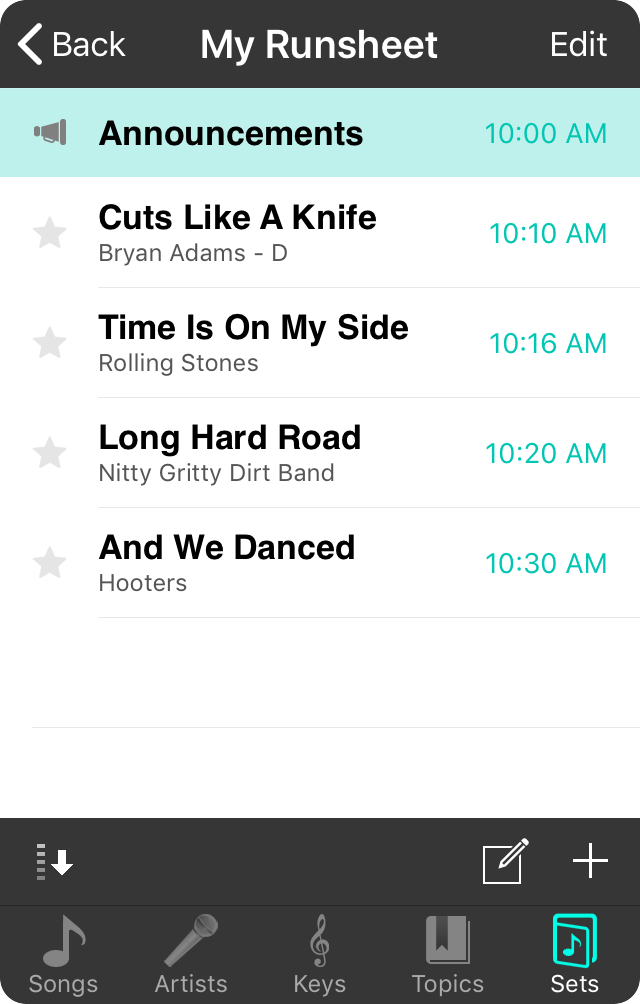
Moments let you add other events to your set list, turning it into a run sheet for event management. Moments can be added to an existing set by tapping on the compose button next to the + button in the lower right corner.
When you add a moment with a duration, you are prompted to set a start time for your set. This will result in scheduled times being displayed to the right of each item in the set. This time is calculated from the duration of the moment of the song.
Adding Moments
To add a moment, tap on the compose button in the lower right corner to choose from a list of preset moments.
Editing Moments
Once you select a present moment, or if you tap on a moment when in editing mode, you can change your moment including its title, icon, color, and duration.
AirDrop
 AirDrop is an wireless file transfer protocol by Apple that works with newer iOS devices as well as Mac computers running OS X Yosemite that are from 2012 or later.
With AirDrop you can both import files from a computer or another iOS device as well as export just as easily. Use this to add songs to your library, create printouts when an AirPrint printer is not available, or to export your set list to a band member.
Broadcasting
 Musicians today want to be able to reach their listeners both live and online. Live-streaming performances has become commonplace as a way to reach a global fan base. In addition, e-learning has become a necessity in today's global economy. OnSong lets you share your screen with popular video conferencing apps, all from a single device!
To get started, open the Share Menu from the Menubar and then choose the Social option. From there, choose Broadcast top open the system broadcast picker.
Be sure to watch the tutorial video to learn how to use broadcasting to reach your audience with your favorite apps!
Bumpers
 OnSong enables you to scroll through yours songs and through your entire set with just a press of a foot pedal. Though this is convenient, it could mean accidentally navigating to the next or previous song in your set.
Bumpers give you protection from these accidents by notifying you that the next pedal press will navigate you to the next or previous song. In addition to showing you to the song title, it also provides key and capo information so you can prepare. When you reach the end of the set, it will let you know too so if you have any triggers assigned to the beginning or end of the set.
Bumpers appear in a semi-translucent box that is based off the app color. This looks good and is visible when running in and out of Low Light Mode.
While some users may appreciate this extra safety, others may want to disable it to avoid additional pedal presses. You can do this in Settings » Navigation Settings » Foot Pedals » Show Bumpers. You can also adjust this setting in the Foot Pedal Settings Menu.
Chromecast
Engaging your listeners is an important part of your musicianship. For houses of worship, this means having the ability to project lyrics for congregational singing. Most churches invest in separate computers, wiring and expensive software that requires a volunteer to operate. This means more time spent planning services and checking lyrics. But what if you can skip expensive software and hardware upgrades and display lyrics right from the stage inexpensively and wirelessly?
OnSong has a powerful lyrics projection feature with composite images and motion backgrounds. With the new scenes feature, you can even dynamically style lyrics projection and lighting for each song or section of a song. Simply connect your device to an HDTV or projector with a wired adapter, AppleTV, and now with Google Chromecast. So no matter where your projector or TV is located, you can run lyrics without any additional wiring.
Chromecast can only be used to project lyrics. It cannot be used to show chords and lyrics in stage monitor mode.
Document Scanner
 The document scanner is an OnSong Premium feature that lets you use your device's camera to import songs into your OnSong library. You simply line up the camera with pages on a table or music stand. The document scanner finds rectangles that look like paper and snap the shot. It automatically perspective corrects your pages.
Prerequisites
The document scanner is available in OnSong 2020.0 and requires iOS/iPadOS 13 or higher because of the advanced computer vision that is being used. You'll also need to have OnSong Premium to use this feature.
If you don't see this in your Add Songs Menu, tap on the + button to add it to your customized import sources.
Scanning Pages
The document scanner takes over your enter screen to use your camera in augmented reality to capture pages.
Making Adjustments
You can make adjustments in the camera to handle changes in the environment. For instance, if you are on a dimly lit stage, turn on the flash button to enable the rear flashlight to illuminate the paper.
Reviewing Pages
Use the menubar that appears that the bottom of the screen with your scanned pages to make adjustments to each page, more bad scans, reorder pages, and finally import the document into your library.
Importing
Once you're satisfied with your scanned document, tap on the Save button in the right corner to import the document as a PDF file into your library.
Making Adjustments
As you're getting started scanning pages, there are a few controls on the side or bottom of the screen you can use to make a great scan from the beginning.
Flash
 The first option is to enable flash when taking the photograph for the scan. The default option is auto which determines if flash should be used by evaluating lighting conditions. You can also tap on this to turn flash on or off.
Color Mode
![]() This option lets you choose the color mode to use when taking the scan. By the default, the scanner will take the picture using full color. You can choose from the following options:
This option lets you choose the color mode to use when taking the scan. By the default, the scanner will take the picture using full color. You can choose from the following options:
- Color is a full color scan and is useful for showing high-contrast text along with colors. This may sacrifice accurate color reproduction for better legibility of text.
- Grayscale is used for documents that are printing with black, but may have various levels of shading.
- Black & White is used for text-only documents and may result in higher contrast and become easier to convert into text-based documents using optical character recognition.
- Photo is used for scanning photographs and will result in the use of more accurate color, but is not good for scanning textual documents.
Shutter Mode
 The document scanner will automatically take a picture when it detects a rectangle and determines that a good scan can be made. You can enable Manual shutter mode which will require you to take the picture using the button on the screen instead.
Page Editor

Tapping on a thumbnail of a page displays the editing toolbar where you can access a number of tools including:
Crop
This tool loads the photo that was taken and displays the selection as a rectangle shape. You can use tap and drag on the four corners to better crop the page as well as make corrections for perspective distortion. During this process, you may also opt to try again by tapping on the Retake button. Keep in mind that the document scanner cannot adjust for curvature in the pages, only perspective correction.
Color Mode
Tap on the color mode button to choose from a different color mode including:
- Color is a full color scan and is useful for showing high-contrast text along with colors. This may sacrifice accurate color reproduction for better legibility of text.
- Grayscale is used for documents that are printing with black, but may have various levels of shading.
- Black & White is used for text-only documents and may result in higher contrast and become easier to convert into text-based documents using optical character recognition.
- Photo is used for scanning photographs and will result in the use of more accurate color, but is not good for scanning textual documents.
Rotate
Use this tool to rotate the scan into the proper orientation. Tapping on this tool shows you the cropped and perspective-corrected scan and lets you rotate it by 90 degrees.
Delete
If you've accidentally scanned a page you don't want, just tap on the trash can icon to delete the page.
Reviewing Pages

Once you've scanned your pages, they appear in the menubar at the bottom of the screen. Here you can go in and edit each page. Once you're happy with the document, tap on the Save button to create a PDF file and then import the file into your library.
Cancel
If you've changed your mind, just tap on the Cancel button to close the document scanner without adding the document to your library.
Editing Pages
Tap on the thumbnails in the menubar to open the Page Editor. In here you can make changes to the crop, rotation, and color mode as well as delete or retake the picture for that page.
Importing
Once you're happy the scan, just tap on the Save button to import the scanned document into your library as a song.
Scanning Pages
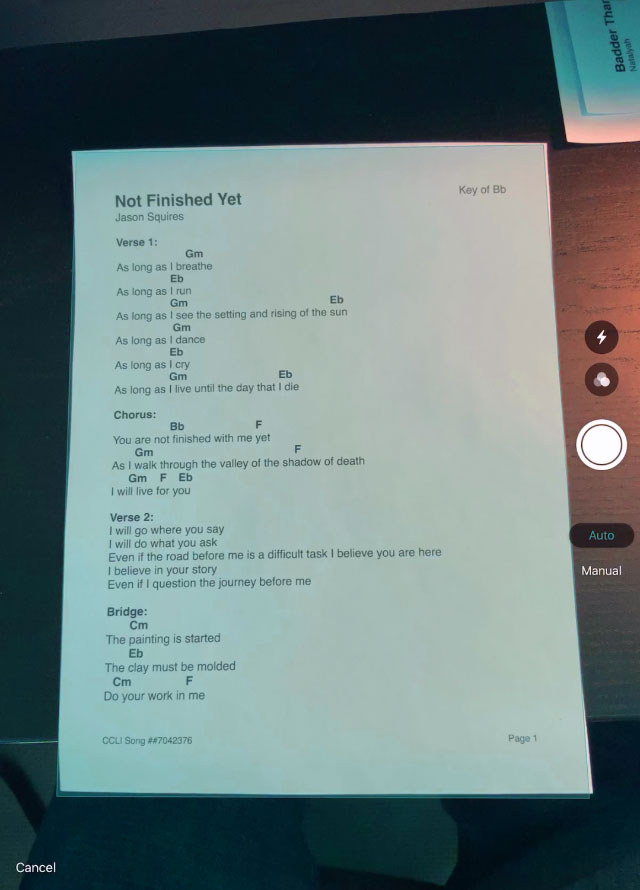
The document scanner takes over your enter screen to use your camera in an augmented reality interface to capture pages. Here are some steps to make sure you get the best results.
Best Practices
Here are some tips for getting the best quality scans.
- Make sure that your case or cover is not blocking the camera.
- Place your paper on a flat surface such as a table, the floor, or a music stand.
- Ensure the paper is as flat as possible to avoid warping as the system corrects for perspective.
- Use good lighting to ensure the highest contrast ratio between the paper and text.
- Use other controls on the left to adjust the image using flash, mode, and shutter.
Capturing the Page
As you move the camera, the computer vision system will identify rectangles in the scene. If the rectangle is determined to be a piece of paper, the scanner will automatically take a picture. You can also tap on the camera button on the bottom or side of the screen to initiate a photo.
Multiple Pages
As you capture pages, they will appear in the menubar at the bottom of the screen. You can flip through multiple pages for a single song. You can always go back and make adjustments.
Drag and Drop
 iOS 11 has changed the way we interact with our iPads with drag and drop. You can now drag and drop items within and between apps using intuitive gestures. Drag and drop is integrated throughout OnSong so you can use it to:
Import Songs
You can drag files of supported formats into the OnSong songs menu to add them to your library. Drag them into Books to create a new book or simply into All Songs to add them to your library. You can even drag them into a Set.
Reordering Items
Wherever you can reorder items in a list in OnSong, you can use Drag and Drop instead. Just tap and hold and then drag your items to where you like.
Organizing Your Library
You can also use drag and drop to organize your library. Drag songs into a book or set to find a new way to manage your repertoire.
Exporting Files
You can then drag and drop songs, sets, books and even your library into other apps such as the iOS 11 Files app as a faster, more intuitive way to export your content.
You can disable Drag and Drop within OnSong in Settings » Menu Settings » Use Drag and Drop Interface.
Drag and Drop is only available on iOS 11 or higher running on an iPad.
Dropbox

Dropbox is a popular cloud-based storage service that works great with OnSong. You can use Dropbox to move files between all of your devices no matter where you are. Save your PDF, Word, or text-based chord charts to a Dropbox folder on your computer. In a few moments you can import those files using OnSong. You can also export files to Dropbox to have them instantly available on your computer and in the cloud.
It's free to sign up for Dropbox and receive a free 2 gigabytes of data storage. There are also subscription plans to expand your storage as your needs grow. In typical usage, 2 gigabytes of storage is plenty of space for using with OnSong.
Sign Up
To sign up for Dropbox, visit the Dropbox website, sign up, and then install software on your computer. OnSong does not require that you install the app on your device.
Import
You can easily import files from Dropbox using the Dropbox import source. Sign in, browse your Dropbox and choose songs to import. It's that easy!
Export
Use the Share Menu to Export your songs and sets to different file formats. Just use the Location Picker to upload your files to Dropbox.
Sync
You can even synchronize your OnSong library to Dropbox, allowing you to use the same songs and sets on another device.
External Video

OnSong is designed to make full use of a connected video device to extend OnSong beyond mobile devices.
Adapters and Devices
Learn how to connect your device to a video device with a wired video adapter or wireless with AirPlay.
Lyrics Projection
Display lyrics to the chord chart you are playing, all controlled from your device on-stage.
Stage Monitor
Keep your entire team on the same page by turning video monitors into a virtual music stand run from a single device.
Screen Mirroring
If you are creating video tutorials, or want to see the full interface of OnSong on an external device, turn on screen mirroring to use the operating system's built in mirroring mode.
Screen Mirroring
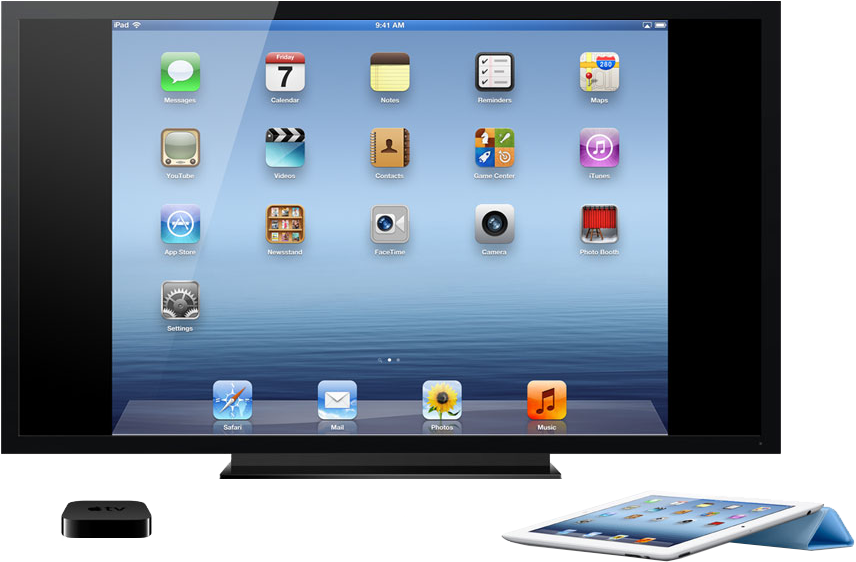
When you connect an external video device to an iOS device, it mirrors the content of your screen directly onto the other video device. This is great for sharing what you see on the screen with others. Use this for giving presentations, or with video capture software to create tutorials.
OnSong takes control of any connected video device for projecting lyrics or displaying music charts on stage. This allows OnSong to use the entire screen, as well as control resolution and orientation. User interface components don't get in the way either.
If you want to prevent OnSong from taking over the display and use the built-in screen mirroring found in iOS, go into Settings » Live Settings » External Video » Screen Mirroring and turn this on and tap Done. When you are done with your presentation or recording a video tutorial, you can turn this back on.
Note: You may need to restart OnSong for this to take effect.
Video Devices
Connecting your device to a projector or HDTV requires some extra equipment. This depends on the device that you have and the application. Pick one of the options below:
AirPlay
Stream video content from your iOS device to an HDTV or projector wirelessly using AirPlay. This requires an AppleTV connected to an HDTV and a reliable WiFi connection. No Internet connection is required.
Digital A/V Adapter
You can hard-wire you device to a video device that supports HDMI connectors. Purchase the adapter from Apple for the device you have.
VGA Adapter
If you have an older monitor system or projector, you may need to resort to an analog VGA connection. Purchase the appropriate adapter for your device.
Note: Devices older than the first generation iPad do not support external video devices. The first generation iPad does not support video over AirPlay.
AirPlay
AirPlay is an Apple technology that can stream audio and video content wirelessly to another device using WiFi. This requires a reliable WiFi network as well as a receiver device. Here's what you'll need:
Apple TV
The preferred method for receiving video content in OnSong is an Apple TV. This puck-sized device connects to a video device using HDMI and requires external AC power. Set it up on your WiFi network and connect it to your TV for high definition video playback.
Enabling AirPlay
Connecting to AirPlay requires an additional step that is as easy as plugging in an adapter. Follow these directions to enable AirPlay on your device and start streaming video.
Enabling AirPlay
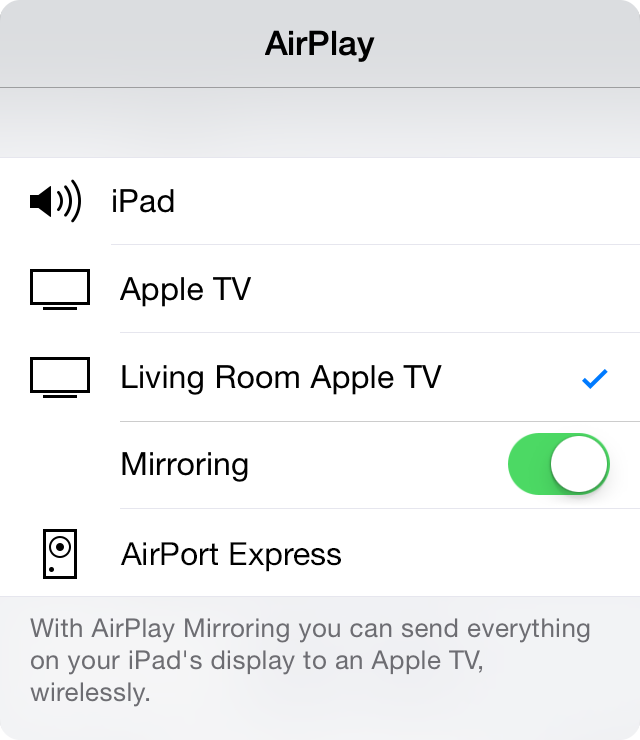

Enabling AirPlay is slightly different on devices depending on their iOS version. Follow the instructions below to enable AirPlay video.
iOS 7 and later
Swipe up from the bottom of your screen to access the control center. Tap on the AirPlay button that appears when connected to a WiFi network with an AirPlay device. Next, tap on the device that you would like to connect to. For video-enabled devices like Apple TV, you must then turn on the Mirroring switch that appears. This will send the video of the device to the Apple TV.
iOS 6 and earlier
In iOS 6 and earlier versions, double press on the home button to open the multitasking tray. Swipe to the left to reveal playback controls as well as an AirPlay button. Repeat the steps above to select the device and enable mirroring.
Audio Only
You can also connect in the same way to audio devices. For instance, you can use an AirPort Express as a WiFi access point and to stream audio wirelessly.
Digital A/V Adapter
The digital A/V adapter allows you to connect your device to an HDMI cable and then to a video device like an HDMI splitter, projector, or HDTV.
Lightning Port
Modern iOS devices feature the smaller and reversible Lightning port. Be sure to get the Apple Lightning to Digital A/V Adapter.
30-pin Dock Connector
If you have an older device with a 30-pin adapter, you'll need the Apple Dock Connector Digital A/V Adapter.
Note: Both devices also include an additional port to charge the device while in use. Only the 30-pin model allows you to also synchronize to the device through the USB cable.
VGA Adapter
A VGA adapter allows you to connect your device to a VGA cable and then to a video device such as an analog VGA splitter, projector, or computer monitor.
Lightning Port
Modern iOS devices feature the smaller and reversible Lightning port. Be sure to get the Apple Lightning to VGA Adapter.
30-pin Dock Connector
If you have an older device with a 30-pin adapter, you'll need the Apple Dock Connector VGA Adapter.
Note: Only the Lightning VGA Adapter features an additional port to charge the device while in use.
Extract Text
OnSong can import and view a wide variety of file formats, but works best with text-based chord charts, allowing for chord transposition, text formatting, and lyrics projection. Converting existing files can be a challenge. OnSong provides tools to make converting these file formats easier.
Adobe PDF
Many users have PDF files available that they have used in their paper binders for years. The Adobe PDF file format is great for accurately representing the printed page and is portable between different computer platforms.
Images
You can import photos and other files using the JPEG, PNG, and TIFF file formats. These are images that are displayed "as-is" but may be able to be converted into text if they are from a scanned document.
Word Processing Files
OnSong can view many popular word processing files such as Microsoft Word, Apple Pages, and the Rich Text Format (RTF). These are viewed "as-is" but can usually be converted to text-based chord charts.
Adobe PDF
PDF files are a popular option for storing and printing chord charts and lyrics sheets. You may have been using PDF files for years to catalog your digital library. The Adobe PDF file format is great for accurately representing the printed page and is portable between different computer platforms. Let's take a look at some challenges with this file format and ways we can extract text for best results.
Adobe PDF files are displayed "as-is" in OnSong and can't be edited, formatted, or participate in low light mode. While these files may contain text, it is placed on the the virtual page in a way that enables it to be printed, and not easily understood or modified by other apps. In addition, PDF files can also be comprised of graphics or scanned images, or any combination of these. They can also be encrypted, protecting their contents from being extracted. Because of this, every PDF file is different so there's no way to handle perfect conversion into a text-based document.
You can extract the text of a PDF file within OnSong using the Song Editor and tapping on the Extract Text button in the Conversion Toolbar that appears before the on-screen keyboard is revealed. OnSong will attempt to extract the text from the PDF file first, and if no text is available, it will process the file using Optical Character Recognition (OCR). The result will most likely end with text, but you will need to review and tweak the text into a file format that OnSong understands. In addition, if the file was encrypted, the result of the extraction may result in garbled characters. These files are not able to be extracted due to the protection applied to them by the authoring software.
Here are some issues you may have with extracted PDF files:
Bad Spacing
You may find that some text is placed out of order, or with poor spacing. This is because PDF files may text shortcuts to align text using multiple text fragments. OnSong works to place these text fragments in proximity to each other using frame proximity calculations, but there may still be issues that require you to manually correct this.
Chords with Extra Spaces
Every chord chart is created differently depending on the author and the software used. For instance, the original file may have had multiple space characters used to align chords above lyrics. If a variable-width font is used, this may result in many more spaces being used then the lyrics below. Use Fix Alignment Spaces found in the Text Tools Menu found in the Menubar of the Song Editor to bring those chords back closer to their position and then manually adjust as needed.
Compressed Chords
Another problem may be chords that are too close together on a line above the chords. This can happen if chords were originally placed into text boxes and then aligned above chords. You will need to manually align those chords over the corresponding lyrics in the Song Editor.
Garbled Characters
If you attempt to extract text from an encrypted PDF document, it may result in a screen full of characters. You will need to revert the extraction process or cancel out of the Song Editor and find a different way to extract text.
Unrecognized Characters
If OnSong cannot extract the text from the document directly, it may need to submit the document to optical character recognition (OCR). This means that a computer will attempt to "read" the document visually. Depending on the quality of the PDF, this may result in the improper character being used. For instance, if your document had a flat symbol, it may be interpreted as a lowercase letter "b", or if the PDF was scanned, faded text may result in other characters. Review the document and make these manual changes as needed in the Song Editor.
Images
Images are viewed using the web-based image viewer in OnSong and are very limited due to the file format. They are displayed "as-is" in OnSong and can't be edited, formatted, or participate in low light mode.
You can extract the text of an image file within OnSong using the Song Editor and tapping on the Extract Text button in the Conversion Toolbar that appears before the on-screen keyboard is revealed. OnSong will process the file using Optical Character Recognition (OCR) and the result will most likely end with text. You will then need to to review and tweak the text into a file format that OnSong understands.
You will likely find issues with the resulting text depending on the quality of the image. For instance, if you attempt to extract text from a photo of a beautiful sunset, you will be sorely disappointed. But if you extract text from a good image of a text document from a scanner, you will have decent results. You will want to check the spacing of chords since that may be lost during the OCR process. You can make changes to the text-based document after extraction using the Song Editor.
Word Processing Files
If you've written your chord charts or lyrics sheets in programs like Microsoft Word, you can view those "as-is" in OnSong. However, these file types cannot be edited, formatted, or participate in low light mode. Because of the subtleties of each word processor and the author of the document, there's no way to handle perfect conversion of these into a plain-text document.
You can extract the text of word processing files within OnSong using the Song Editor and tapping on the Extract Text button in the Conversion Toolbar that appears before the on-screen keyboard is revealed. OnSong will attempt to extract the text from the file, but you will need to review and tweak the text into a file format that OnSong understands.
Here are some issues you may have with the extracted file:
Chord Spacing
A common issue with word processing documents is chord spacing. This is because most chord charts are written with chords over the lyrics with spaces used to align the chords above the correct words and phrases. When a variable-width font is used, many more space characters must be used to align chords above as compared to the lyrics below. When this is covered to plain text and viewed in a fixed-width font, you'll notice chords are pushed out to the right of the document and no longer align.
Use Fix Alignment Spaces found in the Text Tools Menu found in the Menubar of the Song Editor to bring those chords back closer to their position and then manually adjust as needed.
Unrecognized Characters
One issue with any imported file is how it handles special characters. In particular, you may find that quotation marks are replaced with strange international characters. This happens because Microsoft Word uses international characters as placeholders for these smart quote characters.
To solve this, we recommend either disabling smart quotes in the word processing application, or to export the text from your word processing document as a plain text (*.txt) document and then importing into OnSong. Alternately, you can copy and paste from the word processing application into OnSong Console and tweak the song in real time.
Fast Track
OnSong takes customer support seriously. But with nearly a million users around the world, it may take some time to get back to you with personalized support. If you're an OnSong Premium member, go straight to the head of the line with Fast Track.
For the fastest support, open the Utilities Menu by tapping on the gear icon in the Menubar and then choose Communicate » Get Support. Fill out your email address and name as well as a brief explanation of the issue. Be sure to provide steps our support staff can use to replicate the issue. Include what you expect to happen versus what is happening.
At the bottom of the screen is a switch which allows you to turn on Fast Track. When you send your request, OnSong support staff will be notified directly to review your case and provide near immediate response times.
Flow
 Flow is a feature that allows the basic components of a song (verses, choruses, bridges and more) to be arranged in a particular order. OnSong then displays those parts of the song to create one continuous page. This allows the song to be experienced in a linear fashion by scrolling from the top down.
The system is very flexible and requires you only to label the sections of your song. You can then use an abbreviated version of the flow, or a more verbose version to allow even more options like displaying musical instructions at just the right time in the song.
Flow can be defined either as metadata in the song content, or in the Song Flow field in the Playback Menu. Please see information on the Flow Tag for details on how to express flow.
Gears
What are Gears?
 As a musician, you already have enough keys, pedals, buttons, knobs, and strings to worry about. Gears turn one set of foot pedals into many more without all the on-stage clutter. Press one pedal to "shift" into another gear and access more options.
Configuring Gears
Configuring gears can be done in the Foot Pedals Setup screen by tapping on the Gears Icon in the bottom right corner.
Google Drive
 Google Drive is a popular cloud-based service for storing and editing your files and documents online. You can use Google Drive to transfer files between all of your devices no matter where you are. Save your PDF, Word, or text-based chord charts to a Google Drive folder and then import those files using OnSong. You can also export files to Dropbox to access from other devices like your computer.
When you sign up for a free Google Drive account you receive 15 gigabytes of storage. There are also subscription plans to expand your storage as your needs grow. In typical usage, 15 gigabytes of storage is plenty of space for using with OnSong.
Sign Up
To sign up for Google Drive, visit the Google Drive website.
Import
You can easily import files from Google Drive using the Google Drive import source. Sign in, browse your Google Drive and choose songs to import. It's that easy!
Export
Use the Share Menu to Export your songs and sets to different file formats. Just use the Location Picker to upload your files to Google Drive.
Sync
You can even synchronize your OnSong library to Google Drive, allowing you to use the same songs and sets on another device.
Libraries
 When you first start using OnSong, you import and manage your songs in a library. The library comprises all of your songs, sets, books, settings... everything! For most, this is all you will ever need.
Libraries allow you to create completely separate instances of OnSong that are isolated from each other. This may be useful if you are using one device for multiple users, or never want to mix songs or sets from multiple bands.
You can access your libraries and manage them by opening the Songs Menu and selecting the Songs tab. Next, tap on Books button to view a list of your collections and books. You can then tap Back to see the Libraries Menu.
Live Video
 More than ever, musicians are reaching their audiences through live-streaming. OnSong has features that let you make an impact with engaging still or motion graphics, lyrics, and live video that doesn't break the bank.
Enable Live Video
Live video is an OnSong Premium feature that lets you use your camera as a motion background. You can enable live video by tapping the Live button in the External Video Menu to turn it on. You can configure your live video by tapping and holding on the Live button, or by tapping on the arrow button to open the Live Video Configuration Editor.
Broadcasting
With OnSong, you can broadcast your OnSong screen to video conferencing apps, right on your device! You can use the Lyrics Preview Widget full screen to show your audience your live video with effects and lyrics. Reduce the opacity of your Lyrics Preview Widget to show your chord chart underneath.
Video Capture and IMAG
You can also use the output of live video to output to an HDMI video capture card or video switcher to use the camera on your device for live-streaming and recording. You can even use it as a view for live video editing for IMAG (image multiplication) use cases.
Lyrics Projection
 Doing more with less is one of the core tenants of OnSong. It keeps you organized on a sleek and mobile device, and provides all the tools you need right when you need them at an incredibly low price. It should come as no surprise that OnSong features lyrics projection too.
Many Uses
While larger churches already have expensive lyrics projection software and equipment, smaller and mobile churches can benefit from lyrics projection in OnSong. For instance, your small group or house church may use OnSong to lead worship and display lyrics on an HDTV.
Music therapists have been using lyrics projection to help their clients sing again. Whether it's to bring people into worship, or to help people heal from disease, lyrics projection is a powerful tool that lets you control lyrics while playing live.
Configuration
You can configure lyrics projection using the External Video Menu. From there you can set up different modes, as well as background colors, images, or even motion videos. There are also other options and settings located in Settings » Live Settings » External Video » Lyrics Projection.
Hands-Free Operation
Once you've connected a video device (HDTV, projector, etc.) to the device running OnSong, you can tap on the sections of lyrics you want to display on the external video device. Another method is to use the hands-free features of OnSong to control lyrics as well.
Arrange your songs from the top down using Flow and then use Autoscroll to have the song scroll from the top to the bottom over a certain amount of time. This will also select the sections as they come into view and display lyrics!
For even more control, use foot pedals. If you are using foot pedals in addition to lyrics projection, OnSong will scroll the song by jumping from section to section. If you are using other pedal models, you can set up OnSong to scroll by section in the Foot Pedal Settings Menu found in the Foot Pedal Setup Screen.
Motion Graphics
You have the option to configure colors, gradients, custom images, and even motion graphics as your background. Images can be imported from your photo library, and motion graphics can be added or even purchased via the Image Media Picker.
MainStage
 OnSong is a powerful MIDI controller that lets you control your rig in a manner that's contextual to each song. This means that you can have your patches and effects ready to play just by going to the next song in your set list. Apple's MainStage is a Mac app you can use to add sonic depth to your music. With pre-designed templates like those from Sunday Sounds, you can use OnSong in a very intuitive way.
Connecting to a Mac Laptop
There are many ways to connect your iPad or iPhone for controlling MainStage on a Mac, but none are as simple as IDAM. IDAM stands for Inter-Device Audio and MIDI mode which uses the sync/charge cable that came with your iOS device. To use this, simple connect your iOS device to your laptop using the USB charging cable. Next, go into your Applications folder and open the Utilities folder to find the Audio MIDI Setup app. Once open, view the Audio Devices window and locate your iOS device. Tap on the Enable button adjacent to the device on the list. This will allow audio to flow from your iPad to your computer and also allow MIDI to be sent to and from your iOS device to your laptop.
IDAM allows for a simple connection without additional hardware. If your needs are more advanced or you need to use the Lighting or USB-C port on your device for other functions, you can choose other ways to integrate with MIDI devices.
Changing Patches
You can easily change patches in MainStage using MIDI program changes. Program changes are used to communicate changes to how your instrument sounds. MIDI combines this with bank selects, permitting selection of thousands of options. Setting this up is a simple two-step process.
In MainStage, select a patch in from the Patch List while in Edit mode. Locate the Patch Settings panel in the lower center of the screen and choose the Attributes tab. Find the Program Change option and checkmark it. You can then use the controls on the right to set a number between 1 and 128. You can optionally choose a bank select using the field above program change.
In OnSong, you need to set the program change to the song. You can do this in text-based chord charts by tapping and holding on the title of the song to open the Section Mapping Menu. You can then tap on the + button in the lower right corner to add a MIDI event to be sent. Choose Program Change and then set the number to match when you typed in MainStage. Tap Done to save your changes and add the MIDI to the list. Now when you swipe to that song, the MIDI information is sent and MainStage will change to that patch.
Synchronizing Tempo
Patches can use tempo to change drum beats, arpeggios, and delay effects. When you're using a product like Sunday Sounds, you want to be able to dynamically adjust the tempo to keep with the band. OnSongs lets you easily keep track of your song's tempo which can be sent using MIDI Clock. It's just a two step process to set this up.
In MainStage, click on your concert at the top of the Patch List while in Edit mode. Next, locate the Concert Settings panel in the lower center of the screen. Click on the Timing tab and place a checkmark next to the Get Tempo from MIDI Input option. This will tell MainStage to listen to the MIDI clock to acquire tempo.
In OnSong, tap on the gear icon in the Menubar to open the Utilities Menu and then tap on Settings. Tap on MIDI Settings on the left and then locate the Sync section on the right. Turn on the MIDI clock option. Now when you switch songs, OnSong will adjust the MIDI clock to set the tempo in MainStage.
*Note: Use MIDI clock only on wired MIDI connection as wireless connections like Bluetooth and WiFi introduce latency that will cause the MIDI clock and tempo to shift.
Multitasking
OnSong lets you make the most of an iPhone or iPad on stage. Watch these tutorial videos to learn more about ways you can use more than one app at a time to enhance your performance.
Run In Background
OnSong prevents the screen from sleeping while running so you can use your hands for playing music instead of trying to keep the iPad awake.
Typically apps shut down when you leave the app. OnSong is efficient on your battery, but will continue to play music even if you leave the app. You can also set OnSong to run in the background for more advanced tasks.
Multitasking
Newer iOS 9 devices like the iPad Pro can run more than one app at a time in split screen mode. Fully supports slide over and split screen multitasking simply by swiping your finger from the right side of the screen to the center.
OnSong also supports playing video tutorials with picture-in-picture so you can watch the video while you are using OnSong or other apps on your device.
OnCue
OnCue is the name given to wireless sharing in OnSong. This is different than OnSong Connect, in that it uses Apple's wireless sharing frameworks to allow for sharing over Bluetooth. This provides the ability to beam and stream content to devices running OnSong without the use of WiFi.
About
Since OnCue is built on top of Apple's frameworks for wireless, peer-to-peer connectivity, there are a few things to consider as well as some limitations.
Beam
Beaming is the process of sharing the currently viewed song or set with nearby users. Once received, those users will need to navigate and scroll through the song on their own.
Stream
Streaming allows the user who sets up the streaming session to control the connected devices. This will send song content and navigation signals to the connected devices.
Beam
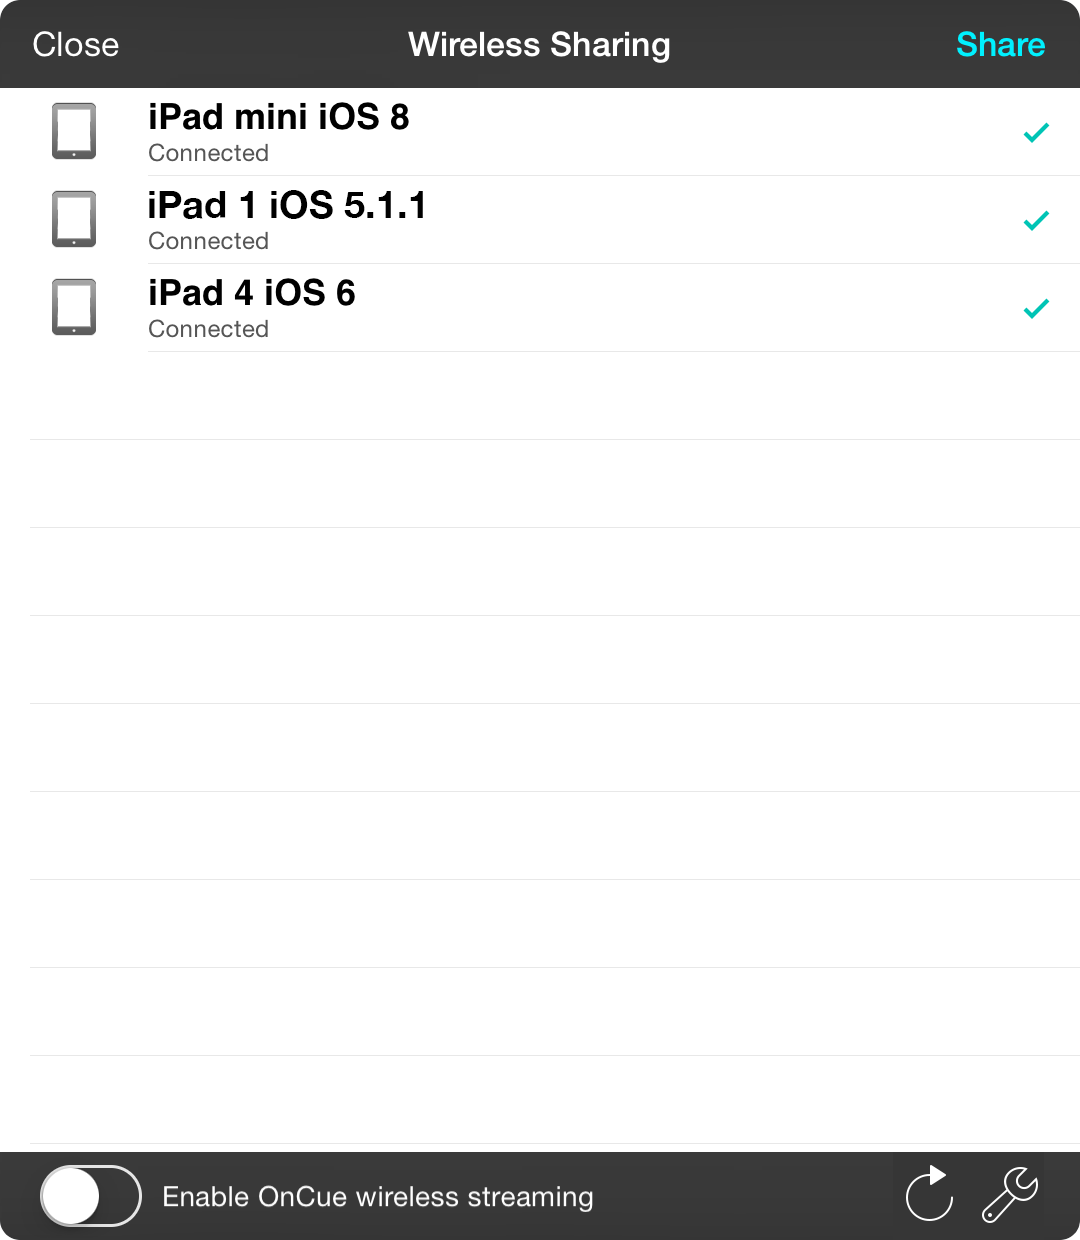
The wireless sharing screen displays nearby devices that are running OnSong. While all devices are checked by default, you can check or uncheck devices to receive the currently loaded song or set.
Tap on the Share button in the upper right. You will be prompted before the set is sent. Recipients will receive a prompt inside of OnSong asking if they would like to receive the set. They can accept or decline the song or set. Transferred songs and sets will appear the same as they do on the source device with styles, transposition, annotations, etc.
You can also set up an OnCue streaming session by toggling the "Enable OnCue wireless streaming" switch on the bottom. This will invite the selected devices to join the wireless streaming session for you to control the display on their devices.
Lastly, the refresh button in the lower right corner will refresh the list of devices by disconnecting you from the ad-hoc network and then reestablish that connection after a brief delay.
When you are all done, tap on the Close button in the upper right corner.
About OnCue
OnCue is built on top of Apple's frameworks to allow wireless, peer-to-peer connectivity over Bluetooth. The following are some tips to get things running for your team as well as a history and future outlook for the technology.
Because these frameworks are limited to iOS devices, and due to the inherit limitations of the technology, OnSong has a technology called OnSong Connect which requires a network connection. OnSong Connect allows for more robust communication as well as support for many more devices.
OnCue Version
Newer versions of OnSong can use newer and more reliable protocols to send OnCue information. If you are using an iOS 7 or higher device, a new version of OnCue is enabled by default. If you are running iOS 6 or earlier, the older version of OnSong is enabled. Be sure to use the version that meets the needs of every device that you need to connect. For instance, if you have an original iPad that runs iOS 5.1.1, you will need to switch all devices to the older OnCue version for interoperability. This can be done in Settings » Menu Settings » Sharing.
Tips
Wireless technology changes at a rapid rate, and iOS has followed and led many of these trends. When the original iPad launched in 2010, only Bluetooth was capable of setting up an ad-hoc network of devices. With each iOS release, Apple began transforming the wireless sharing landscape. Today Apple uses Bluetooth to configure direct WiFi, peer-to-peer functions. WiFi features much higher bandwidth than Bluetooth.
Number of Devices: One major limitation to Apple's frameworks are the number of concurrent devices. While not documented in the original Game Kit Framework, the generally accepted number of peer-to-peer devices is around five maximum. The newer frameworks support a maximum of six devices.
Frequencies: However, some networks are not friendly with these WiFi requests and different versions of iOS handle this connection differently. We recommend that you turn off WiFi and turn on Bluetooth when performing. This is because WiFi frequencies can become overloaded in crowded environments such as a concert. Bluetooth is generally limited to 30 feet and is not as connected to the otherwise crowded WiFi space.
RF Noise: Another consideration is radio frequency noise. Since nearly all consumer electronics (including microwave ovens) operate in the 2.4 Ghz and 5.0 Ghz range, there is the possibility of too many wireless signals being present. This noise makes it difficult for transmissions to complete and reduces overall bandwidth.
Network Engineering: If you are using WiFi or Bluetooth at a performance level, work with a wireless communications engineer to ensure that you don't have competing frequencies. This applies to not just networking equipment, but to wireless microphones and audio reinforcement hardware as well. Many problems can be alleviated with more professional-grade equipment that can seamlessly switch to less cluttered channels.
History
When OnSong launched with the first generation iPad, this was the only way to accomplish wireless networking. Over time, Apple has changed the way this networking works and, as such, effected performance on newer versions of iOS.
The following provides a history of wireless connectivity is these iOS versions.
- iOS 3.2 was the original operating system for the first iPad. This featured Bluetooth wireless networking using Apple's Game Kit Framework. This framework only used Bluetooth 2.1 EDR for communication.
- iOS 4.x did not change the underlying Bluetooth communication system and only appeared to make the Game Kit Frameworks and Bluetooth connectivity more stable.
- iOS 5.x added the ability for iOS to send wireless data over WiFi if Bluetooth is not enabled. The default protocol remained Bluetooth.
- iOS 6.x switched the priority of wireless protocols, opting to send data over WiFi if available. The issue is that some networks are not capable of relaying this information, and there is no provision for selecting Bluetooth over WiFi connections. This release made wireless communication less reliable, but overall faster for supported networks. Turning off WiFi and turning on Bluetooth resolves the reliability problem.
- iOS 7.x is when Apple rebuilt wireless sharing with a new protocol and deprecated the original frameworks. This new protocol is not supported on devices running iOS 6 or older. It uses Bluetooth to configure a direct WiFi connection for peer-to-peer communication.
- iOS 8.x continues the new model of wireless communication using Bluetooth LE to maintain connections with devices.
Stream
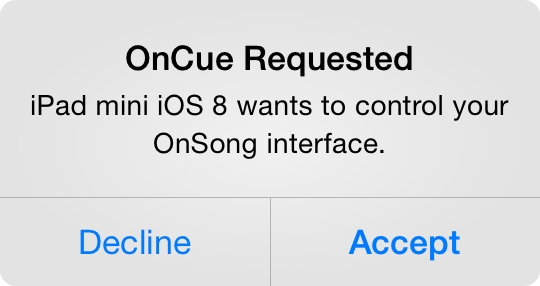
OnCue streaming allows one device running OnSong to control multiple devices. This is performed by each device creating and maintaining a peer-to-peer, ad-hoc network using iOS wirelessly sharing protocols.
You can start an OnCue streaming session by either opening the Wireless Sharing Screen and turning on the OnCue switch at the bottom, or by choosing the Start OnCue option in the Share Menu. This will invite users on other devices through a prompt to join the session.
Once enabled, the songs you view and any other actions such as navigation, autoscroll, and song style changes will be sent to the other devices automatically. Depending on your network speed and reliability, this may take a second or two to send. If a follower views a different song in their library, the navigational commands will not take place.
OnCue will send the content as it appears on the leader's device. Followers in the OnCue stream can opt to turn on a setting to allow their version of a song to be used instead. This can be found in Settings » Live Settings » Live Bar » Network Settings.
Both streaming and beaming content in OnSong may experience connection issues due to how wireless sharing is implemented in iOS. Please review the About section to find ways to accomplish a reliable connection.
Output Options
OnSong is built for flexibility. True to that goal is the ability for OnSong to output your songs and sets in the formats you need. By doing this, OnSong can make your life easier by giving you the flexibility to send your songs, sets, or song list in whatever format your team might need.
The Share Menu provides access to a number of methods for outputting your files (such as Exporting or Emailing). These screens have common elements for picking songs, configuring output options, and information about file formats that can be utilized.
File Formats

OnSong supports a number of file formats with which to export songs and sets. The following is a list of supported formats:
Adobe PDF
PDF is a standard file format that is used as a means to create digital paper output. OnSong can export a song or songs in the PDF format. When the "As a single file" option is turned on, a single multipage document is outputted.
OnSong uses the page size, orientation, and margins as provided in Page Layout Settings when exporting PDF files. Only text-based chord charts and other PDF files can be exported the PDF file format. If you have another file type in your set, that will be outputted as just the song title. Songs that use the PDF format will be appended to the document in the page size, orientation, and margins used in the original file. These files do not include annotations or sticky notes.
PDF files include a .pdf file extension.
OnSong
The OnSong file format is usually just the content as it is written in the Song Editor. This is useful for importing into another version of OnSong, or to save in order to make future changes. These files are plain text and have the .onsong file extension.
ChordPro
Choosing this format will export the song content using the ChordPro syntax. This can be used to edit and view the file ChordPro-compatible apps. This file format is text-based and has the .chopro file extension.
OpenSong
Choosing this format will export the song or set in the OpenSong XML file format. This can be used in other OpenSong-compatible applications for lyrics projection or library management. This file format is XML-based and has a .xml file extension.
HTML File
HTML files can be exported to view in web browsers on any platform. OnSong exports the HTML file to closely resemble the chord chart as rendered in OnSong. This does not include annotations. HTML files have a .html file extension.
Text File
This outputs the song content as a plain text file, placing chords on a line above the lyrics. Text files are plain text and include the .txt file extension.
Song List
The song list is different from other file formats in that it does not export the actual chord chart, but rather a list of every song in the set or which has been selected using the Song Picker. This list is in the HTML file format and contains a table with the song title, artist, key, and capo.
The song list is exported as an HTML file that contains a table of the following song attributes: song title, artist, current key, and capo.
OnSong Archive
The OnSong Archive is one the best-kept secrets in OnSong. This file format is binary and can only be read by other versions of OnSong. However, these files contain all the information necessary to display a song or set in another version of OnSong (including styles, settings, annotations, and external files).
The OnSong Archive file format includes the .onsongarchive file extension and can only be opened by the OnSong app.
OnSong Backup
Exporting an OnSong Backup is a must for any user who has spent significant time organizing and curating their song library in OnSong. The OnSong Backup format always stores a single file and always contains everything needed to restore your OnSong library to its original state. This includes user preferences and settings, songs, sets, styles, books, etc.
The OnSong Backup file format includes the .backup file extension.
Output Options Menu
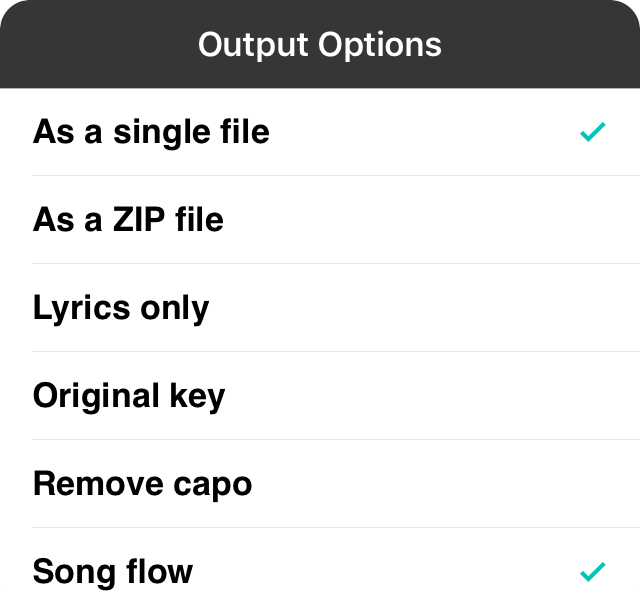
This menu provides options to change how files are outputted from OnSong. It contains the following options:
Lyrics only
When exporting chord charts in various formats, you can turn chords off and only display lyrics. This is useful for printing song books for congregational singing or to send to vocalists.
As a single file
When a set or more than one song is selected to be outputted, OnSong defaults to sending multiple files, one for each song. Enabling this setting will combine the individual files into one, aggregate file. For instance, if the PDF file format is selected and the single file option is selected, one PDF file is generated with multiple pages which contain all outputted songs.
Different file formats handle exporting as a single file differently; outputting in this manner does not make sense for all formats.
Original key
OnSong uses a transposition engine which allows you to set the key of the song independently from the underlying song content. This key is outputted by default. If this option is turned on, the original key in the underlying song content is used instead.
As a ZIP file
When exporting multiple files, it may make sense to export as a ZIP file. This places all individually outputted songs into one file which can be extracted. When emailing multiple songs it is beneficial to turn on this setting since most email servers will block or omit attachments it does not recognize or that could be construed as a security threat. Sending ZIP files will typically work around this limitation.
Song Picker
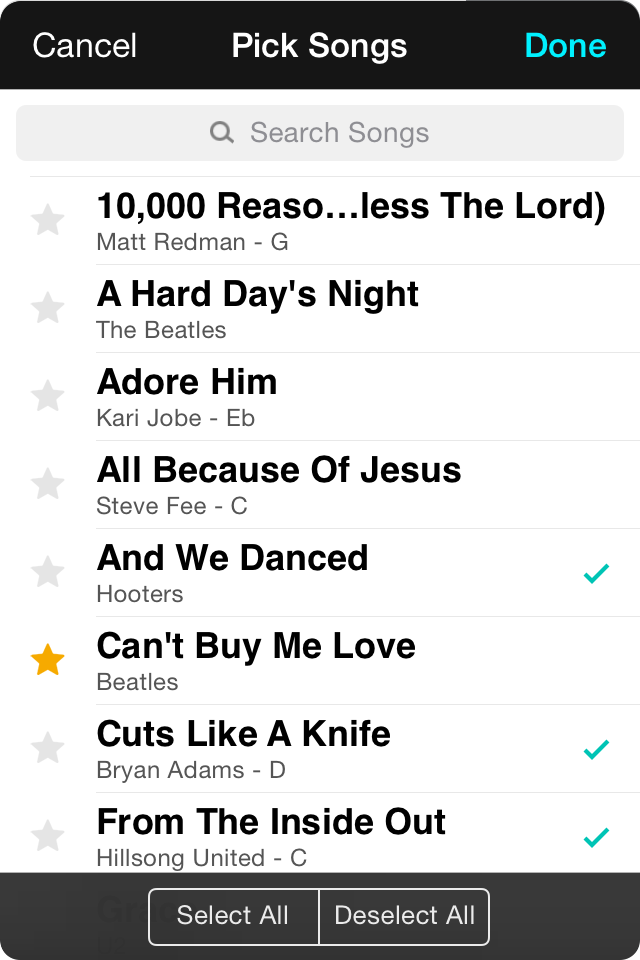
The song picker menu displays which songs are to be outputted, as well as allowing for you to select more songs if desired.
Most of the picker menu is comprised of your song list. Here you can search and browse for songs. Tap on a song to place or remove a checkmark. Check marked songs will be added to the export list. You can also tap on the Select All or Deselect All buttons at the bottom to do just that.
When you are finished, tap on the Done button to change the songs to be outputted. Tap on the Cancel button to close the picker without changing the song selected for output.
Performance Pack
It's the little things that make a big difference when you're on stage. OnSong is more than a document reader for musicians. It has the features you need and the performance required for live music. Check out some of the features below that together make for a great experience.
Autoscroll
Once your music is digital, you no longer have to worry about turning pages! Autoscroll turns your device into a teleprompter-like experience to scroll down your song and even through your entire set. You just set a duration for the song and let it roll. Of course if you need finer control you can always use Timeline.
Flow
Once your song is autoscrolling, you may find that you want to repeat certain sections of the song. Instead of changing the song by copying and pasting, flow lets you dictate the arrangement or layout of the song. Just add a flow tag to repeat sections of your song and turn it on and off as needed.
Heads-Up Display
When you switch songs in OnSong, the menubar shows you the name of the song. While that's handy, it can do so much more. Just swipe to the left or right over the name of the song for different views of information you care about like sets, timers, or audio playback control.
Quick Pick
While many musicians pull their sets before stepping on the stage, you may want to take requests. The Quick Pick feature of OnSong lets you tap the name of the song in the menubar and immediately prompts you to start typing. Type a few letters of the song title or artist name and tap to add the song to your set list.
Messages
Communicating with the band can always be tricky and you make have developed hand signals or vocal inflections to try to guide your fellow musicians. OnSong lets you flash messages on each participant's screen with color and text to communicate effectively on stage. Combine with foot pedals or Timeline and never lift a finger.
Moments
Organizing your event is more than just songs. Moments lets you insert additional items on your set list to turn it into a run sheet for your event. You can even specify the amount of time for each song and moment to help you organize your event and keep everyone on track.
Pitch Pipe
If you're singing an a cappella piece, you may need a reminder of the pitches to sing. OnSong lets you assign an action to play the pitch. By default, this plays the notes of the song key, but you can customize the notes and octave of those notes for more advanced songs.
Timeline
With OnSong you can automate the entire song. Scroll the page, select sections for lyrics projection, trigger actions, or coordinate MIDI devices all in one timed sequence that's saved with the song.
Viewport
You may want to view a specific section of the song sheet. Zoom and position your song and then use the viewport feature to save the initial view for the song to be recalled when the song loads.
Pitch Pipe
 Not all of us have perfect pitch. So what do you do if you need to start a song vocally or perform a song a capella? For that, OnSong features a pitch pipe to play notes that get you started.
Setup
OnSong will play the notes of the key of a song without requiring any setup. For instance, if your song is in Am, the notes A, C, and E are played back in a middle octave.
You can also set notes to play back using the pitch tag in Metadata of the OnSong or ChordPro file formats.
Playing the Pitch
To play the pitch, you need to set a Hot Corner, Navigation Zone or Foot Pedal to initiate the pitch playback.
Using Pitch
While it's common to hear a pitch played from a pitch pipe before an a capella performance, you can also send the output of your device to the mixing channel of your in-ear monitoring system, or send it as a mono channel to a source board. This setup, like the metronome feature, allows you and your team to hear the pitch without the audience hearing it.
Printing
 OnSong is designed to reduce or eliminate the use of paper on stage. Not only is this a more cost-effective and environmentally-friendly option, but it also helps to keep you more organized.
However, sometimes it's just easier to print your songs or set list to a sheet of paper for sharing. OnSong has powerful print capabilities that help you stay organized and save paper, too.
To print, select a song or set. Use the Share Menu to open the Print Screen. From there you can print chord charts, song lists, and even multiple pages on a physical piece of paper. OnSong also allows you to send the printout as a PDF.
Quick Pick
 Even the best laid plans can go awry. Maybe you get a song requested that's not in your set list, or perhaps you show up to the gig late and need to pull songs as you go. No matter what the event, OnSong has you covered with the new Quick Pick feature.
Using Quick Pick
To access the Quick Pick screen, tap on the song title in the menubar when a song title is displayed. The search bar is then automatically selected and you can begin searching. Tap on the song to display it or add it as the next song.
Sets
 OnSong is great for keeping your entire chord chart library organized and accessible no matter where you go. But when it comes to playing live, you need to be able to quickly and easily move between songs in your set list. OnSong lets you create sets to be played at specific times and venues.
Creating Sets
You access your sets in the My Sets tab in the Songs Menu. From there you can create folders for organizing sets by band or venue, as well as create new sets. Once the set is created, you can quickly pull songs from your library or books.
Navigating Sets
Simply tap on a set from your list of sets to load it into the song viewer. You can swipe, tap, or use other hands-free methods like foot pedals to move between songs in your set, or to scroll your songs up and down.
Sharing Sets
Sets allow you to organize some songs in your library for use with the band. Once you have the set selected, use the Share Menu to share it with your team using a variety of methods.
Tracking Songs
Sets are created for playing in the moment, but they also form the basis of song tracking in OnSong. Using the date you specify when creating your set, OnSong can determine when you play songs. This can be used to let you know if you've overplayed a song, or use to send song reports to licensing agencies like CCLI.
Archiving Sets
Because you may want to look up and see what you did last week or last month, it's a good idea to archive your sets. You can then access old sets using the archived sets list.
OnSong can also be configured to auto-archive sets so you don't have to worry about doing that manually. This keeps your active sets list nice and organized.
Song Reporting
OnSong can keep track of what you're performed, printed, and projected which can be useful for understanding your habits, as well as reporting to content licensing organizations.
OnSong keeps track of what you play in two different ways. By default, OnSong will keep track of what you play in sets. Because sets in OnSong automatically have a date and time associated with them, it means OnSong knows when you've last played those songs. You can also configure OnSong to report song by usage. This means if you view a song for more than a certain amount of time, it gets reported. You can change this preference in Song Reporting Settings.
To access this feature, go into the Utilities Menu by tapping on the gear icon in the Menubar and choose Editors and then choose Song Reporting. From there you can choose a timeframe to begin viewing your song usage in new ways.
Support
OnSong is a powerful app that is unlike anything else you may have used on a mobile device. Many musicians only use a fraction of its functionality. As you begin to invest time into OnSong, you'll likely want to get some extra help. Check out ways that you can find the help you need to make the most out of OnSong.
Knowledge Base
Get instant help with our vast knowledge base that has answers for nearly any question you may have.
User Manual
Browse the current user manual and learn how to do more with OnSong. Search for keywords and get answers.
Tutorial Videos
Access our comprehensive collection of tutorial videos to learn new tricks, or brush up your skills.
Technical Support
If you're just stuck and need OnSong to review your issue, you can submit your question directly in the app. Not only does this send your request directly to our support team, it also includes details about your library so we can pinpoint our advice to better serve you. You can access this by opening the Utilities Menu by tapping on the gear icon, and then choose Communicate and Get Support. If you are a Premium member, you get Premium Support that gives you immediately response times from when you fast track your request.
Premium
If you're serious about your stage performance, becoming a Premium members gets you direct access to OnSong staff and experts. Here are some ways that becoming an OnSong Premium member has its benefits.
Fast Track
Fast Track is just what it sounds like. You can take any support request and escalate it to receive the fastest possible response time from our technical support staff with automatic escalation. Your request gets bumped ahead of any other request in the queue and OnSong staff work together to resolve your concern.
OnSong Insiders
Being a paid OnSong Premium member also means you can join our private, exclusive Facebook group where OnSong experts, staff, and developers hang out. Join in the discussion!
Synchronization
OnSong is designed to store your library on your device. This allows you to access your songs anywhere you go without the need for an Internet connection. This means if you have multiple devices like an iPad and an iPhone, they both will have separate libraries.
OnSong provides the ability to synchronize your library between devices using a cloud-based storage service like Dropbox. For more details, open the Songs Menu and tap on the + button on the bottom right to view the Add Songs screen. Choose a storage method under the Synchronize section in the list.
Timeline
Timeline enables you to record navigation events and then play them back to give you flexible, hands-free control of your music.
All you need to do is either set a duration of your song for linear autoscrolling, or choose timeline to start recording and scroll through the song just as you want it to in a live scenario. Even tap on sections to project lyrics, send MIDI commands or switch scenes for automated control over your performance.
To configure timeline for autoscroll, see Live Bar » Autoscroll.
Autoscroll now can automates your performance!
Tint Colors
 There are a lot of benefits to reducing paper on stage. You can play in the dark or outside on a breezy day. Even if it starts to rain you can keep jamming if you have a waterproof case. Once you move away from paper you can even use OnSong to customize the look of your music in a way that works for you. Tint colors can reduce visual stress when reading your music on stage.
You can configure tint colors on individual songs using the mode chooser in the Document tab of the Style Preferences Menu. You can also set the tint colors globally for the app in Settings » Display Settings » Song Formatting » Tint.
Vertical Menubar
The menubar in OnSong is where you access all the functions of the app. Tapping icons in the menubar open popover menus which provide transient access for picking songs or changing the appearance of your charts. While this is good for most functions, it does result in those menus disappearing after each use.
The vertical menubar in OnSong lets you place the menubar down the left or right side of the screen. Tapping on options allows menus to appear from the screen edge. By pinning the menus, they can appear in a split-screen orientation, allowing the menu to remain visible while you interact with the song viewer.
You can turn on the Vertical Menubar mode for OnSong in Settings » Menu Settings » Menubar » Vertical Menubar.
WorshipReady.com

WorshipReady.com provides handcrafted chord charts for use on a number of platforms including Planning Center, PDF and OnSong. Access to content is through subscription only and limits the number of chord charts you can download per month based on your subscription level.
For more details about this service, or to sign up, please visit http://worshipready.com.
Using WorshipReady.com
You can access WorshipReady.com chord charts by importing them right inside of OnSong. Just sign in, find a chart, and download it right into your OnSong library.
Flic
 Many musicians have already discovered the flexibility of hands-free control of their iPads during practice and performance. OnSong now supports Flic – Bluetooth smart buttons Bluetooth that you can stick anywhere. Place Flic on the ends of your keyboard, or on the body of your guitar... anywhere you want to reach to trigger one of the may actions in OnSong.
Flic is configurable in the Foot Pedal Setup screen. You can assign one of more than 50 actions. Since Flic supports single click, double click and press and hold gestures, you can assign up to three different actions.
Add To OnSong
As a musician, you use a variety of sources to find and organize your chord charts. OnSong provides a number of ways to import your music into your digital library that you can use without an Internet connection.
If you are running iOS 8, you can import chord charts from your favorite websites using the new Add To OnSong extension in Safari. When you find a song you like, tap on the action menu in the toolbar and choose the Add To OnSong option. The next time you open OnSong, the song will be added to your library.
Not only does the Add To OnSong extension let you import chord charts on common websites, but also lyrics and even files such as a PDF, Microsoft Word or audio tracks. This makes the Add To OnSong extension the most powerful tool in the OnSong toolkit.
Note: Be sure to read the Terms of Service of each website that you use to ensure that you are complying with the rules for using that content. OnSong will prompt you before each import to insure that you are aware of any agreement you've made between you and the content provider.
Autoscroll
As a musician, you put all of yourself into your music. Now let the music carry you with the hands-free operation of autoscroll. Autoscroll displays your chord chart from top to bottom like a teleprompter. All you need to do is to get the song started and autoscroll will take care of the rest.
Setup
The setup for autoscroll is really easy. Tap on the autoscroll button in the live bar to set a duration for the song for linear autoscrolling from the top to the bottom of the page. You can even configure non-linear autoscrolling using Timeline.
Once configured, tap to start autoscroll. OnSong scrolls the song from the top to the bottom in the amount of time you set or plays back recorded timeline events. Tap and hold the autoscroll button to set a different duration or timeline events for the song. See Live Bar » Autoscroll for details.
Flow
OnSong scrolls through your song vertically like a scroll. Songs are typically arranged based on different sections like verses and choruses. You can use Flow to arrange your song in the order that you will perform it. Add instrumentals, intros, verses, choruses, and bridges. When OnSong scrolls from the top to the bottom, it will display the entirety of your song.
You can configure the flow of the song in the Playback Menu or in the Metadata Editor found in the Song Editor.
Triggers
Start autoscroll by tapping on the screen, or with a supported foot pedal for completely touch-free operation. Since autoscroll is the action you normally take to start a song, you can even set up additional actions to occur at the same time autoscroll starts. Configure this in Settings » Navigation Settings » Triggers » Autoscroll Trigger.
Backing Tracks
 OnSong is not only great at displaying chord charts and music, but it can also be used in place of heavy and expensive stage equipment. This can make moving from one gig to another much easier, as well as making shows run smoother than they ever have before.
Backing tracks can be linked to each of your chord charts allowing you to play a song in an instant. Just tap or tap and hold on the Audio Live Bar Button to link or toggle audio playback. Use the Playback Menu to perform more advanced functions. You can even configure audio playback to crossfade between two playing tracks in Settings » Live Settings » Live Bar » Audio.
OnSong links to tracks that are available in the Music app of your iOS device or you can manage audio tracks inside of OnSong.
iTunes Music Library
You can use iTunes technologies to transfer music and media to your device. That advantage to this is you get the full playback abilities of the built-in Music player and tracks are shared between apps. You can also playback tracks that are stored in the cloud. Learn more about linking to tracks your iTunes Music Library
Here are a few methods you can use to get music into your iTunes music library:
- iTunes Sync is the standard way to move music files from your computer to device.
- iTunes in the Cloud accesses iTunes tracks you have purchased on your device and allows you to play them from the cloud or download them to the device.
- iTunes Music Match is similar to iTunes in the Cloud but allows you to submit your entire music library to iCloud for a low yearly fee. This allows all your content to be transferred to your iOS device without connecting to a computer.
Note: It's a common misconception that only music tracks that are purchased through the iTunes Music Store can be played on an iOS device. Learn more on Adding Music Tracks to iTunes.
OnSong Audio Media Library
If you don't prefer to use iTunes to manage your music, you can import backing tracks directly into your OnSong media library and manage them inside of the app. This is a great option if you don't have access to a laptop for synchronizing content.
You can learn more about importing, managing and linking to tracks in your OnSong Media Library
Importing into iTunes
iTunes is a powerful media management program that is available for free from Apple. It is also used to manage your iOS device as well. You can use iTunes to browse and purchase music and other media from the iTunes Store, or simply use it as a media management device.
If you have tracks that you want to add as Backing Tracks in OnSong, you'll need to make sure they are in your computer's iTunes library before synchronizing them to your device, using iTunes in the Cloud, or iTunes Music Match.
To add tracks to iTunes, locate them on your computer, select in the Finder (Mac OS X) or File Explorer (Windows) and drag and drop them in the library area of iTunes. You can also do the same thing by opening the File option in the menubar and choosing Add To Library.... From here you can browse your files and select those that you want to add to iTunes.
iTunes will typically copy these files into its own library and organize the files based on the information available in the audio track file. You can change these settings by opening iTunes Preferences and selecting the Advanced tab.
iTunes Sync
While millions of people own iPads or iPhones, not everyone knows how to get their music on their device. Follow these steps to get music synced to the device using the USB cable.
- Connect the device to a computer using the USB sync/charge cable that came to the device. Ensure that the computer has iTunes 12 installed and running.
- In iTunes, click on the Device Icon in the bar just below the volume slider and choose your device if more than one is listed.
- Tap on the Music option under settings. This is where you tell iTunes what music you would like to sync to the device.
- You will need to turn on music syncing by clicking to checkmark Sync Music.
- Use the other checkmarks below to determine what music to send to the device. For instance, you can sync Entire music library or only Selected playlists, artists, albums and genres.
- If you picked the latter, place a checkmark next to what you would like to sync to the device.
- When you are finished, click on the Apply button in the lower left to start copying the music over.
- Check that the music is on the device by launching the Music app from the home screen.
iTunes in the Cloud
If you only have to access music tracks that you've purchased from the iTunes music store, you can access those files on your device without synchronizing with a computer.
To do this, open the Settings app from your device's home screen. Select the iTunes & App Store section on the left. On the right side, turn on the Music switch under the Show All section. This will display songs in your Music library that are not actually stored on your device.
These songs are streamed from iCloud when they are played. This requires an Internet connection for playback and is not recommended for live use. To download songs to your device, find them in the Music app on your device and then tap on the cloud download icon.
Note: iTunes in the Cloud can only display music that was purchased through the iTunes Music Store. To access any music track on your computer in the same manner, you will need to use iTunes Music Match. This will allow any track in your iTunes library to be synchronized with all of your devices.
iTunes Music Match
If you need to access any track on your computer and do not want to manually synchronize with iTunes, you can opt to use iTunes Music Match.
iTunes Music Match is an optional service that costs $24.99 USD per year. When enabled in iTunes on your computer, all your audio tracks are uploaded to iCloud in a way that makes them available on any device you own. This allows you to access all tracks such as those:
- Purchased on iTunes
- Downloaded from other online services
- Ripped from CD
- Created by you
You can learn more about setting up and enabling this service on the iTunes Music Match web site.
To enable Music Match on your device, open the Settings app from your device's home screen. Select the iTunes & App Store section on the left. On the right side, turn on the Music switch under the Show All section as well as the iTunes Match switch. This will display all the songs on your computer in your device's Music library.
These songs are streamed from iCloud when they are played. This requires an Internet connection for playback and is not recommended for live use. To download songs to your device, find them in the Music app on your device and then tap on the cloud download icon.
Backup
 One great advantage with OnSong is that your OnSong library is stored directly on your device. This means you never need to worry if you have an Internet connection to access your music. Whether you are playing in a pub on the outskirts of town, a busy concert hall with lots of wireless interference, or as a missionary in the jungles of the Philippines, OnSong will continue to work non-stop.
Why Backup?
While having everything stored on the device itself a great feature, it does have some downsides. We hear all too often of users who have had their iPads stolen or lost. Sometimes they just forgot their device on the roof of the tour van and picked up the pieces on the highway. Yet others find their app missing when deleted by children or when wiping their iPad for a new operating system. The crucial step you need to take is to make a backup!
How To Backup
Creating a backup in OnSong is really easy. First, we recommend backing up your library to Dropbox to make sure your content is stored safely off your device. In addition, if anything happens to your device, you can easily restore your library from your Dropbox with an Internet connection and your Dropbox credentials. Go to the Dropbox section to learn how to sign up for Dropbox and use it in OnSong.
Next, go into the Share Menu from the Menubar in OnSong. Tap on the Export option. In this screen, place a checkmark next to the OnSong Backup format. Tap on the folder icon in the lower right to open the Location Picker and choose Dropbox. From there you can select a location where the backup file should be stored. Once you choose a location, tap on the Export button at the top of the export screen to create the backup file and upload the file to your Dropbox location.
What's In a Backup?
The backup file that is created has a .backup file extension and the file name is the current date and time in YYYYMMDDHHMMSS format. This allows no two backup files to have the same name.
The backup file is actual a ZIP archive that contains the entire contents of your OnSong library folder. In addition to containing the OnSong database called OnSong.sqlite3 and imported files, this also contains your imported media files (music and images), help files, and a special preferences file that contains all the settings you had made in the app.
How To Restore
So now that you have the file in a safe place, let's learn how we can restore the backup file. It's as easy as importing a file into OnSong.
Go into the Songs Menu and select the All Songs tab. Tap on the + button on the bottom right to view the Add Songs screen. Tap on the Dropbox option. From here you can browse for your backup file and import it.
When you select the backup file to restore, you will be prompted that importing it will completely overwrite any other songs or settings you have in the current library. If you agree, the file will be downloaded and restored, returning your OnSong library to it's original state.
Note: Backup files are the ZIP-compressed contents of the OnSong library directory. OnSong can create backup files of approximately 4 GB in size.
Capo
If you're a guitarist, you know the advantages to using a capo. You can increase the pitch of your guitar to provide dynamics between other instruments, or simply transpose out of difficult to play keys like D-flat. Whatever your reason, OnSong can adapt the chord chart to meet your needs. Let's take a look at how OnSong handles capo in regard to transposition.
Difficult Keys
OnSong is designed to maintain the designated key of a song at all costs. This is important to know because changing the capo of the song will not transpose the song. Instead, it combines the transposition with the capo itself. Let's take a song written in D-flat as an example.
- You have a song that is written in D-flat because your pianist is fancy like that.
- You want to be able to play the song, but sadly you don't have fingers like E.T.
- Figuring you can play the song with C chord forms instead, you apply a capo to your guitar on the first fret.
- In OnSong, you simply slide the capo slider in the Style Preferences Menu to the first fret so it knows where you put your capo.
- OnSong now maintains the key of D-flat, but displays chords in the key of C so you can play along with everyone else.
In this case, we didn't transpose the song at all, but just wanted to be able to play the song in the key that it is written. OnSong modulates the chords in the song down to maintain the key - essentially reversing the transposition that the capo applies.
Transposing With Capo
What if we want to use the capo slider to transpose the slider? What you'll need to do is adjust the key and the capo. Lets say that you have a song in the key of C and want to transpose to D. With a capo, you'd place the capo on the second fret. In OnSong, adjust the capo from zero to the 2 position and then drag the transpose slider to the D key.
This underscores that transposition in OnSong is one step, and then capo is applied on top of that transposition. The order of operations are:
- The song is written and declared in a specific key.
- If the song's key is not declared, the key is determined using another detection method
- Tranposition is then applied to the original key. If the original key was the key of A and we want to play the song in the key of D, OnSong would transpose up by five (5) half steps to bring the song to the key of D.
- Now when we want to play with a capo so we can play in the key of C. Set the capo to 2. OnSong then modulates the chords that are rendered down two (2) half steps to the key of C.
Toggling Capo
You can also toggle the capo on and off in the Style Preferences Menu using the power button. This is useful for playing with or without a capo as your needs arise.
Learning to Share
Since OnSong changes the chords that appear on the screen when capo is applied, sharing with others may be more difficult. What if you both need to use the same chord chart? In this case, you can display both chords.
To enable dual capo chord mode, go into Settings » Display Settings » Song Formatting » Capo » Display Dual Chords. This can be configured to display either the capoed or non-capoed chord first with the other chord being displayed in parenthesis.
Chords
Chords are the lifeblood of music. It's no wonder that most of OnSong revolves around what you can do with chords.
Writing Music
You can write and edit music right inside of OnSong. OnSong understands both the OnSong and ChordPro formats, and even works with most text files too. You can also use different ways to display chords and lyrics in your song.
Styling Chords
Once chords are detected in OnSong, you can use the style preferences menu found in the menubar to change how chords appear. Highlight, color, bold, and italicize them to make them pop from the page.
Instrument Diagrams
Tap on a chord in the song viewer to view different ways to play the chord on a variety of instruments. You can even make your own variations in the chord diagram library.
Playing Chords
Tap on the speaker icon in the upper left corner to toggle chord playback on and off. Playback does require a sound bank to be installed. You can purchase sound banks in the Add-Ons Screen. You can alter the way chords are played under the Utilities Menu » Settings » Live Settings » Chord Playback.
Color Picker
 Color is used throughout OnSong to quickly communicate musical information. In each of these places, OnSong uses a color picker component that lets you pick from a palette of colors by tapping on a swatch. You can also create your own color swatches and arrange them in the palette.
Picking Colors
To pick a color you tap on it. OnSong surrounds the swatch with a border to indicate it has been selected. Since the size of the color picker may be limited, you can scroll to additional colors. Swipe to the left or right to access additional color swatches.
Adding Colors
At the end of the color picker palette is a button you can tap to add new colors. This will open the color builder screen that lets you choose the hue, brightness, saturation and opacity of the new color.
Editing Colors
You can also edit existing colors in your palette by double tapping on them. This will open the color builder screen which you can use to make adjustments to the color.
Arranging Colors
The color picker is designed to provide quick access to more commonly used colors. You will want to place these towards the left in your palette for faster access. To do this, tap and hold on a color swatch for about one second and then drag the color to a new location in the color picker.
Deleting Colors
To remove a color from the palette, tap and hold on the swatch as if you were going to place it elsewhere in the palette. Drag the color off of the palette to remove it.
Color Builder
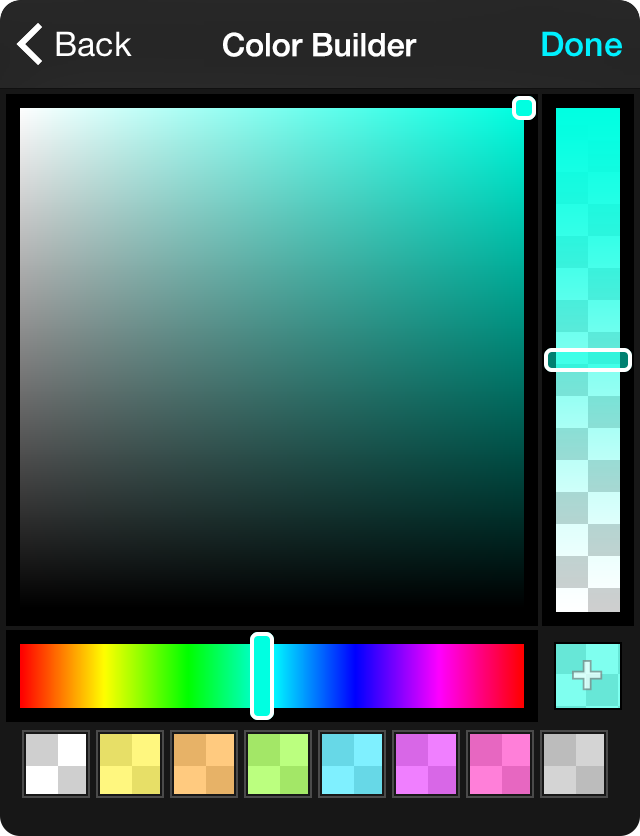
The color builder is used for creating new colors as well as editing existing ones. In addition, smaller form factor devices like the iPhone or iPod touch may use the color builder directly to create or pick colors from the palette.
*When you're done picking or building a color, tap on the Done button in the upper right corner to save your changes.
The color builder is divided into these five functional areas.
Saturation/Brightness Picker
The main area of the color builder is comprised for the saturation/brightness picker. The values displayed in this two-dimensional space vary the saturation of the color horizontally and the brightness of the color vertically. Tap or drag your finger in this space to adjust these attributes based on the selected hue.
Hue Picker
The hue picker appears under the saturation/brightness picker and allows you to choose a hue. This appears as a one-dimensional slider that moves from 0-360º from red, through the rainbow and back to red.
Opacity Picker
The color picker can also specify opacity in a color. AN example of where this is used is for chord highlighting. In this case, all colors run about 50% opacity. Using the opacity picker, you can vary the transparency of the of the final color.
Tap or drag your finger up and down to move between 0-100% opacity. All of these changes effect the add swatch button in the lower right corner.
Add Swatch Button
As you make changes to the hue, saturation, brightness and opacity, the color changes appear within the builder. Most notably, it appears in an add color button in the lower right corner. You can tap this button to add the selected color to the palette.
Color Picker
The color picker for the edited palette appears below all other controls. This lets you quickly choose a preset color from the palette to edit, or you can add and arrange your palette from the builder.
Console
 OnSong Console is a powerful in-app purchase that lets you edit your library on any computer using a standard, modern web browser. You get a real-time preview of your chord chart along with palettes that help you make your chord charts just right. When you're all done, one click saves the chord chart back to your library.
Most people agree that laptops or desktops are great at creating content. OnSong Console lets you use your computer to quickly make changes to your OnSong library. What's more, you can even make changes to an iPad while it's being used on the stage, or use it in the back-of-house to determine lyrics for a song.
FAQ
While OnSong Console is easy to use, you may have questions about connecting to it on your network or how it effects your OnSong library as well.
Requirements
Find out the components and services you need to make console work.
Setup
Learn how to get OnSong Console up and running so it's ready to be put to good use.
User Interface
Learn the user interface components of Console and how they can be combined to make music creation and management easy.
Requirements
One advantage to how Console works is that no connection to the public Internet is required. OnSong Console runs directly on your device and uses WiFi to wirelessly connect to your computer. Though this is a great advantage, there are times where you still may run into some issues. Here are some requirements for using OnSong Console.
- Any iOS device running OnSong 1.989
- OnSong Console was first added to OnSong in version 1.989. This means that you will need to be running the latest version of OnSong to have the ability to run Console. Because Console turns your device into a web site, you will need to have your device turned on and OnSong running in order to connect.
- Desktop or laptop computer
- The idea with OnSong Console is to allow you to connect to the library on your device from a full size computer such as a desktop-class workstation or laptop. While these machines don't need to be overly powerful, we do recommend a modern operating system capable of running the latest web browsers. Your computer can run Windows, Mac OS X or Linux as long as it's running a supported web browser.
- Connection to a local area network
- You typically connect your iPad or iPhone to a WiFi network to access the Internet, or to access other resources at your location such as network printers or Smart TVs. OnSong Console is no different. The connection between your device and your computer is created because both devices are attached to the same network. Your computer can be connected to this network with a wire, or wirelessly. The requirement is that they are on the network with the same name. Your iPad or iPhone connect to the network and are assigned a unique IP Address. Think of this as a phone number that other devices use to call your device.
- Network use of custom ports
- This one is a little more technical but pretty easy to explain. Each device on your network can be contacted through different ports. Ports are like extensions for a phone number. You may call the main business's phone number and then can choose who your want to speak with. OnSong uses ports 5076 and 5077 to communicate with your computer. If you have trouble connecting to Console, this requirement is the most likely cause. Some network security measures like firewalls and routers with policies may block these ports or make it difficult to get through. Kind of like a cranky receptionist meets Rambo. Please refer to the Troubleshooting Guide for help.
- HTML5-compatible web browser
- OnSong Connect should work with most web browsers that are in use today. Inevitably there are some who may have older versions of web browsers that do not support the web standard required to use OnSong Console. We recommend that you use a current version of one of these browsers, in order of best experience:
- Apple Safari v7.x
- Google Chrome v37.x
- Mozilla Firefox v31.x
- Internet Explorer v11.x
- Javascript-enabled browsing
- OnSong Console is an advanced web application that requires Javascript to operate. Make sure that you do not have Javascript disabled as that will cause Console to not start up.
Setup
OnSong Console is a web-based application that runs in a web browser. It is powered by OnSong running on an iPad, iPhone, or iPod touch. This section will cover running Console and what you need to know to get up and running.
Preparing the Network
To get started, make sure both your iPad or iPhone are on the same network as your computer. This can be any name. OnSong does not set up it's own WiFi network like other devices. Instead, just make sure that you are connected to the same network as your desktop or laptop computer where you plan to use console.
Enabling Console
To enable console, open OnSong on your iPad or iPhone and choose the Utilities menu in the menubar. On and iPad, this is located by tapping on the gear icon in the upper-right corner. On an iPhone or iPod touch, this can be accessed when viewing a song. The gear icon will appear in the upper right corner of the screen.
Next, tap on the Console option in the menu. This will open the Console screen with text that explains what Console is, along with the video tutorial. You will notice an "Enable Console" button in the lower center of the screen as well as a potential price in the upper right corner. Tap on the "Enable Console" button or the price to purchase Console. Console is $9.99 USD. Once purchased, the console will be enabled. If you've already purchased Console previously, simply ensure that the console is enabled by tapping "Enable Console".
After a moment, a web address will appear under the enable/disable button. You will want to enter this web address into your web browser in order to load the Console web application. Remember to type in every part of this web address so your computer "calls" the right person... so to speak. If all is successful, you will get a splash screen containing an OnSong logo.
Granting Access
You don't want just anyone peering in on your music library. OnSong maintains a list of who may connect to your device. You'll notice a message below the logo in Console that says "allow access to this browser on the host device to connect". At the same time, you will notice an alert appear within OnSong on your device. Agree to this prompt within 30 seconds to add the device to the whitelist of allowed devices for use with OnSong Connect.
OnSong Console generates a random identifier to identify itself to OnSong. It then stores that identifier as a cookie in your web browser. That means as long as you don't use a different OnSong library, clear your cookies or use a different web browser or computer, you can continue to use that device indefinitely without needing to approve the connection each time.
If you choose to not accept the connection, OnSong will inform the web browser running Console so that it stops trying to connect. This will render OnSong incapable of accepting new connections for 5 seconds. After this time, OnSong will listen for new incoming requests to connect.
Troubleshooting
While connecting to Console should be easy, you may experience difficulty. This is because Console relies on your network setup and computer configuration, which may inadvertently be blocking access to the service running on the device. The following are things to check to resolve most of these issues:
- Check your web address
- Believe it or not, one of the most common issues is that the web address that was entered into the web browser is either not correct or incomplete. Be sure to type the full web address that appears in the Console screen in OnSong. The web address must start with "http://", contain four numbers separated by periods, and end with ":5076", which is the port.
If Console was working and you've connected to another network, such as traveling from work or church to your home, then you may need to check for an updated web address. This is because as your device connects to new networks, it is assigned a different IP address. OnSong 1.99 automatically switches the IP address as the networks change, but you will need to make sure you are using the most current web address as displayed in the console screen.
If you bookmark the web address, it is likely to not work in the future. This is because your network may assign a new IP address to your device in the future. Some networks will attempt to reuse the same IP address for the same device, but may need to assign a new one if there is a conflict.
- Check your network
- Make sure that both your computer and iOS device are connected to the same local area network. OnSong does requires a common WiFi connection to communicate between the devices.
More advanced network connections or public networks may have restrictions to prevent users from abusing the service or to maintain the user's privacy. If you are at a public location and having trouble using OnSong Connect, you may want to try a different network to see if the problem persists.
If you don't have a WiFi network available, you can also set up your iPad or iPhone to be a cellular hotspot if it has cellular capability. Remember that OnSong Console does not use the Internet, so you shouldn't receive any usage for enabling Console while connected to a cellular hotspot.
- Check your firewall
- One of the most common issues in connecting to Console is a computer firewall that denies access to resources in order to protect itself from possible security issues. If you are having trouble connecting to Console for the first time, go into your computer's firewall settings and temporarily disable the firewall. You can then determine if that is the issue. If this enables Console to work, be sure to grant ports 5076 and 5077 access.
- Check your web browser
- Console works on all modern web browsers that support the HTML5 standard and Canvas tag. You may have an older browser that won't work correctly with Console. If you are unsure, we recommend downloading and installing Google Chrome. This browser is updated often and supports all the standards required to run OnSong Console.
Disabling Console
While there's no pressing need to disable the Console, there are a few reason why you should. First, you probably don't want just anyone attempting to connect to your device. It would require them to be on the same local network as you and have the ability to guess or scan for your OnSong device, but it is possible. Turning the Console off will prevent them from connecting to you.
While very small, OnSong Console does use a few extra resources while running. On stage, a little extra battery life and performance can go a long way. That's just another reason to turn it off if you're not using it.
To disable Console, open the Console screen and tap on the button again to Disable Console. After a moment, the button will change back to Enable Console and the web address will be removed.
User Interface
Once you've loaded Console into a web browser, you're ready to get to work. Console let's you import or create songs as well as edit the songs you already have in your OnSong library on the device. This is accomplished by selecting a song, making changes in the editor, viewing in the real-time preview screen, and then saving. Let's take a look at the different areas of the Console's interface to help with each of these tasks.
Header
The top is the header which contains the OnSong logo. To the left of the logo is the name of the current song. If you have made changes to the save, a save button will appear to the right of the song title allowing you to save changes back to your OnSong library on the device. Finally, the help link is located on the far right and provides access to this web site.
Palettes
Palettes are floating windows that can be placed around the user interface. These palettes can be opened and closed using the menubar of the following panes.
Song List
The song list is displayed on the left and contains all the songs in your library. To view and edit a song, just select it from the list. This area also contains a search bar to search songs in your library as well as an add button to create new songs or import existing songs from your computer. Tapping on the + button displays the Add Songs Palette.
Song Editor
The song editor appears in the center of the screen and provides a text editor for making changes to your song. The toolbar items give you access to tools for managing your content such as the metadata, insert and text tools palettes, as well toolbars to convert text and delete the song.
Song Preview
The song preview pane displays the chord chart on the right side and is updated as it is updated in the song editor. The toolbar items allow you to turn certain features on and off such as Low Light mode, Pages mode, and follow mode. The toolbar also gives you access to additional palettes including style palette (to make changes to the look of the song) and chords palette (to transpose and capo). Lastly, you can toggle between the text and imported files with the view as menu, or export and print using the export menu and print button.
Palettes
Palettes provide the means to interact with songs and are similar to menus in the OnSong app for iOS. These palettes are opened by toggling buttons in the toolbars of the various panes in the application. Once opened, you can close and minimize the palette using the buttons in the upper-right corner of the palette titlebar.
Here is a list of all the palettes used in Console:
Add Songs Palette
The add songs palette is opened in the Song List pane and is used to create new songs or import files.
Metadata Palette
Provides fields that can be set to write the metadata of each song in the proper format. This is similar in function to the Metadata Editor found in the Song Editor.
Insert Palette
Provides buttons to insert chords and sections, as well as line formatting characters without needing to know the OnSong file format codes.
Text Tools Palette
Provides tools like search and replace, as well as the ability to toggle between chord formats similar to the Text Tools Menu in the Song Editor.
Style Palette
Enables you to customize the look of the song in a way similar to the Style Preferences Menu.
Chords Palette
Gives you options for transposing and capoing chords, as well as controlling how chords and diagrams appear on the screen. This is similar to the bottom of the Style Preferences Menu.
Add Songs Palette
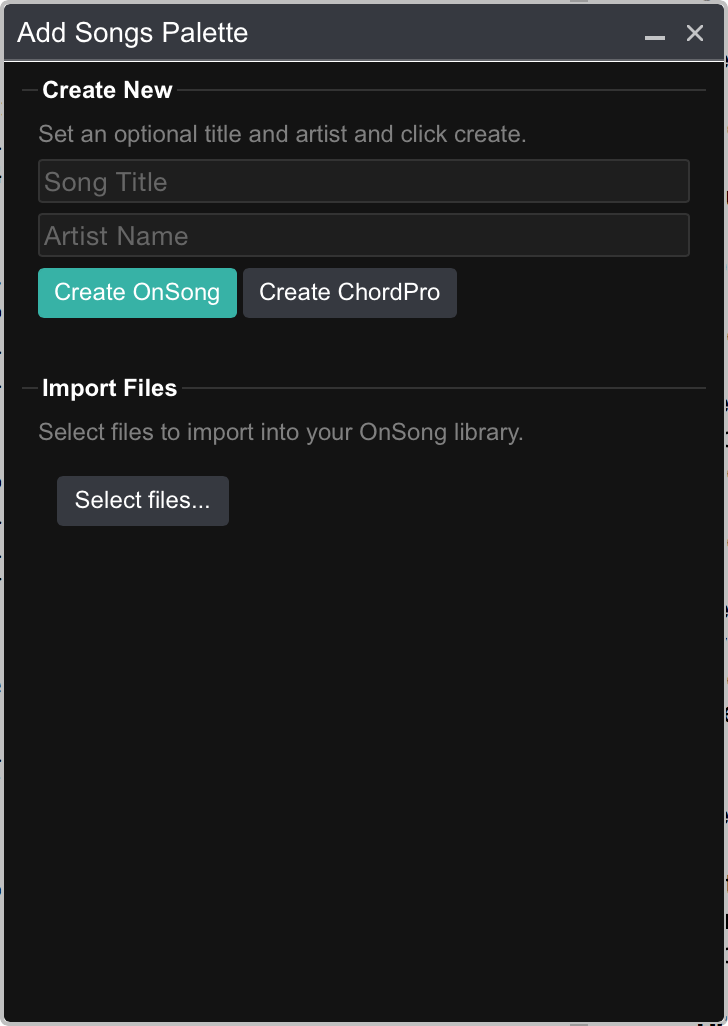
The add songs palette is used to either create a new song completely within the Console, or to upload Supported Files to create songs.
Create New
This section of the palette allows you to type an optional song title and artist name. You can then click on one of the buttons to create the song and open it in the Song Editor.
- Create OnSong creates an OnSong-formatted file with the optional song title and artist name.
- Create ChordPro creates a ChordPro-formatted file with the optional song title and artist name.
Import Files
This area of the palette allows you to import one or more files at once into OnSong. Click on the Select files... button to open a file chooser window. Browse and select a file to import. Use the shift, command and control keys on your keyboard to select more than one file to import.
When you are all done, click on the Choose button in the window. Console will automatically upload and import those files into your library and show you the import status below the Select files... button. You can then close the palette to continue editing.
Insert Palette
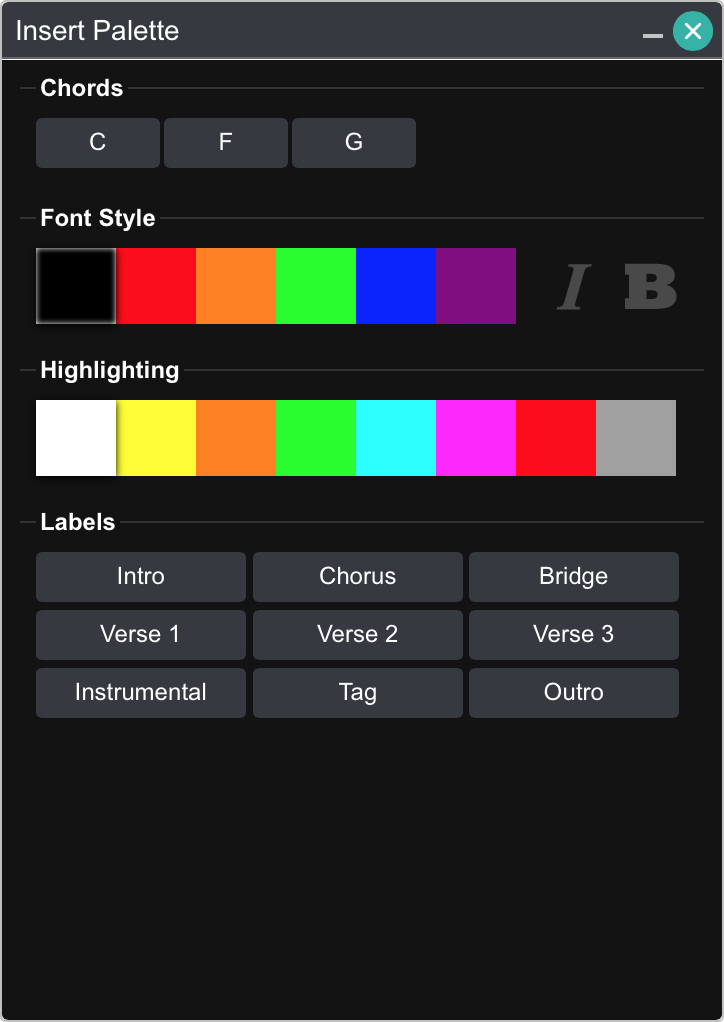
The insert palette is used to insert chords, line formatting, and section labels into a song. Position the text cursor where you would like to insert chords or on the line where you'd like to apply line formatting.
Chords
As you write new chords in the text editor, they will appear here. Position the text cursor where you would like to insert the chord and then click on a button to insert the chord in that location. Position of the cursor differs for each chord format:
- Bracketed Chords requires the cursor to be placed within lyrics where you would like the chord to be played.
- Chords Over Lyrics requires the cursor to be placed above lyrics and positioned above lyrics using spaces.
Font Style
Click on a color to insert color codes at the front of the line. You can also toggle the bold and italic buttons to insert those line formatting codes as well.
Highlighting
Click on a color to add highlighting line formatting code to the front of the line. The white option will remove the code.
Labels
Common section labels appear in this section. Tap on one to name the current section.
Metadata Palette
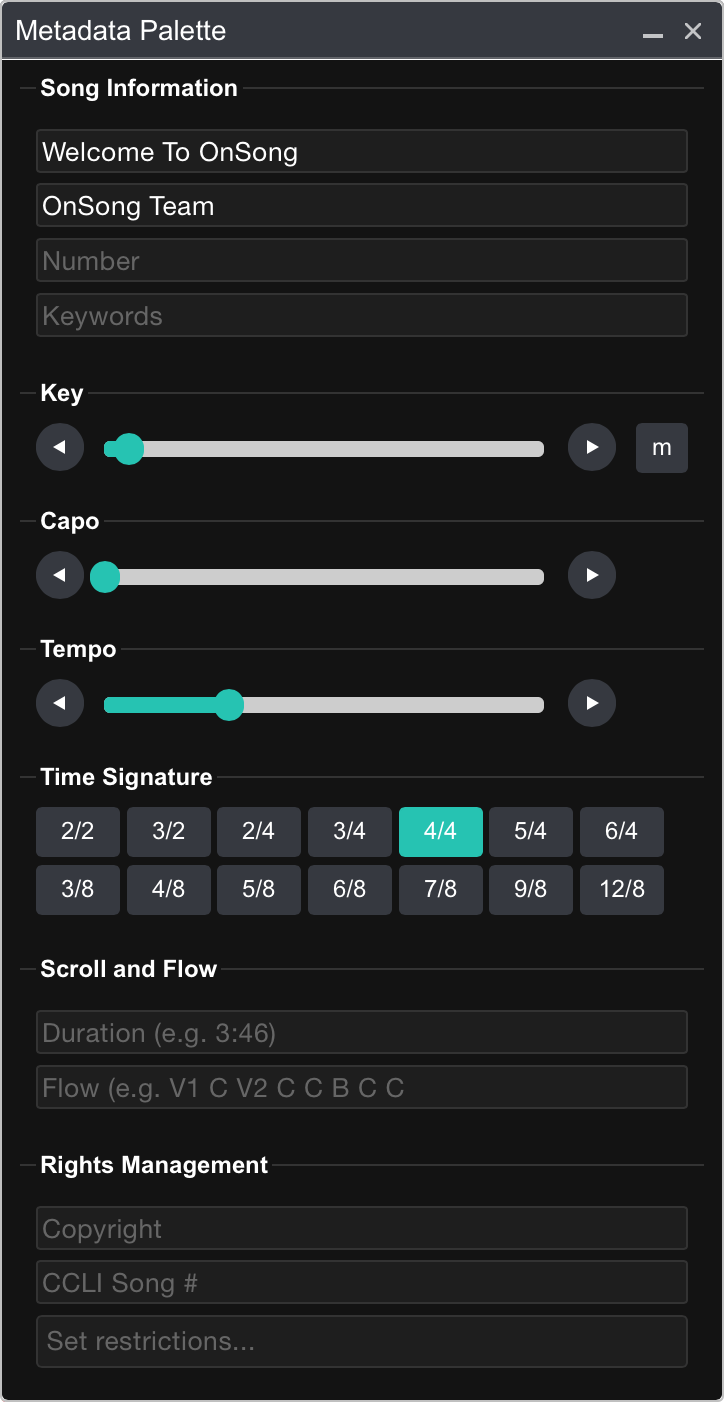
The metadata palette automatically updates its fields as you select songs in the Song List. Change the contents of the fields to have OnSong update the metadata section of your song. This palette includes these fields:
Song Title
The title of the song.
Artist
The name of the artist or the byline to output under the song title.
Number
A number used to lookup the song in numbered music collections like hymnals.
Keywords
Keywords or topics to enter for the song. This is used in the By Topic tab in the Songs Menu.
Key
This sets the key of the song. If the key had been already set and there are chords in the song, this will also rewrite the chords of the song into that key.
You can also change the mode of the key to minor by clicking on the "m" button on the right side. The song contents are not rewriting when toggling between major and minor keys.
Capo
Sets the recommended capo level for the song.
Tempo
Set the tempo using this slider. Remember that you can click on the arrows to the left and right of the sliders to fine-tune adjust the values.
Time Signature
Click on a button that represents the time signature of the song to be written in the metadata section. If you do not want a time signature outputted, click on a selected time signature again to remove it. If the time signature you need is not in the list, congratulations on your rhythmic genius. Because of your skills, you'll just need to write the time signature yourself.
Duration
This is the time duration of the song. Set this to a default to enable autoscrolling with the approximate speed. This can be expressed as hh:mm:ss or numeric seconds.
Flow
This is the flow of the song used to arrange the parts of the song into a top-down fashion. Please see Flow for more details.
Copyright
This is the copyright line of the music. This will appear at the bottom of chord charts as well as in lyrics projection.
CCLI Song
This is the unique identifier for registering the song with CCLI SongSelect reporting. This will appear at the bottom of the chord chart on screen as well as at the bottom of lyrics projection.
Restrictions
These are a list of restrictions that are used to limit what recipients of the song can do with it. Please see Restrictions for a list of possible options.
Text Tools Palette
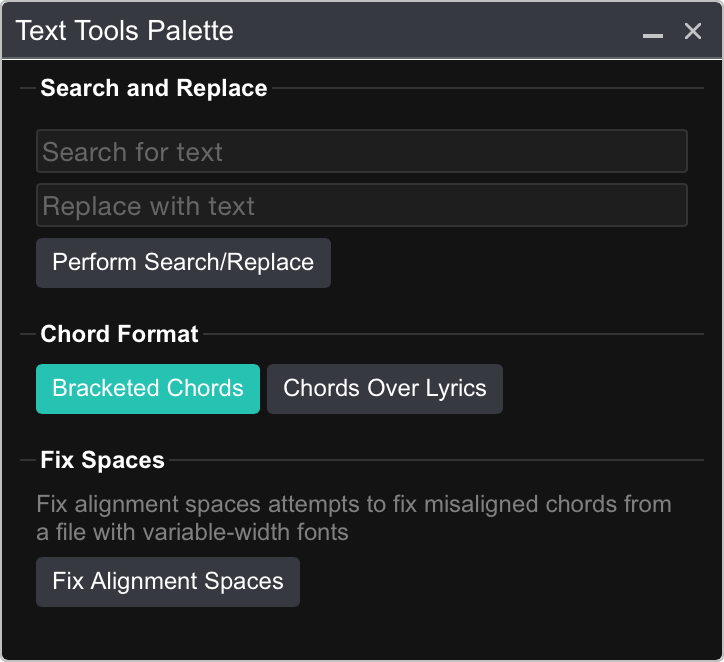
The text tools palette is used to perform operations on the text content of the song. This can help you change text quickly or switch and fix chord formatting.
Search and Replace
This section of the text tools palette is used to search and replace text in the Text Editor. This is useful for replacing words or chords when using bracketed chords. For instance, you can change all instances of [A4] to [Asus4].
To use, type the search value in the first field and the replace value in the second field. Then press the Perform Search/Replace button to perform the operation.
Chord Format
This section includes toggle buttons that allow you to switch between the two supported formats. If there are any square brackets located in the song content, the Bracketed Chords button is selected. Otherwise the Chords Over Lyrics button is selected. Press the opposite button to reformat the text content into the desired chord format.
It is useful to switch the bracketed chords when splitting or combining lines. This is because the chords will travel with the lyrics in this case. You can then switch to chords over lyrics if you would like to position chords in a more visual manner.
Fix Spaces
This section provides a single-use tool for correcting issues that may occur when converting text from a word processor. You may find that chords are pushed to the right and beyond the lyrics they used to reside over. This is due to variable-width fonts that require many more space characters to align chords above lyrics.
Press the Fix Alignment Spaces button to have chords detected and the space between the chords reduced by a specific amount. This usually will align the chords very close to their original positions when viewed in a word processor or printed. From there you can more easily adjust the chord positions.
Chords Palette
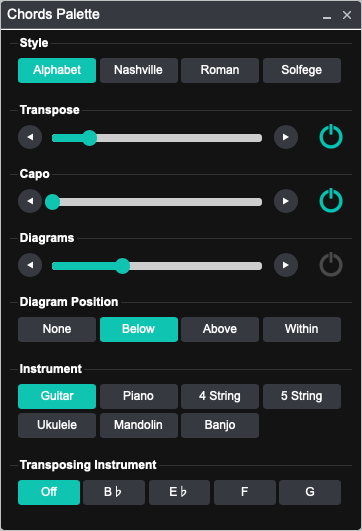
The chords palette provides tools for changing how chords appear in the chord chart. This affects both transposition, appearance, and chord diagrams.
Style
Typically chord charts use alphabetic characters to define chords. OnSong can convert alphabetic chords into numeric ones to better suit musicians that play using a number system. The selected style is highlighted. Choose from one of the following chord styles:
- Alphabet uses letters A-G with sharps and flats to indicate precisely what chord should be played. If using different chord localizations, this may also include an H. Default.
- Nashville uses a decimal numbering system which indicates the chord number based on the root chord of the key. In addition, this method uses symbols for different chord variations.
- Roman uses upper and lowercase Roman numerals for chords. Major chords are represented in uppercase while minor chords are lowercase. Symbols are also used to indicate different modes such as a minus symbol for minor.
- Italian uses do, re, mi, fa, so, la, ti, do instead of numbers. Symbols are used to indicate different modes such as a minus for minor.
Transpose
Use this slider to transpose the song to any key. The key of C is placed on the far left and the key of Cb is on the far right. You can use the arrow keys to make fine-tune adjustments the key you would like to pick.
The power icon on the right turns transposition on and off. If turned off, and if no capo is applied, then no transposition is performed. This will display chords just as they appear in the Song Editor.
Capo
This slider allows you to apply a capo to the song. Slide from 0 to 11. This will modulate the chords of the song down to maintain the key of the song when a capo is applied. You can change the direction of this modulation in Settings » Display Settings » Song Formatting » Capo » Capo Modulates
You can turn the application of the capo on and off using the power icon on the right side. This allows you to maintain a capo and determine if you want to apply it or not depending on the instrument you are playing.
Diagrams
This section of the chords palette is used to toggle the chord diagram display on and off. Use the slider to adjust how many diagrams appear across the page. You can select a number between 4 and 10. Use the power icon on the right to toggle the visibility of chord diagrams on and off.
You can change how and where chord diagram appear in Settings » Display Settings » Song Formatting » Chord Diagrams.
Instrument
This section allows you to select the instrument to use when displaying chords. The selected instrument is highlighted. Choose a different instrument to have the chord diagrams change to the selected instrument.
Note: Making changes in this palette does not affect the song content but is applied in addition to the original song.
Style Palette
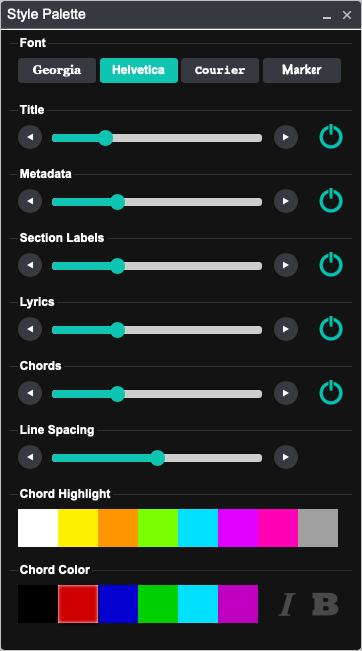
The style palette is used to change the way the chord chart looks in the Song Preview Pane. Use this to change the font, size, visibility, and color of different parts of the chord chart.
Font
This section contains toggle buttons that allow you to choose the typeface in which your chord chart should appear. Press the font button to make a change. The current font selection is highlighted.
Title
This slider allows you to the change the size and visibility of the title of the song. Slide to the left or right to decrease or increase the font size. The point size of the font is displayed as you adjust this. You can also click on the arrow buttons to the left and right to fine-tune adjust the amount. Tap on the power icon on the right to toggle visibility of the title on and off.
Metadata
This slider allows you to the change the size and visibility of metadata of the song. This includes the artist name, key, capo, tempo, and time signature.
Slide to the left or right to decrease or increase the font size. The point size of the font is displayed as you adjust this. You can also click on the arrow buttons to the left and right to fine-tune adjust the amount. Tap on the power icon on the right to toggle visibility of metadata on and off.
Lyrics
This slider allows you to the change the size and visibility lyrics in the song. Lyrics comprise all content in the song other than chords such as musical instruction, section labels, etc.
Slide to the left or right to decrease or increase the font size. The point size of the font is displayed as you adjust this. You can also click on the arrow buttons to the left and right to fine-tune adjust the amount. Tap on the power icon on the right to toggle visibility of lyrics on and off.
Chords
This slider allows you to the change the size and visibility of chords that appear above or within lyrics. Chords are detected in the song or have been surrounded with square brackets.
Slide to the left or right to decrease or increase the font size. The point size of the font is displayed as you adjust this. You can also click on the arrow buttons to the left and right to fine-tune adjust the amount. Tap on the power icon on the right to toggle visibility of chords on and off.
Line Spacing
This slider is used to adjust the spacing between text in the chord chart. Slide to the left or right to decrease or increase the line spacing. You can use the arrow buttons to the left and right to fine-tune adjust the amount.
Chord Highlight
You can choose the highlight chords in your chord chart using this color picker. Click on the color of the highlight you desire. It will display under the chord in 50% opacity, just like a highlighter. Choosing the white color option removes the highlight.
Chord Color
This section allows you to change the color of the chords as well as their appearance. Click on a color in the color picker to change the color of the chord text. Choosing black uses the default text color which is black or white depending on the selected low light mode.
You can also toggle italic and bold appearance on and off for the chords as needed for extra visibility.
Song List
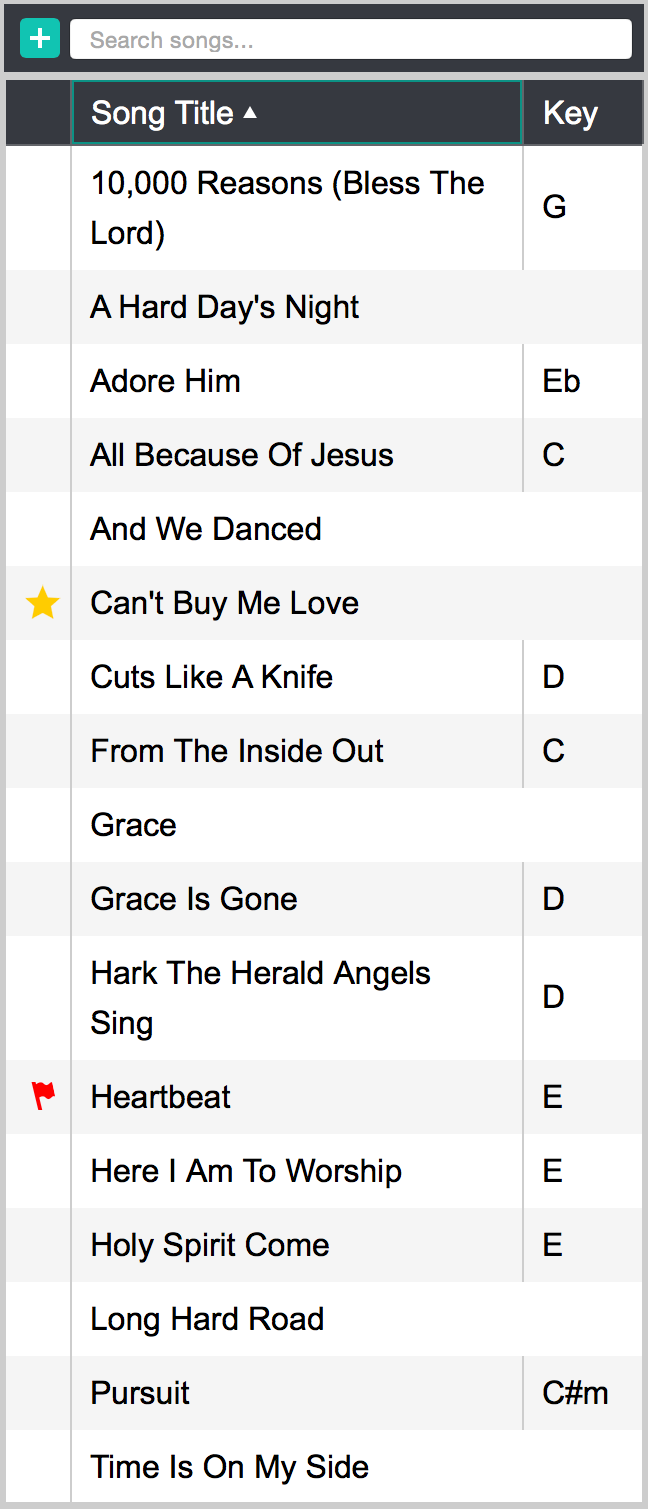
The song list appears in the left-most pane of the web app and is used for finding and selecting songs to view and edit. Use one of the following to add, import, or edit songs:
Add Button
The + button in the upper left corner of this pane opens the Add Songs Palette. From here you can create new songs or import songs that are stored on your computer.
Search Bar
The search bar gives you an area to type keywords. Press enter on your computer keyboard to filter the list by those keywords. You can then clear the search field to view all songs again.
Song List
The majority of this pane displays a table of songs. Three columns provide common information for browsing songs including:
- Icon column displays an icon that was picked from the Organizer Menu. You can sort songs by this attribute by clicking the table header in the column.
- Song Title displays the name of the song. You can sort the list by song title by clicking on the column header. The song list is sorted by the song title by default.
- Key displays the key of the song if one is provided. Clicking on the table header above this column will sort the songs by key.
Click on a song to load it into Console. The song's contents will appear in the Song Editor and the song will be previewed in the Preview Pane.
Song Editor
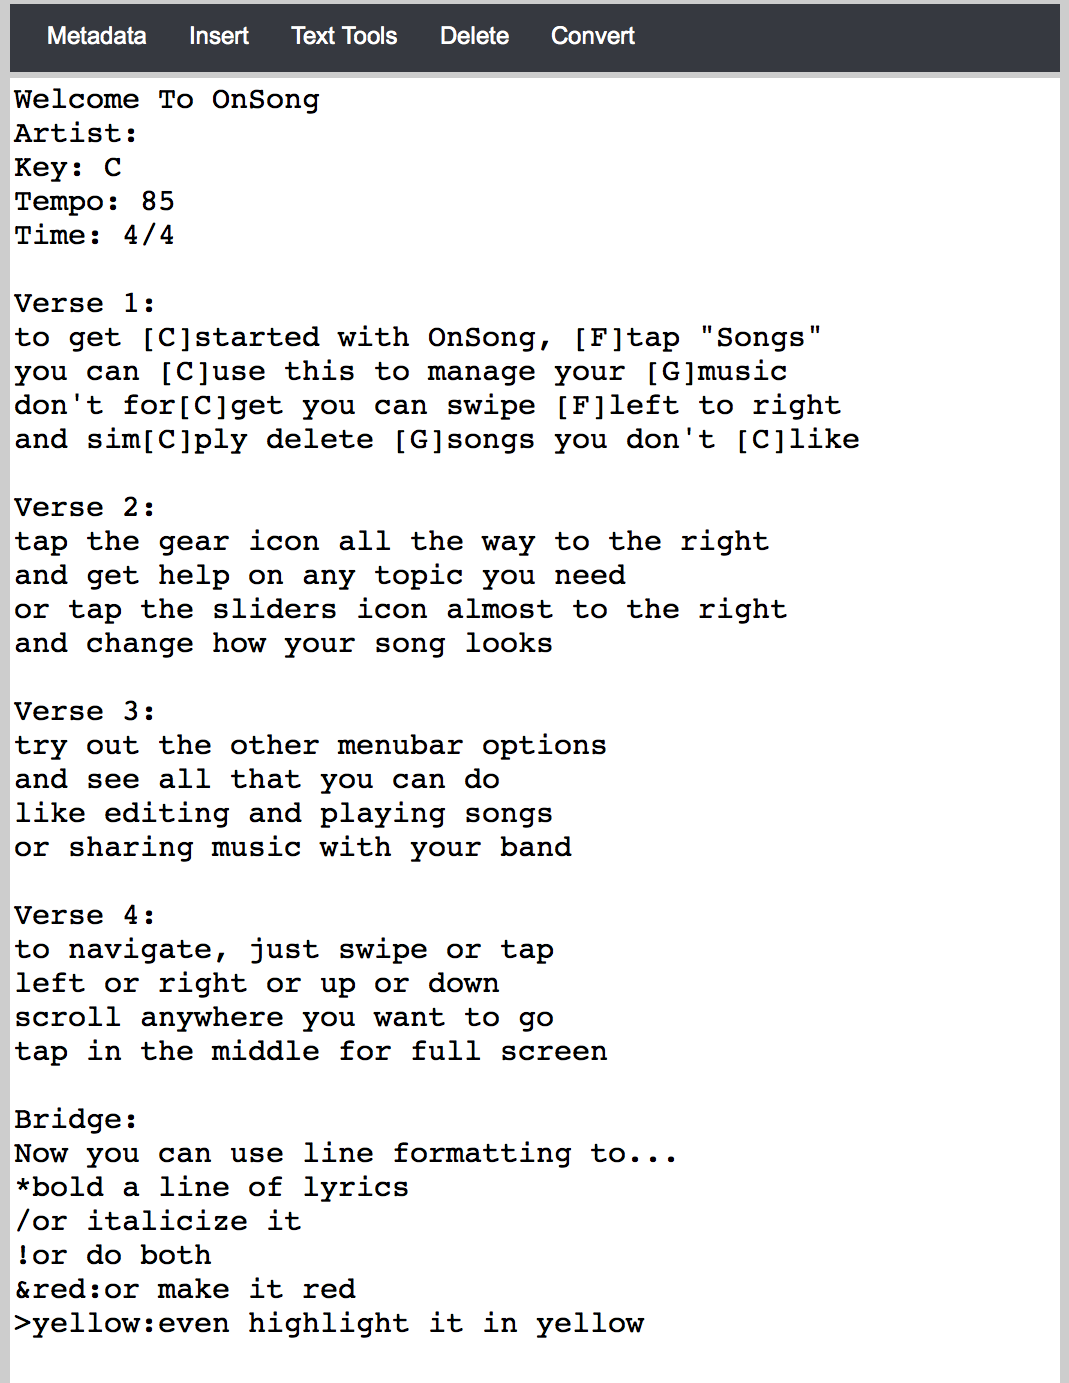
The song editor contains tools and a large text area used to change the text-based content of the song.
The text editor component of this pane allows you to type content using the full-sized keyboard of your computer. As you type, the changes you make are reflected in the Preview Pane on the right. This gives you feedback on what the song will look like to avoid trial and error.
In addition to typing content in the text editor, you can also use palettes accessible from the toolbar to get the song looking just right. The toolbar buttons include:
Metadata
This toolbar button toggles the Metadata Palette on and off. Use this to set information about the song without knowing OnSong or ChordPro tags.
Insert
This toolbar button toggles the Insert Palette on and off. Use this palette to insert chords, section labels, and line formatting into the text editor.
Text Tools
This toolbar button toggles the Text Tools Palette on and off. Use this to change the formatting of the song or perform search and replace functions.
Delete
Click on this toolbar button to delete the song from your library. When you choose this option, you will be prompted prior to the song being deleted.
Convert
When you've imported a convertible file such as PDF or Microsoft Word, this option becomes enabled. Click on this to begin the conversion process on the host device. Once completed, the text editor is updated with the newly converted text.
Song Preview
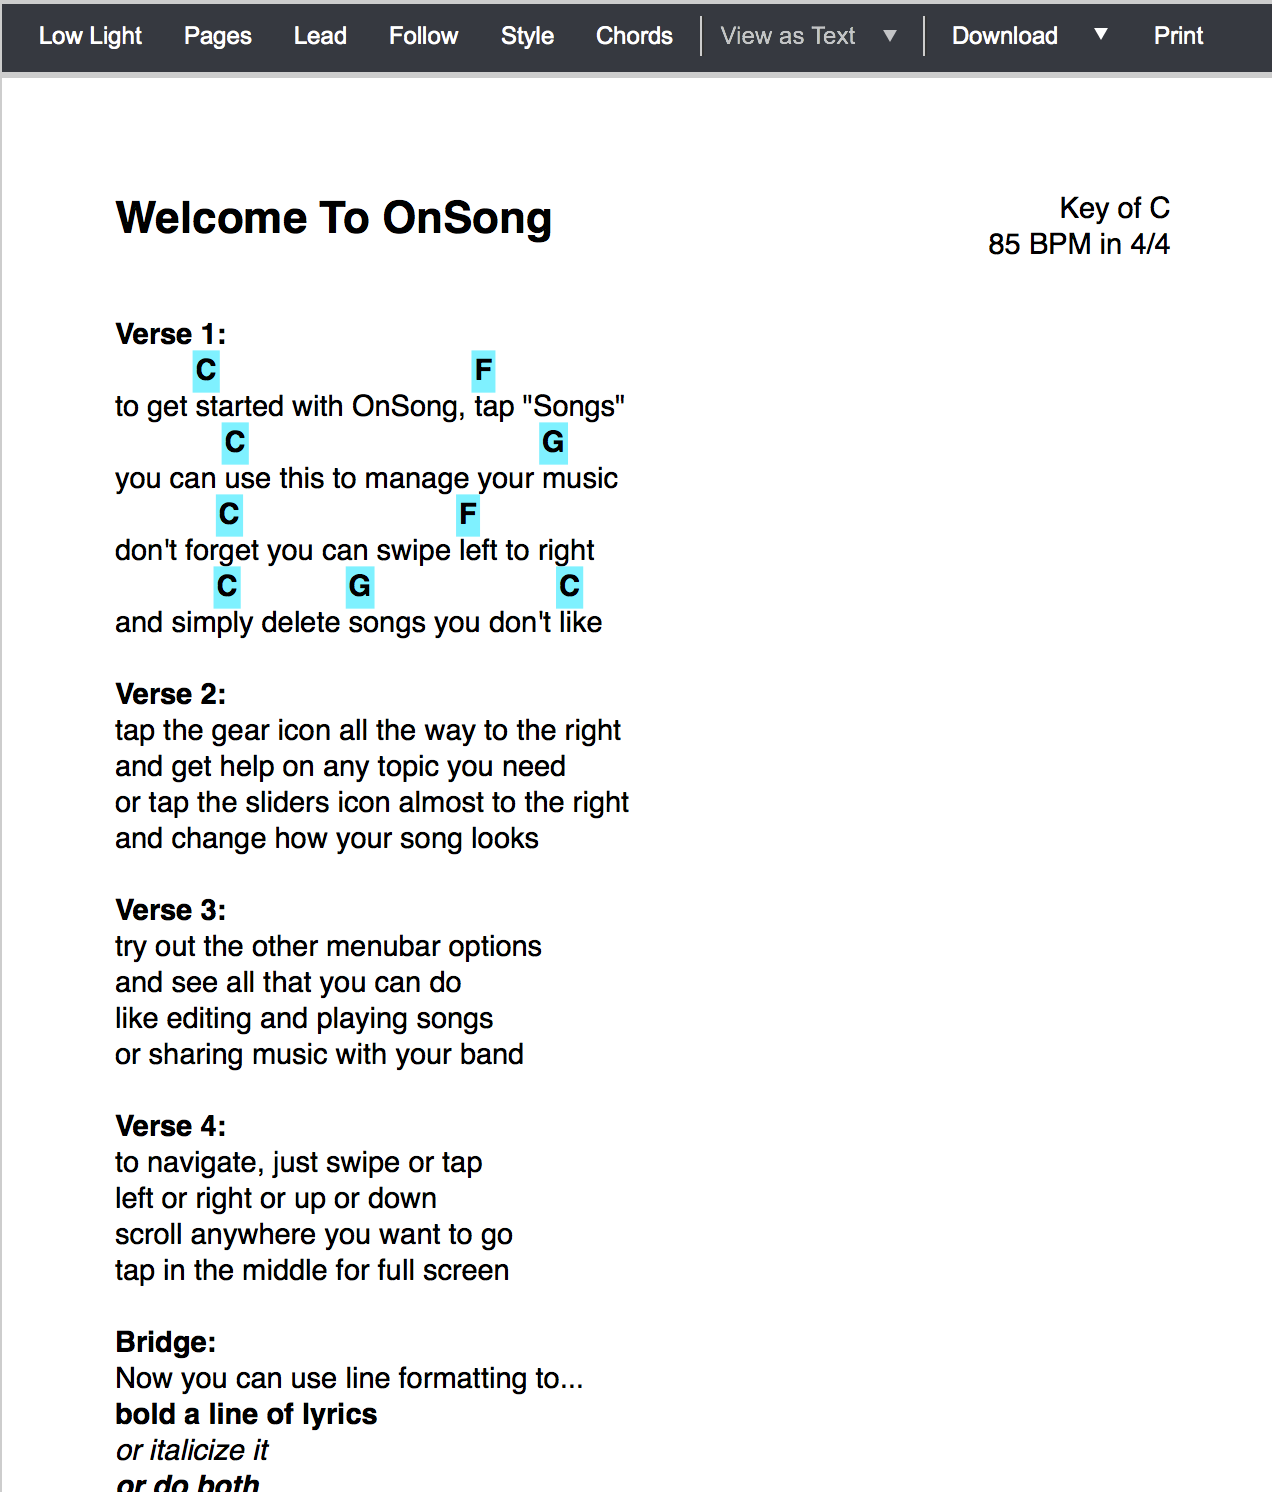
The song preview pane displays how the song will look inside of OnSong. This uses the HTML 5 canvas tag to draw the song just the way OnSong does. You can scroll this pane to view the entire song. Use the toolbar to toggle features and palettes on and off.
Note: If you are viewing a file that is not text-based, it is up to the web browser if and how the file will be displayed. Most web browsers can view PDF files in a browser window, but other documents such as Microsoft Word will be downloaded to your computer for viewing in a separate application.
Low Light
Click on this button to toggle low light mode on and off. Not only does this show you how the chord chart will look in the preview, but when you save your changes the host device will also switch to low light mode too.
Pages
Click on this button to toggle viewing the chord chart on physical pages. This will divide your song based on the Page Layout options you've set in settings. This can give you an idea of how the chord chart will print.
Lead
When you turn on lead, action you make in Console like changing songs, scrolling and selecting sections also take place on the host device. This allows Console to remotely control another iPad, iPhone or iPod touch.
Follow
When you turn on follow, Console will load the currently viewed song on the host device. In addition, the screen will scroll along with any changes made on the host device. This is handy for knowing the song that is loaded on the device.
Style
This opens and closes the Style Palette, allowing you to style how the song should appear in the preview and on the device.
Chords
This opens and closes the Chords Palette so you can transpose, capo, and change the way chords and diagrams appear on the screen.
View As...
When viewing external files such as a PDF, this will display the PDF in the preview pane. You can switch between that and the text-based version of the song similar to the Use the imported file instead of OnSong switch in the Conversion Toolbar of the Song Editor.
Download
Click on the down arrow to choose a format to download the chord chart in. This will use the host device to create the file so be sure to save your changes first.
Click on the print button to have the host device generate the print-ready PDF file and print it from your computer. This will prompt you to save your changes before printing.
Download Menu
When you click on the down arrow next to the download toolbar button, you can choose one of the following formats to download to your computer.
Note: This uses the host device to generate the content so you will be prompted to save any changes prior to the file being generated.
Header

The header portion of the console interface appears at the top of the browser window. This contains the following elements:
OnSong Logo
The OnSong logo appears on the left side of the header to visually reinforce the web app. In addition, this logo's glow will pulse subtly when network operations are occurring.
Song Title
The song title appears prominently and changes as you select a different song in the Song List.
Save Button
The save button will appear once you've made a change in the Song Editor or in one of the palettes.
Lyrics Projection Button
Tapping on the lyrics projection button will open a new window suitable for running lyrics projection from within a web browser on a remote machine.
Help Link
This will link to the Console help web page on the OnSong web site.
Lyrics Projection
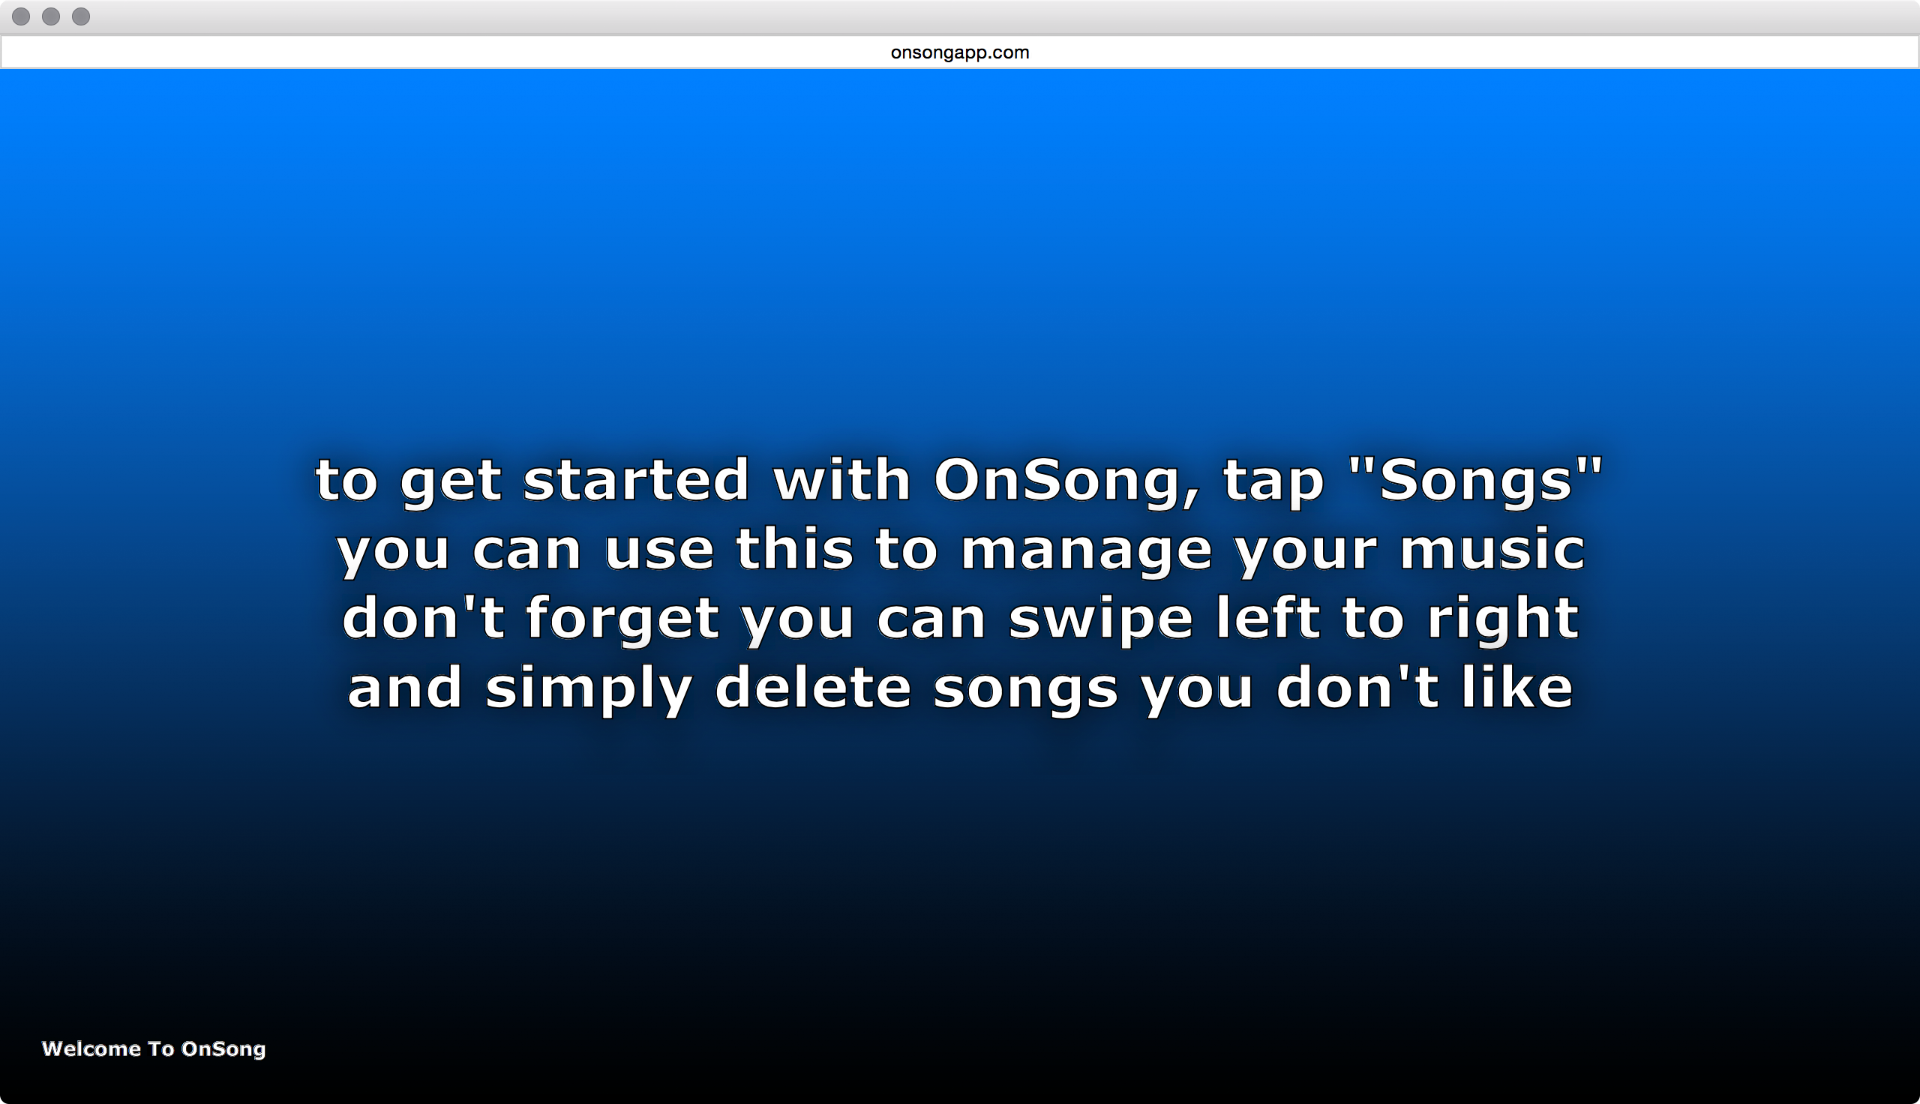
Tapping on the lyrics projection button in the Console will open a new window that displays the configured background and lyrics. This allows you to display lyrics from a remote computer and operate it with OnSong running on an iOS device, or through the console if the leading is enabled.
Full Screen Mode
Drag the window to the external screen you'd like to target and click in the body of the window. This will cause the window to enter full screen mode. You can then press ESC on the keyboard to exit full screen mode. Keep in mind that full screen mode acts differently depending on your browser and platform.
Navigation
When the lyrics window is enabled, you can use the arrow keys on the keyboard to move between sections.
Background and Styles
Currently all changes to the look of the lyrics projection must be performed through the External Video Menu from inside the host device.
Frequently Asked Questions
Here are some questions that you may have before purchasing, or when using OnSong Console.
- Does Console work on Windows or just Mac?
- OnSong Console works on both Windows and Mac, and most likely Linux too. It just requires a modern web browser that supports the HTML 5 and CSS 3 web standards.
- Do I need to purchase Console for every device I own?
- No. As long as you are using the same Apple ID to access the App Store, you only need to pay once. In addition OnSong Console is included in an OnSong Premium subscription. You may need to make sure you are signed in with your account or restore past purchases otherwise.
- My computer is wired to my network, but my iPad is wireless. Will Console still work?
- Yes. As long as both devices are on the same computer network, a wired connection or wireless shouldn't matter.
- Both my devices are on the same network but I only get a blank screen in my web browser. Why?
- OnSong Console works by turning your iPad or iPhone into a mini web server which may not be appreciated by some networks. Please try the following if you are having trouble connecting to Console:
- Ensure that your iPad or iPhone is on and OnSong is running. Console requires OnSong to be running in order to communicate.
- Disable and enable Console from the Console screen in the Utilities menu, or restart your iPad. In some cases, the web address that is shown may not be correct, especially when switching between networks.
- Make sure you are typing in the web address correctly. You must add the http:// before the four-part number called an IP address, and include the colon with the port number (5076).
- Some corporate networks do not permit other services to be running. Check with your IT staff to see if you are allowed to run console in that environment. OnSong Console operates on ports 5076 and 5077. Some networks may block traffic on these ports. Log into your router and be sure to allow these ports to be active on the network. Some corporate networks do not permit other services to be running. Check with your IT staff to see if you are allowed to run console in that environment.
- If you are running a firewall on the computer, temporarily disable it to make sure that it is not inhibiting traffic.
- Try a different network to see if that helps resolved the issue.
- Can I use my iPhone or iPad hotspot connection instead of a WiFi access point to use Console?
- Yes. Turn on the hotspot in your device's Settings screen and use the WiFi option. Bluetooth or USB will not work. Connect your computer to the hotspot network, and connect your device if it is not already the hotspot. Keep in mind that some carrier may charge you for hotspot connectivity.
- My Console screen is telling me to type in 127.0.0.1:5076 and it doesn't work. Any ideas?
- 127.0.0.1 is essentially the iPad or iPhone referring to itself and is caused by the network IP address not being able to be resolved. Go into the Console screen and disable and enable the console again to see if that refreshes to a different web address. You can also go into the Share menu » Connect » Servers and use the IP address found under your device's name.
- What web browsers does Console work with?
- OnSong Console is an HTML 5, web-based application. This means that it works on modern web browsers such as the latest versions of Chrome, Safari, Firefox and Internet Explorer. Different browsers have their quirks and we are continuing to refine around these. Older versions of Internet Explorer will definitely have some issues.
- I'm getting just the opening screen with the OnSong logo and it gets stuck. Why?
- OnSong Console requires Javascript to be enabled in order to communicate with your device. Make sure that Javascript is enabled in your web browser's preferences and that no additional security plugins are preventing Javascript from operating.
Drawing
 Whether you are practicing or playing on stage, OnSong has many ways to make your music work for you. Sometimes you need to be able to sketch an idea or some instructions on your music. For that, you can use the Drawing Annotation. You get an intuitive drawing bar you can use to write and highlight. It also features a full undo/redo stack with layers.
To get started with drawing in OnSong, use the Drawing Annotation available in the Annotations Menu.
Files
 The Files app in iOS 11 and higher gives you a centralized location to manage documents and data that you store in services like Dropbox or Microsoft OneDrive. This was formally known as storage providers on older iOS versions. This system allows OnSong to import or export to your favorite cloud storage even if it's not available directly inside of OnSong.
Installing Apps
In order to import or export to these services, you need to install apps that support iOS storage providers so they appear in the Files app. There is no definitive list of apps that support this extension, but known apps include:
Importing
To import from another storage provider, go into the Songs Menu » All Songs and then tap on the + button to Add Songs. Tap on Files to open a window that displays that loads the storage provider interface. By default, iCloud Drive is opened. To choose a different storage provider, tap on the icon in the upper left corner. Tap on More to enable the apps that you've installed that are supported.
Exporting
To export, tap on the Share Menu from the menubar and then choose Export. Tap on the folder icon in the lower right corner and choose Files. Choose the file formats you would like to export and then tap on the Export button in the upper right corner. OnSong will again open the storage providers window. Choose a folder to export the files to.
Limitations
There are some limitations to using storage providers.
- Keep in mind that once the Files window opens that each interface is controlled by the app you choose. That is why each process of importing and exporting files is a little bit different.
- The Files interface may not support importing or exporting multiple files depending on the version of iOS you are using. This is why you can only choose one file to import, and multiple files are exported as a ZIP file. This may be supported by these apps in the future.
- You are limited to apps that support the new storage provider extension and apps that you have installed on your device.
Foot Pedals
OnSong works great with popular foot pedals to control OnSong without the use of your hands. These solutions can work great for vocalists, drummers, and other instrumentalists that need a creative way operate OnSong without taking away from why they are on stage in the first place.
Bluetooth
The most popular form of foot pedal connects via Bluetooth and is similar to a computer keyboard but for your feet. Companies like AirTurn have created stage-proven devices like the BT-105 Duo, the BT-105 Quad and the new PED that are highly reliable and flexible.
Foot pedals are set up to scroll your song and navigate your sets with a press of your foot. You can also customize the actions for each foot pedal in the Foot Pedal Setup screen. With four-pedal options you can also configure Gears to extend your foot pedals to perform even more actions!
MIDI
OnSong can be configured to work with various MIDI devices like the iRig Blueboard. The setup for MIDI devices is a bit different and does require the purchase of the MIDI Integration in-app purchase. Each pedal would need to be configured separately and does not function out of the box.
Wired
OnSong also works with wired foot pedals like the Griffin Stompbox or BiLiPro Page Turn.
Note: Keep in mind that USB foot pedals need to be able to be powered by the iOS device and require the use of a Camera Connection Kit to be connected to the device. Check with the manufacturer to make sure that the foot pedal works with iOS devices before ordering.
Supported Foot Pedals
The following is a list of foot pedals supported by OnSong.
AirTurn
AirTurn makes some of the premier foot pedals for musical applications. Musicians trust these foot pedals for their ease of use and reliability.
- PED is the latest member of the AirTurn family and is a cost-effective, all-in-one device that covers most needs.
- BT-105 Duo is the original design that covers most needs and is flexible for future expansion.
- BT-105 Quad is just what you need if you need a lot of foot pedals in a convenient package.
BiliPro
BiLiPro develops innovative peripherals for controlling your computer with your feet.
- Page Turn was originally designed for use persons with physical disabilities, but is useful for wired hands-free scenarios.
IK Multimedia
IK Multimedia is an industry leader in products for making music on mobile platforms.
- iRig Blueboard is a wireless MIDI foot switch that is useful for a number of operations.
Griffin
Griffin makes great products for your mobile lifestyle.
- Stompbox gives you real guitar stomp box feel in a single, wired package at an incredibly affordable price.
PageFlip
PageFlip makes two foot pedals to meet the needs to musicians.
Griffin Stompbox
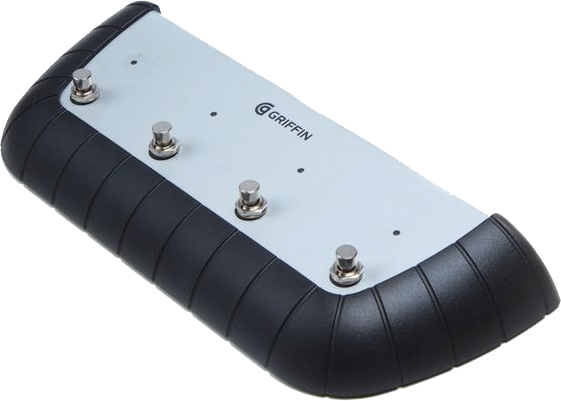
The Griffin Stompbox is a solid, wired foot pedal with a real stomp box pedal feel. In addition to four stomp buttons, it includes a 1/4" input jack for an optional expression pedal.
The Stompbox connects to your iPad or iPhone with a 30-pin dock connector. For newer Lightning port devices, you will need to use a Lightning to 30-pin Adapter.
OnSong lets you choose different actions for each foot pedal using the Foot Pedal Setup Screen. Just be sure to swipe to the Griffin Stompbox screen to enable the Stompbox and configure the buttons and expression pedal.
Hands-Free

When you're on stage, you already have plenty of strings, buttons, keys, and pedals to be concerned with. Thankfully, you can use OnSong completely hands-free, allowing you to focus on the music.
Sets
To get started, you need to first create a set and place your songs in the order you will perform them. This will allow you to switch between songs without opening the songs menu or touching the screen.
Foot Pedals
Once you have a set, you can tap on the edges of the screen to quickly navigate your song and set. But wouldn't it be nice if you could use your feet instead?
OnSong works with popular foot pedals to create the ideal stage solution. Foot pedals are designed to scroll and move through songs in your set list out of the box. You can configure them further in the Foot Pedal Setup screen.
Autoscroll
Another option is to use autoscroll, which allows you to slowly scroll from the top to the bottom of each chord chart over a specified amount of time. You can also turn on [Settings] » Live Settings » Live Bar » Autoscroll » Autoscroll Continually to have OnSong automatically switch to the next songs in the set when autoscroll reaches the bottom.
MIDI Integration
With MIDI integration, you can trigger songs to appear on your device when configured MIDI commands are triggered from MIDI-compatible software. (such as Ableton Live) Likewise, you can also scroll and navigate your sets using MIDI commands. Start your sequence and program OnSong to follow along.
Connected Devices
If you are using multiple devices controlled by one host, or if you are sharing your screen with the stage monitor mode, you can make sure that the rest of your band doesn't have to use their hands either. Here are a few ways you can connect devices:
- Connect uses WiFi to share your library with others and stream chord charts during a performance.
- OnCue is similar to OnSong Connect, but has the option of Bluetooth for streaming without a wireless access point.
- Stage Monitors allows you to turn HDTVs into virtual music stands.
Low Light Mode
 One of the advantages to using an iPad on stage is that it is automatically backlit. This means that you don't need to supply additional lighting for paper charts. Because it's backlit, it's also easier to read even though the screen is smaller. You get higher contrast and sharper text.
When To Use
If you play on a dimly lit stage or outdoors, you may quickly come to appreciate this advantage. But using white paper and black text is not ideal for these environments. The bright light can be hard on your eyes. In addition, the ambient light from screens can cause your face to glow white on stage. To make things easier on your eyes and less distracting for your audience, use low light mode.
Limitations
Low light mode will only work for text-based chord charts. Songs that are displayed as PDF, Microsoft Word or other file formats are displayed "as-is". In these cases, low light mode cannot be applied.
Enabling Low Light Mode
Low light mode is enabled either from a foot pedal, a hot corner, or from the settings screen. To enable, go into Settings » Display Settings » Enable Low Light Mode and switch that on. When you tap Done, your screen will redraw with low light mode enabled.
Now your chord chart and menus will appear with a black background and white text. If you want your menus to retain their white background and black text, you can change this settings in Settings » Menu Settings » Use Dark Menus in Low Light Mode.
Setting an Action
You can also toggle low light mode on and off using either a foot pedal, hot corner, or MIDI trigger.
- To set a foot pedal action, go into the Foot Pedal Setup Screen, tap on a foot pedal and then pick the Toggle Low Light Mode action in the Actions Menu.
- To set a hot corner or navigation zone action, go into Settings » Navigation Settings » Hot Corners or Navigation Zones and choose the Toggle Low Light Mode action for a specific region of the screen.
Messages
What are Messages?
 Communication with your band when playing live can be challenging. Hand signals and vocal cues can be used, but what if you could use colors and text to inform your band where the music is headed next?
Setup
You can create and manage personalized messages using the Messages Menu. You can also trigger messages from this menu, although when playing live, it's more useful to trigger these from a Hot Corner or from Foot Pedals.
Viewing Messages
Messages can be viewed on your device's screen, devices connected with OnSong Connect, or with any external video screens running as Stage Monitors. Messages will appear for about one-third of a second per word. This ensures that the reader has enough time to read longer messages. You can configure messages to appear longer in Settings » Display Settings » Song Viewer » Flash Message.
Sending Messages
You can send messages by triggering a Send Message action in the Action Menu inside of OnSong. You can set actions for Hot Corners or Navigation Zones in Editors » Navigation » Screen Tab.
You can also set actions for foot pedals in the Foot Pedals Setup screen. From here, you can setup your pedal to trigger the Send Message action in the Action Menu.
Metronome
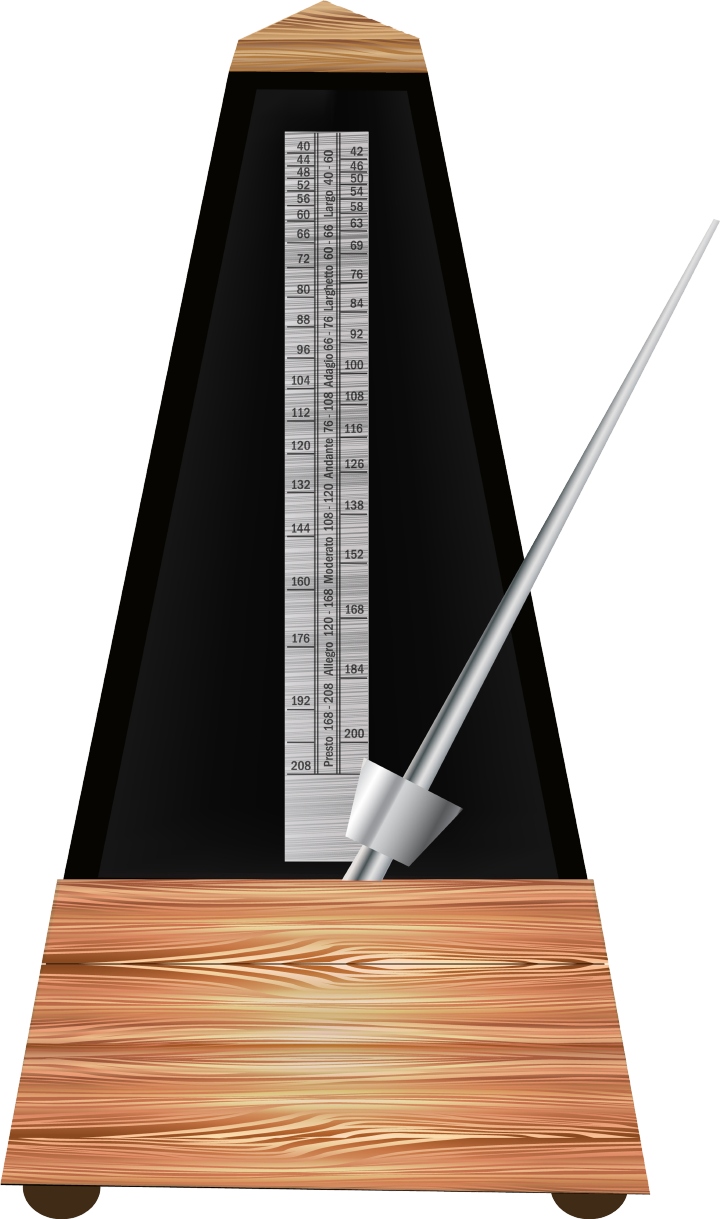
Playing to a click track is a great way to work on your tempo personally and as a band. OnSong has a built-in metronome that plays to the tempo you set for every song in your library. OnSong has both an audio and visual metronome to work in any scenario.
You can set the tempo and time signature of the metronome for each song in the Playback Menu or by setting Metadata in the Song Editor or with the Metadata Editor.
You can toggle and set the metronome from the Metronome Live Bar Button found in the Live Bar at the lower right corner of the OnSong user interface. You can also toggle the metronome using Foot Pedals.
The metronome has many different configuration options that can be accessed in Settings » Live Settings » Metronome. Here are some things you can do with the metronome:
Get Musical
Use different metronome sounds like a snare and bass drum to make the metronome sound more like music. Do this in Settings » Live Settings » Metronome » Audio Settings » Sound.
Get the Song Started
Forgetting the tempo of a song can be catastrophic to the rest of the song. Play the metronome for a few measures and have it turn off automatically. You can do this with the Stop Metronome option in Settings » Live Settings » Metronome » Audio Settings » Behavior.
Click Track with In-Ear Monitors
Whatever you do, don't play your metronome on stage for everyone to hear! However, you could send the audio metronome from OnSong into your sound board or use a mix-in channel on your in-ear monitoring system. With this configuration, you will hear the click and your audience won't.
Visualize the Beat
If you are using Stage Monitors, OnCue, or OnSong Connect you can configure OnSong to flash external displays in time with yours. Configure visual metronome settings in Settings » Live Settings » Metronome » Visual Settings.
MIDI Integration
MIDI or "Musical Instrument Digital Interface" is a powerful digital communications protocol that ushered in the age of electronic music. Even though it was first released in 1984, it's use is still prevalent in modern computing. Apple has built CoreMIDI into iOS, making the iPad and iPhone great tools for musicians on-stage. In addition, MIDI is now being used to communicate between music apps on the device, as well as external devices.
Setting Up MIDI
 The first step in using MIDI on an iOS device is connecting the standard MIDI or USB cable to the device. This can be accomplished with:
- MIDI Adapters are devices that connect to your 30-pin or Lightning port and provide traditional MIDI "DIN-5" connections.
- USB with Camera Connection Kit allows MIDI devices with a USB port to be connected directly to the iOS device.
- MIDI over WiFi can also be used as long as you have a computer or host device to create the MIDI network session.
Triggering Actions from MIDI
Once you have a MIDI device connected, you can map MIDI signals to OnSong actions. This can be used to scroll the chord chart, navigate your set, or trigger backing tracks. Any action that can be performed in OnSong can be mapped to MIDI in the MIDI Triggers screen.
*Note: MIDI devices may send signals differently depending on their intended use. For instance, the iRig Blueboard device becomes a latching pedal with control changes. OnSong has advanced MIDI Settings to handle some of these differences.
Sending and Receiving MIDI
OnSong can also be used to send MIDI commands to other MIDI devices when songs are viewed or when sections are selected. In addition, you can have OnSong switch to a song by listening for specific MIDI commands. These are typically set up using Metadata with the Metadata Editor in the Song Editor.
OnSong Connect
 OnSong Connect is a communications layer in OnSong that allows your device to control or to be controlled by other compatible apps on your local network using WiFi. OnSong uses this communications layer to "connect" devices together with a robust network. Within the app, this allows you to share your music by either beaming songs and sets, or by sharing the music on a leader's device with other members of the team.
Beaming
You may want to share your set with your band after practice so they can review the songs before performing them. To do this with OnSong Connect, go into the Share Menu » Connect screen.
Scenes
Music is so much more than sound alone. It's the entire experience that you bring between you and your audience. But bigger experiences can be cost prohibitive and require trained and specialized people to run light shows or graphics. But what if the simple act of swiping to the next song or pressing a foot pedal could shift the visual and emotional impact of your music in a moment? That's scenes.
Scenes integrates smart bulbs from companies like Philips and LIFX to create colorful lighting for your stage. Compared to professional lighting equipment, these bulbs are very affordable, easy to install and portable.
Scenes also can integrate with DMX stage lighting fixtures using the ArtNet protocol with a compatible interface from companies like DMXKing.com.
To enable the in-app purchase and start making a scenes, open the Utilities Menu » Editors » Scenes.
Spotify

Spotify lets you play millions of songs through streaming technology. Now you can link Spotify tracks to your OnSong chord charts.
Stage Monitor
 Get rid of paper and make sure everyone is on the same page by using stage monitor mode. Stage monitors use standard HDTV on stands or wedges, turning them into virtual music stands. With one iPad or iPhone, you can control an entire band.
Connecting
You can use either a wired adapter to connect to your screens or use an AppleTV to send video wirelessly using AirPlay. From there, you can use standard video splitters to have more than one screen if necessary.
Note: OnSong recommends using wired adapters to avoid issues with wireless radio interference in production environments. If you are planning to use multiple video screens, be sure to invest in quality HDMI components and powered splitters.
Equipment
Here is a list of supplies that we used in the making of the tutorial video. The cost per station is about $250-$300 depending on screen size and cabling. In addition, each monitor can be used by more than one musician.
- Coby LEDTV2326 23-Inch 1080p 60Hz LED HDTV/Monitor (Black)
- Audio2000'S AST420Y Portable Flat Panel TV/Monitor Stand with Foldable Tripod Legs
- J-Tech Digital TM 4 Ports HDMI 1x4 Powered Splitter
- Aurum Ultra Series - High Speed HDMI Cable With Ethernet - 15 Feet
- VicTsing Dock to HDMI A/V Cable Adapter for 30-pin Dock Connector
- Lightning Digital A/V Adapter
- Apple iPad Charge and Sync Dock
- Macally Lightning Charge and Sync Dock for iPad
Confidence Projector
If your facility has a back-of-house projector, you can also project chord charts in a way that makes them easy to see from the stage. Since most projectors are locked in the landscape orientation and further away, you may want to show one song at a time to make the size larger. You can do this in Settings » Live Settings » External Video » Stage Monitor.
Sticky Notes

OnSong is designed to replace paper, so it's only natural to use metaphors and tools that we've come to rely on with paper charts. Sticky notes allow you to apply notes to a song to remind you of who's starting the song or other hints that help you play.
You can choose a variety of colors for your sticky notes, too. Change the opacity of them to allow your music to show through. You can even position, rotate, and scale them to make them more visible.
Create sticky notes by selecting the Sticky Note option in the Annotations Menu found in the Menubar. This will add a sticky note to your chord chart and will open the Note Editor so you can begin typing.
Tap and drag a sticky note around the page to place it where it belongs. Double-tap to open the Note Editor.
Supported File Formats
OnSong supports a number of file formats making it a great app for any type of music content. Click on a file format to learn more about it and how OnSong displays its contents.
Chord Charts
OnSong works best with text-based chord charts and natively understands these formats.
Converted
These file formats are text-based in nature but not natively understood or edited by OnSong. They are converted when imported into supportable formats.
External Files
All other supported file types can be imported and viewed "as-is" from within OnSong. The song editor also supports conversion of many of these file types to text.
Media Files
OnSong features a media library that can be used for associating graphical assets like images and videos to lyrics projection, or to assign backing tracks to songs. You can import the following file types into your media library.
ZIP Files
OnSong can also import ZIP files that contain one or more supported file formats. This is useful for import more than one file at a time from an external resource or app.
Advanced Audio Coding
Advanced Audio Coding (AAC) is an audio coding standard for lossy digital audio compression. Designed to be the successor of the MP3 format, AAC generally achieves better sound quality than MP3 at similar bit rates. This is the native audio format for iOS devices.
When you import audio files directly into OnSong, they are added to your OnSong audio media library where you can link them to chord charts as backing tracks.
Audio Interchange File Format
Audio Interchange File Format (AIFF) is an audio file format standard used for storing sound data. AIFF files are typically uncompressed resulting in large file sizes but without lossy compression for higher quality sound output.
When you import audio files directly into OnSong, they are added to your OnSong audio media library where you can link them to chord charts as backing tracks.
FLAC
FLAC stands for Free Lossless Audio Codec which is an audio coding format for lossless compression of digital audio, and is also the name of the free software project producing the FLAC tools, the reference software package that includes a codec implementation. Digital audio compressed by FLAC's algorithm can typically be reduced to between 50 and 70 percent of its original size and decompress to an identical copy of the original audio data.
FLAC is supported in OnSong on iOS versions that support the codec which appear to be iOS 11 and higher only.
HTML

The Hypertext Markup Language or HTML is what is used to create web pages that you browse on the Internet. In some cases you may save chord charts as HTML files that can then be imported into OnSong. OnSong can view these files using the built-in viewer and can also convert these files into text. The quality of the conversion depends on how the HTML file was authored. For instance, you may receive navigation or hidden text from the conversion.
JPEG

If you have lots of paper chord charts, you may opt to scan those documents into a digital form. One method you could save files is as a JPEG image. You could also use JPEG images for lyrics projection backgrounds. OnSong can import both file types and determines their use automatically.
About
JPEG images are typically used for photography since the compression algorithm can be used without noticeable loss of quality. However, as the compression is increased, the artifacts may become apparent and the image may blur and lose quality as a result. OnSong can read JPEG files, but it may not display properly depending on size and complexity of the image. OnSong recommends a scan setting of 100 DPI greyscale if you intend to use scanned paper documents in OnSong. Since a chord chart may span more than one page, you may choose to scan as a PDF document.
Scanned Chord Charts
If the image is in a portrait orientation, or if the scan is landscape and the average color of all four corners has an average brightness greater than 93%, then the image is considered a chord chart.
Lyrics Projection Backgrounds
If the image is in the landscape orientation and not consider to be a paper scan, then the image is imported into your image media library. You can then use that background in the External Video Menu using the Background Image Picker toggle button.
Microsoft Word

Microsoft Word is one of the most popular word processing applications available. You may have many chord charts available in that format. OnSong can read, view, and convert both the older DOC file format as well as the newer DOCX format.
To learn more about Microsoft Word, please visit http://office.microsoft.com/word.
Converting
Word processing files can be challenging to convert into text-based chord charts. This is because files are often written in variable-width fonts that make a space character much narrower than other characters. While this is easier on the eye while reading, it can cause the author of the chord chart to use many more spaces to align chords on lines above lyrics. Other word processor specific features (like tabs or text boxes) may also have been used making the alignment of chords difficult because both of these layout tools are not used in text-based file formats.
You will usually need to adjust chords after converting them to text. OnSong provides various tools to assist with this process. Please see the Text Tools Menu for details.
Viewing
Word files are viewed "as-is" using the built-in web viewer of iOS. This means that any issues regarding the viewing of these files is related to how iOS interprets them. For instance, some users have reported formatting or font changes when viewed on an iPad versus Microsoft Word. OnSong has no way to correct these rendering issues as the file format is relatively closed and display of the file is handled by iOS.
Another common issue is found when viewing DOCX files in Word. There appears to be a bug in iOS 7 and higher that may cause a crash when more than one DOCX file is loaded concurrently. OnSong takes steps to limit this behavior and avoid the crash condition.
MIDI Files
MIDI files contain up to 16 channels of MIDI commands and are written in such a way to support playback of those songs on a MIDI-compatible instrument. OnSong supports MIDI files as backing tracks in OnSong which can be linked to chord charts and played. This allows synthesizer apps as well as virtual and MIDI-enabled instruments to playback the MIDI stream. You can also use this to configure more advanced MIDI commands to be sent for configuration when a song loads or when you trigger playback.
When you import audio files directly into OnSong, they are added to your OnSong audio media library where you can link them to chord charts as backing tracks.
MP3
When OnSong imports MP3 files, it actually does a few things. If the MP3 file contains lyrics, it creates a chord chart based on the attributes of the song and its lyrics.
The MP3 file is then importing into the OnSong audio media library and optionally associated with the created chord chart. This allows you to bypass using iTunes to synchronize audio tracks for linking chord charts to backing tracks.
MPEG-4 Audio
The M4A file type is primarily associated with 'MPEG-4 Audio Layer'. Files in .M4A format are actually the audio layer of (non-video) MPEG 4 movies. M4A is slated to become the new standard for audio file compression. This format is also known as Apple Lossless, Apple Lossless Encoder, or ALE. It is a new codec designed to provide lossless encoding in less storage space.
When you import audio files directly into OnSong, they are added to your OnSong audio media library where you can link them to chord charts as backing tracks.
MPEG-4 Video
M4V and MP4 files contain MPEG-4 video streams. OnSong imports video files directly in your OnSong image media library allowing your to set the background image or motion graphics in Lyrics Projection.
Video files should be 720p or 1080p for best quality and support looping for seamless motion backgrounds.
OnSong Archive
The OnSong Archive file format is used internally by OnSong to transfer a song, collections of songs, or an entire set. It includes all the information required to restore this information in another OnSong library including the song content, attachments, styles, settings, transposition, and annotations. This file is intended to be imported and exported from OnSong and cannot be easily read with other software.
The OnSong Archive file format has a file extension of either .archive or .onsongarchive.
OnSong File Format
The OnSong file format is a text file that is written in a way to give a song musical meaning. It typically has a .onsong file extension, although OnSong understands any type of plain text file and can render it as an OnSong-formatted file. This format uses special characters to attribute meaning to different parts of a song.
Apps for Editing Plain Text
The first thing to know is that an OnSong file is a plain text document. This makes it very easy to edit on any platform with included software.
- On OS X open TextEdit from your Applications folder. TextEdit is a general purpose word processing program that can also edit plain text files. Be sure to switch to plain text by choose Make Plain Text from the Format menu.
- On Windows open the Notepad application from the Start menu.
To follow along with the rest of this tutorial, download this Example OnSong File and open it in your application of choice.
Sections
The first thing to know about the OnSong file format is that it can be divided into sections. Sections are typically used to divide verses from the chorus or bridge. They can also be used to divide a verse into two separate stanzas for lyrics projection, or to make things easier to read. You can even label sections if desired.
Metadata
Metadata is information about the song which is always contained in the first section. Typically these are provided in name/value pairs separated by a colon, each being placed on its own line. You can also set the title and artist of the song as the first and second lines in the file.
Chords and Lyrics
Chords are placed to align with certain words or phrases. OnSong supports two kinds of chord formatting: Bracketed Chords and Chords Over Lyrics.
ChordPro
While the OnSong format does much of what you need in a chord chart, the ChordPro format has a few other tricks up its sleeve. You can use ChordPro syntax interchangeably for advanced options.
Line Formatting
Want to bold or highlight a line of lyrics? OnSong uses special characters to format your chord chart for harmony parts, or to make things stand out.
Pages
You can now define separate pages in your chord chart which can be used to force page breaks for printing.
Pages
Chord charts in OnSong are outputted in a single page and scrolled from the top to the bottom in a continuous view. When printing the chord chart, it is automatically divided. You can force page breaks for printing, or for scrolling by pages as another method to set scroll markers.
To add a page break, type four hyphens in a row on a single line. For instance:
Verse 1:
This is the end of the first verse.
Just before we start the second one.

----

Verse 2:
This is the second verse now,
And then we are done.
Chords and Lyrics
Chords and lyrics represent the content of your song and can be expressed either as bracketed chords or as chords over lyrics. Place this content in sections to divide your song into its logical parts.
Bracketed Chords
With bracketed chords, you place the chords on the same line as the lyrics, but surround the chord with square brackets. Here is an example of this format:
Verse 1:
Amazing [D]Grace, how [G]sweet the [D]sound,
That saved a wretch like [A7]me.
I on[D]ce was lost, but [G]now am [D]found,
Was blind, but [A7]now I [D]see.
Bracketed chords are the preferred method of expressing chords in the OnSong File Format and in the ChordPro File Format.
Chords Over Lyrics
The other way to express chords in lyrics is to place the chords on a line above the lyrics and use space characters to align the chords with lyrics. This is supported since most music found in other formats use this technique. Here is an example of chords over lyrics:
Verse 1:
        D           G        D
Amazing Grace, how sweet the sound,
                         A7
That saved a wretch like me.
  D                  G      D
I once was lost, but now am found,
               A7    D
Was blind, but now I see.
It's important to note that if non-chord words are found on a line of chords, that OnSong will reject that line and not detect the chords. Please move any musical instructions or notes to the following line to avoid this. One exception to this rule is if you surround instructions in parenthesis. This will allow the chord line to be detected. You can also start the line with a period or a back tick character to force the line to be detected as chords like this:
.I Am Chords
`I Am Also
Comments
If you want to create comments in your song that will not appear on the screen, prefix the line with a "#" symbol.
# This line will not appear in the song viewer, only in the song editor.
Line Formatting
Line formatting in OnSong lets you add characters to your lines in the song editor to apply basic formatting in your song viewer.
To do this, choose a song and open the song editor by tapping the pen icon in the menubar. You can then place special characters in front of lines to add formatting like this:
*This line will be bold
/This line will be italicized
!This line will be bold and italicized
&red:This text will be red
𞉀:This text will be a custom color using HTML color codes
>yellow:This line will be highlighted in yellow
If you want to use a custom color code, note that it starts an a # symbol. This is a hexadecimal representation of color used on web pages. Use a color picker website to compose colors and then type the 6 characters into this area in your OnSong document.
You can even also combine these line formatting commands for more complex scenarios.
Inline Formatting
Inline formatting allows you to format words and phrases within your text content. You do this by wrapping the text with angle brackets, and then use line formatting syntax to determine the change in style.
To do this, choose a song and open the song editor from the menubar. You can then place special characters after the beginning angle bracket to add formatting like this:

This will be <*bold> text.
This will be </italicized> text.
This will be <!bold and italicized> text.
This will will be <_underlined> text.
This will be <\backslanted> text.
This will be <&red:red> text.
This will be a <#6677F0:custom color> using HTML color codes.
This will be highlighted in <>yellow:yellow> text.
This will be a <!_&red:>yellow:combination of a few things> here.
This will be <^0.75:75% smaller> text.
This will be <^24:24 point> text.
This will be <$Courier:monospaced> text.
- Bold words by adding an asterisk character.
- Italicize words by adding a forward slash.
- Bold and Italicize words by adding an exclamation point.
- Underline† words by adding an underscore character.
- Backslant† or reverse italicize words by adding a backslash.
- Text Color can be changed by adding an ampersand followed by a color name or a color code followed by a colon in the beginning of the line.
- Highlight Color can be changed by adding a greater than symbol followed by a color name or a color code followed by a colon at the beginning of the line.
- Font Size† can be changed by adding a carat symbol, followed by a number and a colon. If the value is less than 6, it's considered a percentage of the base style. Otherwise, 6 and higher are treated as absolute sizes in points.
- Font Family† can be changed using a dollar sign followed by the name of the font to use before a colon.
You combine these line formatting commands in a series for more complex inline formatting scenarios.
† only available in the new R2 rendering engine.
Syntax
Below are the characters that you can insert into the front of the line, or surrounding words and phrases, to format your charts.
Bold
This can be accomplished by appending the line or adding an asterisk to the inline selection.
This <*word is bold> and this isn't.
*Or we can make the whole line bold.
Italic
This can be accomplished with a forward slash character like the following:
/This whole line will be italic.
Or just the word </italic> will be.
Emphasized
You can bold and italicize text with a single exclamation point like this:
!This line will be bold and italic.
Or <!just this phrase> will be.
Underline†
You can underline text using the underscore character like so:
_Underline the entire line of text...
Or just the <_thing you want> to.
Backslant†
This is similar to italics but in the opposite direction. You can do this using a backslash:
\This line will be backslanted.
Or make it only on <\certain words>.
Text Color
You can use an ampersand to make the text a color either with a named color, or using HTML color codes. For instance:
&red:This line contains red text.
This <�C6B3:word is a custom color> that's like teal.
Highlight Color
You can also highlight text using a similar syntax with the greater than sign.
>yellow:This line will be highlighted in yellow
Or I'll have a <>#0000FF33:very light blue Christmas> without you by specifying opacity as the last hexadecimal value.
Font Family†
You can change the font used by naming it:
$Courier:This line will be in Courier font.
Font Size†
You can also change the size of text. Use a number that is greater or equal to 6 as the size in terms of points. You can also use a number less than 6 to indicate a multiple of the base font size. For instance, "2" would be 200% the size of the base font.
^2:This line is 200% the size of the other lines.
Make <^42:forty-two points> in size.
Links†
You can type in a web address or URL into the chart and OnSong will automatically detect it and format it as a link. Links are displayed underlined in the app color and will open within the app in a Safari view or as a video player. You can also add a label to use in place of the URL by following the link with the text in parenthesis:
Make sure to https://www.youtube.com/watch?v=0kKDXgn16JY(watch this tutorial on YouTube).
† Requires R2, the new rendering engine available in OnSong 2024.
Color Names
Line formatting can change the text color or the highlight color. You can use named colors to achieve this. Here is a line of named colors you can use:
Standard Colors
The standard named color can be used.
- black
- blue
- brown
- clear
- cyan
- darkGray
- gray
- green
- lightGray
- magenta
- orange
- pink
- purple
- red
- white
- yellow
Special Colors
The following are special colors that can be used:
- onsong is a bright teal color that matches the OnSong brand.
- paper is the color of the current paper background color.
Color Code
You can use custom colors in line formatting using the HTML color code syntax. This requires a hexadecimal value preceded by a pound sign. This is an example of using a custom color:
>#00C6B3:This line will be highlighted in teal
HTML color codes divide a color into three parts: red, green and blue. Every two characters of the color code represents the amount of color to be applied. Colors are 24 bit which results in more than 16.7 million color combinations which far exceeds the eye's ability to perceive a difference in those colors. Each component is 8 bits which results in a value from 0 through 255.
Hexadecimal encoding uses numbers and the alphabetic letters A through F to represent numbers. A through F represent decimal values 10 through 15. Using this method, 0-255 can be represented in two characters. The first character in the two-character sequence represent 0-15 multiplied by 16. The second character is added to that in the range of 0-15.
In the example above, 00 is simply a red value of 0. That was easy, right? The value C6 is C or the decimal value 12 multiplied by 16 which results in 192 and then 6 is added to that for a final value of 198. Likewise, B3 is the value of B or 11 multiplied by 16 which results in 176 and then the 3 is added to that for 179. Thus, the RGB (red, green, blue) values are 0, 198 and 179.
Now that you know how to do this, you may be happy to know that there are utilities available to help you pick colors and give you that HTML color code without all the mental gymnastics. We recommend colorpicker.com to help you blend colors and use the resulting HTML color code.
Metadata
Metatags are a way to provide information about a song and is expressed in a metadata section. Metadata is expressed in the first section of the song before the first blank line or until no more metatags are encountered. Metatags are name/value pairs where the name is on the left and value on the right separated by a colon. Only one metatag can appear per line. Please reference the ChordPro File Format for details on how to express metadata in the ChordPro format.
OnSong automatically assigns the first line of a text file as the title of the song if it is not in the metatag format. In addition, the second line is considered the artist/byline of the song unless a metatag is defined. The following is an example of a typical song metadata section that sets the title and artist as the first and second lines as well as the key and tempo.
Amazing Grace
Daniel Thomas
Key: D
Tempo: 76

Lyrics and chords start here...
Supported Tags
The following tags are supported by OnSong:
- Title: The title of the song. This can also be expressed on the first line of the song content.
- Artist: The artist name or any other byline information. This can also be expressed on the second line of the song content. You can specify multiple artists by separating names with a semi-colon. - Kim Walker-Smith; Chris Quilala
- Author: The name of the person who created the chord chart. This is displayed at the bottom of the chord chart and in lyrics projection.
- Key: The key of the song written as a key with enharmonic preference and an optional "m" to indicate minor. - alphabetic, e.g. Bb or Em
- Capo: The capo to set as number of frets. - numeric
- Tempo: The beats per minute (BPM). - numeric
- Time: The time signature. - numeric beat over bar e.g. 3/4
- Duration: The song length for autoscroll. - seconds or mm:ss
- Book: The name of the book or books to place the song into. This is a comma-delimited list of book names into which the song will be placed. If the book does not exist, it will be automatically created as well.
- Number: The number of the song - numeric. Use for hymns, years, etc. You can sort songs by the number for reference.
- Flow: The arrangement of sections. - list of section labels. See Flow for details on arranging the flow of a song.
- MIDI: The MIDI commands to send when the song is viewed. See MIDI Syntax for how to express MIDI commands as text in OnSong.
- MIDI-Index: The MIDI commands that will trigger this song to be opened in the Song Viewer. See MIDI Syntax for how to express MIDI commands as text in OnSong.
- Keywords: or Topic: The list of tags to use with topic search. See Topics for more information on browsing by topic.
- Copyright: or Footer: The copyright information of the song. This will appear at the bottom of the chord chart and lyrics projection.
- CCLI: The CCLI number of the song. This will appear at the bottom of the chord chart and lyrics projection.
- Restrictions: These are restrictions that prevent certain actions from taking place within a song. See Restrictions for details on setting restrictions for your song.
- Pitch: The note or notes to play when using the Pitch Pipe feature. This is defined as a space-separated list of notes with optional octaves. - e.g. A3 C#4 E5
Note: Metatags are not case sensitive
Flow
Flow is a way to write the sections of a song once and then arrange the song in a top-down format. For instance, you may want the song to play the first verse, chorus, second verse and then repeat the chorus twice. Instead of rewriting the chorus multiple times, you can express this in a flow metatag or temporarily using the Flow field in the Playback Menu.
Expressing Flow
The first step to using flow is to create Sections and label them. You can specify a flow using a metatag in shorthand like this:
Flow: V1 C V2 C C B C C
You can also write them in a longhand form by writing out the full name of the sections in a comma-delimited list like this:
Flow: Verse 1, Chorus, Verse 2, Chorus, Chorus, Bridge, Chorus, Chorus
OnSong creates the shorthand version by using the first character of each word in the section name. This means you do not have to use special names for this to work. In the case of a conflict, OnSong will use the first section matching the abbreviation.
Pages and Instructions
You can also use flow to add musical instruction and page breaks in the flow definition instead of in the song content. You can do this by entering flow information that does not match a section label. Because the values you may want to output may contain spaces, you will want to use the comma-delimited method. Here's an example of adding musical instruction and page breaks.
Flow: Verse 1, Chorus, Verse 2, Chorus, (Repeat 2x), ----, Bridge, Chorus, (Repeat 2x)
This will output the musical instructions (Repeat 2x) under each chorus. The four hyphens will force a page break between the first set of choruses and the bridge.
MIDI Syntax
OnSong uses a text-based syntax for expressing MIDI commands. While you can use the MIDI Events in the Metadata Editor, you can also express MIDI commands in text.
Delimited Values
First and foremost, multiple MIDI commands can be separated by various characters including: a tab character, comma, semi-colon, vertical pipe, or new line. The comma is the most common delimiter. For example:
1.2:0@0, PC1.2:3@0, N67@1, START, SS8
Channel
Each entry may contain an @ symbol. The numeric value after the symbol is the channel on which the command is to be sent. Since channels in MIDI start on zero, channel one would be a zero (0), channel two a one (1), etc.
If no @ symbol is used, the command is sent or received on all channels.
Prefixes
Each entry in the list contains a prefix. This prefix determines what type of MIDI command to send. These include:
- PC or No Prefix is a program change event.
- N is a note event
- CC is a control change event.
- SS is a song select event.
- START is a start command.
- STOP is a stop command.
- CONTINUE is a continue command.
- F0 prefixes a SysEx message.
Values
The value of the command appears just before the @ symbol or at the end of the entry if no @ is given. This is the value of the program change, control change, note, or song select based on the prefix. In the case of SysEx entries, the hexadecimal value of the SysEx is provided directly after the F0 prefix which is used as a header to all SysEx commands.
Subvalues
In some cases, additional information is conveyed in the MIDI command as subvalues. For instance, MSB and LSB, as well as velocity of control values can be sent this way. This is expressed through the addition of a colon in the value portion. The subvalue has different context depending on the type of MIDI command sent:
- Program Change has subvalues aligning with the MSB/LSB of the program change. These values are separated by a period with the MSB on the left and the LSB on the right.
- Control Change has the value of the control set using this. The number can be between 0 and 127. If omitted, the value of 127 is inferred.
- Note Event has a subvalue relating to the velocity at which the note should be played. This can be set to a numerical value between 0 and 127.
Examples
Let's start with a simple program change. In this scenario we use program change 8 that also sends an MSB of 4 and an LSB of 2 on channel 1. The example starts with the most complex variation of this and removes the bank select and channel to become more broad:
PC3.1:7@0, 3.1:7@0, 3:7@0, 3:7, 7@0, 7
Control changes are similar except that the left side of the syntax is the control change number and the right side is an optional value. If the value is not provided, 127 is sent instead. We will send Control Change 106 with a value of 64 on channel 3.
CC105:63@2, CC105:63. CC105@2, CC105
Now let's take a look at note events. We want to play C4 on channel 8 at 75% velocity, we would enter the following because OnSong starts counting MIDI C0 as 0 on the MIDI note scale:
N60:95@7, N60@7, N60:95, N60
Again, it is important to remember that as values are removed from the MIDI syntax, the MIDI statement becomes more broad and less specific. For instance, the last version of the note event will send C4 at 100% velocity on all channels.
Restrictions
Restrictions prevent certain actions from being performed on a song. You can list these restrictions by name in a comma-delimited list as a metatag. For instance:
Restrictions: Print, Export, Distribute
The following are actions that can be set as a restriction. To remove restrictions, you can't just remove the metatag. Instead, set it to None. Also, if you want to prevent other users from changing your restrictions, add the Rights restriction as well.
- None removes restrictions from the metadata section. If selected, all other check marked restrictions are unchecked.
- Edit prevents the song from being edited.
- Print prevents the song from being printed.
- Export prevents OnSong from exporting the file.
- Share prevents the OnSong user from sharing the file in any manner.
- Email prevents the song from being transferred via email.
- Upload prevents the song from being uploaded to a remote server.
- Project prevents the song from being displayed in lyrics projection.
- Distribute prevents the song from being distributed to other sources.
- Rights prevents further rights and restrictions from being set.
Sections
The OnSong file format allows you to create different sections in your music. These sections are defined by inserting a blank line between lines of text. The first section of the song is considered the metadata section where you place your metatags. This is where you can set the key, tempo, and other attributes of the song. See Metadata for information on setting information about your song.
After the first blank line, each section contains Chords and Lyrics.
Labels
Each section can be labeled with a name. You can label your sections by typing a name on the first line of the section (followed with a colon), and then follow it with a new line. In the song viewer this appears above the lyrics in a bold typeface and can also be used to arrange the Flow of your song. The named section continues until another label is encountered, allowing you to divide a section further into stanzas.
Musical Instructions
You may want to provide musicians with instructions that you don't want to appear in lyrics projection. OnSong allows you to surround text on a line with parenthesis, allowing it to appear in a different color and not be output for lyrics projection. You can adjust the color of musical instructions under Settings » Display Settings » Song Formatting » Instructions.
OpenSong
This format is used by a variety of open source lyrics and music programs. It stores metadata in XML and lyrics/chords as plain text. Chord lines are delineated by a period at the beginning of the line. The file extension is (.xml)
Other
OnSong can display any type of file that iOS can display in the built-in web viewer. We cannot guarantee the usability of these formats beyond that. For instance, you could import a Microsoft PowerPoint presentation which may view slides vertically. This may not be what you expect. Please use a supported file format for better results or a text-based chord chart for best results.
Plain Text
OnSong can import plain text files just as it would OnSong or ChordPro files. In fact, all of these files are treated as the text-based chord chart and editable in the Song Editor. This means that you can write your songs with a .txt file extension and OnSong will recognize the file as either:
OnSong File Format
The OnSong file format is the native text-based chord chart format of OnSong that uses simple text and human-readable syntax to create chord charts.
ChordPro File Format
The ChordPro file format is used by other applications and has a syntax similar to the OnSong file format. Instead of using reader-friendly syntax, it uses curly braces to define "tags". These tags provide information about the song structure.
Portable Network Graphics (PNG)
Portable Network Graphic or PNG files are used to replace older graphic image formats on the web. They are becoming more common in new devices because of their higher quality, lossless compression, and are not encumbered by third-party royalty fees.
About
While OnSong can read PNG files, it may not display properly depending on size and complexity of the image. OnSong recommends a scan setting of 100 DPI greyscale if you intend to use scanned paper documents in OnSong. Since a chord chart may span more than one page, you may choose to scan as a PDF document for better results.
Scanned Chord Charts
If the image is in a portrait orientation, or if the scan is landscape and the average color of all four corners has an average brightness greater than 93%, then the image is considered a chord chart.
Lyrics Projection Backgrounds
If the image is in the landscape orientation and not consider to be a paper scan, then the image is imported into your image media library. You can then use that background in the External Video Menu using the Background Image Picker toggle button.
QuickTime Movie
A powerful multimedia technology with a built-in media player, QuickTime lets you view internet video, HD movie trailers, and personal media in a wide range of file formats. OnSong supports QuickTime video that is supported by iOS and has the .mov file extension.
OnSong imports video files directly in your OnSong image media library allowing your to set the background image or motion graphics in Lyrics Projection. Video files should be 720p or 1080p for best quality and support looping for seamless motion backgrounds.
Rich Text File

The Rich Text Format, or RTF for short, is an interchange format created by Microsoft and understood by many types of word processing applications. OnSong can read, view, and convert RTF files to text.
To learn more about the Rich Text Format, please visit http://en.wikipedia.org/wiki/Rich_Text_Format.
SongSelect USR
SongSelect USR is a file format used for transferring lyrics in file form. OnSong will import this file format and convert it into the OnSong file format for internal use and editing.
SongShowPlus

SongShowPlus is lyrics projection software for Microsoft Windows. OnSong can read and automatically convert files exported in the SongShowPlus file format.
To learn more about SongShowPlus, please visit their website at http://songshowplus.com.
System Exclusive Files
System Exclusive MIDI is a way to send raw data to devices and is used for more complex MIDI configurations. These are normally written as hexadecimal text that begins with the characters "F0". SysEx messages are non-channel specific MIDI that is broadcast so that compatible devices can receive the information and act accordingly.
These files can be started as raw data or hexadecimal text files with the *.sysex or *.syx file extension. When imported, OnSong will automatically create a MIDI Global using the file name as the global name and tag.
TIFF

The Tagged Image File Format or TIFF is commonly used in scanning and desktop publishing applications due to it's scope of compression options. OnSong can view TIFF images, but it may not display properly depending on size and complexity of the image. OnSong recommends a scan setting of 100 DPI greyscale if you intend to use scanned paper documents in OnSong. Since a chord chart may span more than one page, you may choose to scan as a PDF document for better results.
Waveform Audio File Format
Waveform Audio File Format (WAVE, or more commonly known as WAV due to its filename extension) is a Microsoft and IBM audio file format standard for storing an audio bitstream on PCs. It is the main format used on Windows systems for raw and typically uncompressed audio.
When you import audio files directly into OnSong, they are added to your OnSong audio media library where you can link them to chord charts as backing tracks.
Adobe PDF

Adobe PDF files are commonly used as digital versions of paper documents. The PDF format faithfully reproduces the printed page. OnSong can view PDF files, vertically scrolling through multiple pages. OnSong expects each song to be contained in a single PDF file.
While PDF files maintain how a document should look, they can sacrifice meaningful text to do that. For instance, some PDF documents do not contain textural content but rather shapes and images. While this may appear as text to the human eye, it can be very difficult to extract from the document. OnSong attempts to do this when converting to text. If sufficient text cannot be extracted, OnSong will upload the document to an optical character recognition service (OCR) that will attempt to read the document using computer algorithms. This can have varying results depending on the original document.
For more information about PDF files, please visit the Adobe website at http://www.adobe.com/pdf.
Apple Pages

Pages is a word processing program available on the Mac OS X as well as on iPad, iPhone, and iPod touch. You can view Pages documents in OnSong as well as convert them to text.
For more information about Pages, please visit the website at http://www.apple.com/iwork/pages.
Note: Recently Apple has updated their iWork suite which has changed the file format used by Pages and other apps. This change has reversed platform compatibility, making the use of these files much more difficult outside of their native applications. OnSong no longer fully supports viewing or conversion of Pages 5.x files due to changes in the file format.
ChordPro
The ChordPro file format is a common format used in other software applications. OnSong understands this format natively. OnSong recognizes files with the following file extensions: .chordpro, .chopro, .cho, .crd, .pro
The ChordPro format allows for song information to be expressed in tags delineated by curly braces. This information can be logically divided into metadata tags and inline tags.
Metadata Tags
These are ChordPro tags that you would use in the metadata portion of the song.
- {title:} or {t:} The title of the song.
- {subtitle:}, {st:} or {su:} The artist name or any other byline information. You can specify multiple artists by separating names with a semi-colon. - Kim Walker-Smith; Chris Quilala
- {album:} The name of the album where the song is located.
- {artist:} or a: The artist name or any other byline information. You can specify multiple artists by separating names with a semi-colon. - Kim Walker-Smith; Chris Quilala
- {author:} The name of the person who created the chord chart. This is displayed at the bottom of the chord chart and in lyrics projection.
- {key:} or {k:} The key of the song written as a key with enharmonic preference and an optional "m" to indicate minor. - alphabetic, e.g. Bb or Em
- {capo:} The capo to set as number of frets - numeric
- {tempo:} The beats per minute (BPM) - numeric
- {time:} The time signature - numeric beat over bar e.g. 3/4
- {duration:} The song length for autoscroll - seconds or mm:ss
- {book:} The name of the book or books to place the song into. This is a comma-delimited list of book names into which the song will be placed. If the book does not exist, it will be automatically created.
- {number:} The number of the song - numeric, use for hymns, years, etc. You can sort songs by the number for reference.
- {flow:} The arrangement of sections - list of section labels. See Flow for details on arranging the flow of a song.
- {midi:} The MIDI commands to send when the song is viewed. See MIDI Syntax for how to express MIDI commands as text in OnSong.
- {midi-index:} The MIDI commands that will trigger this song to be opened in the Song Viewer. See MIDI Syntax for how to express MIDI commands as text in OnSong.
- {pitch:} The notes to play when using the Pitch Pipe feature.
- {keywords:} or {topic:} The list of tags to use with topic search. See Topics for more information on browsing by topic.
- {copyright:} or {footer:} Specifies copyright footer text to appear at the bottom of the page or lyrics projection.
- {ccli:} The CCLI number of the song.
- {restrictions:} The rights management for the song's comma-delimited list of restrictions. See Restrictions for details on setting restrictions for your song.
Inline Tags
These tags are used within the content of the song and can be used to either define sections or to format parts of the song.
- {define:} is used to define custom chord diagrams. See Defining Chords for more information.
- {comment:} or {c:} Defines a comment and appears as a musical instruction.
- {comment_bold:} or {cb:} Defines text to appear in bold.
- {comment_italic:} or {ci:} Defines text to appear as italic.
- {guitar_comment:} or {gc:} Defines a comment that appears as a musical instruction.
- {start_of_bridge} or {sob} Declares the start of a bridge section.
- {end_of_bridge} or {eob} Declares the end of a bridge section.
- {start_of_chorus} or {soc} Declares the start of a chorus section.
- {end_of_chorus} or {eoc} Declares the end of a chorus section.
- {start_of_tab} or {sot} Declares the start of tablature which OnSong renders in a monospaced font.
- {end_of_tab} or {eot} Declares the end of a tablature section.
- {new_page} or {np} This is used to declare a new page.
- {new_physical_page} or {npp} This is used to declare a new page.
Formatting Tags
The following tags are used to define the default font and size for lyrics and chords in the chord chart.
- {textsize:} Defines the size of the lyrics as a numeric value in points.
- {textfont:} Defines the name of the font to use for lyrics. Must be supported on the platform.
- {chordsize:} Defines the size of the chords as a numeric value in points.
- {chordfont:} Defines the name of the font to use for chords. Must be supported on the platform.
Flow
Flow is a way to write the sections of a song once and then arrange the song in a top-down format. For instance, you may want the song to play the first verse, chorus, second verse and then repeat the chorus twice. Instead of rewriting the chorus multiple times, you can express this in a flow metatag or temporarily using the Flow field in the Playback Menu.
Expressing Flow
The first step to using flow is to create Sections and label them. You can specify a flow using a metatag in shorthand like this:
{flow: V1 C V2 C C B C C}
You can also write them in a longhand form by writing out the full name of the sections in a comma-delimited list like this:
{flow: Verse 1, Chorus, Verse 2, Chorus, Chorus, Bridge, Chorus, Chorus}
OnSong creates the shorthand version by using the first character of each word in the section name. This means you do not have to use special names for this to work. In the case of a conflict, OnSong will use the first section matching the abbreviation.
Pages and Instructions
You can also use flow to add musical instruction and page breaks in the flow definition instead of in the song content. You can do this by entering flow information that does not match a section label. Because the values you may want to output may contain spaces, you will want to use the comma-delimited method. Here's an example of adding musical instruction and page breaks.
{flow: Verse 1, Chorus, Verse 2, Chorus, (Repeat 2x), ----, Bridge, Chorus, (Repeat 2x)}
This will output the musical instructions (Repeat 2x) under each chorus. The four hyphens will force a page break between the first set of choruses and the bridge.
Defining Chords
OnSong has the ability to display chord diagrams for chords found in text-based chord charts. By default, OnSong finds the default variation of the chord in the Chord Diagram Library. In some cases you want to use a specific chord variation for a song. To do this, you define a chord using the ChordPro syntax as follows:
{define: E5 base-fret 7 frets 0 1 3 3 x x fingers - 1 2 3 - - key E}
This expression can be divided into the following parts:
- Define begins the declaration of a new chord diagram.
- E5 is the name of the chord that is declared. Chords matching this name will use the specified diagram. base-fret declares that the following number will be the the fret on which the chord diagram begins. All frets are relative to this base fret.
- frets declares that the following will be a space-delimited list of the frets to play. In the example given, 0 means an open string is to be played, 1 and 3 are the first and third fret relative to the base fret and "x" means to not play the that string.
- fingers declares a space-delimited list of the fingers to use on each string. In this particular example, the - symbol indicates that the strings are not played with fingers. The 1, 2 and 3 indicate the fingers to be used for playing the chord.
- key is the key in which the chord should be played. Not currently supported.
If the chord definition does not exist in the Chord Diagram Library, it is added and set as the default variation for the song. OnSong applies the chord to the guitar instrument when six strings are defined, the 5-string bass when five strings are defined, and the default instrument when 4 or another number of strings are used.
MIDI Syntax
OnSong uses a text-based syntax for expressing MIDI commands. While you can use the MIDI Events in the Metadata Editor, you can also express MIDI commands in text.
Delimited Values
First and foremost, multiple MIDI commands can be separated by various characters including: a tab character, comma, semi-colon, vertical pipe, or new line. The comma is the most common delimiter. For example:
1.2:0@0, PC1.2:3@0, N67@1, START, SS8
Channel
Each entry may contain an @ symbol. The numeric value after the symbol is the channel on which the command is to be sent. Since channels in MIDI start on zero, channel one would be a zero (0), channel two a one (1), etc.
If no @ symbol is used, the command is sent or received on all channels.
Prefixes
Each entry in the list contains a prefix. This prefix determines what type of MIDI command to send. These include:
- PC or No Prefix is a program change event.
- N is a note event
- CC is a control change event.
- SS is a song select event.
- START is a start command.
- STOP is a stop command.
- CONTINUE is a continue command.
- F0 prefixes a SysEx message.
Values
The value of the command appears just before the @ symbol or at the end of the entry if no @ is given. This is the value of the program change, control change, note, or song select based on the prefix. In the case of SysEx entries, the hexadecimal value of the SysEx is provided directly after the F0 prefix which is used as a header to all SysEx commands.
Subvalues
In some cases, additional information is conveyed in the MIDI command as subvalues. For instance, MSB and LSB, as well as velocity of control values can be sent this way. This is expressed through the addition of a colon in the value portion. The subvalue has different context depending on the type of MIDI command sent:
- Program Change has subvalues aligning with the MSB/LSB of the program change. These values are separated by a period with the MSB on the left and the LSB on the right.
- Control Change has the value of the control set using this. The number can be between 0 and 127. If omitted, the value of 127 is inferred.
- Note Event has a subvalue relating to the velocity at which the note should be played. This can be set to a numerical value between 0 and 127.
Examples
Let's start with a simple program change. In this scenario we use program change 8 that also sends an MSB of 4 and an LSB of 2 on channel 1. The example starts with the most complex variation of this and removes the bank select and channel to become more broad:
PC3.1:7@0, 3.1:7@0, 3:7@0, 3:7, 7@0, 7
Control changes are similar except that the left side of the syntax is the control change number and the right side is an optional value. If the value is not provided, 127 is sent instead. We will send Control Change 106 with a value of 64 on channel 3.
CC105:63@2, CC105:63. CC105@2, CC105
Now let's take a look at note events. We want to play C4 on channel 8 at 75% velocity, we would enter the following because OnSong starts counting MIDI C0 as 0 on the MIDI note scale:
N60:95@7, N60@7, N60:95, N60
Again, it is important to remember that as values are removed from the MIDI syntax, the MIDI statement becomes more broad and less specific. For instance, the last version of the note event will send C4 at 100% velocity on all channels.
OpenOffice Text

OpenOffice is a free, open-source office suite available on nearly any operating system. This software includes "Writer" which saves word processing documents as "ODT" files. OnSong can view these files as well as convert them to text.
For more information about OpenOffice, please visit the OpenOffice website.
Transposition
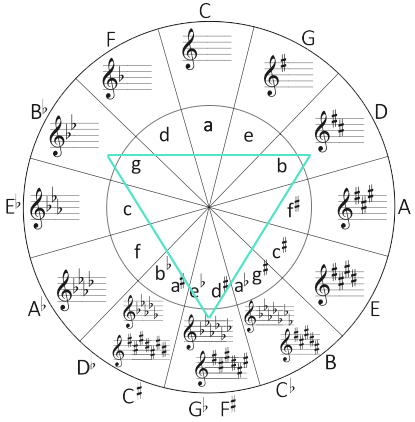
Let's face facts. Sometimes a song is not performed in a key that is suitable for your vocal range. Or perhaps playing a song in the key that it is written in is too difficult for your guitarist and they don't want to capo. Music is best when it matches with your talent. OnSong provides a powerful transposition engine to make the music match your unique abilities and style.
How It Works
Chord charts can be expressed as text-based documents using the OnSong or ChordPro file formats. These files are designed to give musical meaning to characters in the document. This allows chords to be detected.
Transposition also requires the key of the original song to be known. You can declare a key using Metadata. If the key of the song is unknown, OnSong typically uses the first chord of the song as the key. You can change this behavior in Settings » Menu Settings » Style Preferences » Transpose and Capo » Detect Key By.
When transposition occurs, OnSong determines the new key and the enharmonic preference of transposed chords using the enharmonic preference of the new key. You can change this behavior in Settings » Display Settings » Song Formatting » Enharmonic.
Note: Transposition does not work with externally imported documents like Word or PDF because these files are designed to be printed and do not carry information about chords or metadata needed for musicians. The design goals of these types documents are different from OnSong's text-based chord charts. The content written in word processing documents are not in a standardized format and is often proprietary in nature.
How To Transpose
Once you have your song in a text-based document and chords are detected, you can transpose using the Transpose Slider found in the Style Preferences Menu in the Menubar. Just slide the slider to the left or right to adjust the key. You can even tap on the icons to the left and right to fine-tune adjust the key.
If you want the chords to be displayed as they are written in the Song Editor, turn off transposition using the power icon to the right of the Transpose Slider found in the Style Preferences Menu in the Menubar.
Using Different Keys
The notion of dynamic transposition means that you can have one copy of your song and make changes in one place. However, you may need to have the song available in different keys when playing with different bands or at different venues. OnSong can use a different key for the song in a particular set while keeping the original key in the master song list.
To do this, turn on Separate Set/Song Styles when Adding or Renaming sets. This will now store changes made to the song when viewed in the set to the set. For instance you can change the tempo, autoscroll duration, flow, and style preferences and all will be applied to that song in the set.
Universal
OnSong is a universal app which means the same app runs on the iPad, iPhone and iPod touch. The user interface adapts to the device platform that you are using. For instance on an iPad, OnSong will use popover menus to provide access to songs and transposition. On an iPhone, this happens using model screen and navigation. Let's take a look at some of these differences.
Popover Menus versus Navigation Screen
The first thing you'll notice is that things are organized a little differently on smaller screens. The first screen you will see is the Songs Menu which takes up the entire screen. Tap on a song or set to slide over to the song viewer.
Song Viewer Toolbar
Song Editor Changes
Other Tweaks
User Interface
OnSong is designed to let you focus on what's important, your music. On a tablet device like the iPad, your music appears first. On handheld devices like the iPhone, the first screen to appear is the Songs Menu. On smaller devices like the iPhone or iPod touch, you'll need to select a song before accessing the main interface due to limited screen real estate.
The OnSong interface is divided into these main areas:
Status Bar
The status bar is provided by the operating system and provides information such as the current time, networking, and battery status.
Menubar
The menubar contains access to all the functions for managing your library and the songs you are viewing.
Song Viewer
Most of the main interface displays the currently active song. There are special regions that overlay the song viewer which provide tools you can use while performing.
Live Bar
In the lower right portion of the screen is the live bar which contains large buttons that can be activated during a live performance. These include autoscrolling, starting and stopping a backing track, starting or stopping the metronome, and toggling ad-hoc networking mode.
Registration Screen
When you open OnSong, the Registration or Getting Started screen is displayed. You can prevent this window from opening in the getting started screen once you have the information you need to make the most out of OnSong.
You may also be prompted to opt into push notifications. OnSong intends to use push notifications to notify our users of an emergency or to pass along time-sensitive information.
Compact Mode
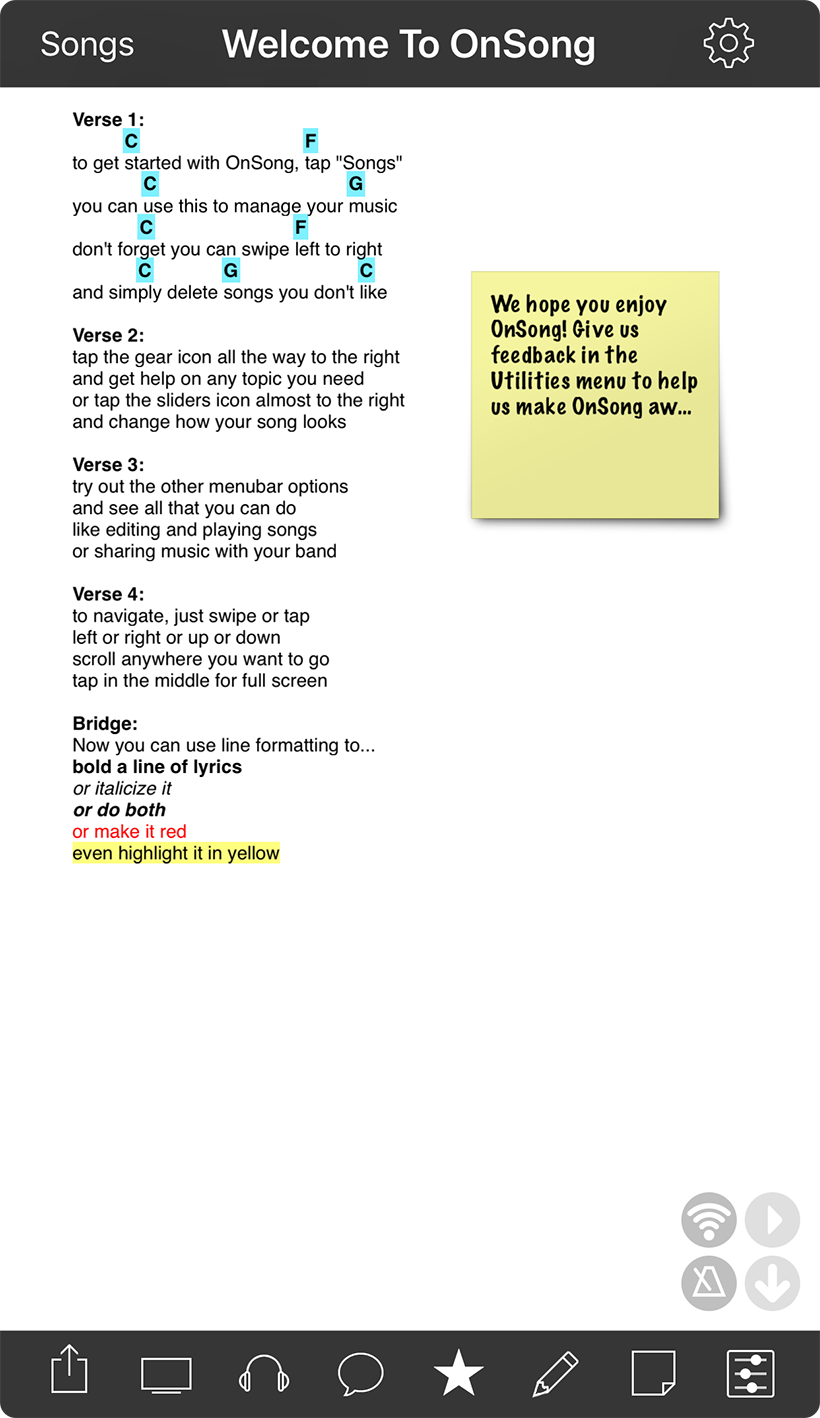
OnSong works best on iPad as it has a much larger screen for viewing your music. But that doesn't mean you can't use an iPhone or iPod Touch. OnSong makes a view changes to adapt to the smaller screen size.
Songs Menu
Just like on the iPad, you access your songs and sets by tapping on the Songs button in the upper left corner. Instead of a popover, the menu will open full screen and be hidden once you select a song.
Heads-Up Display
The title of the song appears in the middle of the top menubar. You can change what is viewed there by swiping right or left, just like on the iPad.
Utilities Menu
Just like on the iPad, the gear icon provides access to the Utilities Menu where you can access editors, tools and settings.
Toolbar
The tools that are normally found in the menubar at the top of the screen are moved to a toolbar at the bottom of the screen. This allows easier access when using OnSong on a handheld device and also makes more room at the top for the heads-up display.
The toolbar removes the Foot Pedal Menu, but that is still available under the Utilities Menu » Editors » Navigation » Pedals. The Messages Menu may also be removed on very small screens.
Song Editor
While most of the menus are the same or similar, the Song Editor makes some more changes due to the compact size.
Toolbar

When using OnSong on iPhone or iPod Touch, access to many menus is moved to the bottom of the screen via a toolbar. The following items can bet accessed:
Share Menu
This icon looks like an up arrow in a box and allows you to share the current song or set in a variety of ways including exporting, emailing, printing, and sharing wirelessly.
External Video Menu
This menu button looks like a computer monitor and lets you configure an external monitor or projector for use with OnSong. Using an Apple Dock Connector to VGA Adapter, Apple Digital AV Adapter, or AirPlay and an AppleTV, you can use OnSong to project lyrics for an audience, or to display chord charts on a monitor on stage.
Playback Menu
This icon looks like a pair of headphones and lets you set an audio track to play along with while viewing the chord sheet. It also lets you configure the metronome tempo and time signature, as well as setting a duration of the song for autoscroll. You can also find new versions of that song through the integrated iTunes search.
Messages Menu
Using this menu, screen taps and foot pedal presses can send messages to your team. Use these to communicate more effectively in live performances.
This button may be removed on smaller screen sizes.
Organizer Menu
The organizer menu is used to place the currently loaded song into a set, book or to mark a song with an icon such as a star. When the song has an icon associated with it, the star icon in the menu bar is enabled.
Song Editor
This icon opens the song editor. The song editor allows you to make changes to the song's chords, lyrics, and metadata as well as tools to assist you in editing songs, or even writing them from scratch.
Annotations Menu
This icon looks like a sticky note and allows you to easily add sticky notes or drawings to your chord chart. These can help remind you of things such as who starts the song or how it is played.
Style Preferences Menu
This icon looks like a series of sliders and allows you to quickly change how your song sheet looks and acts. In this menu you can change font sizes and styles, highlight colors, and transpose/capo the song. You can also turn portions of the song on and off such as the header, lyrics, chords, tablature, and whether the capo should be applied.
Gestures
You can use gestures to quickly show and hide the menubar as well as show the songs menu. These gestures are only available on iPad.
Close Screens
If you've opened a modal screen in OnSong, you can close it by swiping down on the top navigation bar.
Scroll To Top
Depending on the number of songs you have, you may have very long lists. If you want to quickly get to the top of most lists, tap on the title in the navigation bar at the top to be taken to the top of the list.
Show Songs Menu
The songs menubar can be displayed by swiping from the left or right edges of the screen depending on the orientation of the menubar. If the Songs button is on the left, then swipe from the left. If the Songs button is on the right, then swipe from the right. The swipe must originate off of the screen.
Hide Menubar
You can tap in the middle of the screen to toggle the menubar visibility. However, you can also swipe up on the menubar to hide it.
Show Menubar
You can use the overscroll gesture to show the menubar when it is hidden. Pull down on the song viewer as you would when refreshing a list in other apps. This will trigger the menubar to show again.
Live Bar

Playing live uses all of your concentration and usually most of your limbs as well. Triggering events for live performance needs to be easy. The live bar in OnSong is designed to provide large buttons for controlling live performance events, as well as a visual status of each function.
Tapping on a live bar button starts or stops its function. Tapping and holding on a live bar button will open a menu allowing you to configure properties. The following buttons can be contained in the livebar. You can also turn these buttons on or off in the Utilities Menu » Editors » Navigation » Screen Tab. You can also accomplish this in Settings » Live Settings » Live Bar » On-Screen Buttons.
The live bar consists of:
Audio
The audio live bar button is used start, pause or stop backing tracks. Tap and hold to choose a different track, or to link to a custom track from your Apple Music library.
Autoscroll
Playing live necessitates using all your hands, feet and fingers. But what if your chord chart is longer than the screen can contain? Autoscroll provides a solution by slowly scrolling the chord chart from top to bottom over a duration.
Metronome
Playing with a click track is great for practice, or to get your band started on a song. The metronome in OnSong stores the BPM for each song letting you start at the right tempo every time.
Networking
OnSong can be used to share and stream what's on your screen wirelessly to your team. The networking livebar button lets you turn sharing on and off.
Audio

The audio playback live bar button is flexible to meet the needs of live performers. By default, the button is designed to start and pause a backing track. Double-tapping on the audio live bar button when playing or stopped will cause the song to beginning at the beginning of the track as a repeat function.
OnSong automatically selects a track from your libraries with the same name as the chord chart. This means the only requirement is to have an audio track with the same name of your chord chart in your music library. OnSong searches both your Apple Music library as well as it's internal OnSong audio media library. See Adding Tracks to your Apple Music Library for details on how to accomplish adding audio tracks to your Apple Music library. Your OnSong audio media library can be completely managed from inside of the app using the OnSong Audio Media Library.
Picking Audio Tracks
If you have multiple tracks available in your libraries and need to choose a different track, or if you need to choose a track with a different name, tap and hold on the audio live bar button to open the Audio Track Picker and choose a different track, or link to a specific track using the Choose Custom Track option.
Configuring Audio Playback
You can configure how OnSong plays backing tracks in settings. For more details on these options, please see Settings » Live Settings » Live Bar » Audio.
Apple Music Library

OnSong can link chord charts in your OnSong library to audio tracks in your iTunes Music Library on your device. You can browse your iTunes Music Library using the built-in Music app from your device's home screen. Apple provides tools and services to help you get your music onto your device.
History
In the days of the iPod music player as well as the first iPhone devices, you put music on your device using iTunes. iTunes is free software that was required to instantiate and manage your device. Since that time, Apple has moved away from requiring you to connect your device to a Mac or PC, making the iPad and iPhones standalone products.
iTunes
Most users who purchase iPad or iPhone are familiar with iTunes. In fact, the App Store is an extension of the iTunes store which sells apps instead of music, videos, and more. The iTunes application not only acts as media management software, but also as a portal to this large ecosystem of music, TV shows, movies and of course apps.
Misconceptions
That being said, there's a misconception that you need to purchase content from iTunes in order to use it on your iPad or iPhone. You can use iTunes to manage your own audio tracks or tracks from other vendors such as Amazon. However, Apple has made it very easy and convenient to purchase music legally through their iTunes store which is why many believe that is the only way.
Transferring Music
There are a few ways to get music onto your iPad or iPhone. The first and original way is to plug your device into a computer running iTunes. Next, add music in your iTunes library. Remember that you can do this either by purchasing content on the iTunes store, using software that bounces or adds tracks to iTunes (such as GarageBand), or by simply dragging MP3, AAC or other supported file formats into the iTunes window.
iTunes sorts and manages your tracks from any source. You can then use choose your device from the iTunes user interface and synchronize or "Apply" your music to the device. Learn more about adding, importing and converting music using iTunes
Music in the Cloud
With the advent of iCloud, Apple has made getting music to play on your device even easier with iTunes in the Cloud and iTunes Music Match. These services allow you to access your music on your device without having the music physically stored on the device. For most people this is convenient because their music collections are large, not always listened to, and would take up significant space on their device.
While OnSong can play music from iCloud, there may be a delay as the song is streamed and buffered for playback. Make sure that you download music for live performances to your device before playing. That will ensure that network problems do not inhibit your performance and provides for smoother and immediate playback of your audio. Learn more about iTunes in the Cloud
Audio Track Picker
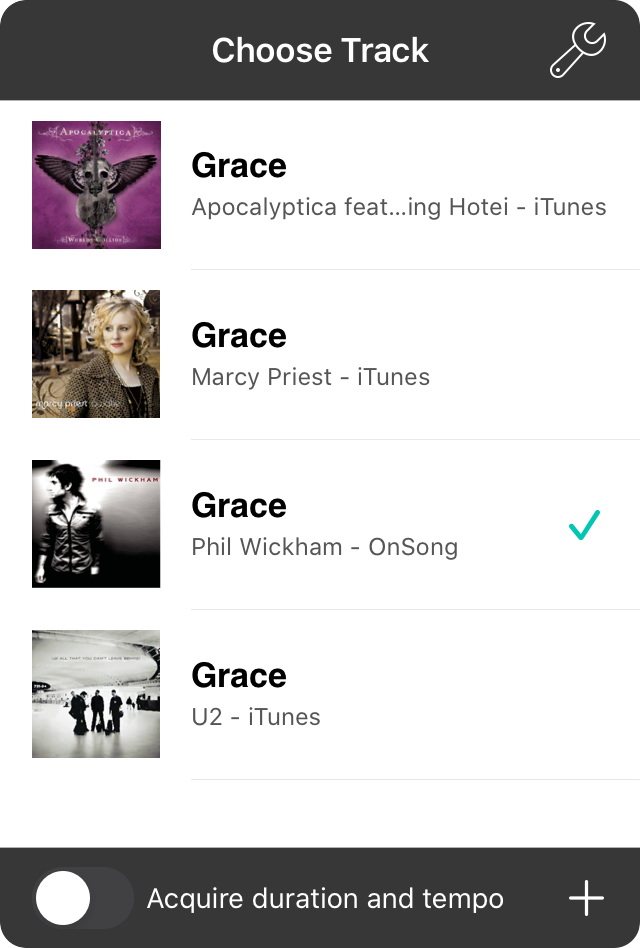
The audio track picker displays all tracks that match the current chord chart by name. In addition, this menu will display a custom track that you've picked. For each track, the album artwork is displayed (if available) as well as the track name and artist.
Audio Playback Settings
Tapping on the wrench icon will open a screen allowing you to change audio playback settings. Tap Done to save changes and close the screen, or tap on Cancel to close the screen without saving changes.
Linking To Matching Audio Tracks
Tap on the audio track you want to associate with the chord chart. By default, OnSong will link the first found track when matched by name. A checkmark will appear next to the track to indicate the currently linked track. If you would like to unlink the track from the chord chart, tap on the checked track to uncheck it. This will result in no audio track being associated with the chord chart.
Linking To Custom Audio Tracks
To choose a track from your Apple Music Library or OnSong Media Library, tap on the Choose Custom Track row in the menu. This will open the Choose Custom Track menu that allows you to browse for music.
iCloud Music Matching
Please note that tracks found by matching the name of the chord chart to the audio track may include audio tracks found in iCloud. You can remove these as options in Settings » Live Settings » Live Bar » Audio » Show Music in iCloud.
Choose Custom Track
If you want to link a custom audio track to your chord chart, you must first decide which library to pull from for playback. OnSong provides access to the following libraries.
Apple Music Library
This option provides access to shared audio tracks that you can play using the Music app on your device. Linking audio tracks from your Apple Music library has some advantages.
- Tracks that are stored in iTunes in the Cloud or Apple Music match can be accessed using the Apple Music library.
- Tracks that contain digital rights management may need to be played through the Apple Music library.
- Tracks are not stored within your OnSong library making the storage requirements of your app and backups less.
- Tracks are shared between multiple apps and can be played back from the Music app on your device.
- Tracks can have playback metadata associated with them as configured in Apple Music. For instance, you can adjust the output volume as well as start and end time points.
- While OnSong does support background audio when playing music, if OnSong were to crash for any reason, the audio would stop. When using Apple Music library assets, the song can keep playing even in the event of an unlikely failure.
OnSong Media Library
Choose this option to manage audio files directly inside of OnSong without needing to use Apple Music to manage your backing tracks.
The OnSong media library is stored inside of your OnSong library. This lets you import and manage audio tracks without using Apple Music, but does require that the audio tracks are stored inside of the OnSong app. This means that your backup files will increase in size to contain the audio files.
Apple Music
Apple Music is where you can access any song that you have access to through the Music app on your device. If you subscribe to Apple Music, all of your songs are available for playback. You can use this Apple-provided interface to select songs to play or import as backing tracks. Once you find a song, select it to link it to your song in the OnSong library, or to import into the library.
This interface is controlled by Apple and may require you to sign into Apple Music to access your tracks. We recommend that you download tracks for performance use through the native Music app so that the track can be played in OnSong without interruptions. Streamed backing tracks and tracks with digital rights management can only play using the Apple Music app which OnSong controls remotely. Certain features like crossfading are not available for tracks played through the Apple Music app.
iTunes Music Library
You can choose any available song in your iTunes Music Library to link to a chord chart. When you tap on the "iTunes Music Library" option in the Audio Track Picker, a modal window will appear. This gives you options for browsing your iTunes Music Library. Choose a tab on the bottom to determine how to browse your songs. You can also search songs in the Songs tab.
Once you've found the song you are looking for, tap on it to select it. The song will be added the Audio Track Picker and checkmarked. This links the custom track to the currently viewed chord chart.
If you do not want to pick a song, simply tap on the Cancel button at the top.
Spotify Library
The Spotify Library screen let's you link Spotify tracks to your song in OnSong. You can access saved songs as well as followed artists in Your Music. You can also search the entire Spotify music catalog by song title, artist or album.
Authentication
If you haven't signed in yet, you'll be prompted with a Spotify login screen. Tap the Log In To Spotify button to login with your credentials.
If you don't have a Spotify account, you can create one at spotify.com or by signing in with Facebook on the Login Screen.
Spotify Library
Once you've authenticated into your Spotify account, you'll see the following tabs to access Spotify tracks:
Playlists browses for songs in all the playlists that you've created in Spotify.
Songs views all of the tracks that you've saved to Your Music under your Spotify account.
Artists displays all artists that you are following.
Albums shows albums that you have saved to Your Music under your Spotify account.
Search allows you to search for tracks by track, artist or album.
Note: You can tap on the close button in the upper right corner to close this screen at anytime.
Albums
The Albums tab lets you quickly browse albums that you've saved to Your Music in Spotify. Tap on an album to view its songs.
Cancel
Tap on the Cancel button in the upper-left corner to close the Spotify Library screen without linking a track.
Logout
Tap on the Logout button to sign out of Spotify, close the Spotify Library screen and start over with the Login Screen.
Viewing Songs
Tap on an album in the list to view a list of the songs contained in the album in the order they appear.
Songs
Once you've tapped on a album, you can view all of the songs in the album to link a song to the active chord chart.
Logout
Tap on the Logout button to sign out of Spotify, close the Spotify Library screen and start over with the Login Screen.
Linking Songs
The list of songs that is displayed and the songs found in the album. The list contains columns for the album artwork, track title, artist name, album name and duration. Tap on a track to link it to the active chord chart.
Artists
The artists tab displays all artists that you are following on Spotify.
Cancel
Tap on the Cancel button in the upper-left corner to close the Spotify Library screen without linking to a track.
Logout
Tap on the Logout button to sign out of Spotify, close the Spotify Library screen and start over with the Login Screen.
Viewing Albums
Tap on an artist row to view a list of albums you can use to browse to a Spotify track.
Albums
Tapping on an artist will reveal every album they have in the Spotify music catalog. Tap on an album to view its songs.
Logout
Tap on the Logout button to sign out of Spotify, close the Spotify Library screen and start over with the Login Screen.
Viewing Songs
Tap on an album in the list to view a list of the songs contained in the album in the order they appear.
Songs
Once you've tapped on a album, you can view all of the songs in the album to link a song to the active chord chart.
Logout
Tap on the Logout button to sign out of Spotify, close the Spotify Library screen and start over with the Login Screen.
Linking Songs
The list of songs that is displayed and the songs found in the album. The list contains columns for the album artwork, track title, artist name, album name and duration. Tap on a track to link it to the active chord chart.
Log In To Spotify
You can log into Spotify using either Facebook or your Spotify username and password.
Tapping on the Log In With Facebook button will display the Facebook login screen to let you authenticate using your Facebook account. Once complete, you will be signed into your Facebook-linked Spotify account.
Spotify Login
You can also type in your Spotify username and password in the fields below. Checking the Remember me option will retain your login information in the web page that is used by Spotify to authenticate you. This has no no effect on OnSong unless authentication occurs automatically.
Forgot Username or Password
If yo have forgotten your username or password, tap on the Forgot your username or password link to recover your information.
Note: If you are not a Spotify user and choose to sign in with Facebook, you will automatically be registered and automatically agree to the Spotify Terms and Conditions and Privacy Policy.
Playlists
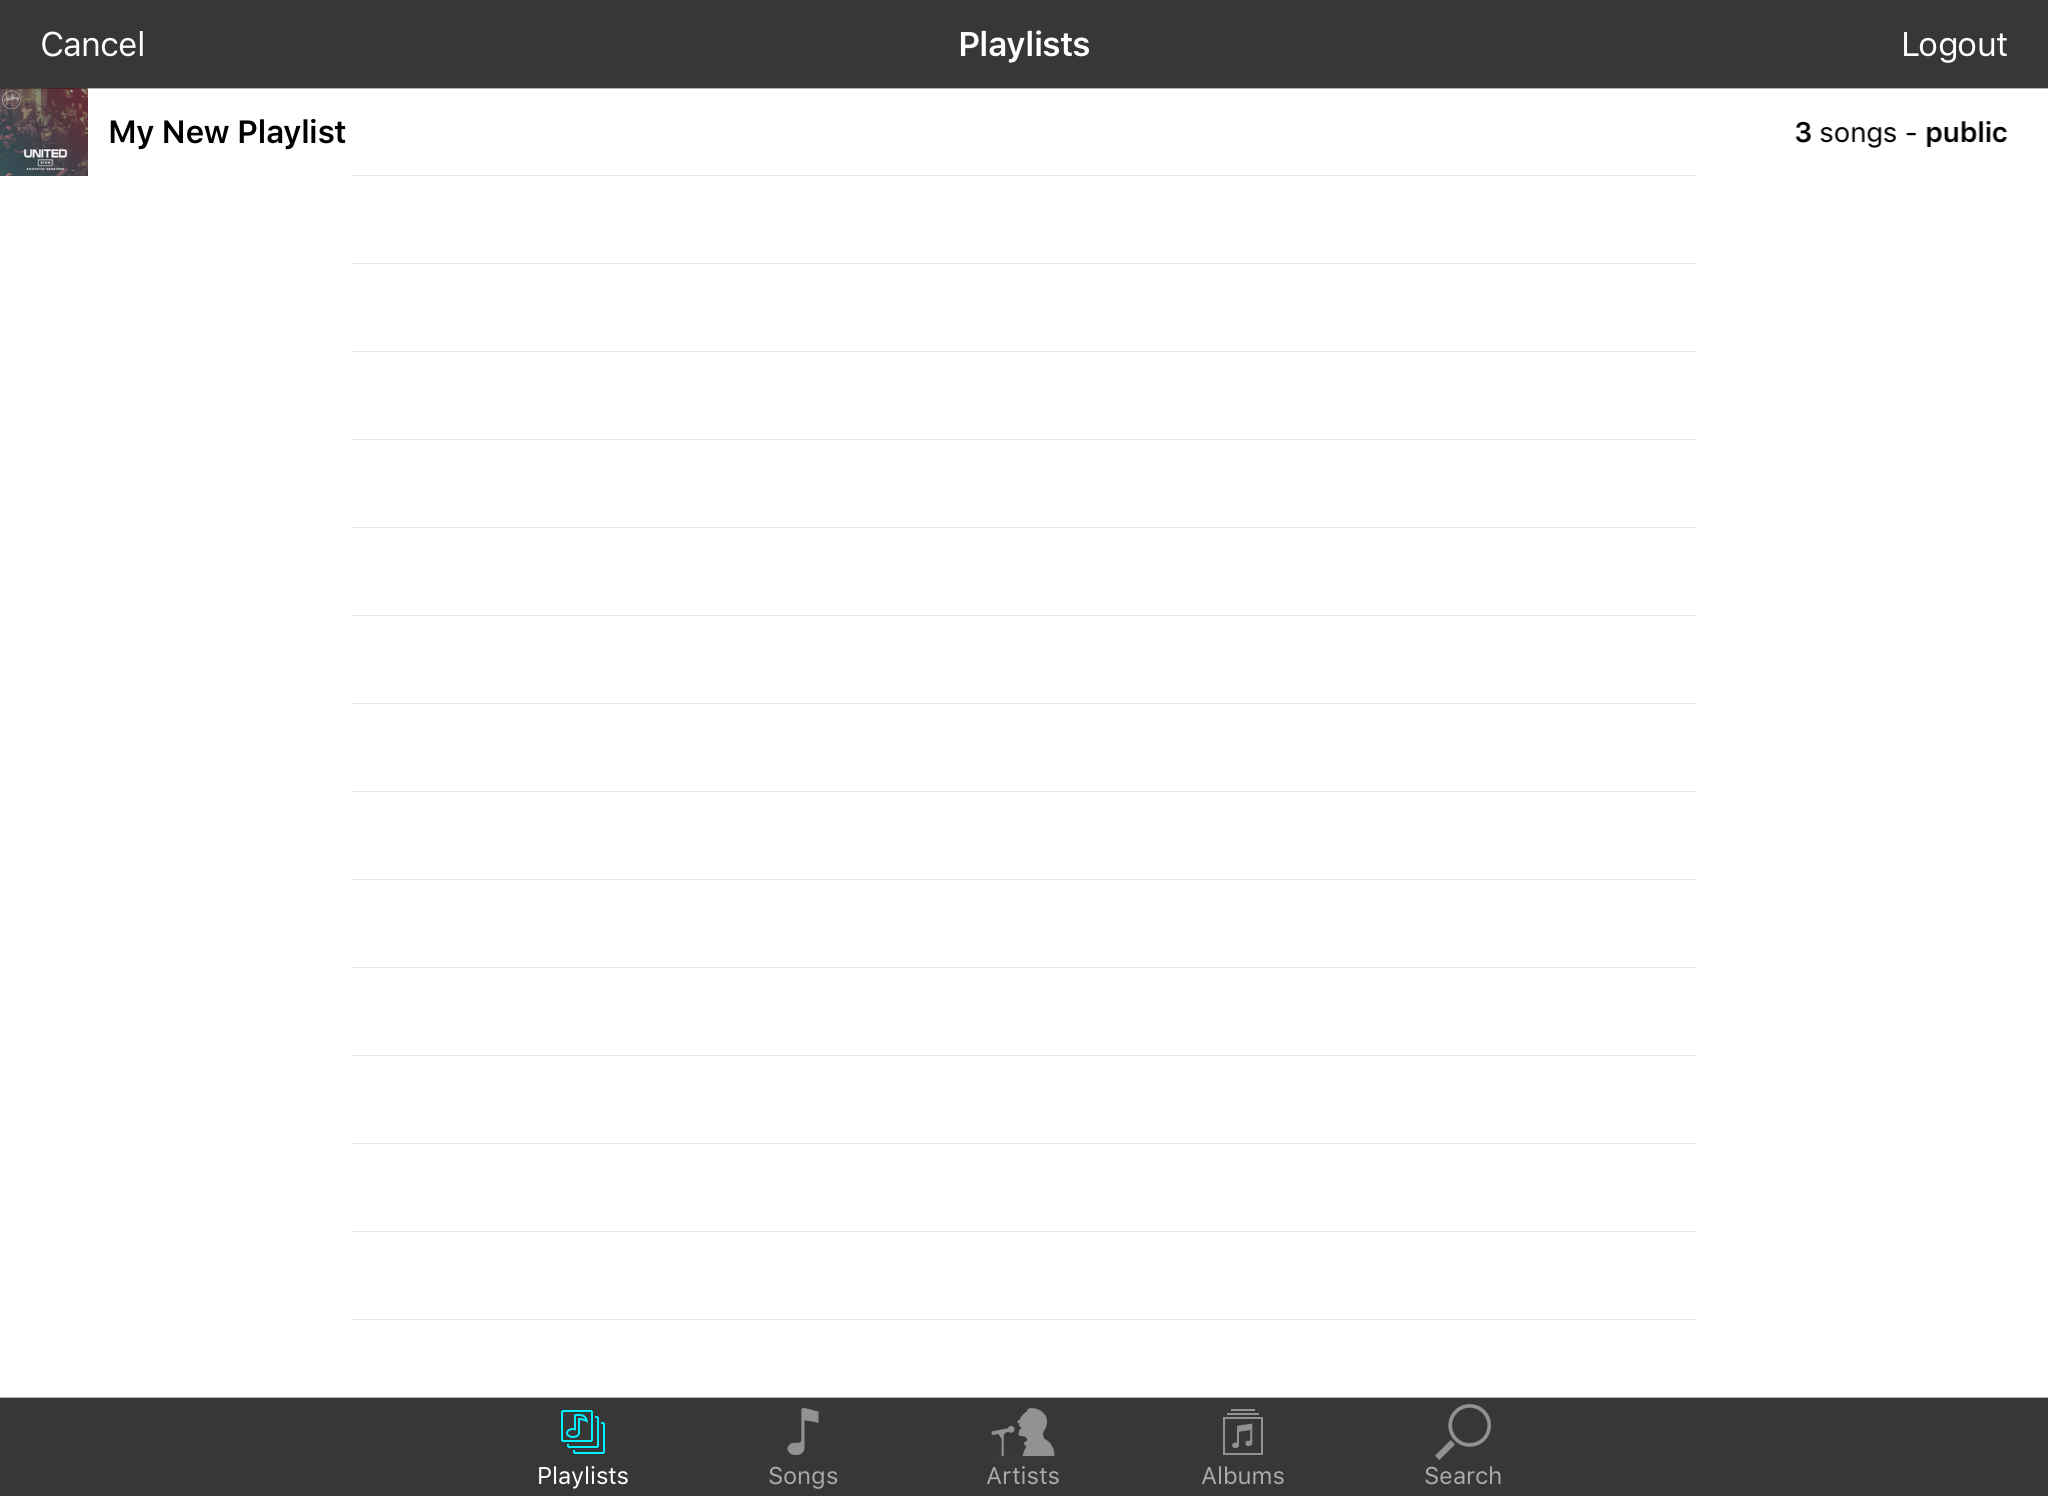
The playlists tab displays all playlists that you have created on Spotify.
Cancel
Tap on the Cancel button in the upper-left corner to close the Spotify Library screen without linking to a track.
Logout
Tap on the Logout button to sign out of Spotify, close the Spotify Library screen and start over with the Login Screen.
Viewing Songs
Tap on a playlist to view a list of songs in that playlist in the order that they appear.
Playlist Songs
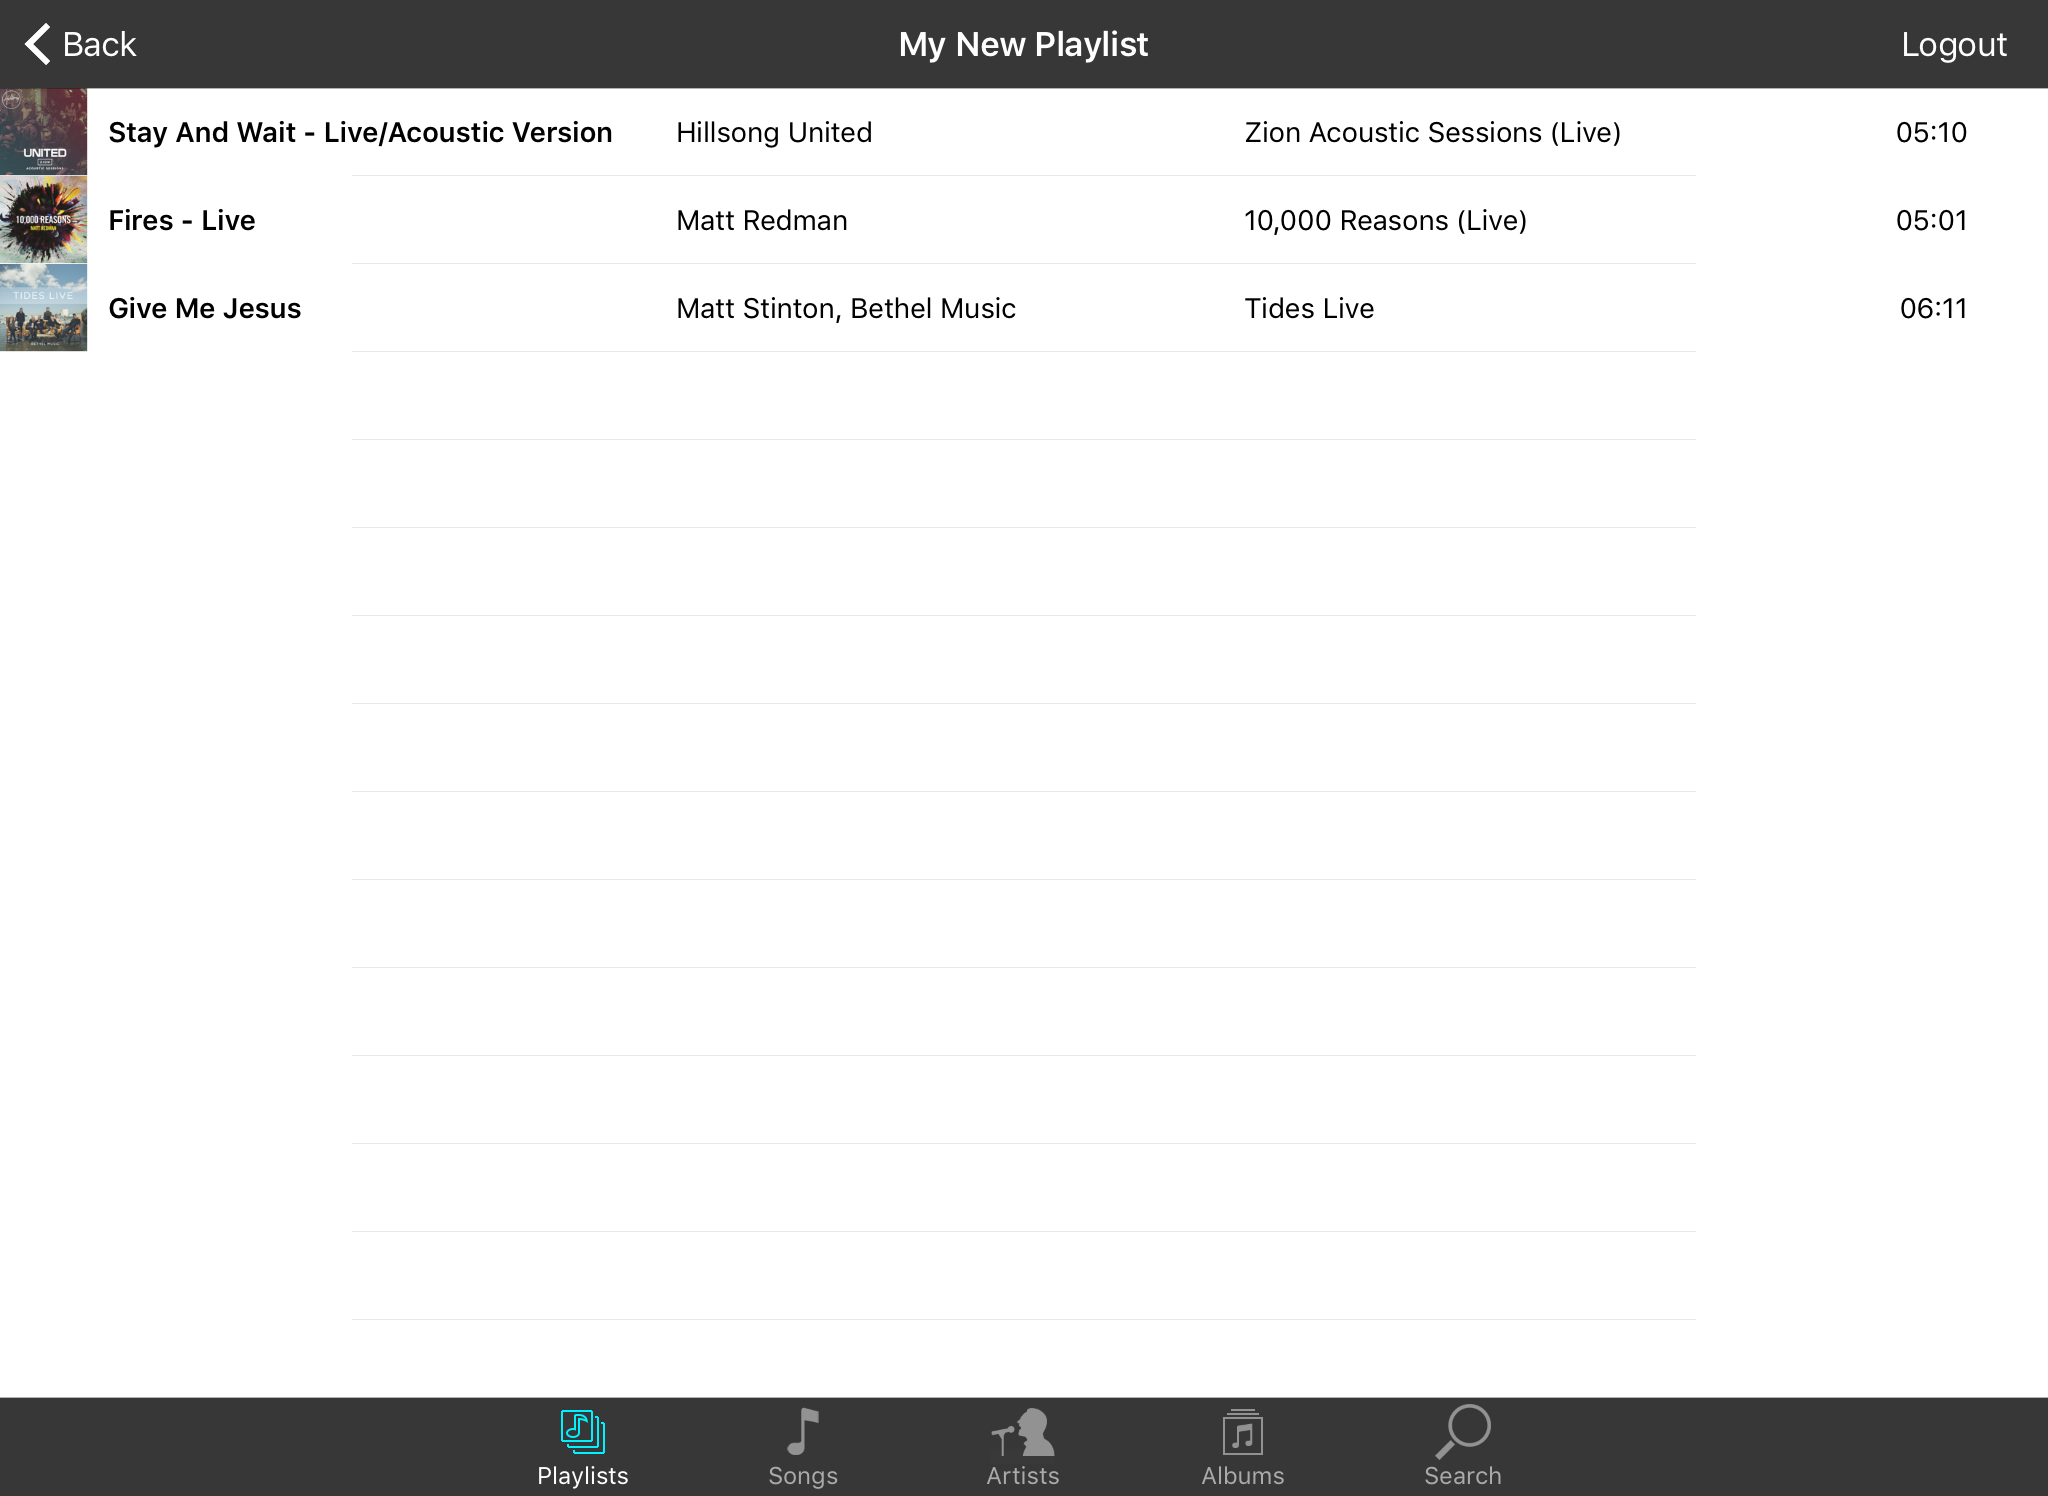
Once you've tapped on a playlist, you can view all of the songs in the playlist to link a song to the active chord chart.
Logout
Tap on the Logout button to sign out of Spotify, close the Spotify Library screen and start over with the Login Screen.
Linking Songs
The list of songs that have been added to the playlist are displayed. The list contains columns for the album artwork, track title, artist name, album name and duration. Tap on a track to link it to the active chord chart.
Search
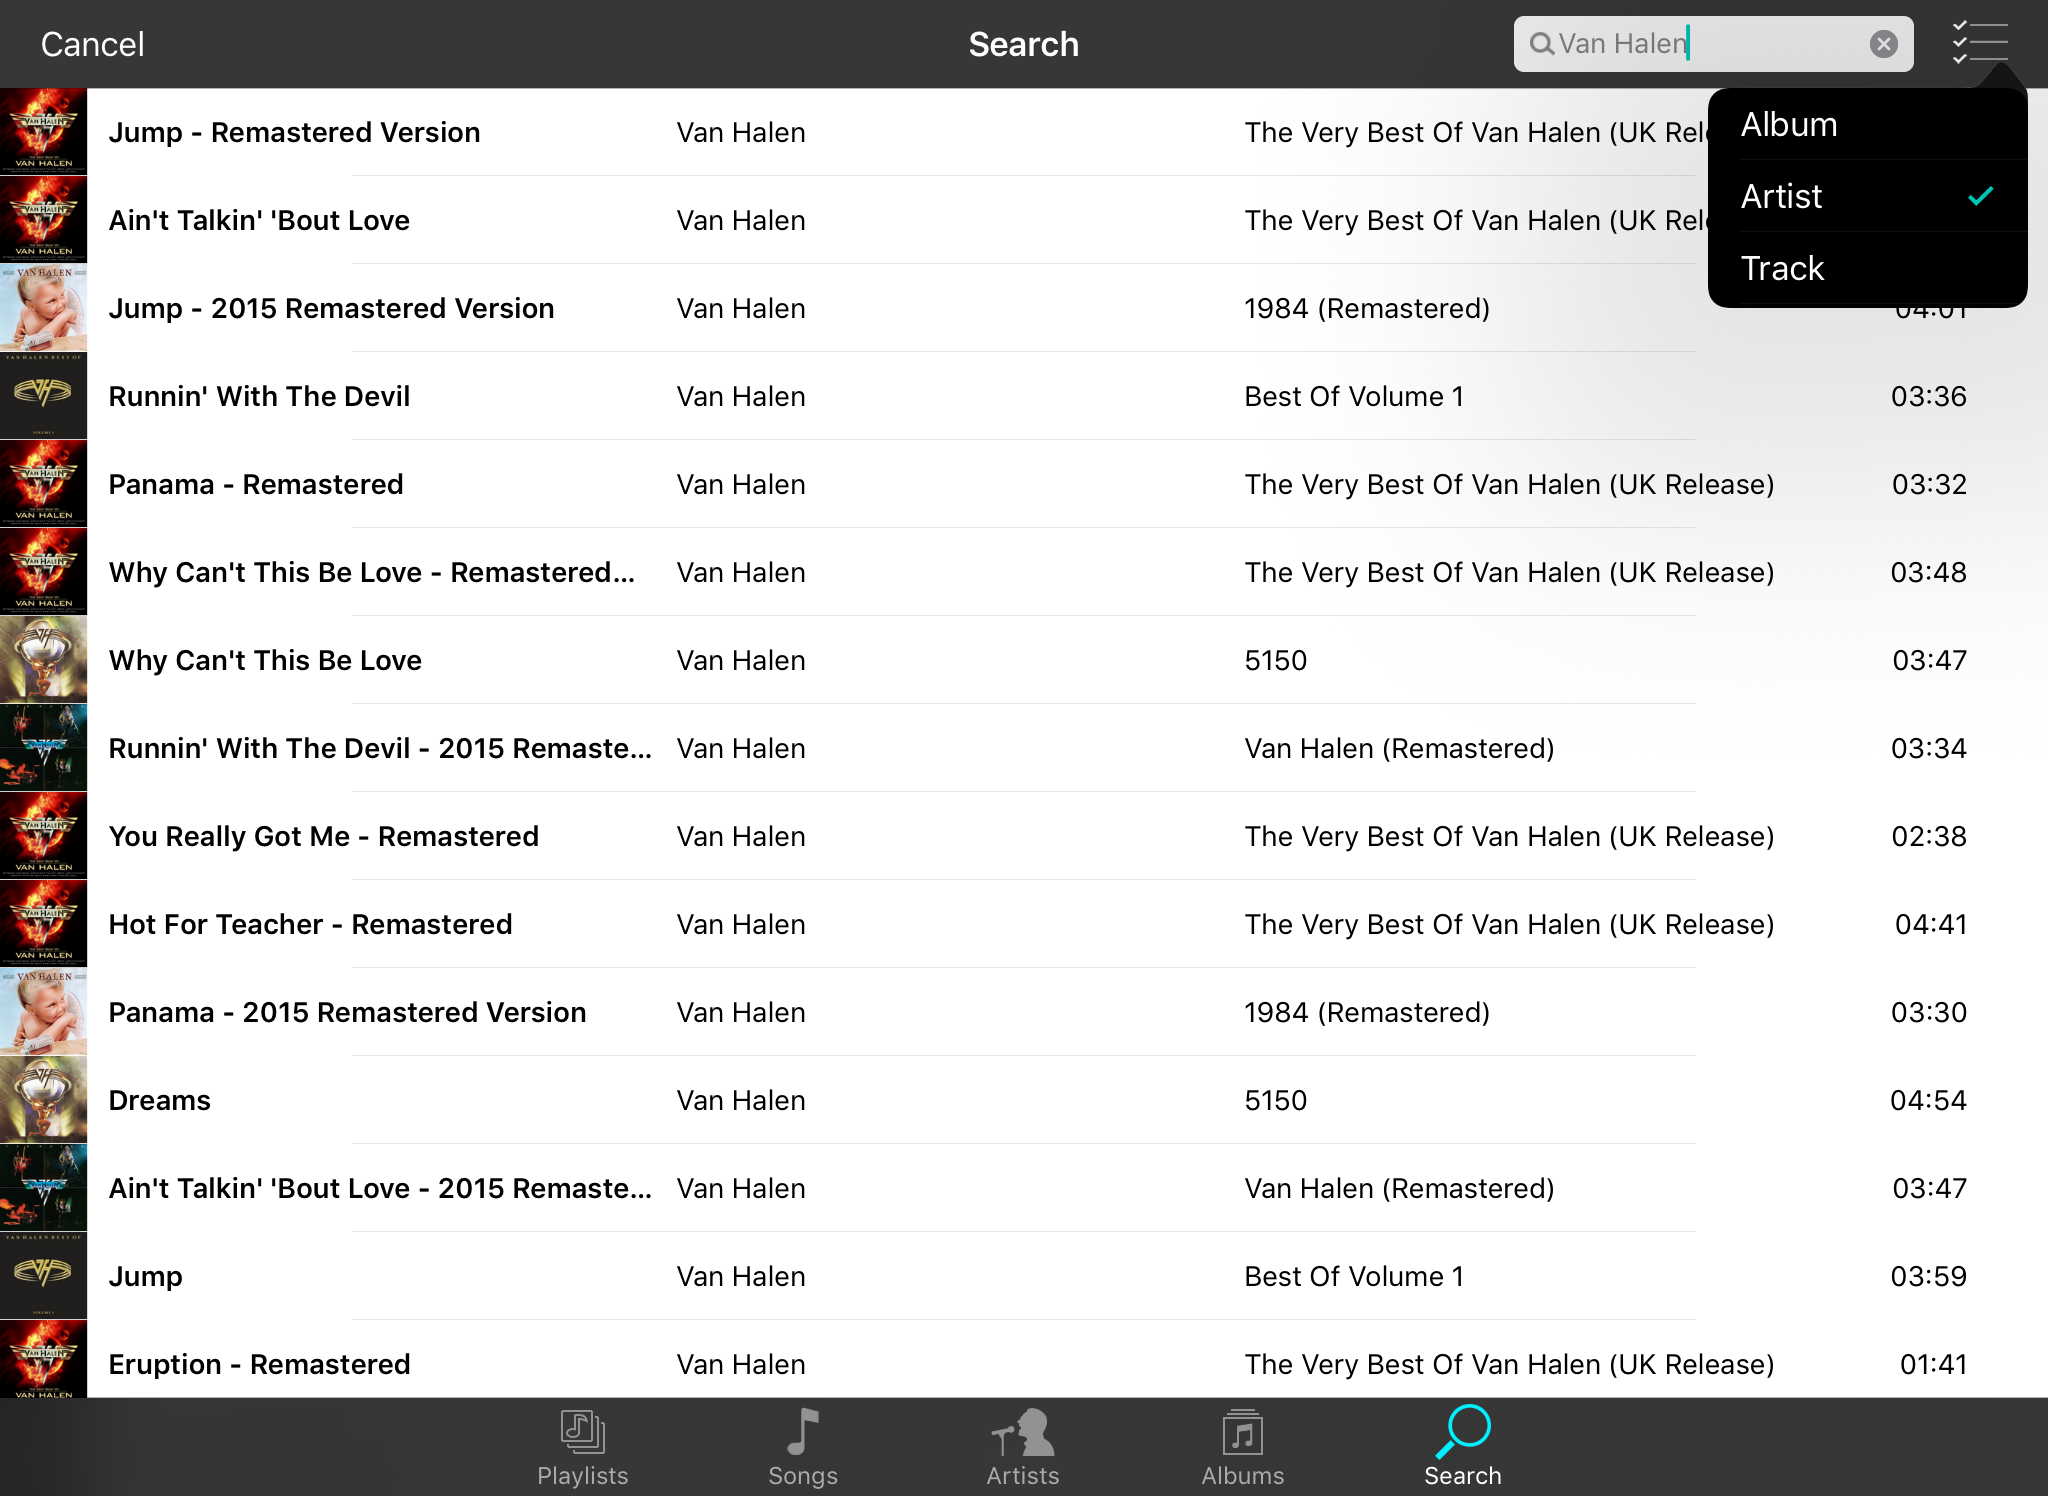
Use the Search tab to search the entire Spotify music catalog for a track.
Cancel
Tap on the Cancel button in the upper-left corner to close the Spotify Library screen without linking a track.
Search Bar
The search bar in the upper-right corner of the screen lets you enter keywords to search for. In addition, a menu to the right of the search bar allows you to search either the album, artist or track title.
Linking Songs
Once you've performed a search, the results appear in list format. This list contains columns for the album artwork, track title, artist name, album name and duration. Tap on a track to link it to active chord chart.
Songs
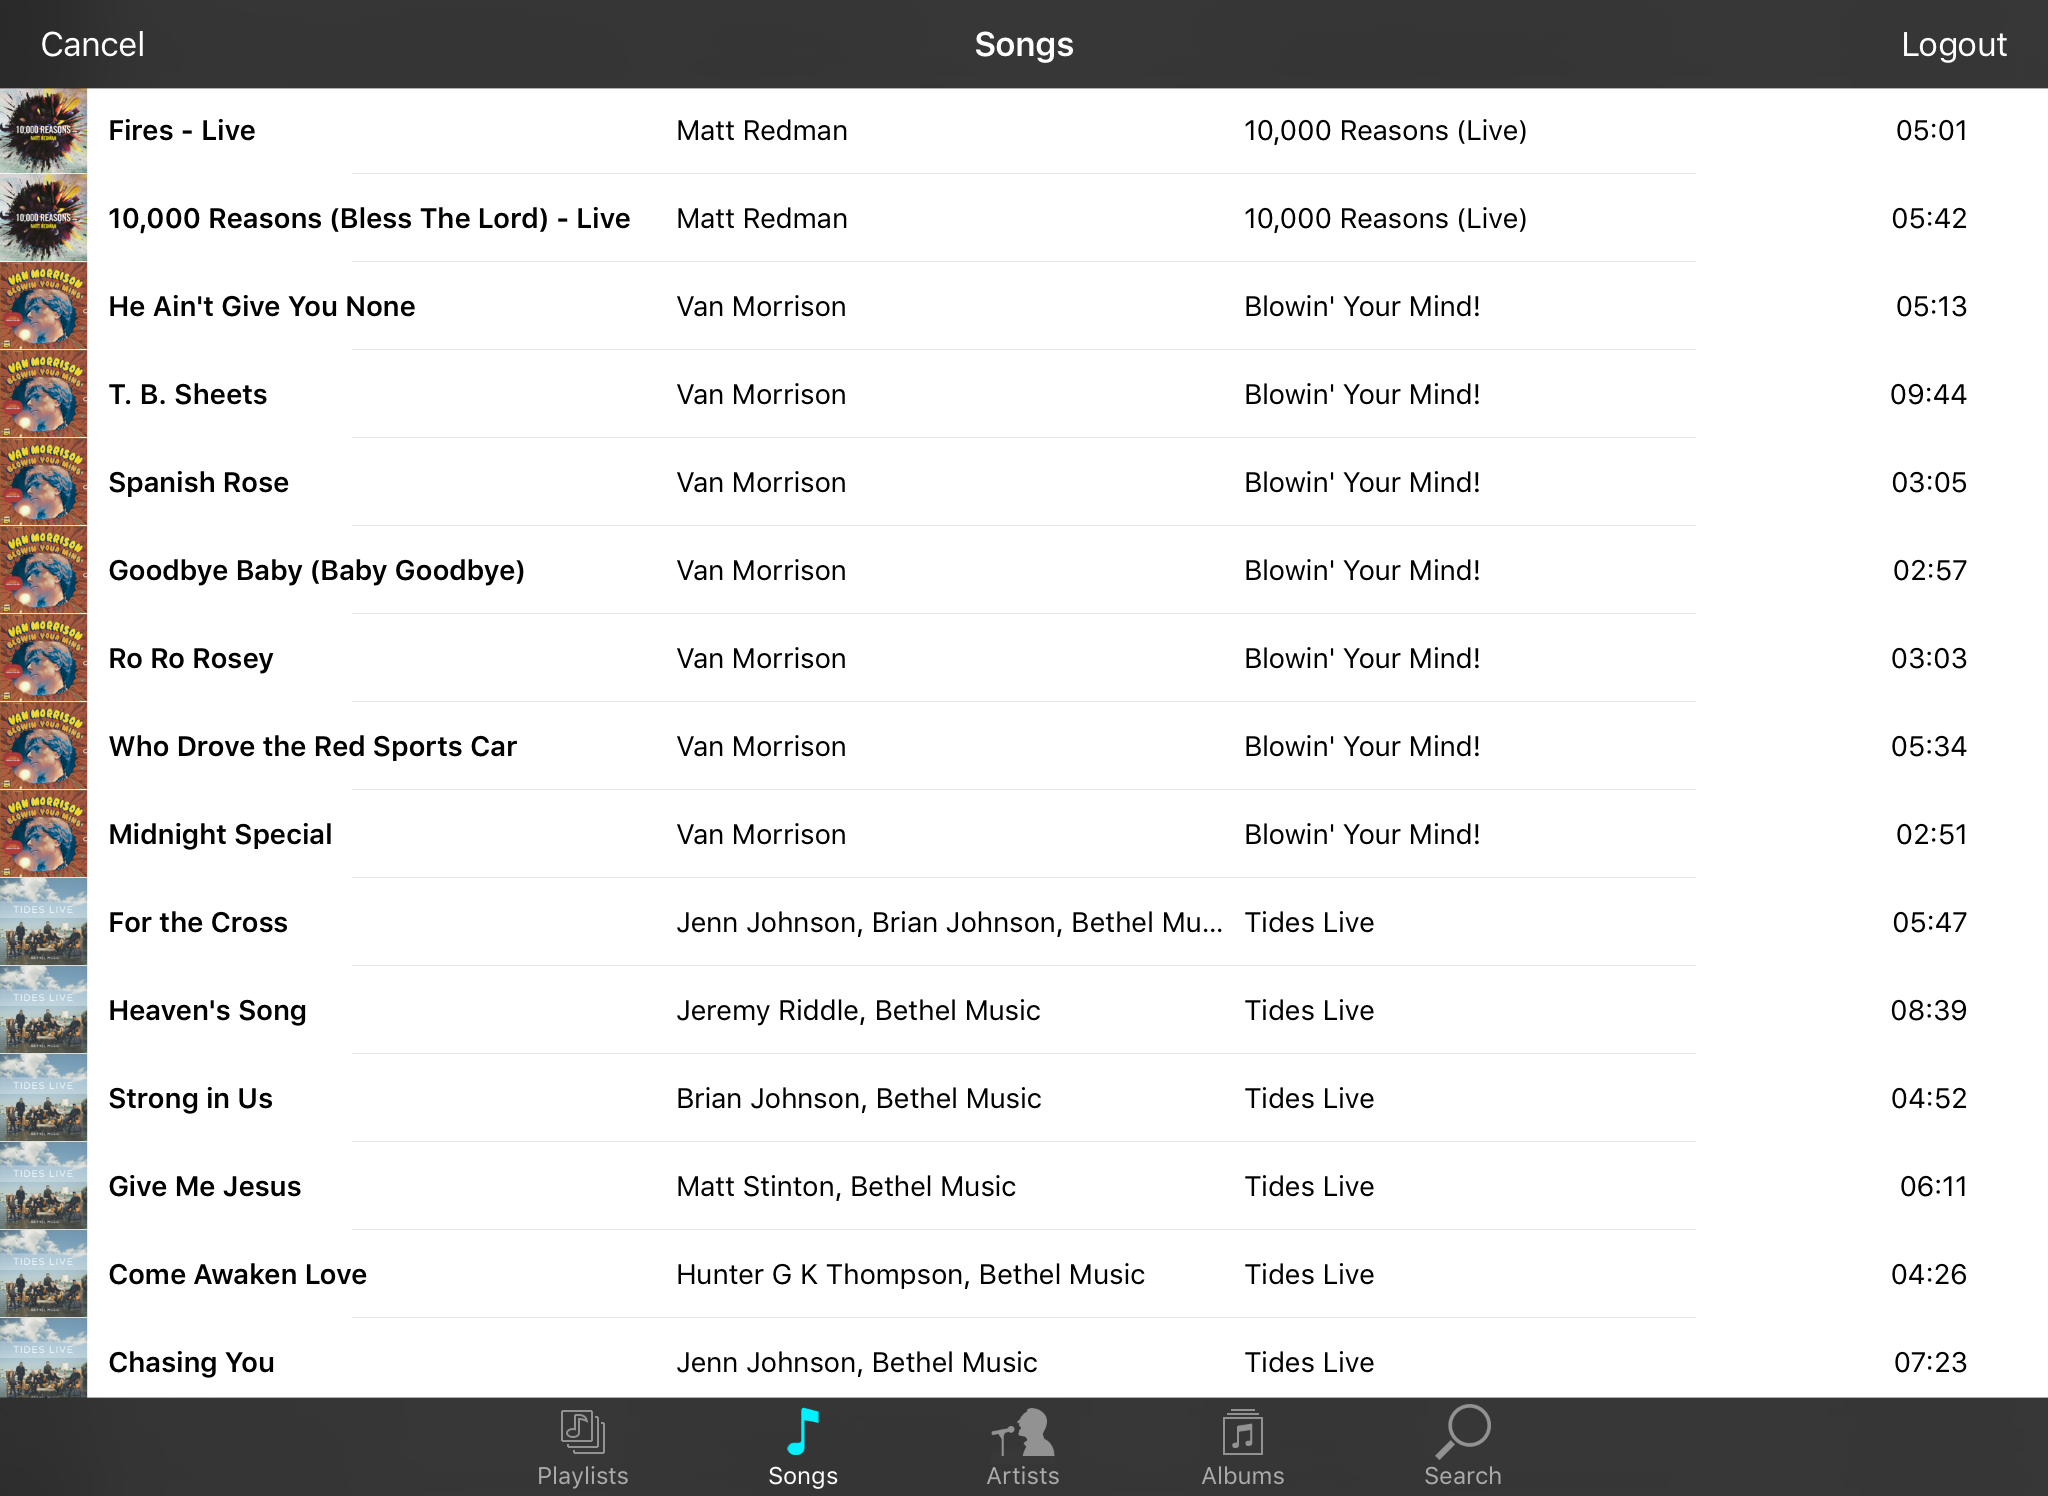
The Songs tab lets you quickly browse tracks you've saved to Your Music in Spotify. Once you've found a song, tap on it to link it to the active chord chart.
Cancel
Tap on the Cancel button in the upper-left corner to close the Spotify Library screen without linking a track.
Logout
Tap on the Logout button to sign out of Spotify, close the Spotify Library screen and start over with the Login Screen.
Linking Songs
Songs that you've saved to Your Music appears in list format on this screen. The list contains columns for the album artwork, track title, artist name, album name and duration. Tap on a track to link it to the active chord chart.
Audio Media Library
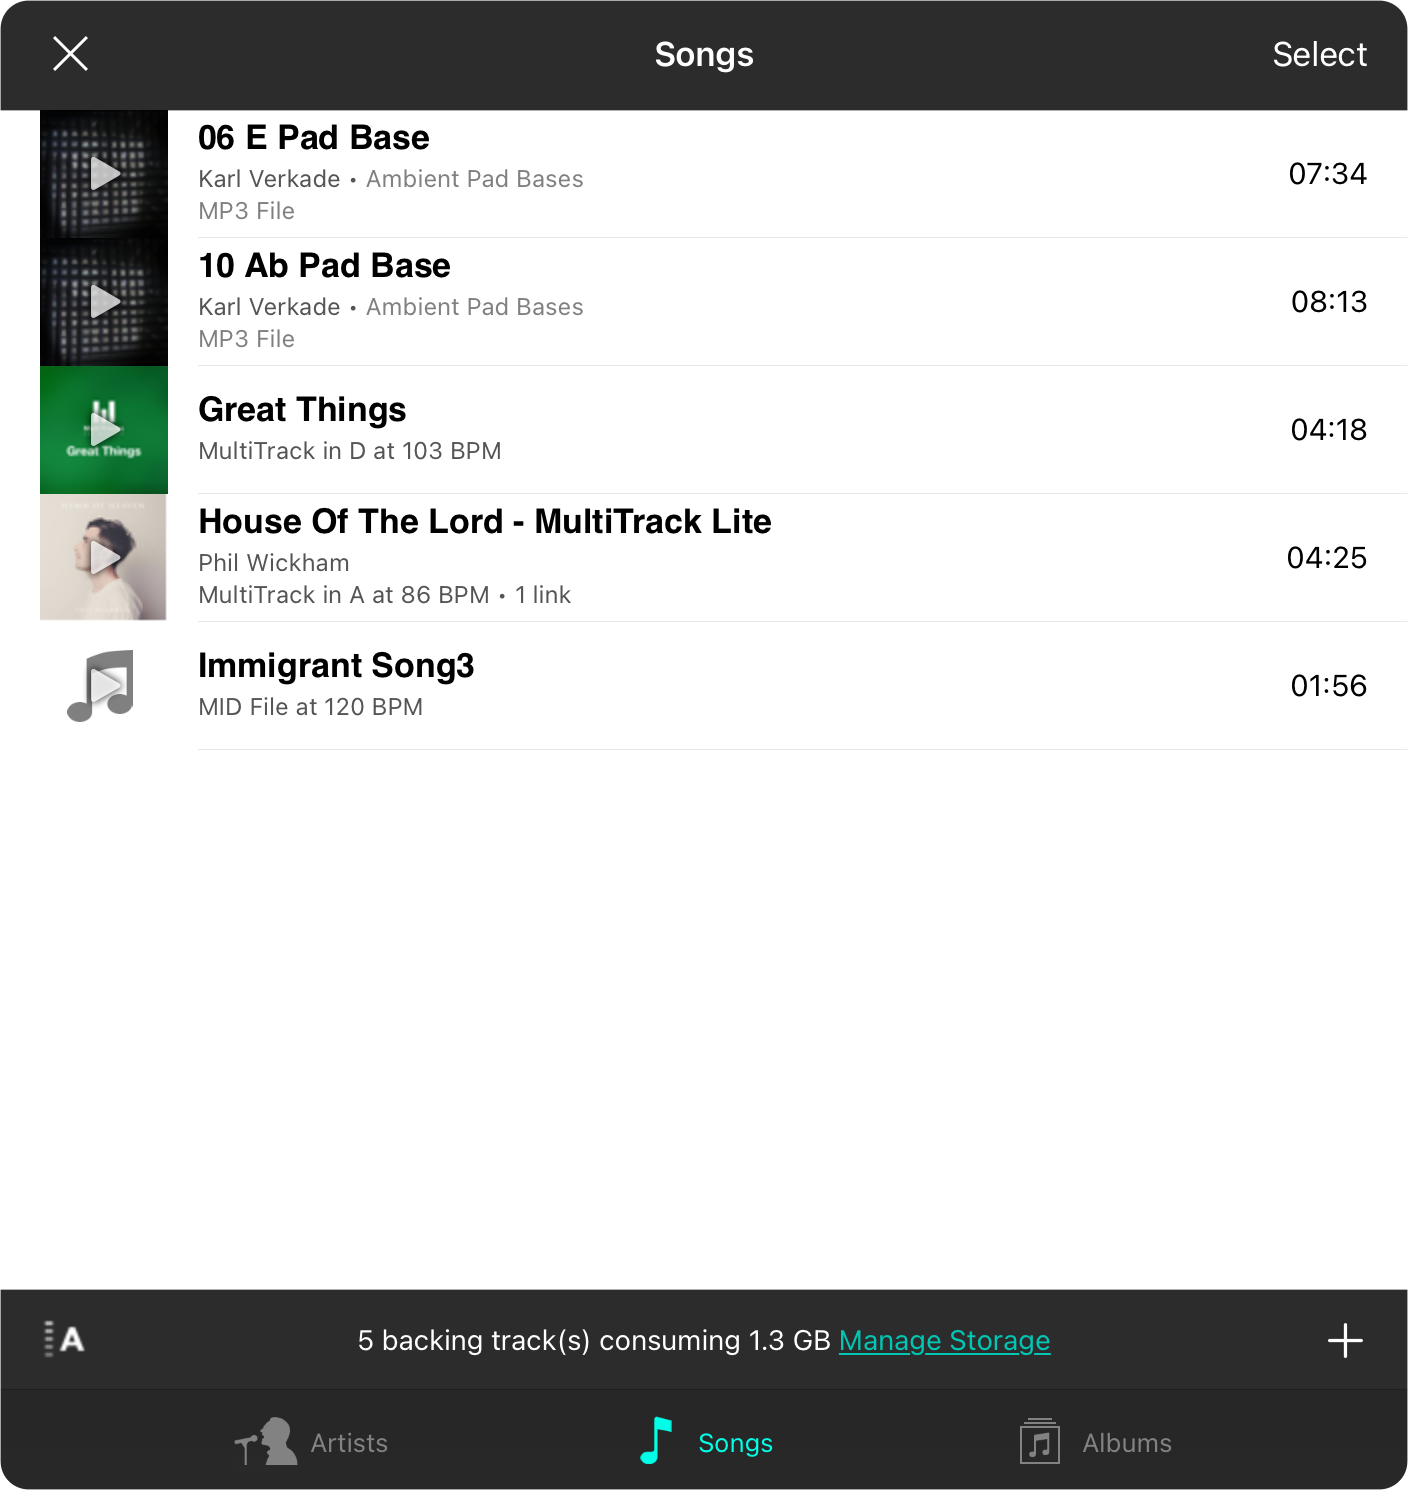
The OnSong audio media library screen features audio tracks that you've imported.
Adding Tracks
You can add tracks by importing audio track files just like any other file type. You can also import directly inside of the audio media library screen by tapping on the + button in the upper right corner to open the Import Files Menu.
Browsing Tracks
You can browse your tracks by artists, songs and albums with the default view being the songs list.
- Artists groups your tracks by artist.
- Songs displays a list of all songs in your OnSong audio media library indexed alphabetically by the track name.
- Albums groups your tracks by album name if available.
Picking Tracks
You can choose a song to link to a chord chart by tapping on it in the list. This will close the audio media library screen and return you to the audio picker menu.
Managing Tracks
You can delete and edit tracks in the OnSong audio media library by swiping from right to left over the audio track. This will reveal an Edit button to make changes to the track using the Track Editor screen. The Delete button will delete the audio track from your library.
You can also tap and hold on a row containing an audio track to open the Track Editor if you are not running iOS 8.
Sort
When you open the sort method menu, you can see ways that you can sort the audio tracks as well as an arrow indicating the current sort method and direction. Tapping on a selected attribute will invert its direction. You can sort audio tracks via a variety of attributes found below:
Title
The title of the audio track in alphabetic sort order.
Artist
The artist of the audio track, if provided.
Duration
The duration of the audio track.
Size
The file size of the audio track. When sorted by size, the file size is displayed on the right instead of the duration.
Created
The date and time the audio track was created, or added to the media library. When sorting by created date, that date is displayed on the right side instead of the duration.
Modified
The date and time the audio track was modified, or changed to the media library. When sorting by modified date, that date is displayed on the right side instead of the duration.
Reduce File Size

This screen presents available file formats that can be used to downsample media to reduce file size in storage. For instance, if you've imported large WAV files, you can downsample within OnSong to M4A file formats and reduce the size of your OnSong library.
Audio
OnSong provides compression into the M4A file format to reduce the size of audio files.
Video
If you are compressing a video file format, OnSong can encode into a low resolution video using the built in H.264 encoder.
Share

The share menu is the built-in activities menu in iOS/iPadOS which provides access to all available apps and actions.
Apps
Here you some standard apps available to share the media items to:
- AirDrop the files to another device over peer-to-peer WiFi.
- Messages to send as an iMessage attachment.
- Mail to email the attachments.
- More allows you to pick other apps that have been registered to open these sorts of files.
Actions
You can also select from actions available in the system or through OnSong:
- Copy will place the content into the clipboard for pasting.
- Export will open the Export Menu allowing you to export using the OnSong export interface.
- Add To OnSong will import the files into your OnSong library which would be an odd choice, but you're free to choose!
- Save To Files allows you to save the reports to storage locations or drives connected to the Files app.
Editing Mode
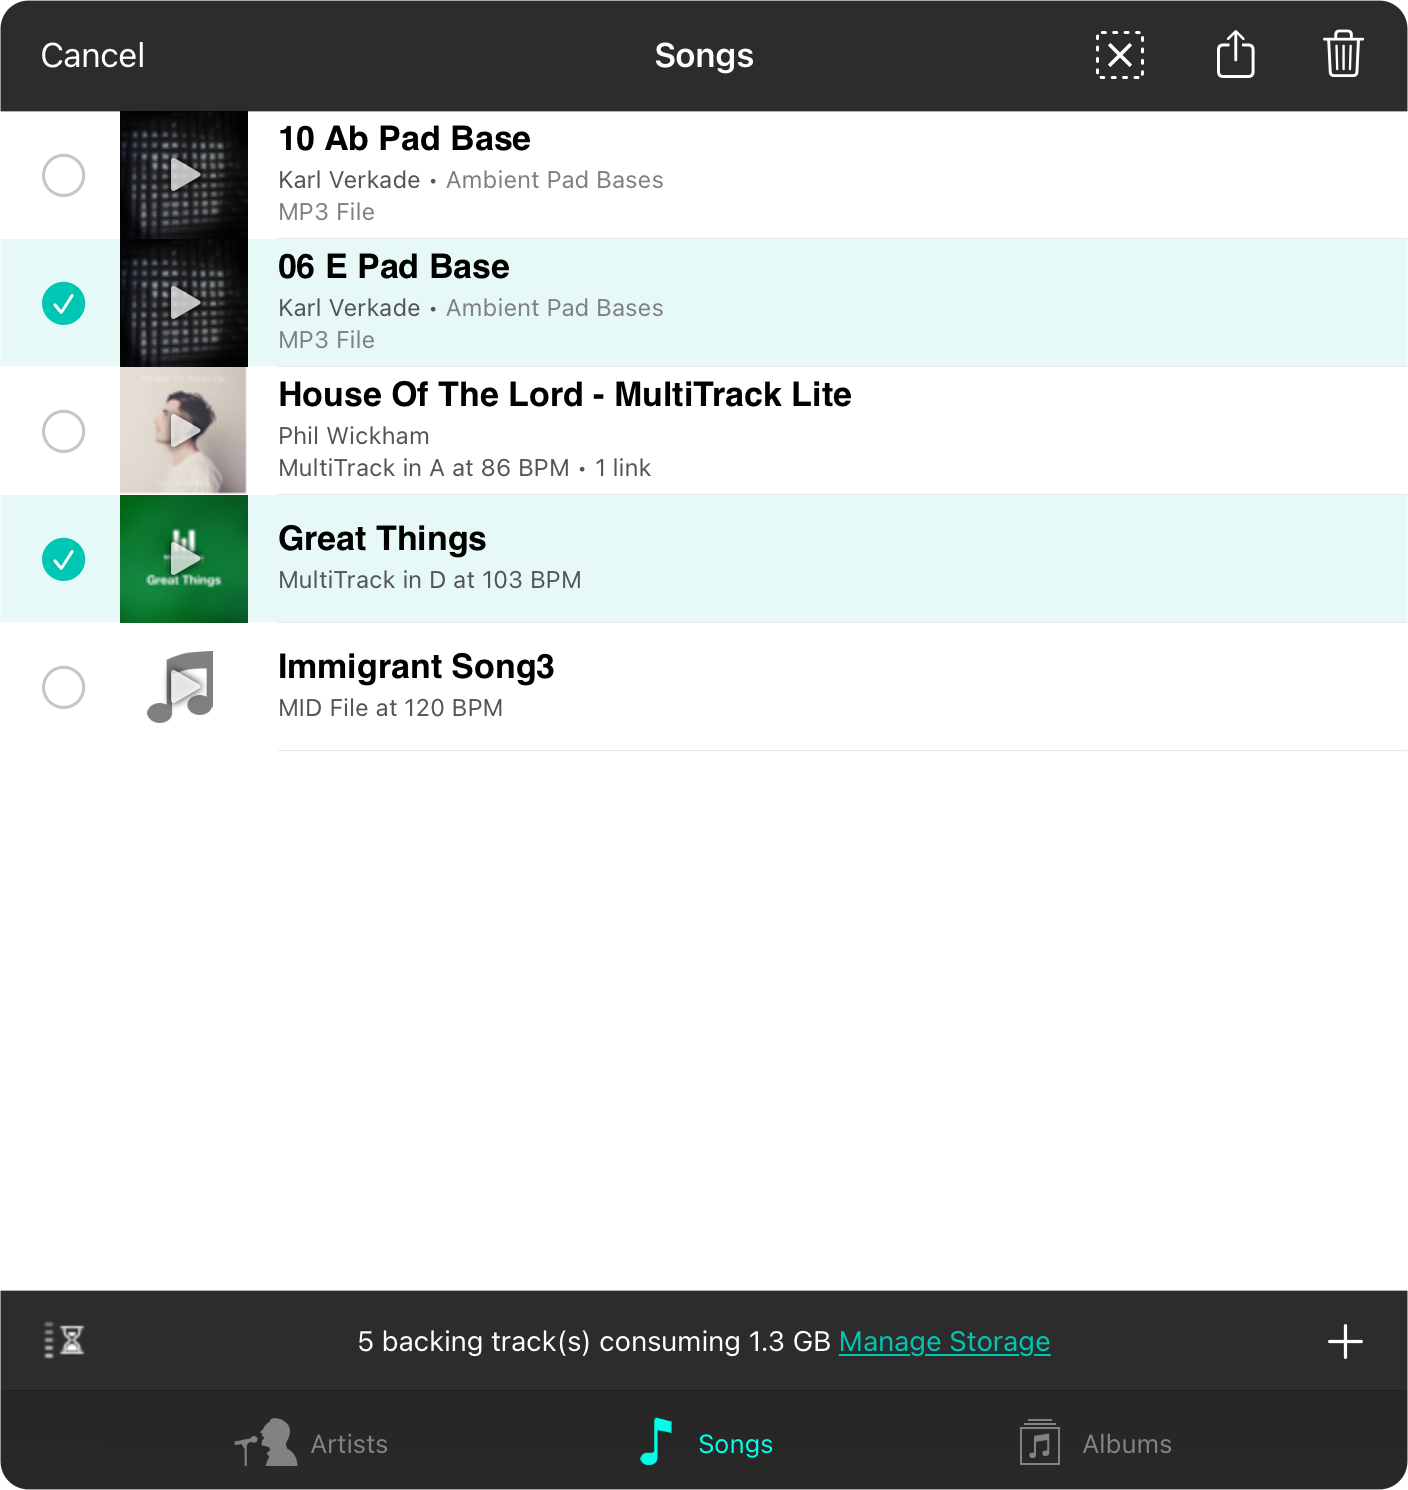
When you tap on the Select button in the upper right corner of the menubar, you enter selection mode. This will allow you to tap on songs, artists or albums to select each item, placing a checkmark on the left side of each item to indicate it has been selected.
Export
To export, tap on the action button that looks like a square with an up arrow in the upper right corner to open the Export Menu.
Delete
To delete selected tracks, tap on the trash can icon in the upper right corner.
Cancel
If you do not want to export the selected songs, tap on the Cancel button to cancel out of selection mode.
Export Menu
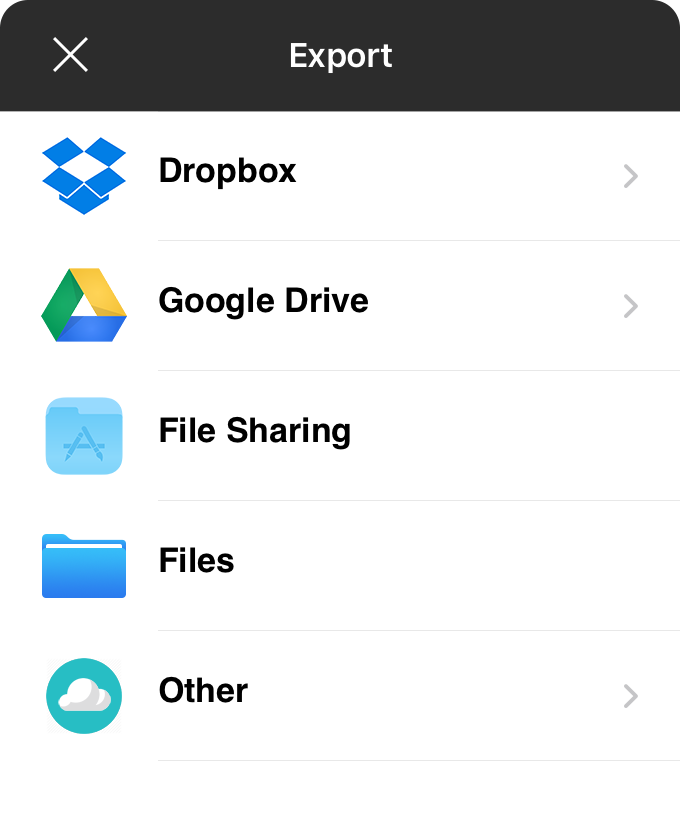
The export menu lets you choose a location where exported content should be saved. If you have more than one file to export, the number of items is displayed in parenthesis in the title.
OnSong supports four general locations with the last option allowing for future expansion to web services that implement standard access protocols.
Dropbox
Dropbox is a file storage service that allows you to place your important documents in the cloud. This means that they are near-instantly available on all your devices, making the service a great candidate for backing up your library. Tapping on the Dropbox option allows you to select a folder in your Dropbox where you would like your files exported.
Google Drive
Dropbox is a cloud-based storage service that allows you to store documents in the cloud. This means that they are near-instantly available on all your devices, making the service a great candidate for backing up your library or storing files. Tapping on the Google Drive option allows you to select a folder in your Google Drive where you would like your files exported.
File Sharing
This option allows the user to export to file sharing. This is a special folder contained inside of the OnSong app which can be accessed through the Finder (macOS) or iTunes (Windows) when connected with a sync/charge cable. This means that the file is stored on your device until it is saved off of the device onto a computer.
Files
iOS has the ability to export files to apps from storage providers that support integration with the iOS Files app. Use this option to select a location and folder where the file should be exported.
Other
Some online storage services have support for open standards, allowing files to be securely stored and retrieved without individual configurations. Use this option if you would like to add an online source that supports Amazon S3, FTP, or WebDAV protocols.
Albums
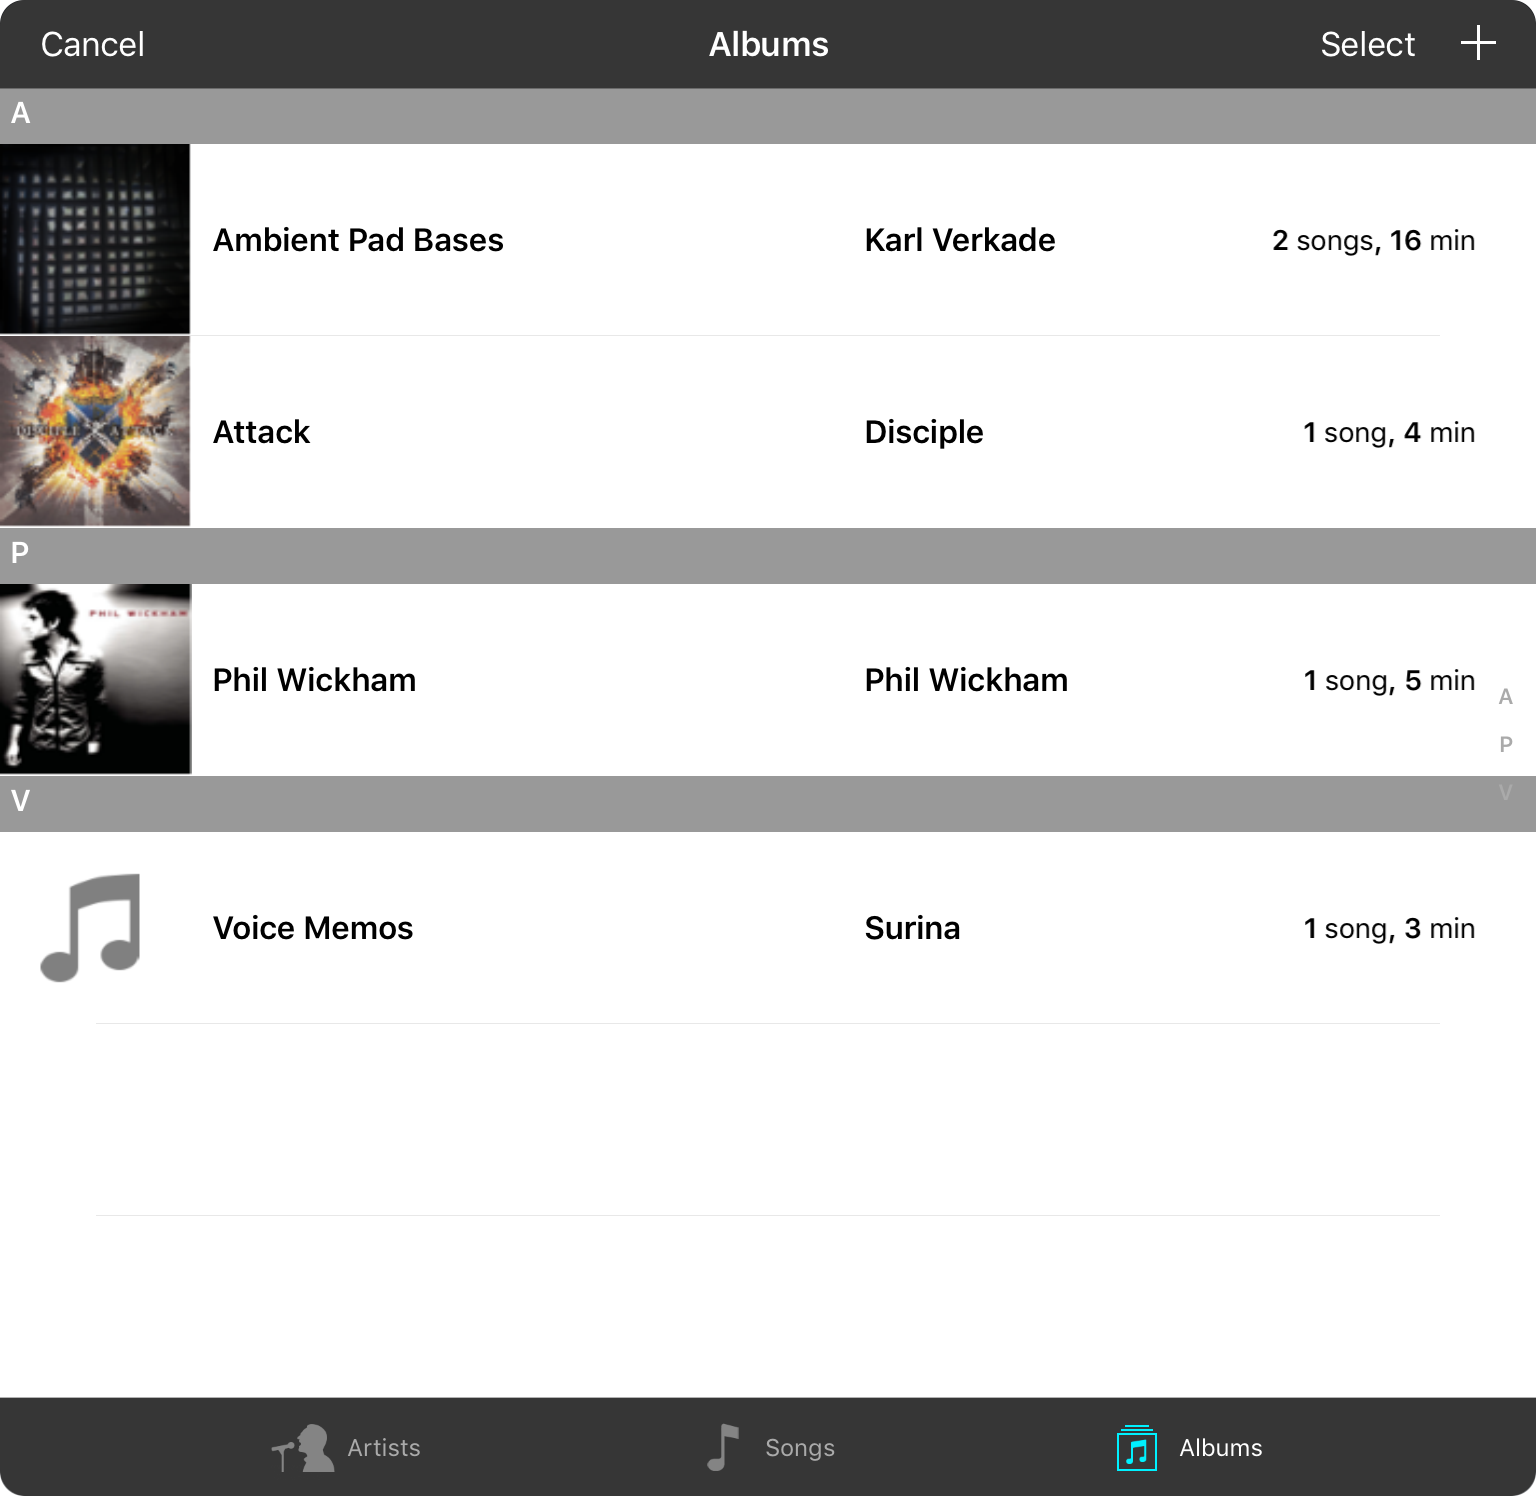
The albums tab in the audio media library groups all tracks by album if available. This allows for faster browsing of larger music libraries. Albums are indexed alphabetically.
The album artwork is displayed on the left followed by the album title and artist name. The number of songs and total album duration in minutes are displayed on the far right side.
Tap on an album to display songs performed on that album in the Album Track List.
Album Track List
The album track list displays the selected album's information above a list of tracks. Album information includes a thumbnail of the album cover artwork, the album name, number of songs and length of time of all tracks.
Each track is displayed in order of track number. The track number is displayed on the left followed by the track name and duration of the track.
Picking Tracks
You can choose a song to link to a chord chart by tapping on it in the list. This will close the audio media library screen and return you to the audio picker menu.
Managing Tracks
You can delete and edit tracks in the OnSong audio media library by swiping from right to left over the audio track. This will reveal an Edit button to make changes to the track using the Audio Track Editor screen. The **Delete* button will delete the audio track from your library.
Artists
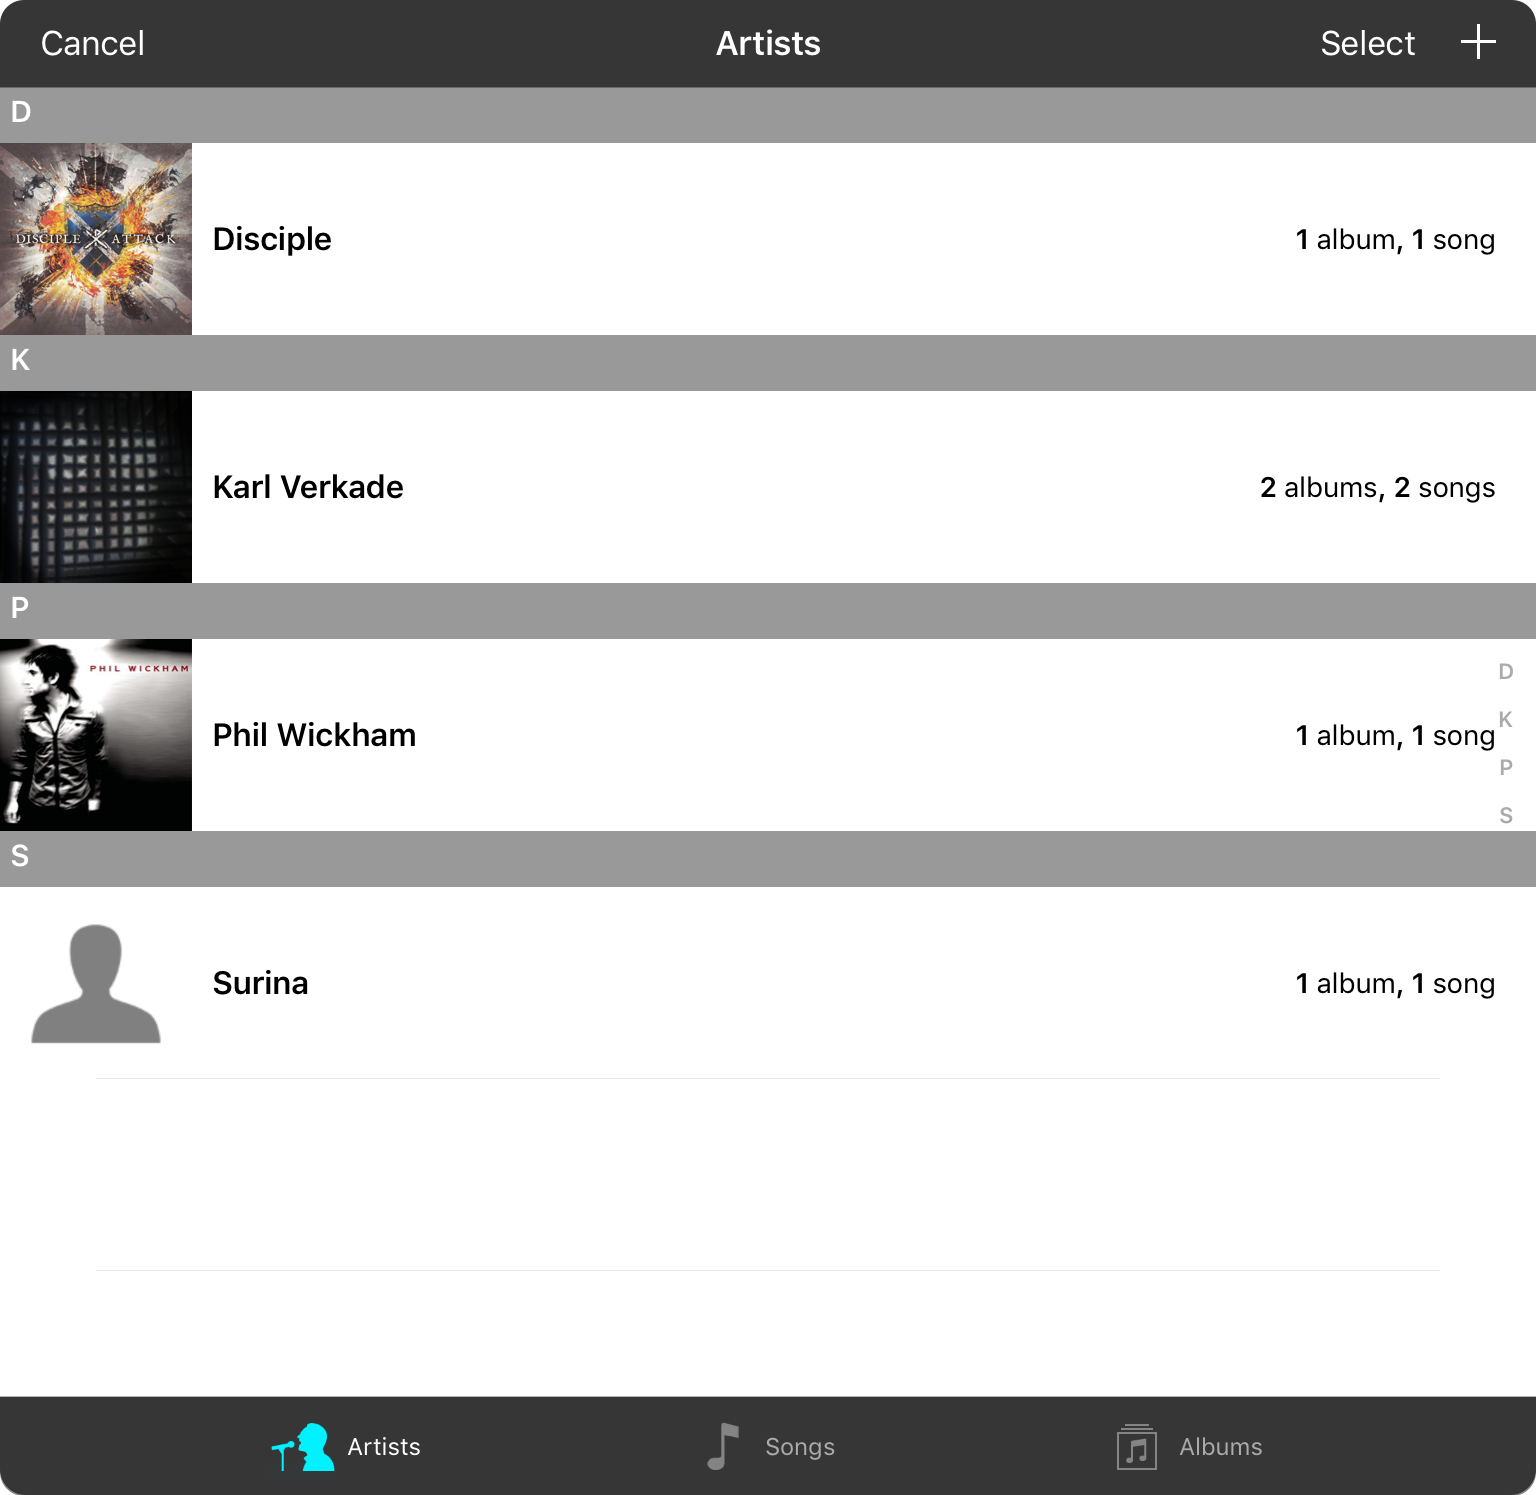
The artists tab in the audio media library groups all tracks by artist if available. This allows for faster browsing of larger music libraries. Artists are indexed alphabetically.
The album artwork of the most recent album is displayed on the left followed by the artist's name. The number of albums and songs are displayed on the far right side.
Tap on an artist name to display songs performed by that artist in the Artist Track List.
Artist Track List
The artist track list displays the selected artist's information above a list of tracks. Artist information includes a thumbnail of an album cover artwork, the artist's name, number of albums and total number of songs.
Each track is displayed in order of track number. The track number is displayed on the left followed by the track name and duration of the track.
Picking Tracks
You can choose a song to link to a chord chart by tapping on it in the list. This will close the audio media library screen and return you to the audio picker menu.
Managing Tracks
You can delete and edit tracks in the OnSong audio media library by swiping from right to left over the audio track. This will reveal an Edit button to make changes to the track using the Track Editor screen. The Delete button will delete the audio track from your library.
Import Files
The import files menu provides a list of common import locations with the ability to import audio tracks from those sources. These import screens are similar to those found in the Songs Menu except that only audio files are selectable.
Dropbox
Dropbox is a popular cloud-based storage service that works great for importing documents from your computer.
iTunes File Sharing
iTunes File Sharing allows you to import files from your computer using a USB cable and iTunes software.
Other
The other options lets you import from other remote sources using standard communication protocols.
MultiTracks for Worship
MultiTracks for Worship makes it easy and affordable to get started with using MultiTracks. When you use the MultiTracks for Worship option in the audio media library, we open the their website where you can sign in with your account to access your purchases, or to buy MultiTracks with your subscription credits.
Sign In
In order to access your purchases and credits, you'll need to sign into the MultiTracks for Worship website.
My Orders
Once you are signed in, you an access your purchases by tapping on the menu icon and choose My Orders from the menu. From there you can view available files and download the ZIP file to be processed as a MultiTrack in your library.
Using MultiTracks
Once you've downloaded the MultiTrack, OnSong will extract and process the ZIP file to create the MultiTrack in your Audio Media Library. From there you can link it to a song to play it and use the Mixer Widget to mix and control output settings.
My Orders
Once you're signed in, you can access your orders. This can be done by tapping on the menu icon (three lines) in the upper left corner of the web site and then choosing My Orders. These are MultiTracks that you've purchased on the website or using subscription credits.
Browse Orders
You can scroll through your orders here and see the album artwork as well as the title of the song. Tap on the Download button on the right side to view available downloads for the order.
Download
Each order contains files that can be downloaded. If you're using the purchase in OnSong, you'll want to import the ZIP file. Like other websites, MultiTracks are delivered as a ZIP file. Locate that file and then tap on the Download button. This will start the download process. If OnSong detects that a ZIP file is being downloaded, it will capture that download request to import the ZIP file and process it into a MultiTrack. Once processed, you can access and play the MultiTrack.
Sign In
When ever you attempt to view your customer information, orders, or redeem credits on the MultiTracks for Worship website, you'll need to sign in with your customer account.
Email Address
Enter your email address in the first field.
Password
Enter your password in the password field.
Remember Me
Since this is a web browser viewed within the OnSong app, we recommend checkmarking this option. That will ensure that future browsing and downloading will happen without requiring login each time OnSong is restarted.
Sign In
Tap or click on the sign in button to authenticate with MultiTracks for Worship to begin browsing and downloading MultiTracks.
Forgotten Password
We all do it sometimes. Tap or click on that option if you need help remembering or resetting your password.
MultiTracks for Worship is a third-party website and OnSong cannot provide support for the use of this site or any billing inquiries that may arise. You will need to contact MultiTracks for Worship or Wayopay directly for assistance.
Songs

The songs tab in the audio media library shows all songs contained in your library. Songs are indexed alphabetically by track name.
Picking Tracks
You can choose a song to link to a chord chart by tapping on it in the list. This will close the audio media library screen and return you to the audio picker menu.
Managing Tracks
You can delete and edit tracks by swiping from right to left over the audio track. This will reveal an Edit button to make changes to the track using the Track Editor screen. The Delete button will delete the audio track from your library.
Track Editor
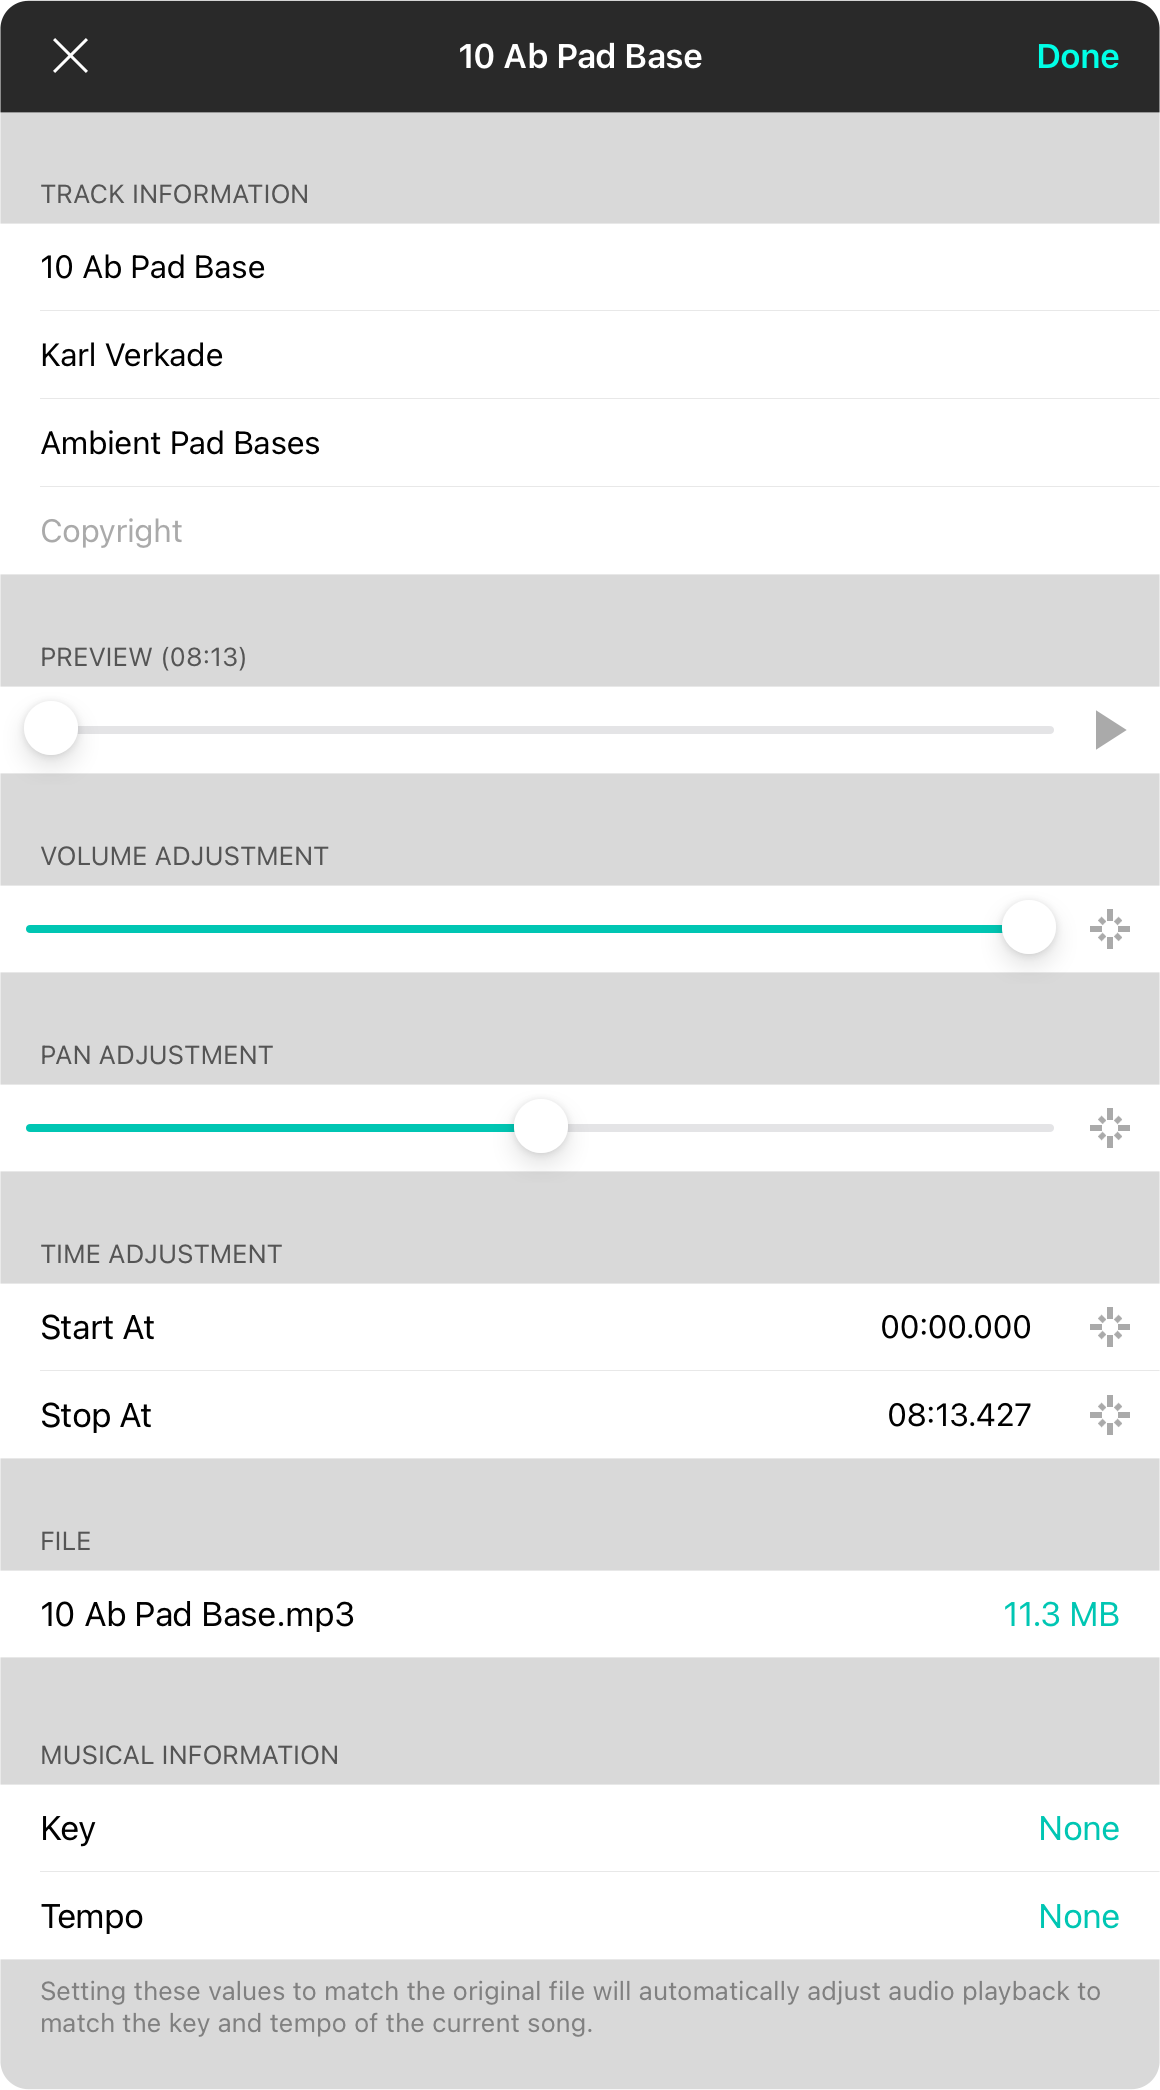
The track editor is accessed by swiping from right to left over audio tracks and choosing the Edit button. This present you with editable fields. When you are finished making changes, tap on the Done button to save your changes and have audio adjustments gradually implemented in a track being played from the live bar.
Track Information
This is information related to the track metadata.
- Title is the name of the track, typically the name of the song.
- Artist is the name of the artist.
- Album is the name of the album.
- Copyright is the provided copyright information.
Note: Changes made here is saved in the OnSong audio media library record and does not get written back to the underlying audio file.
Preview
Use this scrubber and play button to listen to the track. This is useful for other adjustment sliders below.
Volume Adjustment
This will adjust the output volume of the track allowing for custom volumes to normalize track volumes. Changes to the volume here are reflected in the audio output if you preview the track, but not to the track if it is being played from the live bar. Tap on the target icon on the right to return to the original value.
Pan Adjustment
This will adjust the pan settings for the track. Changes made here are elected immediately to the track that is being previewed, but not to the track if it is being played from the live bar. Tap on the target icon on the right to return to the original value.
Key Chooser
Audio in your media library can be played in a specific key. You can set a key for the media using the key chooser to provide OnSong with information about the track. The key chooser is divided into two tabs, one for major keys and one for minor keys. Use the tab bar at the bottom to toggle between your options and then tap on a key to choose it. If you don't want a key assigned to your audio, tap on the None option at the top of either list of keys.
This property will not transpose your audio. If your audio is a MultiTrack, the key is used to transpose the audio. The key you set here must match the key that the track is in when played. Do not set this property to the key you want the track to be output as.
Tempo Chooser
The tempo chooser lets you choose a tempo to assign to your backing track or MultiTrack. This is the natural tempo of the track and can be used to various things. For instance, if you link a song to a chord chart or sheet music, OnSong can automatically get the tempo for the metronome. You should not use this to shift the tempo of the backing track. This is metadata about the track only.
To set the tempo, drag left and right or up and down to quickly get to the desired tempo range. You can then tap on the edge of the control to increment the tempo by one beat per minute. Tapping on the top or right will increment the tempo. Tapping on the left or bottom will decrement the tempo.
You can also tap in the middle of the control in time with the song. OnSong will determine the tempo by averaging the taps.
You can also acquire the tempo from MIDI click by enabling the switch at the bottom if you are connected to MIDI equipment emitting a clock. Tap on the options menu to view Metronome Settings
Autoscroll

The autoscroll live bar button is used to toggle autoscroll on and off. Autoscroll will automatically navigate through your song. Choose from linear or non-linear autoscrolling to meet your needs.
Tapping on the autoscroll button for the first time displays the Autoscroll Menu you can use to set the duration for linear autoscroll or record the timeline events for non-linear autoscroll.
Toggling Autoscroll
Once autoscroll has been configured, tapping on the autoscroll button starts autoscroll. Tapping on it when running will stop autoscroll. You can resume autoscroll by tapping the button again. Tap and hold on the autoscroll button to open the Autoscroll Menu to adjust parameters.
Linear Autoscroll
If you set a duration and remain on that tab, OnSong will scroll the page from the top to the bottom over the set duration. Tapping on the autoscroll button toggles When autoscroll is running, you can continue to scroll the page. Autoscroll will temporarily pause and then resume from the new scrolled position. Zooming your chord chart also will pause and recalibrate autoscroll.
Because autoscroll scrolls vertically from the top to the bottom of the song content, it may not handle changes or repeated sections in the song. You will want to combine autoscroll with Flow in order to arrange your song in a continuous piece to allow autoscroll to be more effective.
Non-Linear Autoscroll
If you record events using the timeline tab, then OnSong will playback those recorded events over the duration that you have set. In other words, if you set a duration and record a timeline, and then later adjust the duration, the timeframe of playback is adjusted accordingly.
You can continue to scroll and interact with the page, but timeline events will continue to play.
Autoscroll Menu
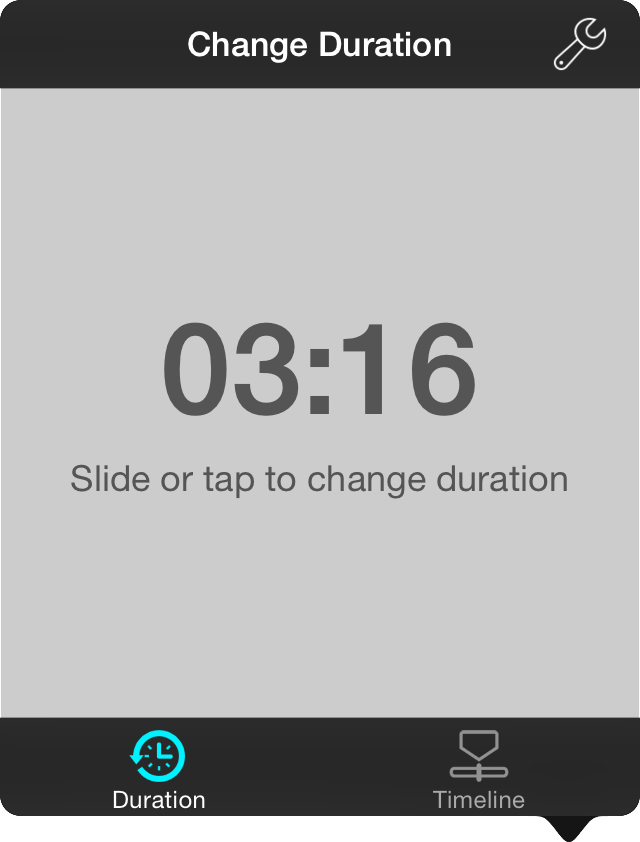
When you tap on the autoscroll button for the first time, or if you tap and hold on the autoscroll button in the live bar, the autoscroll menu appears. In this menu you can configure either linear or non-linear autoscroll depending on when tab you choose.
Duration
Tapping gone this tab and keeping it selected will cause autoscroll to scroll from the top to the bottom of the song smoothly over the set amount of time.
Timeline
Tapping on this tab and keeping it selection will cause will playback the events that you record within the tab. This allows for non-linear autoscrolling since you can configure it to scroll back and forth to different parts of the song.
Changing Autoscroll Speed
Changing the speed of linear autoscroll is as simple as changing the duration of the song in the duration tab. However, changing the speed of non-linear autoscroll is possible as long as you take some steps:
- Set the duration of the song in the Duration tab.
- Tap on the Timeline tab and record your timeline.
- OnSong records the original duration of the song to the timeline.
- Return to the Duration tab and adjust the duration to change the speed of autoscroll.
- OnSong will adjust the delay between events to adjust for the difference between the original and new duration.
Change Duration

The duration picker appears in the autoscroll menu as the default selected tab when first tapping on the autoscroll button in the live bar, or when tapping and holding the button to make changes to a song with autoscroll previously configured. You can also access the duration picker from the Metadata Editor found in the Song Editor.
Autoscroll Settings
Tapping on the wrench icon will open a screen allowing you to change autoscroll settings. Tap Done to save changes and close the screen, or tap on Cancel to close the screen without saving changes.
Setting the Duration
Set a time by tapping and dragging your finger to the left and right. This is great for quickly picking a duration. To fine-tune the duration, tap on the left/bottom or right/top sides to decrease or increase the time by one second.
When finished, simply close the menu to have your song duration updated. If you are using autoscroll at the time of the adjustment, it will automatically change speed to adapt to the new duration of the song.
The duration picker allows any duration of time to be set. If you set the duration to zero or less, the duration setting is removed.
Timeline
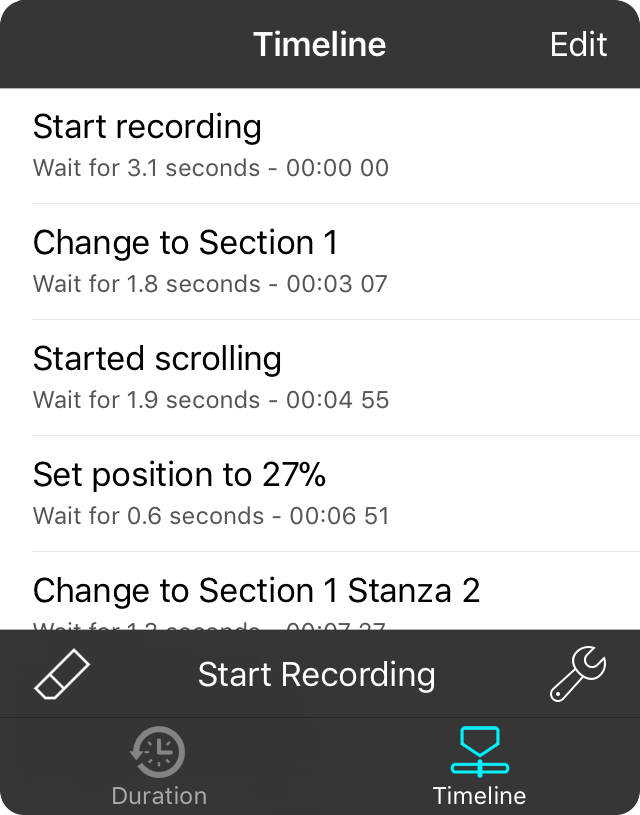
When the timeline screen is selected, OnSong uses non-linear autoscrolling. This means that you must record navigational events to play back when autoscroll in enabled.
Recording Events
To record events, tap on the Start Recording button at the bottom of the screen. The menu will close so you can begin recording navigation events right away.
Scroll, zoom, select sections and even toggle linear autoscroll using the autoscroll button. Each navigational event will be recorded into the timeline. Tap and hold on the autoscroll button to open the autoscroll menu and stop recording.
Viewing Events
Each event describes what type of action was recorded, followed by the amount of time to wait until playing the next event. You can tap on a timeline event to have it performed.
Editing Events
Tap on the Edit button in the upper right corner to make changes to recorded timeline events.
Clearing Events
Tap on the eraser icon on the lower left corner to clear all timeline events and start over. OnSong will prompt you to confirm clearing events.
Recording Options
Timeline records the most common actions that you perform like changing the scroll position of a song, selected sections, linear autoscroll and more. But in some cases you may not want to record certain actions. The recording options screen lets you toggle those actions on and off when you record.

- Change Scroll Position determines if swiping or tapping to scroll are recorded. You may choose to disable this if you are recording section selections to perform scrolling instead.
- Change Section determines if section selections are recorded. You may choose to turn this off if linear autoscroll is handling automatic selection of sections.
- Send Messages determines if messages should be recorded. You may want to turn this off if you want to handle sending messages manually when played back.
- Toggle Audio determines if backing tracks being played, paused or stopped are recorded.
- Toggle Autoscroll determines if linear autoscroll is recorded. You may turn this off if you want autoscroll to record position changes automatically.
- Toggle Metronome determines if starting or stopping the metronome is recorded. You may disable this if you use the metronome for recording purposes but do not want it recorded in the timeline.
- Zoom determines if zooming in and out of the document should be recorded to the timeline.
Edit Mode
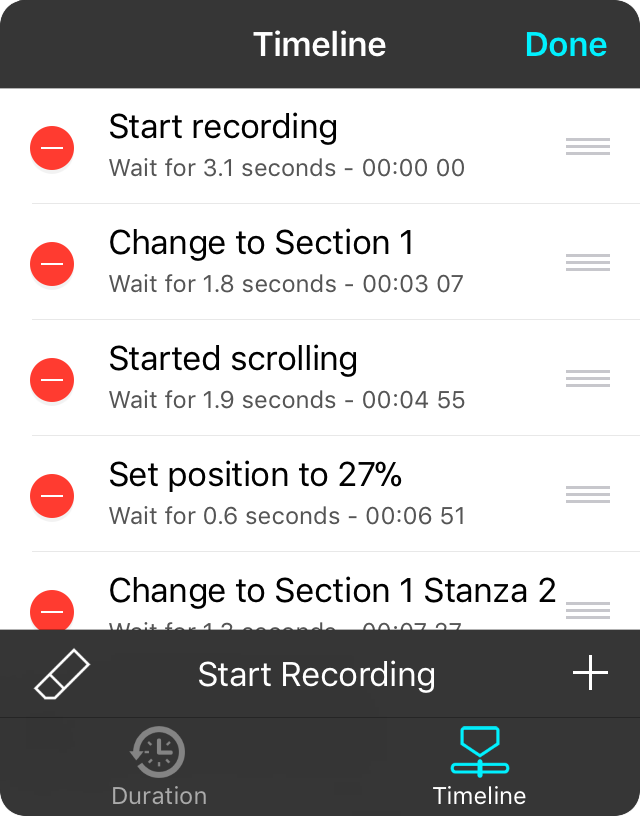
When you tap on the Edit button in the upper right corner of the screen, you can make changes to events in your timeline.
Deleting Events
Tap on the red minus icon on the left side to reveal a Delete button. Tapping on the delete button will remove that event from the timeline.
You can also delete events from the timeline by swiping from the right to left when not in edit mode.
Reordering Events
You can change the order of events in the timeline by tapping and dragging on the reordering handles on the right side.
Changing Event Timecodes
While recording is the fastest way to set what you want to happen, it may not be accurate enough for your needs. Tap on the row to open the Timecode Editor and change the minute, second or fraction of a second for each event in your timeline.
When you are all done, tap on the Done button to save your changes to the timeline.
Event Editor
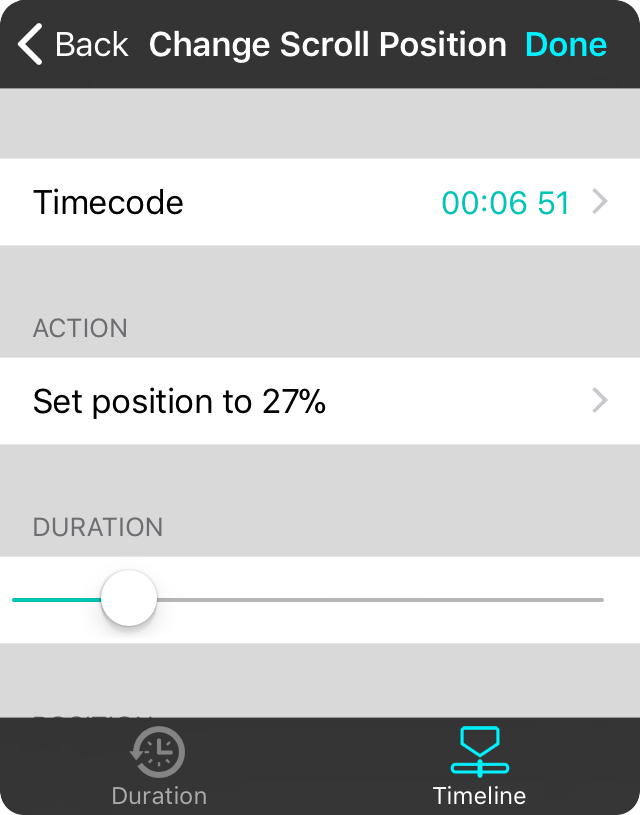
The timeline event editor lets you change the aspects of each event. Tap on the Done button in the upper right after making changes to update the event in the timeline.
Timecode
The timecode if the time at which the particular event is performed. You can tap on the time to adjust the timecode using the timecode editor.
Action
You can change the action associated with the timeline event by tapping on this row. Please note that recorded actions are special and may not exist in the same way in the action picker.
Parameters
Different actions may have different named parameters that can be modified. Different actions may have different parameters, or none at all. For instance, momentary actions do not have parameters.
If you choose a variable action, the "amount" parameter will be available which is typically a value between 0-100%.
Changing the timecode will move the timeline event independent of other timeline events unless the timecode you choose is greater than or less than an existing timecode. This will cause those timeline events to push elsewhere on the timeline.
Actions Menu

The actions menu lets you pick an action to perform when an event occurs such as pressing a foot pedal or tapping on the screen.
- None performs no actions when the input is received.
- Capo Up increases the capo for the song by one fret.
- Capo Down decreases the capo for the song by one fret.
- Scroll Up scrolls the song up. If using a foot pedal, performing this action once the top of a song is reached will navigate to the previous song in the set.
- Scroll Down scrolls the song down. If using a foot pedal, performing this action once the bottom of a song is reached will navigate to the next song in the set.
- Next Song navigates to the next song in the set.
- Previous Song navigates to the previous song in the set.
- Random Song loads a random song from the currently selected book or set. Use for practicing songs in your library without a pattern.
- Reset Song scrolls the current song to the top and optionally resets toggled events such as autoscroll, backing tracks, the metronome and section assignments. These can be customized in Settings » Navigation Settings » Actions » Reset Song.
- Next Slide advances to the next slide when projecting lyrics.
- Previous Slide advances to the previous slide when projecting lyrics.
- Next Timeline Event will advanced to the next event as recorded or specified in the the Timeline.
- Previous Timeline Event will go to the previous event as recorded or specified in the the Timeline.
- Show/Hide Menubar toggles the menubar on and off for a full screen view.
- Show Quick Pick displays the Quick Pick screen for quickly searching and loading songs.
- Show Songs List shows and hides the song menu.
- Scroll Faster decreases the duration of the song by 30 seconds which causes autoscroll to speed up.
- Scroll Slower increases the duration of the song by 30 seconds which causes the autoscroll to slow down.
- Start Audio will start playing a backing track assigned to the currently viewed song.
- Start Autoscroll will begin autoscrolling the current song.
- Start Metronome will start the metronome to the tempo assigned to the currently viewed song.
- Stop Audio will stop the audio track if one is playing.
- Stop Autoscroll will pause autoscroll whether linear or in a non-linear timeline.
- Stop Metronome will stop the metronome.
- Toggle Audio play, pause, or stop the backing track associated to the song.
- Toggle Autoscroll starts or pauses the autoscroll.
- Toggle Capo turns the capo on or off.
- Toggle Low Light Mode turns low light mode on and off. When on, the background of the song is black with white foreground text.
- Toggle Metronome turns the metronome on and off.
- Toggle MIDI Clock starts or stops sending MIDI clock events used to synchronize tempo between MIDI devices.
- Toggle MIDI Start/Stop sends the MIDI start or stop command.
- Mute Metronome mutes the metronome, allowing it to continue to keep time and optionally blink the menubar. This is great to use for practice to see if the beat can be maintained without click reinforcement.
- Tap For Tempo is used to change the tempo of the current song. This should not be used on high latency foot pedals like the AirTurn BT-105 since they are designed to forgive accidental foot taps or double entry.
- Tempo Up increase the tempo of the song by 1 BPM.
- Tempo Down decreases the tempo of the song by 1 BPM.
- Transpose Up transposes the song up by one half step including enharmonic variations.
- Transpose Down transposes the song up down one half step including enharmonic variations.
- Volume Up increases the master volume of the device by a sixteenth.
- Volume Down decreases the master volume of the device by a sixteenth.
- Blackout Lyrics blacks out the lyrics for lyrics projection by hiding lyrics and removing the background.
- Clear Lyrics shows or hides the lyrics during lyrics projection while retaining the background image or video.
- Continue Scene will continue the playback of a scene if a step is encountered that has an infinite duration. Use this for more advanced playback without the creation of addition scenes.
- Play Scene is used to restart playback of the currently loaded scene.
- Stop Scene is used to stop the playback of the currently playing scene.
- Toggle Scene Playback can be used to toggle the playback state of the currently loaded scene.
- Playback Pitch plays the pitch of the song for a cappella groups. This can be configured using metadata.
- Shift Up shifts to the next gear in the configured gears.
- Shift Down shifts to the previous gear in the configured gears.
- Unshift shifts to the first gear in the configured gears.
- Send Message allows you to select a message to be sent to connected devices.
- Send MIDI when using the MIDI in-app purchase, this option is available and allows you to define a MIDI command to be sent.
- Switch Scene can map a specific scene to an action. For instance, set an action to blackout all lights or to bring the house lights up.
- Switch Section allows you to link an action directly to a named section in your song. For instance, you can link to "Verse 1" or "Chorus".
- Switch Song allows you to switch to a particular song in your library when triggered.
Timecode Editor
The timecode editor allows you to adjust the timecode, or the exact time when an event will occur.
How Timecodes Work
Timeline events contain an action coupled with a wait time. This means that the timecode is generated based on the placement of the event in the timeline. This also means that you may only be able to reduce to the timecode to a point that it does not conflict with other events in the timeline.
Adjusting the Timecode
To adjust the timecode, slide your finger left or right. You can then fine-tune the timecode by one frame by tapping on the left or right. Timecodes are displayed in minutes, seconds and frames where frames are 1/60th of a second.
MM:SS FF
When you are finished adjusting the timecode, tap on the Back button to return to the timeline editor.
Metronome

The metronome live bar button is used to toggle the metronome on and off. The first time the metronome button is pressed with out a tempo, the Tempo Picker will appear allowing you to select a tempo for the song.
Once a tempo has been set, tapping on the button will start the metronome. Tapping again will stop the metronome. Tap and hold the button to open the tempo picker again to set a different tempo.
For more details on the metronome, refer to the Metronome in Features.
Tempo Picker
The tempo picker is displayed when a tempo is required to play the metronome, when tapping and holding on the metronome live bar button, or when settings the tempo using the Metadata Editor in the Song Editor. It allows you to set the tempo in beats per minute (BPM).
Setting The Time Signature
to change the time signature, tap on the time signature in the upper left corner to display the time signature picker. OnSong uses the 4/4 time signature by default.
Adjusting Metronome Settings
You can change the audio and visual attributes of the metronome directly in the metronome live bar menu by tapping on the wrench icon in the upper right corner. This will open a screen containing metronome settings. You can then tap Done to apply those settings, or tap on Cancel to close the screen without saving changes.
Setting the Tempo
To set the tempo, slide your finger to the left and right to decrease or increase the tempo in broad strokes. Tap on the left/bottom or right/top of the picker to decrease or increase the tempo by one beat per minute.
Alternately, you can tap in the middle of the tempo picker to tap the tempo of the song that is already playing.
Starting and Stopping
Because playing the metronome should be immediate when tapping on the live bar button, tapping and holding the button will cause the metronome to start playing. This is by design since to determine if a tap has been held requires the operating system to wait to determine the type of touch. The tempo picker includes a play/stop button that allows the metronome to be started or stopped. This can be used to stop a playing metronome for settings a new one, or to check the tempo once a BPM has been selected.
Changing Tempo Limits
The tempo can be adjusted between 40 and 200 BPM. If the tempo is set below the minimum BPM, it is set to None, removing the tempo from the song. The minimum and maximum BPM can be adjusted in BPM Settings found in Settings » Live Settings » Metronome » Audio Settings » BPM Settings.
Acquiring Tempo from MIDI
If you have enabled the MIDI add-on, you can acquire the tempo by listening to a MIDI clock. The MIDI clock is sent from hardware and software to allow multiple MIDI devices to remain in sync with one another during tempo shifts.
Turn this switch on to set the tempo. When finished, turn the switch off to retain the acquired tempo.
Time Signature Picker
You can change the time signature of the current song by tapping on the time signature button in the upper left corner of the metronome.
Swipe up and down to adjust the number of beats and beats per measure. The time signature will change on a running metronome. You can also tap on the play/stop button to toggle the metronome playback as well.
When you are done selecting the time signature. Tap on menu beneath to hide the picker.
Networking

The networking live bar button is used to toggle wireless networking on and off in OnSong. Wireless networking allows your device to be discovered by other OnSong peers for sharing songs and sets, or remote controlling your device using OnCue. This button does not effect OnSong Connect.
Tap on the networking button to toggle networking off and on. This does not change your WiFi or Bluetooth status, only the visibility of your device on the ad-hoc, peer to peer OnCue network.
Tap and hold on the button to open the Wireless Sharing Screen. From there you can choose peers to share content with as well as set up an OnCue streaming session.
Menubar

The menubar provides access to all the tools you need to to manage your music. It contains the following items:
Songs Menu
This is the main menu for managing your songs. It provides access to your library as well as the ability to import songs and place them in sets. You also can manage books of songs in this menu as well.
Share Menu
This icon looks like an up arrow in a box and allows you to share the current song or set in a variety of ways including exporting, emailing, printing, and sharing wirelessly.
External Video Menu
This menu button looks like a computer monitor and lets you configure an external monitor or projector for use with OnSong. Using an Apple Dock Connector to VGA Adapter, Apple Digital AV Adapter, or AirPlay and an AppleTV, you can use OnSong to project lyrics for an audience, or to display chord charts on a monitor on stage.
Playback Menu
This icon looks like a pair of headphones and lets you set an audio track to play along with while viewing the chord sheet. It also lets you configure the metronome tempo and time signature, as well as setting a duration of the song for autoscroll. You can also find new versions of that song through the integrated Apple Music search.
Foot Pedal Setup
This icon looks like foot pedals and helps you set up your foot pedals for hands-free operation.
Heads-Up Display
The center of the menubar prominently displays the name of the song. You can swipe to the left and right to choose a different view including the set, next song or a timer.
Messages Menu
Using this menu, screen taps and foot pedal presses can send messages to your team. Use these to communicate more effectively in live performances.
Star Menu
This icon looks like a star and provides a menu to mark a song as a favorite, or to add/ remove the song from a set.
Song Editor
This icon opens the song editor. The song editor allows you to make changes to the song's chords, lyrics, and metadata as well as tools to assist you in editing songs, or even writing them from scratch.
Annotations Menu
This icon looks like a sticky note and allows you to easily add sticky notes or drawings to your chord chart. These can help remind you of things such as who starts the song or how it is played.
Style Preferences Menu
This icon looks like a series of sliders and allows you to quickly change how your song sheet looks and acts. In this menu you can change font sizes and styles, highlight colors, and transpose/capo the song. You can also turn portions of the song on and off such as the header, lyrics, chords, tablature, and whether the capo should be applied.
Utilities Menu
This icon looks like a gear and provides access to advanced tools, editor, and settings.
Share Menu
OnSong plays nice with others and that includes sharing! The unified share menu gives you an easy way to share your songs and sets for performance.
Scope
What you're sharing appears in the title bar. For instance, if you are sharing a set, the name of the set will appear here. You an change the scope of what you're sharing by tapping on the titlebar, or the button in the upper right corner.
People
When performing your set, you want to be able to get your fellow musicians on the same page. OnSong's technologies help you do that by bringing people together, no matter how you connect.
Beam
OnSong uses the powerful wireless capabilities of your device to send the currently viewed set to your team. From there they can call the shots and play along to your carefully selected content.
Stream
Stream lets you broadcast what's on your device to others. As you view songs, scroll, or move through songs in your set, they will always be on the same page.
Locations
Sometimes you need to export your content to a storage service location. Each of those options appear front and center with a common user interface.
Services
OnSong can also integrate with other services on your device. From there you can open content in other apps, compose an email, or if you have to, print out the songs to share with your team.
*If you're more comfortable with the original share menu, you can simply switch back to that by tapping on the [Switch to Previous Menu Version](
Attachments Menu
The attachments menu gives you quick access to different versions of the selected song.
Viewing Attachments
Attachments are listed in two sections, text and attachments. The text section contains text-based chord charts while the attachments section contains other file formats like PDF or Word. In the example displayed, we've downloaded a ChordPro-formatted file that is displayed in OnSong's text-based renderer which provides the most powerful features of the app like transposition, formatting, lyrics projection, chord detection, etc.
In the attachments section we have other files. Here we see a number of PDF files. Each file could be a specific type of chart. For instance, there are a number of "2 column layout" files in different keys. Additionally, there's a piano and SATB version which contains score.
Tapping on an attachment will immediately view that attachment in the song viewer and make that the default attachment for the song.
Editing Chords and Lyrics
When you have a text-based chart selected, you can tap on the Edit Chords and Lyrics button at the bottom to open the Song Editor. This button will read Edit Song Metadata when you are viewing a non-text attachment. Both access the song editor to change the underlying text and metadata of the song.
Adding Attachments
You can use the + button in the upper right to open the Import Menu. This will allow you to browse and import supported file formats. These are added as additional attachments to the song.
Performing Actions
You can tap and hold (iOS/iPadOS) or right-click (macOS) to view a context menu of options on an attachment in the list. This will display differently depending on if you have selected a text-based attachment, or a file-based attachment and if the current attachment is selected. This provides access to more advanced features like extracting text and converting files into PDF, etc.
Song Viewer Settings
You can tap on the wrench icon in the upper-left corner to access song viewer settings directly.
Context Menu
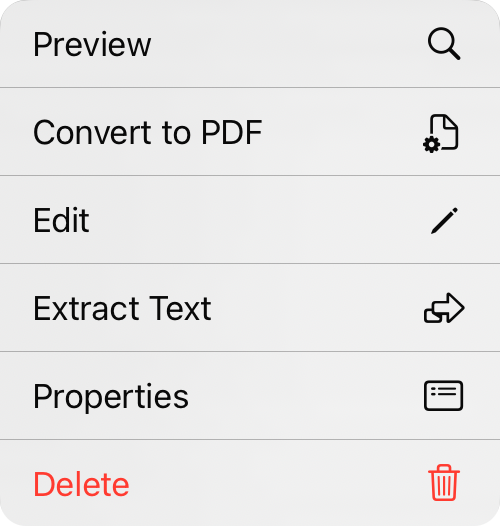
The context menu provides access to actions that can be performed on selected attachments including:
Preview
This option will open a screen where you can view the attachment without loading it into the song viewer.
Convert to PDF
This option is available on file types that are not PDF files and that can be either rendered to or converted into PDF files. This will add a PDF file to the attachments list.
Edit
This option is available only for text-based documents in the top section. This will open the Song Editor for the selected attachment.
Extract Text
This option is available for non-text attachments and will extract text from the selected file if available. This will create a new text-based attachment that can then be edited to prepare it using one of OnSong's supported file formats like OnSong or ChordPro.
Properties
This will open an editor where you can view and edit properties of the attachment. This is useful if you want to use the Style Preferences Chords Menu to transpose dynamically between attachments.
Delete
This option will delete the attachment.
Import Files
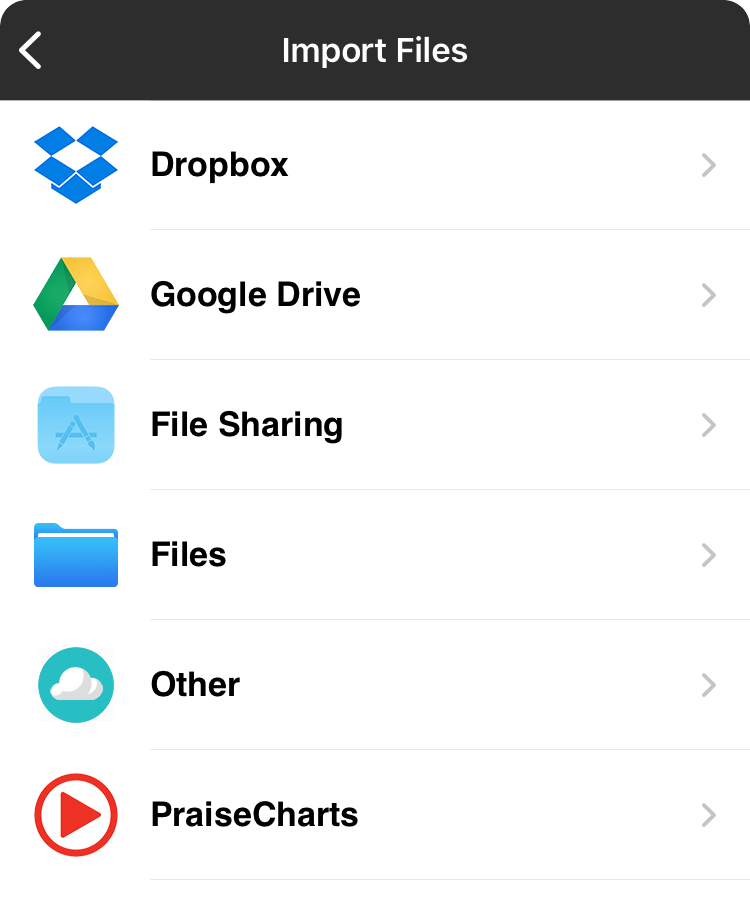
The import files menu provides a list of common import locations with the ability to import attachments from those sources. These import screens are similar to those found in the Songs Menu except that only viewable files are selectable.
Dropbox
Dropbox is a popular cloud-based storage service that works great for importing documents from your computer.
Google Drive
Google Drive is a popular cloud-based storage service for collaborating with documents and files online.
File Sharing
iTunes File Sharing allows you to import files from your computer using a USB cable and iTunes software.
Files
You can import files from any app that supports tight integration with iOS. When selected, the files interface is presented select a file from a third-party service.
Other
The other options lets you import from other remote sources using standard communication protocols.
PraiseCharts
This allows you to import additional files from the PraiseCharts content provider.
Organizer Menu
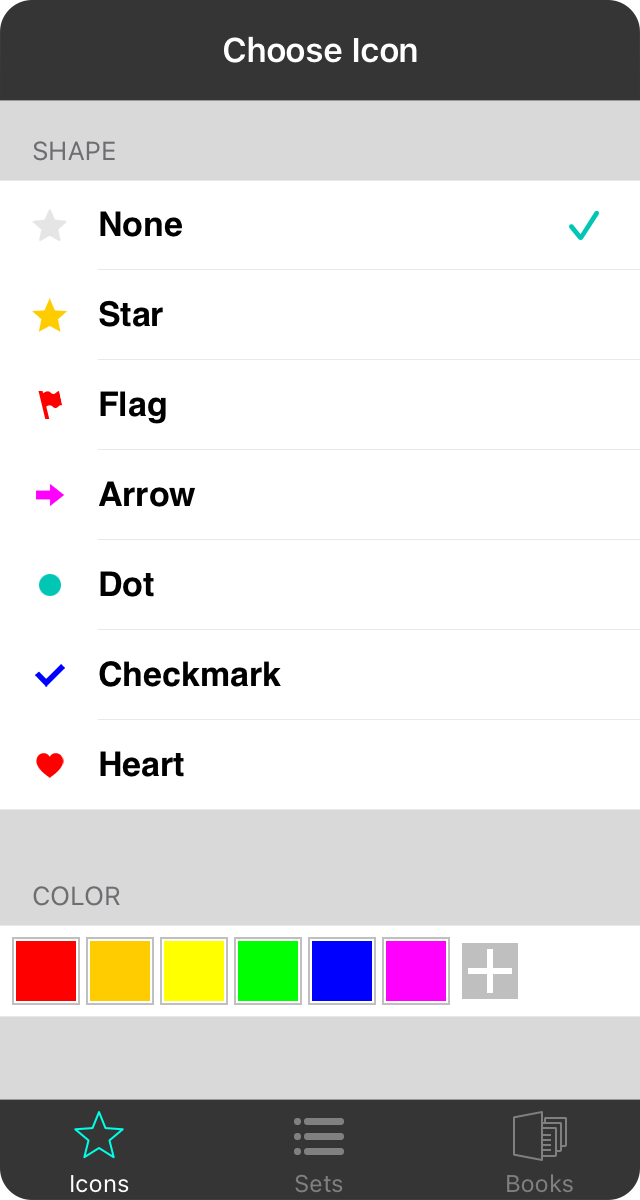
The organizer menu lets you quickly mark a song with an icon, or place it into books or sets. In just a few taps you can create new books and sets and organize you songs. Let's take a look at the tabs that comprise the organizer.
Icons
Icons are small graphics that appear next to songs within lists. These can be used to abstractly categorize songs. For instance, you may use a star to indicate favorite songs, or a flag to represent songs that need more practice.
Sets
Sets are collections of songs to be played during a specific event. This lets you pull songs and place them in an order of how they should be played. This tab shows the sets that a song is in at a glance. You can also create new sets and place songs within them.
Books
Books are used to organized large collections of songs and are useful for dividing your library by genre, band, leader and more. This tab shows the books that a song is in at a glance. You can also create new books and place songs within them.
Choose Books
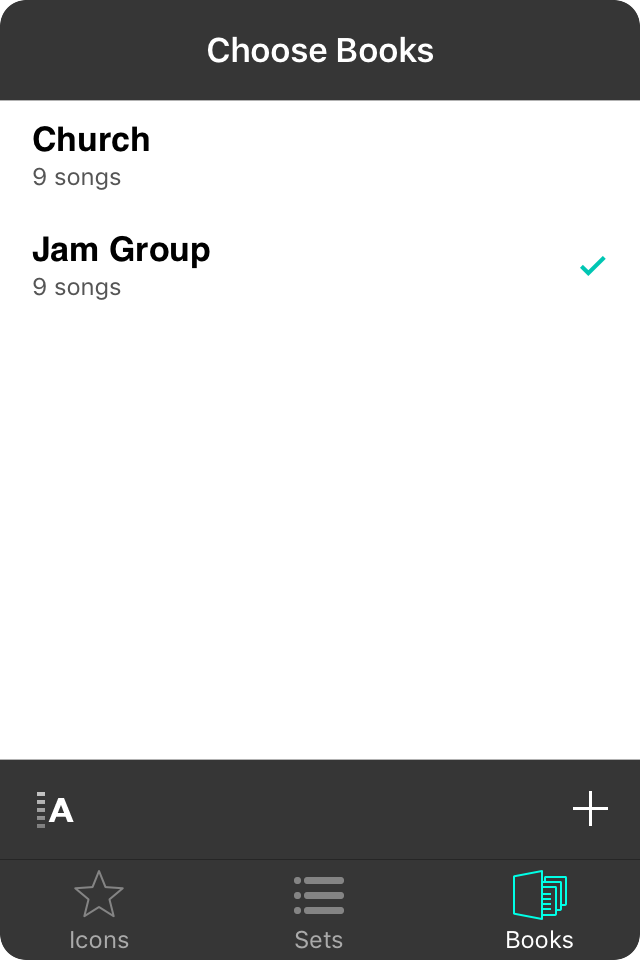
The books tab let you quickly see the books in which a song belongs and also place a song into a book without going through the Books menu of the All Songs tab. Let's take a look at how to create books and pick songs within one menu.
Picking Songs
The main portion of this menu displays your books. Tap on an unchecked row to add the currently viewed song to the book. Tap on a checked row to remove a song from the book. It's that easy.
Creating Books
Tap on the + button in the upper-right corner to add a new book. This will open the Add New Book screen inside the menu. You can then make any changes necessary and then tap Done to create your book. After you've added a book, you'll need to tap on it to add the currently viewed song.
Deleting Books
Swipe right to left over a set in the menu to reveal a Delete button. Tap on this button to delete the book. Songs contained in the book will not be deleted.
Choose Icon

Icons are visual cues to help you quickly evaluate songs in your library. For instance, you can use a star to mark a song as a favorite or use a flag to indicate that a song needs more work or practice. OnSong has always let you star a song as a favorite, but now you can use more shapes and colors.
Shape
This area of the icon organizer lets you pick the shape to appear next to a song as it appears in lists within OnSong. Choose from one of the following shapes.
- None displays no icon next to the song and indicates that the song has not be organized by icons. This is the default setting for songs.
- Star displays a star next to the song which is typically used to indicate a favorite song. The default color is orange.
- Flag displays a flag next to the song which is typically used to indicate action must take place with the song. The default color is red.
- Arrow displays an arrow next to the song which is typically used to indicate general preference for a song. The default color is fuchsia.
- Dot displays a circle next to the song which is typically used to indicate an unread or bulleted status. The default color is teal.
Color
While each shape has a default color, you can use the color picker to choose a different color, or to build your own colors. Tap on a color to select it. All of the icons listed above will change to the selected color. To switch back to the default colors, tap on the selected color swatch again to deselect it. This color picker features the following colors in its default palette: Red, orange, yellow, green, blue and fuchsia.
Note: Icons also appear when you view songs in a set. If you are currently in a set that supports Separate Song/Set Styles, then the icon shape and color you choose is unique to the song in that set.
Custom Icon
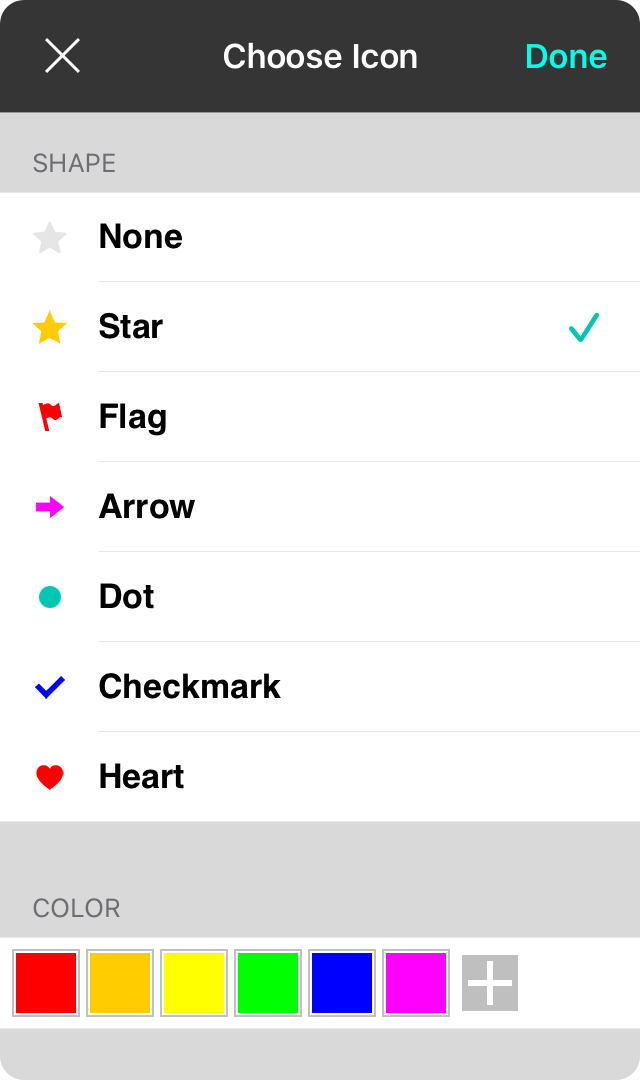
This screen appears when you choose to set a custom icon for a song through either multiselect, or a context menu. You can set the shape and color of the custom icon.
Shape
This area of the icon organizer lets you pick the shape to appear next to a song as it appears in lists within OnSong. Choose from one of the following shapes.
- None displays no icon next to the song and indicates that the song has not be organized by icons. This is the default setting for songs.
- Star displays a star next to the song which is typically used to indicate a favorite song. The default color is orange.
- Flag displays a flag next to the song which is typically used to indicate action must take place with the song. The default color is red.
- Arrow displays an arrow next to the song which is typically used to indicate general preference for a song. The default color is fuchsia.
- Dot displays a circle next to the song which is typically used to indicate an unread or bulleted status. The default color is teal.
- Checkmark displays a checkmark next to the song which is typically used to indicate completeness. The default color is blue.
- Heart displays a heart next to the song which is typically used to indicate songs that are favorites or liked. The default color is red.
Color
While each shape has a default color, you can use the color picker to choose a different color, or to build your own colors. Tap on a color to select it. All of the icons listed above will change to the selected color. To switch back to the default colors, tap on the selected color swatch again to deselect it. This color picker features the following colors in its default palette: Red, orange, yellow, green, blue and fuchsia.
Choose Sets
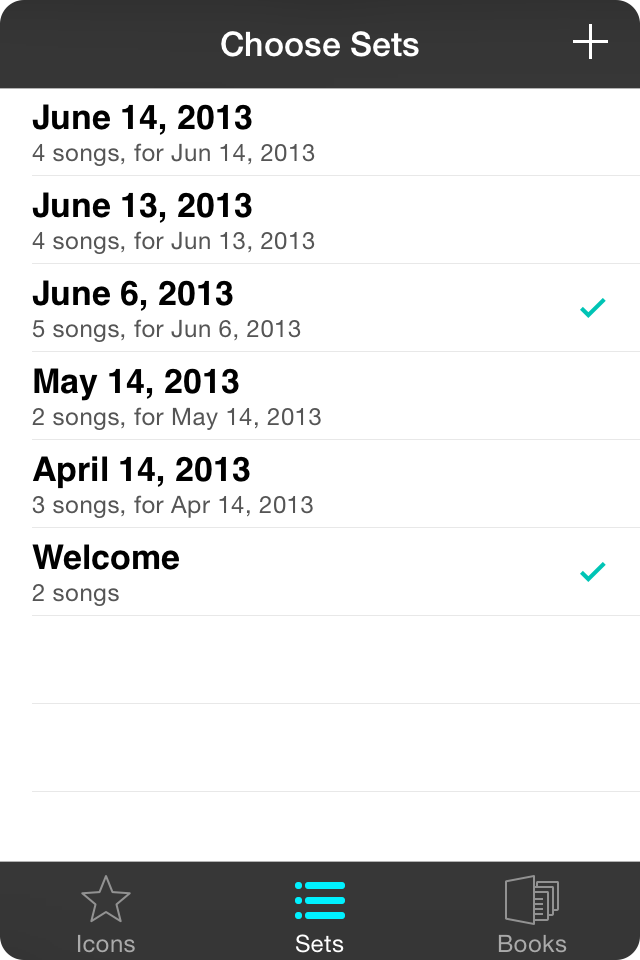
The sets tab let you quickly see the sets in which a song belongs and also place a song in a set without going through the My Sets tab. Let's take a look at how to create and pull sets all with one menu.
Pulling Sets
The main portion of this menu displays your active sets. Tap on an unchecked row to add the currently viewed song to the set. The song will be placed at the end of the set. Tap on a checked row to remove a song from the set. When you remove a song, any copy of that song in the set is removed.
This menu is meant to quickly move songs into a set but does not provide a method for arrange your set. You can rearrange the set in the My Sets tab.
Creating Sets
Tap on the + button in the upper-right corner to add a new set. This will open the New Song Set screen inside the menu. You can make any changes necessary and then tap Done to add the set to your list of active sets. After you've added a new set, you'll need to tap on it to add the currently viewed song.
Archiving Sets
Swipe right to left over a set in the menu to reveal an Archive button. Tap on the Archive button to archive the set. This will remove it from this menu and place it in Archived Sets.
Star Menu
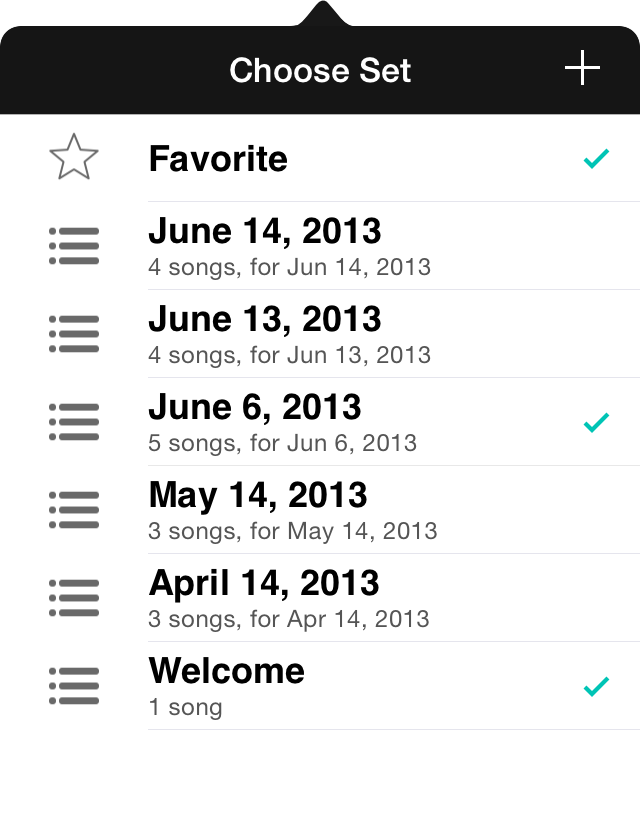
For a long time, the star located in the menubar of OnSong acted as a mere toggle to turn a star on and off for a song. What does the star mean? Well, that's entirely up to the user. However we like to think that it simply means a favorite song. You can use it to mark songs to be practiced, or to indicate ones that are ready to perform. The choice is yours.
OnSong evolves with the input of musicians who use it. One common request is the ability to add songs to sets while viewing them, and not through the set list picker. The new star menu keeps the same function as before while also allowing you to create sets and add songs to them.
Marking Favorites
Tapping on the star icon in the menubar will display the menu. Tapping on the Favorite row will cause the song toggle its star status. This is indicated by a checkmark next to the row as well as a visual change to the menubar icon.
Stars also appear when you view songs in a set. If you are currently in a set that supports Separate Song/Set Styles, then the favorite star/unstar is performed in that set list only.
Picking Songs
The star menu also shows recent, active sets. Tap on each row to add or remove the song from the set. When added, the song will be placed at the end of the set. You can rearrange the set in the My Sets tab.
Creating Sets
You can also tap on the + button in the upper right to add a new set. This will open the New Song Set screen inside the same menu. This makes creating sets and adding songs easy.
Archiving Sets
You can also swipe right to left over the sets in this menu to reveal an Archive button. Tap on the Archive button to archive the set. This will remove it from this menu and place it in the Archived Sets section.
New Song Set
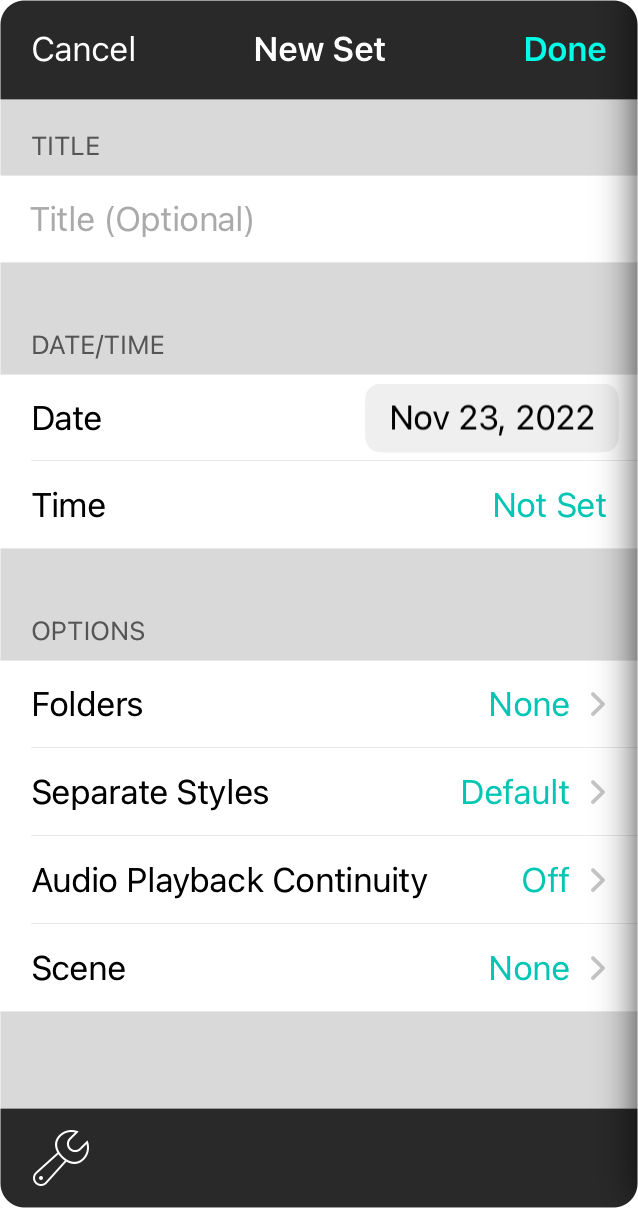
Creating a new set is really easy. Tap Done to create a set that you will play today. You can change the date if you need as well. Here's some other information you can change about the set you are adding:
Date
Tap on this field to select the date on which you are planning to play the set. This is used for tracking when songs are played, giving you information for song reporting, when it was last played, or popularity information.
Title
This is an optional field that can be set to a more descriptive name for the set. When entered, this will be used when displaying the name of the set instead of the date.
Folders
Tapping on this field will display the Choose Folder Screen, allowing you to choose one or more folders in which the set should be placed. If you've already selected a folder, the set you are creating is automatically added to that one without requiring you to choose additional folders. Optional.
Separate Set/Song Styles
Sets contain songs from your master library. But what if you want to change the key of a song in a set without affecting the song in your master list? You can use separate set/song styles. This will allow you to style and transpose songs in the set without affecting the master song library.
- Default uses the settings that you have configured under the Utilities Menu » Settings » Menu Settings » Songs.
- Off saves any changes you make to the song within the set to your master library. This will not affect other sets that have Separate Set/Song Styles turned on.
- On saves any changes made to the set and not to the master library or any other set.
Audio Playback Continuity
If you are using backing tracks in your set, this setting allows you to play through all the backing tracks like a playlist. The default setting can be found in Settings » Live Settings » Audio Playback.
- Off requires that each audio track be played with user interaction or a trigger.
- On allows audio tracks to play through all songs in a set without user interaction.
- Repeat allows audio tracks in a set to be played back continuously. Once the last audio track in the set is played, the first audio track in the set will be started.
Choose Folder
You can place newly created or existing sets into one or more folders. Tap on the folder or folders you wish to place your set into and then tap Back. When the set is saved, it will be placed in the selected folders.
You can also add a folder directly from this screen by tapping on the + button in the upper right corner. Type in a name of the folder and then select the folder to add the set to it.
External Video Menu
The external video menu is used to configure Lyrics Projection, or to toggle into Stage Monitor in OnSong. The menu contains the following options:

Chromecast
In the upper left corner is an icon that allows you to connect to one or more Chromecast devices for wireless lyrics projection. Tap on this button to connect or disconnect to Chromecasts on your network in the Chromecast Picker.
Preview
The top portion of the menu displays a preview of what will appear on the external screen. You can tap on the preview section to flip through lyric sections to preview. This does not display the lyrics on the external device.
To display lyrics on the external device, tap on the lyrics in the song viewer to select the section and display the lyrics on the screen.
Mode Buttons
Five buttons situated below the preview area are used to control the combination of lyrics and background to output to the external screen. In addition, OnSong can be configured for stage monitor mode using the fifth button.
- Lyrics and Background displays the lyrics on a background color, gradient, image, or video.
- Background Only clears the lyrics from the screen and leaves the background color, gradient, image, or video.
- Lyrics Only will remove the background color, gradient, image, and video leaving only the lyrics on the screen.
- Blackout Mode removes the lyrics and background, displaying only black.
- Stage Monitor Mode turns on Stage Monitor Mode independently of lyrics projection modes. This mode will always be activated on video devices connected physically to the iOS device via an adapter or devices connected wirelessly using AirPlay such as an AppleTV. This allows lyrics projection settings to continue to be modified for other wireless devices such as Chromecast.
Background Color
In this area you can pick a background color to display. Options include black, blue, purple, red, goldenrod, and grey. But you're not limited to those preset colors. You can also add new colors or customize the color swatches in this palette using the Color Picker.
Background Image Picker
In addition to display colored background, OnSong can also display images and even motion videos behind lyrics. Tap on the icon to the right of the color swatches to open the Image Library Screen. You can also tap and hold this button to open the Image Library Screen without toggling the background image or video off first.
Overlay Toggle
An overlay can be applied on top of the background color, image, or video and defaults to a gradient that fades to black on the bottom. This can improve visibility of lyrics on busy backgrounds.
Tap and hold on this button to open the Overlay Picker to choose a different style of overlay and it's color as well.
Font Size
The size of the font can be adjusted between 24 and 84 points using the font size slider. The default size is 40 points. When the Adjust Lyrics To Fit option is enabled in Lyrics Projection Settings, the font will not be able to be fully increased as the font will be limited to prevent lines from wrapping.
Stroke Width
The stroke is a border around each character in lyrics. The font appears in white text with an outline to separate it from the background. Adjust the stroke width from between 0 and 3 points. Default is 1 point.
Shadow
Behind lyrics appears a blurry shadow to help lift the text off the background. The shadow slider can adjust the opacity of the shadow between 0% and 100%. The default opacity is 50%.
Transition Speed
The transition speed determines how quickly lyrics and background changes take place. The speed of the transition is set in seconds between 0 and 4 seconds. The default is 2.0 seconds. Overly fast transitions may experience a delay in outputted to the external screen, especially on older or wireless hardware.
Automatic Advance Speed
The automatic advance speed is used to cycle through the sliders in a song after a delay. By default, automatic advance is turned off by default. The time to show each slide can be set between 1 and 60 seconds.
Chromecast Picker
The Chromecast Picker finds Chromecast devices on your local area network and presents them in a list. While the list if refreshed each time it is viewed, you can tap on the Scan button in the upper right corner to force a five-second scan on the local network for devices.
Connecting
Once devices are located, tap on them to initiate the connection. While connecting, the row will display an activity indicator. Once fully connected, a checkmark appears to the right of the device.
Disconnecting
To disconnect from a connected device, tap on connected devices to disconnect. If you are opening OnSong on a device other than the one that originally initiated a connection, you will first need to connect to the device to take over the session and then disconnect.
Live Video Editor
Live video is an exciting new OnSong Premium feature that makes you the star of the show. Apply effects and use your video live for lyrics projection for engaging live performances. Here's where you can customize your shot for live-streaming to your fans, or live IMAG video.
Preview
This editor gives you a preview of what is or will be displayed as a background layer of lyrics projection. You can tap the Done button to apply the change to the background, or tap the close button to cancel those changes.
Camera
Tap on either the front or back camera to change the angle of the shot used by live video. The default is front camera. Changing the camera is applied to the currently viewed live video.
Chroma Key
Tap on this button to select a color in the background of your video to remove. This places you above any other still or motion backgrounds that you choose. You can change the chroma key filter in the Effects List.
Effects
While you can use the built-in camera feed, you can also apply effects. This gives your listeners (and viewers) a way to see you in the picture when used with lyrics. Tap on the button to open the [Effects List[(effects).
Video Size
In the lower right corner is a video size picker. By default, OnSong will capture the view at 720p resolution. This gives great video processing performance with low power draw. You can increase the resolution for higher quality, but it may use more processing power.
Opacity
This slider lets you alter the opacity of live video as it's composited on your background color, image, or video.
Size and Placement
These two control combine to let you place your video anywhere in the composition. You can choose from centerer or the four corners. If you place the video in a custom location, the last option appears. You can use pinch and drag gestures to place the video where you want, or double tap to scale back to 100%.
Border
If you're using live video with a smaller size, you can set it off from the background with a border. Adjust the size and color with these two controls.
Load Configuration
You can load existing live video configurations by tapping on the download icon on the bottom left. You can also import files with the *.onsonglvc file extension (OnSong Live Video Configuration).
Store Configuration
When you have things just the way you like, you can save your configuration to a file to import again later, or to share with friends. This opens the standard export menu for you to choose an export location.
Effects List
This is where you can start layering different effects on to your live video to make for an engaging experience.
Adding Effects
To add an effect, tap on the + button in the upper-right corner to open the Effects Picker.
Editing Effects
Tap on an effect in the list to open the Effects Editor for that effect. There you can see a preview of just that effect and adjust its parameters.
Reordering Effects
You can change the order of the effects. Since each effect is applied on top of the previous effect, you can get some interesting results!
Removing Effects
Tap on the red - button on the left and confirm the action to delete effects from your list.
Toggling Effects
While you can toggle the visibility of effects by tapping on the effects button that opens this menu, you can also enable or disable effects using the switch on the lower left corner of the screen.
Chooser
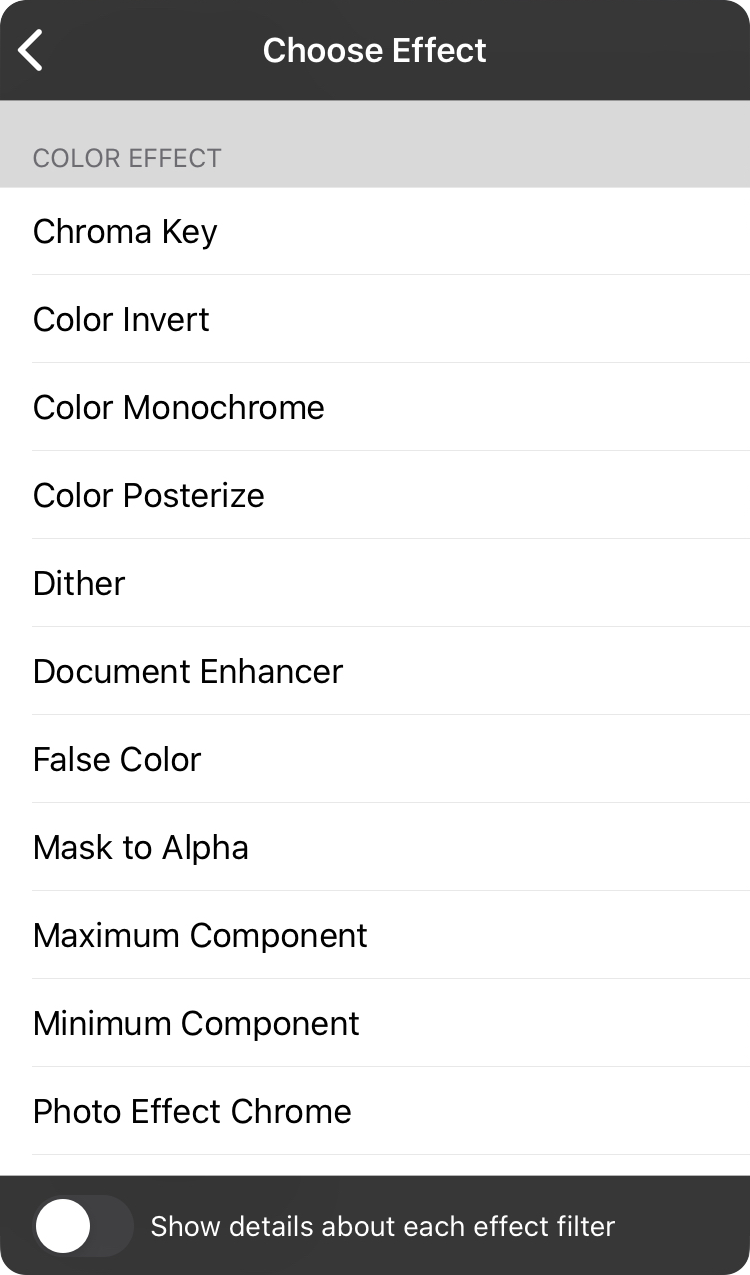
When you choose to add an effect to your list, you're presented with a list of built-in effects that you can apply. These may vary based on your operating system.
Browsing Effects
Scroll to find effects in categories such as:
- Blur
- Color Adjustment
- Color Effect
- Distortion Effect
- Geometry Adjustment
- Halftone Effect
- Sharpen
- Stylize
- Tile Effect
Choosing an Effect
Tap on an effect to choose it, add to the effects list with the default parameters, and open the Effects Editor.
More Details
To learn more about each filter, look on the bottom left and turn on the Show details about each effect filter switch to show details about each filter's use.
Effects Editor
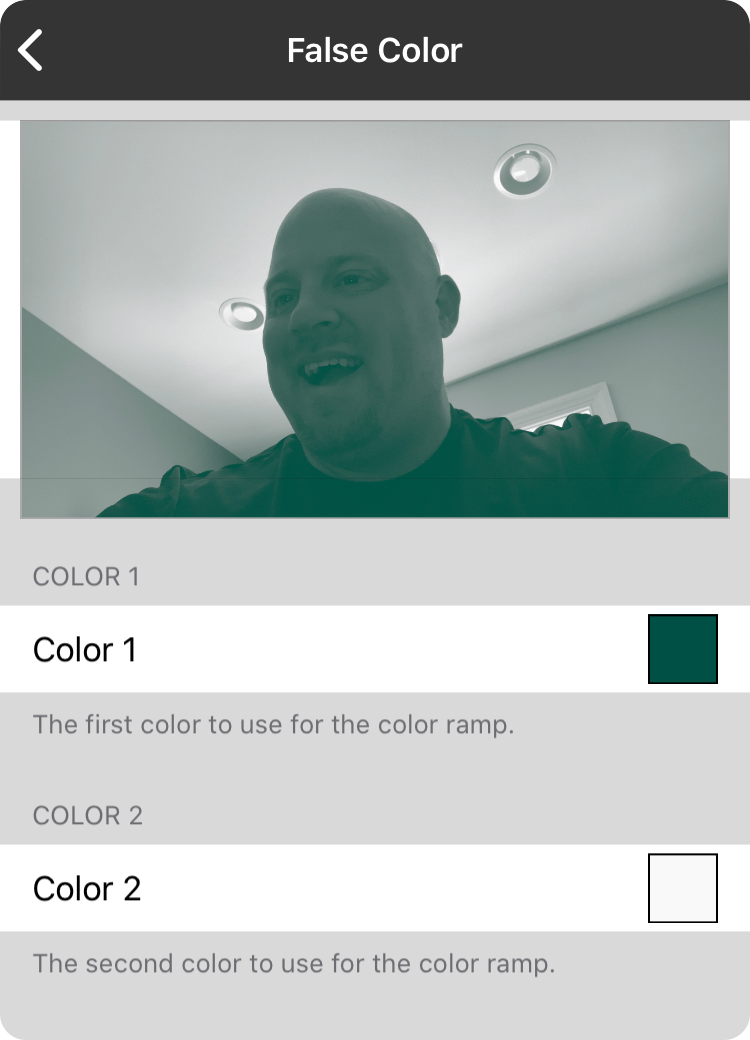
The effects editor lets you make changes to an effect that you've applied to your live video. It has the following features:
Preview
When you open the effects editor, OnSong takes a snapshot of your live video feed to let you see the effect of the snapshot on the raw input. You can also see the changes your effect makes in the live video configuration screen as you make them. You can toggle the effect on and off by tapping on the image.
Parameters
Each effect has different parameters that are adjustable. OnSong lets you configure the following kinds of values:
- Angle displays a slider to choose an angle.
- Boolean displays a switch for toggling the parameter on and off.
- Color displays a color builder to create a custom color.
- Count displays a slider between the minimum and maximum counts.
- Distance displays a slider from the minimum to the maximum distance.
- Integer displays a slider from the minimum to the maximum integer amount.
- Position displays the Vector Editor for altering the X and Y values.
- 3D Position displays the Vector Editor for altering the X, Y, and Z values.
- Rectangle displays the Vector Editor for altering the X, Y, width, and height parameters.
- Scalar displays a slider from the minimum to the maximum scalar amount.
Note that you can tap on the icon to the right of each slider to reset the value to the default setting for the effect.
Chroma Key Editor
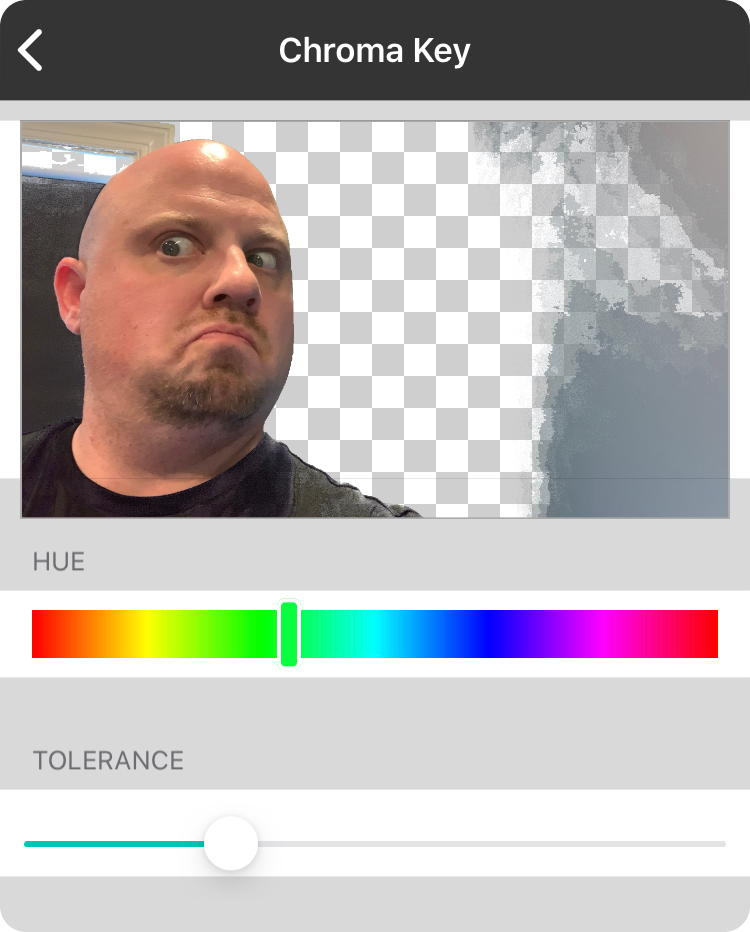
Chroma Key lets you remove certain colors for the background, allowing you to layer certain things in front of a still or motion background. When you edit a Chroma Key effect, this special editor is used to let you change the Chroma Key parameters.
Preview
The top are of this editor displays a still image generated when you opened the menu. This lets you see the changes of the effect on the raw video image. You can tap on the preview graphic to toggle the effect on and off.
Hue
This displays a hue picker that lets you find the color in your image to be removed.
Tolerance
The tolerance slider effectively widens the color range that is removed. When you increase the tolerance, you are opening it up to remove colors to the left and right of the selected hue on the color wheel.
Vector Editor
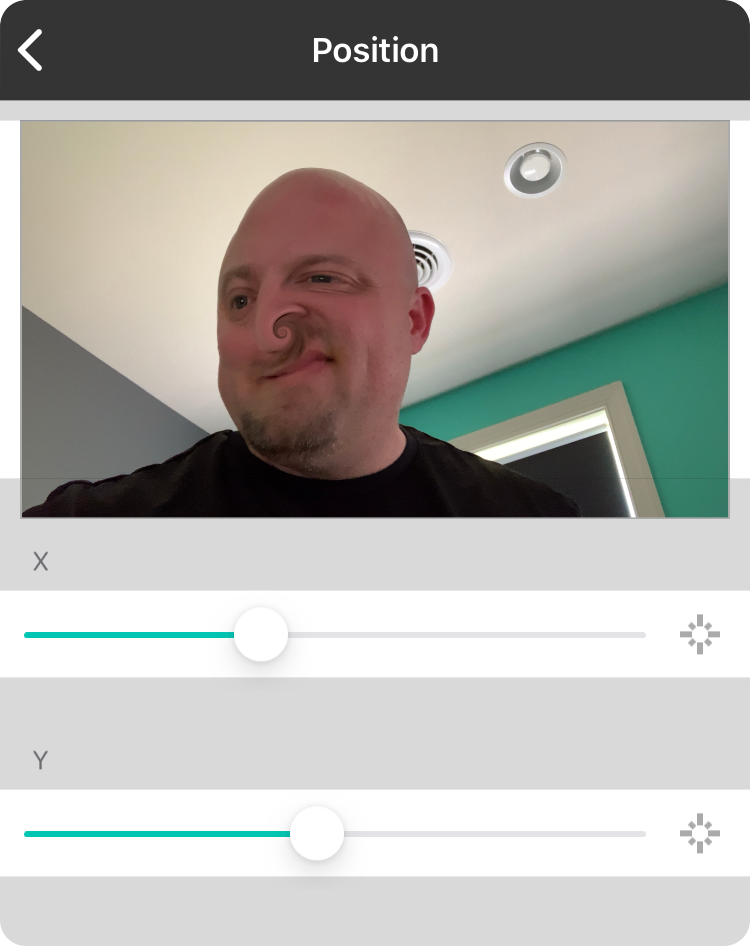
Vectors are used for parameters that have information such as two-dimensional or three-dimensional points.
Preview
This editor shows a preview image captured when the menu is opened and allows you to see the effect of the change on the raw image. You can toggle the effect on and off by tapping on the image.
Position
This is a simple two-dimensional position and displays both X and Y sliders.
3D Position
This is a three-dimensional point and is represented by X, Y, and Z sliders.
Rectangle
This represents a rectangle with sliders for the X, Y, width, and height.
Note that you can tap on the icon to the right of each slider to reset the value to the default setting for the effect.
Background Media Picker
The background media picker is used to manage your image and video assets for use with lyrics projection. You can also import and purchase media to add to your media library from this screen. This media picker also lets you pick a background to use in lyrics projection.
To handle import from multiple locations and services, the media picker has three tabs:
Media Library
The media library lets you manage your local media library and pick images and motion backgrounds to display behind lyrics.
Media Store
The media store has motion backgrounds that you can purchase for use with lyrics projection.
Web Browser
In addition to importing media from your photo library, or purchasing media from the store, you can import media from other media websites.
Web Browser
The last tab in the media picker is the web browser. This allows you to access other web resources for media acquisition.
By default, OnSong loads the playbackmedia.com website which provides subscription-based packages for downloading background media assets. This website does have free samples available in the Freebies section of the site.
Type a website in the URL to load a different resource. Use the bookmark icon on the right to load a bookmarked site or to add the current site to the list of bookmarks as well.
Once OnSong detects an importable asset in the web browser, the Import button will be enabled allowing you to add that asset to your local media library. This typically requires the asset to be downloadable on the site. For instance, if you are downloading an image asset, you will need to access the JPEG or PNG file. If you are seeking a motion background, OnSong will require an MP4 or M4V file.
Note: Some web sites are not designed for use on mobile devices. You may need to pinch to zoom to read and interact with some content.
Media Store
The media store screen is used to browse images and videos available in the OnSong media store.
Filtering
By default, all available assets are displayed in the preview grid. You can filter the assets that are displayed using the filter button in the upper right corner to display the Pick Categories menu.
Previewing
Tap on an asset to preview it in the viewer. This is useful to get an idea of the motion background. Already purchased assets appear with a checkmark in the upper right corner and can also be previewed.
Purchasing
To purchase a motion background, tap on the item to preview it. In the preview screen is a buy button to purchase the item and download it to your OnSong library.
Categories
The pick categories menu is used to narrow the results returned from the media store. This menu is populated by current categories and types of categories and can be changed in the future. Tap to check a category and have assets of that category displayed.
Selecting more categories in a type will restrict the number of results returned. For instance, selecting both Blue and Brown from the Colors category will result in no results being returned.
The following are the types of categories that can be selected.
Artists
This is the name of the person or entity who created the background image.
Colors
This is the general color of the asset.
Styles
This is the style of photography used. For instance, an abstract work may not be immediately discernible or a bokeh style image will feature out of focus light sources.
Media Preview
The media preview screen allows you to view the media asset with an included watermark. Previews are displayed with higher compression rates as well.
OnSong will automatically begin playing motion graphics in a repeating loop.
You can acquire an asset if you are an OnSong Premium subscriber as they are included with your subscription.
Once the media asset is downloaded to the local library, you can come back into the preview screen to update the asset if there have been any changes, or if there is a problem with the file that was downloaded.
As long as you keep the media asset in your library you will not be required to pay again for the asset. Media is backed up and restored with your OnSong library as well.
If you choose not to purchase the media asset, tap on the back button to return to the media store.
Media Library
The media library tab displays images and videos available in your local OnSong library. From this screen you can import images and video from your photo library, pick media for lyrics projection, and manage your assets.
Importing
You can import images or videos from the photo library on your device. Tap on the + button in the upper right corner to browse your photo library. Pick an image or video to be added into your OnSong media library. You can then select the media as the background or manage the media asset.
Newly imported assets appear with a banner in the upper right corner of the graphic. In addition, motion backgrounds appear with a small white triangle in the lower right to indicate that the asset is playable.
Selecting
To display a background image or video, tap on it in the grid of preview images. This will place a border around the image that is currently active. Tap again to turn off the selected background.
Viewing Details
To view details about the media item, tap and hold on the preview. This will display a popover to perform the view details function. Tapping on this option will open the Media Details menu that provides information about the media assets.
Changing Playback Attributes
Motion backgrounds are video files that typically repeat continuously at 100% playback speed. You can change the parameters for playback by tapping and holding the item. This will display a popover to perform the view details function. Tapping on this option will open the Media Details menu that allows you to change these playback attributes.
Deleting
To delete the media asset, tap and hold on the preview. This will display a popover to perform the delete function. Tapping on the delete option will remove the media asset from your library.
Import Files
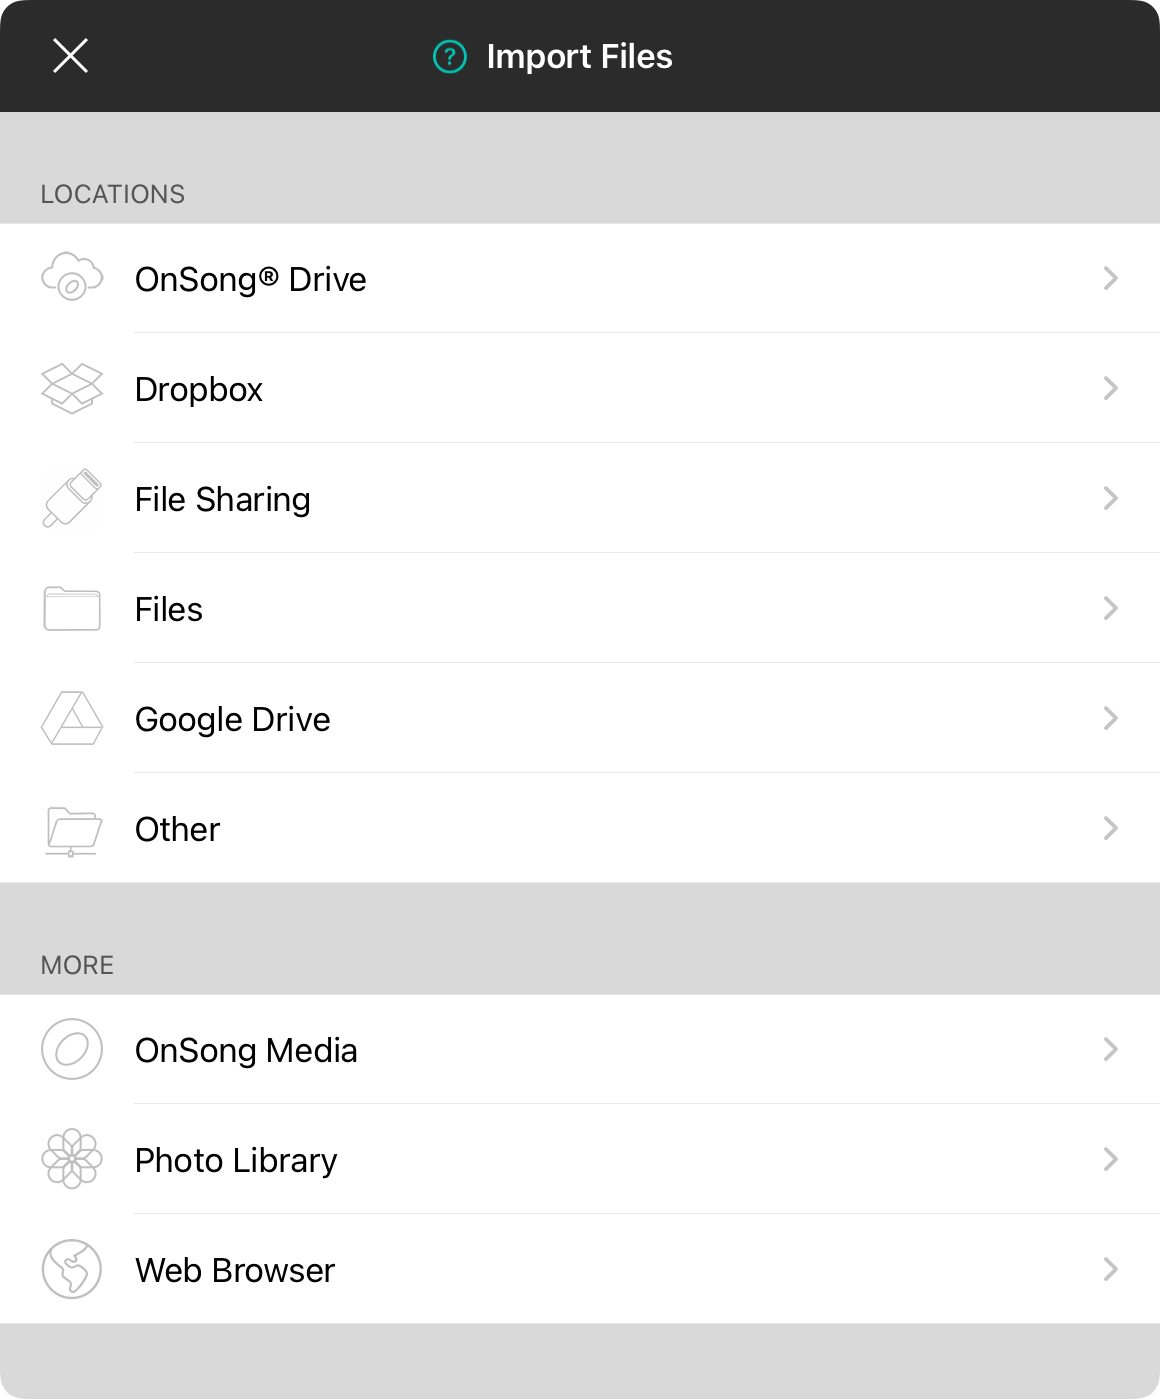
When you tap on the + button in the Visual Media Library, you can add media by importing files. This displays a screen with the following options:
Locations
These are places where files you want to import may reside. Options include:
- OnSong Drive allows you a place to import files using storage provided on your OnSong account.
- Dropbox lets you sign into your Dropbox account to import files transferred there.
- File Sharing lets you import files that were copied to your device from a computer using a sync/charge cable.
- Files provides access to the iOS/iPadOS Files app for using other storage apps.
- Google Drive allows you to transfer files using your Google Drive.
- Other lets you import from custom import locations.
More
When importing visual media assets, you can also choose from the following methods:
- OnSong Media features motion backgrounds you can access with your premium subscription.
- Photo Library provides access to photos that are stored on your device.
- Web Browser displays a browser that lets you import from online sources.
Sorting
The current sort order is marked with an arrow indicating the sort order. You can sort visual media assets in the following way:
- Title is the title of the visual media.
- Duration is the length of the play time of the video.
- Pixels the size of the assets (width x height).
- Size the file size of the assets.
- Created the date and time the asset was created in the library.
- Modified the date and time the asset was last modified.
You can toggle between ascending and descending order by choosing the selected sort order again.
Import Files
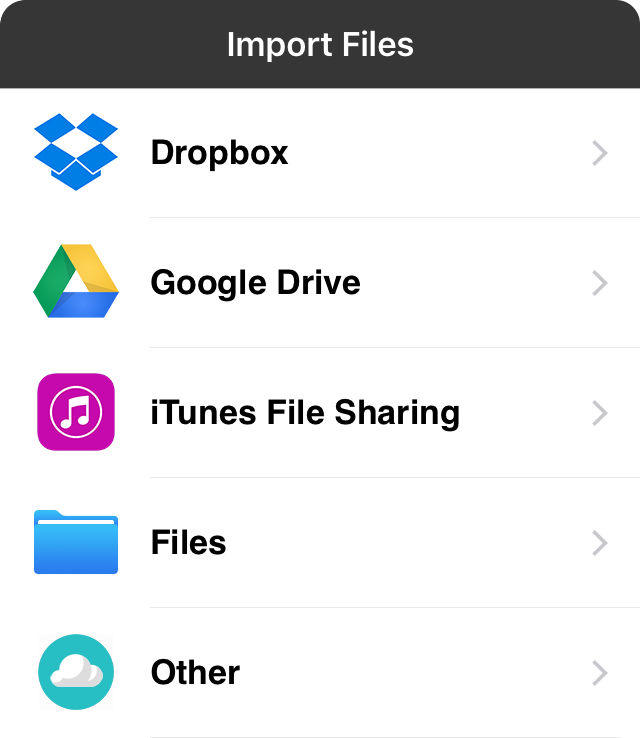
The import files menu provides a list of common import locations with the ability to import photos or videos from those sources. These import screens are similar to those found in the Songs Menu except that only video or photo files are selectable.
Dropbox
Dropbox is a popular cloud-based storage service that works great for importing documents from your computer.
Google Drive
Dropbox is a popular cloud-based storage service allows you to store and collaborate with files online.
iTunes File Sharing
iTunes File Sharing allows you to import files from your computer using a USB cable and iTunes software.
Storage Provider
If you are running iOS 8 or higher, use the storage provider option if you need to import from a storage service that supports the storage provider action. When this is selected, the storage provider interface will be presented for you to select a file to import from a third-party service.
Other
The other options lets you import from other remote sources using standard communication protocols.
Photo Library
Tapping on the camera icon will show the built-in image and video picker. You can browse photos and videos located on your device. Tap on a photo or video to choose it for import.
If you do not want to choose a photo or video, tap on the Cancel button to close the menu, or simply tap off of the menu.
Note: Video files may be compressed when selecting video files in this manner. To import uncompressed video files, import them using the file picker by tapping on the + button in the media library screen.
Media Details Menu
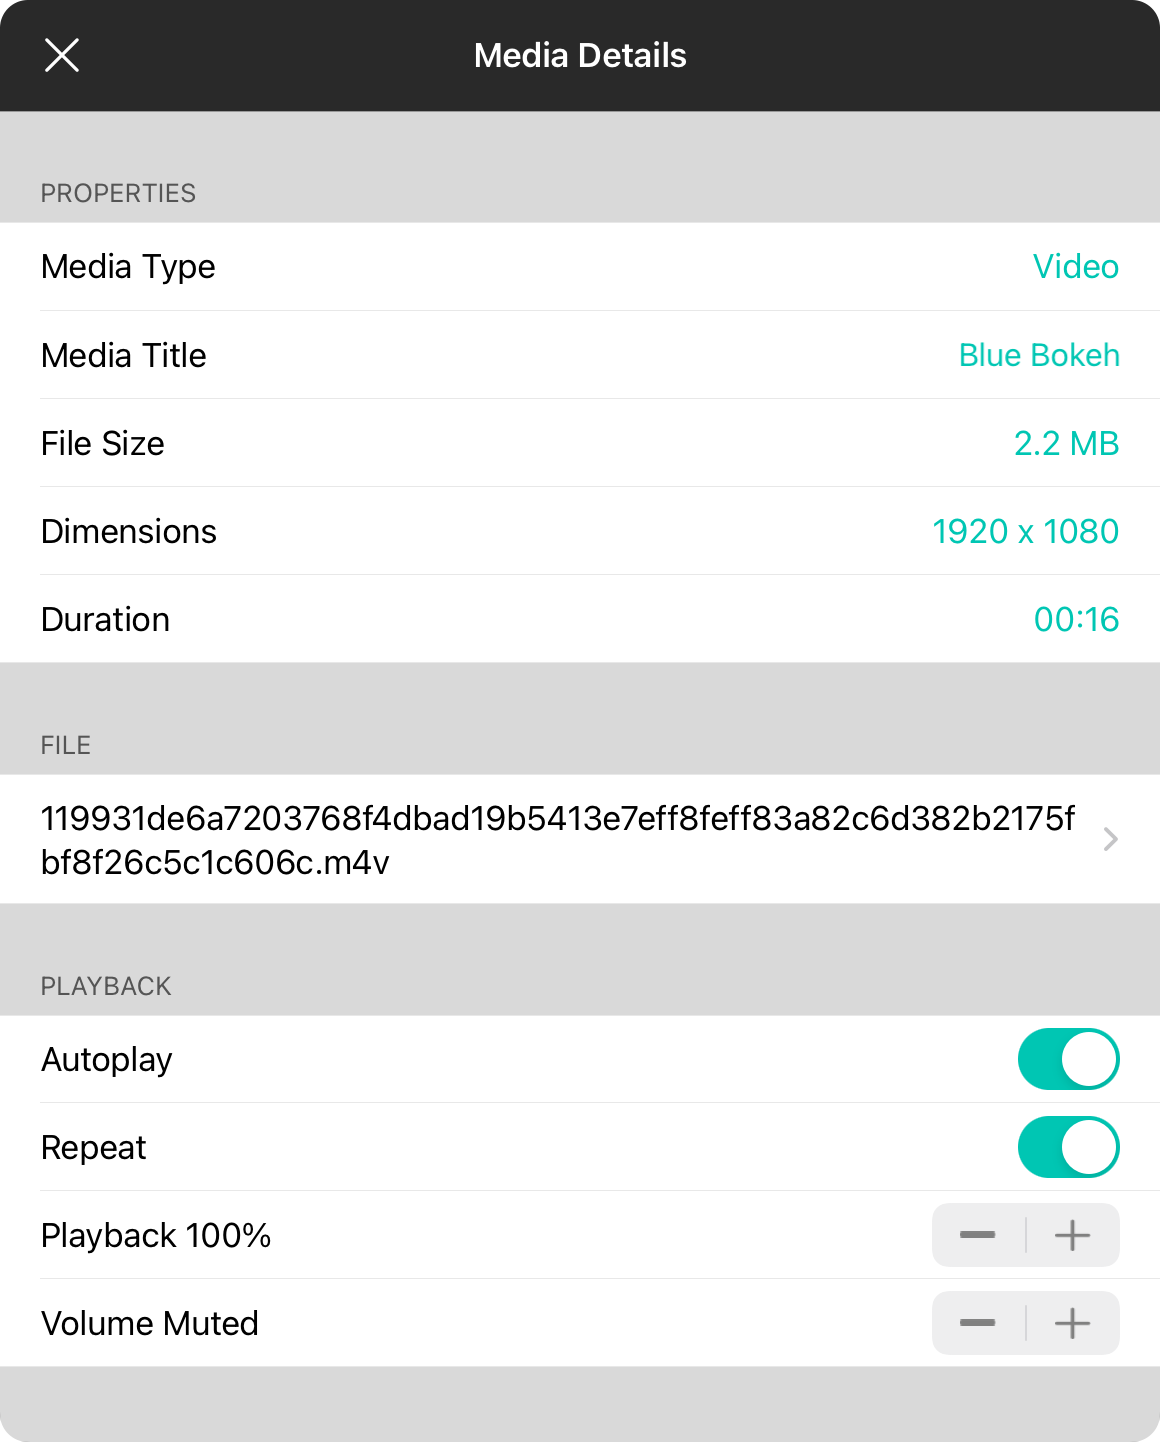
The media details menu is used to display:
Properties
This is information specifically about the asset and includes:
- Media Type is the type of media asset. This can be either Image or Video.
- Media Title is the title provided by the media source, or in lieu of that, the filename of the imported asset.
- File Size is the size of the file in human-readable form.
- Dimensions describes the size of the asset in pixels as width x height.
- Duration is the length of time that the asset is playable in human-readable form. This is empty for image assets.
Playback
The playback section is available for video assets and provides information on how the video should be played. These attributes include:
- Repeat is a switch that determines if the video asset repeats from the beginning when the playback is finished. By default, videos will repeat. This can be turned off for videos assets such as countdowns.
- Playback Rate allows you to adjust how fast or slow the video is played. By default, videos playback at a rate of 100%. This will be the natural speed of the video. You can adjust the playback rate of the video from one of the following options: 0%, 50%, 66%, 80%, 100%, 125%, 150% and 200%
Note: If you set the playback to 0%, the video will appear as a still image.
Reduce File Size
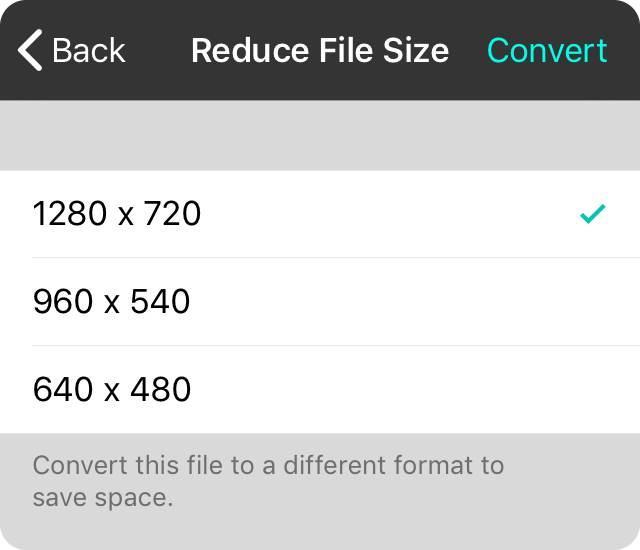
When you import content into OnSong, it may be in an uncompressed state, or may be in a higher resolution than is necessary. This can take up space on your device and cause performance issues. You can use this menu to reduce the size of the media asset, right from within OnSong.
Video files can be reencoded in different resolutions to reduce file size. Choose a size to reduce the asset into and then tap the Convert button to begin encoding. Once completed, the original asset will be replaced with the reduced asset.
Please keep in mind that reducing the resolution of video assets will cause them to appear blurry on higher resolution screens.
Preview Widget
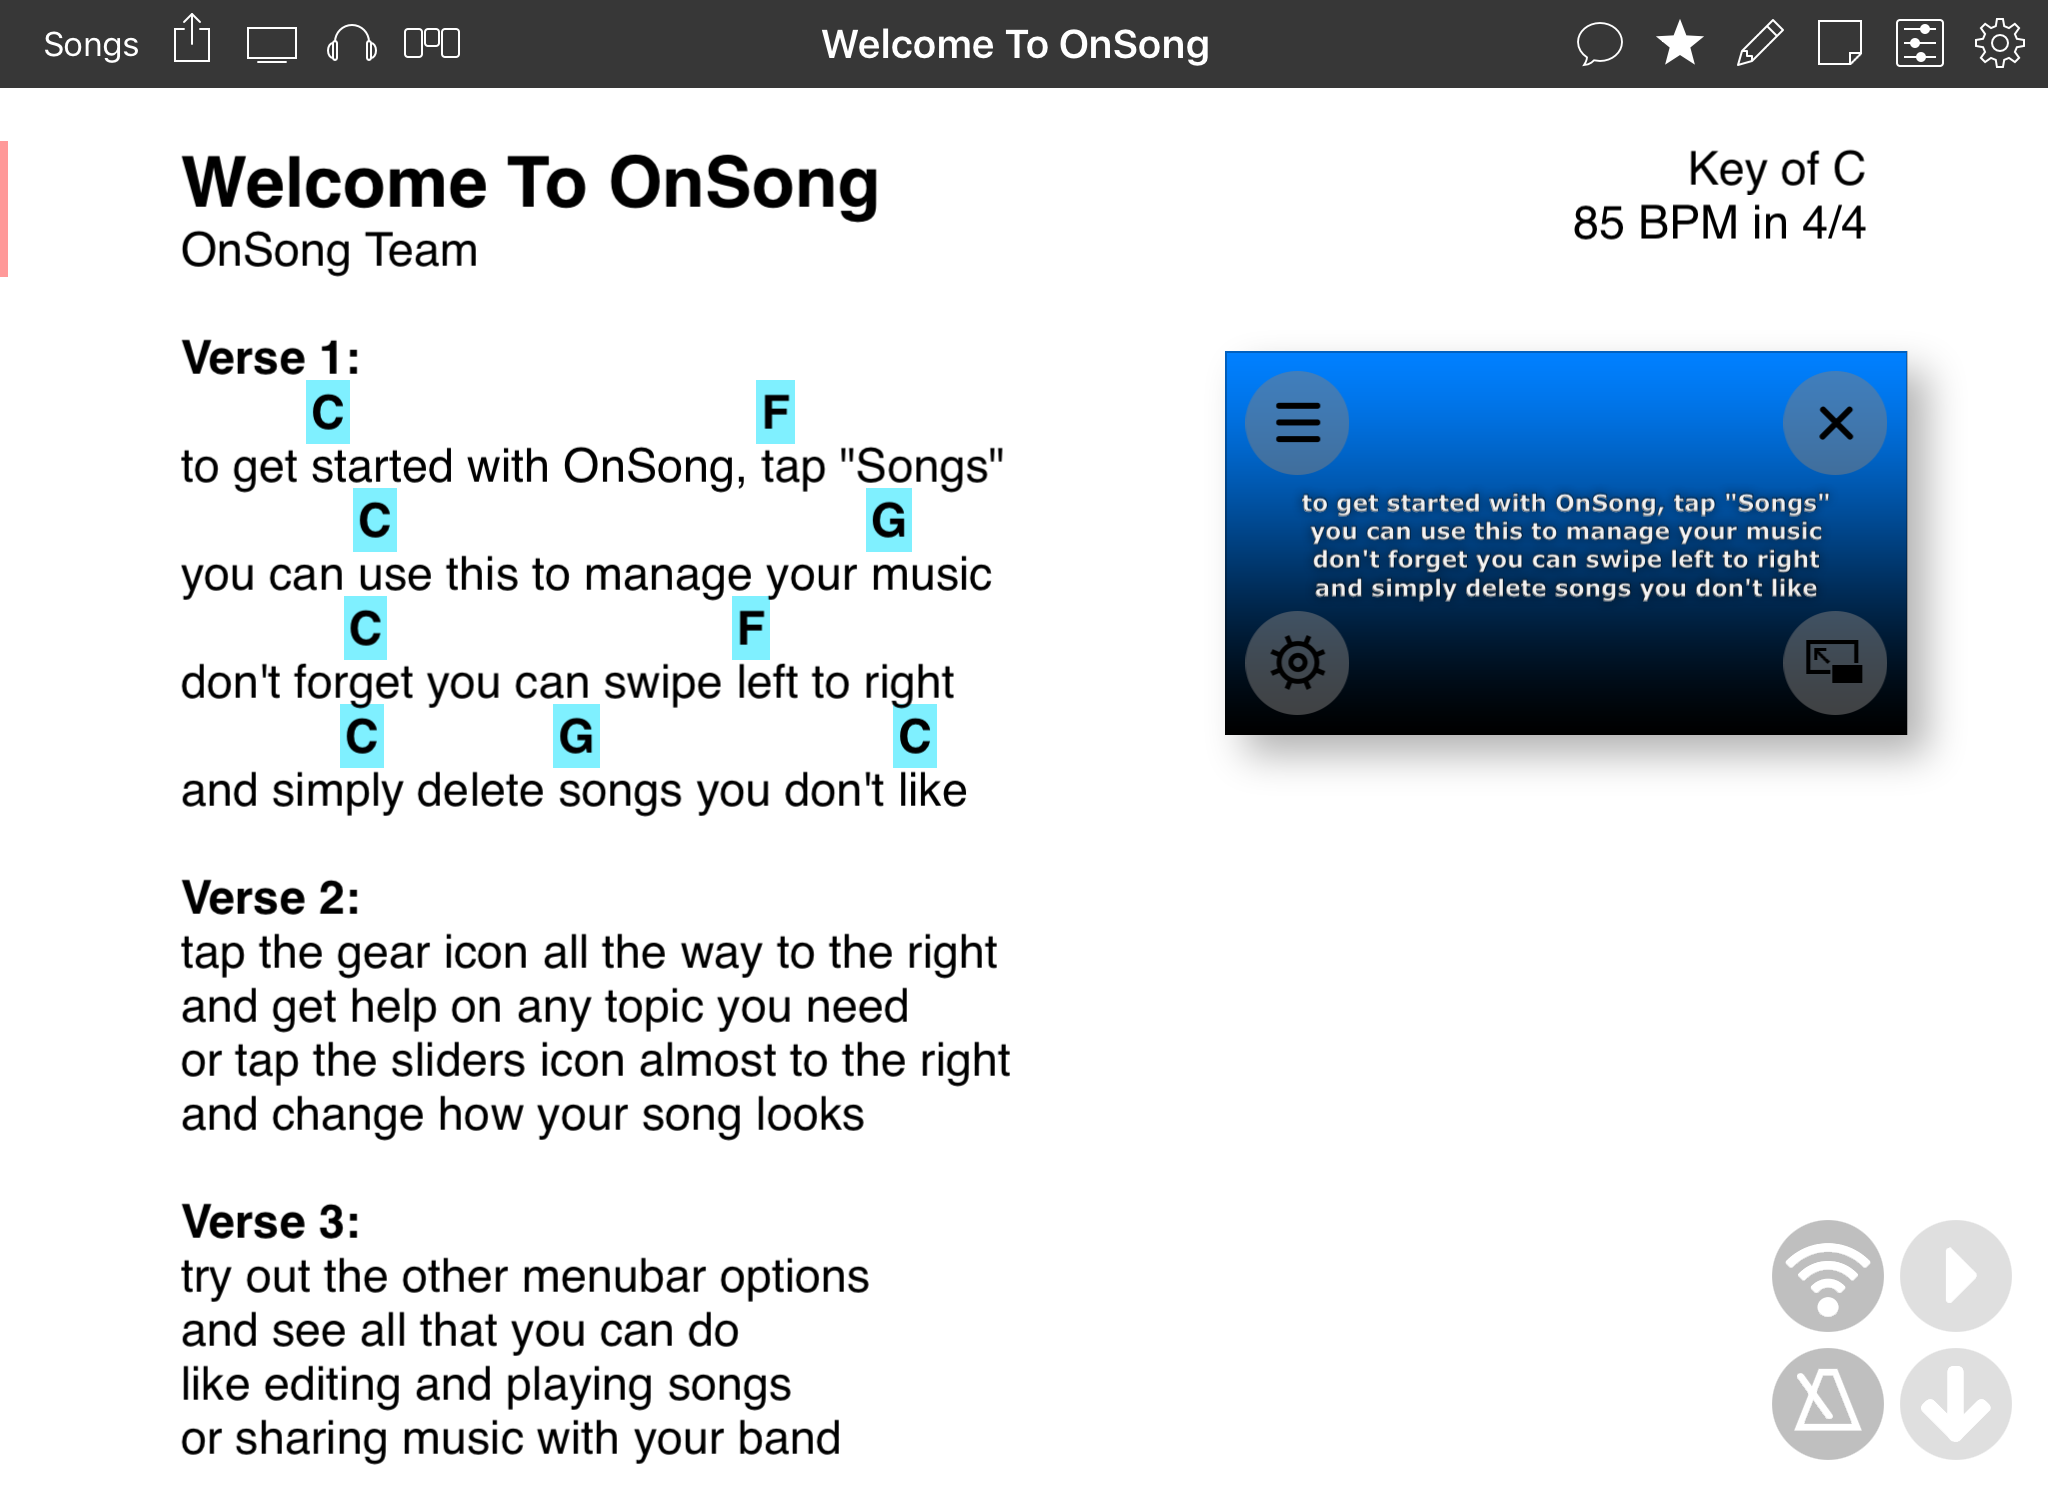
The lyrics projection preview widget is designed to preview what is on the external video screen as well as provide tools for controlling lyrics projection.
The widget has two modes:
Control Mode
When no buttons appear on the preview widget, you can swipe in the widget to choose which section of lyrics to project.
Editing Mode
You can tap on the widget to enter editing mode. This lets you make changes to the widget.
Control Mode

When in control mode, no buttons appear in the widget. You can use the widget in this mode to change sections by swiping.
Right To Left
Moves to the next section of lyrics. For instance, if the chorus is comprised of multiple stanzas, this will move through each stanza in the named section called "Chorus".
Left To Right
Moves to the preview section of lyrics. For instance, if the chorus is comprised of multiple stanzas, this will move back through each stanza in the named section called "Chorus".
Top To Bottom
Moves to the next named section of lyrics. If Verse 1 contains multiple stanzas, these are skipped and moved directly to Verse 2.
Bottom To Top
Moves to the previous named section of lyrics. If Verse 2 contains multiple stanzas, these are skipped and moved directly to Verse 1.
Note: When you swipe, the screen displays the name of the section. After a brief delay, the section is changed. This allows you to choose the section you want to display and then the switch is made accordingly.
Editing Mode
Tap on the preview widget to display buttons for editing the preview widget. When in this mode, you can also drag the widget to another location on the screen or use two fingers to scale the size of the widget. You can also tap on the buttons to perform additional functions clockwise from the upper right corner:
Close Button
In the upper right corner is the close button which can be tapped to close the preview widget.
Toggle Full Screen
Tap on the button in the lower right corner to increase the preview widget to take up the full size of the screen while retaining the aspect ratio. Once the widget is full screen, tapping this again will shrink the widget to its original size.
External Video Settings
You can tap on the gear icon in the lower left corner to view the majority of controls in the External Video Menu except for the preview screen and background mode.
Section Picker Menu
Tap on the button in the upper left to manually choose a section of lyrics to appear on the external screen.
Section Picker
You can use the Pick Section menu to choose a section of lyrics to display. OnSong displays each named section as well as each stanza. You can scroll through each section and tap on one to load those lyrics into lyrics projection.
Overlay Picker
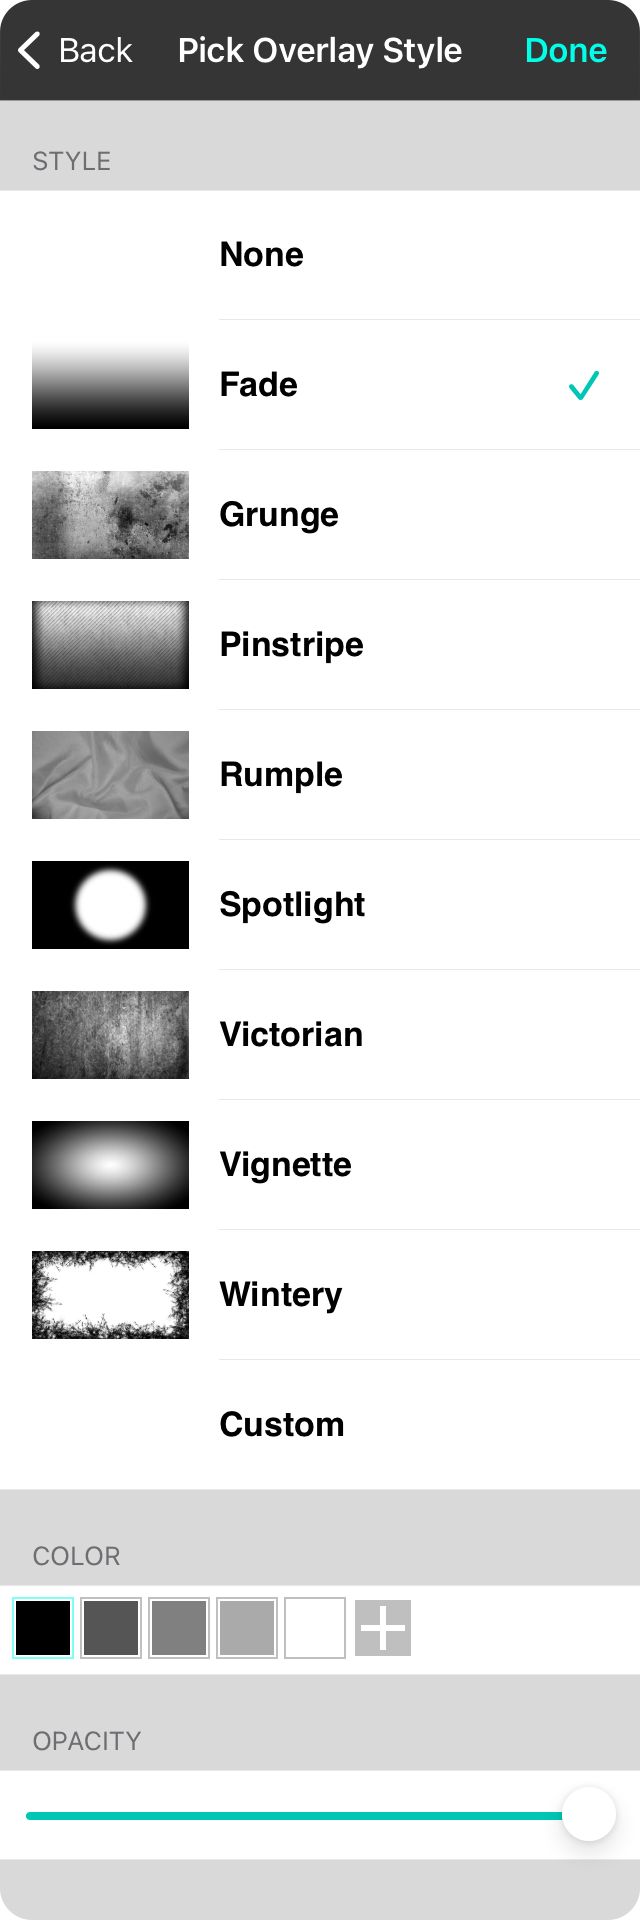
The overlay picker allows you to create rich lyrics projection backgrounds by combining color, image or video with a semi-translucent overlay. These can be used to enhance readability on standard video content, add a subtle flair to an otherwise boring graphic, or be used with Scenes as a spotlight.
When you are finished making your changes, tap on the Done button in the upper right or cancel your changes by tapping on the Back or Cancel buttons.
Style
Choose one of the built-in overlay styles. Each are displayed with a preview as well as a checkmark next to the currently selected style.
- None turns the overlay off.
- Fade fades from fully transparent on top to black on the bottom.
- Grunge adds concrete-like weathering to your background image or video.
- Pinstripe adds a thin vignette in combination with vertical pinstripe lines.
- Rumple simulates wrinkled fabric and turns any background into a cloth.
- Spotlight can turn a projector into a light for use with Scenes since you can control the background color of your lyrics projection background using sequences.
- Victorian adds an old wallpaper-like allure to your images.
- Vignette features a circular fade to the edges to highlight background content.
- Wintery features icy crystals around the edge of an image, useful when combined with a white overlay color.
Color
While the standard color of overlays are black, you can choose from various greyscale shades in this picker including black, dark gray, gray, light gray and white. If the overlay color has been set to a different color using Scenes. the color will appear to the right of the basic color.
You can also create your own colors by tapping on the + button on the right. If you are interested in creating and managing custom colors, learn more about the Color Picker.
Opacity
The opacity of the overlay can be adjusted from between 0% and 100%. This is applied on top of any opacity defined in a color. For instance, if a color has an opacity of 50%, and the opacity is set to 50%, the resulting opacity of the overlay will be 25%.
Heads-Up Display
The title of the currently viewed songs is displayed prominently in the center of the Menubar. This area is referred to as the Heads-Up Display and can provide information that needs to be readily available.
To choose a different display, simply slide your finger to the left or right. The standard display, the song title, appears on the far left of options. Slide to the right to reveal the following:
Song Title
 This is the default heads up display which simply displays the song currently being viewed.
Song and Set/Book
 The song title is the primary text with the title of the set being secondary. If no set is selected, the name of the current book appears.
Current Song and Next Song
 The current song title is the primary text with the next song in the set displayed below. If no song is next in the set, the phrase "No Upcoming Song" appears instead. If the next song's key is known, it is displayed in parenthesis after the next song's title.
Timer
 When performing for a limited amount of time, it's often useful keep track of how long you have played a song or set. The timer heads-up display provide two timers which start when the play button is tapped in the middle, or if an action like autoscroll or backing track playback begins. The timer on the left shows the time spent on the current song which automatically resets when you switch to another song. The timer on the right shows the time spent on the set.
Each timer is independent and can reset at any time. To reset, tap on the time. If you are in timer mode, the time is reset to 0:00. If you are in countdown mode, the time is reset to the duration of the song or set, or to 0:00 is no duration is available.
To change the mode of each timer, tap on it once to reset and then tap again to toggle between timer and countdown modes. The arrow on the edge of the timer will indicate the direction of the count.
Each timer will appear as white text as long as counting is within range. If the time is outside of the desired range, the text will appear red. This happens when the time becomes negative, or when the time exceeds the duration of the song or set.
Audio Playback
 This heads-up display provides a play/pause/stop button as well as a playback scrubber that no only displays the current playback position of the audio track, but also allows you to tap or drag to select a different part of the track to play. Since the heads-up display area of the menubar is configured by swiping, be sure to tap and hold before scrubbing to a different playback position.
Tap on the button to the right of the playback scrubber to adjust master volume. If you are using an audio track imported into your OnSong Media Library, you can also customize the playback volume and pan settings for that track.
Tap on the button on the far right to alter audio routing. This will open the built-on Audio Routing menu in iOS.
Memory Utilization
 During a live performance it may be important to monitor how many resources OnSong is consuming. This view displays how much memory OnSong is consuming on the left, as well as the amount of free memory on the right. As more memory is used by OnSong, these numbers may increase as other apps are removed from memory.
Quick Pick
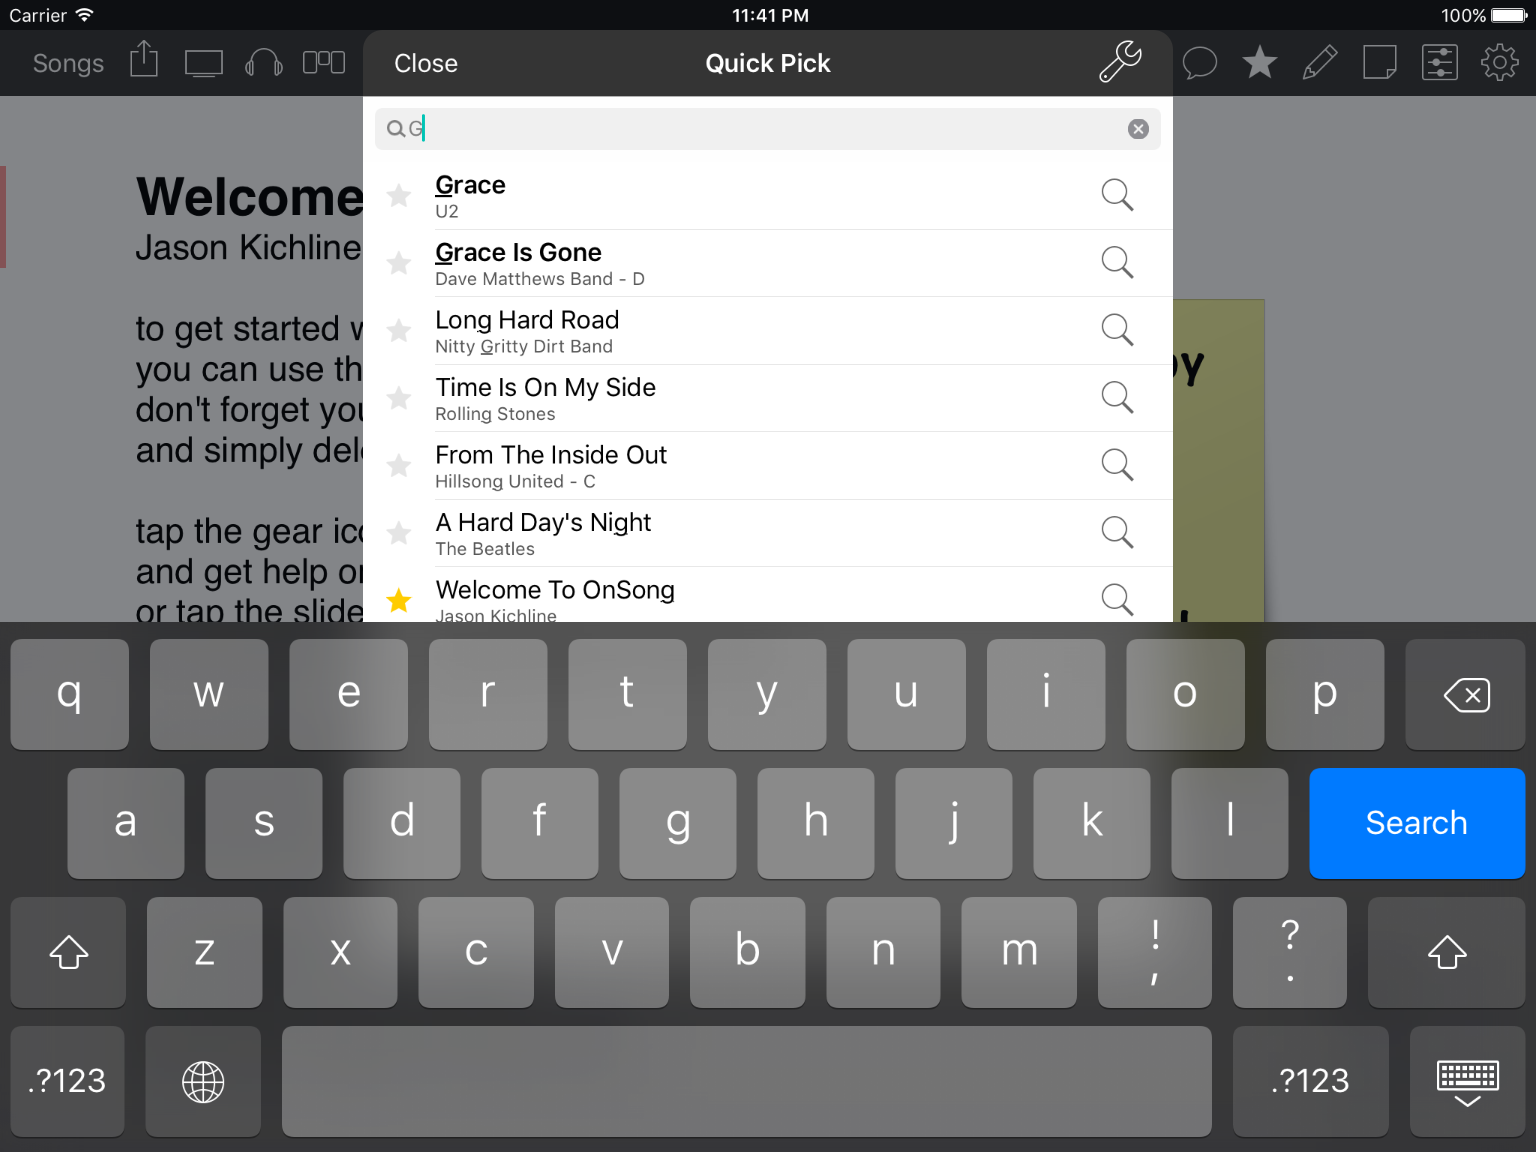
Tapping on a song title in the heads-up display area of the menubar will open the Quick Pick screen. This screen is designed to let you quickly find a song in a live scenario, preview, and add it to your existing set for viewing.
Searching
When the Quick Pick screen appears, the keyboard is automatically revealed so you can just start typing.
As you type, OnSong finds matches in your library that contains the title of the song or the artist. Songs that have titles beginning with the search text will appear in dark text. Other results will appear with the search term underlined. Results that start with the term are sorted towards the top of the list.
Viewing
Once you've found a song you'd like to play, tap to pick it. If you are currently viewing a set, the song is automatically added as the next song in the set.
If you are viewing a single song from your OnSong library, tapping on the song will display it in the Song Viewer immediately. In both cases, the Quick Pick screen is automatically dismissed, returning you to the song viewer.
Note: Picking songs will use options from the Quick Pick Options menu. While the song is added as the next song in a set, you can configure OnSong to automatically jump to that song. You can also determine if songs are added temporarily to set.
Previewing
If you're unsure if the song is what you are looking for, tap on the magnifying glass icon on the right side to view a preview first.
Options
Tap on the options icon in the upper-right corner to change change options on how songs are added to the song viewer.
Options
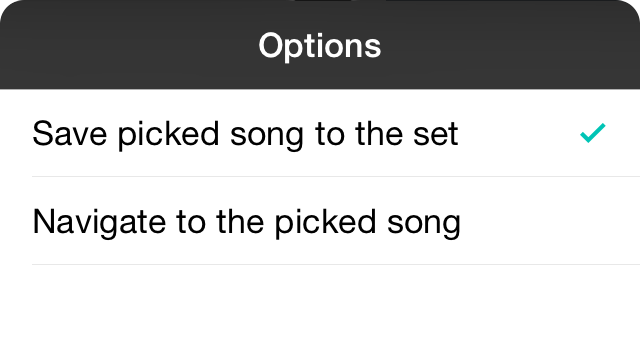
The options menu lets you alter the way songs are added to the song viewer and sets.
- Save picked song to the set determines if the song is added and saved to the currently loaded set. By default this is turned on to allow you to build a set dynamically.
- Navigate to the picked song will automatically navigate the song viewer to the newly picked song. By default this is turned off so the song is added as the next song in the set, but not immediately viewable.
Preview
The preview screen lets you determine if the found song is the one you are looking for. This is useful if you are sending chord charts to your team as this will not be sent wirelessly or over a video device.
You can scroll and zoom to get a good idea if this is the song you want to add. If you want to add the song to the Song Viewer, tap on the Add button in the upper-right corner.
If you are currently viewing a song from the All Songs menu, the previewed song will be displayed in the song viewer.
If you've selected a set to view from the My Sets tab, tapping the Add button will add the song as the next song in the set. This allows the current song to remain unchanged and the found song added as the next song in the set.
Note: Adding songs will use options from the Quick Pick Options menu. While the song is added as the next song in a set, you can configure OnSong to automatically jump to that song. You can also determine if songs are added temporarily to set.
Messages Menu
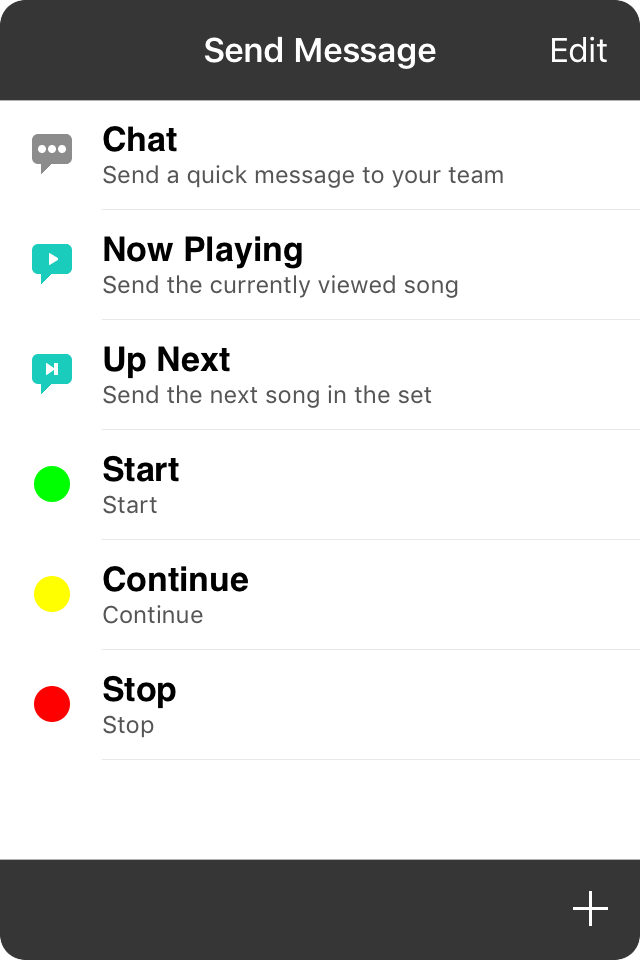
The messages menu allows you to send signals to your band members when using either OnSong Connect or Stage Monitor Mode. These messages flash on the screen with text and color to signal song dynamics without the use of hand signals or musical cues.
Chatting
Tap on the Chat option to type a message to send without creating a preset message. You can send any length chat desired. This will appear in the largest font available for the amount of text. Chats will be sent as grey text.
Sending Messages
To send a message, tap on one in the list of options.
Adding Messages
The ability to send messages quickly is key to efficient communication. OnSong comes with three standard messages, but you can add or edit your messages as well. Tap on the + button to open the New Message Screen.
Editing Mode
Tap on the Edit button in the upper right corner to switch to editing mode. From here you can reorder or modify messages.
Editing Mode
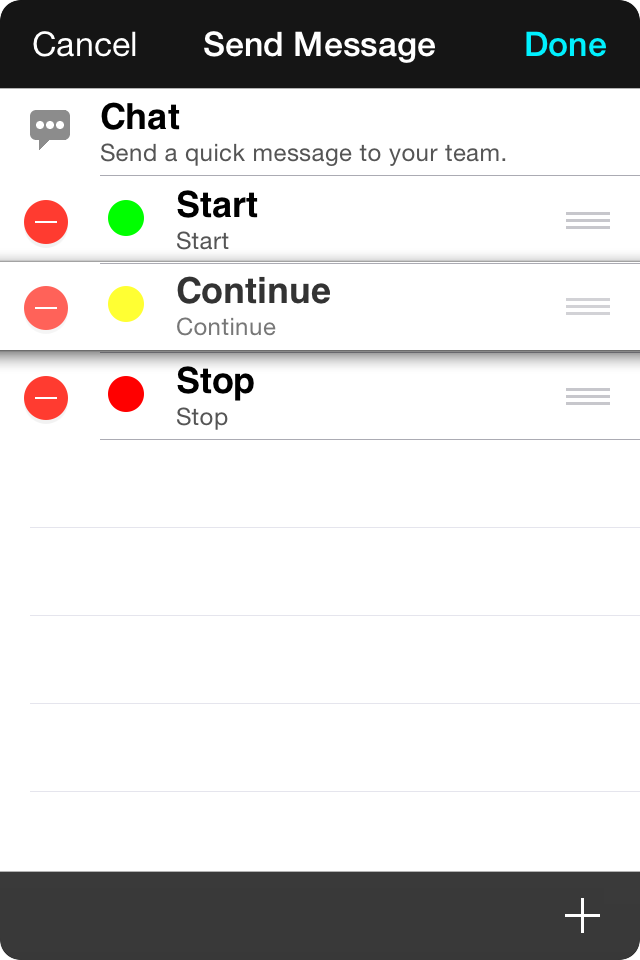
Tap on the Edit button in the upper right corner to enter editing mode on the list of messages. This allows you to manage the list.
Deleting Messages
While you can delete a message from the list by swiping right to left and tapping on the Delete button, you can also delete messages by tapping on the red minus circle icon on the left and then tapping on the Delete button that is revealed.
Sorting Messages
You may want to place commonly used messages at the top or bottom of the list. Use the reordering handles on the right to tap and drag the message where you would like it to be in the list. Tap on the Done button to save your changes.
Modifying Messages
You can change a message by tapping on it's name while in editing mode. This will display the Edit Message Screen allowing you to change the message's properties.
Editing Messages
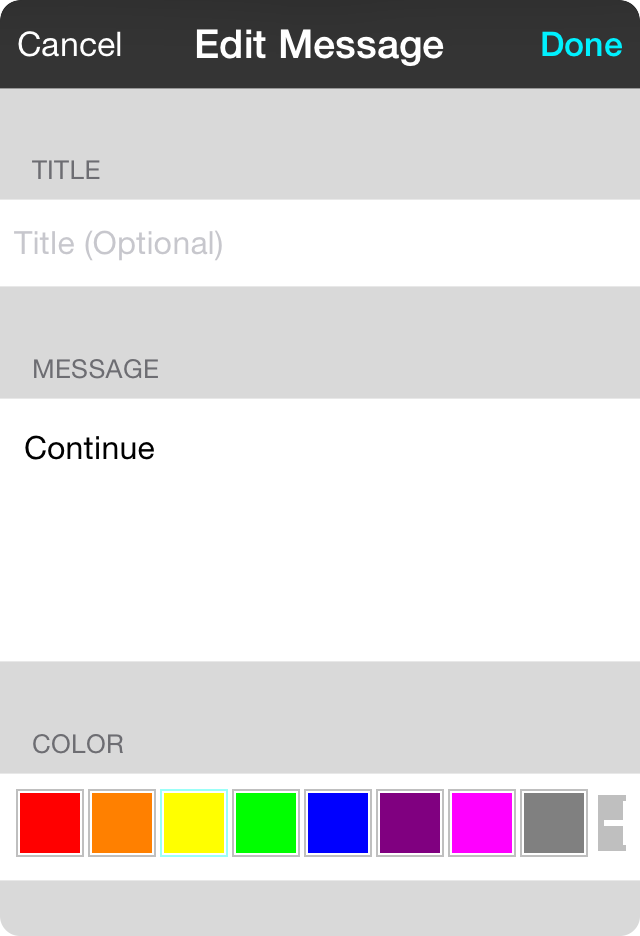
Tapping on the name of the message while in Editing Mode will allow you to change the message's properties.
Title
The title is what the message will be called in your messages list. This can be an abbreviated or common name that is different from the message that will be sent. If this field is omitted, the message is used for the title instead.
Message
This is the text to display on the screen to recipients. This can be as long as required to communicate the message. The font size is increased or decreased to fill the screen. Words will appear for approximately a third of a second per word plus the time to animate the flashed message on and off the screen. You can adjust the amount of time messages appear by going into the Utilities Menu » Settings » Display Settings » Song Viewer » Flash Message.
Color
This is the color to use when displaying the message in lists as well as the text and flash color on the screen. Color can convey information more quickly than reading. The two options combined can be an effective signaling tool.
Choose a color just by tapping on it. If you'd like to add new colors or customize the message color palette, learn more about the Color Picker feature.
Sending Messages
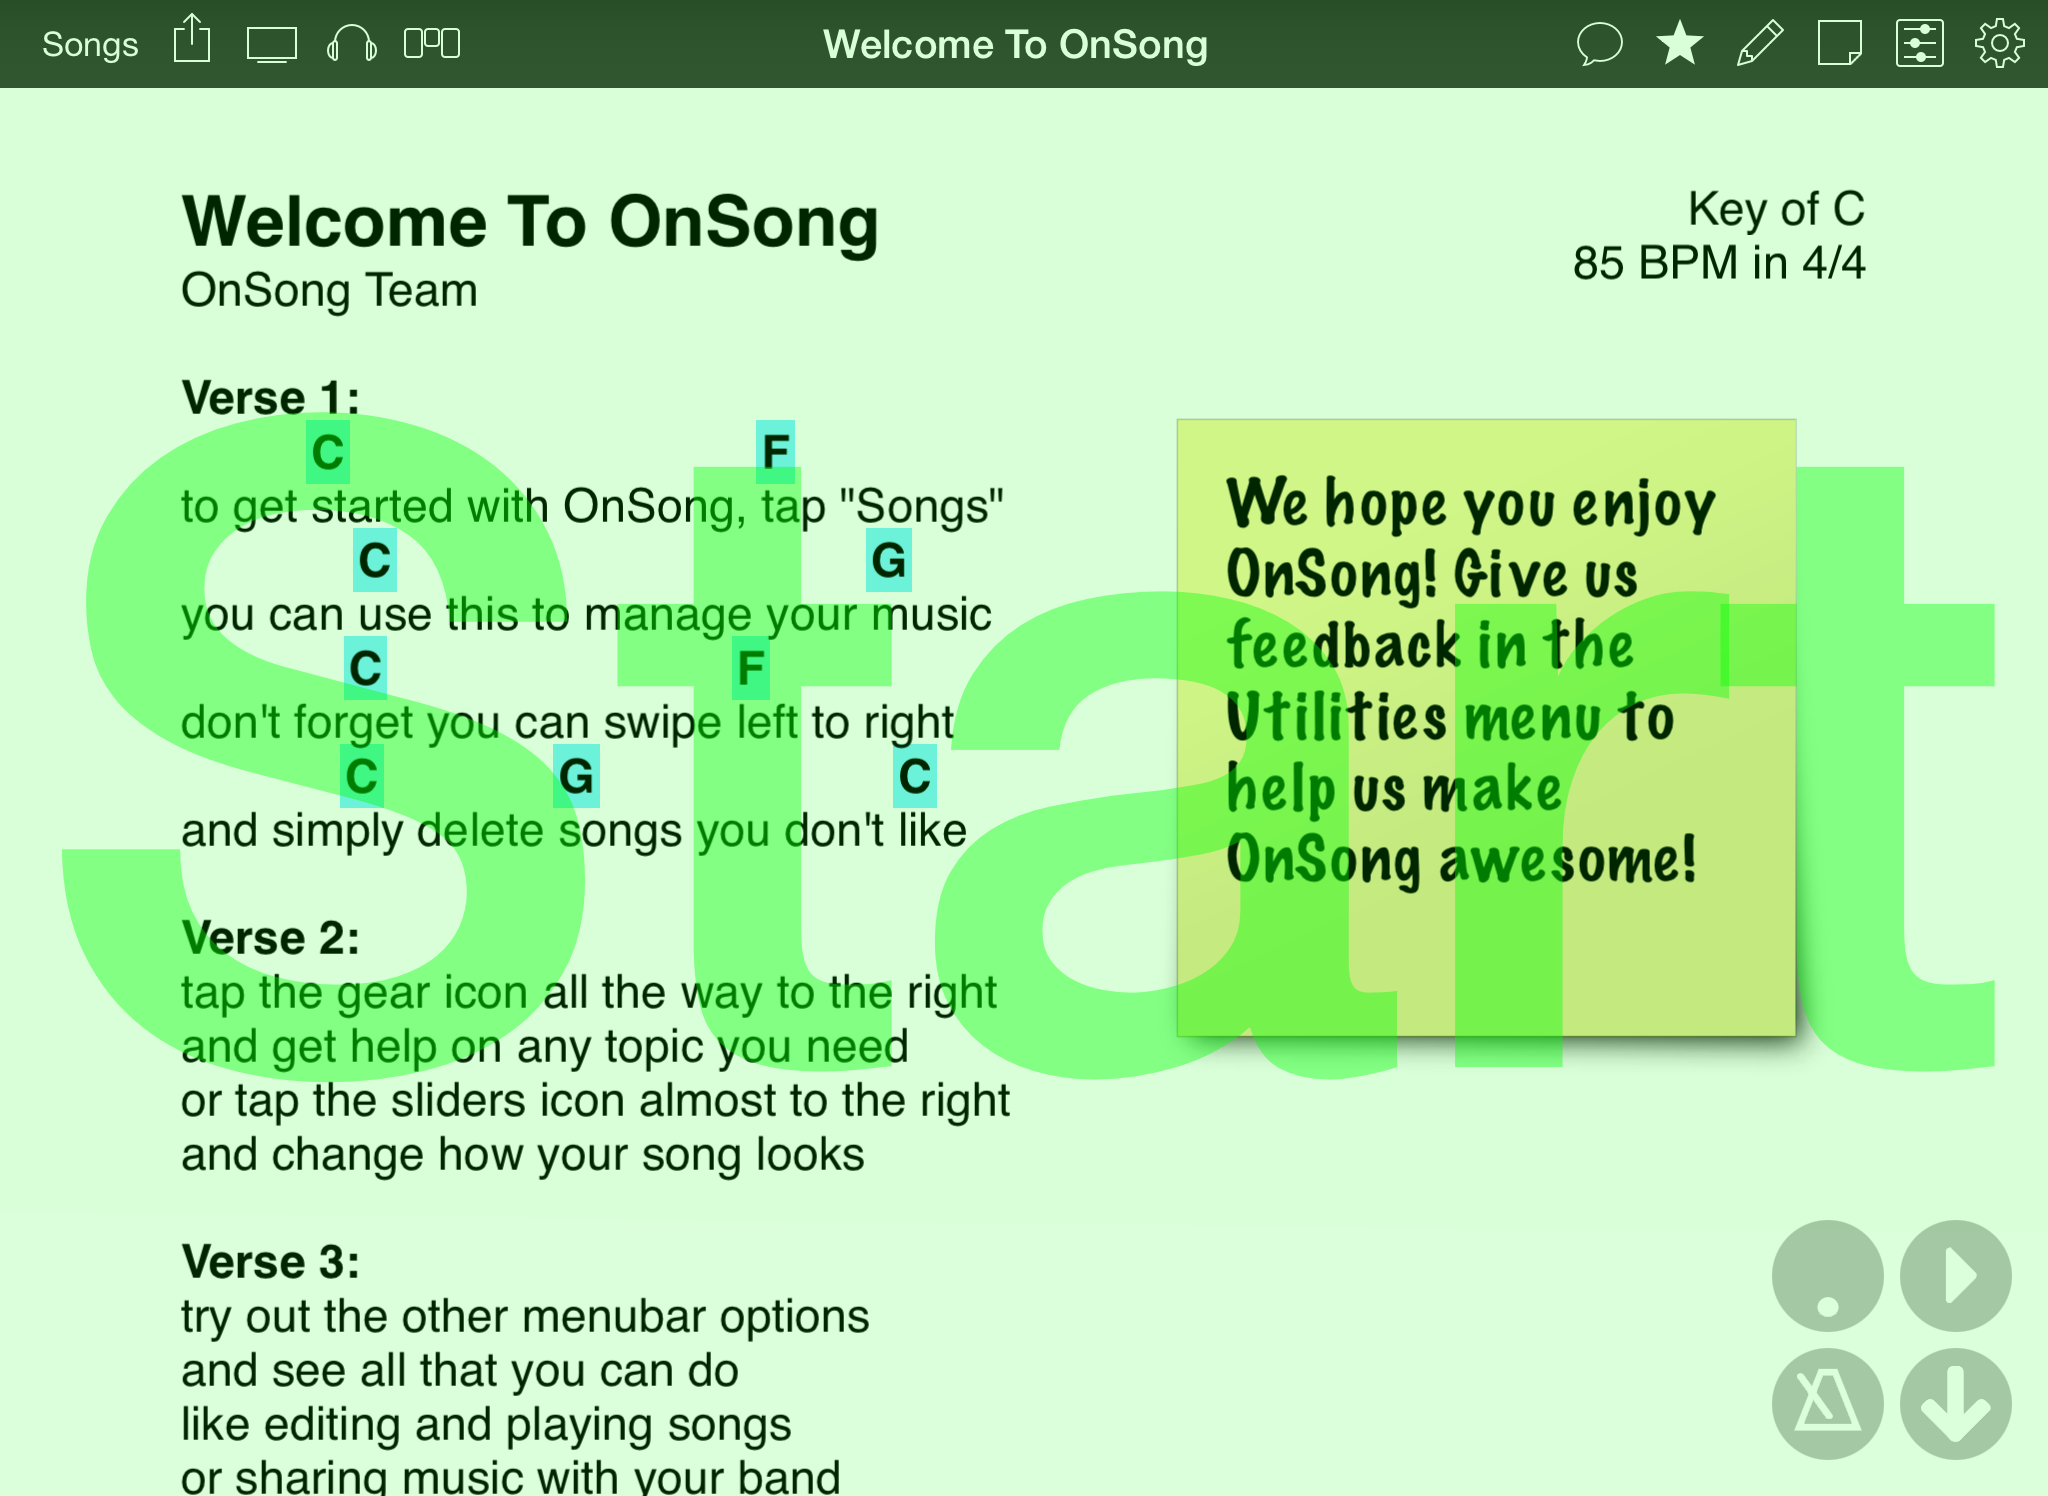
When you select a message from the list of options, the Song Viewer will flash with a colored overlay and text. The message stays on the screen long enough to read the message. Messages with more words stay on the screen for a longer period of time. This same behavior will occur on screens connected with Stage Monitor Mode or OnSong Connect.
Since accessing this menu and tapping on a message can require dexterity you don't have while playing an instrument, you can also map Hot Corners, Navigation Zones, and Foot Pedals to send the message as well.
Words will appear for approximately a third of a second per word, plus the time to animate the flashed message on and off the screen. You can adjust the amount of time messages appear by going into the Utilities Menu » Settings » Display Settings » Song Viewer » Flash Message.
Adding New Messages
To create a new message, tap on the + button in the lower right corner of the messages menu. This opens the New Messages screen to create a message.
Fill in the fields detailed below and tap on the Done button to save your message and return to the messages list. Tap Cancel if you wish to discard your changes.
Title
The title is what the message will be called in your messages list. This can be an abbreviated or common name that is different from the message that will be sent. If this field is omitted, the message is used for the title instead.
Message
This is the text to display on the screen to recipients. This can be as long as required to communicate the message. The font size is increased or decreased to fill the screen. Words will appear for approximately a third of a second per word plus the time to animate the flashed message on and off the screen. You can adjust the amount of time messages appear by going into the Utilities Menu » Settings » Display Settings » Song Viewer » Flash Message.
Color
This is the color to use when displaying the message in lists as well as the text and flash color on the screen. Color can convey information more quickly than reading. The two options combined can be an effective signaling tool.
Choose a color just by tapping on it. If you'd like to add new colors or customize the message color palette, learn more about the Color Picker feature.
Chatting
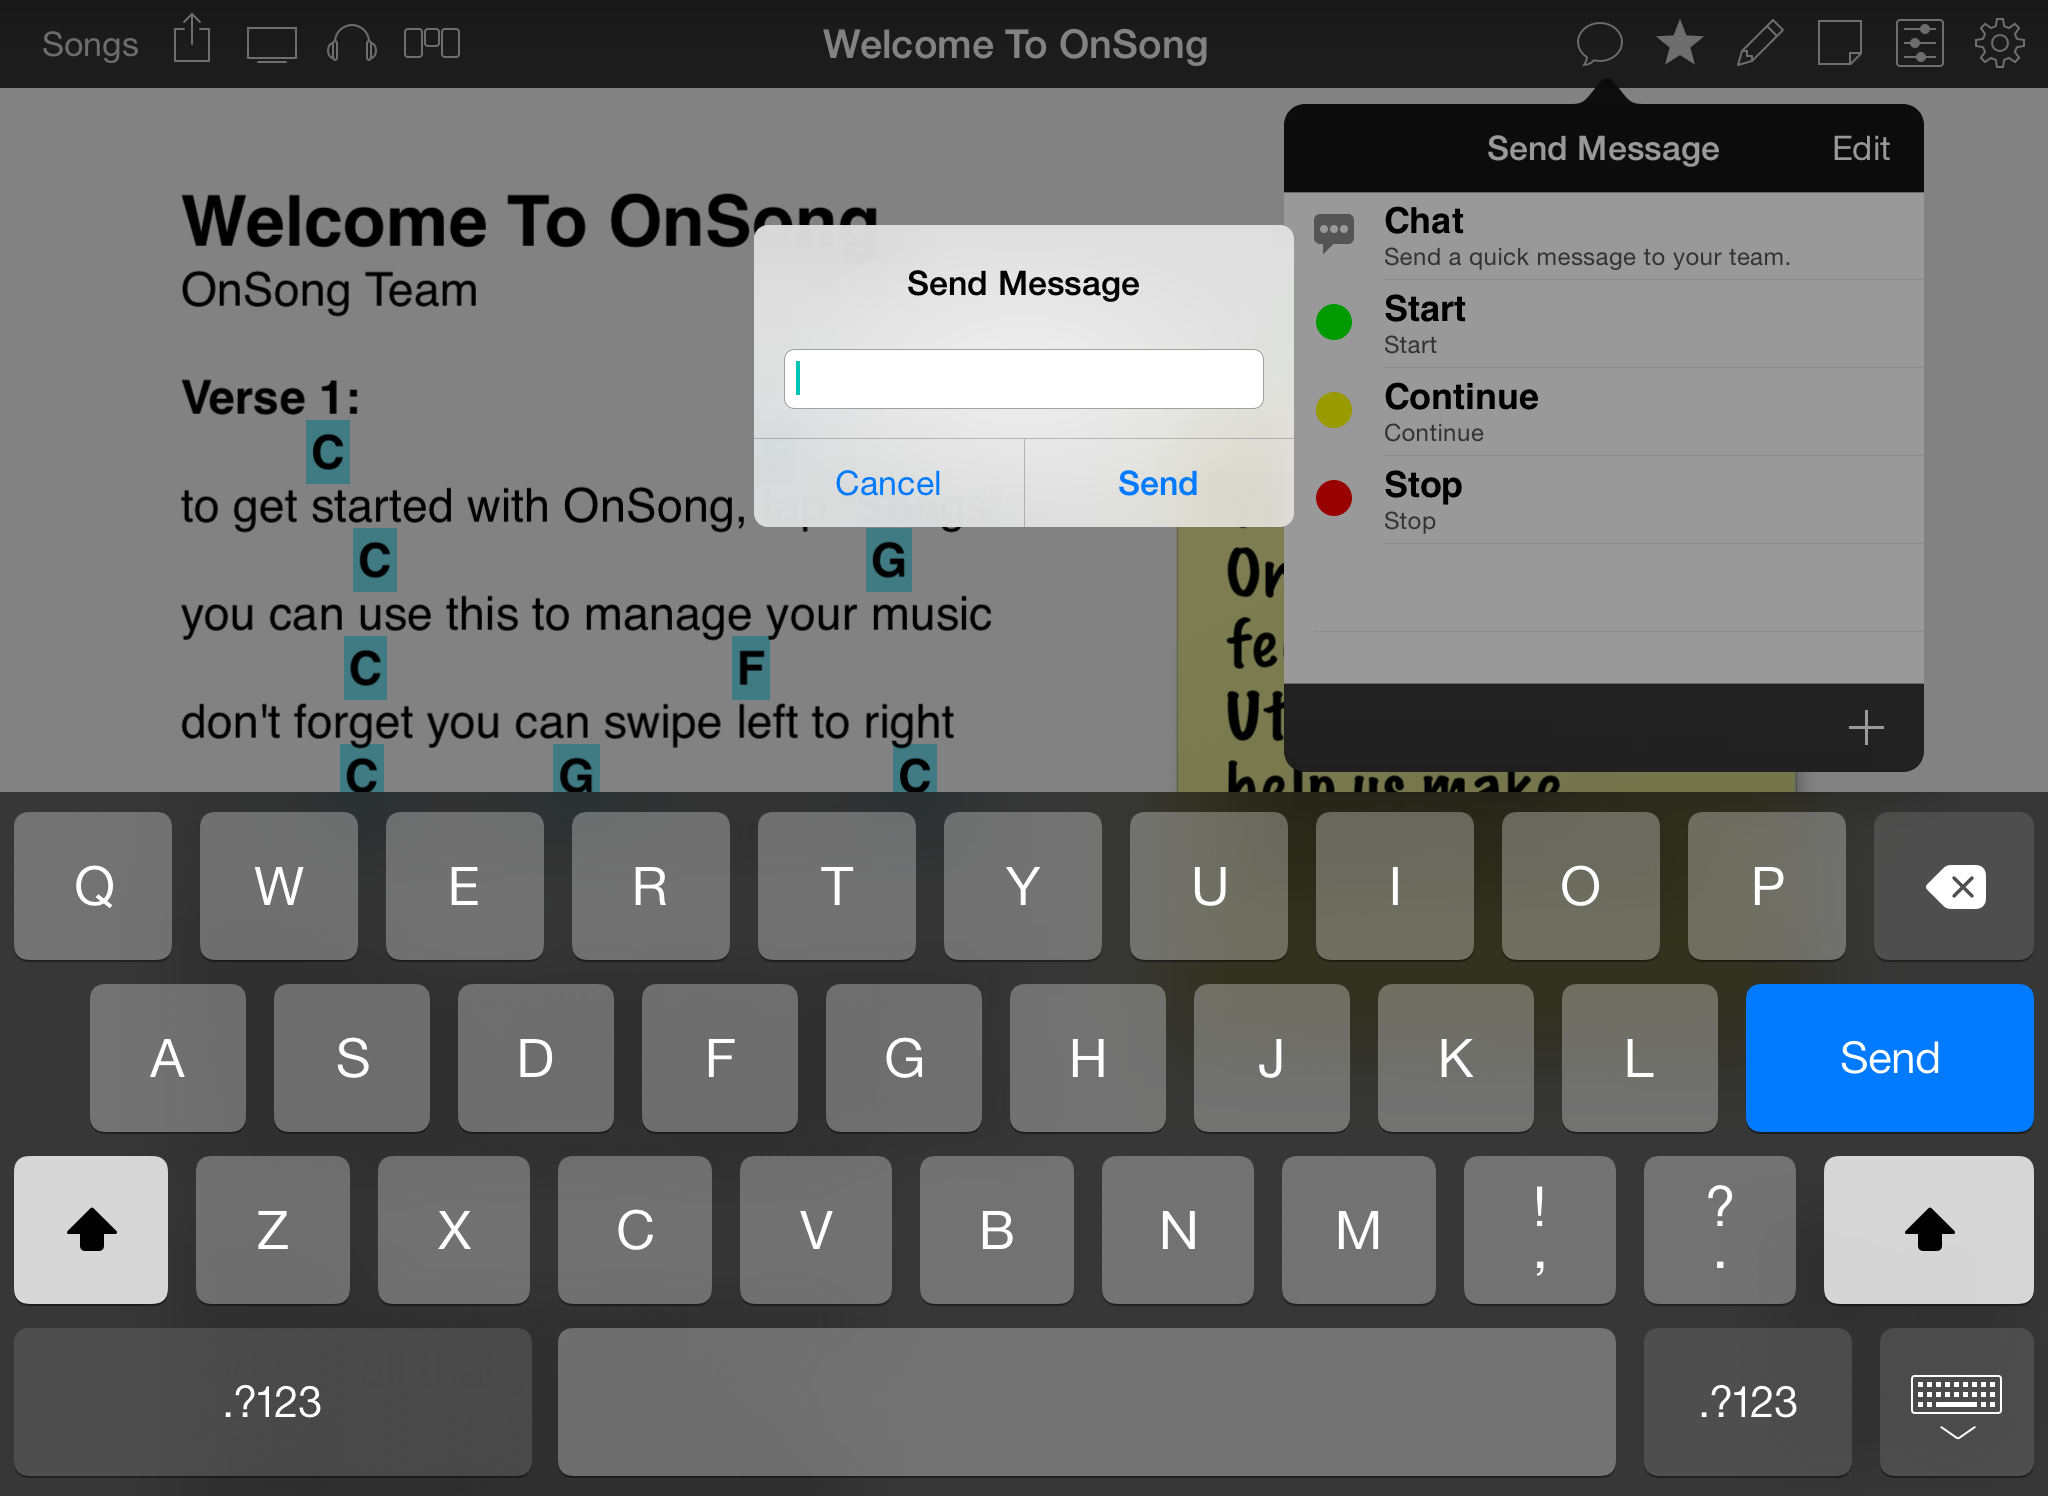
Tap on the chat option in the messages menu to open a text prompt where you can type a message.
Use the on-screen keyboard to type your message. When you are ready to send the message, tap on the Send button. If you don't wish to send the message, tap on the Cancel button to close the prompt and on-screen keyboard.
Chat messages will be in grey on the recipient's screens. The words will appear for approximately a third of a second per word plus the time to animate the flashed message on and off the screen. You can adjust the amount of time messages appear by going into the Utilities Menu » Settings » Display Settings » Song Viewer » Flash Message.
Playback Menu
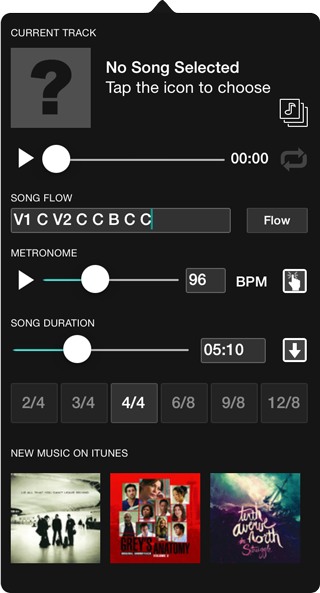
The playback menu helps you configure how backing tracks and the metronome operate in OnSong. You can access the Playback Menu by tapping on the headphones icon in the menubar.
The following can be configured with the playback menu:
Current Track
This section of the playback menu lets you choose the linked song to play with the chord chart. If audio tracks are found for the chord chart, they will appear in this area. Swipe to the left or right to choose the track. If no songs are found, or if this control is swiped to the far right, "No Song Selected" appears. You can then tap on the "music stacks" icon to open the Choose Custom Track screen, allowing you to choose a track in your Apple Music Library.
Instead of swiping, you can also tap on arrow icons that appear in the upper right corner of this control.
Playback Controls
Below the selected track are playback controls including:
- Play/Pause/Stop button controls the playback state of the audio track. Tap on the play button to start playing the track and then tap pause to stop the track.
- Time Scrubber is a slider that allows you to position where to play the audio track. You can scrub to a point in the track regardless of the playback status.
- Time Code shows the current position of the playback point.
- Repeat Button allows you to set the playback to repeat after the track has completed.
Song Flow
This provides an alternate way to specify the Flow of the song which is not part of the song content. Type abbreviations in order to specify how your song should be arranged. Once you tap outside of the text area, the song will redraw.
Tap on the button to the right to toggle the flow on and off. Turning it off will draw the song as it is written in the song editor. Turning this on will apply the flow to the song.
Metronome
This area of the playback menu allows you to set the tempo of the song, as well as toggle the metronome on and off. Tap on the play icon on the left to turn the metronome on. Tap again to stop the metronome. Use the slider to adjust the tempo. You can tap in the BPM field to the right of the slider to type in the BPM using the keyboard. The last icon in the metronome area allows you to "tap" the tempo instead of using direct entry.
The tempo can be updated when a new audio track is selected that contains tempo metadata.
Song Duration
The duration of the song effects how long the song will scroll when using autoscroll. Use the slider to adjust the duration or tap in the time field on the right to enter the duration in seconds or MM:SS format. You can toggle the metronome using the down arrow button on the far right.
When a new audio track is linked to a song, OnSong will prompt you if you would like to update the duration of the song to match the audio track.
Time Signature
Buttons allow you to choose a time signature for the song which then affects the metronome. Tap on a button to select that time signature. Tap again on the selected button to remove the time signature. If no time signature is selected, 4/4 time is used for playing the metronome.
If you have more complex time signatures not shown in this list, you can set that using the Song Editor.
New Music on Apple Music
OnSong automatically locates albums and tracks on Apple Music that may match the title of your chord chart. These are displayed as album artwork at the bottom of the playback menu. Tap on an album to view the album and song in Apple Music for purchase.
You can turn off these recommendations by going into Settings » Menu Settings » Playback.
Share
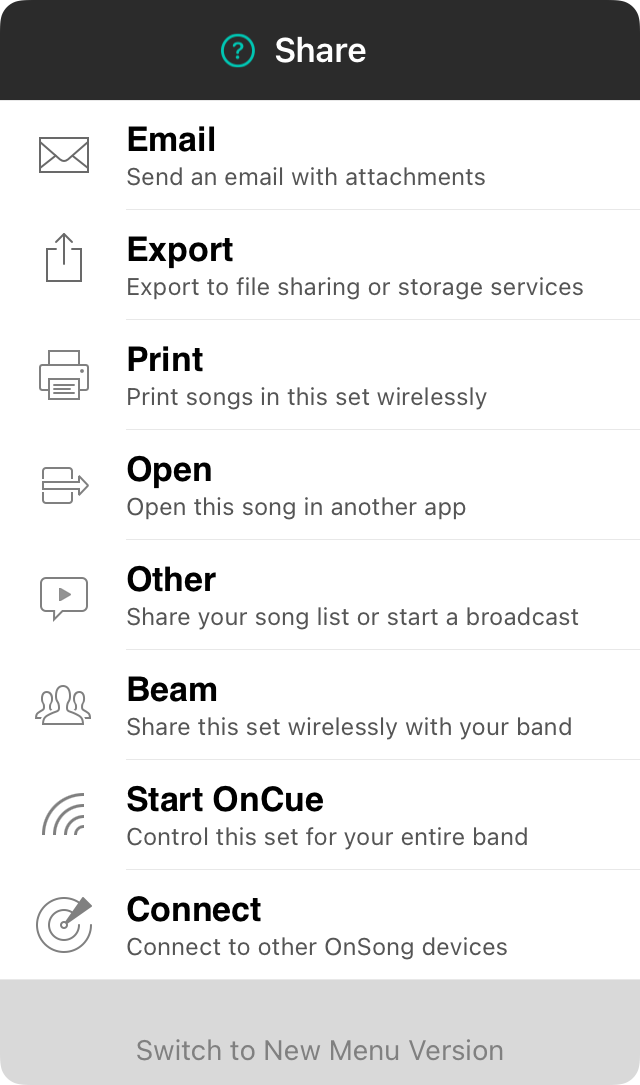
The share menu allows you to share the selected song or songs in the selected set. From here you can export, email, print, and share wirelessly.
Export
Export the current song or set to file sharing, Dropbox, Google Drive, and other online services.
Send your set as attachments to your team.
Social
Post to Twitter or Facebook and share your set list with your friends and followers.
Output your songs, sets, or books to paper. Choose from chord charts or a song list.
Open
Open exported formats into other apps.
Beam
Beam your songs or sets wirelessly to other OnSong users.
Start OnCue
Allows you to stream your currently viewed song to other users of OnSong. This keeps everyone on the same page.
Connect
Connect to other devices using OnSong's robust Connect protocol over WiFi.
Choose Scope
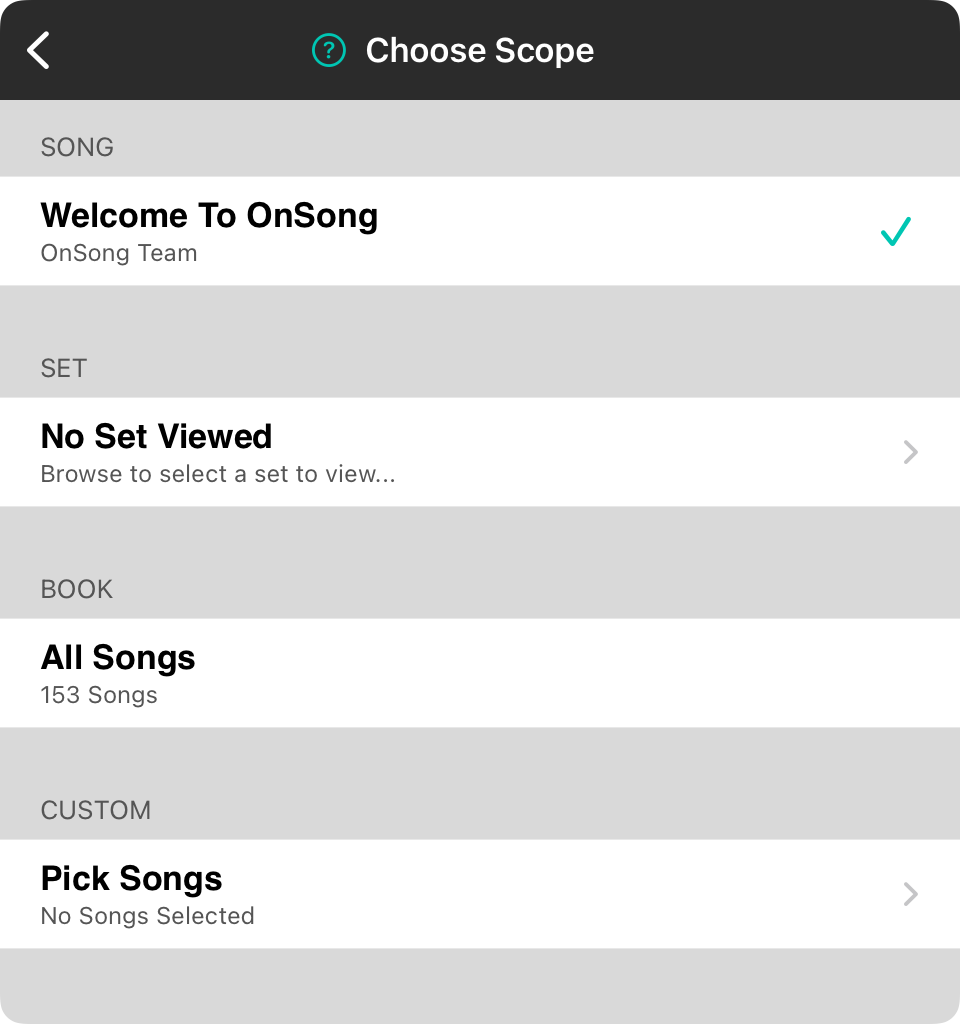
When you share in OnSong, the songs in the viewer are automatically selected. For instance, if you are viewing a single song from a collection or book, OnSong will mark just that song to be shared. If you are viewing a set, then OnSong will select each song in the set. You can change the scope of what is shared in the share menu by tapping on the title of the share menu or pressing the ... button.
Song
The default option when not viewing a set is to select the currently viewed song to be shared. This displays the song title and artist.
Set
If you've viewing a set, OnSong will automatically share that set and all contained songs with the recipient.
Book
If you wish to send more songs that what is contained in a set, you can choose the currently selected book or collection as the scope.
Custom
If none of these options work great for you, create a custom list of songs by choosing the Pick Songs scope.
Pick Songs
If you need to select a custom assortment of songs to share, you can choose them manually through the Pick Songs screen. This screen has the same features as the usual song list including.
Picking Songs
To pick songs, place checkmarks next to the songs to be included and then tap Done to make your selection.
Search Songs
You can use the search bar at the top of the screen to search for songs. The search field will search songs by title as you type. If you press enter or Search on the virtual keyboard, it will deep search the lyrics of the song.
Sorting Songs
You can tap on the icon in the lower left corner to choose from a variety of ways to sort the list of songs.
Adding Songs
You can import new songs into the list using the icon in the lower right corner. This will open the Add Songs menu where you can import from various locations and providers.
Dropbox
This export screen can export files of the selected song or songs to Dropbox.
Choose Export Location
By default, the files will be exported to the root folder of the export location. You can change this by tapping on this row and browsing your export location. Once you find a location to store the file, tap on the Choose button in the upper right corner. OnSong will remember the location for next time you export to this location.
Output Options
You can choose how this content is exported including the filename, one or multiple files, etc.
File Formats
You can choose which file formats you would like to export here including Adobe PDF, OnSong® Archive, OnSong® Text, ChordPro®, or Text File.
Other File Formats
Additional file formats were previously available for export but have been hidden by default to simplify use. You can view these additional file formats by toggling on the Show all available file formats switch. These file formats include: OpenSong, HTML File, Song List, and OnSong® Backup.
File Sharing
This export screen can export files of the selected song or songs to File Sharing.
Output Options
You can choose how this content is exported including the filename, one or multiple files, etc.
File Formats
You can choose which file formats you would like to export here including Adobe PDF, OnSong® Archive, OnSong® Text, ChordPro®, or Text File.
Other File Formats
Additional file formats were previously available for export but have been hidden by default to simplify use. You can view these additional file formats by toggling on the Show all available file formats switch. These file formats include: OpenSong, HTML File, Song List, and OnSong® Backup.
Unlike other export options, there is no ability to choose an export location.
Files
This export screen can export files of the selected song or songs to OnSong® Drive.
Choose Export Location
By default, the files will be exported to the root folder of the export location. You can change this by tapping on this row and browsing your export location. Once you find a location to store the file, tap on the Choose button in the upper right corner. OnSong will remember the location for next time you export to this location.
Output Options
You can choose how this content is exported including the filename, one or multiple files, etc.
File Formats
You can choose which file formats you would like to export here including Adobe PDF, OnSong® Archive, OnSong® Text, ChordPro®, or Text File.
Other File Formats
Additional file formats were previously available for export but have been hidden by default to simplify use. You can view these additional file formats by toggling on the Show all available file formats switch. These file formats include: OpenSong, HTML File, Song List, and OnSong® Backup.
Google Drive
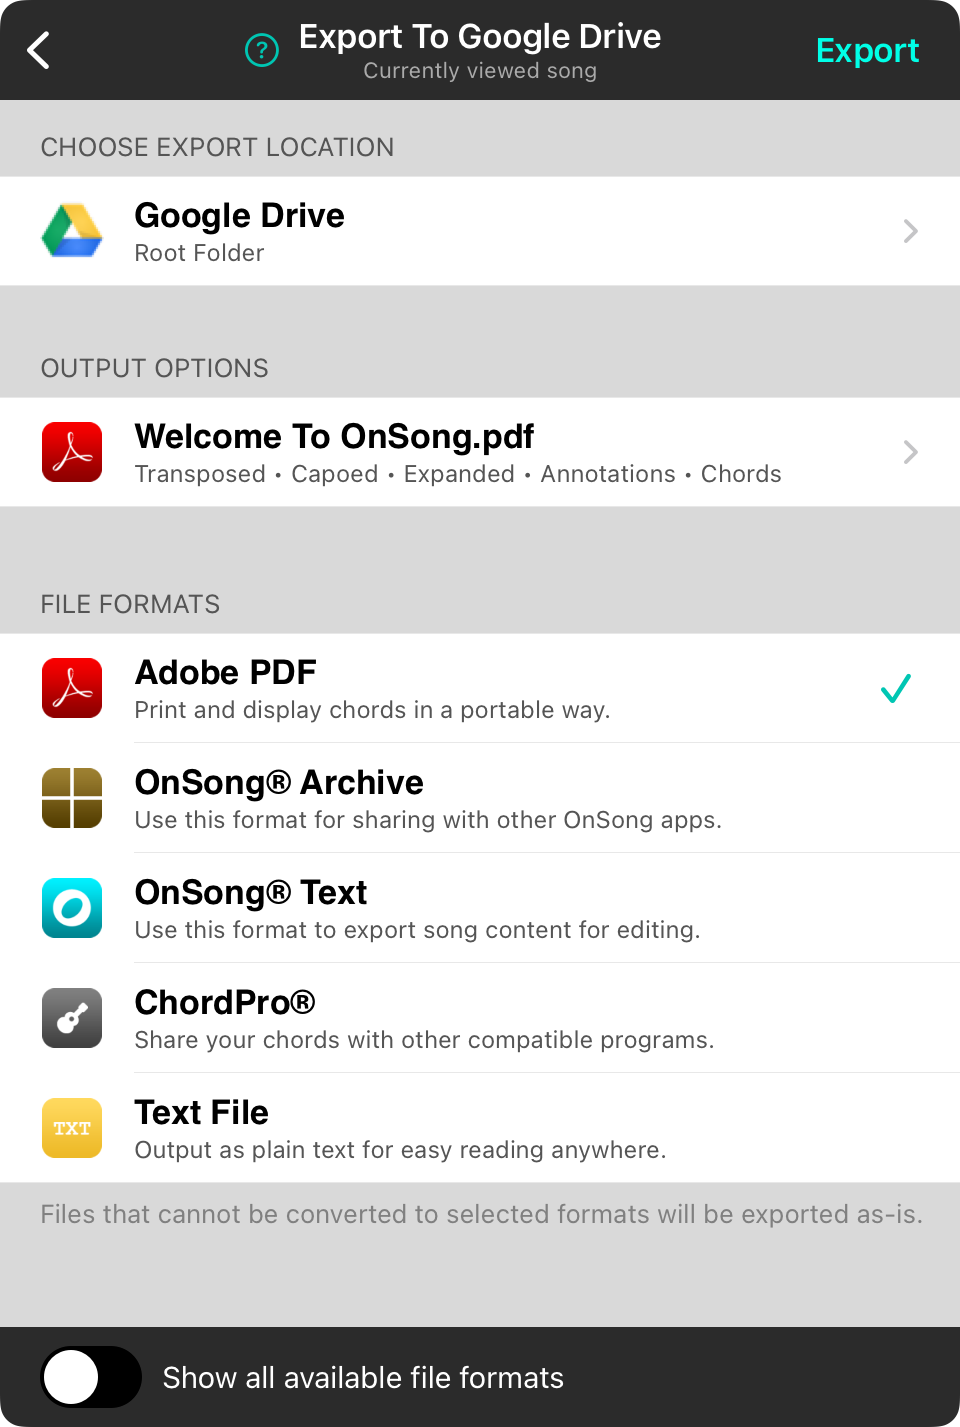
This export screen can export files of the selected song or songs to Google Drive.
Choose Export Location
By default, the files will be exported to the root folder of the export location. You can change this by tapping on this row and browsing your export location. Once you find a location to store the file, tap on the Choose button in the upper right corner. OnSong will remember the location for next time you export to this location.
Output Options
You can choose how this content is exported including the filename, one or multiple files, etc.
File Formats
You can choose which file formats you would like to export here including Adobe PDF, OnSong® Archive, OnSong® Text, ChordPro®, or Text File.
Other File Formats
Additional file formats were previously available for export but have been hidden by default to simplify use. You can view these additional file formats by toggling on the Show all available file formats switch. These file formats include: OpenSong, HTML File, Song List, and OnSong® Backup.
OnSong® Drive
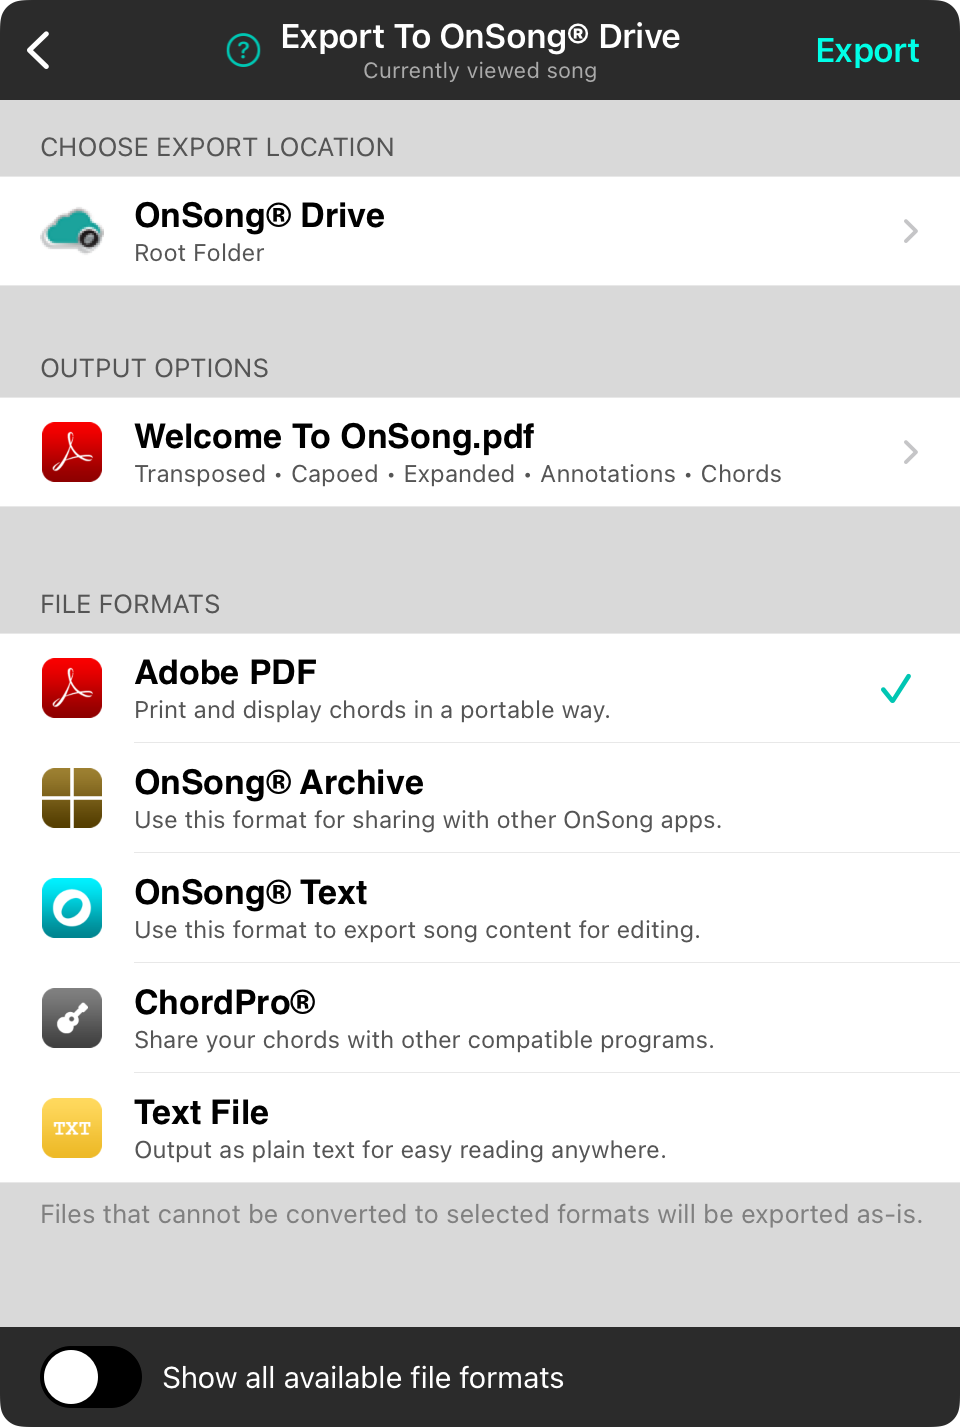
This export screen can export files of the selected song or songs to OnSong® Drive.
Choose Export Location
By default, the files will be exported to the root folder of the export location. You can change this by tapping on this row and browsing your export location. Once you find a location to store the file, tap on the Choose button in the upper right corner. OnSong will remember the location for next time you export to this location.
Output Options
You can choose how this content is exported including the filename, one or multiple files, etc.
File Formats
You can choose which file formats you would like to export here including Adobe PDF, OnSong® Archive, OnSong® Text, ChordPro®, or Text File.
Other File Formats
Additional file formats were previously available for export but have been hidden by default to simplify use. You can view these additional file formats by toggling on the Show all available file formats switch. These file formats include: OpenSong, HTML File, Song List, and OnSong® Backup.
Output Options
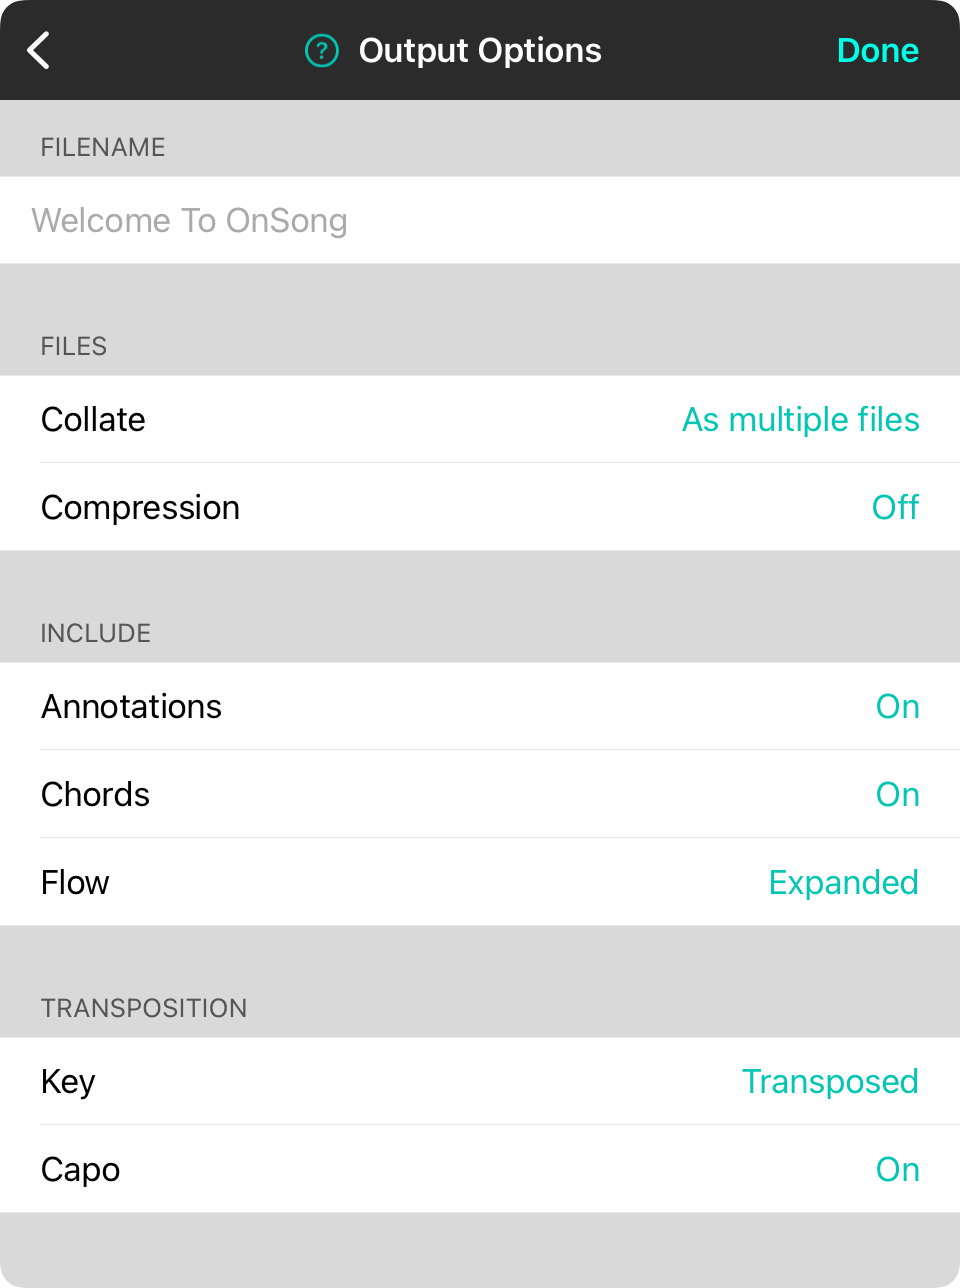
The output options menu gives you the ability to customize how files are exported including:
Filename
By default, this field is blank resulting in the default file name to be used. The appropriate file extension will be appended to the end of the name.
Files
This section handles how multiple outputted files should be handled including:
Collate
By default, individual songs are each exported as their own separate file. If you have a set with four songs, and one file format selected, then four files will be generated. If you choose As single file, the songs are exported into a single file per file format.
Compression
If you need to always send a single file attachment or export, this is a great option. All outputted files are compressed into a ZIP archive and then exported. Default is off.
Include
This section lets you choose what is included during the export process. These include:
Annotations
When exporting PDF files, this can be used to remove annotations like sticky notes from the file output. Options are on (default) and off.
Chords
This determines if chords are exported along with lyrics. Options include on (default) and off. Default is on.
Flow
Flow will expand the song content, repeating sections as directed.
Transposition
Lastly, you can determine if and how transposition is applied to the output including:
Key
This lets you determine if the original key should be used by setting transposition to Original. Alternately, you a choose Transposed to export the transposed version of the chart (default).
Capo
You can use this setting to determine if the output has a capo applied if set in the style preferences menu.
Stream
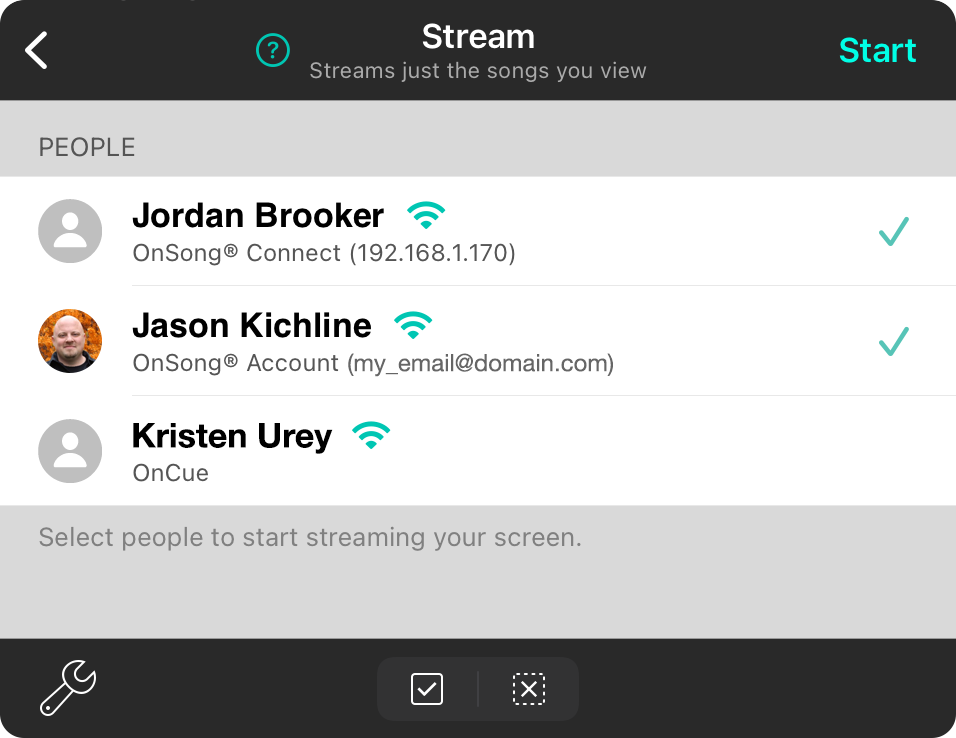
Streaming lets you control another person's OnSong® App to view songs and sets, as well as navigate. It's a great way to stay on the same page as a band.
The OnSong® App uses two technologies to accomplish this:
- OnSong® Connect uses standard, web-based technologies to discover and share content between devices on the same computer network.
- OnCue uses Apple's peer-to-peer networking to broadcast content to nearby devices which does not require a network to be established or joined.
People
Place a checkmark next to the nearby people you would like to stream to. Once you've selected one or more people, the Start button becomes enabled and will send out streaming requests.
Select/Deselect Control
You can easily select or deselect all people in the last using the select/deselect control at the bottom of the screen.
Other
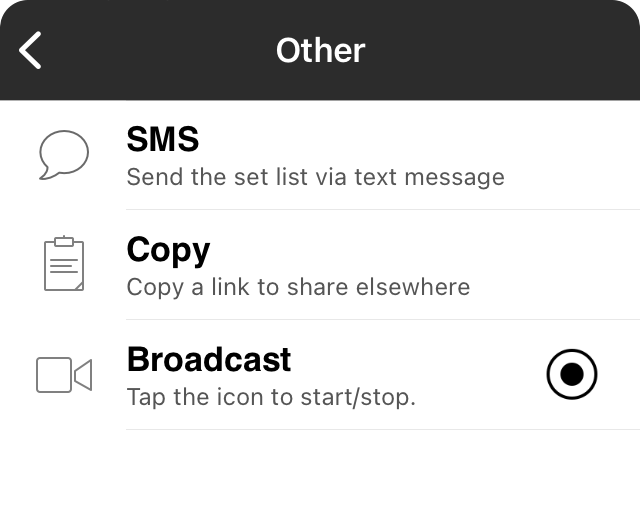
You can share your set list in other ways using SMS text messaging, or by copying a link to your set list. In addition, you can start a broadcast of your performance that uses your cameras to stream to teleconferencing apps or record to your photo library.
SMS
Send a list of song titles in your set with iMessage or SMS. If you do not have text messaging or Messages enabled on your device, this option will appear greyed out and you will not be able to send share via SMS.
Copy
If you need to share your song list in other social apps, tap on the copy option to have the web address of the shareable web site copied into your clipboard. You can then paste the URL into another app.
Broadcast
This option lets you start sharing your OnSong screen with popular video conferencing apps like Zoom, Skype, GoToMeeting, Cisco WebEx and many more. You can also use this to record training videos.
Broadcast
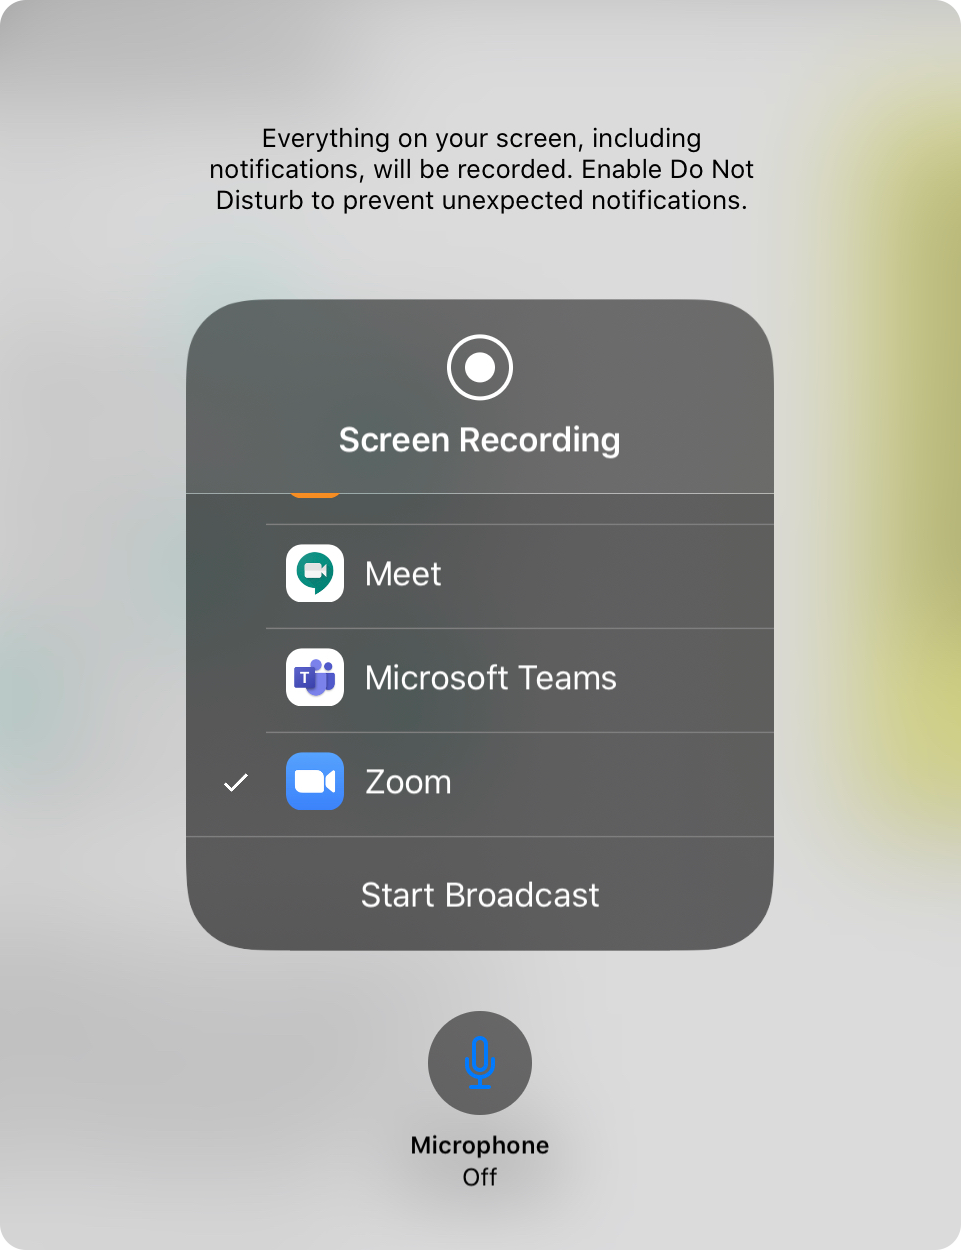
This screen is opened by the operating system and allows you to choose a video conferencing app to use for sharing your screen. Additionally, you can send your screen to the Photos app for recording the session as a video.
Recording Status
The top portion of this interface displays a recording button. When screen sharing/recording starts, this shows a countdown. Tap on the picker interface to close the picker.
App List
In the middle of this interface is a list of mostly video conferencing apps installed on your device that are compatible with screen sharing. Choose an app to use. This app will be remembered so you only have to choose it once. You can choose from supported video conferencing apps such as Zoom, Skype, GoToMeeting, Cisco WebEx and many more. Or, choose the Photos app to record your performance.
Start/Stop Broadcast
To begin broadcasting/recording, tap on the Start Broadcast button. Alternately, if you open this screen again, this button will display Stop Broadcasting which can be tapped to stop the broadcast.
Microphone Off/On
Use this button to determine if your microphone should be enabled. Since you are most likely already using the microphone in the other app, you may not want to enable this. If you are recording the video and would like to narrate, turn this on.
Tap anywhere in the system broadcast picker to close the screen.
SMS
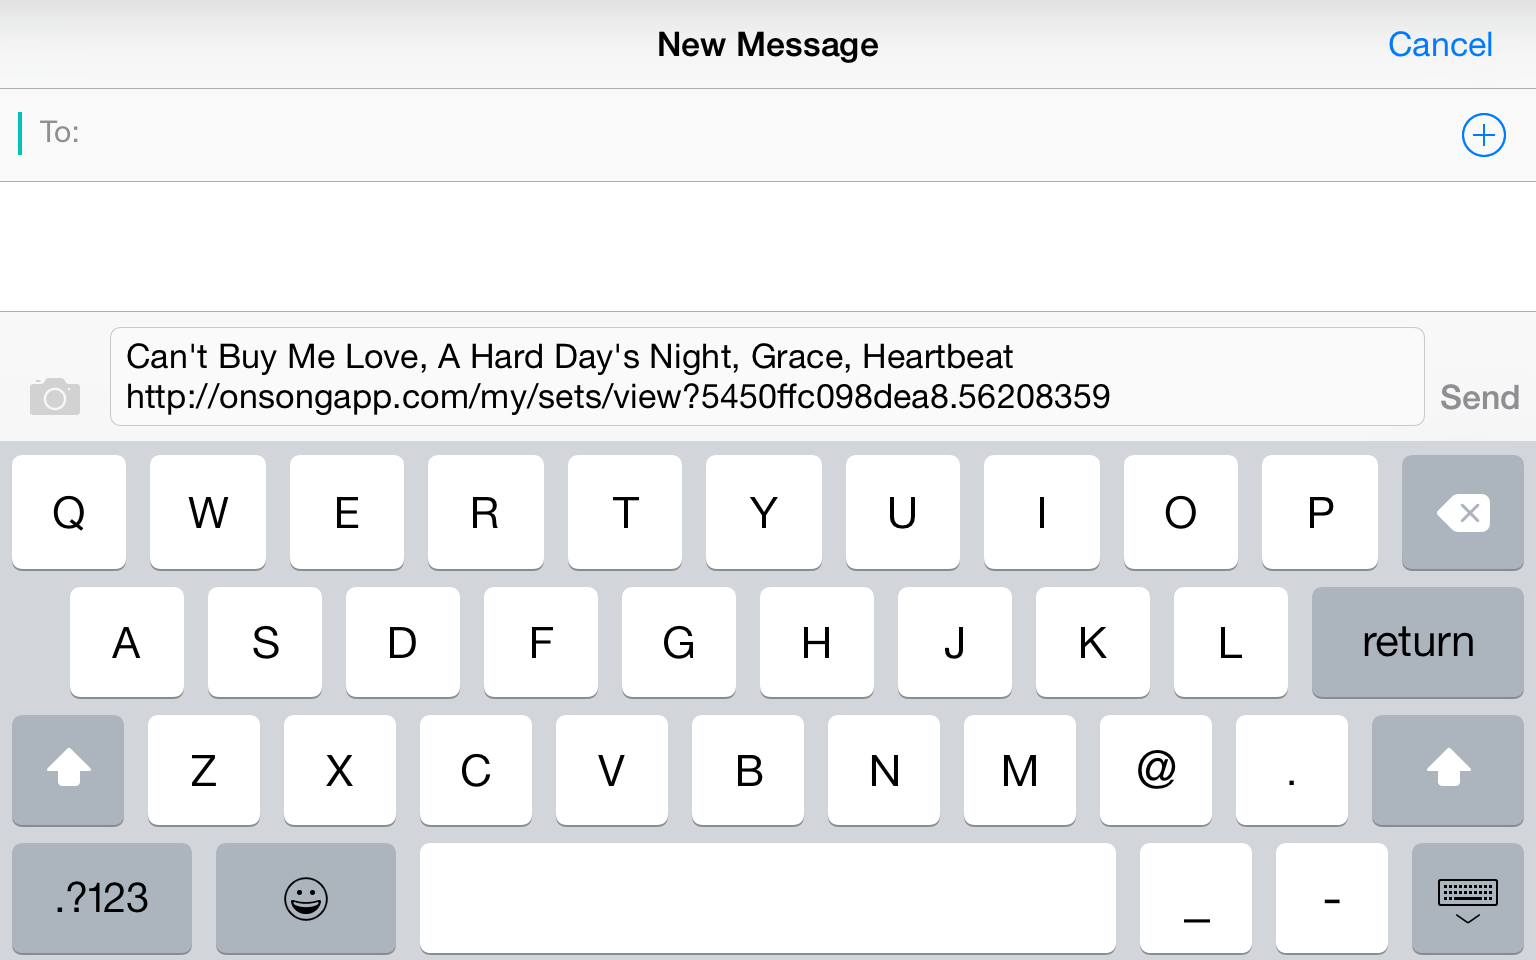
Choosing the SMS option will open a panel to allow you to send the song titles in the currently selected set to SMS or iMessage recipients. OnSong will also include a link to a custom website on onsongapp.com to provide additional details about the set.
Add recipients in the To field. When you are finished, tap on the Send button to the right of the generated text to send it to the recipients. You can also tap on the Cancel button to close the panel without sending.
Open
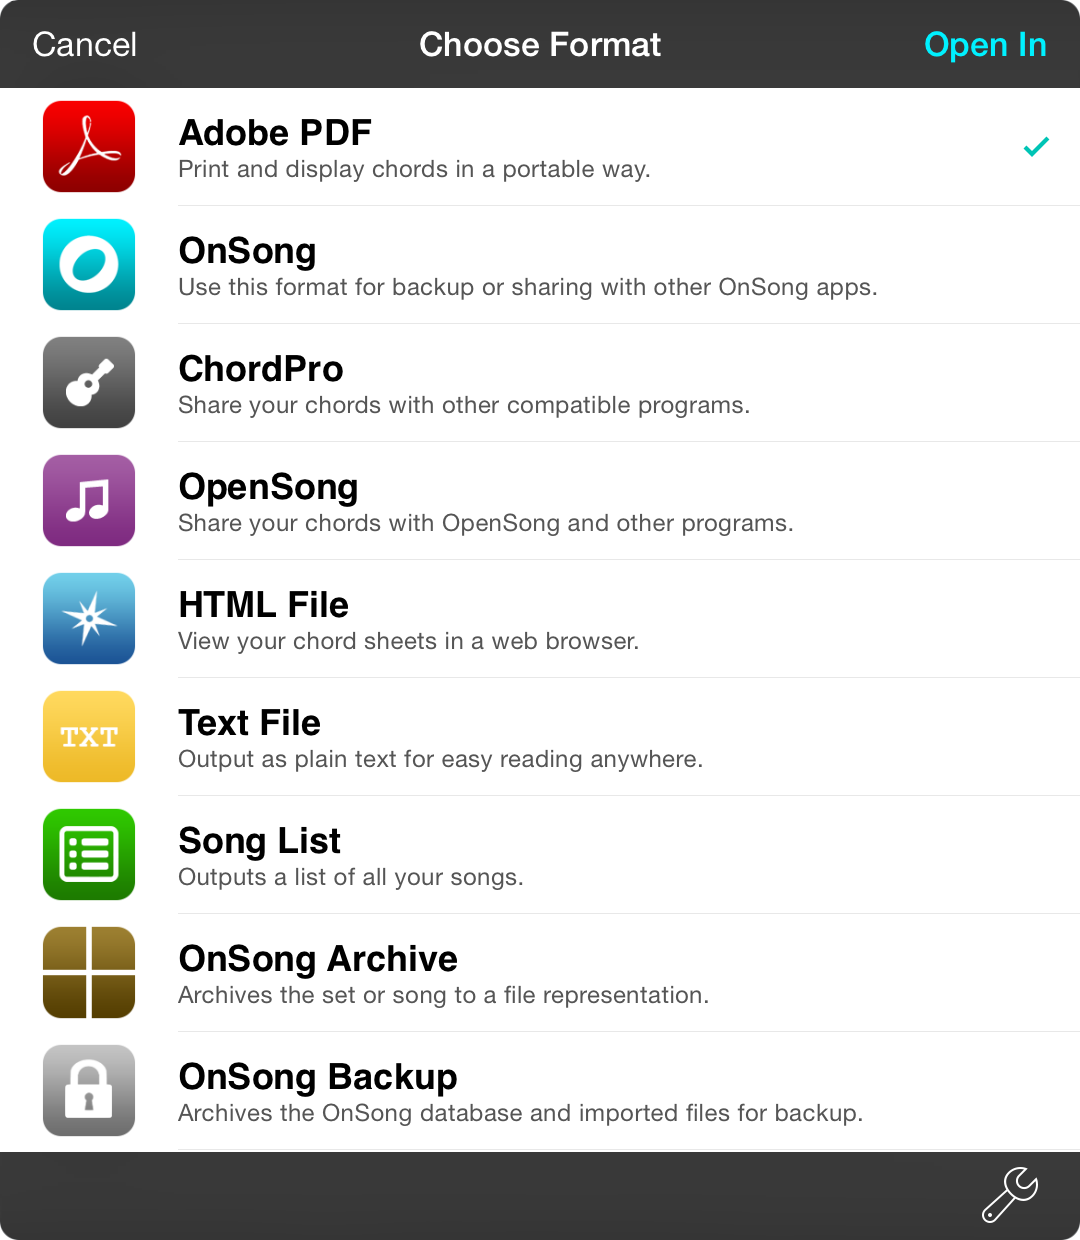
While some companies lock you into their app, OnSong lets you interact with other apps by offering the ability to open exported files directly in supported apps.
When you choose the Open option, the Open In screen will appear to choose a format. Choose the formats you wish to send to another app. Remember that if you select multiple files, not all will be transferred to another app without also turning on "As ZIP file" in the output options.
Open In Button
The Open In button is disabled until at least one file format is selected. When tapped, a menu will appear displaying apps that support the selected file formats.
File Formats
The majority of this screen contains a list of file formats that will be generated to be opened in another app. Tap on a row to place a checkmark next to the file formats you want to export. OnSong remembers the formats you've picked for next time.
Output Options Menu
There are a few options to choose from when opening your song or set in another app. Tap on the wrench icon in the lower right to toggle these options on and off.
App Picker
OnSong uses the built-in app picker based on the type of file format you've decided to use. This is based on the apps that you have installed on your device. Tap on an app icon to open that app and transfer the file to it.
Note: The app that is being opened must support files being opened with it.
You can also transfer the file using AirDrop to another device if using iOS 7 or higher.
Beam

The wireless sharing screen displays nearby devices that are running OnSong. While all devices are checked by default, you can check or uncheck devices to receive the currently loaded song or set.
Tap on the Share button in the upper right. You will be prompted before the set is sent. Recipients will receive a prompt inside of OnSong asking if they would like to receive the set. They can accept or decline the song or set. Transferred songs and sets will appear the same as they do on the source device with styles, transposition, annotations, etc.
You can also set up an OnCue streaming session by toggling the "Enable OnCue wireless streaming" switch on the bottom. This will invite the selected devices to join the wireless streaming session for you to control the display on their devices.
Lastly, the refresh button in the lower right corner will refresh the list of devices by disconnecting you from the ad-hoc network and then reestablish that connection after a brief delay.
When you are all done, tap on the Close button in the upper right corner.
Add Person
You can manually add people to your sharing list with just an email address and optional name. Once a valid email address is entered, you can press the Done button in the upper right corner to add the person to your share people list.
Load From Contacts
You can also add a person by loading their information from the contacts saved on your device. Tapping on this button will prompt for permission to view your contacts and then present the contact picker.
Pick Contact
You can add a new person to your list by browsing for their contact information within your on-device contacts.
Permissions
Before opening this screen, you'll be prompted to allow the OnSong® App to access your Contacts. Once you agree, your contacts will be displayed inside of the OnSong® App. OnSong never uses your contact's information without your permission.
Add Contact
You can add contacts directly inside of the OnSong® App using the + button in the upper right corner. This will add the contact to your Contacts app on your device.
Pick Contact
You can browse of the contact and select from this list. This will populate the person's email address and name to add them to your people list to share with.
People
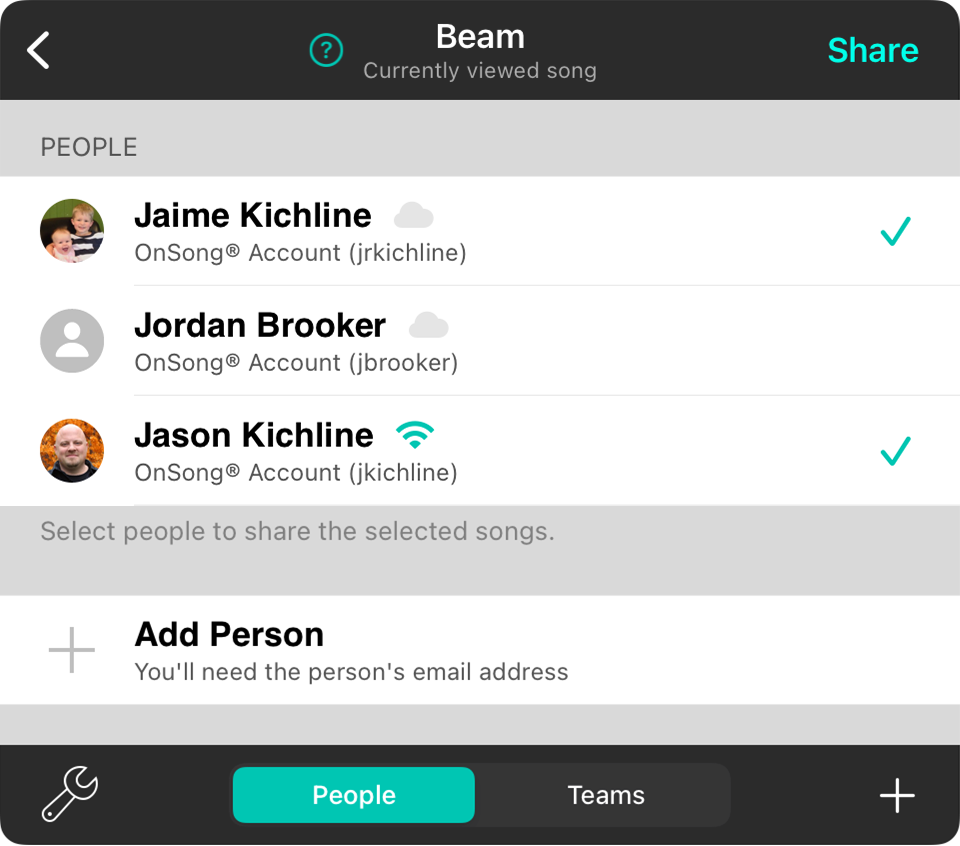
The people tab is selected by default and lets you see people nearby, on the same network, one you're team, or people you've added manually. Simply place a checkmark next to each person you'd like to share with and press the Share button at the upper right of the screen. OnSong handles the rest! Whether people are standing on the same stage, or across the country, OnSong can keep you on the same page.
Add People
You can add manual people to your list by pressing on the + button in the lower right corner. This opens the Add Person editor to accept an email address and optional name.
Profile Settings
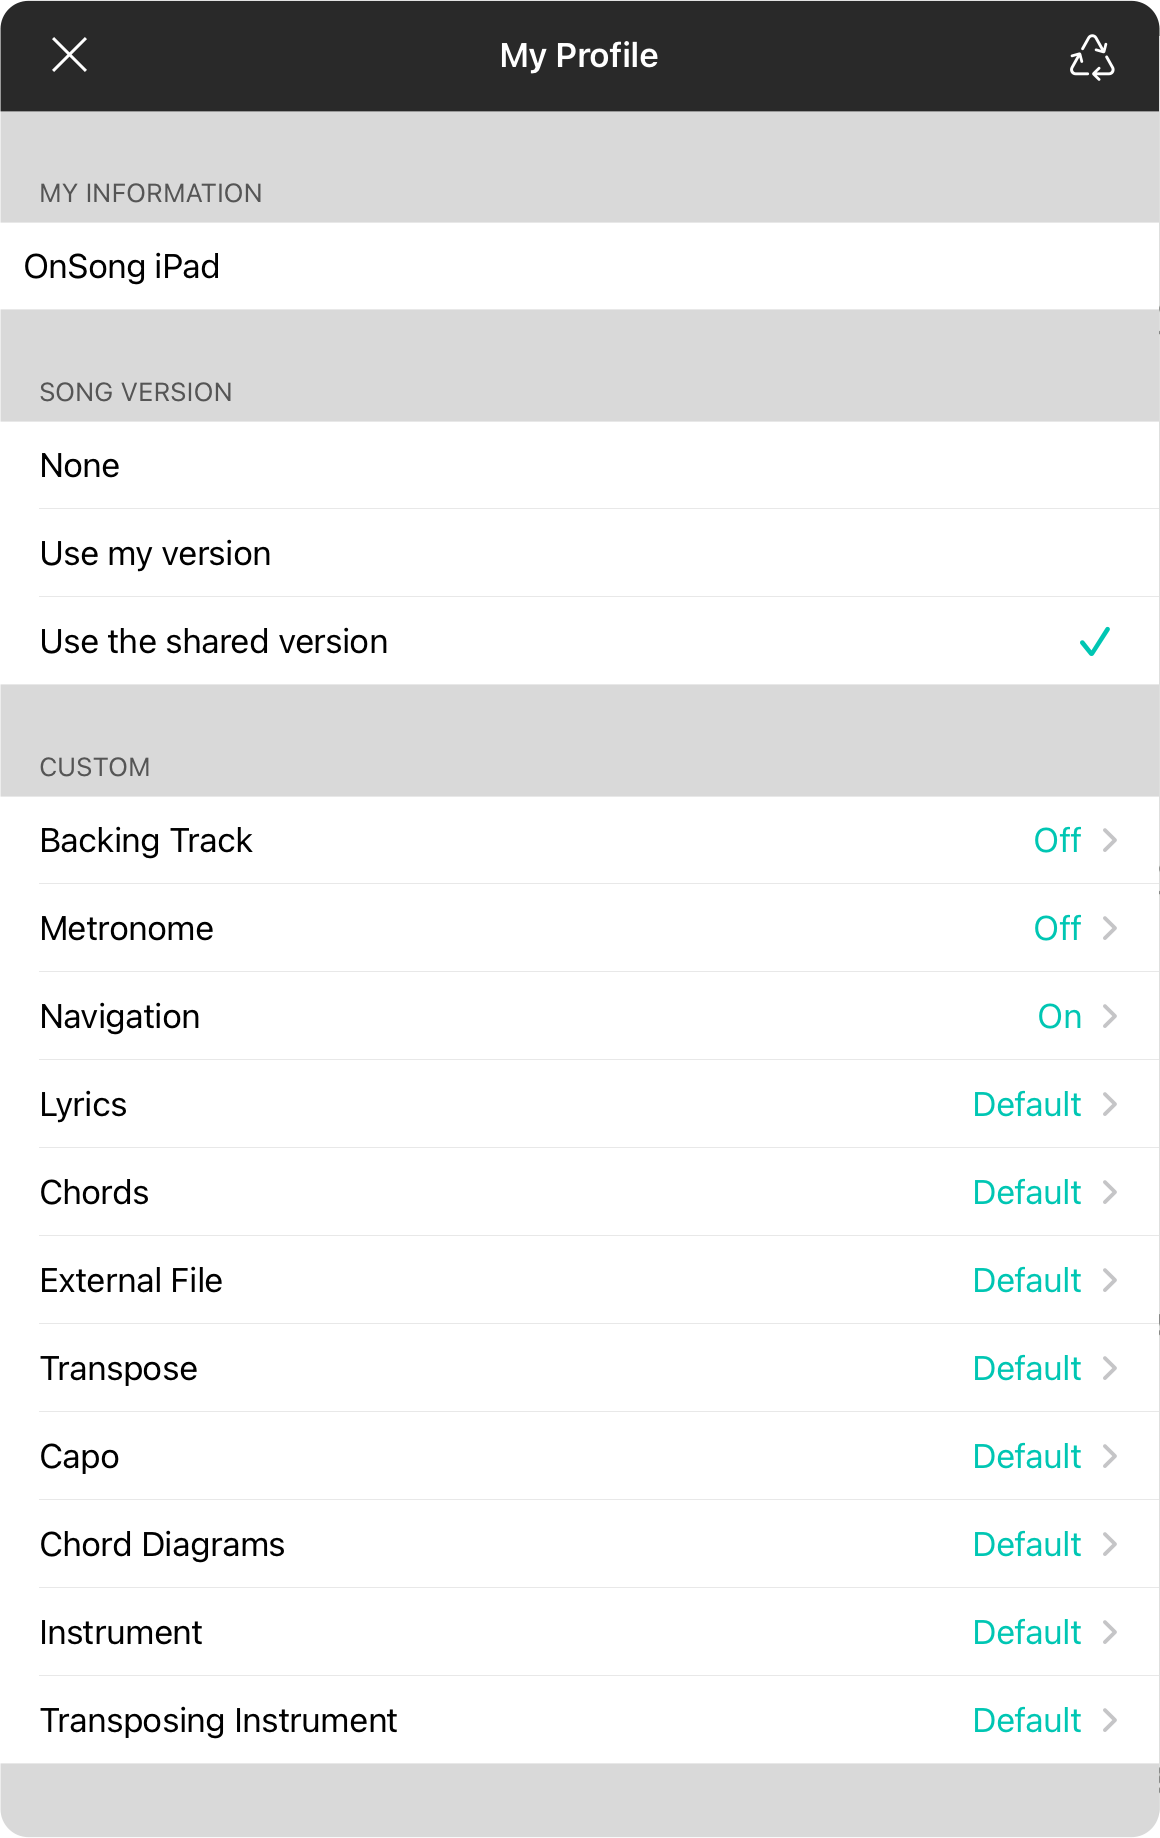
The profile screen allows you to configure how you appear on the OnSong local network, as well as how song content is streamed to you. Use this screen to customize the way music appears to you when you receive it from a leader's device.
Recycle Networking
In the upper right corner is a recycling button. Pressing this button will reset the network such as cleaning whitelists and restarting network-connected services. Tap on this if you are experiencing connectivity issues.
My Information
This text field allows you to change what you're called on the network. If nothing is entered here, your account name will be displayed along with the device type. If you are not signed in, the device name will be used. Change this to something that's better suited to your musicianship like "Guitar Overlord".
Song Version
OnSong Connect sends the text-based chord chart or external file from the leader's device. However, you may have your own version of the music that you want to use. You can use that version instead.
- None will not change the song on your device when the leader changes songs. Use this option if you are only using OnSong Connect for other features such as messages.
- Use my version will use your version of the chord chart if one can be found. OnSong matches based on the song title, number, CCLI number, or provider identifier.
- Use the shared version will always use the version that is sent from the leader's device. Default.
Custom
Options in this list allow you to change how music appears and other services that are used. When the default option is selected, the shared version's preferences are used. These customization options include:
- Backing Track will allow your device's backing track to start or stop based on when the leader initiates or stops their backing track. Default is off.
- Metronome will allow your device's metronome to start and stop based on the leader toggling the metronome. Default is off. Note: There is latency in starting and stopping the metronome. Starting multiple metronomes are not recommended as they may all start at slightly different times. This is caused by latency inherent in the wireless network of a few milliseconds.
- Navigation allows you to determine if you want the leader to control page scrolling and zooming. Turn this off if you would rather do that yourself. Default is on.
- Lyrics allows you to turn lyric display on or off. Turn off if you are a guitarist that don't need no stinking lyrics. Turn it on otherwise. Default is "default" which uses the preference from the shared version.
- Chords allows you to turn chords on or off. If you are a vocalist, you can choose to turn the chords off for instance. Default is "default" which uses the preference from the shared version.
- External File will allow you to use or not use the external file of the song if it exists. Pianists may turn this on to receive a lead sheet or score while the rest of the team receives a chord chart. Default is "default" which uses the preference from the shared version.
- Transpose determines if the song is to be transposed in its declared key or not. You can use this to write a song in a key that can be used for one instrument, and then transposed to another. Default is "default" which uses the preference from the shared version.
- Capo determines if capo should be applied to the chord chart. Guitarists should turn this on and bassists and pianists can turn it off. Default is "default" which uses the preference from the shared version.
- Chord Diagrams allow you to determine if chord diagrams are drawn on your chord chart. You're an expert huh? Go ahead and turn it off as you revel in some superiority (not too much). Default is "default" which uses the preference from the shared version.
- Instrument allows you to choose the instrument that you play. This is used for drawing chords differently from you. We all know you play jazz ukulele, so just set it here. No more guitar chords for you. Default is "default" which uses the preference from the shared version.
- Transposing Instrument allows you to choose the transposing instrument to be applied to shared songs.
Teams
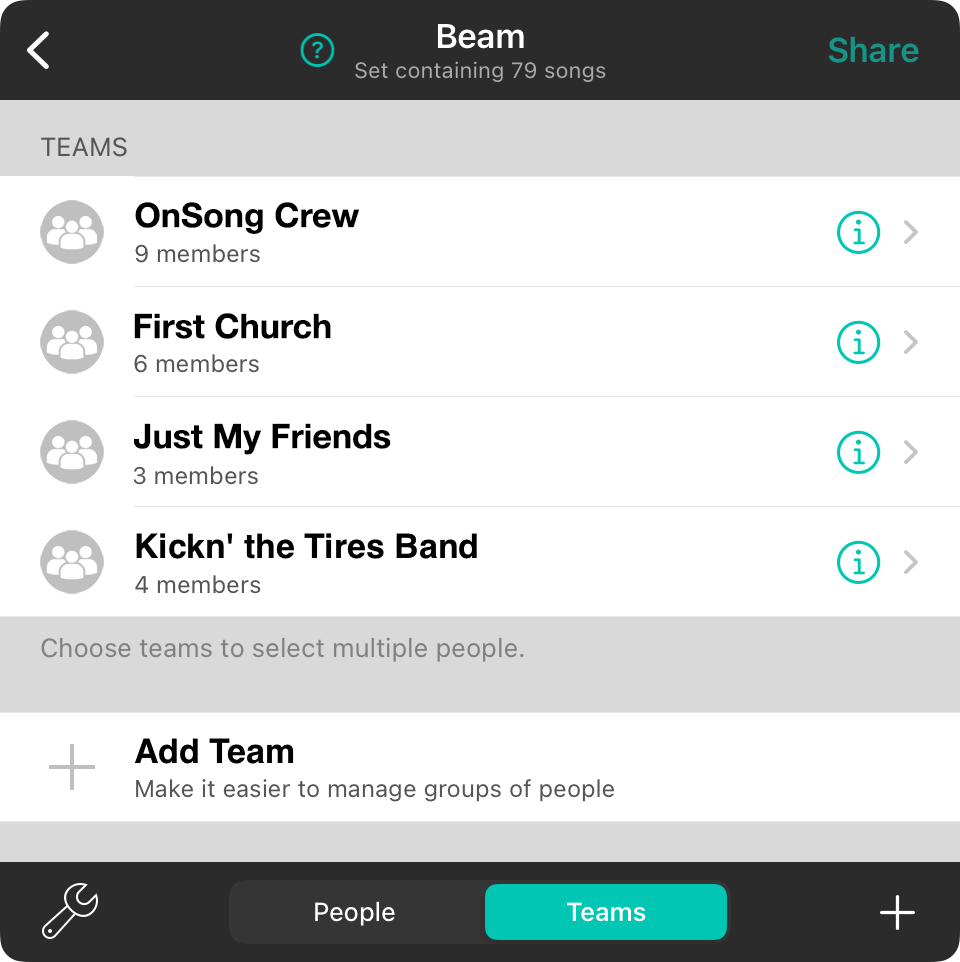
The teams screen shows teams that you've created, or that you belong to through group subscription. You can select a team to select those people to share the content. When you select one or more teams, the Share button in the upper right corner will be enabled.
Edit Team
You can press the information icon to edit the team. This will allow you to choose the users in the team as well as rename the team.
Add Team
You can add a new team by pressing on the + in the lower right corner, or using the Add Team option at the bottom of the list.
Edit Team
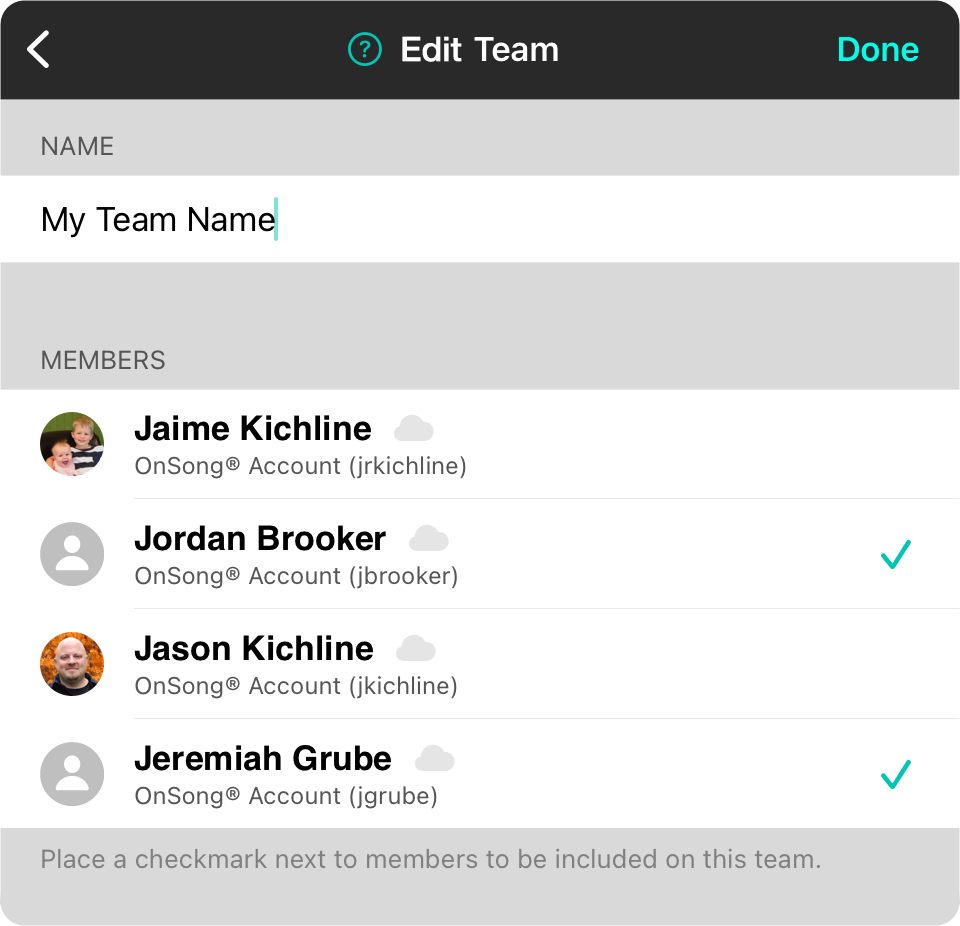
When you add or edit a team, the team editor screen appears. This let's you specify the following information for the team:
Name
Enter a name for the team. If this team is from a shared group, the name will not be editable.
Members
Place a checkmark next to each member of the team to add them to it.
Once you've specified the name and members, you can press Done to save the team.
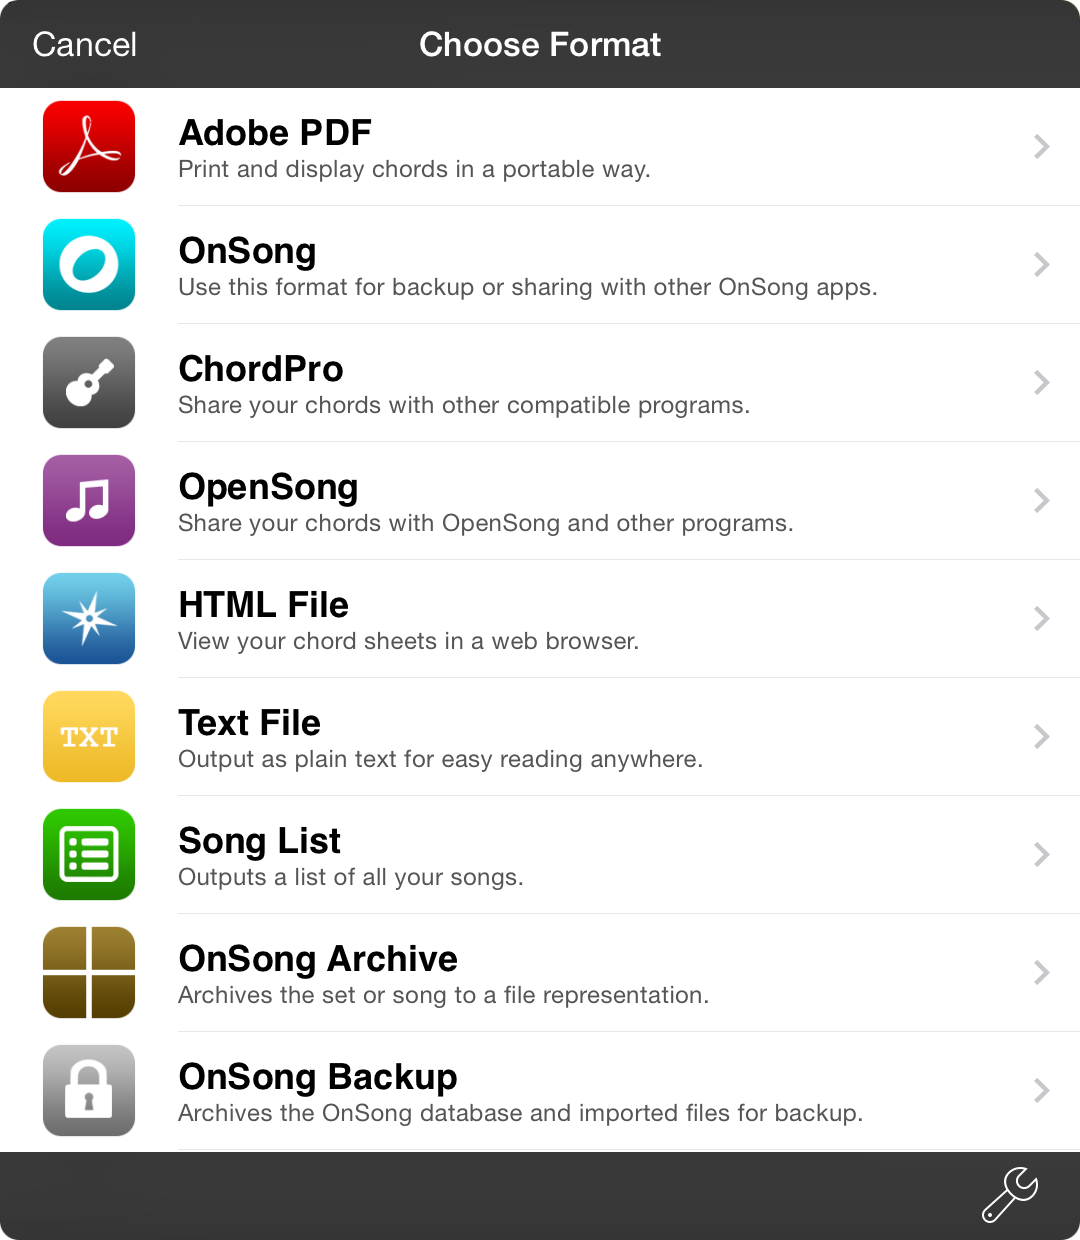
You can email your currently selected set or song using OnSong. The email screen allows you to choose the format you would like to send as well as options on how the email is to be sent. You can close the window by tapping the Cancel button in the upper left corner.
File Formats
The majority of this screen contains a list of file formats used to email your song or set. Tapping on one of these file formats will open the Email Composition Screen to complete the email message.
Email Composition Screen
When you select a file format to send, OnSong will open the composition screen with the file or files attached. Here you can specify recipients and include a custom message.
Output Options Menu
There are a few options to choose from when emailing your song or set. Tap on the wrench icon in the lower right to toggle these options on and off. You will need to choose these options prior to selecting the file format.
Note: OnSong does not permit songs other than those selected in the song viewer to be selected. This is because email is limited in the file size and the amount of files that can be transferred without being blocked.
Contacts
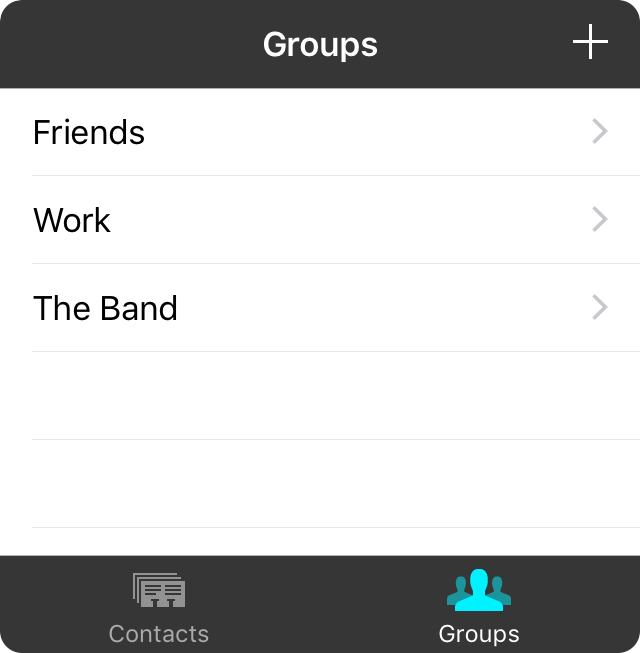
When sending e-mail, OnSong uses the built-in Mail app to compose and send messages and attachments. This allows you to choose contacts and contact groups you already have on your device. While you can send email to groups, there is no way to manage these groups in iOS. This screen lets you create, edit and delete contact groups as well as contacts without leaving OnSong. This menu contains two tabs:
Contacts
This tab lets you view all people in your contacts as well as view their information and make changes.
Groups
This tab lets you view existing groups as well as create new ones or change who belongs in each group.
Once you're done managing your groups, you can access them when choosing who to send your email to in the email composition screen.
Groups

This screen shows all contact groups in the device's contact database. You can add, edit and delete groups.
New Group
Tap on the + button in the upper right corner to create a new group.
Edit Group
Tap on the name of a group to view and edit the individuals who belong to the group.
Delete Group
Swipe right to left over the group row to reveal a delete button. Tap on the delete button to permanently delete the contact group.
Edit
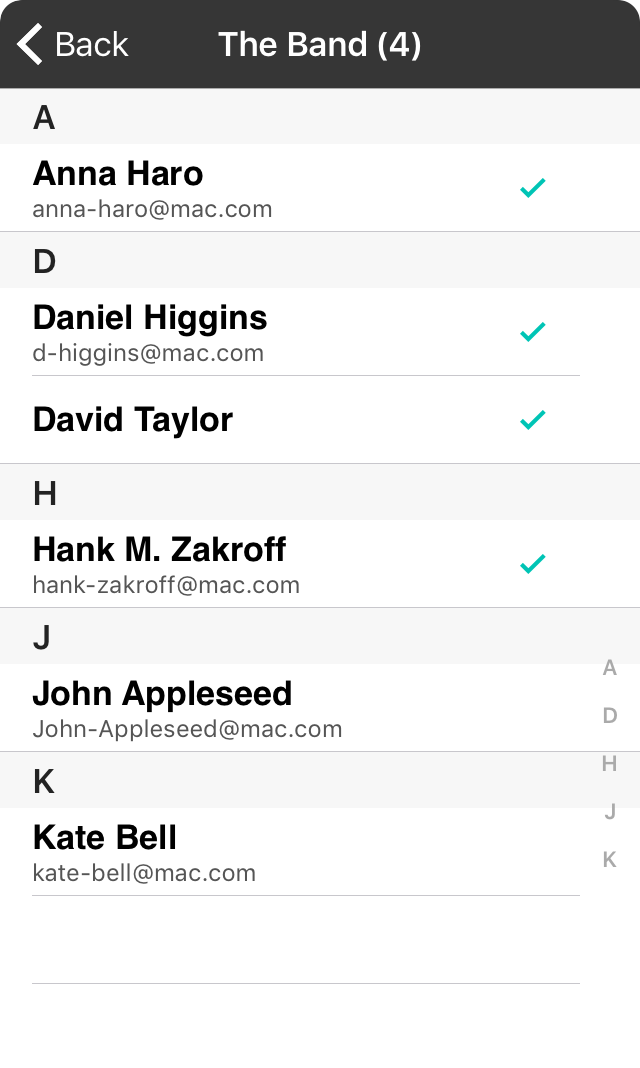
You can add or remove members to the group by tapping on the group in the group list. Members of the group are indicated with a checkmark to the right of the name.
You can tap on each row to add or remove the member from the group accordingly. The number of members in the group are reflected in the title bar to the right of the name of the group.
New
You can create a new group by simply providing a name.
Tap the Create button in the upper right corner to add a new group to the contact database with no members. You can then tap on the group name in the list to add members.
Tap Cancel to go back to the group list without creating a group.
People
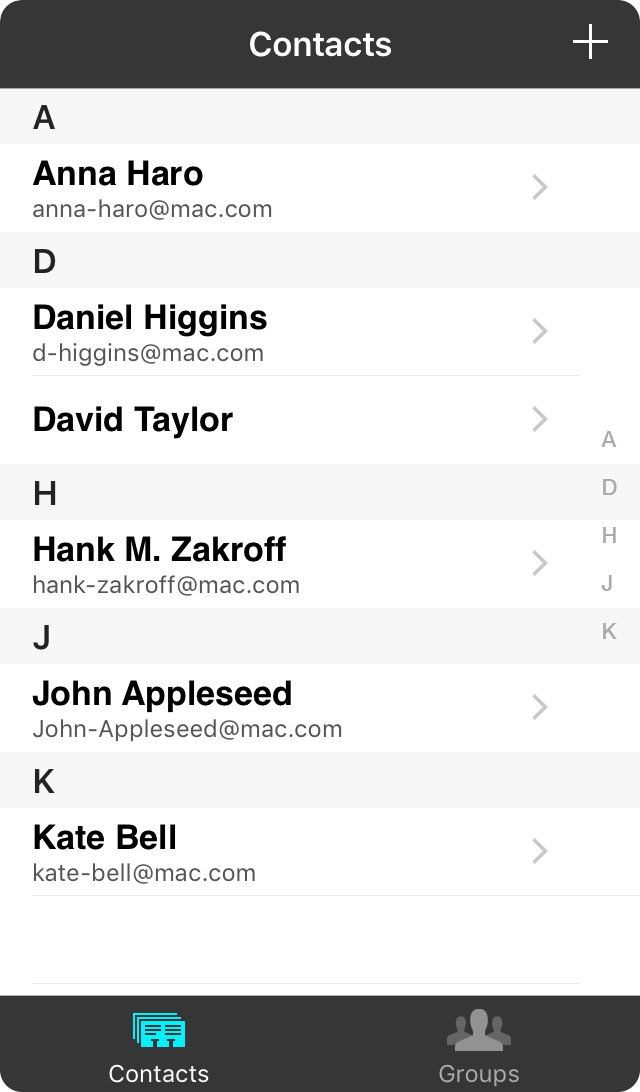
This tab shows you all the people found in your contact list. You can scroll through the list of contacts that are indexed by name. You can perform the following actions from this screen.
Add Contact
Tap on the + button in the upper right corner to add a new contact.
View Contact
You can tap on the name of a contact to view the contact. From this screen you can also edit the contact if needed.
Edit Contact
Once you tap on a person in the contact list, you can also edit the contact.
Delete Contact
Swipe right to left over the row to reveal a delete button. Tapping on this button will permanently delete the contact from the database.
Add
You can create a new contact without ever leaving OnSong. This screen will automatically create the new contact on your device so you can access all of the built-in features of iOS like caller ID, sharing and sending information to this person in other apps.
You can set the following fields:
- Photo
- First Name
- Last Name
- Company
- Phone Numbers
- Email Addresses
- Ringtone
- Text Tone
- Web Addresses
- Physical Addresses
- Birthday
- Dates such as an annivesary
- Related Names
- Social Profiles
- Instant Messenger Usernames
- Notes
- Other Fields
Note: this screen is managed by iOS and may change appearance depending on the version of iOS you are running.
Edit
You can edit and existing contact without ever leaving OnSong. This screen will update the contact on your device so you can access all of the built-in features of iOS like caller ID, sharing and sending information to this person in other apps.
You can edit the following fields:
- Photo
- First Name
- Last Name
- Company
- Phone Numbers
- Email Addresses
- Ringtone
- Text Tone
- Web Addresses
- Physical Addresses
- Birthday
- Dates such as an annivesary
- Related Names
- Social Profiles
- Instant Messenger Usernames
- Notes
- Other Fields
Note: this screen is managed by iOS and may change appearance depending on the version of iOS you are running.
View
When you tap on a person's name in the contact list, you are given information about that contact. You can tap on certain fields to call, email, locate or schedule based on the type of information in the field.
Tap on the Edit button to edit the selected contact.
Fields you can view and edit include:
- Photo
- Full Name
- Nickname
- Company
- Phone Numbers
- Email Addresses
- Web Addresses
- Physical Addresses
- Birthday
- Dates such as an anniversary
- Related Names
- Social Profiles
- Instant Messenger Usernames
- Notes
- Other Fields
Note: this screen is managed by iOS and may change appearance depending on the version of iOS you are running.
Email Template
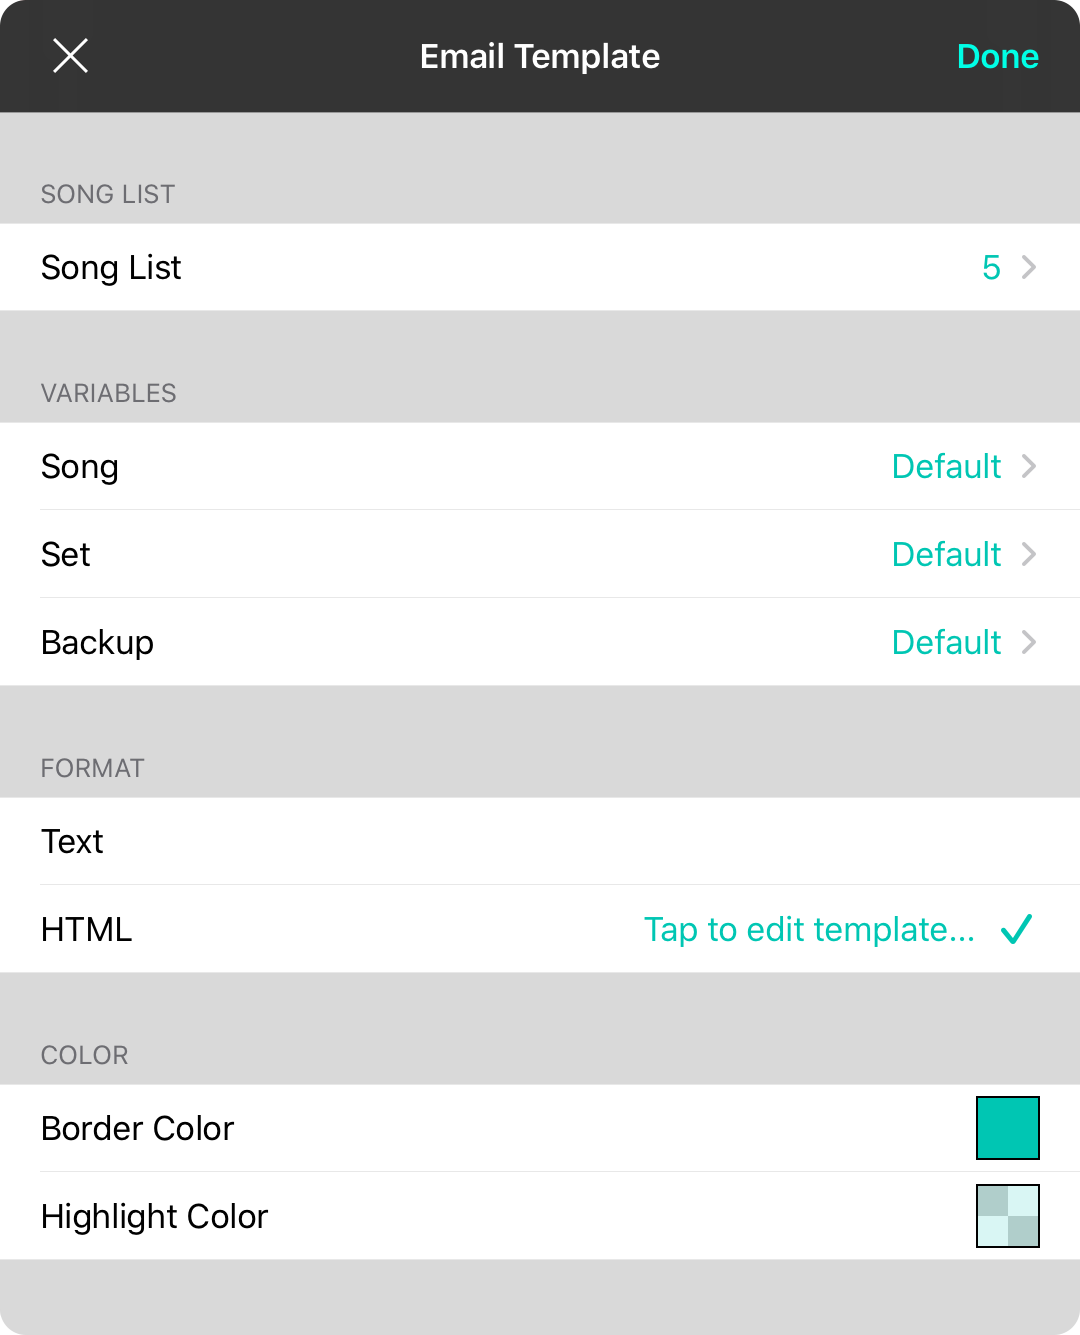
This screen lets you alter the email template that is used when sharing your songs and sets via email. OnSong Premium members can access advanced email features including:
Song List
This allows you to determine what types of song information are shared in the song list portion of the generated email. By default, OnSong includes the song title, artist, key, tempo, and time signature.
Variables
The subject and description can change depending on the type of information you are emailing. You can change this by choosing the quantity of content being sent:
- Song is used when you've selected a single song from the Songs Menu.
- Set is used when you select a set to be emailed.
- Backup is used if you've chosen to email a backup file.
Format
This section lets you choose to send a text-based email, or an HTML-formatted one. When you select HTML, the song list is sent as a table. You can tap HTML twice to edit the HTML template.
Colors
When you select HTML as the template format, you change the color used to render the song list table. Tapping on each of these options will open the color builder where you can change:
- Color is the primary color of the table including the header. By default, this is the App Color
- Highlight Color is the color to be used in alternating rows. By default, this is the border color at 15% opacity.
HTML Template
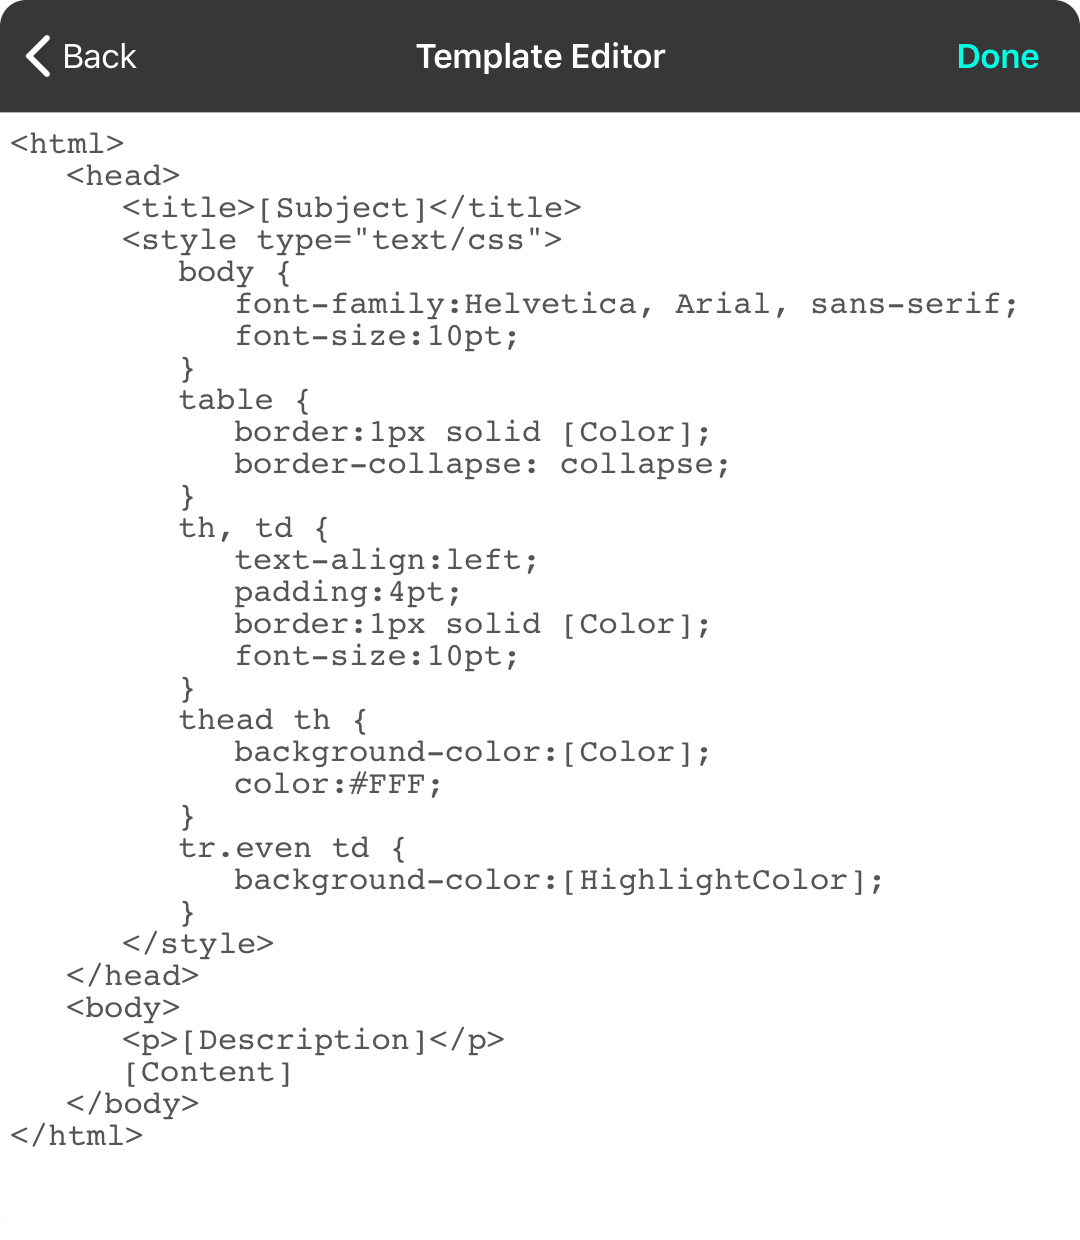
When you select the HTML template, you can adjust the HTML code that is used to format the email message. While you'll want to know a thing or two about we development before venturing this far, you can insert the following variables by surrounding the name in square brackets:
Subject
The subject of the email that is generated from the variable.
Color
The border color as specified.
HighlightColor
The highlight color as specified.
Description
The value of the generated description variable.
Content
The generated song list.
Song List
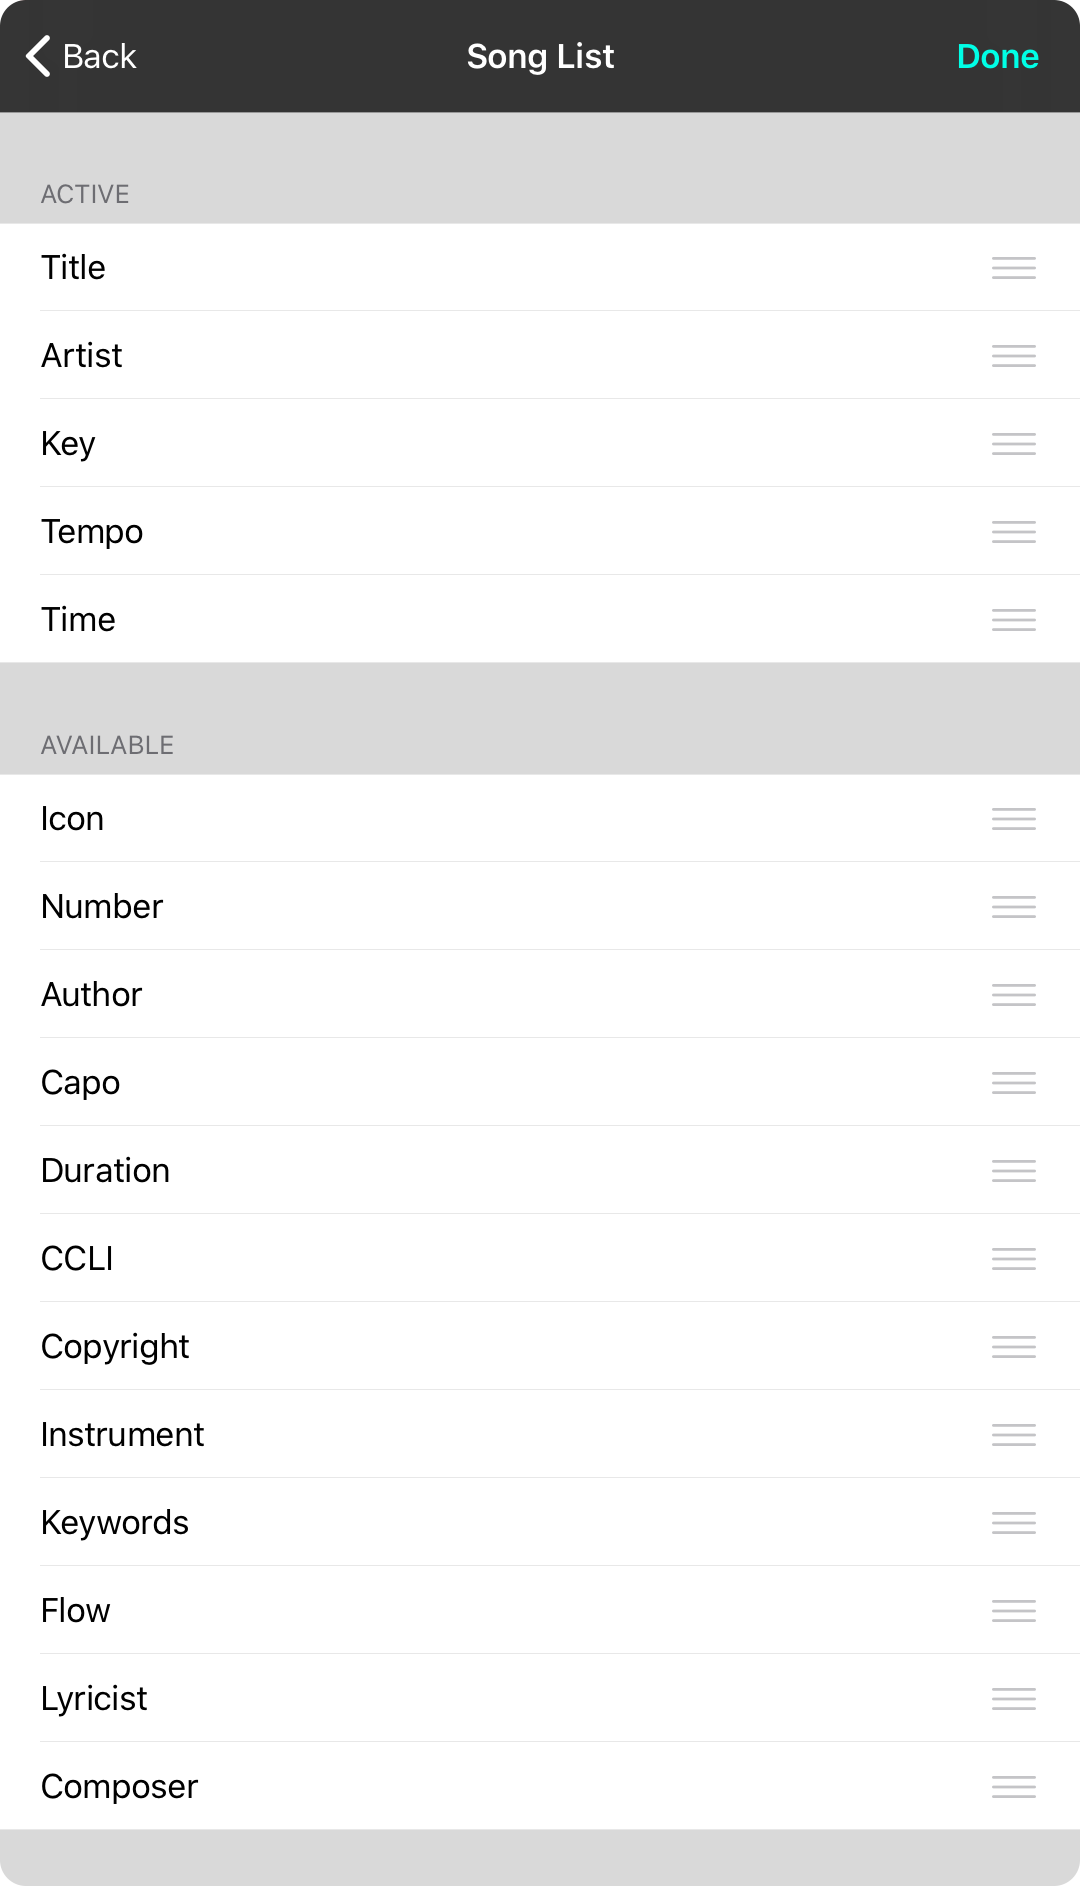
This screen lets you determine the song properties that are included in the song list area of the generated email when you share a set. These values may be outputted as bulleted text, or as columns in an HTML-formatted table. The screen features two lists:
Active
These are the song properties that are desired to be outputted in the song list. You use the reordering handles on the right to change the order of the active properties. In addition, you can drag properties you don't want displayed in the song list to the available section.
Available
These are properties that are available to be included in the song list. To add them, drag then to a position in the active list. When you're done, tap on the Done button to save changes.
Properties
The following are all the properties that are available to be placed in the song list.
- Title is the song title.
- Artist is the artist.
- Key is the key or the transposed key depending if transposition is enabled and if the original key should be shared.
- Tempo is the BPM of the song.
- Time is the time signature.
- Icon is the icon assigned to the song.
- Number is the song number.
- Author is the name of the person who authored the document.
- Capo is the capo setting is capo is enabled and if it is not off.
- Duration is the duration of the song in h:mm:ss format.
- CCLI is the CCLI song number.
- Copyright is the copyright attribution.
- Instrument is the instrument that is used for the song.
- Keywords are a comma-delimited list of keywords assigned to the song.
- Flow is the flow assigned to the song.
- Lyricist is the person who wrote the lyrics.
- Composer is the person who wrote the music.
Variables
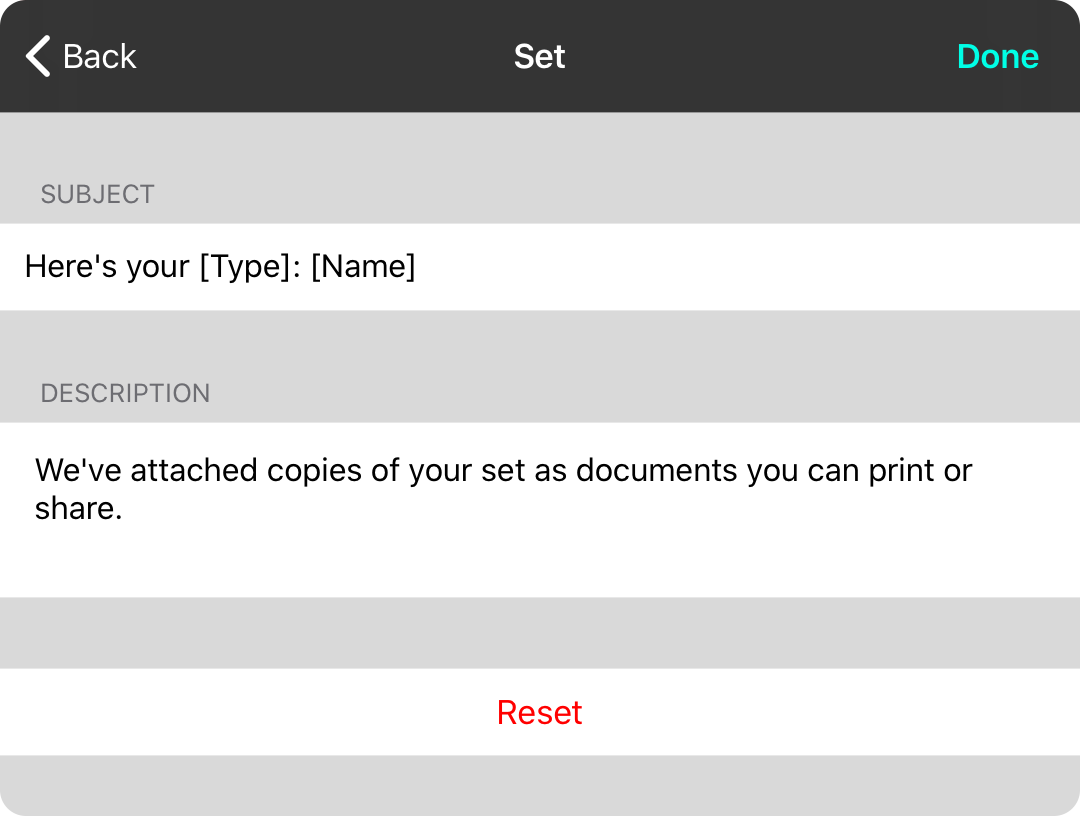
Variables can be set into the email template depending on the context in which the email is generated. For instance, if you've selected a single song to be emailed versus a set. You select the type in the previous screen to adjust these variables:
Subject
This is the email subject. You can use the variables [[Type]] and [[Name]]. The type is either "song", "set", or "backup". The name is the generated name of the shared item such as the name of the song or set.
Description
This variable is entered as the first line of the email to provide context to the song list and attachments.
Reset
This option will reset the variables for the selected type back to the default options.
Email Composition Screen
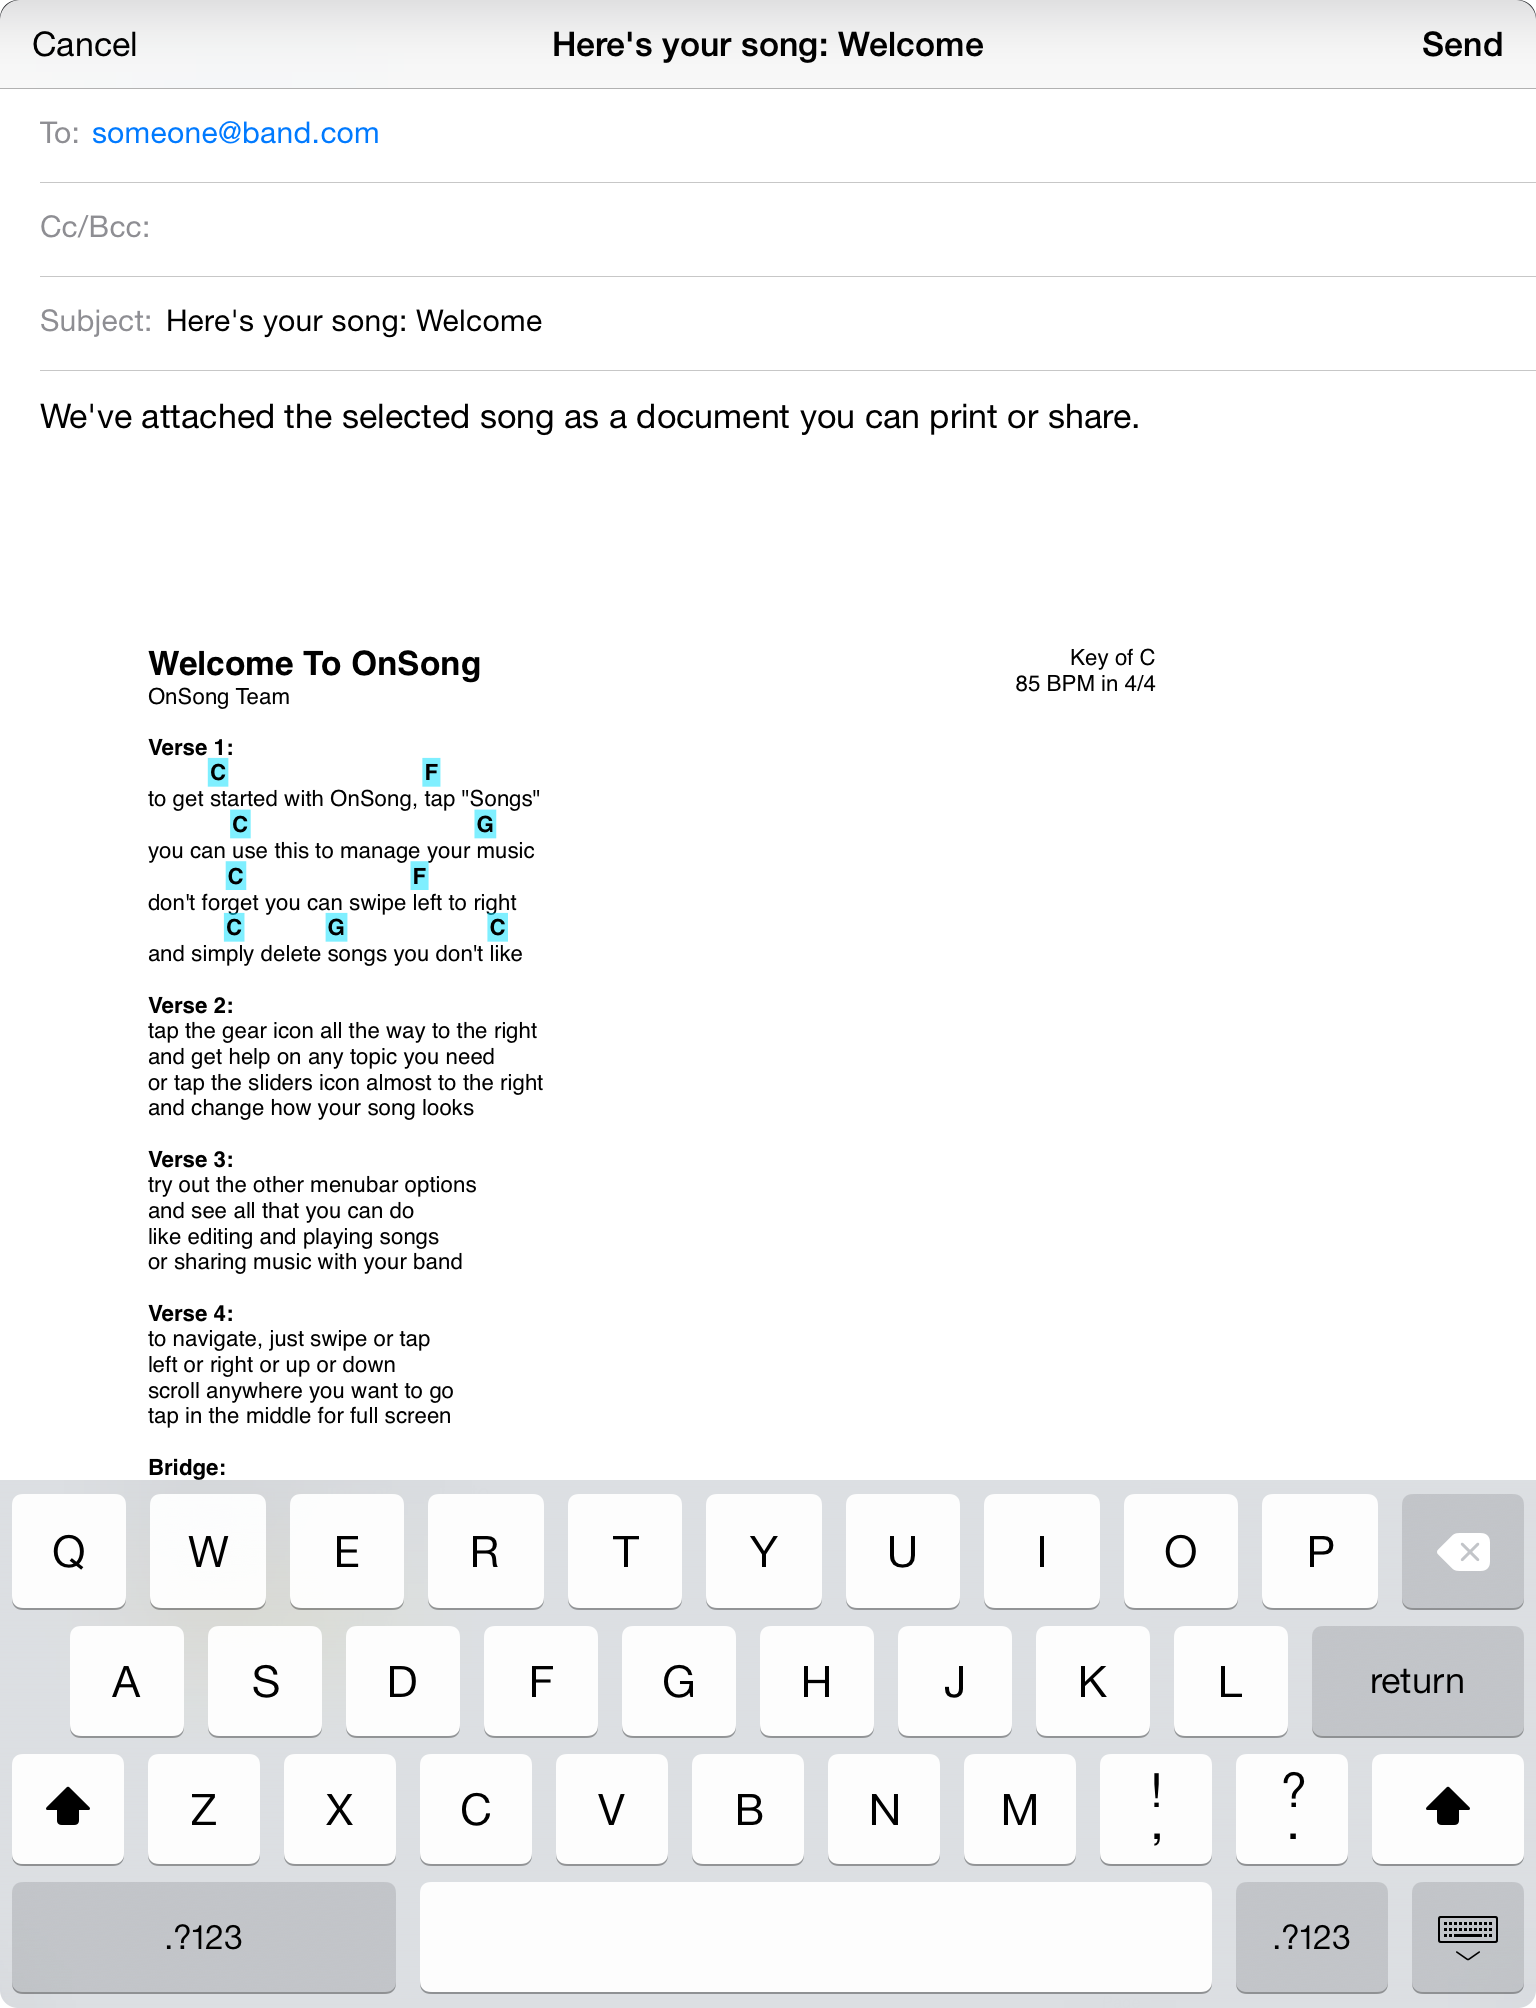
The email composition screen is provided by the operating system where you can choose recipients and customize the message. Once a file format is selected, this screen will appear full screen to finish the email.
To
Type in the recipients of the message, or tap on the + button on the right to select contacts from your contacts.
Cc/Bcc
Type in additional recipients to be carbon copied or blind carbon copied. Tap on the + button on the right to select from your contacts.
Subject
OnSong provides a standard subject line declaring what has been attached. You can modify this subject if desired.
Body
Here you can enter text to address your recipients.
Attachments
The files that have been outputted will show as attachments. Files such as PDF that are one page may appear in the body of the email instead of as file icons.
Export
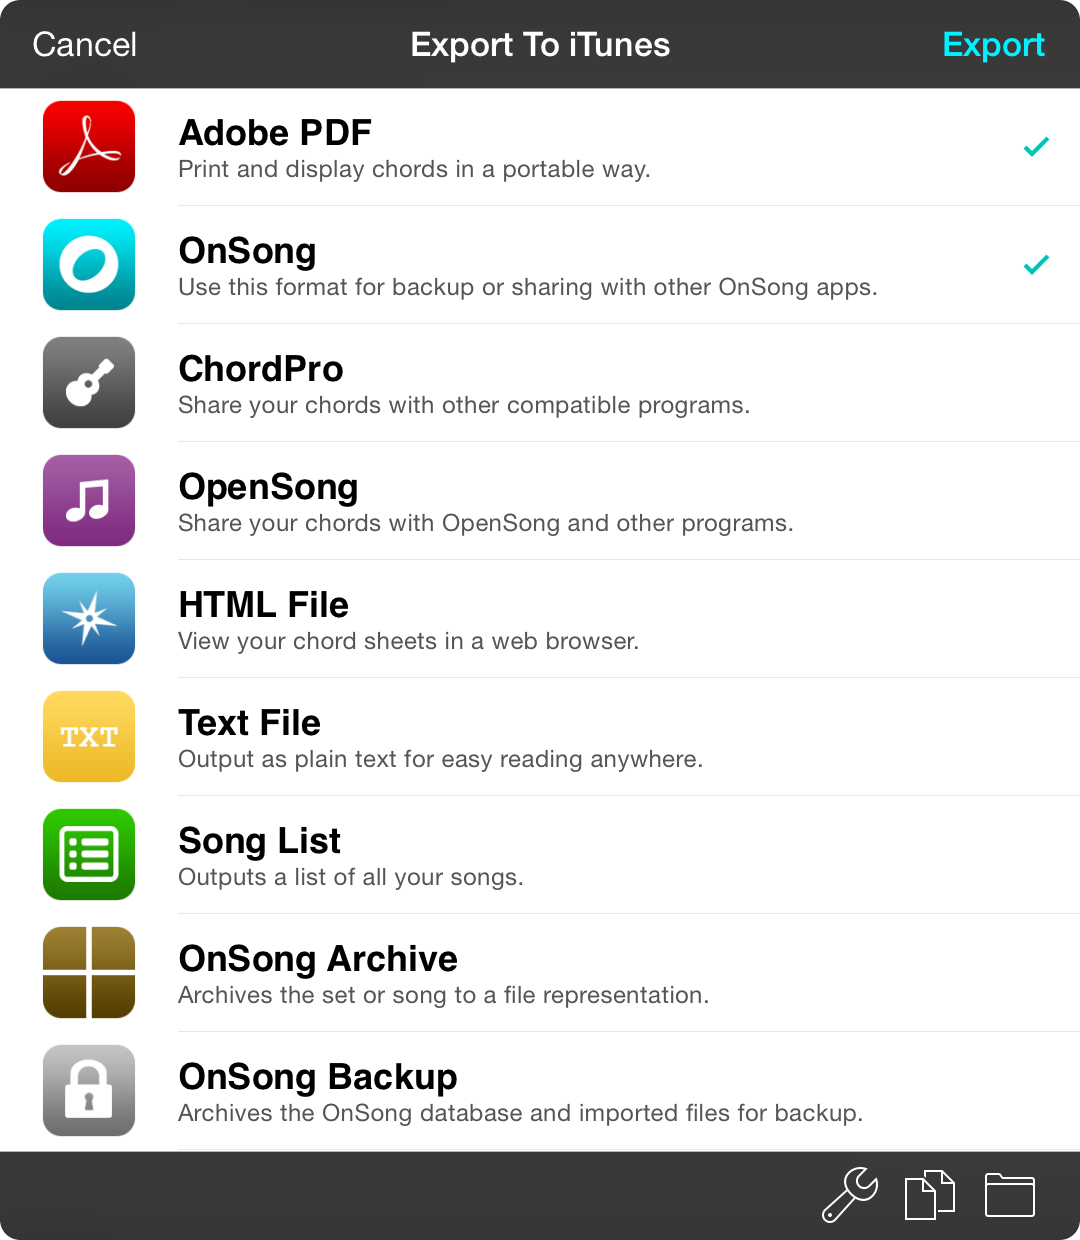
The export screen is used to export the selected song or set in popular file formats. Besides allowing you to choose the file format for export, this screen also allows you to set options, pick specific songs to export, and change your export location. When you are all done, tap on the Export button in the upper right corner to export and optionally upload your files. Tapping on the Cancel button in the upper left corner will close the window.
File Formats
The majority of this screen contains a list of file formats to which you can export your song, set, or chosen collection of songs. Tap on a row to place a checkmark next to the file formats you want to export. OnSong remembers the formats you've picked for next time.
Output Options Menu
There are a few options to choose from when exporting your song or set. Tap on the wrench icon in the lower right to toggle these options on and off.
Song Picker
Tapping on the papers icon in the lower right will open the song picker menu. Here you can change which songs are exported.
Location Picker
Tapping on the folder icon in the lower right will open the location picker. Here you can choose between file sharing, Dropbox, or other export sources.
Song Picker

The song picker menu displays which songs are to be outputted, as well as allowing for you to select more songs if desired.
Most of the picker menu is comprised of your song list. Here you can search and browse for songs. Tap on a song to place or remove a checkmark. Check marked songs will be added to the export list. You can also tap on the Select All or Deselect All buttons at the bottom to do just that.
When you are finished, tap on the Done button to change the songs to be outputted. Tap on the Cancel button to close the picker without changing the song selected for output.
Export Menu

The export menu lets you choose a location where exported content should be saved. If you have more than one file to export, the number of items is displayed in parenthesis in the title.
OnSong supports four general locations with the last option allowing for future expansion to web services that implement standard access protocols.
Dropbox
Dropbox is a file storage service that allows you to place your important documents in the cloud. This means that they are near-instantly available on all your devices, making the service a great candidate for backing up your library. Tapping on the Dropbox option allows you to select a folder in your Dropbox where you would like your files exported.
Google Drive
Dropbox is a cloud-based storage service that allows you to store documents in the cloud. This means that they are near-instantly available on all your devices, making the service a great candidate for backing up your library or storing files. Tapping on the Google Drive option allows you to select a folder in your Google Drive where you would like your files exported.
File Sharing
This option allows the user to export to file sharing. This is a special folder contained inside of the OnSong app which can be accessed through the Finder (macOS) or iTunes (Windows) when connected with a sync/charge cable. This means that the file is stored on your device until it is saved off of the device onto a computer.
Files
iOS has the ability to export files to apps from storage providers that support integration with the iOS Files app. Use this option to select a location and folder where the file should be exported.
Other
Some online storage services have support for open standards, allowing files to be securely stored and retrieved without individual configurations. Use this option if you would like to add an online source that supports Amazon S3, FTP, or WebDAV protocols.
Location Picker
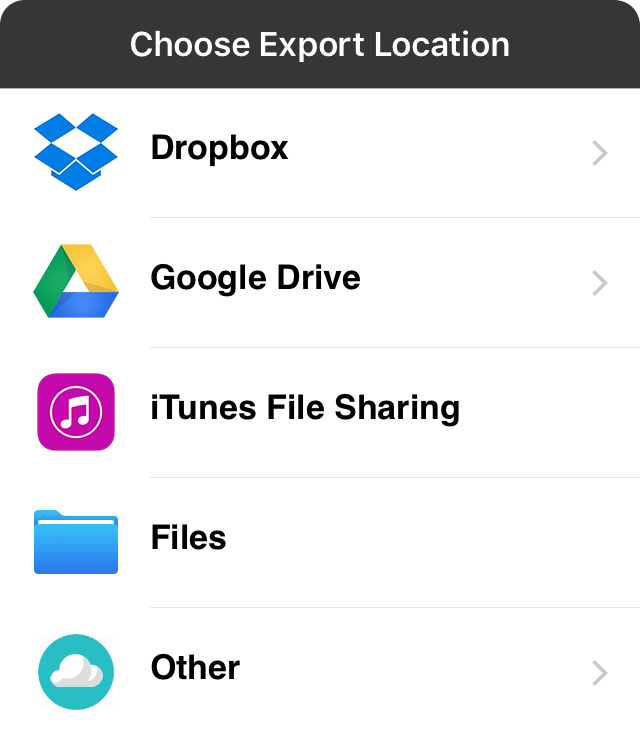
The location picker allows you to change the location where files are to be exported. OnSong supports three general locations with the last option allowing for future expansion to web services that implement standard access protocols.
File Sharing
This option allows the user to export to file sharing. This is a special folder contained inside of the OnSong app which can be accessed through the Finder (macOS) or iTunes (Windows). This means that the file is stored on your device until it is saved off of the device on a computer.
Dropbox
Dropbox is a file storage service that allows you to place your important documents in the cloud. This means that they are near instantly available on all your devices, making the service a great candidate for backing up your library. Tapping on the Dropbox option allows you to select a folder in your Dropbox where you would like your files exported.
Files
Files lets you export to a service that supports the Files app in iOS 11, formerly known as storage providers in earlier versions of iOS. When this is selected, the Files interface will be presented when you tap on the Export button in the export screen.
Other
Some online storage services have support for open standards, allowing files to be securely stored and retrieved without individual configurations. Use this option if you would like to add an online source that supports Amazon S3, FTP or WebDAV protocols.
File Sharing
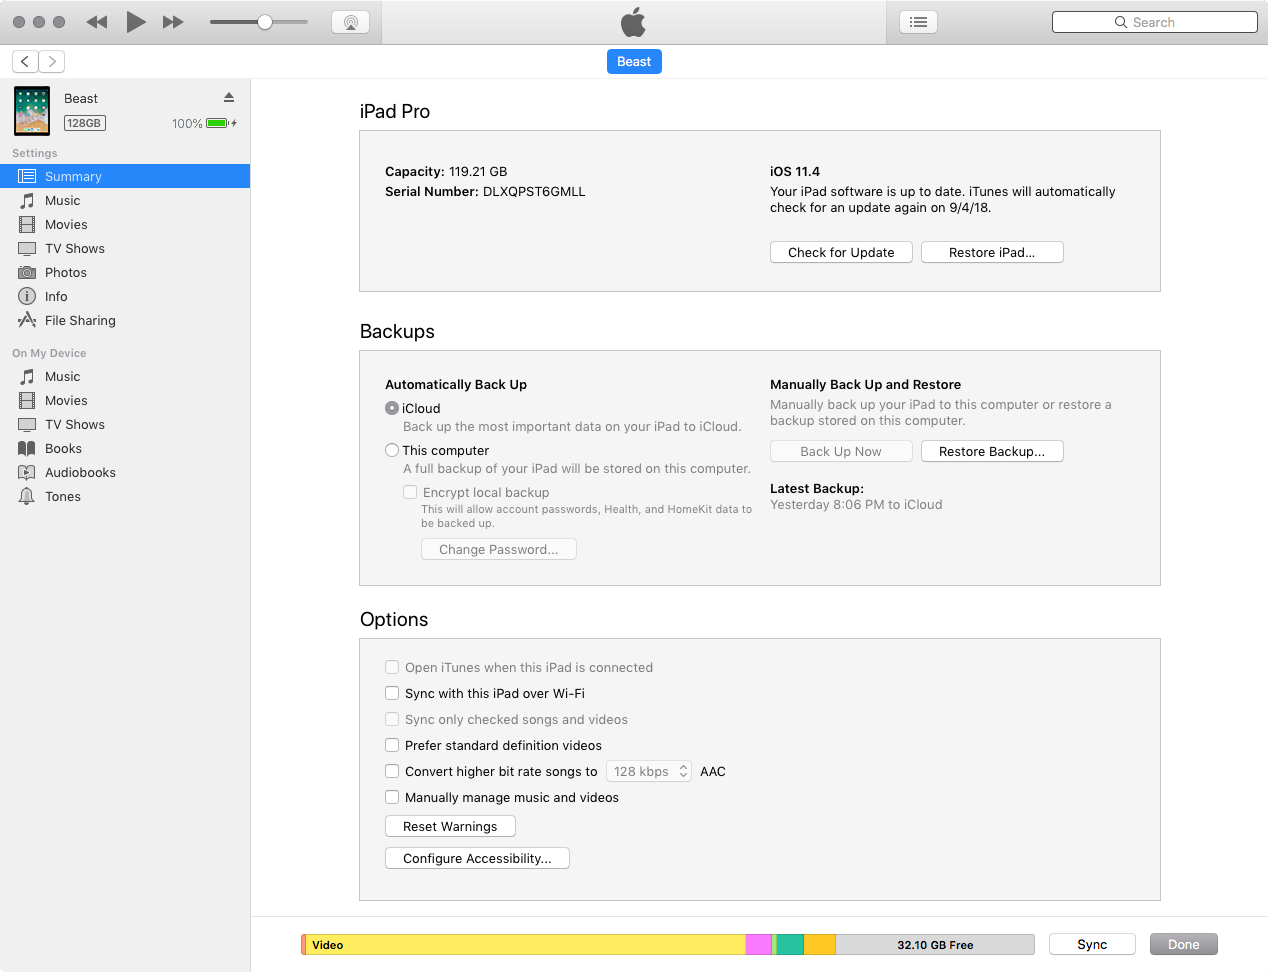
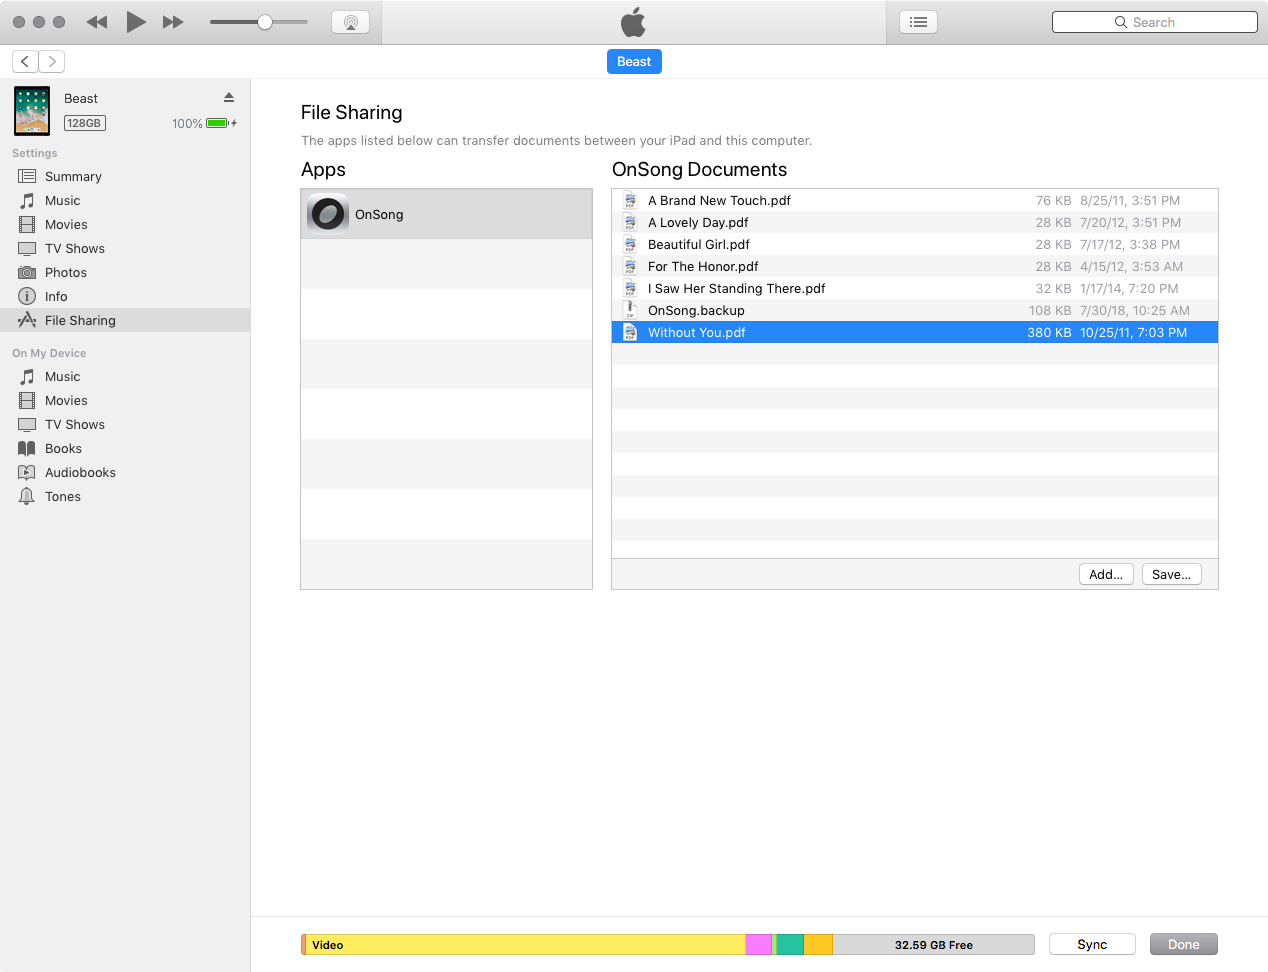
File sharing is designed to move files on and off of your device via the Finder (macOS) or iTunes (Windows)
Connecting Your Device
To use file sharing, connect your device to your computer with the supplied USB sync/charge cable. Next, open Finder on macOS. You can then find the device listed in a Finder window under Locations similar to connecting a USB thumb drive. You can select it retrieve files.
Finding Files
Once in this screen, tap on the Files tab and select OnSong. You can then add files to the OnSong file sharing folder by dragging and dropping those files into this screen, or you can likewise copy files from here in the same manner. You can then select multiple files and delete, etc using the delete key on your keyboard or by right-clicking for a context menu.
Remember that you can select multiple files by holding down the SHIFT or CTRL (PC) or command (Mac) keys. You can also delete files in this list by selecting them and pressing the DELETE key on your computer keyboard.
Important
It is important to note that if you export an OnSong Backup file to File Sharing, you need to save the file to your computer. If the backup file is located on your device and the device is lost, stolen, broken, or inaccessible for any reason, you will not be able to retrieve your OnSong library.
Google Drive
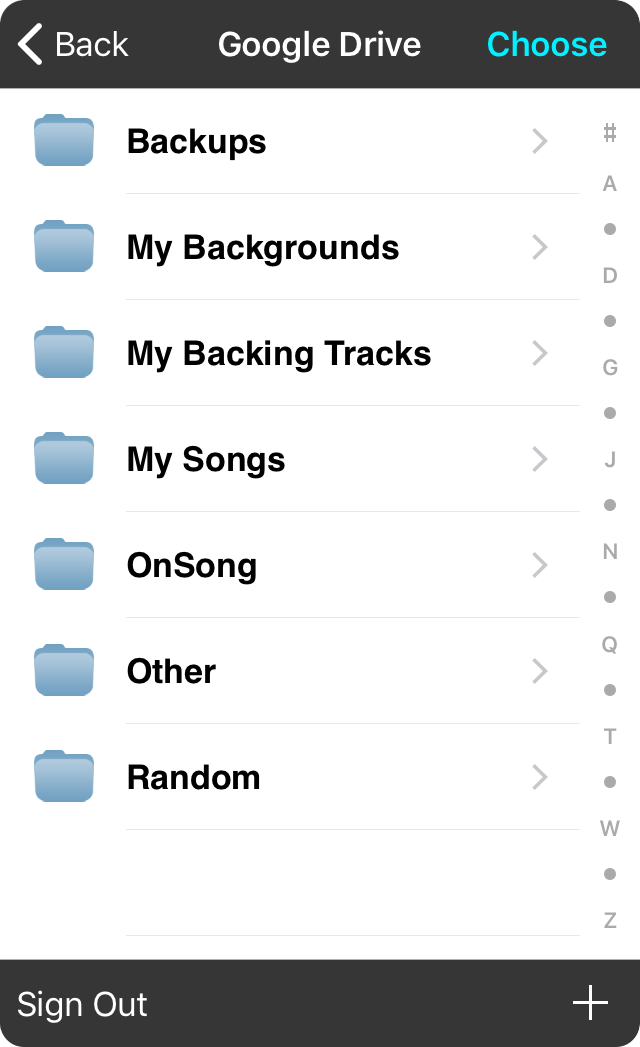
Google Drive is a cloud-based storage solution, making it a great way to transfer files between all your devices.
Choosing a Location
When you select to export to Google Drive, OnSong displays the contents of your Google Drive. From here you can choose the folder in which you would like to export your files.
Tap on folders to open them. Once you find a place to export your files, tap on the Choose button in the upper right to select that location and return to the export screen.
Creating Folders
You can create a new folder by tapping on the "+" button in the lower right corner.
Signing Into Google Drive
If this is your first time using Google Drive from within OnSong, you may need to sign in to you account. You can also sign out of Google Drive by tapping on the button in the lower left corner.
Dropbox Location Chooser
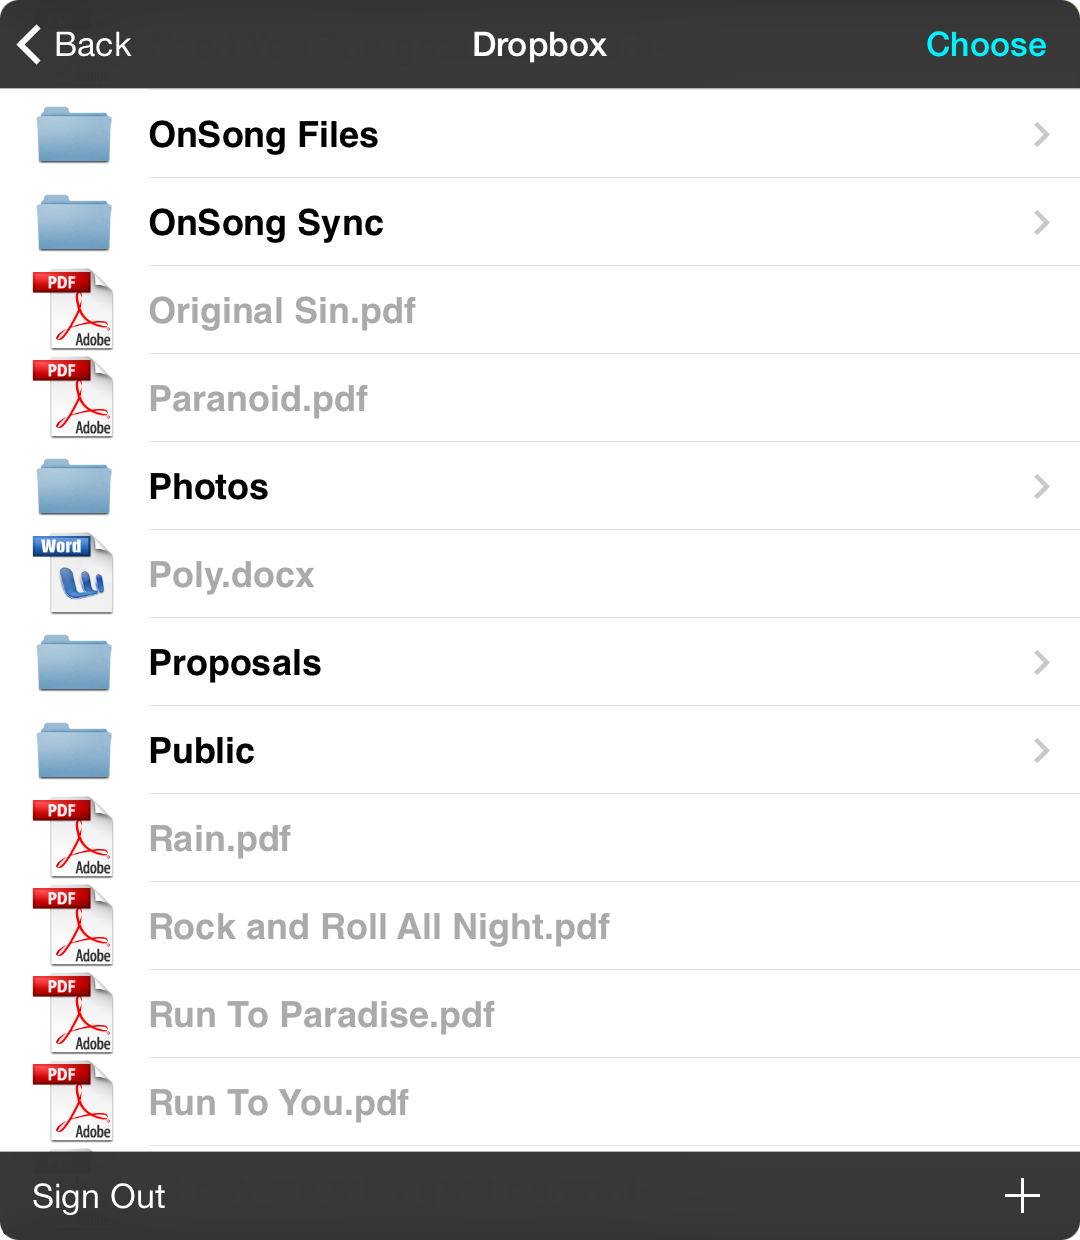
Dropbox is a cloud-based storage solution, making it a great way to transfer files between all your devices.
Choosing a Location
When you select to export to Dropbox, OnSong displays the contents of your Dropbox. From here you can choose the folder in which you would like to export your files.
Tap on folders to open them. Once you find a place to export your files, tap on the Choose button in the upper right to select that location and return to the export screen.
Creating Folders
You can create a new folder by tapping on the "+" button in the lower right corner.
Signing Into Dropbox
If this is your first time using Dropbox from within OnSong, you may need to sign in to you account. You can also sign out of Dropbox by tapping on the button in the lower left corner.
Other
You can choose to export to an other source instead of file sharing or Dropbox.
Choosing
Tap on a source to browse for a folder where the files should be exported into.
Editing
Tap on the Edit button in the upper right corner to enter Editing Mode. Here you can add new sources or edit existing ones.
Source Editor
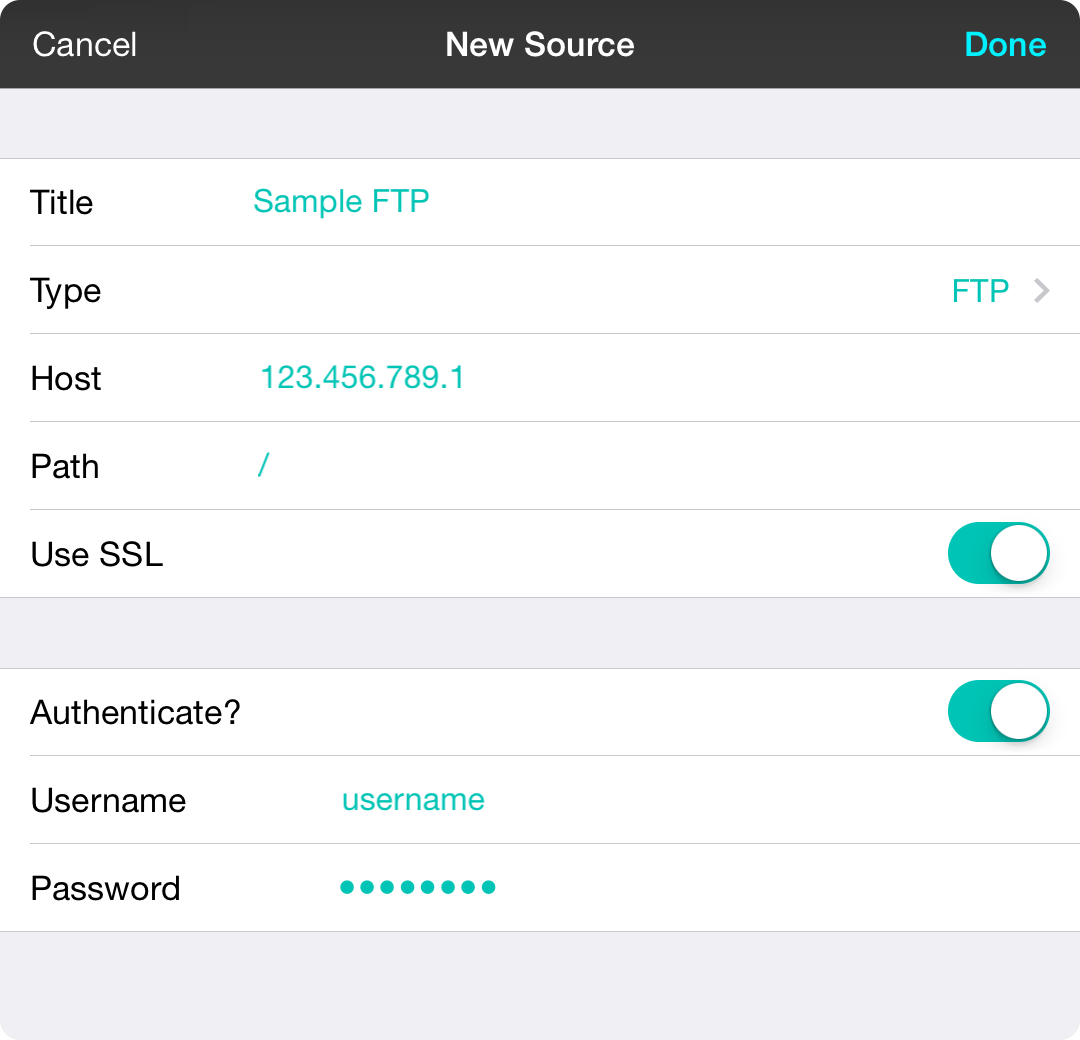
When adding a new source or editing an existing one, the source editor is displayed. This lets you specify connection parameters to your network-connected storage service.
Title
Provide a title for your source so you can identify it in the sources list.
Type
Choose the type of service that you will be connecting to. This can be one of the following options:
- FTP or File Transfer Protocol can connect to older file servers.
- Amazon S3 or Simple Storage Service is hosted by Amazon as a mechanism for storing content for web services.
- WebDAV or Web-based Distributed Authoring and Versioning is a file storage standard that allows network connected services to be treated like a local hard drive.
Host or Bucket
This is the web address or IP address of the service. When using Amazon S3, this is the optional bucket to access in S3.
Path
This is the directory to use as the root of the service that is being accessed.
Use SSL
Turn this on if communication should be performed securely.
Authenticate?
Turn this on if authentication is required for the service. The following fields will not be used if authentication is turned off.
Username or Access Key
The username used to authenticate against the service. When using Amazon S3, this is the Access Key for your account.
Password or Secret Key
The password used to authenticate against the service. When using Amazon S3, this is the Secret Key generated for the account.
Choose Export Folder
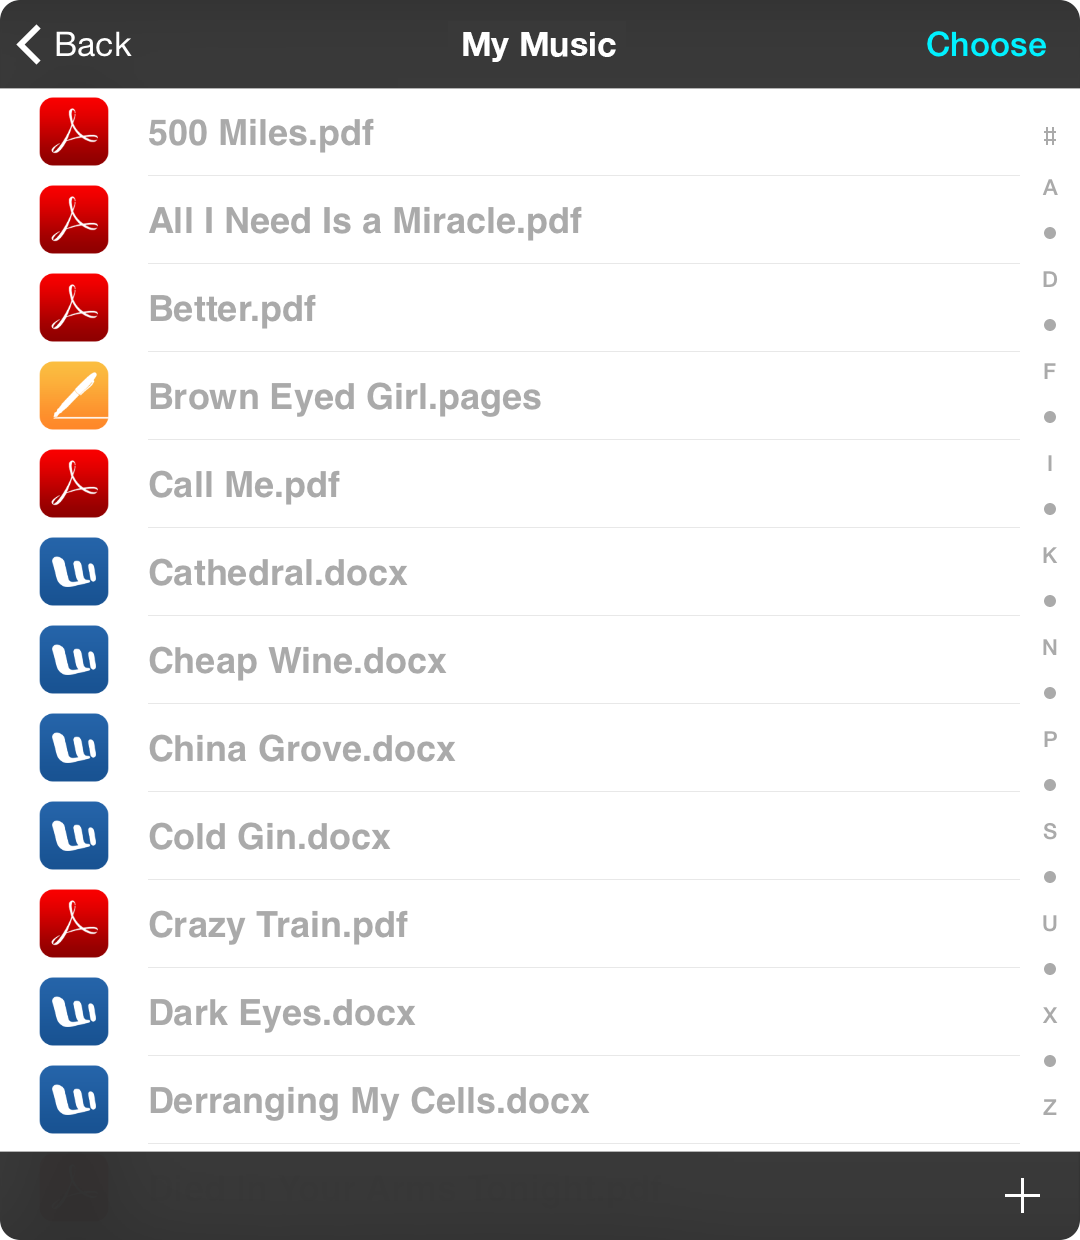
You can navigate your other import source until you find a suitable location to export into. Once you've found a folder, tap on the Choose button in the upper right corner.
Once you tap on the Choose button, the screen returns to the Export Screen.
You can add a new folder by tapping on the + button in the lower right corner.
Editing
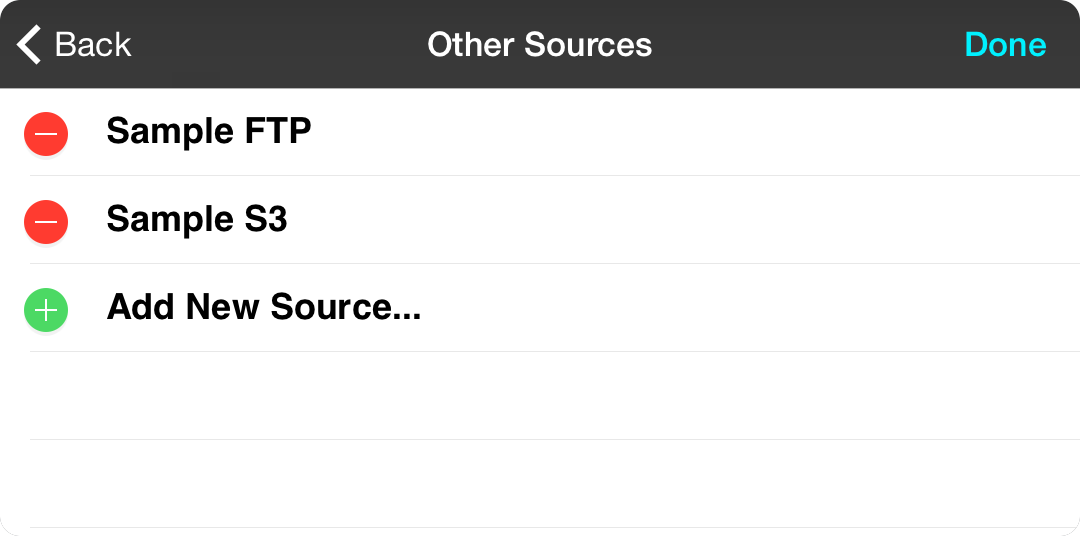
Tap on the Edit button in the sources list to enter editing mode. From there you can tap on a source to make changes to it, or tap on the Add New Source row to create a new source.
Deleting
Tap on the red minus icon to reveal a Delete button. Tapping on this will remove the source.
Editing Source
Tap on the name of the source to open the Source Editor to make changes to the source.
Add New Source
Tap on the bottom row to open the Source Editor to specify information for a new source.
Tap on the Done button when you are done editing the sources to select a source.
OnSong Connect

OnSong Connect is a communications layer in OnSong that allows your device to control or to be controlled by other compatible apps on your local network using WiFi. OnSong uses this communications layer to "connect" devices together with a robust network. This allows you to share your music by either beaming songs and sets, or by sharing the music on a leader's device with other members of the team.
The Connect screen contains five tabs that comprise the various levels to connection of devices, as well as tools for customizing how your device participates in OnSong Connect.
Devices
Devices are other iOS devices that are currently running OnSong. You can use this screen connect devices so that they become clients.
Clients
Clients are devices that are currently connected to you. You can disconnect clients on this screen as well as send messages.
Servers
Servers are devices that have opted to control other devices. You can connect to running servers on this screen, or promote your device to a server.
Pairing
There has been some experimental work done in OnSong to allow other devices such as Google Glass to connect via OnSong Connect. This screen provides information for pairing those devices.
Profile
This screen tells others on the OnSong Connect who you are, as well as configures how you would like to view music streamed to you via OnSong Connect.
Pairing
There has been some experimental work done in OnSong to allow other devices such as Google Glass to connect via OnSong Connect. This screen provides information for pairing those devices.
The majority of the screen is comprised of a giant QR Code. This is like a bar code that holds information about your device.
So what information is shared exactly? Look closely at the top of the screen and you'll notice your web address. This is the endpoint to the OnSong Connect services API. That's all that Google Glass needs to connect.
The OnSong Google Glass app uses the built in camera on the device to scan this code and setup the connection. This is a much faster way than trying to speak the IP address or tap it in on your temple.
We have made this app for Google Glass as a way to experiment and get input from worship leaders and musicians on the use of this type of technology on stage. The general consensus is that it is too expensive and too invasive/noticeable to audiences. We will continue to look into using this as the technology becomes less apparent and more cost-effective.
Clients
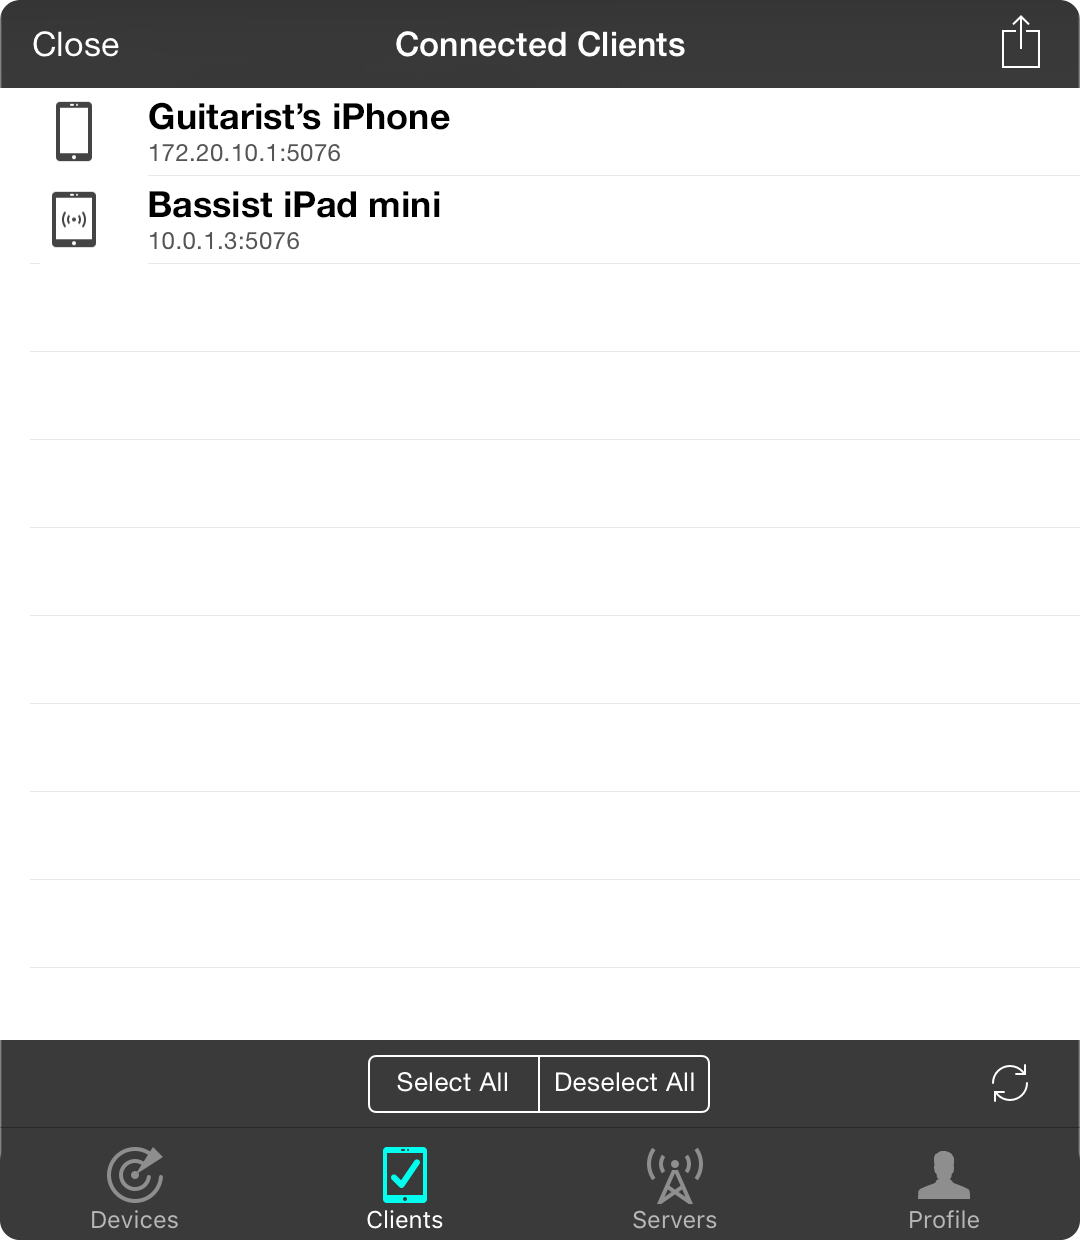
The clients tab displays devices that are currently connected to your device.
Client List
The main area of this screen is a list of devices that are currently connected to you. These devices will receive songs and navigational commands from you. Tap on each client to select them and then use the Action Menu to disconnect those clients, or to send them a message.
Action Menu
The action menu allows you to perform actions with the selected set of clients. This is commonly used to disconnect them.
Toolbar
At the bottom of the screen is a toolbar that provides the following actions:
- Select All will select all devices in the above list except for yourself.
- Deselect All will remove the marks from all devices in the list.
- Refresh Button will temporarily shut down OnSong Connect services on the device and then reconnect. This will force devices to be found again.
Action Menu
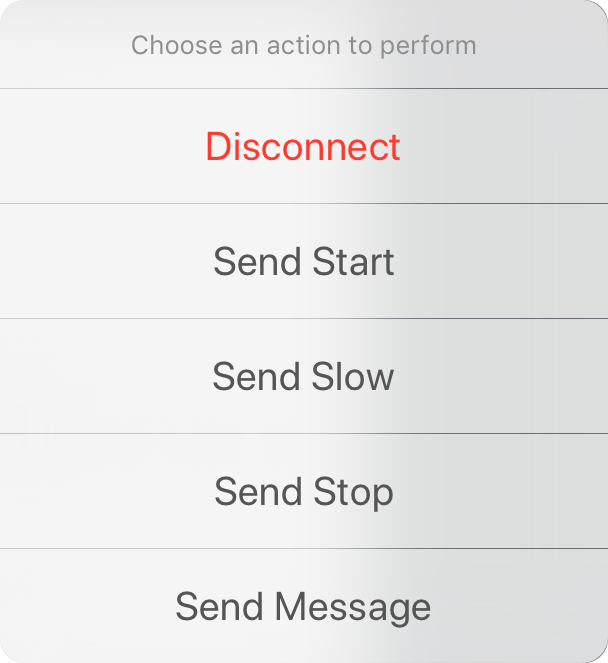
The action menu allows you to perform actions on the selected clients in your list. This includes:
Disconnect
This disconnects the selected devices from you so you are no longer sending content or navigational commands to them.
Send Start
This sends a start message to the selected clients in your list. This displays the word "Start" on the screen with a green flash and text.
Send Slow
This sends a slow message to the selected clients in your list. This displays the word "Slow" on the screen with a yellow flash and text.
Send Stop
This sends a stop message to the selected clients in your list. This displays the word "Stop" on the screen with a red flash and text.
Send Message
This allows you to send a custom message to the selected clients in your list. Type a message in the prompt and then send. The message is displayed in grey with a grey flash.
Devices
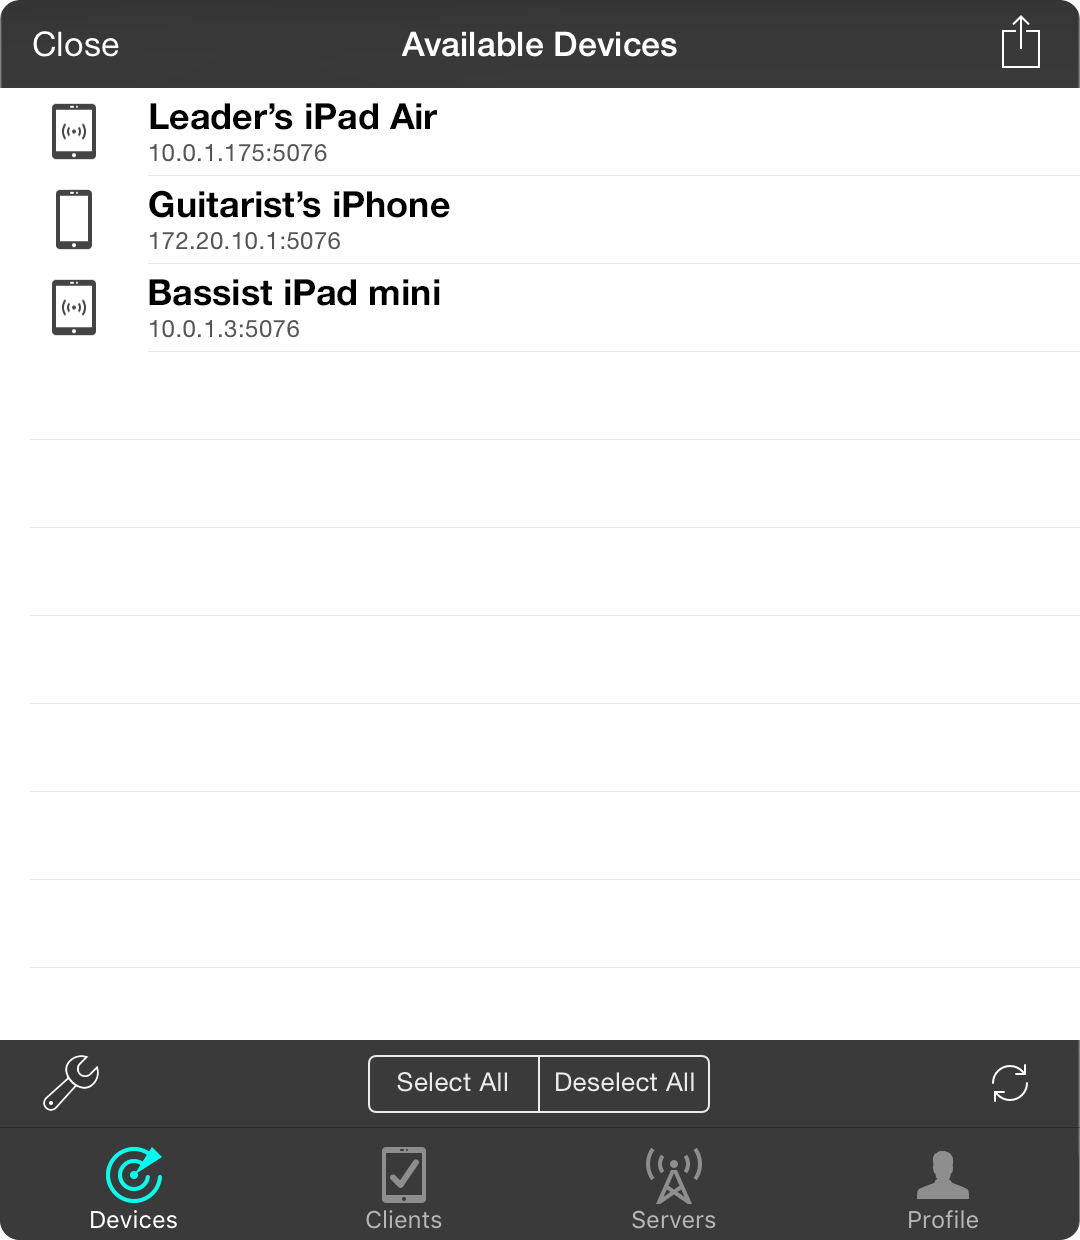
The devices tab displays devices on your local network that have OnSong up and running. When OnSong is running, it broadcasts your availability to be connected to OnSong Connect. This list will also display yourself.
Device List
The device list is the main area of the screen and displays the name of the device, as well as the IP address and port on which OnSong Connect is running on the device. The icon on the left of each device displays its form factor (phone or tablet), as well as an indicator if it's currently a server.
Tap on items in this list to add a checkmark. You can then perform actions on marked items with the Action Menu.
Action Menu
The action menu allows you to perform actions on selected devices. Use this menu to connect to device, or to simply beam your currently loaded content to them.
Toolbar
At the bottom of the screen is a toolbar that provides the following actions:
- Select All will select all devices in the above list except for yourself.
- Deselect All will remove the marks from all devices in the list.
- Refresh Button will temporarily shut down OnSong Connect services on the device and then reconnect. This will force devices to be found again.
Action Menu
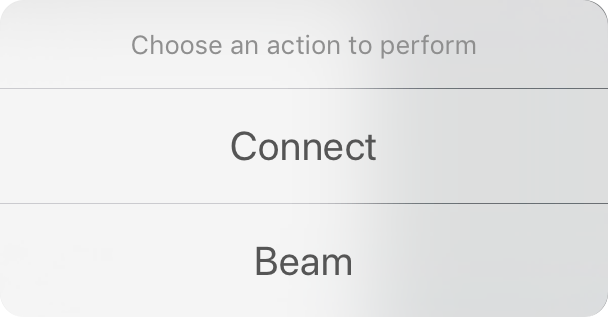
When you have devices selected in the Devices tab, tap on the actions menu to either connect or beam content to those devices.
Connect
This option will send an invitation to selected devices to be controlled by your device. Once they accept this invitation, the current song and set are sent to their device for display only. In addition, you can then control their device with yours. Each scroll operation and more are mirrored on their device.
Users can customize how music appears on their device using the Profile tab.
Beam
Beam is different from the connect option in that it sends the currently loaded song or set to the selected devices. This will appear as an invitation to accept the set or song on the user's devices.
Note: Beamed songs and sets are loaned by default. This means that you can view the song temporarily and sets are added to your My Sets list. However, songs are not added to the recipients' library. This is to prevent distribution of copyrighted material without your consent. You can change this in Settings » Menu Settings » Sharing.
Profile
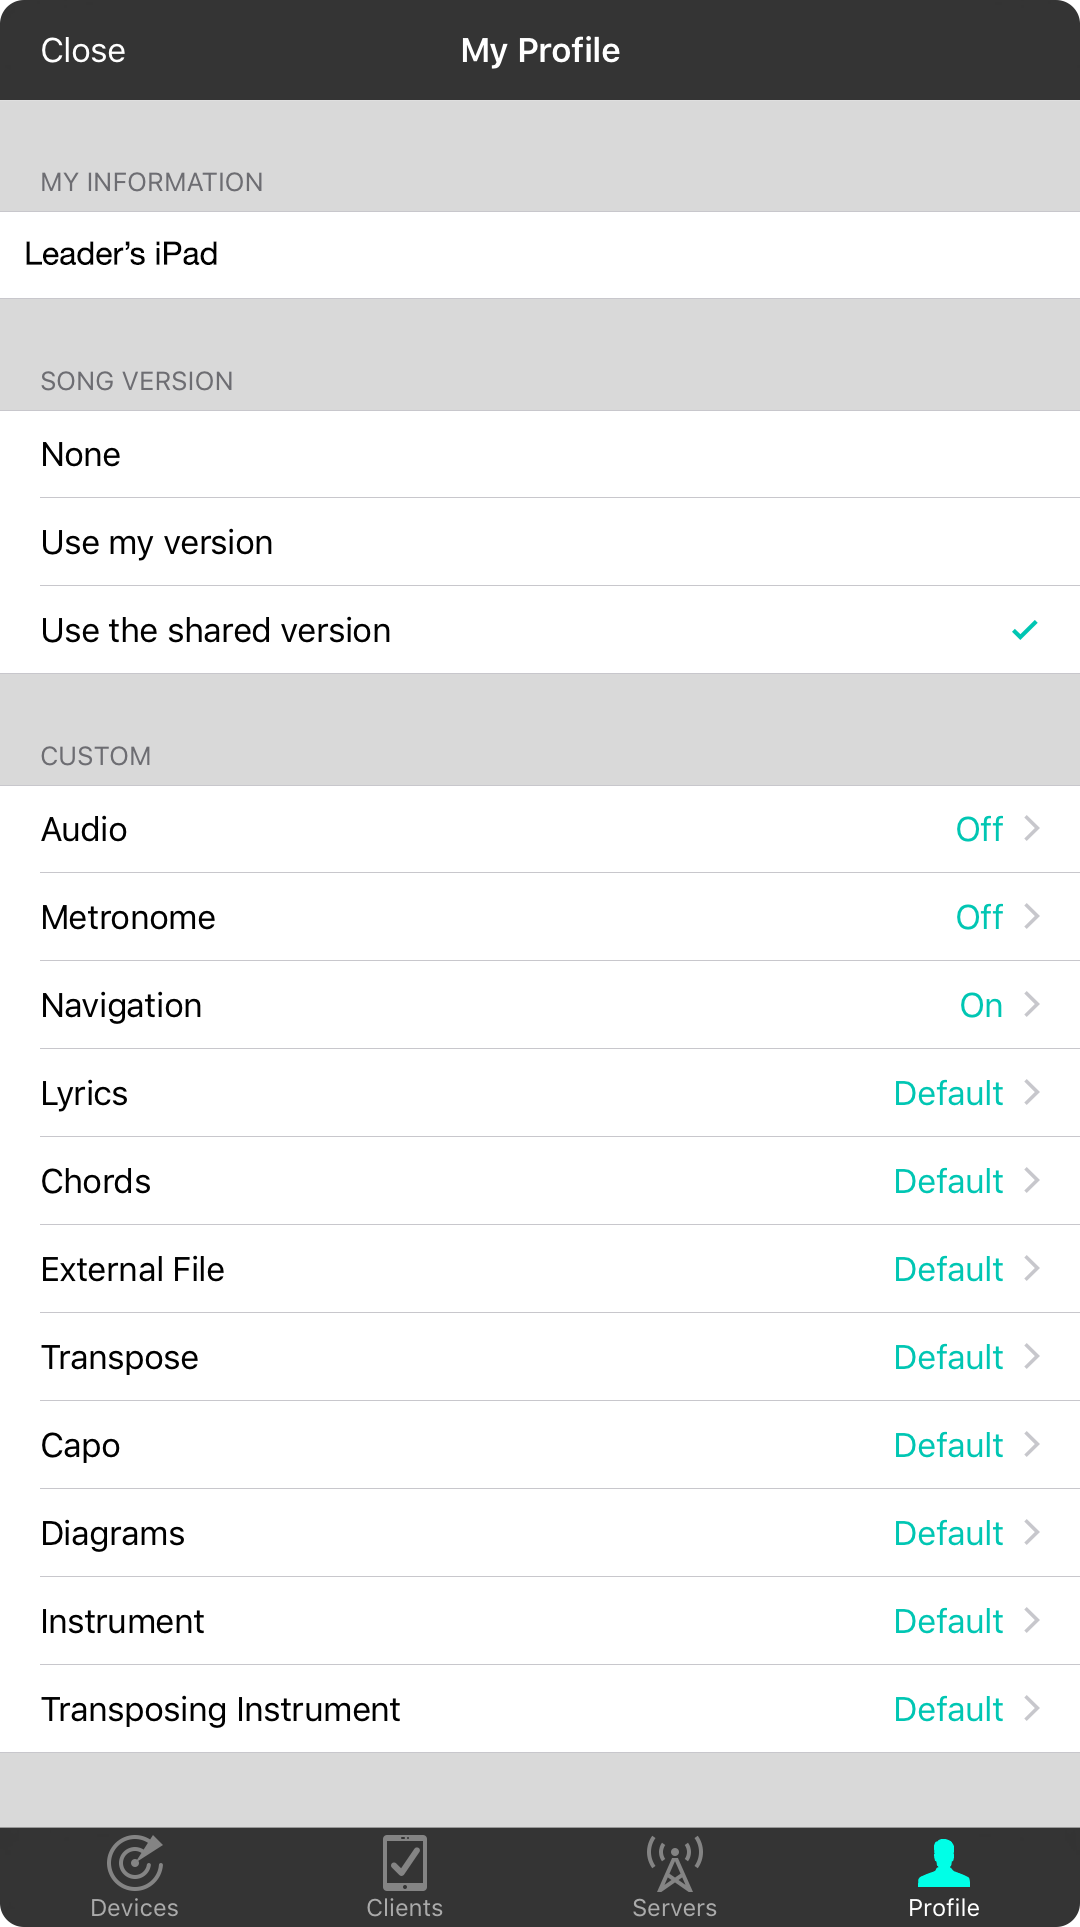
The profile tab allows you to configure how you appear on the OnSong local network, as well as how song content is streamed to you. Use this screen to customize the way music appears to you when you receive it from a leader's device.
My Information
This text field allows you to change what you're called on the network. By default this is the same name as your device. Change this to something that's better suited to your musicianship like "Guitar Overlord".
Song Version
OnSong Connect sends the text-based chord chart or external file from the leader's device. However, you may have your own version of the music that you want to use. You can use that version instead.
- None will not change the song on your device when the leader changes songs. Use this option if you are only using OnSong Connect for other features such as messages.
- Use my version will use your version of the chord chart if one can be found. OnSong matches based on the song title, number, CCLI number, or provider identifier.
- Use the shared version will always use the version that is sent from the leader's device. Default.
Custom
Options in this list allow you to change how music appears and other services that are used. When the default option is selected, the shared version's preferences are used. These customization options include:
- Audio will allow your device's backing track to start or stop based on when the leader initiates or stops their backing track. Default is off.
- Metronome will allow your device's metronome to start and stop based on the leader toggling the metronome. Default is off. Note: There is latency in starting and stopping the metronome. Starting multiple metronomes are not recommended as they may all start at slightly different times. This is caused by latency inherent in the wireless network of a few milliseconds.
- Navigation allows you to determine if you want the leader to control page scrolling and zooming. Turn this off if you would rather do that yourself. Default is on.
- Lyrics allows you to turn lyric display on or off. Turn off if you are a guitarist that don't need no stinking lyrics. Turn it on otherwise. Default is "default" which uses the preference from the shared version.
- Chords allows you to turn chords on or off. If you are a vocalist, you can choose to turn the chords off for instance. Default is "default" which uses the preference from the shared version.
- External File will allow you to use or not use the external file of the song if it exists. Pianists may turn this on to receive a lead sheet or score while the rest of the team receives a chord chart. Default is "default" which uses the preference from the shared version.
- Transpose determines if the song is to be transposed in its declared key or not. You can use this to write a song in a key that can be used for one instrument, and then transposed to another. Default is "default" which uses the preference from the shared version.
- Capo determines if capo should be applied to the chord chart. Guitarists should turn this on and bassists and pianists can turn it off. Default is "default" which uses the preference from the shared version.
- Diagrams allow you to determine if chord diagrams are drawn on your chord chart. You're an expert huh? Go ahead and turn it off as you revel in some superiority (not too much). Default is "default" which uses the preference from the shared version.
- Instrument allows you to choose the instrument that you play. This is used for drawing chords differently from you. We all know you play jazz ukulele, so just set it here. No more guitar chords for you. Default is "default" which uses the preference from the shared version.
Servers
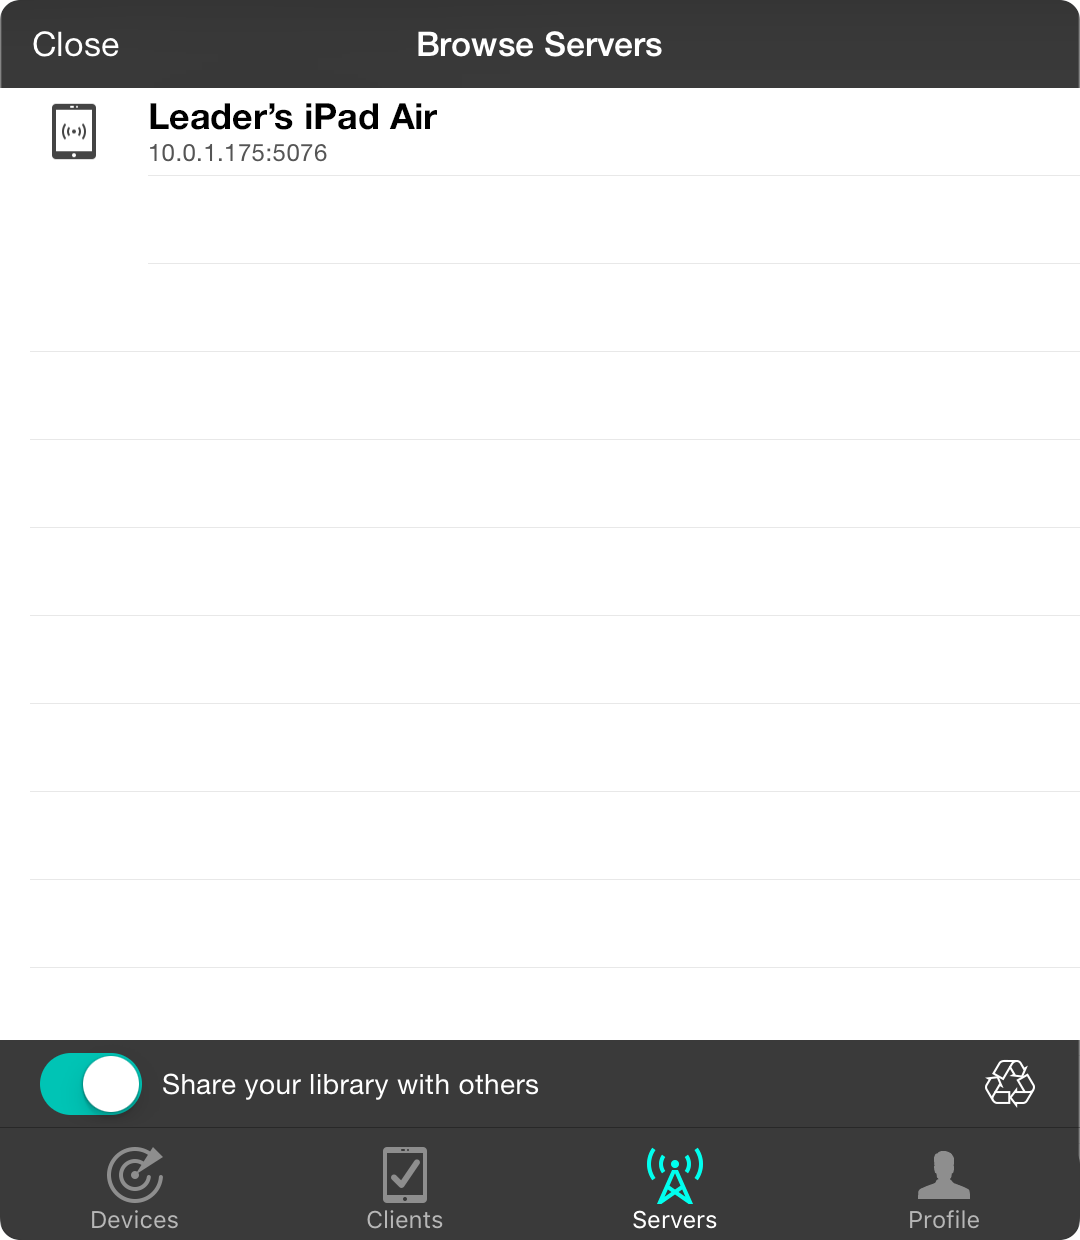
The servers tab will display servers on the OnSong local network including yourself.
Connecting to Servers
Tap on a server in this list to connect yourself. This will open a prompt on the server giving the leader an opportunity to accept the connect or deny it.
Reading the API
If you tap on yourself in this list, a web browser will open with the OnSong Connect API documentation. This can be used to allow developers to create apps that work with OnSong. You can access the API documentation here.
Becoming a Server
At the bottom of the screen is a switch called Share your library with others. Turn this on to become a server yourself. After a brief moment you will be added to the list above.
Recycling
The recycle button in the lower right corner is designed to remove any and all "hooks" that are attached to you. Hooks are how OnSong sends content to clients. This button will also clear the current whitelist of approved devices requiring you to approve connection of those devices.
Press this button to disconnect everything and reset your server. You must then reconnect to clients in the Devices tab.
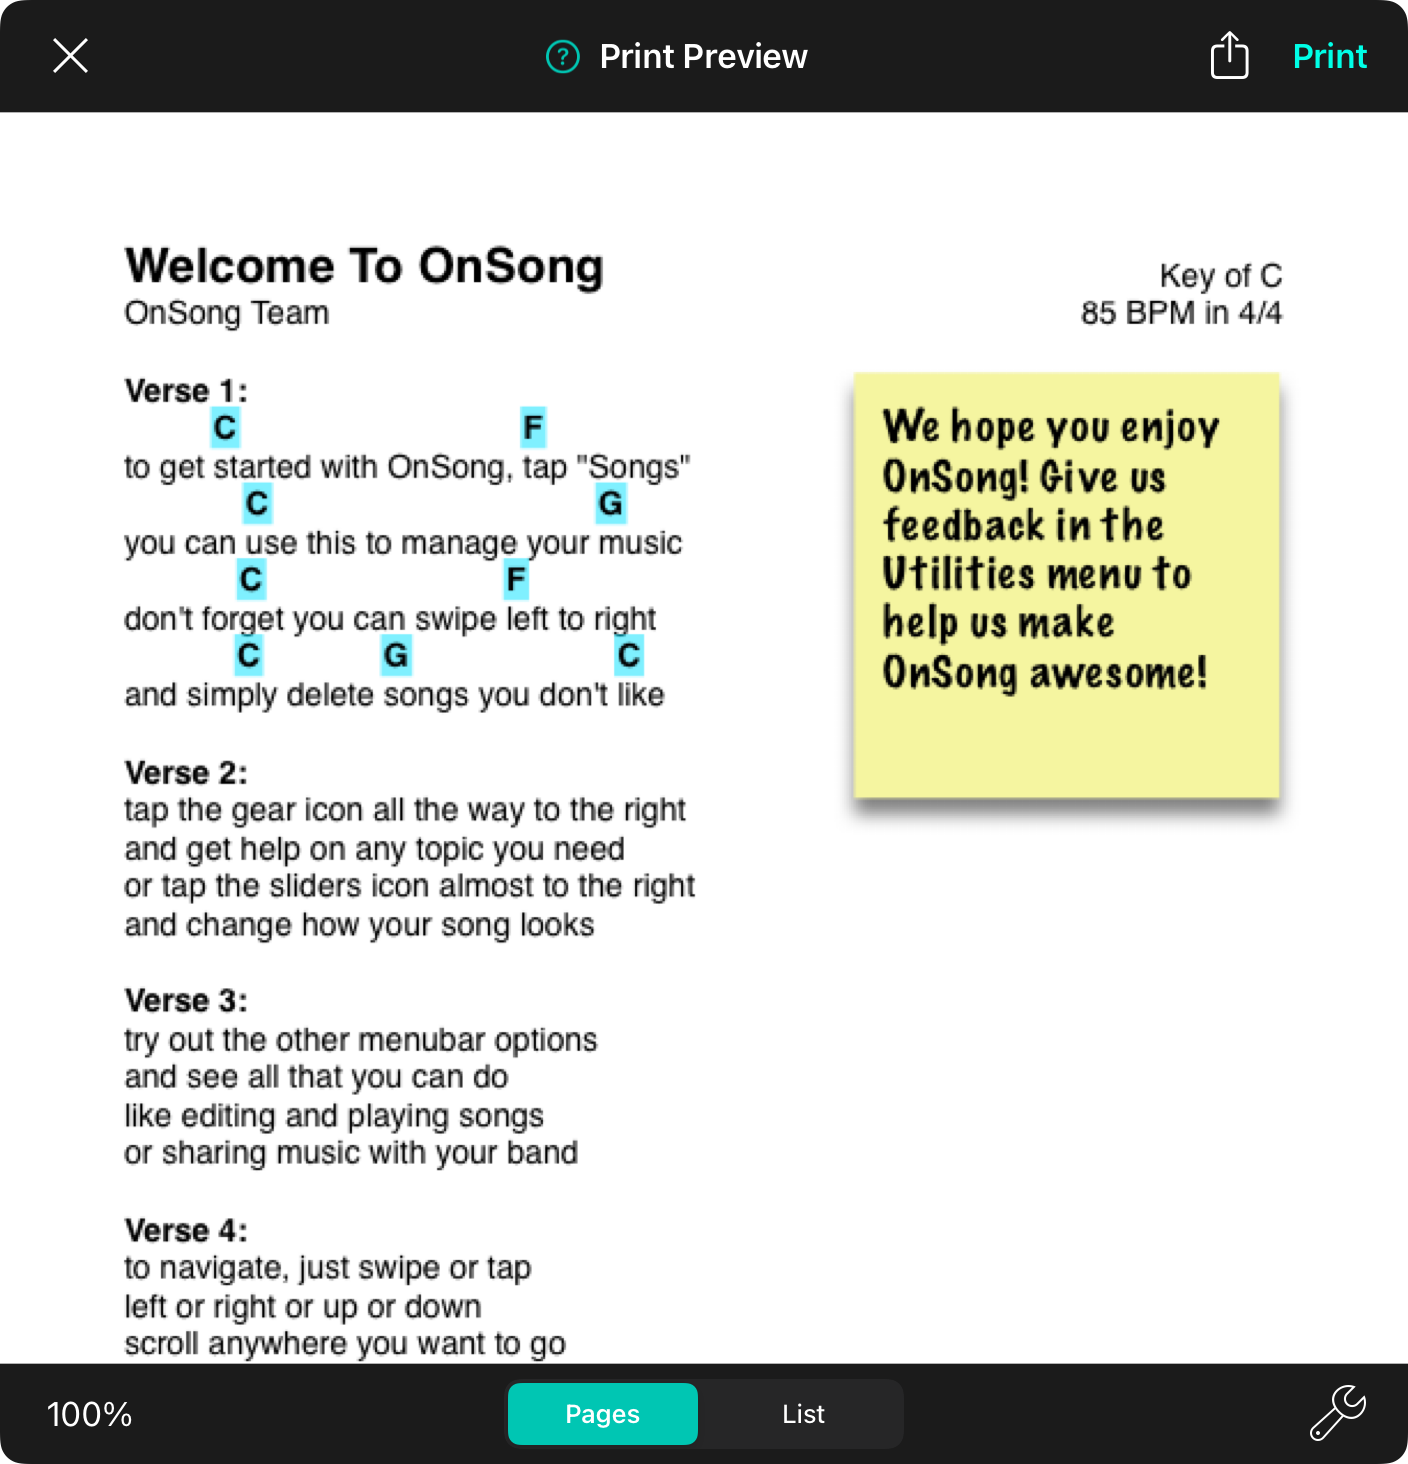
Choosing the share's print option opens the Print Preview Screen. This provides a number of tools to customize the print job before sending it to a printer, or to another app or location. This screen features:
Share Button
This button appears to the right of the print button and allows you to share the songs to another app or system service instead of printing it.
Print Menu
When you are ready to print, tap on the Print button in the upper right. A menu will appear allowing you to select your printer and the number of copies to print.
Print Preview
The majority of the screen is the print preview. OnSong generates a PDF file for the print job and this is displayed in this area. Scroll down through the output.
Print Mode Button
In the lower left corner appears the print mode button (iOS 6 and higher). Tap on this button to toggle between the default mode of printing chord charts and the secondary mode of printing a song list. Print Options change depending on the mode selected.
Font Scale Slider
The bottom center of the print preview screen contains a slider which is used to adjust the size of outputted fonts to better fit the output to pages. Slide this to the left or right to shrink or enlarge the font. You can also tap on the icons on the left and right to adjust the scale by 1%.
Print Options
This menu allows you to configure what to include in the printout, paper size, and margins, as well as multi-page functions to conserve paper by printing many pages on one sheet.
Print Menu
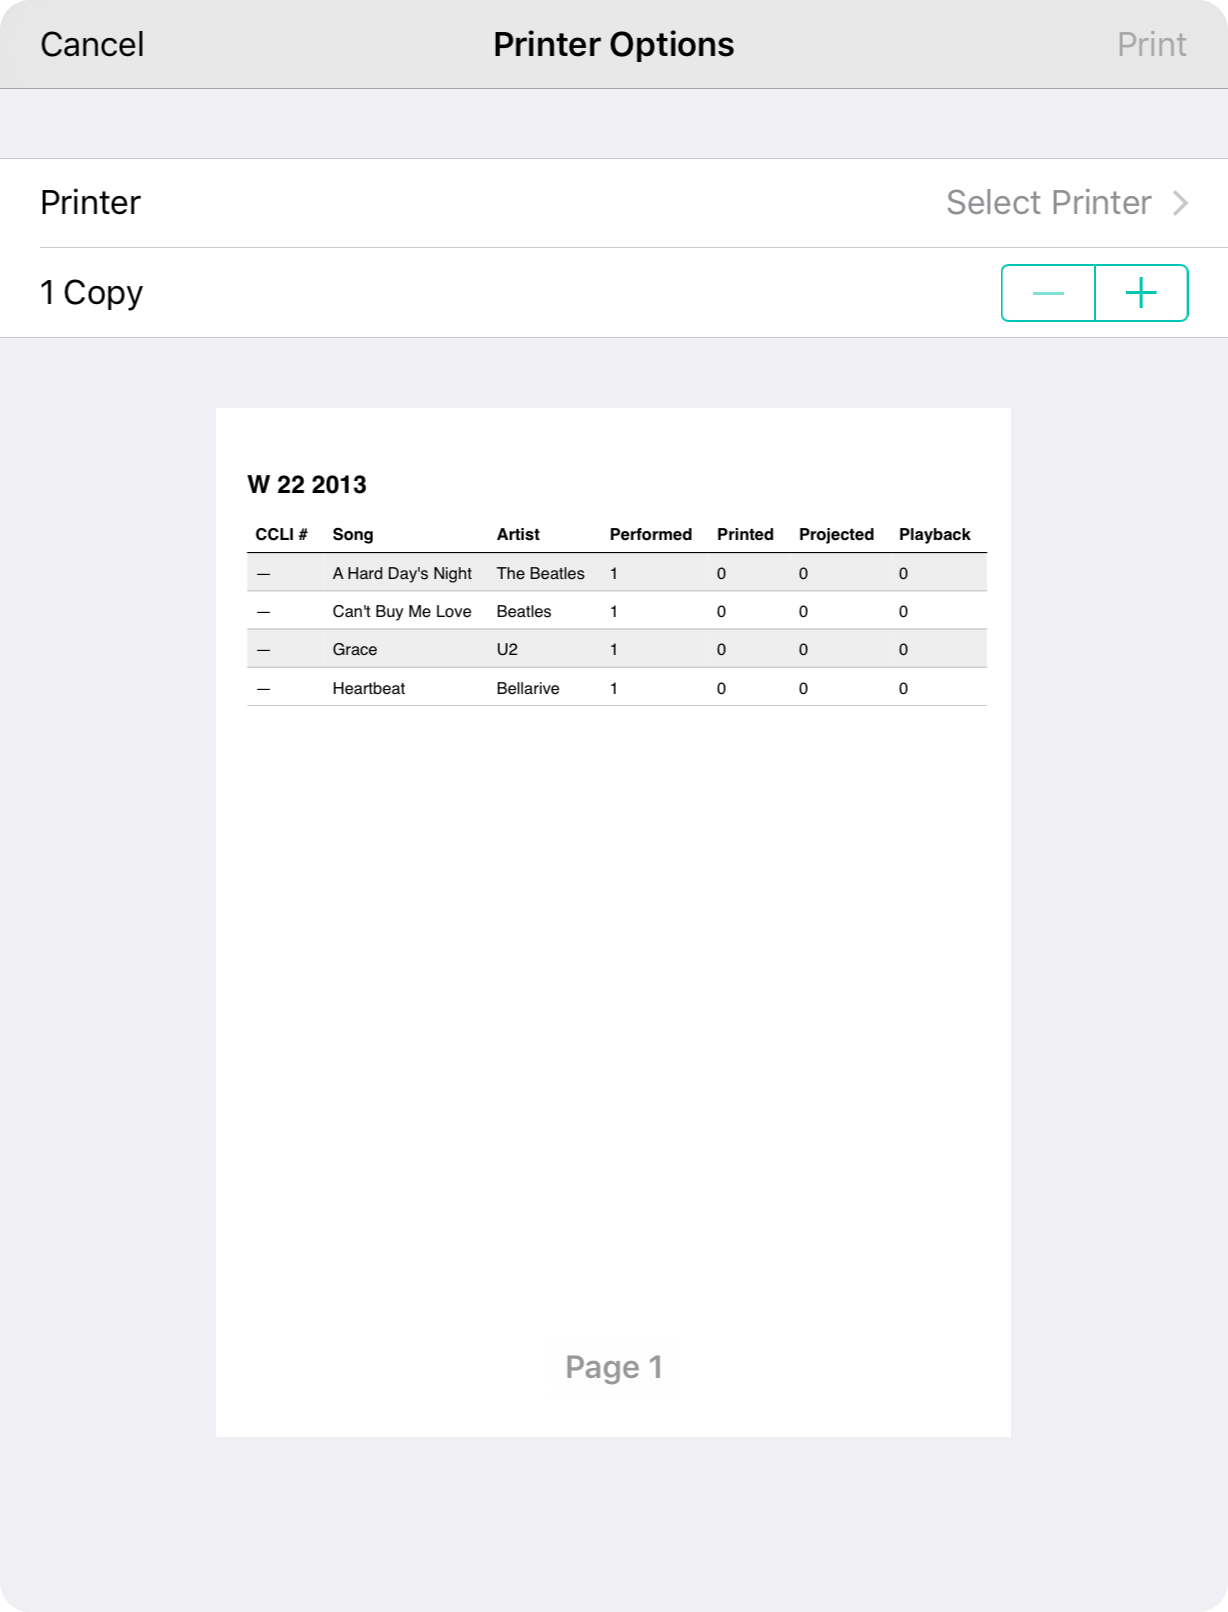
When you tap on the print option, you are presented with a print menu that allows you to choose a printer as well as the number of copies to print.
Printer
Tap on the Select Printer row to choose a printer. This will search for nearby printers on your network. OnSong uses AirPrint to print documents. To determine if your printer is supported by AirPrint, or to find a printer that supports AirPrint, please refer to the About AirPrint support document.
Copies
Use the stepper control to adjust the number of copies you want to output.
Print Button
Tap on the print button to send the print job to the printer.
Options Menu
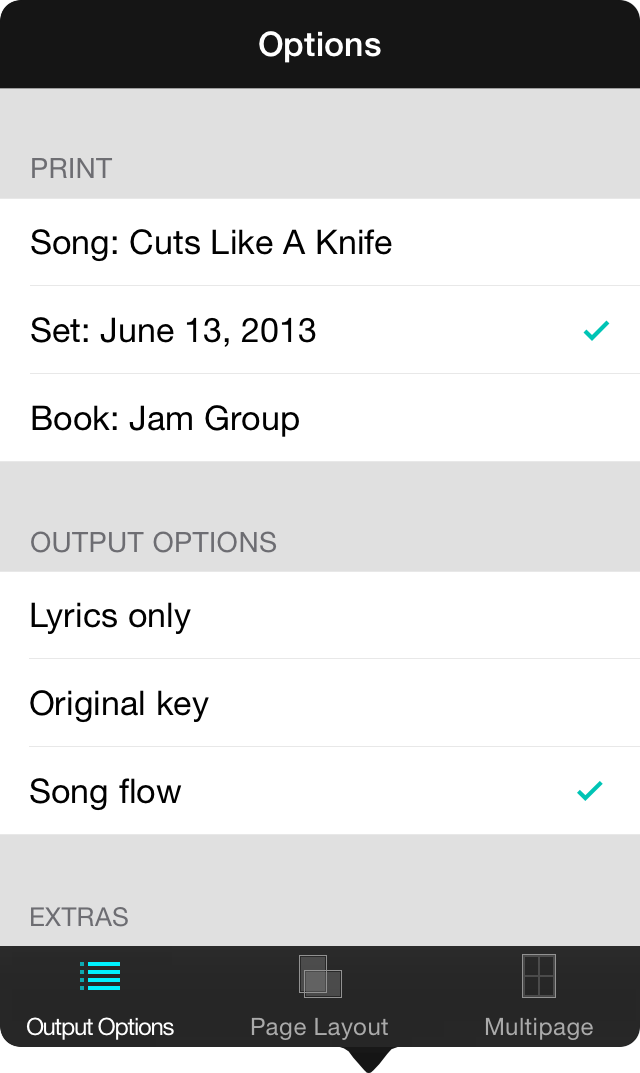
The print options menu allows you to define what is to be printed and how it is to be printed. This menu is comprised of three tabs to help organize these options:
Output Options
This tab allows you to choose what is printed including what songs are included in the output, any alterations to the output, as well as extras to be included or omitted from the printed version.
Page Layout
OnSong uses the default paper size as used to draw the chord charts on the screen. You can change the paper size and margins using the page layout tab.
Multipage
You can reduce the amount of paper you print, or create less clutter for musicians using printed music by using multipage. This will print multiple pages on a single physical sheet of paper.
Multipage

Multipage allows you to print more than one page per physical sheet of paper. Not only does this conserve paper and make printing faster, but it can also reduce clutter in circumstances where additional paper would be unusable.
The multipage menu allows you to configure the properties of the page that is outputted. Values set in the Page Layout Menu are used for drawing each page on the multipage sheet. Options are arranged into the following sections:
Multipage
To turn on multipage, you will need to select how many pages to draw on a single, physical sheet. OnSong uses printing press jargon of "n-up" to indicate how many pages are placed on a sheet.
The orientation of the physical sheet is determined by the quantity of pages and the page orientation set in the Page Layout Menu. For instance, if you select 2-Up and the portrait orientation is used, then OnSong will output both pages on a single, landscape sheet. If the pages are defined as being in the landscape orientation, then two pages are printed on a single physical page in the portrait orientation.
Options include:
- Off is equivalent to 1-up in that the page is printed directly to the printer. Default.
- 2-Up places two pages adjacent to each other on a single page.
- 4-Up places four pages in a grid on a single page.
- 8-Up places eight pages in a grid on a single page.
- 16-Up places sixteen pages in a grid on a single page.
Paper Size
This is the size of the physical paper to print other pages upon and can be different than the paper size set in the Page Layout. The paper size found in Page Layout is used by default. Options include:
- Letter (8.5" x 11")
- Legal (8.5" x 14")
- Tabloid (11" x 17")
- A5 (148mm x 210mm)
- A4 (210mm x 297mm)
- A3 (297mm x 420mm)
Margins
Margins can be set individually for the top, left, bottom, and right margins. Margins are set to those found in Page Layout by default. Options include:
- 0"
- 1/8"
- 1/4"
- 3/8"
- 1/2"
- 5/8"
- 3/4"
- 7/8"
- 1"
- 1-1/8"
- 1-1/4"
- 1-3/8"
- 1-1/2"
Gutter
The gutter is printing press jargon for the space between columns. In this screen, you can place space between each of the pages drawn on the physical sheet of paper. Options include:
- 0" places pages adjacent to each other. Default.
- 1/8"
- 1/4"
- 3/8"
- 1/2"
- 5/8"
- 3/4"
- 7/8"
- 1"
- 1-1/8"
- 1-1/4"
- 1-3/8"
- 1-1/2"
*Note: OnSong automatically draws an outline around each outputted page to indicate it's bounds on the physical sheet or paper.
Page Layout
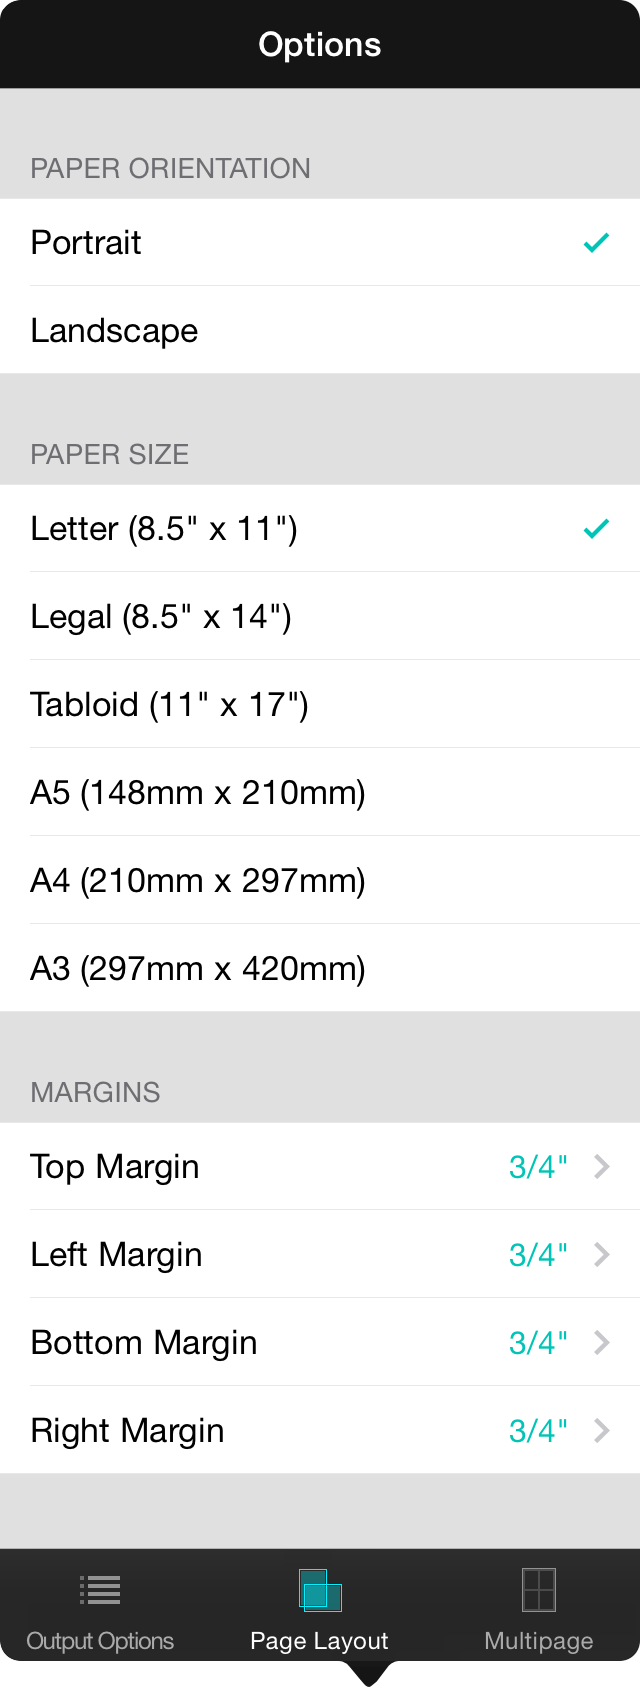
The page layout menu allows you to adjust the type and dimensions of the paper you print on. Options are divided into the following sections:
Paper Orientation
This is the orientation of the paper and includes the following options:
- Portrait aligns the paper to be taller than it is wide. Default.
- Landscape aligns the paper to be wider than it is tall.
Paper Size
This is the standard size of the paper to print. The default value is defined in settings for how to render the page on-screen. Options include:
- Letter (8.5" x 11") - Default
- Legal (8.5" x 14")
- Tabloid (11" x 17")
- A5 (148mm x 210mm)
- A4 (210mm x 297mm)
- A3 (297mm x 420mm)
Margins
Margins can be set individually for the top, left, bottom, and right margins. Margins assume the default values as defined in settings for the page rendering on-screen. Options include:
- 0"
- 1/8"
- 1/4"
- 3/8"
- 1/2"
- 5/8"
- 3/4" Default.
- 7/8"
- 1"
- 1-1/8"
- 1-1/4"
- 1-3/8"
- 1-1/2"
Output Options
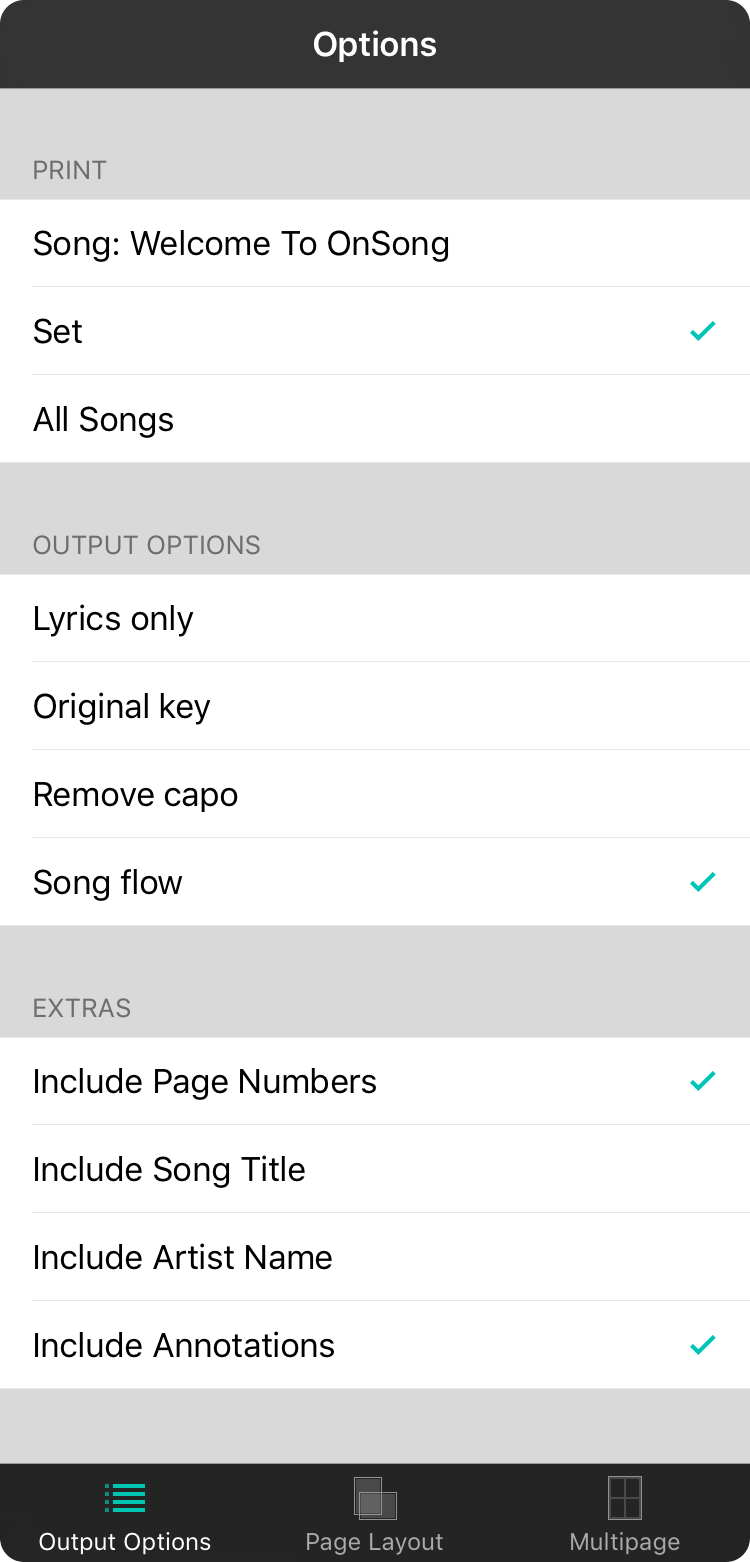
The output options tab defines what is outputted on the printout. It has the following options:
Here you determine how many songs are to be printed. If you have a set selected in OnSong, the set is automatically selected to be printed. If you have selected a single song from your library, then only that song will be selected. You can also print an entire book.
- Song displays the current song title. When it is selected, it will either 1) output the song's chord chart or 2) place the single song in your song list (which isn't too useful). This is selected by default when you have chosen to print chord charts and a single song is selected.
- Set displays the current set title. When selected, it will output every song in the currently selected set. If you are outputting a song list, then the songs in that set are outputted in the list in the order they appear in the set. This option is selected when you are viewing a set in OnSong.
- Book will output every song in the book. This option is selected by default if you have chosen to print a song list and only have one song selected. If you choose the option when printing chord charts, you will receive an alert, since generating many song chord charts to print can take a long time.
Output Options
This section of the menu allows you to toggle two options on and off that affect chord chart printing.
- Lyrics only can be used to omit chords from the print out. This is useful for sing-a-long sheets or if printing lyrics for a vocalist.
- Original key will remove the transposition that was applied to the song, displaying the key in which the song was written.
- Song flow determines if the song flow tag should be used to affect printing. If enabled, the song is printed in the arrangement specified by flow attributes.
Extras
This section of the menu allows you to toggle certain options on and off for what to include on the page. This changes depending if you are outputting chord charts or a song list.
Song List Extras
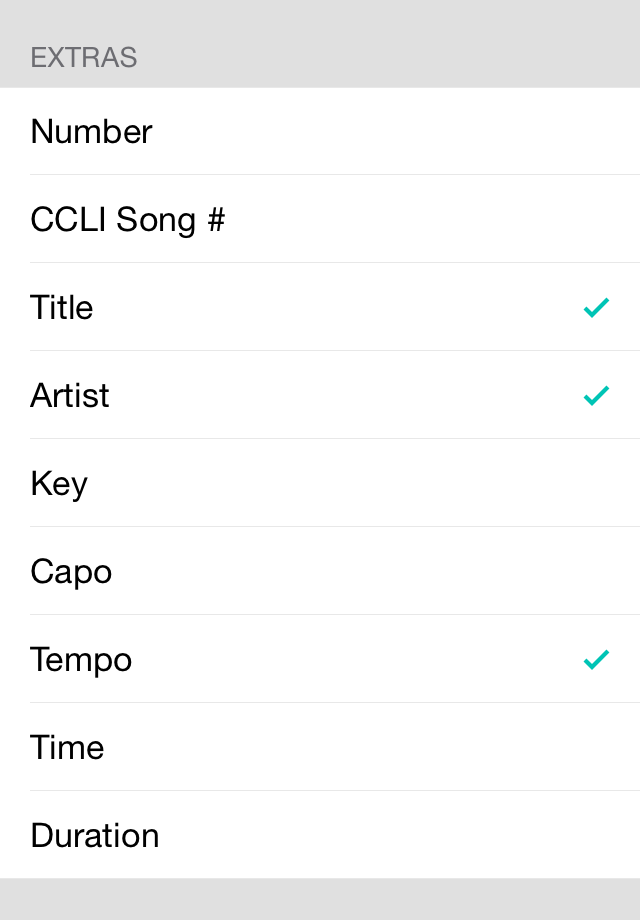
When printing a song list, the extras section is used to determine what columns should be outputted in the song list table. These columns are presented in the order they will appear in the song list table output.
- Number is the number assigned to the song using the number metadata.
- CCLI Song # will output the song's CCLI song number as declared in metadata.
- Title will output the song title.
- Artist will output the name of the artist.
- Key will output the key of the song. To output the original key of the song, use the original key option in output options.
- Capo will output the capo amount.
- Tempo will output the tempo as BPM.
- Time will output the time signature.
- Duration will output the time duration of the song.
Chord Chart Extras
When printing chord charts, the extras section is used to determine what information is outputted in the footer. This includes:
Include Page Numbers
When this is enabled, the page numbers are outputted in the lower right corner of the page. This is enabled by default.
Include Song Title
When this is enabled, the song title of the song is outputted in the footer of each page. This is outputted in the lower left corner of the page.
Include Artist Name
When this is enabled, the artist name of the song is outputted in the footer of each page. This is outputted in the lower left corner of the page.
Share Menu
While the main function of the print preview screen is to print songs and sets to paper, you can also share the print job with other apps, or export to file sharing or Dropbox. Tapping on the share menu will provide the operating system native sharing menu with the following options:
AirDrop
You can send your print job to another device running AirDrop. This will wirelessly send a PDF file to the other iPad or iPhone. This does require iOS 7.0 or higher and only works on compatible hardware. When a nearby device is running with AirDrop support, tap on the name of the device to send the generated PDF file to it.
Apps
Apps that can open the PDF file are automatically displayed. This list is controlled by iOS and typically includes the Mail app for send email and the Messages app for sending the content as an iMessage or SMS.
Actions
In addition to sending the PDF to apps, you can also perform additional actions. This list includes:
- Copy to copy the file into the clipboard for pasting in another app.
- Print to open the print menu to pick a printer and print copies.
- Export to send the PDF file to either file sharing or Dropbox.
Export Activity Screen
When you choose the export action in the share menu, you are prompted for where you would like to export your file. The file that is generated is named after the song, set, or book that has been exported with a PDF file extension. If you export a list, the word "List" is appended to the end of the file name.
File Sharing
Tapping on the file sharing option will export the file to a folder on your device. This can be accessed through the Finder (macOS) or iTunes (Windows) with the supplied USB charge and sync cable.
Dropbox
Tapping on the Dropbox option will allow you to select the folder where you can export the files.
File Sharing


File sharing is designed to move files on and off of your device via the Finder (macOS) or iTunes (Windows)
Connecting Your Device
To use file sharing, connect your device to your computer with the supplied USB sync/charge cable. Next, open Finder on macOS. You can then find the device listed in a Finder window under Locations similar to connecting a USB thumb drive. You can select it retrieve files.
Finding Files
Once in this screen, tap on the Files tab and select OnSong. You can then add files to the OnSong file sharing folder by dragging and dropping those files into this screen, or you can likewise copy files from here in the same manner. You can then select multiple files and delete, etc using the delete key on your keyboard or by right-clicking for a context menu.
Remember that you can select multiple files by holding down the SHIFT or CTRL (PC) or command (Mac) keys. You can also delete files in this list by selecting them and pressing the DELETE key on your computer keyboard.
Important
It is important to note that if you export an OnSong Backup file to File Sharing, you need to save the file to your computer. If the backup file is located on your device and the device is lost, stolen, broken, or inaccessible for any reason, you will not be able to retrieve your OnSong library.
Dropbox
Choosing the Dropbox option for sharing a printout will prompt you for an export location. Navigate to the folder where you would like the PDF file exported and tap on the Export button in the upper right corner.
Linking to Dropbox
If you are not signed into Dropbox, OnSong will automatically begin linking to your Dropbox account. If you have the Dropbox app installed on your device, you will be directed to the Dropbox app to authorize access to the OnSong app. If you do not have the Dropbox app installed, another screen appears which is a web-based authorization form provided by Dropbox. The entire authorization process is handled by Dropbox and no information is passed to the OnSong app.
Signing Out
If you need to sign out of Dropbox for any reason, tap on the Sign Out button in the lower left corner. You will then be prompted to sign into Dropbox or authorize your account again.
Creating Folders
If you would like to export the PDF file to a new folder, tap on the + button in the lower right corner to create a new folder. Once created you will need to select the folder and tap on the Export button.
Social
You can promote your set list using OnSong by socially sharing your set list on Facebook or Twitter. When you choose social for sharing, you are prompted to choose a social network. Tap on one of the options to open a panel for completing the tweet or post.
Use Facebook to post on your timeline.
Use Twitter to tweet your setlist to your followers.
SMS
Send a list of song titles in your set with iMessage or SMS. If you do not have text messaging or iMessage enabled on your device, this option will appear greyed out and you will not be able to send share via SMS.
Copy
If you need to share your song list in other social apps, tap on the copy option to have the web address of the shareable web site copied into your clipboard. You can then paste the URL into another app.
Choosing the Twitter option will open a panel to allow you to post to your Twitter timeline. The titles of songs in your set will be written in the tweet details. OnSong will also include a link to a custom website on onsongapp.com to provide additional details about the set.
You can optionally choose your current location. When you are finished, tap on the Post button in the upper right to send the tweet. You can also tap on the Cancel button to close the panel without posting.
Broadcast Picker
This screen is opened by the operating system and allows you to choose a video conferencing app to use for sharing your screen. Additionally, you can send your screen to the Photos app for recording the session as a video.
Recording Status
The top portion of this interface displays a recording button. When screen sharing/recording starts, this shows a countdown. Tap on the picker interface to close the picker.
App List
In the middle of this interface is a list of mostly video conferencing apps installed on your device that are compatible with screen sharing. Choose an app to use. This app will be remembered so you only have to choose it once. You can choose from supported video conferencing apps such as Zoom, Skype, GoToMeeting, Cisco WebEx and many more. Or, choose the Photos app to record your performance.
Start/Stop Broadcast
To begin broadcasting/recording, tap on the Start Broadcast button. Alternately, if you open this screen again, this button will display Stop Broadcasting which can be tapped to stop the broadcast.
Microphone Off/On
Use this button to determine if your microphone should be enabled. Since you are most likely already using the microphone in the other app, you may not want to enable this. If you are recording the video and would like to narrate, turn this on.
Tap anywhere in the system broadcast picker to close the screen.
Choosing the Facebook option will open a panel to allow you to post to your Facebook timeline. The titles of songs in your set will be written in the post details. OnSong will also include a link to a custom website on onsongapp.com to provide additional details about the set.
You can optionally choose your current location and the audience to address with the Facebook post. When you are finished, tap on the Post button in the upper right to send the post. You can also tap on the Cancel button to close the panel without posting.
SMS
Choosing the SMS option will open a panel to allow you to send the song titles in the currently selected set to SMS or iMessage recipients. OnSong will also include a link to a custom website on onsongapp.com to provide additional details about the set.
Add recipients in the To field. When you are finished, tap on the Send button to the right of the generated text to send it to the recipients. You can also tap on the Cancel button to close the panel without sending.
Song Editor
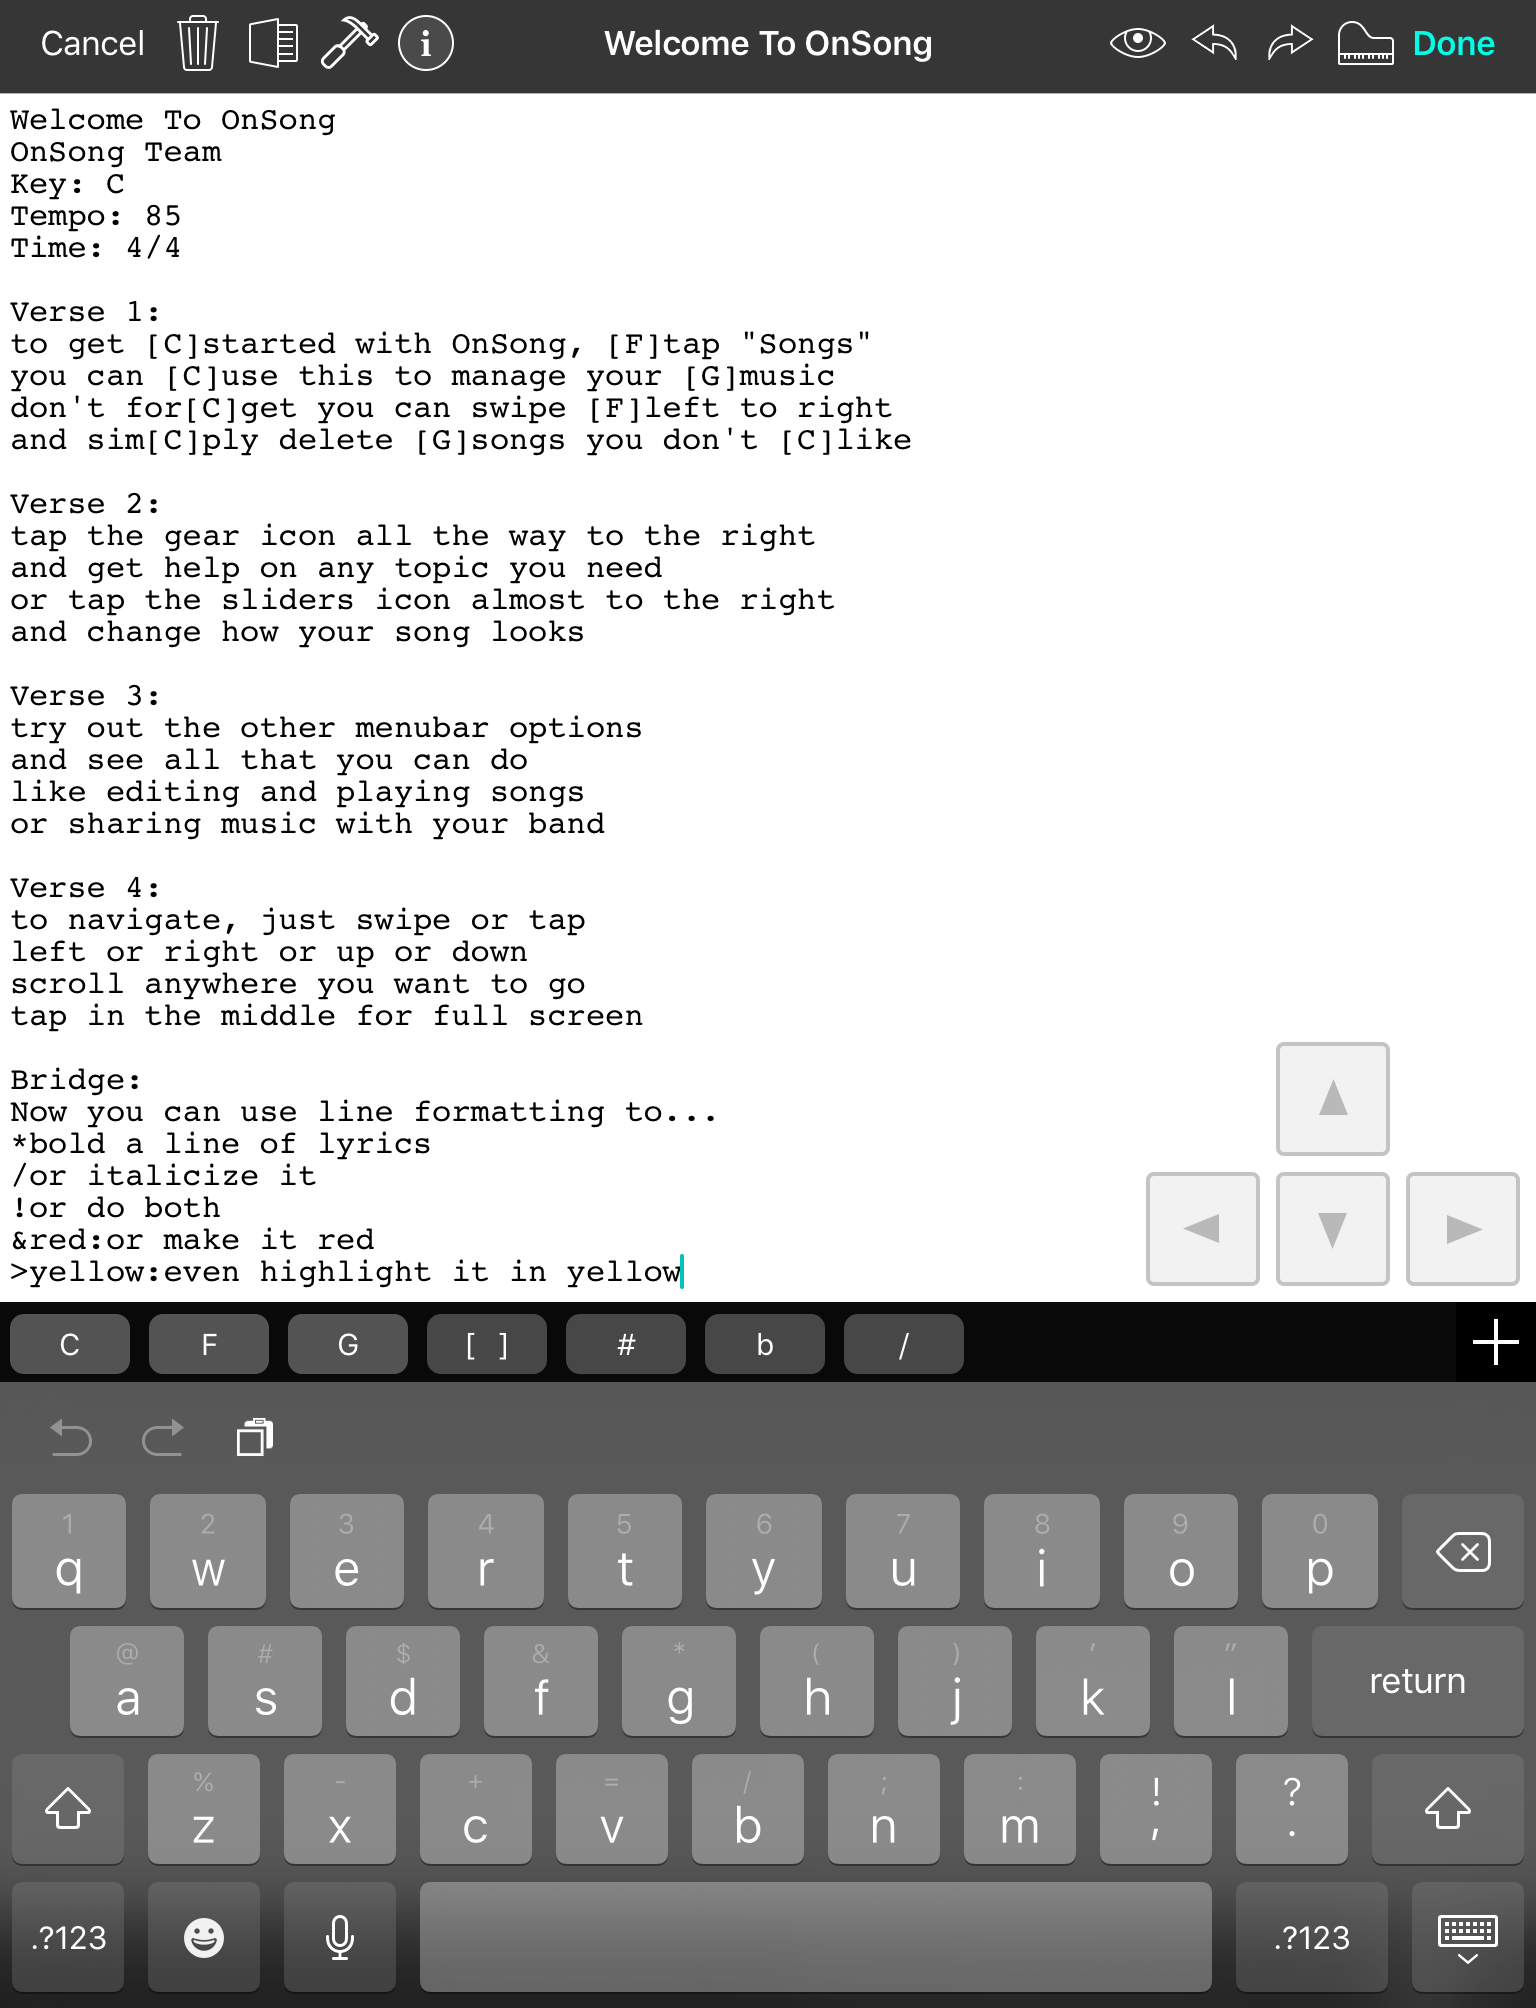
The song editor allows you to make changes to text-based chord charts. This screen features the following user interface components to help you create and edit your chord charts:
Menubar
The menubar contains tools for helping you edit your chord chart. In addition, you can save your changes by tapping on the Done button, or discard any changes you've made using the Cancel button.
Text Editor
The majority of the screen is consumed by the text editor. This displays the content of your song file for editing. Tap into the text editor to make changes using the on-screen keyboard and quick chord bar.
Quick Chord Bar
The quick chord bar appears above the keyboard and provides buttons to quickly insert chords or symbols into your chord chart.
On-Screen Keyboard
When the cursor is placed into the text editor, the on-screen keyboard appears. This section will discuss intricacies of the on-screen keyboard you may find helpful.
Conversion Toolbar (not shown)
When editing a song that was imported using a non-text file format, the conversion toolbar appears under the on-screen keyboard to provide the ability to convert the file into text.
Compact Mode
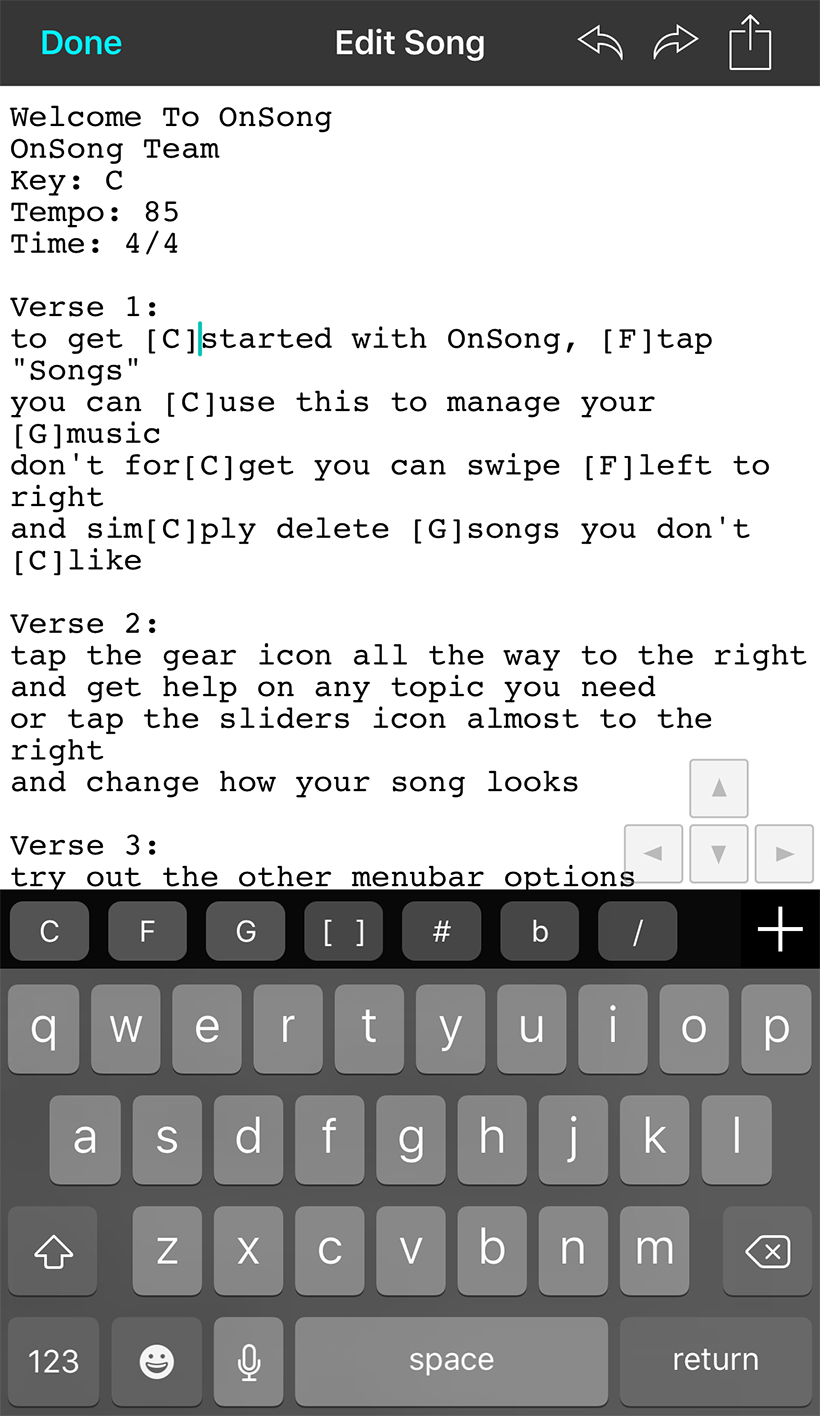
When using OnSong on iPhone, iPod Touch, or when running OnSong in a split screen, the song editor is altered displaying less menubar buttons while offering the same functionality. The menubar contains:
Done Button
Tapping on the done button will prompt you to save any changes you have made. You can choose to save or discard those changes. This is different from the iPad version which has both a Done and Cancel button.
Undo Button
The undo button will undo the last action that was recorded in the Text Editor undo history.
Redo Button
Counter to the undo button is the redo button which adds actions performed in the Text Editor back after being undone.
Action Menu
All other functions of editing the song are moved into the action menu which can be accessed by tapping on the button to the far right of the menubar.
Conversion Toolbar
The conversion toolbar that is shown at the bottom of the editor on the iPad version is omitted from the compact version due to already limited screen real estate. It's function is replicated in the Action Menu.
Action Menu
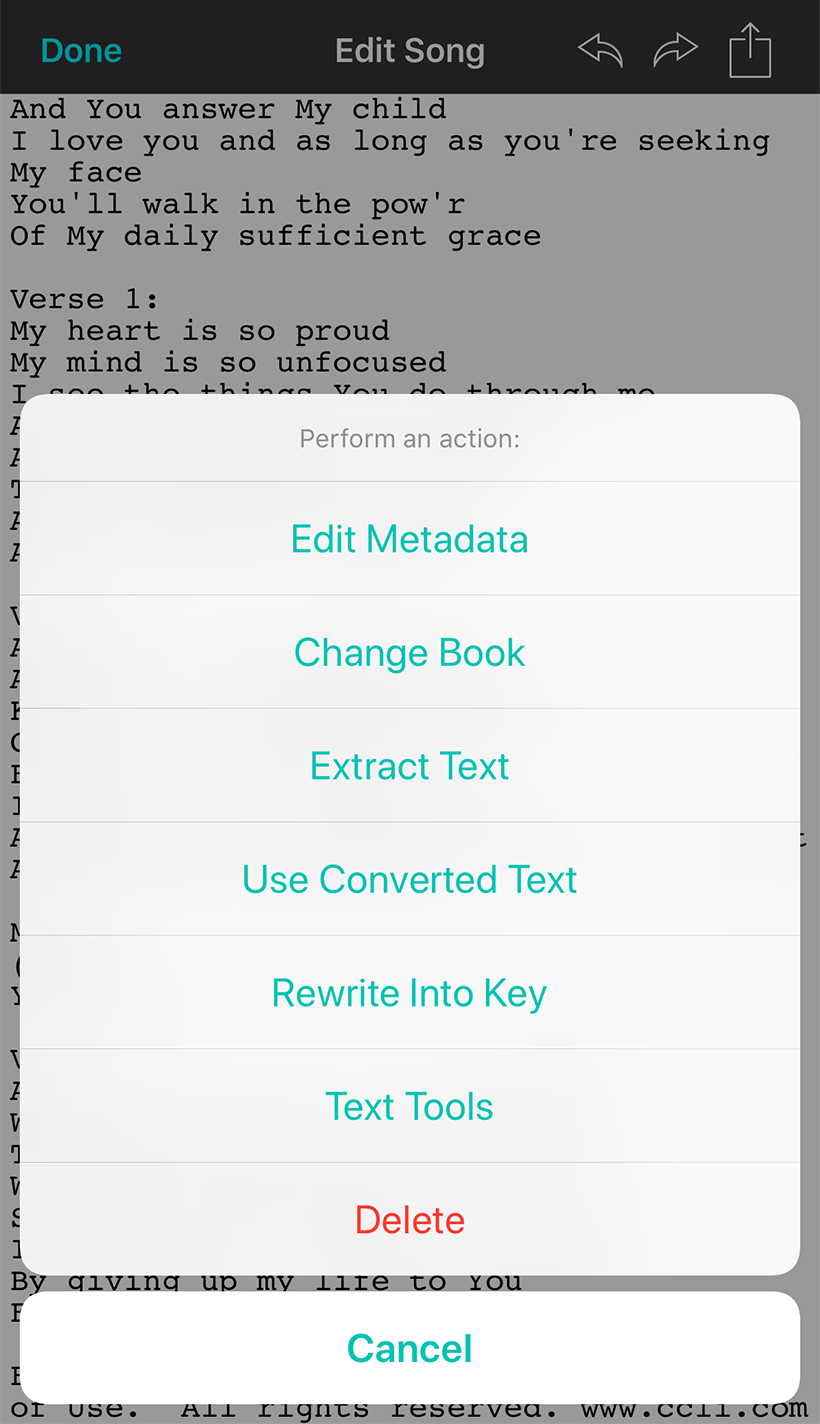
The menubar functions of the iPad version of the song editor are accessible in this menu:
Edit Metadata
The metadata editor gives you fields to complete in order to set the metadata content of the song.
Change Book
This menu lets you add the song to books without adding metadata.
Extract Text/Revert From Text
This button will either extract the text of the imported file and overwrite the contents of the text editor, or revert to the last known version of the song contents before extraction took place.
Use Extracted Text/Use Imported File
This option is used to toggle between displaying the imported file in the song viewer, or using the extracted text instead. This options is automatically toggled during the extraction process.
Rewrite Into Key
This menu allows you to rewrite the current song content into a different key for easier editing.
Text Tools
This button will open the text tools menu which gives you tools to perform on the text content of the song like search and replace, or changing the chord format of the text.
Delete
Tapping on the red delete option will delete the song. This will prompt you before deleting the song in case you accidentally tap on the button.
Cancel
This button closes the action menu.
Extracting text and switching between the imported and text-based versions of the song are only available on songs containing imported files and whether that file contains extractable text.
Conversion Toolbar

The conversion toolbar appears at the bottom of the screen when you first open the song editor. This will only appear for songs that have originated from imported files. This bar includes two components:
Convert File
When you have a file where conversion is supported, the convert file button appears. Tapping on this button will begin the conversion process. Once completed, a Revert File button will appear here to switch back to the text content prior to the conversion.
Use the imported file instead of OnSong
This switch allows you to toggle between the text-based version of the song and the external file that was imported. This can be useful during the conversion process or to maintain two distinct versions of a song.
Extract Text
OnSong can extract text from nearly any file type that it can import. The following extraction methods are supported by OnSong.
Adobe PDF Text (.pdf)
Extracts text content from PDF files and uses positioning to determine line breaks. PDF files are designed to accurately replicate the printed page and may not contact textual content. This may result in the PDF file being submitted for OCR or optical character recognition.
Apple Pages (.pages)
Older versions of Pages can be converted. Newer versions are not currently supported due to changes in the file format. If you need to convert newer Pages files, please export as a plain-text file from the word processing application.
HTML Files (.html)
This method extracts text and strips HTML tags from web-viewable files like HTML.
OpenOffice Text (.odt)
OpenOffice files can be converted into text despite some versions of iOS not being able to view the original files.
Optical Character Recognition (.pdf, .jpg, .png, .tiff, etc)
If a file is an image, OnSong can submit it for optical character recognition. The quality of the output does depend on the image file. For instance, handwriting will produce poor results.
Microsoft Word (.doc and .docx)
Extracts text content from all versions of Microsoft Word.
RTF Files (.rtf, .rtfd)
RTF is a basic file format for word processing. OnSong can extract text content from these as well.
Note: Conversion is the process of converting a particular file type into text. Source files rarely have content in a form that matches perfectly with the OnSong or ChordPro file formats. You will need to adjust the content after conversion for best results in OnSong.
Use the imported file instead of OnSong
When you import an external file such as a PDF or Microsoft Word document, the file is attached to the song and is viewed by default. One of the features of OnSong is that it can convert your imported files into text. This results in two versions of the song content. This switch can be used to toggle between the externally linked file and then text-based chord chart.
Let's follow some possible scenarios on why or how this switch can be used:
Converting to Text-Based Chord Charts
Typically the conversion process in OnSong will extract the text of the external file. This means that you will need to make changes to the resulting content to work in OnSong. Because of this, you may want to switch back to the originally imported file to give yourself time to make adjustments. Let's take a look at the possible scenario:
- You import a PDF file to use it in your set, but you want to be able to transpose and format the song.
- To convert to text, you open the song editor and tap on the convert file button. Then you click done.
- When viewing the song, you find that chords are not aligned properly but you don't have time to fix it now.
- You open the song editor again and then turn this option on and tap Done.
- Now you can view the originally imported file, but continue to make adjustments in the song editor between sets.
Lead Sheets and Chord Charts
Another way to use this feature is to import a lead sheet as a PDF that includes musical score. While this can be viewed inside of OnSong, many of the features of OnSong regarding chord charts is lost. You can copy and paste the chord chart into the song editor to have both a chord chart and lead sheet version of the song. This scenario could look like this:
- You import a lead sheet as a PDF file to be used by a pianist.
- Next, you tap into the song editor and write a text-based chord chart in the text editor.
- You can now use this function to view either the text-based chord chart for guitarists and other musicians, or the lead sheet for the pianist.
When using Stage Monitor Mode or OnSong Connect you can set your profile to receive either the external file, or the chord chart as needed along with other transpositional adjustments.
Menubar

The menubar provides the tools you need to create the perfect chord chart. Lets review each button and tool to see how the song editor works:
Cancel
If you opened the song editor to view the song, or have made changes you don't want to keep, tap on the Cancel button to close the editor without saving changes.
Delete Button
The trash can icon gives you the ability to delete the song. This will prompt you before deleting the song in case you accidentally tap on the icon.
Place In Book
This menu lets you add the song to books without adding metadata.
Text Tools
This menu gives you tools to perform on the text content of the song like search and replace, or changing the chord format of the text.
Metadata Editor
The metadata editor gives you fields to complete in order to set the metadata content of the song.
Song Title
The title of the song appears in the middle of the menubar to remind you of what song you are editing.
Undo
The undo button will undo the last action that was recorded in the Text Editor undo history.
Redo
Counter to the undo button is the redo button which adds actions performed in the Text Editor back after being undone.
Rewrite Into Key
This menu allows you to rewrite the current song content into a different key for easier editing.
Chord Builder
The chord builder helps you create chords using chord pickers. You can insert the chord into the text and add chords when the keyboard is not visible.
Done
The Done button saves any changes you've made to the chord chart and redraws the chord chart when the song editor is hidden.
Chord Builder
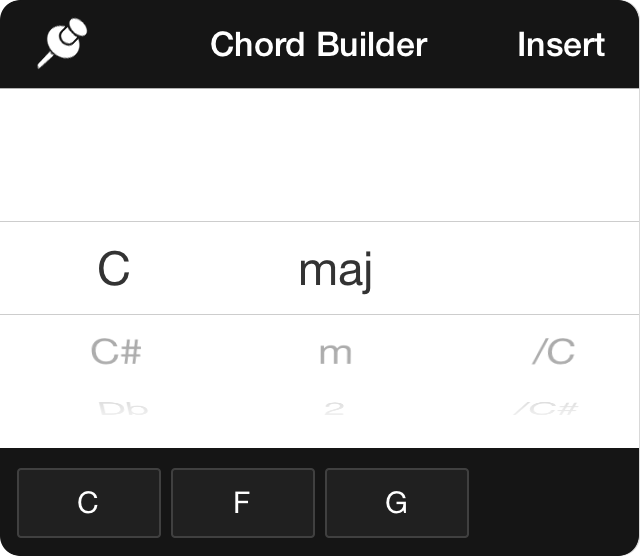
The chord builder allows you to build chords using basic pickers. In addition, existing chords found in the song are displayed in the bottom of the menu.
Once the chord has been selected, tap on the Insert button in the upper right to add the chord to your song at the position of the text cursor in the song editor.
When building a chord, you can select from three pickers:
Root
This is the root of the chord. Options include: C, C#, Db, D, D#, Eb, E, F, F#, Gb, G, G#, Ab, A, A#, Bb, B, Cb.
Variation
This is the variation of the chord and effect what notes are to played for the chord. Options include: maj, m, 2, suss, sus, sus4, 5, 6, 6add9, 7, 7sus4, m6, m7, maj7, 9, m8, maj9, 9dim, add9, flat9, 11, m11, 13, m13, maj13, aug, dim, flat5, 7#5, 6/9, m7#5, maj7#5, 7b5, m7b5, maj7b5, 7sus2, dim7, 7#9, 7#9add5, 7b9, 7#11, 7b9b13, 7b9/13, 7#9#13.
Bass Note
Options include: C, C#, Db, D, D#, Eb, E, F, F#, Gb, G, G#, Ab, A, A#, Bb, B, Cb.
Note: The pin icon in the upper left corner can be used to keep the chord builder menu open while you move the cursor to a different position in the text editor. Tap again to unpin the menu and close it.
Place In Book
The place in book menu allows you to select books you would like the song present in.
Selecting Books
Tap on the book name to add or remove it from that book. Changes are not saved until you tap the Done button in the song editor to save your changes.
Adding Books
Tap on the + button in the upper right corner to add a new book and assign the song to it without leaving the song editor.
Preview
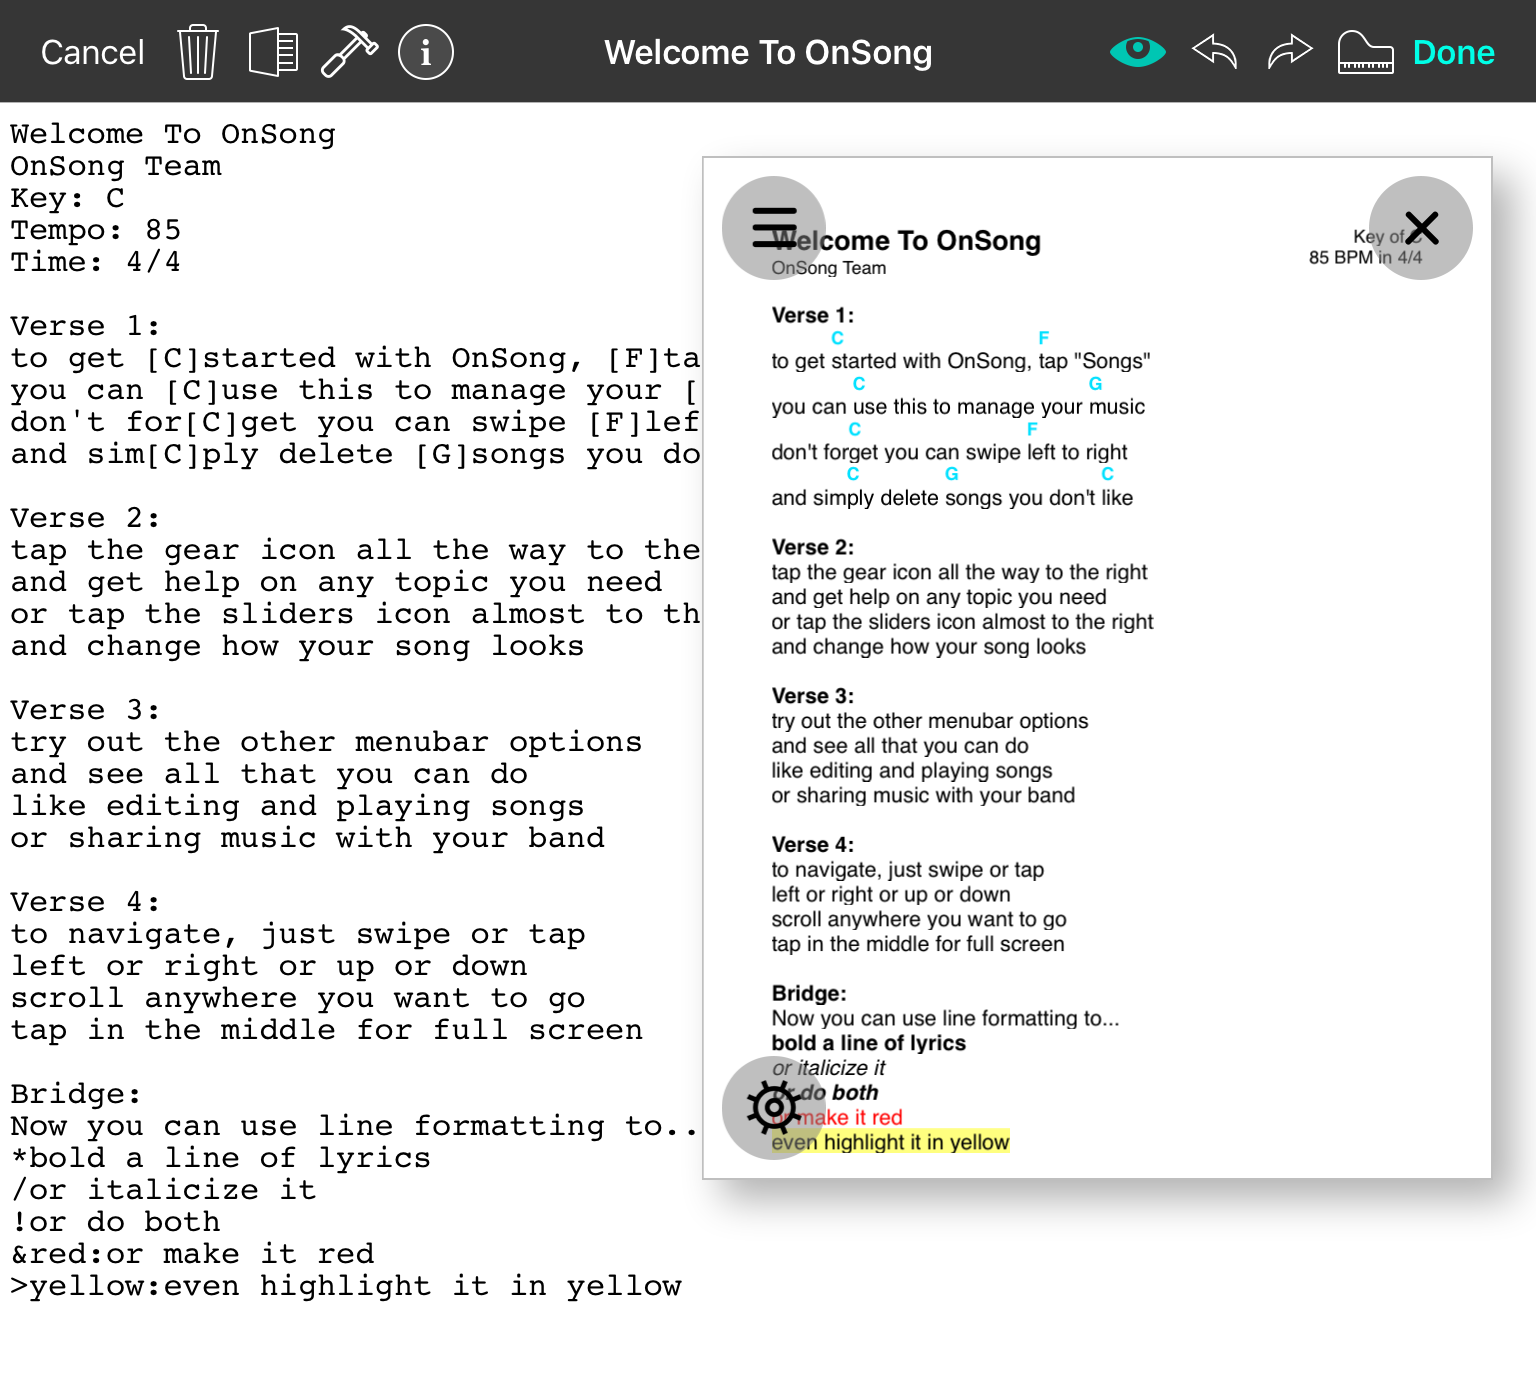
The preview widget can be toggled on and off in the song editor to preview how the song will appear when changes are saved.
Toggling
You can toggle the preview widget on and off by using the "eyeball" icon in the menubar, or by tapping on the x button in the widget when in editing mode.
Positioning
You can tap on the widget to enter editing mode. In this mode, buttons appear for changing the preview settings. You can also move the widget or dock it on the side of the screen. You can also use two fingers to change the size of the preview widget.
Style Preferences
Tap on the button in the upper-left corner of the widget to open the Style Preferences Menu for changing the style of the preview widget.
Opacity
Tap on the gear button in the lower left corner to open a menu containing the opacity slider. This will allow the song content to appear under the preview, if desired.
Changing the position or style of the preview will be used each time you open the song editor. Changes made to styles are not applied to the song and only effect the preview.
Metadata Editor

The metadata editor provides fields that generate tags in the song's metadata section. Filling out these fields and closing the menu will rewrite the metadata in text editor.
Song Information
The song information section contains common information used to index the song.
- Title is the title of the song.
- Artist is the artist or byline of the song.
- Number is a number assigned to the song that can be used to sort songs.
- Keywords are a comma-delimited list of keywords used to focus the By Topic tab of the Songs Menu.
Musical Attributes
This section contains musical attributes of how the song is to be performed.
- Key is the key in which the song is written. The song can be transposed using the Style Preferences Menu.
- Capo is the fret on which a capo should be applied. This can be changed using the Style Preferences Menu without changing the underlying song content.
- Tempo is the tempo to set for the song content. This opens the Tempo Picker to set the tempo.
- Time Signature sets the time signature in the song's metadata.
Scroll and Flow
Using autoscroll requires a time duration to scroll the song, as well as the ability expand the content to scroll top to bottom.
- Duration is the length of time of the song. You can enter this either as a number of seconds, or in an MM:SS or HH:MM:SS format.
- Flow takes the section labels of a song and outputs those sections from the top to the bottom of the page.
Rights Management
Attribution and protection of songs is important. Use fields in this section to keep track of rights.
- Copyright is the text to be outputted at the bottom of the page and lyrics projection.
- CCLI Song # is the CCLI song number. These are used for tracking and reporting use of the song for lyrics distribution.
- Restrictions can be set to limit what other users can do with the song.
Books
Tapping on this field will allow you to choose books into which this song can be placed. This will output the names of the books as a metadata tag.
MIDI
If you have the MIDI in-app purchase, you can set MIDI to be sent when the song is viewed, or OnSong can listen for specific MIDI commands to automatically load the song in the viewer.
- Send allows you to send MIDI commands when the song is viewed.
- Receive configures various MIDI commands to listen for. When one of the commands is received, OnSong will load the song. If the song is in the current set, the first instance of the song will be loaded. Otherwise the song will be loaded from the library. If the song is already being viewed, it will return to the top of the song.
Choose Books
The choose books screen is used to set the books tag in the metadata section of the song. Tap on books to select or deselect books to be placed in metadata.
Tap on the Cancel button to prevent the changes to be outputted to the metadata tag. Tap on the Back button to return to the metadata editor.
Choose Capo
The choose capo menu allows you to choose a capo to be set in the metadata section of the song. You can choose either None to remove the capo from metadata, or a number from 1 to 11 to set the capo position.
Choose Scene
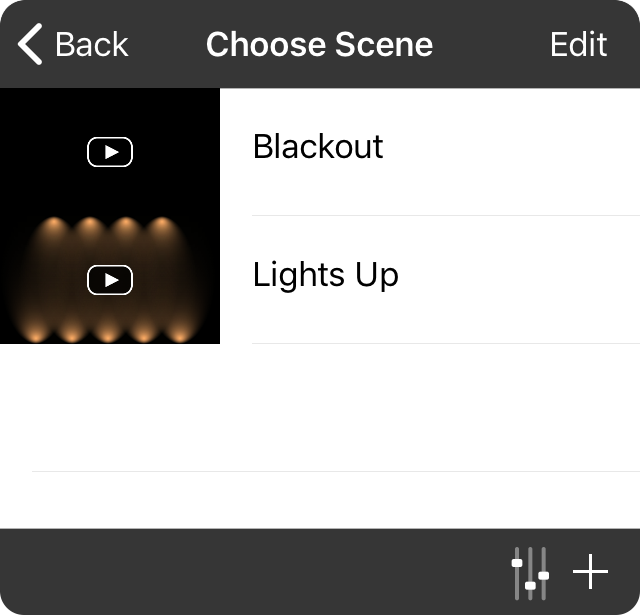
This interface displays all of the scenes that are associated with your library. You can tap on a scene to select it. When finished, tap the Back button to review changes made to the song's metadata tags.
Adding Scenes
You can add scenes dynamically from this screen using either the Lighting Console and then saving the changes you've made to your lights as a scene.
Alternately, you can create a scene by tapping on the + button in the lower-right corner.
Choose Tempo
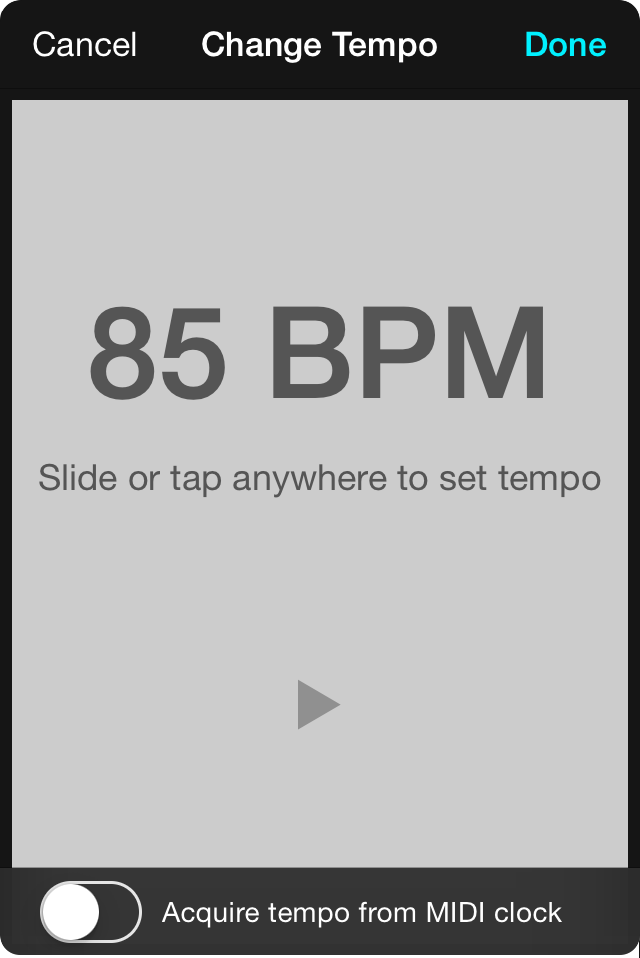
The tempo picker allows you to set the tempo in beats per minute (BPM).
Setting Tempo
To set the tempo, slide your finger to the left and right to decrease or increase the tempo in broad strokes. Tap on the left and right of the picker to decrease or increase the tempo by one beat per minute.
Alternately, you can tap in the middle of the tempo picker to tap the tempo of the song that is already playing.
Playing the Metronome
The tempo picker includes a play/stop button that allows the metronome to be started or stopped. This can be used to stop a playing metronome for settings a new one, or to check the tempo once a BPM has been selected.
Acquiring from MIDI Clock
If you are using the MIDI Integration in-app purchase, you can also acquire the current tempo from the received MIDI clock. To do this, turn on the switch to begin listing.
Advanced Settings
The tempo can be adjusted between 40 and 200 BPM. If the tempo is set below the minimum BPM, it is set to None, removing the tempo from the song. The minimum and maximum BPM can be adjusted in BPM Settings found in Settings » Live Settings » Metronome » Audio Settings.
Choose Time Signature
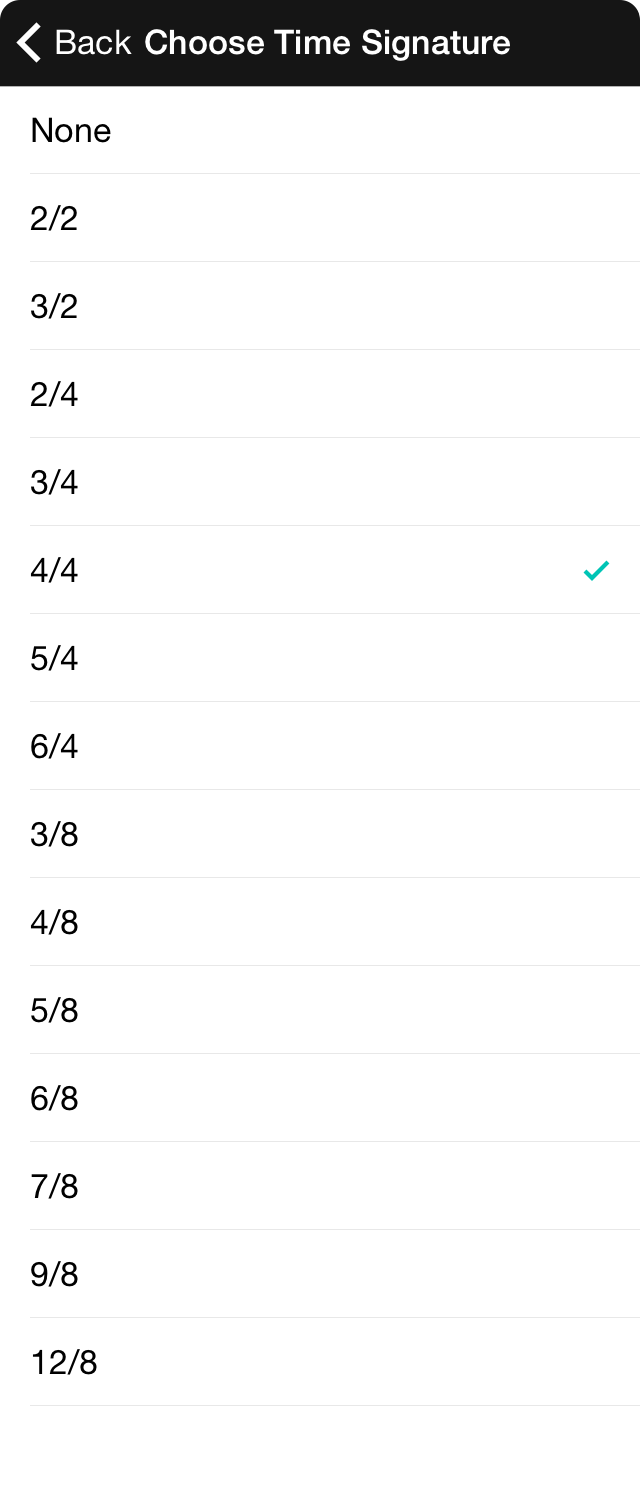
The choose time signature menu lets you pick a standard time signature from the list of options. Tap on a time signature to have it set in the metadata. Choosing the None option will remove the time signature tag from the metadata option.
Note: If you need to use a time signature not displayed in the list, you can enter the time signature manually into the text editor.
MIDI Events
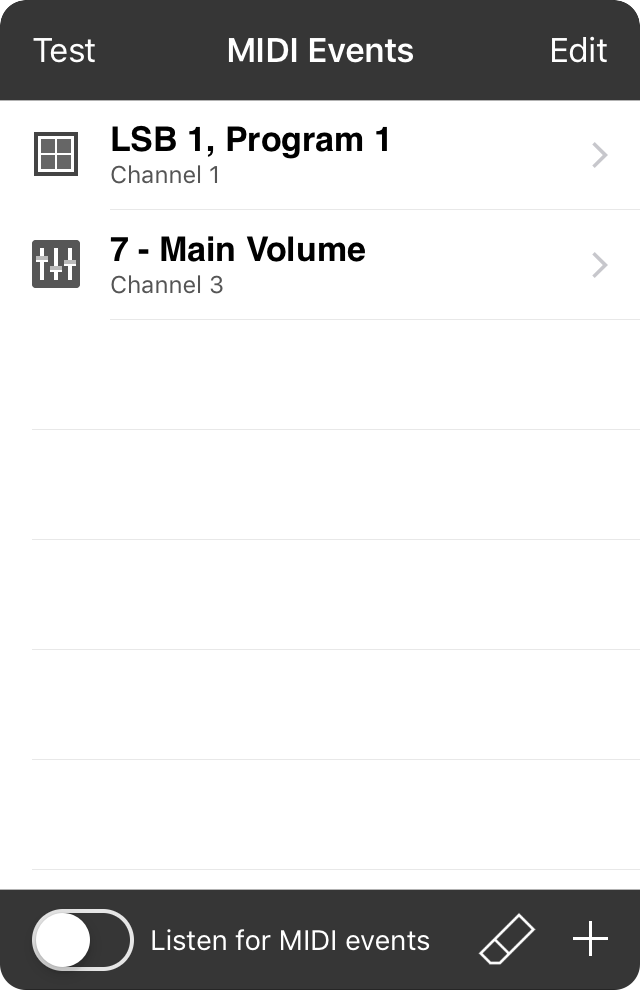
Whether you are sending MIDI commands when loading a song, or listening for MIDI to load a song directly in the song viewer, the MIDI Events list is used to display MIDI commands to send or listen for.
Adding
To add a MIDI command to the event list, tap on the + button in the lower right corner to open the MIDI Editor to add new commands.
Acquiring
Instead of manually creating MIDI commands using the MIDI editor, you can turn on the Listen for MIDI events switch to have OnSong listen for incoming commands from a MIDI device.
Deleting
To delete a MIDI command from the list, swipe right to left over an item in the list to reveal a Delete button. Tap to delete the item from the list.
Editing
You can edit an item in the list by tapping on it to open the MIDI Editor.
Reordering
You can reorder the MIDI event list by tapping on the Edit button in the upper right corner. This places the list in editing mode. In this mode you can tap and drag the reordering handles on the right to change the order that MIDI events are sent. You can also tap on the red minus icon on the left to delete MIDI events.
MIDI Editor
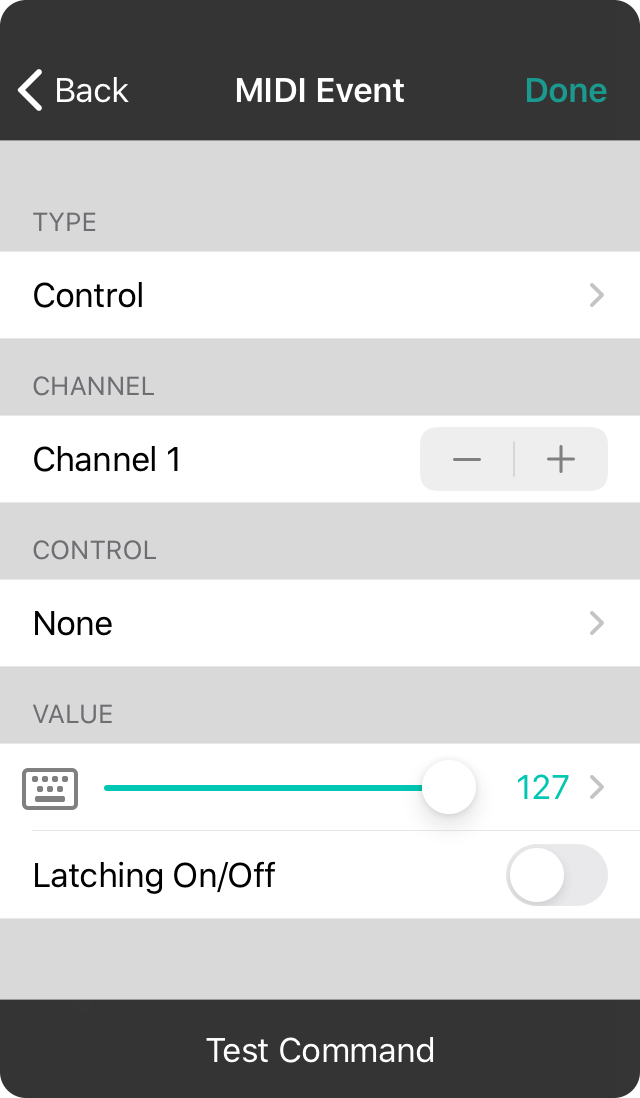
The MIDI editor allows you to create or edit a MIDI event. This lets you specify the type of MIDI event to send or receive, as well as the optional channel, value, and other parameters pertaining to the selected MIDI event.
OnSong supports a number of types of MIDI events. Pick one of these types to learn how to configure it for you needs.
Control
This is a control change (or CC) which is typically sent from a foot pedal, knob, or slider. You can pick a channel and value to send for the control change event.
Program
This is a program change (or PC) event which is used for selecting different sounds or modules on a device. You must pick a channel as well as the program. Optionally you can choose bank select information.
Note
This is used for playing notes on a MIDI instrument. You must pick a channel as well as the note value.
Start, Continue and Stop
These are used to control MIDI playback of a track or sequence and do not have any additional properties.
Song Select
This is used for picking a specific song to be queued.
SysEx
This is used for sending more advanced messages to and from MIDI devices. These are often times manufacturer specific.
SysEx
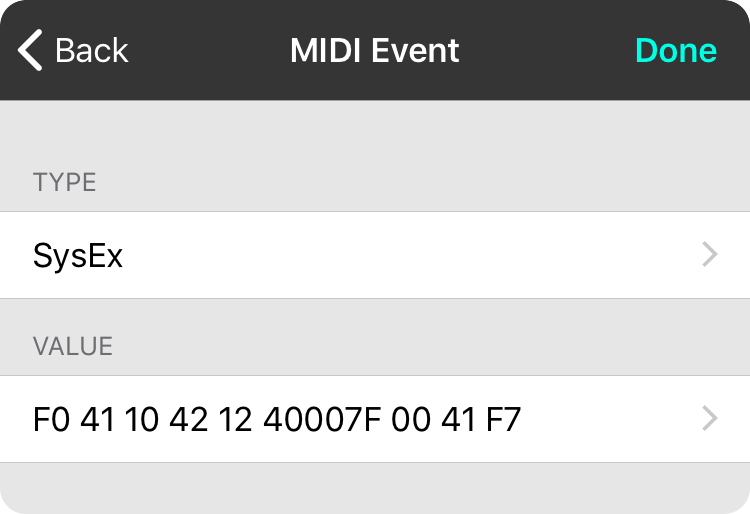
Certain MIDI equipment can perform more advanced tasks by receiving system-exclusive or "SysEx" commands. These are specific bytes of information that can be sent using the command MIDI connection.
In OnSong, you choose the SysEx command and then tap on the value row to set the value of the SysEx. This is entered using a text-entry screen in the menu, allowing you to view and type the SysEx values. Values are typically entered as hexadecimal numbers referring to bytes to be sent over MIDI.
Note: You will need to contact the manufacturer of your MIDI equipment to determine what should be written in these fields. The nature of SysEx deems that these are system-exclusive commands and not in the common MIDI command lexicon.
Global
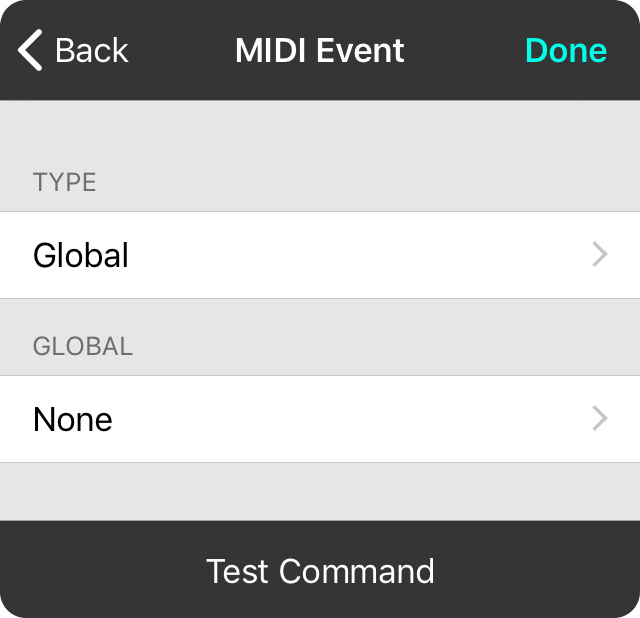
MIDI Globals allow you to create lists of MIDI to send as presets. This screen allows you to add globals into your list of MIDI to be sent. It's as simple as selecting the MIDI global you want to be sent. You can combine MIDI globals with other MIDI events.
Type
Select the Global type to choose the MIDI Global from the globals you've created in the MIDI Global Editor.
Global
Select a MIDI global from the list to add it within the MIDI to send for your selection. This will open a list of your MIDI Globals, or allow you to create global.
Choose MIDI Global
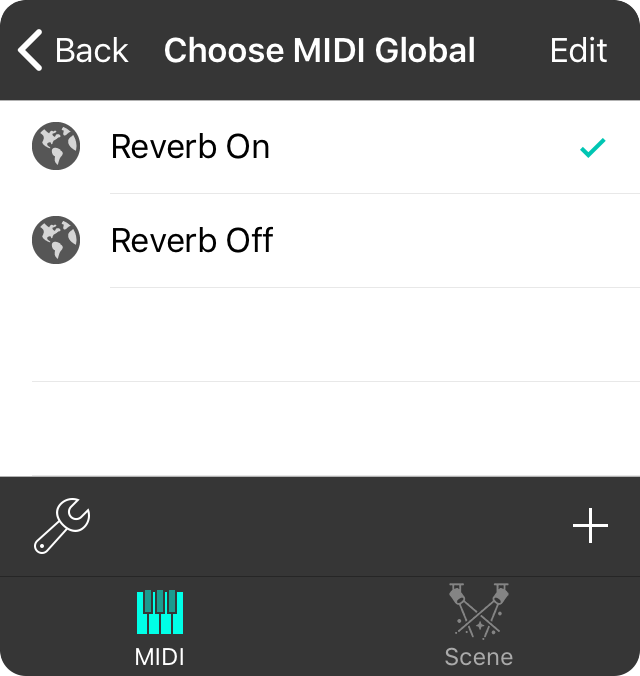
This will display a list of existing MIDI globals to choose from. Tap on the MIDI global that you would like to add to your list of MIDI events to send.
Selecting
Tap on the row of the MIDI global you want to select to send.
Edit Mode
Tap on the Edit button in the upper right corner to enable editing mode. This will also allow you to tap on the name of the MIDI global to open it in the MIDI Global Editor.
Adding Globals
Tap on the + button in the lower right corner to add a new MIDI global to the list and select it.
Changing Settings
You can change how OnSong handles MIDI features through the MIDI Settings Menu. This allows you to perform additional functions such as listening for chords or playing chords back through your MIDI instrument.
MIDI Delay
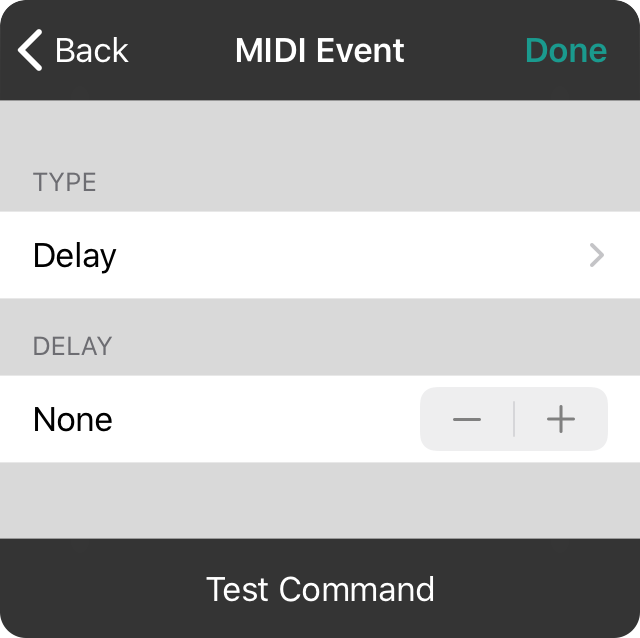
The delay screen allows you to set a delay within a list of MIDI events. This can be useful if connected MIDI devices require time to complete one task before sending another. You can choose values from None to 3 seconds in 100 millisecond intervals.
NRPN
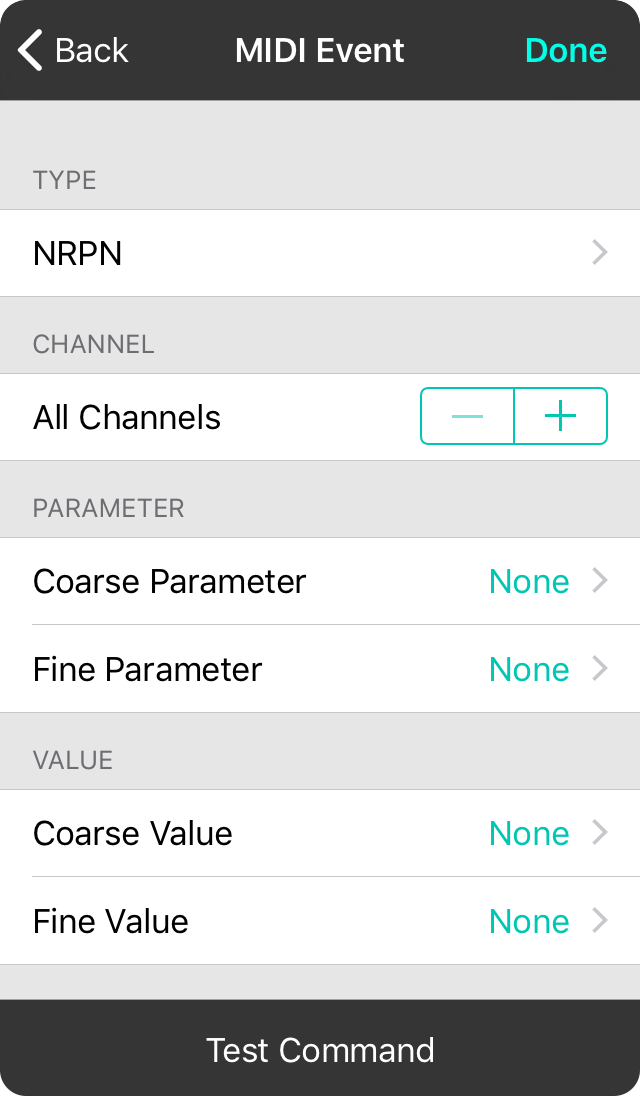
Some instruments make use of NRPN MIDI events or Non-Registered Parameter Numbers to perform certain functions that are outside of the scope of standard MIDI. Typically these need to be coded with specific MIDI control changes sent at specific times. OnSong simplifies sending NRPN MIDI events by allowing you to configure the event in one step.
Channel
Select the channel on which to send the NRPN commands. By default this is set to All Channels.
Parameter
NRPN MIDI events are divided into parameters and values. Both of these have a coarse parameter and a fine parameter which permits values greater than 127 to be sent. Here you can set the Coarse Parameter or MSB (Most Significant Bit) and then Fine Parameter or LSB (Least Significant Bit). This will send the CC#98 and CC#99.
Value
NRPN MIDI events are divided into parameters and values. Both of these have a coarse parameter and a fine parameter which permits values greater than 127 to be sent. Here you can set the Coarse Value or MSB (Most Significant Bit) and then Fine Value or LSB (Least Significant Bit). This will send the CC#6 and CC#38.
Song Select
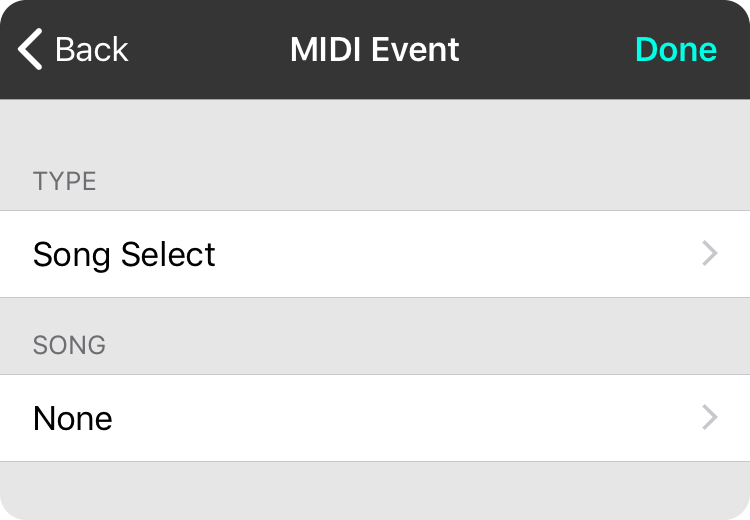
The Song Select command is sent on all channels and is used to load a new song on devices which support this MIDI event. Choose a value in the song section between 0 and 127 to be sent.
Control Change
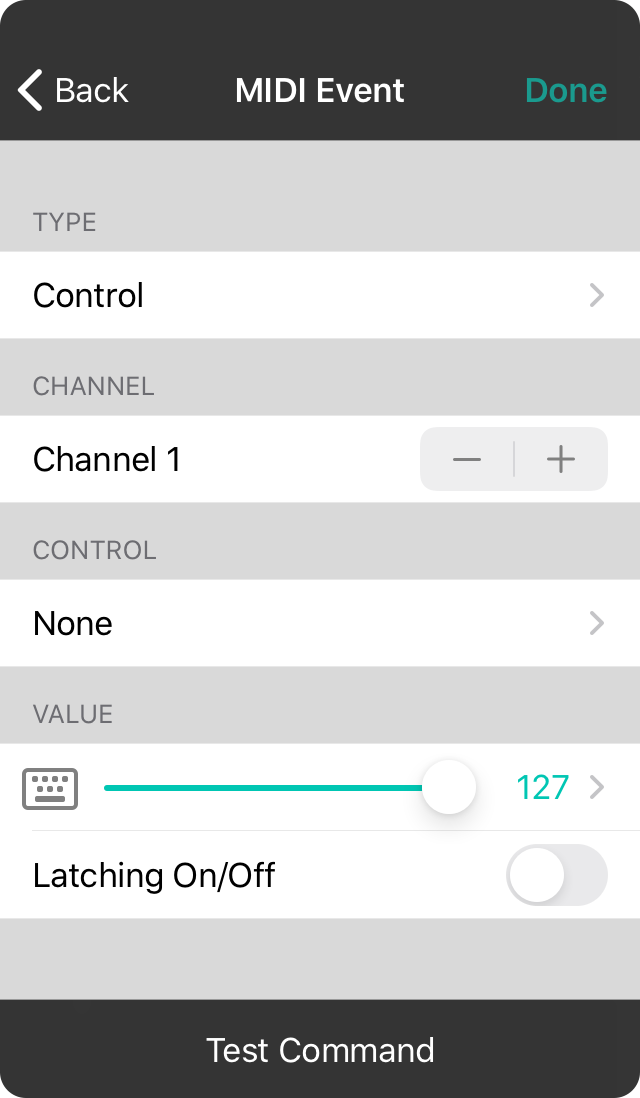
Control changes in MIDI are sent from pedals, knobs, and sliders, and are used to control the dynamics of music. They can also be used for general messaging to apps such as OnSong.
Type
To setup a control change in the MIDI editor, choose Control in the type section.
Channel
The channel determines which MIDI channel the control change is sent or received on. By default, OnSong will receive or send on all channels. Use the plus and minus buttons to choose a specific channel if necessary.
Control
Pick a control to send or receive by tapping on the None option. OnSong will display a list of control values 0 through 127 with known controls named in the list.
Value
When you are sending a control change, you can also choose the value to send from 0 to 127. This can be adjusted with the slider or by tapping on the "i" icon to pick a value from a distinct list.
Note Events
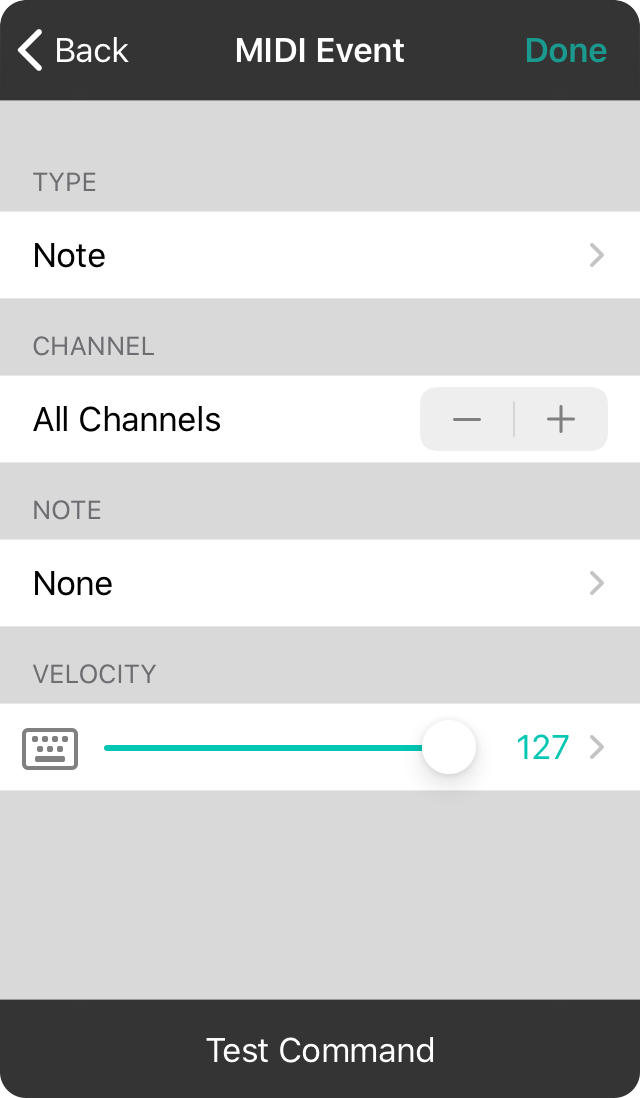
Note events in MIDI are used to play an instrument by sending note on and off commands. They can also be used for general messaging to apps such as OnSong.
Type
To setup a note event in the MIDI editor, choose Note in the type section.
Channel
The channel determines which MIDI channel the note event is sent or received on. By default, OnSong will receive or send on all channels. Use the plus and minus buttons to choose a specific channel if necessary.
Note
Pick a note to send or receive by tapping on the None option. OnSong will display a list of notes including their numeric representation in MIDI (0-127), as well as the letter, enharmonic preference, and octave of the sound.
Velocity
When sending note events, the velocity of the note can also be sent. By default this is set to 127. You can use the slider to adjust the velocity between 0-127. You can also tap on the "i" icon to choose a discreet value from a list of options from 0 through 127.
Note that OnSong does not send nor receive MIDI note off commands.
Program Change
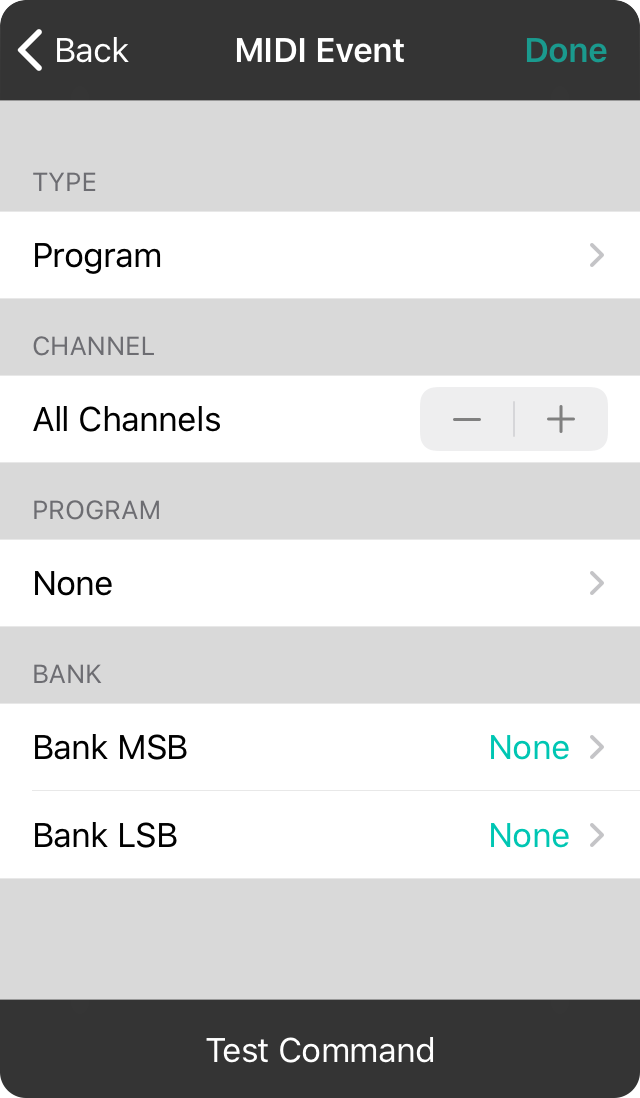
Program changes in MIDI are typically sent and received to handle changes to the instrument's sound or module. They can also be used for general messaging to apps such as OnSong.
Type
To setup a program change in the MIDI editor, choose Program in the type section.
Channel
The channel determines which MIDI channel the program change is sent or received on. By default, OnSong will receive or send on all channels. Use the plus and minus buttons to choose a specific channel if necessary.
Program
Pick a program to send or receive by tapping on the None option. OnSong will display a list of program changes. These are listed as programs 0 through 127 with their General MIDI sound to the right.
Bank
When sending program changes, OnSong can also send a bank select. This is sent as either or both MSB and LSB. MSB stands for "Most Significant Bit" and LSB stands for "Least Significant Bit". Together they provide more options for MIDI hardware and software which supports it. Each bank select bit can have values of 0 through 127 or none.
The bank select is sent previous to the program change with OnSong. The delaying of the sent MIDI is to allow the device to process the bank select requests before handling the program change request.
Sequence Commands
Start, continue, or stop commands are used to control MIDI playback on a sequencer. These commands have no parameters as they are sent out on all channels automatically.
Choose Key
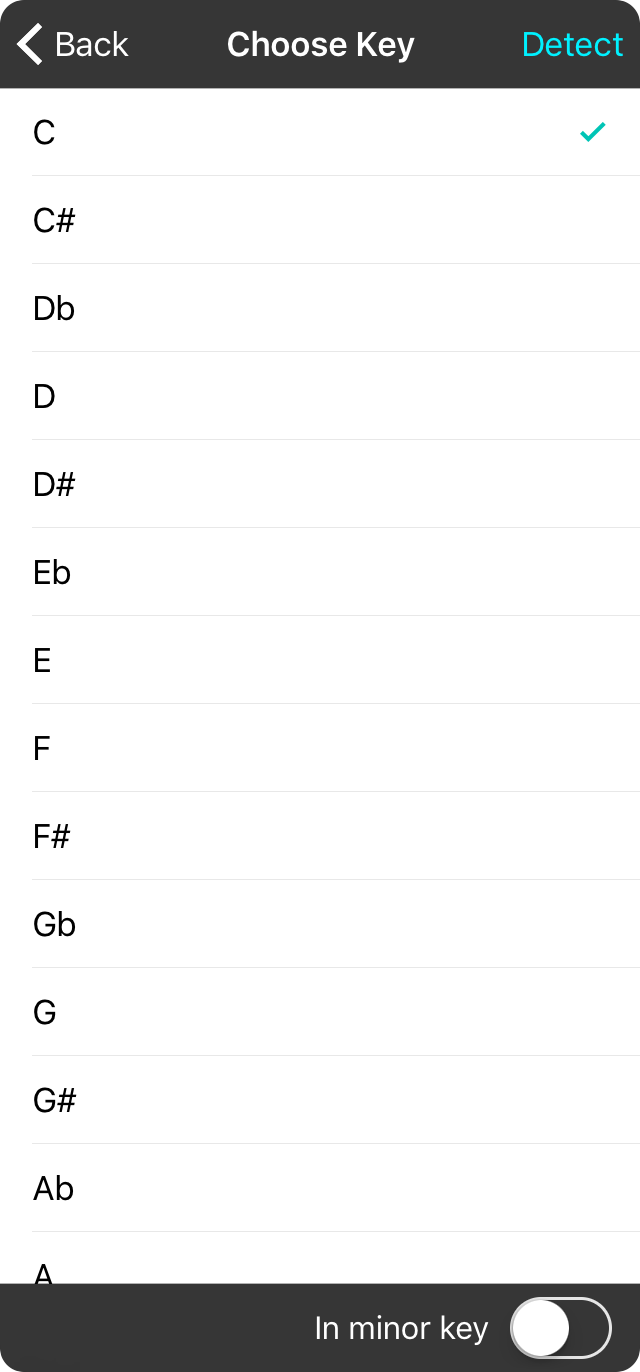
The choose key menu lets you to pick a different key to set as metadata in the song's metadata. This will be the declared key of the song in which it is written.
At the bottom of the menu is a toolbar that allows you to toggle between major and minor keys.
Note: When you pick a key, the song is not rewritten into that key. Only the metadata is changed. To change the key in which the song is written, use the Rewrite Into Key Menu.
Restrictions

Restrictions prevent certain actions from being performed on a song. When set in metadata and imported, these attributes are retained if the rights restriction is set.
The following are restrictions that can be set:
- None removes restrictions from the metadata section. If selected, all other check marked restrictions are unchecked.
- Edit prevents the song from being edited.
- Print prevents the song from being printed.
- Export prevents OnSong from exporting the file.
- Share prevents the OnSong user from sharing the file in any manner.
- Email prevents the song from being transferred via email.
- Upload prevents the song from being uploaded to a remote server.
- Project prevents the song from being displayed in lyrics projection.
- Distribute prevents the song from being distributed to other sources.
- Rights prevents further rights and restrictions from being set.
Rewrite Into Key
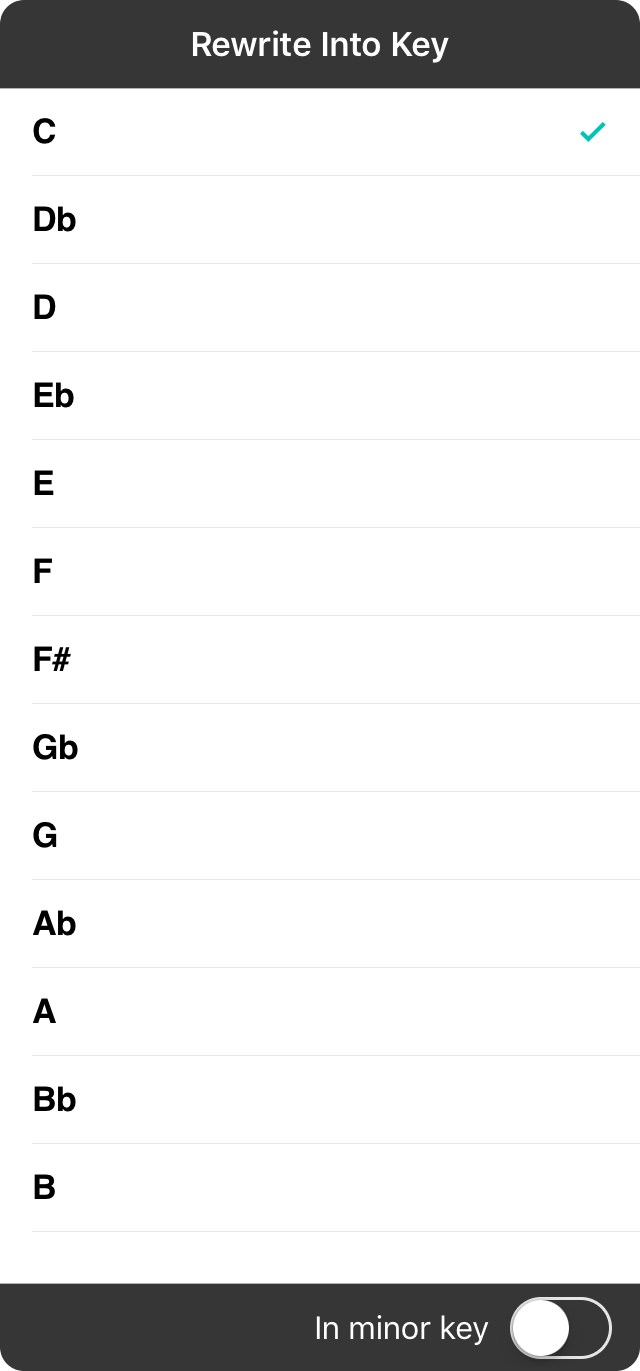
The rewrite into key screen allows you to transpose the song's content as viewed in the song editor.
Tap on the piano icon in the song editor menubar to choose a different key. Keys are displayed in either major or minor to match the mode of the current key of the song. Tap on the key to convert the song. This will change the declared key of the song as well as the chords of the song into that key.
Rewriting the key of a song can be very helpful, eliminating the need to try and transpose an entire song in your head.
Note: Keep in mind that you can transpose a song into any key without affecting the underlying song content or how the song was written. You are encouraged to use the transpose slider in the Style Preferences Menu instead.
Text Tools
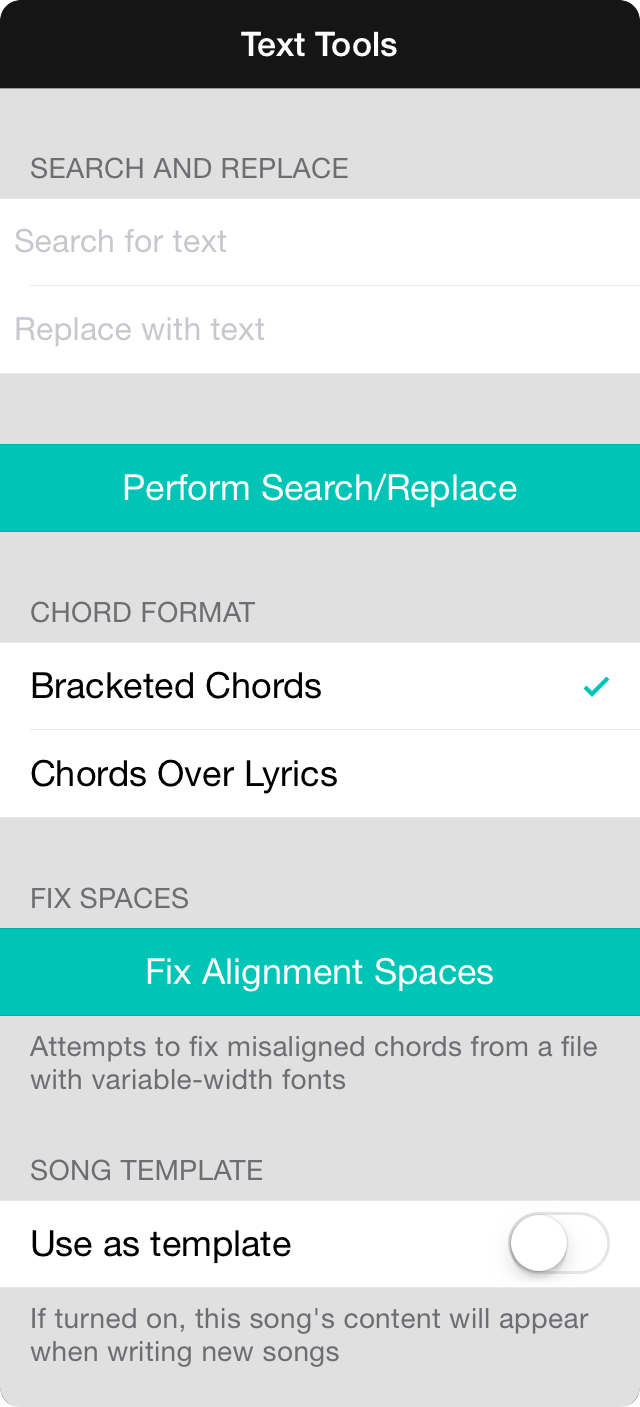
The text tools menu provides tools for making changes to the text of the song. It features the following sections:
Search and Replace
A common task in text editing is to find one piece of text and replace it with another. For instance, if you are using square brackets and want to replace any instance of a chord with another chord, you would type [Am/C] in the search field and [Am7] in the replace field and then tap on the Perform Search and Replace button to make the change.
Chord Format
OnSong supports two types of chord formats and this section allows you to toggle between the styles:
- Bracketed Chords are chords surrounded in square brackets and placed within lyrics for positioning.
- Chords Over Lyrics are chords typed above lyrics with spaces used to align the chords above the proper words and phrases.
Fix Spaces
Chord charts written in word processing programs such as Microsoft Word may have issues when converted to text. This is caused by the file being written in a variable-width font which requires many more spaces to be used to align chords with lyrics due to the space character being narrower than other characters.
The fix alignment spaces button can help bring chords into alignment by shrinking the amount of space between chords an average amount. You may still need to tweak spaces slightly for best results.
Song Template
When you create a new song in OnSong, the song editor is opened with a standard template song. You can change this template by creating your own template as a regular song file. Toggle this switch on to make it the template for new songs.
You can have a blank song editor by turning off templates under the Utilities Menu » Settings » Menu Settings » Song Editor » Use Template Song.
Bracketed Chords
Bracketed chords are the standard method used in the OnSong File Format as well as in the ChordPro File Format. In fact, OnSong uses the bracketed chord format internally to render the chord charts to the screen or for print.
In the bracketed chord format, chords are surrounded by square brackets and placed within and on the same line as lyrics. The following is an example of bracketed chords:
A[D]mazing grace, how [G]sweet the [D]sound
That saved a wretch like [A7]me
This format can accurately place chords next to lyrics no matter what font it is written in. In addition, this format saves vertical space on the screen as well as file size due to its compact nature. It is also an optimal format for combining shorter lines into longer ones, or vice versa since the chords move with lyrics without requiring adjustments.
Keep in mind that this format is just for defining where chords should be placed. When drawn on the screen, the chords can be viewed above the lyrics. In addition, changing the font of the chord chart will not impact the placement of chords relative to lyrics unlike word processing programs.
Chords Over Lyrics
Chords over lyrics are a common way to write chord charts. This method involves writing lyrics on one line and writing chords on the line above the lyrics. Chords are then aligned with lyrics using spaces. Here is an example of the chords over lyrics chord format:
 G                 G         D
Amazing grace, how sweet the sound
                         A7
That saved a wretch like me
You'll see that many spaces are used to align chords over the proper syllables in the lyrics. This format only works well if a fixed-width font is used. If a variable-width font is used, then various quantities of spaces characters are required to align chords due to the variation in space character widths for different fonts.
This format has the advantage of being more visually equal to the final output. However, there are a number of pitfalls that you may run into using this format:
- Variable-Width Fonts can cause issues when creating in or importing text from a word processing program like Microsoft Word. It is common in many chord charts and can cause problems when converting into text and viewed in a fixed-width font like in song editor.
- Tabs are sometimes used to avoid the issue of variable-width fonts in word processing programs. This is complex enough to set up tab stops in word processor programs, but text editors have no knowledge of the formatting information created in the word processor program. OnSong renders tabs as a preset number of spaces which can cause alignment issues.
- Duplicative Entry occurs every time you make a change to lyrics or chord line. This requires you to frequently adjust spaces on the chord line.
- Chord Detection becomes an issue because it may be difficult to determine the difference between a chord line and a lyrics line. For instance, if a line contains only "Am", is that a word or a chord? OnSong will only detect chords if the line only contains chords. Exceptions to this are certain characters like
. / | \or if you surround notes in parenthesis.
Hint: Use the Chord Format section in the Text Tools Menu to toggle between both chord formats when making changes.
Regular Expressions
Regular expressions are a common method used for processing text files and allows complex pattern matching. In addition to this, values within the regular expression search pattern can then be used in the replace syntax to allow for the results to be transformed. Keep in mind that Regular Expressions look complex, but follow a standard definition across nearly all computer platforms. You can learn more about regular expressions here.
Let's break down an example of a regular expression used to find all bracketed chords in a song. We would type something like this into the OnSong search field:
/\[(.*?)\]/i
Denoting Patterns
First, we use the forward slashes to denote the regular expression. This means that this contains two pieces of information, the regular expression and the modifiers. In this example we have [(.*?)] as the regular expression pattern and i as the modifier.
Escaping Text
Regular expressions are a large topic in and of itself, but it involves typing specific characters to match specific characters. In the example above, the first backslash character is used to "escape" the character that follows. This is because square brackets have a special meaning in regular expressions to find ranges of characters. We add backslash in front of these so they are treated like ordinary characters.
Match Groups
You'll see that what's contained in the square brackets is surrounded in parenthesis. Parenthesis in regular expressions are used to denote groups. We place the main pattern parenthesis because we are going to use that match in our replace field.
Pattern
Inside of the parenthesis, we have a period .. This denotes a character of any kind. This is because we want to find square brackets that contains something. Next, we see an asterisk *****. This tells the pattern that we want to find zero or more of the preceding match. In this case, we want to find any number of characters. The question mark ? in this context creates what is called a "non-greedy search". In essence we don't want to find everything between brackets because this would gobble up our whole song! We just want to find things until we get to an ending bracket.
Modifers
These are placed after the forward slashes and changes how the regular expression matching behaves. Each character represents a different modifier. You can combine these as needed:
- i makes the search case-insensitive. Any part of the pattern that involves character case will basically be ignored.
- x allows whitespaces and comments to be included in the regular expression.
- s allows the "." dot pattern match to also match line separators. By default, regular expressions are matched line by line.
- m determines how the "^" and "$" pattern match characters perform. By default, these represent the start and end of the input, but setting this modifier will allow them to match the start and end of each line.
- w determines the method used for evaluating word boundaries. If set, OnSong will determine words based on Unicode UAX 29 text boundaries.
In summary, this will find anything between two square brackets in a non-greedy fashion, and make that match available for replacement.
Replacement
You could use simple text-based replacement for your search. For instance, to remove all chords from a song, use the above pattern and replace with nothing. However, you can also use the match group you've made to sound the chords with something else. For instance, you could type the following into the OnSong replace field:
<$!>
This would take the pattern that was matched between the brackets and place it within angle brackets instead.
On-Screen Keyboard
When editing the content of your song, the on-screen keyboard will appear. This allows you to type on the screen. There are a few things that may affect this operation.
Foot Pedals
Some wireless foot pedals such as the AirTurn BT-105 are actually Bluetooth computer keyboards with a limited number of keys. When iOS encounters a Bluetooth keyboard, it automatically hides the on-screen keyboard. You can use both the foot pedals and on-screen keyboard at the same time by "ejecting" the keyboard on the foot pedal. On The AirTurn BT-105, this is done by pushing the red button on the module. If you are using another brand, please contact your pedal manufacturer for details on how to enable the on-screen keyboard.
Wireless Keyboards
If you are using a wireless Bluetooth keyboard with your device, the on-screen keyboard will also not appear. If you are using an Apple-branded keyboard, you can eject it using the up arrow in the upper right corner of the keyboard. This button was traditionally used to eject a CD-ROM, but will eject the keyboard allowing the on-screen keyboard to appear.
Splitting the Keyboard
You can tap and drag the button in the lower right corner of the keyboard on the iPad to move the location of the keyboard as well as split the keyboard for thumb typing. When used in this manner, the arrow keys in the Text Editor as well as the Quick Chord Bar may no longer appear or function normally.
Quick Chord Bar
The quick chord bar appears above the On-Screen Keyboard and provides fast access to chords that are in your song for easy insertion in the text editor.
Move the text cursor in the Text Editor to where you would like the chord to be placed. If you are using bracketed chords, place the text cursor in the lyrics where you would like the chord to be placed. If you are using chords over lyrics, place the cursor where you would like the chord placed above the lyrics. Tap on the chord you would like to insert.
Chords are detected within the content of the song and are displayed in the order they appear in the song. Each chord is displayed once. You can change the order in which the chords appear by changing Sort Chord Buttons option in Settings » Menu Settings » Song Editor. You can sort more popular chords to the front or sort chord buttons alphabetically.
To the far right are additional buttons for inserting symbols. This will save you some steps moving between keyboard modes. By default, these include the following:
- [] inserts square brackets at the location of the text cursor and then moves the text cursor between the two brackets. This allows you to add letters between between the brackets to create chords.
- # inserts a symbol used to indicate sharps.
- b inserts a symbol used to indicate flats.
- / inserts a slash for split bass chords.
You can change the additional symbols that appear here using the Additional Symbols field in Settings » Menu Settings » Song Editor.
If there are too many chords or symbols in the quick chord bar, you can swipe to the left or right. You can also tap on the arrow buttons that appear on the left and right when more content exists beyond the current view.
If you do not want the quick chord bar to appear, you can disable it using the Quick Chord Bar switch under Settings » Menu Settings » Song Editor.
Chord Builder

The chord builder allows you to build chords. This will insert created chords into the song as well as add them to the Quick Chord Bar
Once the chord has been selected, tap on the Insert button in the upper right to add the chord to your song at the position of the text cursor in the song editor.
When building a chord, you can select from three pickers:
Root
This is the root of the chord. Options include: C, C#, Db, D, D#, Eb, E, F, F#, Gb, G, G#, Ab, A, A#, Bb, B, Cb.
Variation
This is the variation of the chord and effect what notes are to played for the chord. Options include: maj, m, 2, suss, sus, sus4, 5, 6, 6add9, 7, 7sus4, m6, m7, maj7, 9, m8, maj9, 9dim, add9, flat9, 11, m11, 13, m13, maj13, aug, dim, flat5, 7#5, 6/9, m7#5, maj7#5, 7b5, m7b5, maj7b5, 7sus2, dim7, 7#9, 7#9add5, 7b9, 7#11, 7b9b13, 7b9/13, 7#9#13.
Bass Note
Options include: C, C#, Db, D, D#, Eb, E, F, F#, Gb, G, G#, Ab, A, A#, Bb, B, Cb.
Line Formatting

The line formatting menu allows you to apply line formatting syntax in the Song Editor through a user interface. This menu lets you tap to toggle line formatting on and off such as:
Background Color
Tap on a color swatch to apply highlighting to the line. Tap on the same color again or choose the transparent color at the beginning of the swatches to remove it from the line.
Text Color
Tap on a color switch to change the color of the text for the line. Tap on the same color again or choose the transparent color at the beginning of the swatches to remove it from the line.
Bold
Tap on the bold button to apply the bold line formatting to the line.
Italic
Tap on the italic button to apply the italic formatting to the line.
Text Editor
The text editor is the main focus of the song editor since it's where you type the contents of your song. The font is set to a fixed-width font to aid in the entry of text-based chord charts. For information about how to write chord charts in OnSong, see the OnSong File Format and ChordPro File Format.
Arrow Keys
Beyond the standard text entry area, OnSong also provides four-way arrow keys just above the on-screen keyboard on the right. Use these to move the text cursor as you would on a traditional computer keyboard for more accurate and fast placement. You can turn off these arrow keys under Settings » Menu Settings » Song Editor » Enable Arrow Keys.
Songs Menu

The songs menu is the main way that you access your OnSong library. It contains all of your songs and sets, as well as providing other ways to organize your song library too.
The songs menu provides the following tabs for different ways to search, browse, and manage your songs.
All Songs
This tab provides access to your master list of songs. You can search, sort, and browse songs by books.
By Artist
This tab allows you to browse your songs by artist.
By Key
This tab organizes your song by key. Choose a key to view songs in that key.
By Topic
When you create topics, you can load songs for a specific genre, theme, or whatever organization method makes sense to you. Use this tab to manage topics and browse songs.
My Sets
When you play a gig, pick songs for a set list to play on that day and venue. This tab provides access to your sets and the option to create new ones.
All Songs
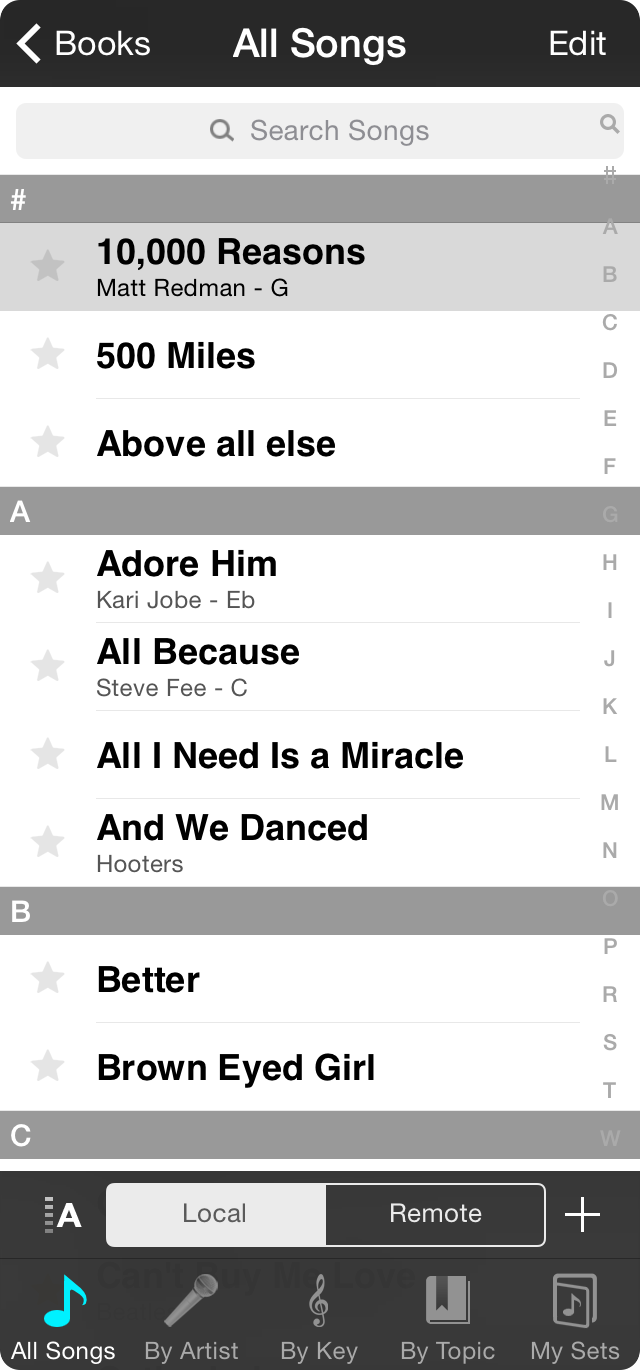
The all songs menu is used to manage your song library. From here you can choose songs to view. Let's take a look at the actions you would typically perform in this screen:
Adding Songs
Creating and importing your songs is a central task in OnSong. Tap on the + button in the lower right corner to open the Add Songs screen.
Browsing Songs
Songs are displayed as rows in this menu. You can scroll through songs by flicking your finger. When more than 30 songs exist in the list, an alphabetic index appears on the right side. Tapping on a letter on the right will scroll to that section of the song list. The list is also contains section dividers to aid in the location within the list.
Each row contains a star to indicate the song's favorite status, the song title, artist, and key of the song. Tap on a song to view it in the Song Viewer.
Note: Tapping on the title in the songs menu will scroll the list to the top.
Editing Mode
Tap on the Edit button in the upper right corner to enter editing mode. You can use this to perform additional actions on songs without first viewing them.
Organizing with Books
Books are used to organize your song library into logical partitions (such as Christmas songs or songs for specific band). Tap on the Books button in the upper left corner to create and manage your books.
Searching
The search bar can be used to search the current list of songs. Tap into the search bar and type a keyword. OnSong searches the song title, song number and content.
Sorting Songs
Tap on the sort button in the lower left corner of the screen to choose how you would like to sort. This opens the sort menu. The button indicates the current sort method using an icon.
Toggling Locations
The segmented control at the bottom of the list is used to toggle between viewing your local library, or browsing a cloud-based chord repository.
History
You can tap on the titlebar of any song list in OnSong to access a list of upcoming sets or collections that you have previously viewed. This is a fast way to switch back to a set you were working on, or view All Songs just the same. Collections and sets are added to this list automatically.
Upcoming Sets
At the top is a list of sets that are coming up for you to view. This will include any sets from today's date onward.
Recent Collections
The second list displays collected that have been previously viewed in the order that they were viewed, placing the most recent at the top of the list. This list is cleared each time OnSong is closed down and needs to be restarted.
Clearing Recent Collections
You can remove items from the recent collections list by swiping right to left or by tapping and holding (iOS/iPadOS) or right-clicking (macOS) to bring up a context menu containing a clear action. This does not delete the list, but just removes it from view in the recent collections list.
Context Menu
You can quickly perform actions on songs using the context menu. This will appear when you tap and hold on a song in any song list. The menu that appears can perform the following functions.
- Delete deletes the selected song(s) after displaying a prompt.
- Duplicate will make a copy of the selected song(s) so that each can have different content.
- Edit opens the Song Editor to edit the selected song.
- Mark provides a submenu which allows you to mark the selected song(s).
- Add To... provides a submenu for adding the selected song(s) to books or sets.
- Share provides a submenu for sharing the selected song(s) in various ways.
Add Submenu
This submenu of the song context menu provides ways to add the selected song(s) to books and sets.
- Book opens the Book Picker that lets you choose a book to place the songs into, or create new books.
- Current Set allows you to add the song(s) to the last viewed set. This will place the songs at the end of the currently selected set. If a set hasn't been explicitly selected, OnSong will select the set that is scheduled closest to the current date.
- New Set adds the song(s) to a new set marked with today's date right from this menu.
- Choose Set opens the Set Picker allowing you to choose a set to add the song(s) to.
Mark Submenu
This submenu of the songs context menu allows you to quickly mark songs with icons.
- None removes the icons from the selected song(s).
- Star marks the selected song(s) with a gold star.
- Flag marks the selected song(s) with a red flag.
- Arrow marks the selected song(s) with a purple arrow.
- Dot marks the selected song(s) with a teal dot.
- Checkmark marks the selected song(s) with a blue checkmark.
- Heart marks the selected song(s) with a red heart.
- Custom marks the selected song(s) with a custom icon by opening the Icon Chooser.
Icon Chooser
Icons are visual cues to help you quickly evaluate songs in your library. For instance, you can use a star to mark a song as a favorite or use a flag to indicate that a song needs more work or practice. OnSong has always let you star a song as a favorite, but now you can use more shapes and colors.
Shape
This area of the icon organizer lets you pick the shape to appear next to a song as it appears in lists within OnSong. Choose from one of the following shapes.
- None displays no icon next to the song and indicates that the song has not be organized by icons. This is the default setting for songs.
- Star displays a star next to the song which is typically used to indicate a favorite song. The default color is orange.
- Flag displays a flag next to the song which is typically used to indicate action must take place with the song. The default color is red.
- Arrow displays an arrow next to the song which is typically used to indicate general preference for a song. The default color is fuchsia.
- Dot displays a circle next to the song which is typically used to indicate an unread or bulleted status. The default color is teal.
- Checkmark displays a checkmark next to the song which is typically used to indicate completeness. The default color is blue.
- Heart displays a heart next to the song which is typically used to indicate songs that are favorites or liked. The default color is red.
Color
While each shape has a default color, you can use the color picker to choose a different color, or to build your own colors. Tap on a color to select it. All of the icons listed above will change to the selected color. To switch back to the default colors, tap on the selected color swatch again to deselect it. This color picker features the following colors in its default palette: Red, orange, yellow, green, blue and fuchsia.
Note: Icons also appear when you view songs in a set. If you are currently in a set that supports Separate Song/Set Styles, then the icon shape and color you choose is unique to the song in that set.
Share Submenu
The share submenu lets you share the selected song(s) in the following ways:
- Email opens the Email Screen where you can select the format to share via the iOS/iPadOS email composition screen.
- Export opens the Export Screen where you can select the format and export location.
- Open opens the Open Screen where you can select the format to share by opening other apps.
- Print opens the Print Preview Screen to configure output options, preview, and print the selected song(s).
Local/Remote Tab
OnSong is designed to store all your song content on your device. This ensures that OnSong works great even if there is no Internet connection.
Because of this, you need to import music separately into your library. But what if you had immediate access to thousands of chord charts right from the same menu?
The Local/Remote tab at the bottom of the All Songs menu provides for this ability. When you tap on the remote tab, you get a list of chord charts available in a third-party repository. Tap on the song to preview or view it if you are a registered user of the service.
When you sign up for a service like Rockin' With The Cross or ChordVault, you can log in with your credentials to view songs. If you find a song you like, tap on the download icon to the right to add it to your library.
You can change which chord chart repository is used in the remote tab under Utilities Menu » Settings » Menu Settings » Songs.
Note: Chord chart repositories are not free, and be wary of those that are. This is because royalties need to be paid to the songwriters and artists who create the copyrighted works. Without payment, you could inadvertently place yourself in a legal situation by using or distributing intellectual property. OnSong works with third-party services to ensure you have the legal right to view the chords and lyrics of songs.
Keep in mind that there may be other licenses required depending on what you do with the copyrighted work. For instance, if you play it on a recording, you will need a mechanical license. If you perform it live, you may need to acquire a performance license, etc. Please consult legal counsel to ensure you are in compliance with the laws and practices of your region.
Add Songs
There are a variety of ways to import songs into your OnSong library. Choose one from the following options available:
Add
This section gives you the ability to create songs inside of OnSong, or to add existing songs into a book.
- New Song opens the Song Editor with a template song loaded. Write your song and tap on the Done button to add a newly written song to your library.
- Existing Songs opens the Pick Songs menu to allow you to select songs to add to the selected book.
Import
Most songs you add to your OnSong library are done through an import process. From this section, you can browse services such as:
- Dropbox is a popular cloud-based storage service that works great for importing documents from your computer.
- Internet is a source of chord charts for many musicians. OnSong can search a website for available chord charts.
- File Sharing allows you to import files from your computer using a USB cable and iTunes software.
- Planning Center is a popular church management service that lets you organize music for your team.
- Rockin' With The Cross provides access to its entire catalog of thousands of worship chord charts for a low monthly rate.
- SongSelect is a service from CCLI that provides PDF-based chord charts and text-based lyrics.
- Files allows you to import files from services that are integrated into the Files app, formerly known as storage providers in earlier versions of iOS.
- WorshipReady.com handcrafts worship chord charts in the OnSong file format. These are available through various subscription tiers depending on the number of chord charts you need each month.
- Other lets you import from other remote sources using standard communication protocols.
You can also add other import sources that are not in this list by entering Editing Mode and then adding import sources. You can add the following:
- ChordVault promises to revolutionize the way music is licensed from publishers.
- LTC Asaph is a provider of worship chord charts for French-speaking congregations.
Synchronize
You can synchronize your OnSong library with an online service to allow you to keep your music in sync with all your devices.
- Dropbox synchronizes your OnSong library to a synchronization folder stored in Dropbox.
- Other synchronizes your OnSong library to a synchronization folder stored on a remote server.
Export
While we agree that it's strange to have export features inside of an add songs screen, these are included as a way to export the contents of books. For instance, if you select a book, tapping on one of these options will automatically select all the songs in that book and open the Export or Email screens from the Share Menu.
Import From the Web
 OnSong is designed to let you use the content you love. To that end, we provide a number of ways to import content includes the Add to OnSong Extension as well as many integrations with partner content providers like PraiseCharts. With the Import From the Web feature, you can import from any website.
Choose Website
When you first open the Import From the Web feature, a menu appears to selected a website. Since there are no websites listed, you'll have to add one. You can tap on the + button to add a website. Just type in the website address and press Add Site. OnSong reviews the website* to acquire its name, logo and icon. The website is then added to the list. You can continue to add websites, or simply choose one. The menu disappears for a fullscreen web browser experience.
Browse For Songs
Use the website's built-in navigation tools like search or song discovery. You get the full experience all without leaving OnSong.
Download Into Queue
When you find a song, you can use the website's tools to download the chart in a format that OnSong supports. Alternately, OnSong uses advanced heuristics to detect song content on a page and isolates it. If that's the case, you can use an icon in the menubar to compose the song into a file and queue it for import.
View the Queue
The songs you've downloaded are queued for import and shows in a menubar at the bottom of the screen. You can tap on the number of queued items to view and alter the queue of songs to import.
Import the Queue
Finally, tap on the Import button in the lower right to import the songs from the queue. OnSong will ensure that various song files are appended to existing songs so you don't end up with lots of duplicates. These songs are then loaded into the song viewer, or added to the selected set.
OnSong® Drive
Your OnSong® Drive is created on and accessed via your OnSong® Account. It's a secure way to store files you use in OnSong. You get storage included with your OnSong® Subscription which is used to store automatic backups, shared sets, and files in your OnSong® Drive. The first screen shows root folders in your drive.
Personal Files
The top-most folder provides access to your personal files. These are files that only you can access. In there you can create folders to help organize your storage.
Shared Files
If you belong to a group subscription, each account will appear below. Saving files in these folders allows your entire team to view the files. For instance, if I subscribe to OnSong through my band and my church, I could have a folder for each. Each account has its own available storage.
SongSelect
OnSong lets you import content from the SongSelect service directly within the app. This means you can access to both text-based and PDF chord sheets, lead sheets, and vocal sheets all from the SongSelect website. The SongSelect website gives you great discovery features for new music, top 100 songs, and much more.
Sign In
Since this is the full SongSelect experience, you'll need to sign in. Tap on the Sign In button in the upper-right corner to use the website's natural authentication system. There you will enter your SongSelect account email address and password. Don't forget to checkmark "Keep me signed in" to allow your authentication to be remembered in the browser.
Search Songs
Use the prominent search bar to find music you are looking for. You can search for title, artist, lyrics, or any combination. The results are then listed for you to select.
Browse Songs
There are plenty of ways to find music you're interested in. You can even listen to previews of the song as provided by Apple Music to make sure it's the right version you're wanting to bring to your congregation.
Choose Format
Once you've found the song you like, open it up. You can then use the tabs to choose between Lyrics, Chord Sheets, Lead Sheets, or Vocal Sheets. You can use the built-in website tools to transpose the chart and preview the changes. Once you're done, tap on the download menu option to download the generated file.
Import the Queue
The files you download are queued for import and show at the bottom of the screen. You can tap on the number of queued songs to see the list, preview the files, and remove them from the queue too. When you're ready, tap on the Import button to import those songs into your library and optionally, into the set you have selected.
Choose Template
When you add a new song, you can select if you want to choose a template.
Blank Song
Choosing this option will open the Song Editor with no text in the editor.
Sample Song
This area of the screen is where your song templates you've created are displayed. OnSong includes the sample song here to learn different features of the OnSong file format. Tap on a song template to open the Song Editor, creating the song with all its default styles and displaying the template text in the editor.
PraiseCharts
OnSong provides direct access to PraiseCharts, a premier provider of chord charts, sheet music, and other resources houses of worship use for services. You can search PraiseChart's library of content to easily preview and purchase products to download directly into your OnSong library. Let's take a look at how to do that.
Search Catalog
By default, the most popular songs in PraiseCharts appear in the list. The Catalog option is selected to allow you to browse and search the entire catalog. Tap in the search field to search for a particular song. You can then tap on the song in the list to view arrangement details.
My Library
Once you are signed in, you can view the songs that you have previously purchased. Of course you can also use the same search bar to search your library for specific songs too. Again, tap on a song to view arrangement details.
Sign In
If you are not signed in, you can tap on the Sign In button at the bottom to authenticate with PraiseCharts.
Arrangement
Once you select a song in the catalog or your library, you can view its details. This screen shows you the following information:
Album Artwork
One great way to identify that you're using the right song is visually through the beautiful album artwork that is predominantly located at the top of the screen.
Chord Charts
Chord charts work great in OnSong so the first section contains downloads that most users will want. Tap on Chords & Lyrics product to download a ChordPro version of the song that gives you all the features of OnSong like chord detection and lyrics projection. You can also generate various versions of the chord chart as PDF files here. If you've already previously purchased the chart, you'll see it is marked as Import so you can tap to choose what you'd like to import. Stage charts just contain the chords of the song and are available to add to your library for free.
Sheet Music
PraiseCharts is known for their extensive catalog of sheet music that includes music for all types of vocal and instrumentation use. In addition, if you've purchase diamond credits, you can also download full orchestration. Choose the product to acquire with credits and add it to your library and then be shown products you can import. Prices appear in credits when you're signed in and have purchased credits through the PraiseCharts website. You'll notice that the number of credits you have remaining appears in the upper right corner of the screen.
You can only acquire orchestration products by redeeming diamond credits.
Browsing Product Packs
You can also redeem credits for product packs in PraiseCharts. This includes multiple types of products bundled together and will appear with Browse text to find which product you'd like to import. This prevents all the content of the song from being imported, preventing your library from being too cluttered.
Other Resources
If you scroll down, you'll notice even more resources including audio tracks and patches. OnSong allows you to add any of these products to your PraiseCharts library through the same credit process, but you may not be able to use the product directly within OnSong. You'll be prompted that if you do download a product that is not supported, you can open the file into another app, or save it to Files to retrieve elsewhere such as on another computer through AirDrop.
Preview Song
You can tap on the preview song button at the bottom to open a screen. This lets you review the lyrics as well as listen to a 90 second version of the audio track to confirm you are downloading the correct version of the song.
Share Menu
Tap on the icon in the lower-right corner of the screen to share this song arrangement with your team through the PraiseCharts website.
Browse Products
If you've purchased a product pack from PraiseCharts, you can select the pack to browse products to be imported into OnSong. The list of products is displayed with an Import or Download indicator.
Import
When you tap on the import option, you can configure your download such as which part and key to produce.
Download
Items marked with Download are products that cannot be used directly within OnSong, however you can configure and download the product with an option to open that file into another app or share the file with another computer by saving to the Files app or wirelessly via AirDrop.
Import
This screen is used to import a product and changes depending on the product you have selected.
Version
If you select the Chords & Lyrics product, you can choose what version of the song to download. The default is ChordPro since that works best with OnSong. It's a text-based chord chart that lets you edit the contents as well as transpose on-the-fly, detect chords, change formatting, project lyrics and much more.
You can also choose from various PDF and text-file outputs that are derived from the ChordPro file. If you choose a PDF file, you'll also be prompted to choose the key below.
Part
If you select a sheet music product, the top section will instead be the parts that are available for download. For instance, if you're purchased an Orchestration, you'll have a dozen or more parts you could choose from. You'll also likely need to choose a key below.
Key
For products that are PDF-based, you'll need to choose a key. The list is displayed with the default key selected and at the top of the list. However, you can choose any other available key.
Note that some products do not contain downloads in all possible keys.
Import
Once you've made your selection, the button in the upper right corner is enabled and you can download the chart. After the import is completed, the songs will be displayed in the song viewer, but you remain on this screen. Make another selection and tap Import again if needed. You could alternately tap on the Done button that appears after import to return to the songs menu.
By default, files are downloaded and added as attachments to existing songs. You can change this preference using the "Import into an existing songs" switch at the bottom of the menu,
Preview
The preview screen is
Song Viewer
The preview screen will appear if you choose to preview the song. This will display only the lyrics of the song formatted in the OnSong song viewer with default settings.
Audio Preview
If there is a sample track available, an audio player will appear at the bottom of this screen. Tap on the play button to play through the 90 second track, or tap and hold the scrubber on the right to skip around to different parts of the audio track whether it's playing or not.
Purchase
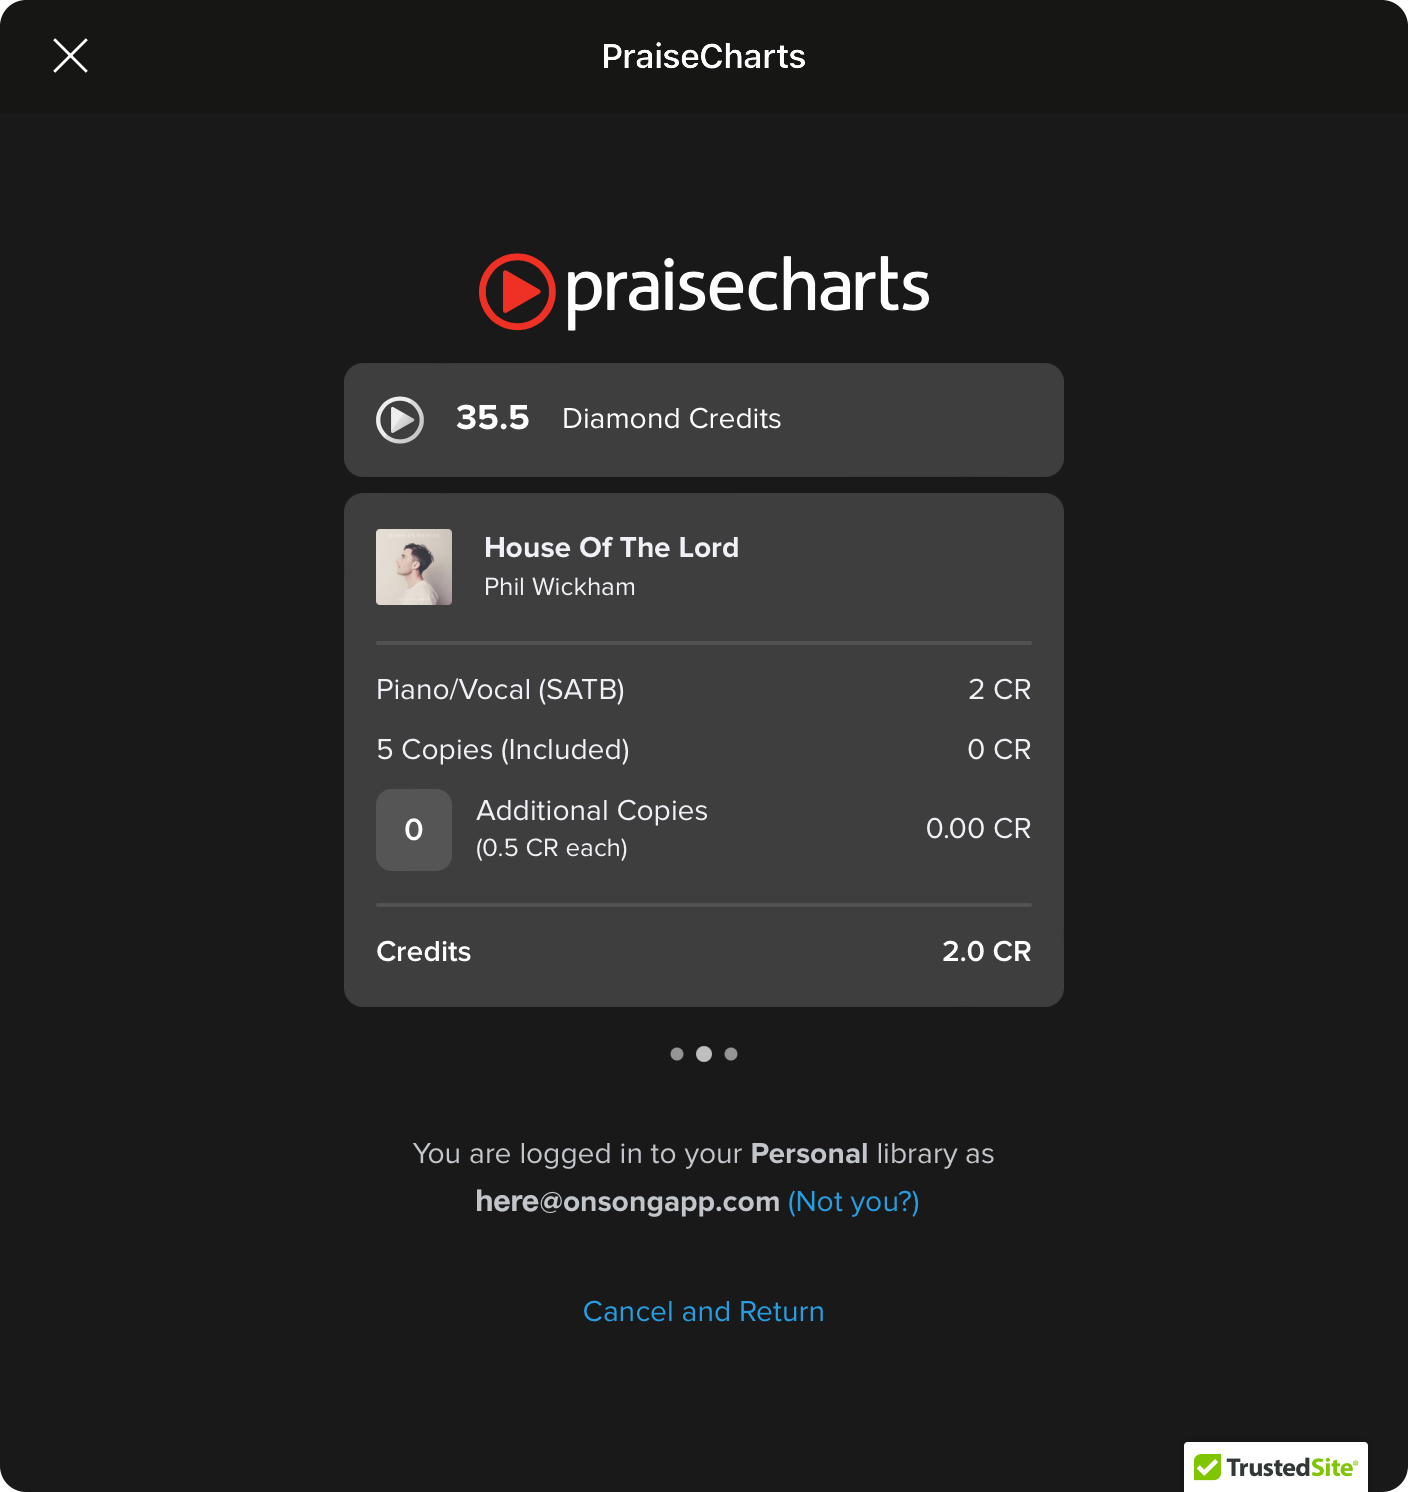
If you don't have a specific product in your library, you'll need to add it first in order to download it. This is done through the PraiseCharts purchase screen that loads inside of OnSong, allowing you to redeem credits you may have. Once confirmed and a green checkbox is displayed, the screen will close and you can view product details to determine what version, part, or key you'd like to import into OnSong.
Catalog
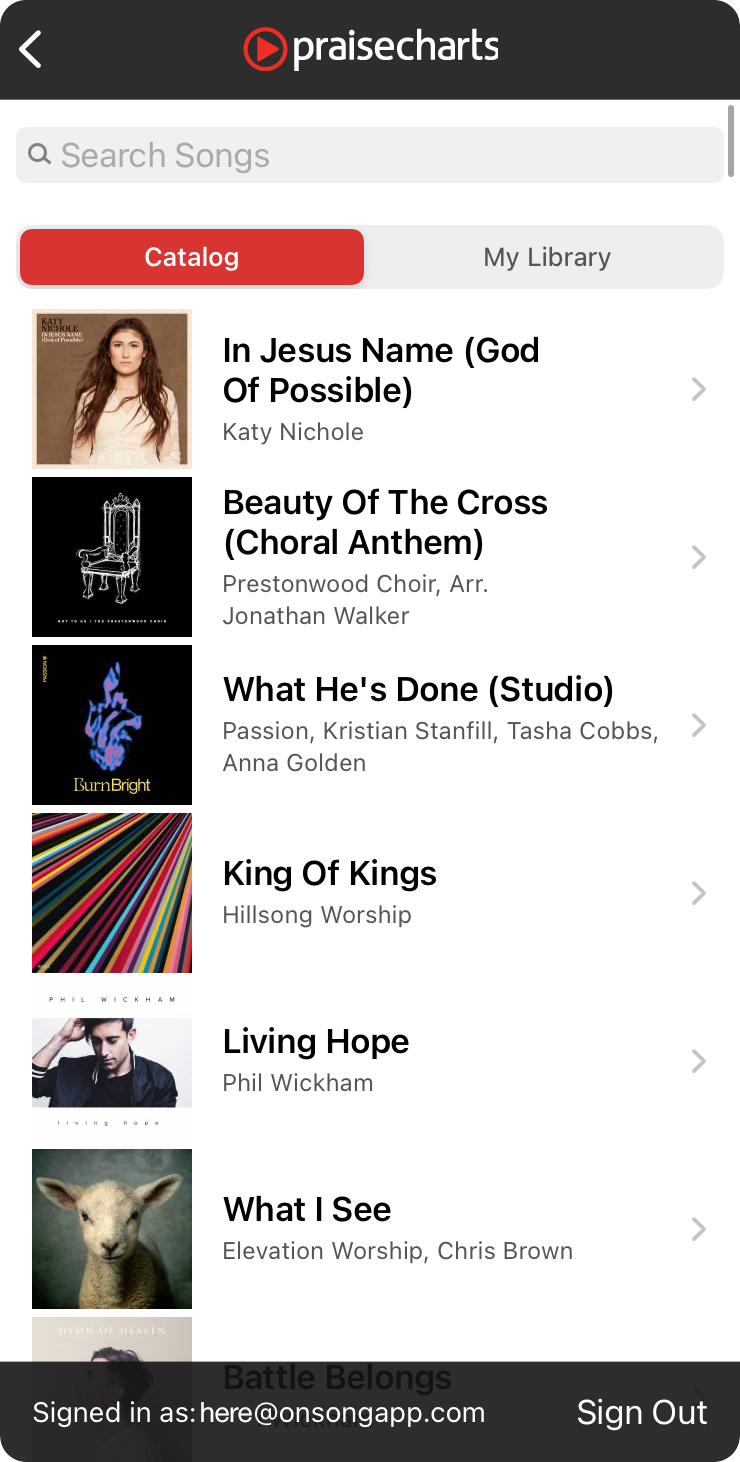
The entire catalog of PraiseCharts is accessible by default with the Catalog search scope selected.
Popular Songs
If you don't perform a search, the most popular songs appear in the list. You'll notice that there's not limit to the length of this list either and you can scroll down to browse all songs without performing a search.
Search Songs
Of course, scrolling indefinitely may be a bit time-consuming so tap into the search bar to bring up the keyboard and search for a song. This uses PraiseChart's search algorithm to intelligently find just what you're looking for.
View Arrangement
Once you've found what you're looking for, you too can tap on the song in the list to view arrangement details.
You can tap on your username at the bottom to view your account details in the PraiseCharts website.
My Library
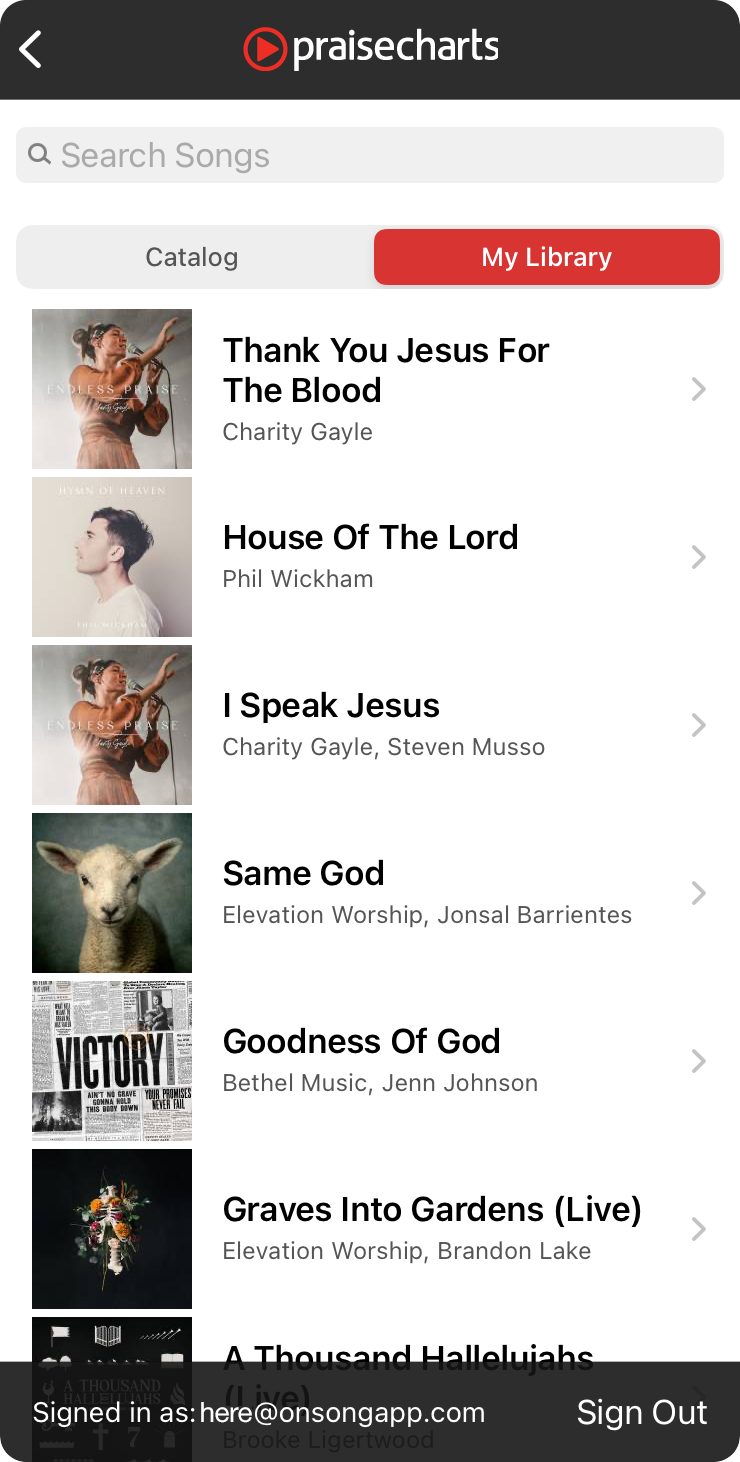
When you purchase songs through the PraiseCharts website, they are associated with your account. This becomes your personal library of songs and products that you can download through OnSong. Tap on the My Library search scope to view songs in your library.
Search Songs
You can search songs in your library by typing a search phrase in the search bar. This will refresh both your library and the catalog so you can toggle between them seamlessly.
View Songs
Songs typically appear in the order that they were added to your library with the newest songs appearing at the top of the list. Tap on a song in the list to view arrangement details where you can browse and download products available for the song.
Account
Your account information is displayed in the lower left corner. You can tap on your username/email address to view your account on the PraiseCharts website.
Sign Out
If you don't want to use this account any more, you can also sign out by tapping on the button on the right. This will prompt you then to view the Catalog since you need to be signed in to view a library.
Sign In
Before you can access your PraiseCharts library or redeem credits for products, you'll need sign in. This screen may appear when required, or if you tap on the Sign In button at the bottom of the screen.
Sign In
If you already have a PraiseCharts account, you can sign in with your email address and password here. Of course you can opt to be remembered, or access the forgot password function if you do not remember your password. Sign In to authenticate directly and securely with the PraiseCharts website.
Sign Up
You can also tap on the Sign Up tab at the top if you're not already a member of PraiseCharts. This screen looks very similar to the sign in screen, but instead creates your account.
Editing Mode
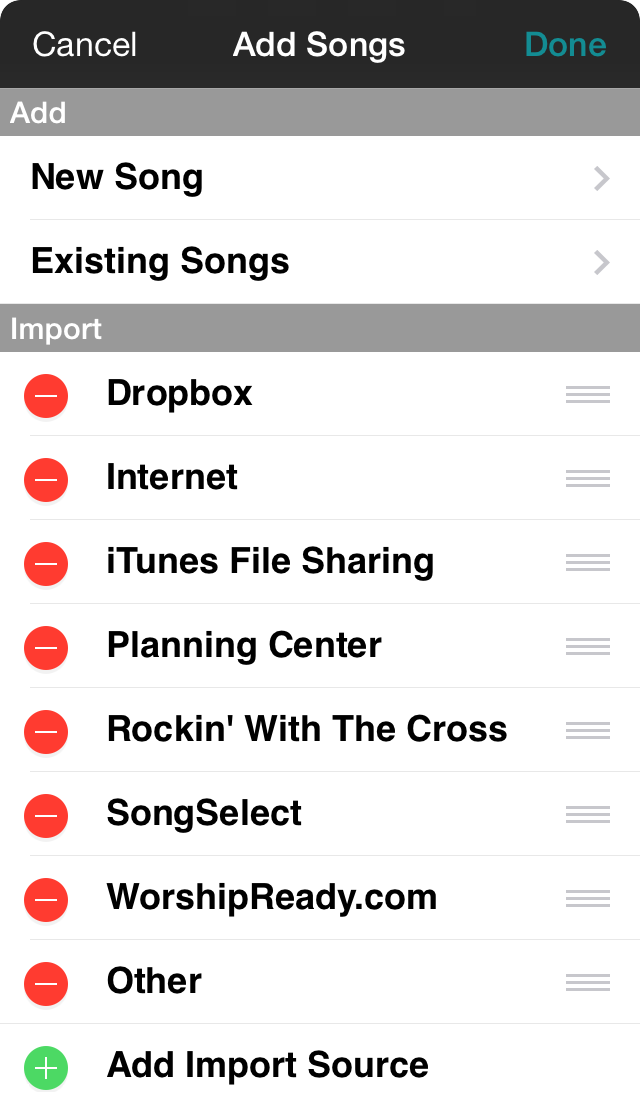
Tap on the Edit button in the upper right corner of the Add Songs Screen to enter editing mode. From here you can add new import sources, remove and rename sources, and even arrange them in a way that makes sense for you. Only the import section of this screen is editable while in editing mode.
Adding
While OnSong has a number of import sources to start, you can add new import sources by tapping on the Add Import Source row at the bottom of the import sources list. From here you can add import sources to the list.
Rearranging
You can change the order of import sources by tapping and dragging the reordering handles on the right side of each row. Once you have the list arranged as you like, tap on the Done button to save your changes.
Removing
Tap on the red minus circle on the left to reveal the Remove button. Tap on that to confirm removal. When you remove an item from the import sources list, it will be added to the list of import sources that can be added. This means you never truly lose access to removed import sources.
Renaming
Tap on the name of the import source while in editing mode to enter a new name for the option using a text input prompt.
Add Import Source
This screen allows you to add import sources that are not currently in your import sources list. To add one, tap on it in the screen. This will then return you to the Add Songs screen in Editing Mode so you can rearrange the new import source where you would like.
Note: Import sources are added to the bottom of the list automatically.
Files
Apps like Dropbox, Google Drive, and Microsoft OneDrive can extend their services to be available in other apps through the iOS Files app. On older devices, this was known as storage providers. You can access all your files found on the services you use through Files.
Selecting "Files" from the Add Songs menu opens the Files iOS interface. By default, this may choose the Recents tab at the bottom showing you recent files. Tap on the Browse tab to view all of your files. Select the storage location to browse on the left, or view content by tags.
Once you select a location, the folders and files contained in that location are displayed on the right. You can search or browse for files. Files that are supported for import are available for selection. If you wish to select more than one file, tap on the Select button in the upper-right corner and then select the files you want to import.
The Files interface is managed by iOS and storage providers. If you need support with this interface, please contact Apple or the storage provider for assistance.
Planning Center

Planning Center Online is a service used by churches to organize teams and schedule events. This works great for larger organizations where timing of multiple services and resources is important.
OnSong integrates with Planning Center by allowing you to browse your service types and folders and select a plan to import. You can also import individual songs.
Signing In
Before you can use the Planning Center Online import, you will need to sign into the service. Be sure to do this first before proceeding.
Search Songs
At the top of the import menu is a search songs option. Tap on this to search your Planning Center song library to import songs into your OnSong library. This is useful if you are planning to create sets in OnSong instead of first making a plan in Planning Center.
Choose a Service Type
You can use the rest of the screen to browse folders, or to choose a service type. This will display a list of plans made for that service type.
Sign Out
The bottom of the screen displays the organization that you are signed in under, as well as a Sign Out button. Tap on the Sign Out button if you need to sign in as another user. Since Planning Center does not support multiple organization access in its API, you will need to sign in separately if you manage multiple organizations.
Folders
Service types can be placed into folders to help organize. You can view service types by tapping on the folder.
Service Types
This screen will appear showing service types contained in the parent folder that was selected in the previous screen. Tap on the service type to view plans.
Import
While you would normally import your plans from Planning Center, you can also import individual songs or media from the song library stored in your Planning Center account.

Search Bar
The search bar allows you to search the songs in your Planning Center library. Type in the search bar and tap on the Search button to begin the search. This will filter the songs in this menu for import based on their title.
You can also choose what you would like to search using the buttons under the search bar. You can search the following:
- Title searches the title of songs.
- Author searches the author of the songs.
- Theme searches by the theme of the songs.
Import Song
Tap on the song to view attachments that can be imported.
Import Media
You can alterately use the selector at the bottom of the screen to view media instead of songs. Tap on media to view import options.
Media
To import media, you select it when browsing or search the media to be imported. This screen contains the follow:
Name
The name of the media is displayed in the title bar of the screen.
Attachments
Media can contain one or more attachments. The attachments section shows the files associated with the attachment. You can import attachments that have a checkbox but tapping on the Import button in the upper right corner.
Preview
If the attachment is previewable, it will appear in the preview section. For instance, in the image to the right, a video file is previewed as a static thumbnail graphic.
Songs
You can view attachments associated with the song in this screen including chords and lyrics and file attachments.

Chords & Lyrics
This section will display chords and lyrics specified for the song directly inside of Planning Center. Tapping on these will display the last selected file in the preview section.
Files
This section will display file attachments associated with the song. This could include PDF files from content providers like SongSelect as well as backing tracks. The preview section will display the last selected file.
Import
Once you've selected one or more files to import, tap on the Import button to import those into your library. If the Import into an existing song switch is enabled (default), OnSong will import those attachments into an existing song instead of creating new songs in your library.
Choose Plan
When you select a service type, you are presented with plans that are happening currently or in the future. At the bottom of the screen is an Include past plans switch. Turning this on will display plans in the past, as well as present and future plans.
Viewing Plans
Tap on a plan in the list to view the songs contained in plan. From this screen you can import the plan into OnSong. You can also preview the files that will be imported and choose a different version of the song file if multiple attachments have been specified.
Choose Songs
When you select a plan, OnSong will display the songs in that plan in the order that they have been arranged. Tap on a song in this list to preview it.
Importing The Plan
Tap on the Import button in the upper right corner of the screen to begin the import process. This will create a set, as well as download and add the listed songs to it. After the import process is completed, the set will be loaded and viewed in the songs menu.
Previewing Songs
OnSong will automatically select the attachment that works best with OnSong. You can tap on a row in this list to preview the song. In addition, you can use this screen to choose a different version of the song.
Use my songs when importing
The switch at the bottom of the screen allows you to change how the import process works. If turned on, OnSong will look up the song in your library and use that instead of the song associated with the plan in Planning Center Online. The default setting is off, however OnSong will retain your preference.
Search Songs
While you would normally import your plans from Planning Center, you can also import individual songs from the song library stored in your Planning Center account.
Search Bar
The search bar allows you to search the songs in your Planning Center library. Type in the search bar and tap on the Search button to begin the search. This will filter the songs in this menu for import based on their title.
You can also choose what you would like to search using the buttons under the search bar. You can search the following:
- All returns all songs in the list.
- Title searches the title of songs.
- Author searches the author of the songs.
- Lyrics searches the lyrics of the songs.
- Theme searches by the theme of the songs.
Song List
Tap on the songs to place a checkmark next to the items you would like to import. Tap again to remove the checkmark and not import the song. This will be one of the song's attachments based on a list of priorities. To change the version of the song that is imported, preview it first. Tap on the Import button to begin the import.
Previewing Songs
Tap on the magnifying glass icon on the left of the row to view the version of the song that will be imported. You can use this screen to choose a different version to import.
Sign Into Planning Center
This screen displays the Planning Center Online authentication page. Because this is hosted by Planning Center Online, you may need to zoom into the form to see what you are typing.
Enter your email address in the first field followed by your password in the second field. Tap on the checkmark button to submit your credentials to Planning Center Online. No information is passed to OnSong.
Once authenticated, OnSong will receive information that will keep you authenticated with the services.
If you've forgotten your password, tap on the Forgot password? link beneath the form. This will provide an interface to submit your email address to reset your password.
Once authenticated, this screen will automatically be dismissed and the Planning Center import screen will reload with your organization's information.
You can close this window and cancel the authentication process by tapping the Cancel button in the upper left corner of the screen.
Song Preview
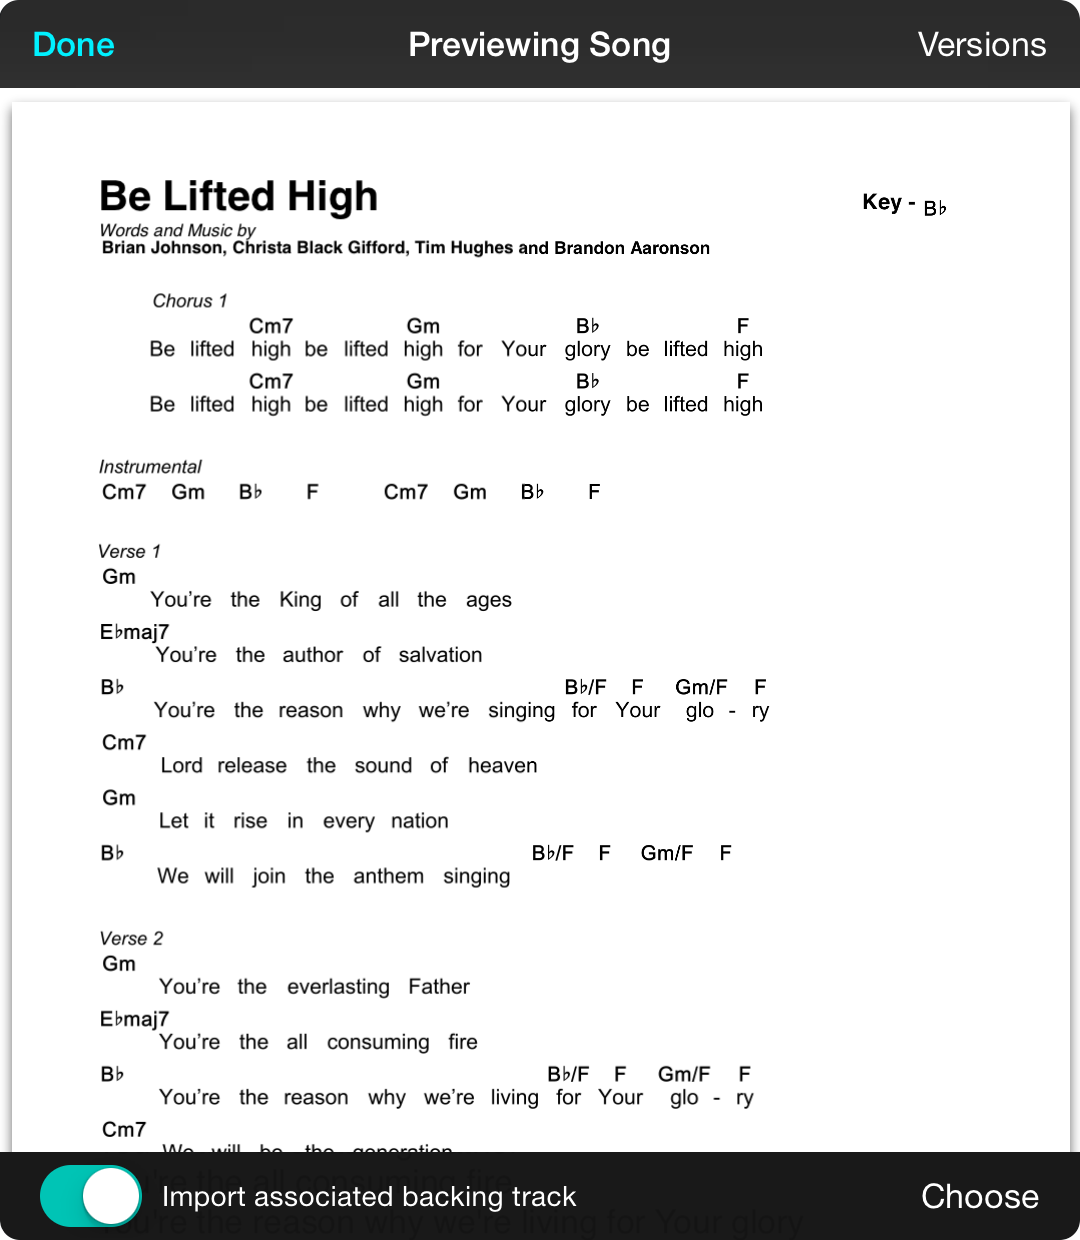
The song preview screen allows you to view the version of the song that will be imported. This will either display the attachment as-is in a song viewer, or display the chord chart with the default styles that you've set in Settings » Menu Settings » Style Preferences.
Choosing Versions
If you are happy with the version of the file that will be downloaded, tap on the Done button and continue the download. Otherwise, tap on the Versions button to choose a different attachment to preview. This also changes the version of the song that will be imported.
Import associated backing track
This option appears if one or more audio files are associated with the song. If turned on, the song is downloaded and automatically linked to the import song. If more than one audio track is available, tap on the Choose button to pick the track to link to the imported chord chart or sheet music.
Import Priority
OnSong will automatically attempt to choose the version of the song that works best for importing. This is performed in the following order:
- Chord Charts are created inside of the Planning Center web application and are preferred over attachments.
- OnSong Archive files contain all the information of the song including annotations, styles, and transposition settings.
- OnSong Files are text files in the OnSong file format.
- ChordPro Files are text files in the ChordPro file format.
- Plain Text can be either OnSong or ChordPro formatted, although regular text files also display well.
- Adobe PDF are PDF files created from other software and are viewed "as-is".
- Microsoft Word files display "as-is" as well.
- Other Files include files that are not audio.
- Media Files are not imported, but associated audio files can be imported along with chord charts if configured in the bottom toolbar.
Choose Version
Planning Center allows you to have many different versions of a song using file attachments as well as text-based chord charts written inside of the Planning Center web application. You will need to choose the version of the song that you want to use in OnSong.
Tap on the Versions button in the upper right corner of the song preview. From there you can tap on the version of the song you would like to display in the preview screen. This also changes the version of the song that will be imported.
WorshipPlanning.com
WorshipPlanning.com makes it easy to plan and prepare worship services. You can access your WorshipPlanning account to import individual songs or entire worship events into OnSong.
Sign In
The first time you access this screen, you'll need to sign in. Enter your credentials to view songs and events.
Search Songs
Tap on this option to browse and search songs that you've imported into your WorshipPlanning.com account.
Browse Events
Tap on this option to browse events you've scheduled in WorshipPlanning.com. You can then choose an event to import it as a set into OnSong.
Signing Out
The name of the organization that you are signed in as appears on the left. You can use the Sign Out link at the bottom to sign out of WorshipPlanning.com at any time.
Browse Events
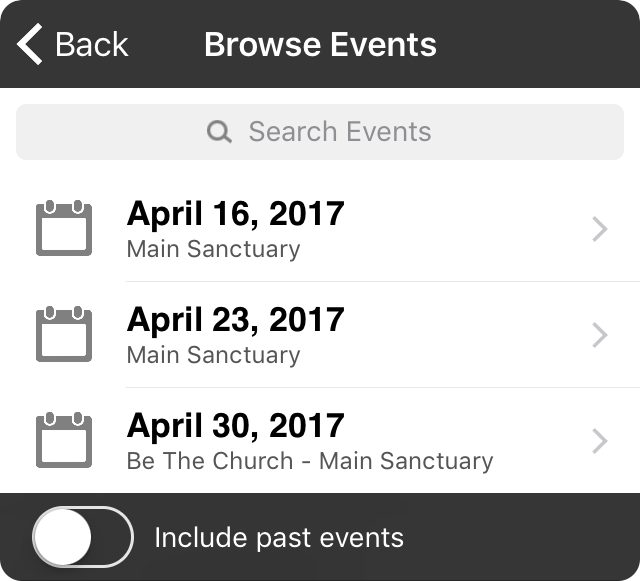
This screen shows you a list of events that have been created on WorshipPlanning.com. By default, you're displayed upcoming events with the next event at the top of the list. Turn on the Include past events switch at the bottom to view all events in reverse chronological order.
Search Events
Use the search bar at the top of the events list to search for events by typing keywords.
Viewing Events
Tap on an event in the list to view the songs contained in the event. From this screen you can import the event into OnSong as a set. You can also preview the files that will be imported and choose a different version of the song file if multiple attachments have been specified.
View Event
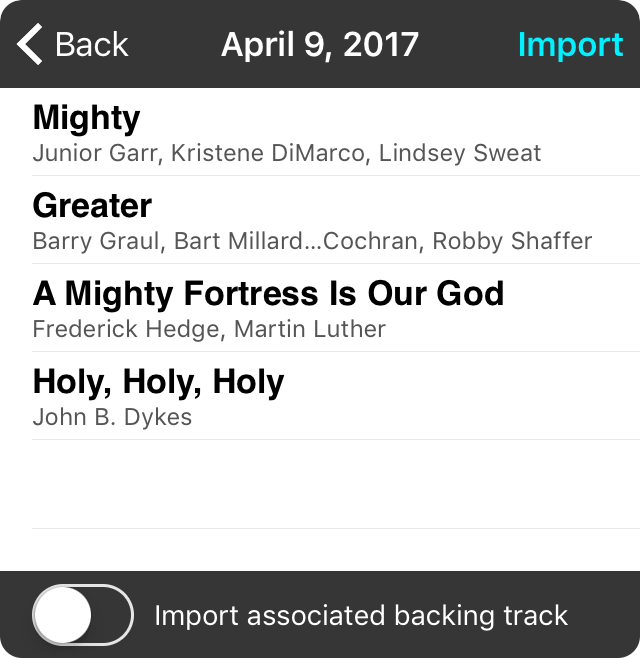
When you select an event, OnSong will display the songs in that event in the order that they have been arranged. Tap on a song in this list to preview it.
Importing The Event
Tap on the Import button in the upper right corner of the screen to begin the import process. This will create a set, as well as download and add the listed songs to it. After the import process is completed, the set will be loaded and viewed in the songs menu.
Previewing Songs
OnSong will automatically select the attachment that works best with OnSong. You can tap on a row in this list to preview the song. In addition, you can use this screen to choose a different version of the song.
Import Associated Backing Track
When importing songs, you can also import associated backing tracks. If this switch is enabled, the backing track will be imported into the OnSong Media Library and linked to the chord chart.
Search Songs
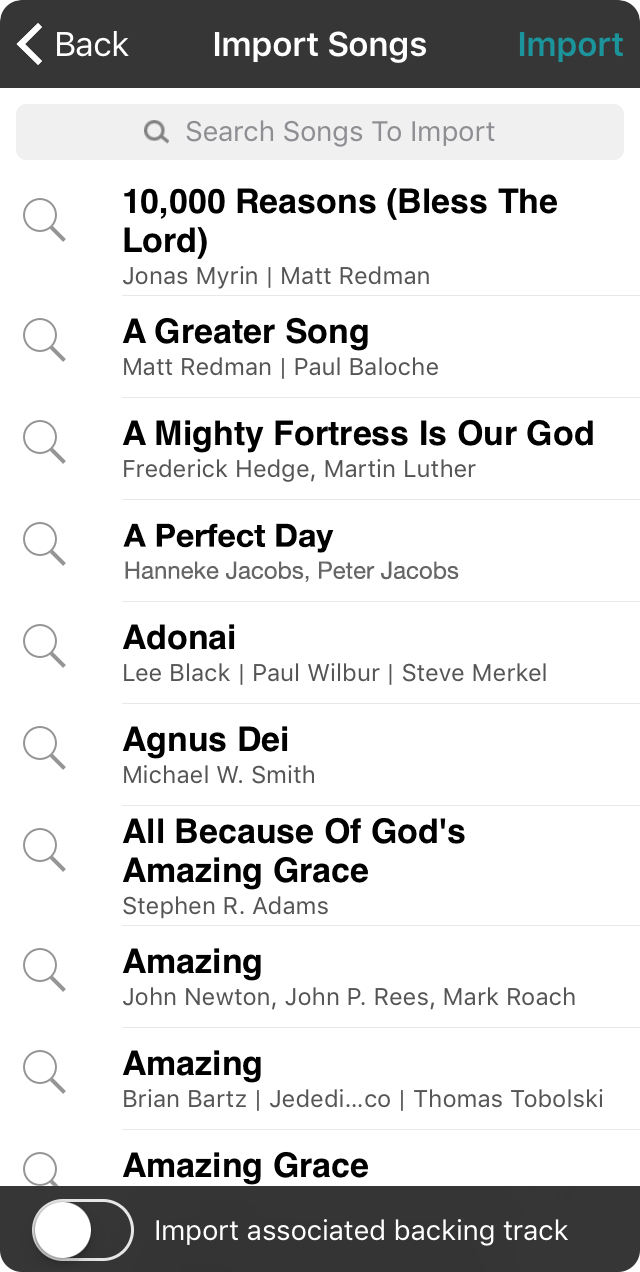
While you would normally import events from WorshipPlanning.com, you can also import individual songs from the song library.
Search Bar
The search bar allows you to search the songs in your WorshipPlanning.com library. Type in the search bar and tap on the Search button to begin the search. This will filter the songs in this menu for import based on their title.
Song List
Tap on the songs to place a checkmark next to the items you would like to import. Tap again to remove the checkmark and not import the song. This will be one of the song's attachments based on a list of priorities. To change the version of the song that is imported, preview it first. Tap on the Import button to begin the import.
Previewing Songs
Tap on the magnifying glass icon on the left of the row to view the version of the song that will be imported. You can use this screen to choose a different version to import.
Import Associated Backing Track
When importing songs, you can also import associated backing tracks. If this switch is enabled, the backing track will be imported into the OnSong Media Library and linked to the chord chart.
Sign In
To import songs and events from WorshipPlanning.com, you first need to sign in. OnSong will present you with a sign in screen where you can enter your email address as well as your password. Tap on the Login button to sign into WorshipPlanning.
If you don't have a WorshipPlanning.com account, tap on the Signup button to get the web address needed to sign up. Due to App Store policies, OnSong cannot provide a direct link to signup screens for subscriptions. To sign up, go to http://worshipplanning.com.
Song Preview
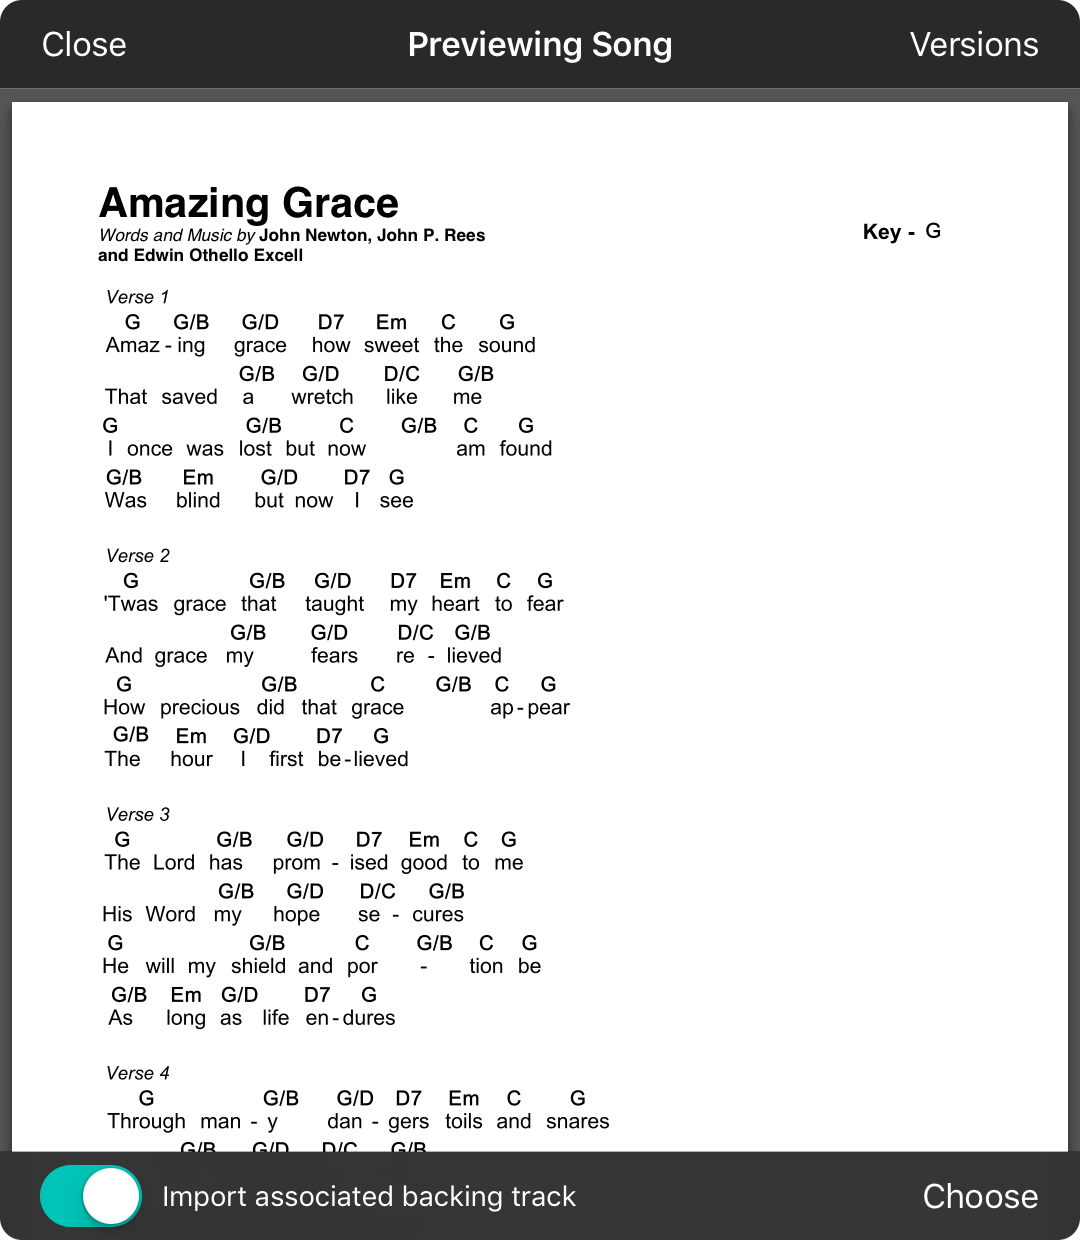
The song preview screen allows you to view the version of the song that will be imported. This will either display the attachment as-is in a song viewer, or display the chord chart with the default styles that you've set in Settings » Menu Settings » Style Preferences.
Choosing Versions
If you are happy with the version of the file that will be downloaded, tap on the Done button and continue the download. Otherwise, tap on the Versions button to choose a different attachment to preview. This also changes the version of the song that will be imported.
Import associated backing track
This option appears if one or more audio files are associated with the song. If turned on, the song is downloaded and automatically linked to the import song. If more than one audio track is available, tap on the Choose button to pick the track to link to the imported chord chart or sheet music.
Import Priority
OnSong will automatically attempt to choose the version of the song that works best for importing. This is performed in the following order:
- Chord Charts are text-based chord charts and are preferred over attachments.
- OnSong Archive files contain all the information of the song including annotations, styles, and transposition settings.
- OnSong Files are text files in the OnSong file format.
- ChordPro Files are text files in the ChordPro file format.
- Plain Text can be either OnSong or ChordPro formatted, although regular text files also display well.
- Adobe PDF are PDF files created from other software and are viewed "as-is".
- Microsoft Word files display "as-is" as well.
- Other Files include files that are not audio.
- Media Files are not imported, but associated audio files can be imported along with chord charts if configured in the bottom toolbar.
Choose Version
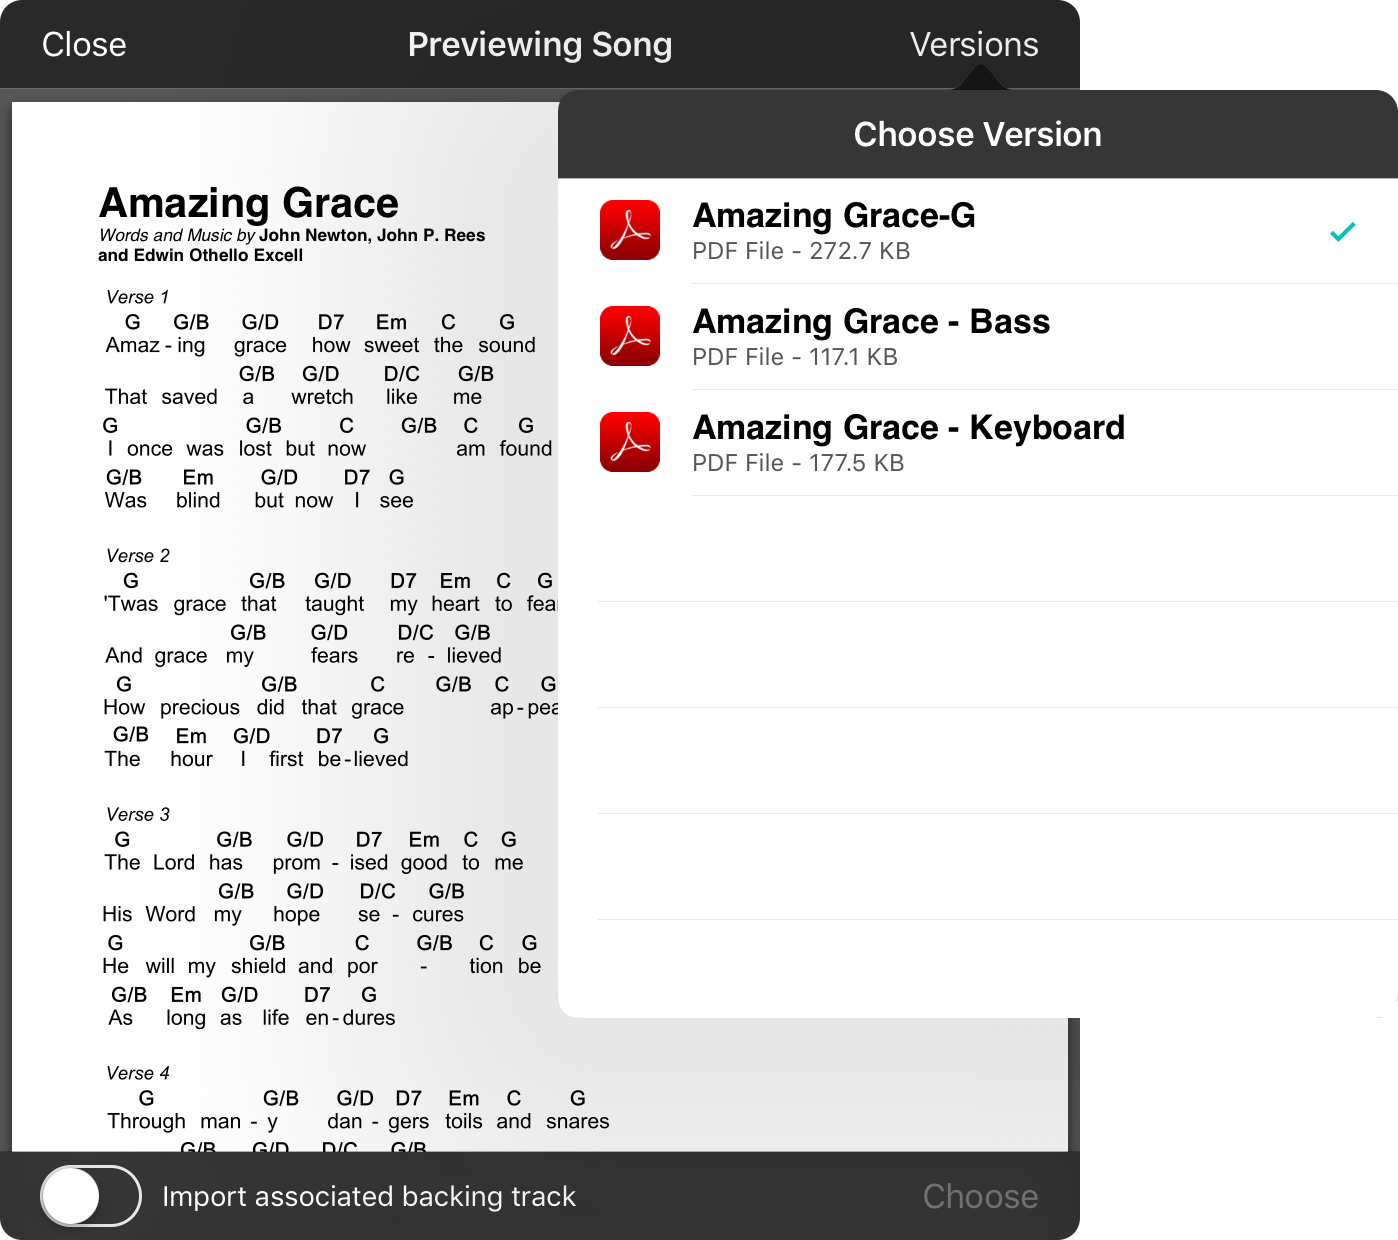
WorshipPlanning.com allows you to have many different versions of a song using file attachments as well as text-based chord charts. You will need to choose the version of the song that you want to use in OnSong.
Tap on the Versions button in the upper right corner of the song preview. From there you can tap on the version of the song you would like to display in the preview screen. This also changes the version of the song that will be imported.
Import from Google Drive
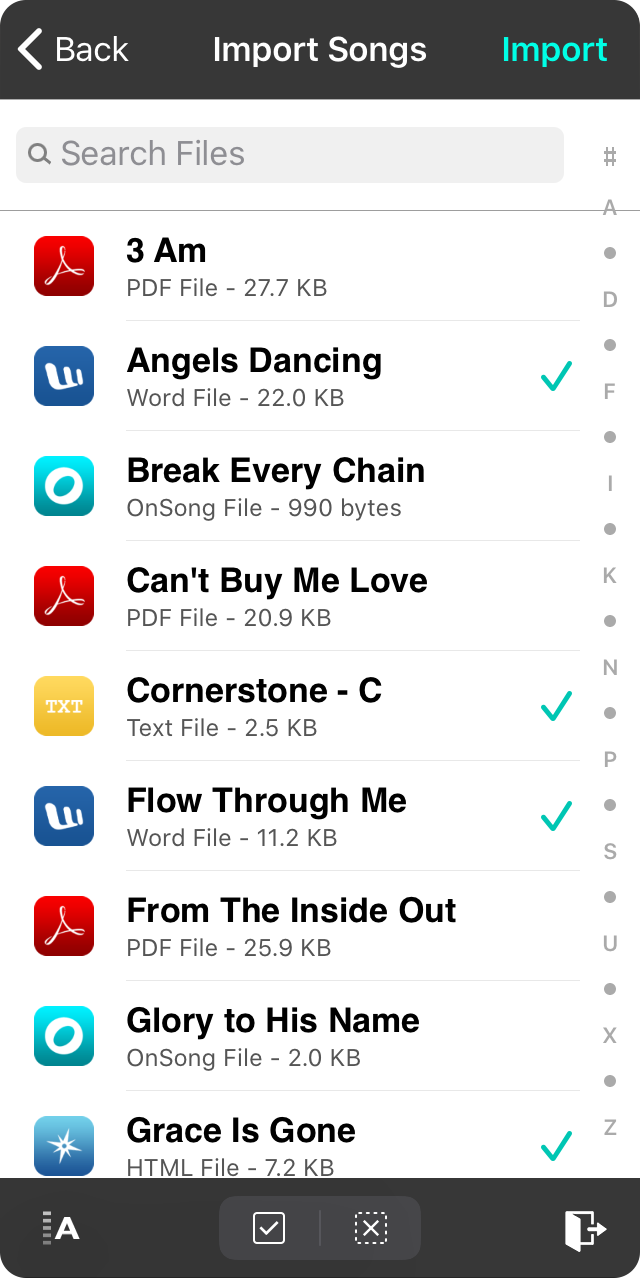
Google Drive is a greatly to import files that you share and work on collaboratively online. Choose the Google Drive option in the Add Songs screen to browse your Google Drive files.
Authorization
You will need to authorize OnSong to access Google Drive the first time you attempt to access it. This will either open a web-based authentication screen from inside of OnSong. Once your account is linked, you can use Google Drive without signing in again unless your account become unlinked for some reason.
You can always sign out of Google Drive at anytime by tapping on the Sign Out button at the bottom of the screen.
Browsing
Once you are signed in, you can navigate your entire Google Drive contents. Tap on folders to navigate to more files.
Selecting
Tap on files to check and uncheck them for import. You can also use the Select All and Deselect All buttons on the bottom of the screen to select or deselect everything in the currently viewed folder. If you select a backup file, OnSong will prompt you that importing a backup will overwrite your current library before continuing. If confirmed, only the backup file is imported and the library is restored.
Importing
Once you have some files checked, tap on the Import button in the upper right corner to begin the import process. If you have selected to import a file that was already imported, OnSong will have you choose an action to take on the duplicate file. When importing begins, the progress is displayed as a percentage in the upper right corner. Once the import process is completed, you are returned to the All Songs screen.
Sorting
You can change the sort order of the files and folders to make selecting them for import easier. Tap on the sort icon in the lower left corner to bring up the following options:
- Name sorts files and folders by file name in ascending alphabetic order.
- Size sorts larger files to the top of the list.
- Modified sorts files that were most recently modified to the top of the list
Note: Tapping on the same sort option twice will reverse the sort order.
Signing Out
If you've signed into the wrong Google Drive account, or if you want to sign out of Google Drive for security reasons, tap on the door icon in the lower right corner. This will deauthorize OnSong from Google Drive and return you to the Add Songs screen.
Authorizing Google Drive
Whenever you first use Google Drive in OnSong, you will need to first authorize OnSong to access your Google Drive content. This is handled completely by Google Drive, so no information is passed to OnSong in any way.
Getting Google Drive
Google Drive is a popular cloud-based storage service that offers 15 GB of free storage with options for more storage through paid subscriptions. 15 GB is more than enough space for chord charts and OnSong backups. Sign up at http://drive.google.com.
Authorization
Before you can use your Google Drive with OnSong, you need to sign in with your Google account and authorize OnSong. Enter your Google account email address and password. This will authenticate you with Google Drive and authorize OnSong to access your drive contents.
The login and authorization process is handled completely by Google and no credentials are sent to OnSong at any time. OnSong requests access to your entire Google Drive to allow you to import and export files from any folder.
SongSelect
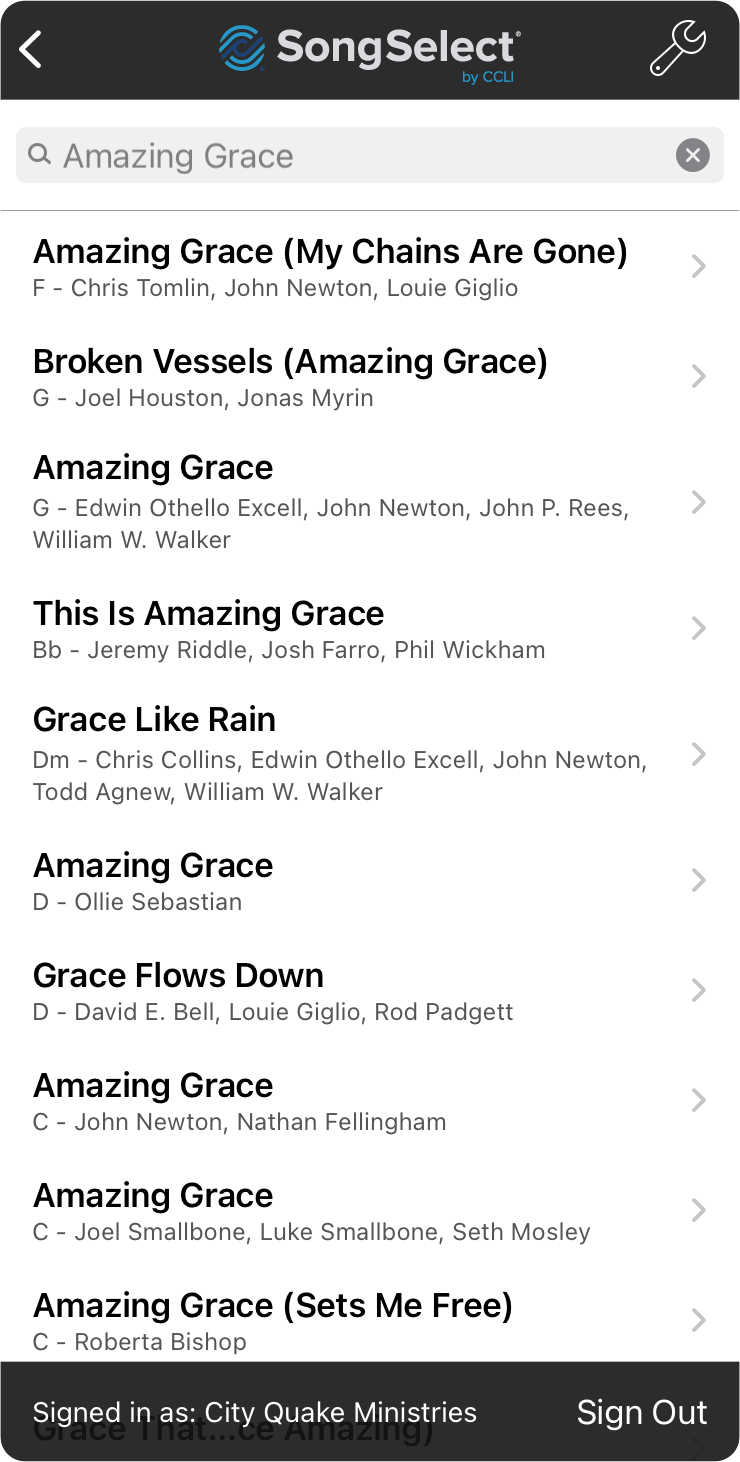
SongSelect is a chord chart by CCLI®s common among houses of worship. We've partnered with SongSelect to bring tighter integration with OnSong like the ability to import PDF chord sheets in different formats and keys as well as to transposed on-the-fly.
Sign In
The first time you access the SongSelect screen, you'll need to sign in and authorize OnSong to access SongSelect on your behalf.
Search
Tap in the search bar at the top of the screen and search for songs. When you find one you're looking for, tap on it to view details.
View Details
When you tap on a song in the search results, you can view more details and have options with how you download the song.
Transpose and Capo
When you import SongSelect PDF chord charts into OnSong, they are saved as attachments on a single song so you can access them any time. However, they are also linked to your SongSelect account. This means you can transpose or capo your chord sheets from within the song viewer using the Chords Tab of the Style Preferences Menu.
Change Settings
Tap on the wrench icon in the upper right to view options for how SongSelect integration works. You can also view your SongSelect terms of use and the OnSong end-user license agreement as well as enable CCLI® auto-reporting.
Sign Out
Tap on the Sign Out button on the bottom right to sign out of your account if you need to sign into another account.
Note: Your downloads may be limited based on your subscription classification. You can commonly download 200 unique songs as PDF chord charts per year with your SongSelect subscription.
Chords
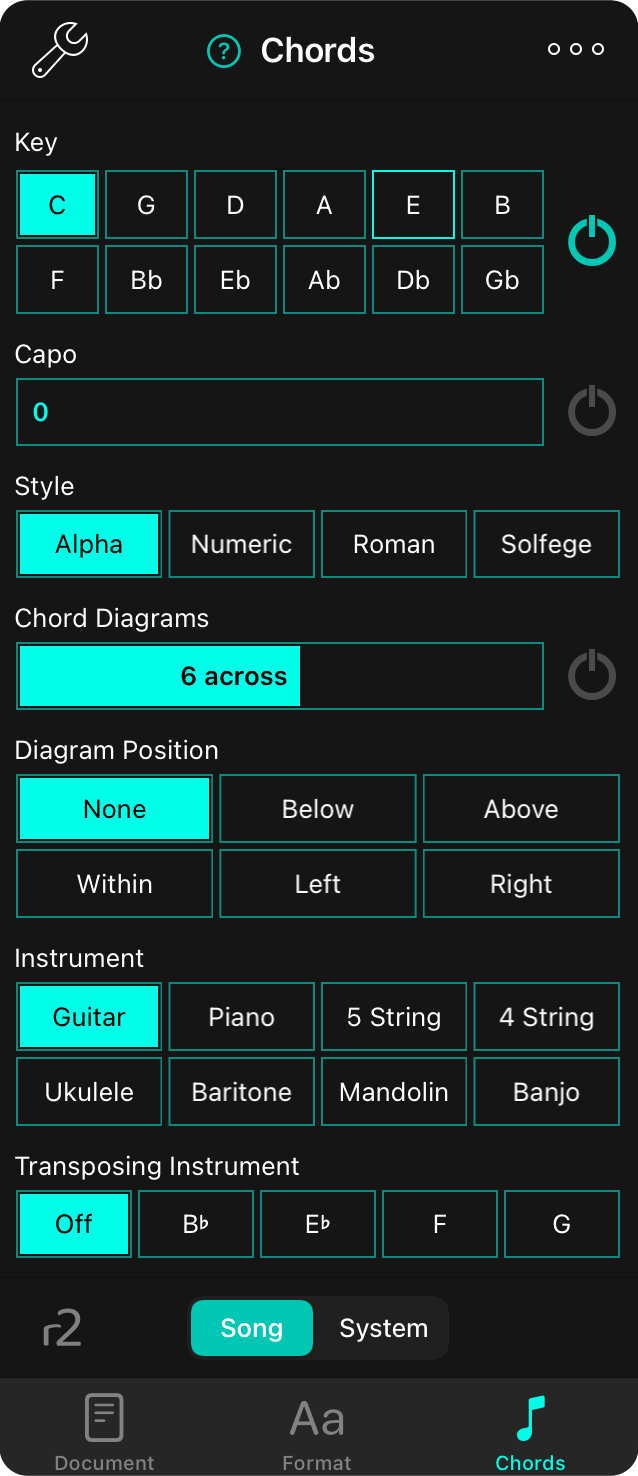
The chords tab lets you transpose and capo chords as well as determine how those chords appear. It also lets you select an instrument for chord diagrams.
The full style preferences menu is only available for text-based chord charts. However, if you have downloaded charts using a content provider like PraiseCharts or SongSelect, you will have access to transpose charts if you are signed in. OnSong will contact the content provider to download additional attachment as needed. If you already have attachments with keys matching the attachment type, you can also transpose between them without an Internet connection. Otherwise, if you are viewing an imported file you will have the option to Extract and Edit or Use Text Version.
Style
The style choosers lets you pick how the chords should appear on the screen. You can choose from the following options:
- Alpha displays chords as an alphabetic character (A-G) including enharmonic preference (sharp or flat). Default.
- Nashville displays chords as numbers (1-7) based on their position in the key.
- Roman displays chords as Roman numerals (I, ii, iii, IV, V, vi, vii) based on their position in the key.
- Solfege displays chords as numbers using Latin (do, re, mi, fa, so, la, ti) based on their position in the key. The "do" can be made fixed or movable by tapping on the wrench icon.
Key
The key chooser lets you set the key of the chord chart. This can be different from how the song was written in the song editor as transposition is performed from the original key to the one selected here.
The most common keys are presented in a "circle of fifths" order, placing keys with less sharps and flats toward the left. Keys switch between major and minor based on the how song is written. You can change this interface to be in alphabetic order, or to use the original slider interface instead using the Transpose Control option.
Users who prefer more options in keys or who want to access theoretical keys can turn on Theoretical Keys option.
Capo
The capo slider allows OnSong to adapt the chords based on capo position. This maintains the key of the song found in the transpose slider but alters the chords to work with the capo. You can capo from 0 to 11 and determine if the capo is applied by toggling the power button on the right.
By default, increasing the capo slider will modulate the chords of a song down. The reason for this is to allow the declared key of the song to be maintained. For instance, if the key of the song is C#, and a capo is applied on the first fret, then you should set the capo slider to 1. This will display the chords of the song down one half step in the key of C.
You can change how capo effects your chord chart in Settings » Display Settings » Song Formatting » Capo.
You can tap on the left and right sides of the slider to adjust the capo up and down one fret.
Diagrams
Diagrams can be drawn on the chord chart to help when you play, or for printing chord charts for educational purposes. You turn chords on and off with the power button to the right of the slider. Use the slide to adjust the how many diagrams can fit across one page from between 4 and 10 diagrams across.
You can tap on the left and right side of the slider to adjust the number of diagrams drawn across the page by one.
Diagram Position
The diagram position chooser lets you determine where diagrams and drawn on the page. You can choose from:
- None turns off chord diagrams. Default.
- Below draws diagrams under the song content.
- Above draws diagrams above the song content directly below the title and metadata.
- Within draws chord diagrams in place of chords within the lyrics.
Instrument
You can change the diagram instrument by choosing from the selection in the instrument chooser. You can also change the instrument by tapping on chords or diagrams in the song viewer to open the Chord Inspector. Here you can browse chord formations on different instruments. When the chord inspector is closed, the chord chart is redrawn with the last selected instrument's chord diagrams.
Transposing Instrument
If you are playing an instrument that does not play at concert pitch, you can adjust the chords that appear throughout the song to adjust for those instruments. Options include:
- Off used for concert pitch and most stringed or percussion instruments like piano.
- B-flat used for B-flat instruments such as trumpet, clarinet, bass clarinet, and soprano and tenor saxophones.
- E-flat used for E-flat tuned instruments such as soprano clarinet, or alto and baritone saxophones.
- F used for F tuned instruments such as French and English horns.
- G used for alto flute.
Methodology
Changes made in this menu do not modify the original content of the song as found in the song editor.
When you select a song in the All Songs list, the changes are applied to the master library. If you select a song in a book or set that has Separate Set/Song Styles enabled, the changes are only applied to the song within that set. This allows you to transpose a song in a different key for that book or set without changing the master version.
You can change the default behavior and interface options for this screen by tapping the wrench icon in the upper left corner to change Style Preference Chords options.
Settings
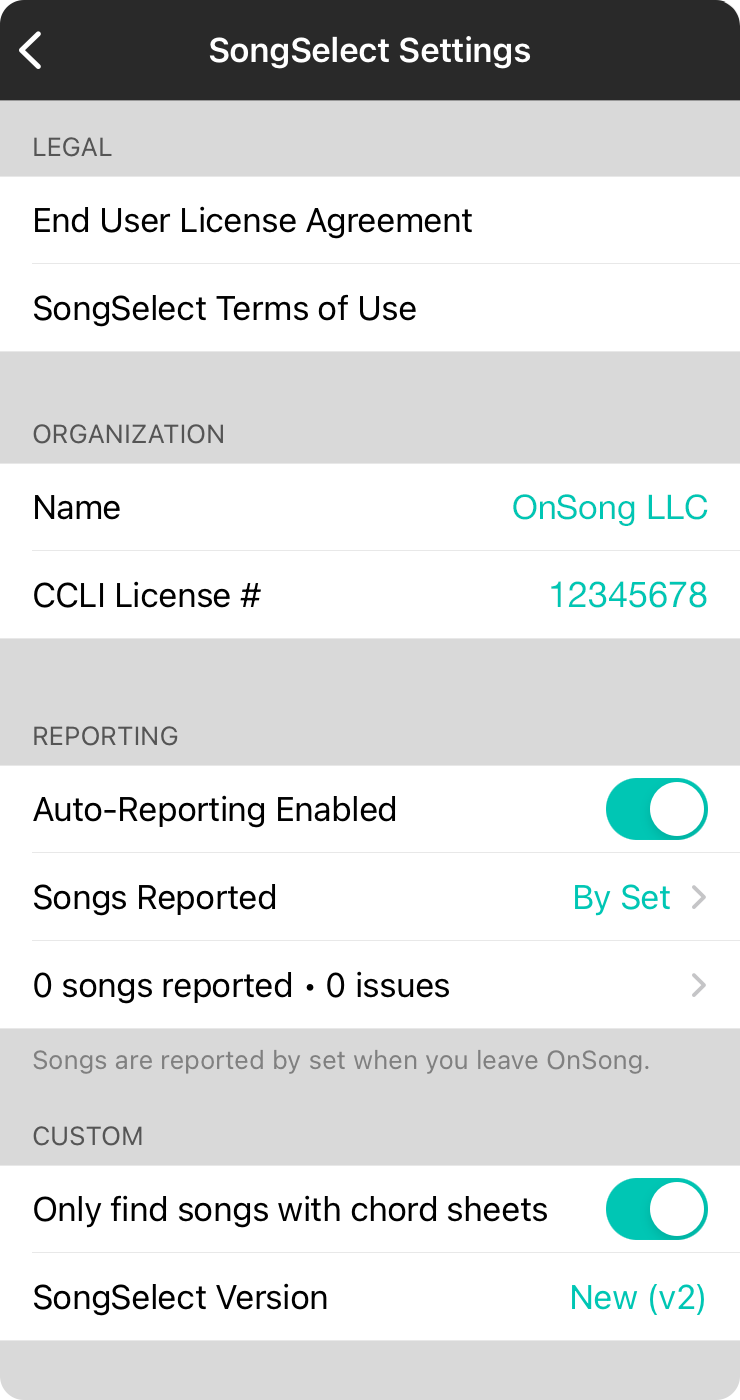
The SongSelect settings screen allows you to view legal information as well as shows you which organization you're currently signed into, controls auto-reporting status and lets you customize your SongSelect experience.
Legal
One of the reasons you use CCLI® SongSelect is because of the legal coverage it affords you when showing lyrics to the public. Here is where you can read the App Store End User License Agreement as well as the SongSelect Terms of Use.
Organization
The latest SongSelect integration returns your organization's information such as name and CCLI License #. This is where that information is displayed.
Reporting
SongSelect 2.0 comes with a new feature called CCLI® Auto-Reporting. Auto-reporting will automatically upload your CCLI song usage to CCLI so you do not have to do it manually.
Auto-Reporting Enabled
This switch determines if auto-reporting should be enabled for this device. When you turn this on, the other two rows appear after the songs are uploaded to CCLI®.
Songs Reports
OnSong records song usage using its Song Reporting feature. By default, this is reported By Set meaning that songs that are placed into Sets are reported on that set's date. You can change this to By Usage option. OnSong can also report songs By Usage determined by how long the song was viewed.
Song Reporting Status
The last line in this section shows you how many songs have been reported and if there were any issues. You can also tap here to view the report of what has been used.
Custom
This section lets you customize your SongSelect integration experience.
Only find songs with chord sheets
By default, this is enabled which means songs that only contain lyrics and not chord sheets will not be included in the search results.
SongSelect Version
We've upgraded your experience to SongSelect 2.0. However if you don't like that for any reason, you can revert back to the Original Version. Just tap on this row to toggle between. When you exit the settings, you will be returned to the Add Songs menu so when you go back into SongSelect, the appropriate user interface will be used.
Sign In
When you choose to import from SongSelect, you will be prompted to sign in. This opens a screen that loads the SongSelect sign in screen.
Type in your username or email address that you use to sign into the SongSelect web site, as well as your password. You will then be prompted by SongSelect to allow OnSong to access your account and close the screen.
Once you are signed in, your authorization token is remembered so you shouldn't have to sign in again unless there is a change to your account status.
SongSelect 2.0 and the original SongSelect integration use different sign in processes so you have to authenticate to both individually.
View Details
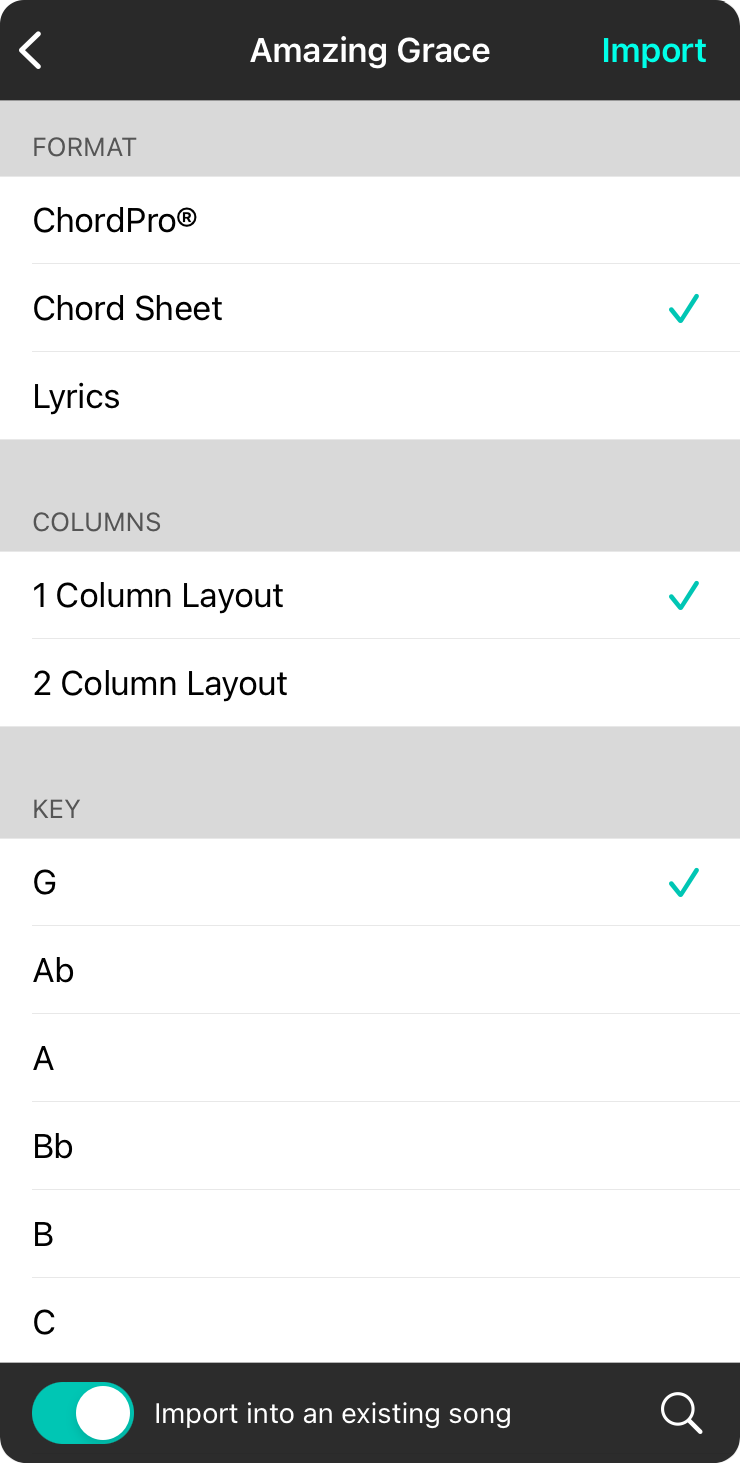
Once you've selected a song, its details are retrieved and you can choose how you would like to download the chart. This screen lets you configure the download.
Format
SongSelect has the following formats that can be downloaded:
ChordPro®
This is a standard, text-based chord chart that contains information about the song, lyrics, and chords. This works best with OnSong if you're looking to use on-device chord transposition, formatting, lyrics projection, and more. When this option is selected, you can choose the key you would like the original chart in, but can transpose it from there within OnSong.
Chord Sheet
This option retrieves a PDF file from the SongSelect service. When this option is selected, you can also choose how many columns you would like in the layout as well as key. When you download a chord sheet, a ChordPro® document is also downloaded. This is the default option.
Lyrics
Similar to the previous versions of SongSelect, this lets you download just song lyrics without chords and minimal song information.
Columns
This section appears when you choose to download a Chord Sheet and lets you choose between 1 or 2 column layout options.
Key
This section appears when downloading chord-based formats and lets you choose the key you would like to download. The original key of the song is displayed up top with all other available keys listed underneath. In addition, Numbers and Solfege (do-re-mi) options are also available when importing a PDF Chord Sheet.
Import
When you're done making your download choices, tap on the Import button to import the document into your OnSong library. Once downloaded, the Import button changes to a Done button and tapping that will return you to the song list. Otherwise, you can continue to import other versions of the song, or go back and search for other songs to import.
Import into an existing song
This switch at the bottom left is turned on by default and means that OnSong will avoid importing duplicate songs for each download. This is done by finding the matching song in your library (typically based on CCLI Song #) and import those downloads as attachments in OnSong 2022 or higher, or as different keys that can be accessed via the Style Preferences Chords Menu or possibly as different songs in your library.
Preview
You can tap on the magnifying glass on the right side to get a preview of the song. Keep in mind that this contains limited lyrics but does not count against your SongSelect quota.
Your download selections (except specific keys) are remembered for the next time you import.
Duplicate Files
When you import files into OnSong, the filename with which you originally imported the file is retained in the library. This filename is used to uniquely identify the file.
When you are browsing files to import, these files may appear to be faded out to indicate that the file had already been imported. When you attempt to import one or more files with the same original filename, OnSong will recognize these conflicts and give you one of the following options:
Update
This option will update the original file with the new version. For instance, if you've imported a PDF file and made changes to that file, importing it again with the Update option will save the new file over the old file and display it in OnSong.
Duplicate
This option can be used to create a new version of the song with the same file name. This allows you to import songs with the same file name but as different songs.
Skip
This option will skip over files that had already been imported. This is handy for preventing updates to existing files but still allows you to import multiple files that may be new.
Cancel
Cancels the import process, allowing you to change the selection of files.
Import from Dropbox
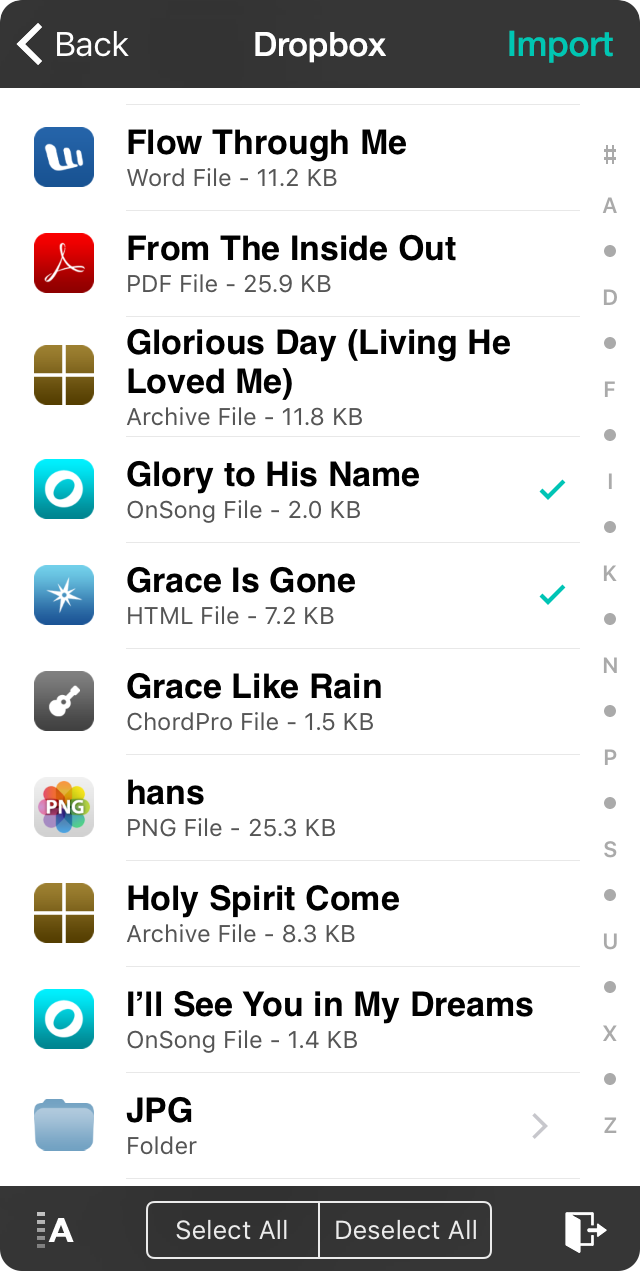
It's easy to import your song files from Dropbox. Dropbox is the easiest way to create, edit, and store your files on a computer, and then access them on your mobile device or any other device you own. Choose the Dropbox option in the Add Songs screen to browse your Dropbox.
Authorization
You will need to authorize OnSong to access your Dropbox the first time you attempt to access it. This will either open a web-based authentication screen from inside of OnSong, or redirect you to the Dropbox app on your device if installed. Once your account is linked, you can use Dropbox without signing in again unless your account become unlinked for some reason, or if you access Dropbox in OnSong from another device.
You can always sign out of Dropbox at anytime by tapping on the Sign Out button at the bottom of the screen.
Browsing
Once you are signed in, you can navigate your entire Dropbox. Tap on folders to navigate to more files.
Selecting
Tap on files to check and uncheck them for import. You can also use the Select All and Deselect All buttons on the bottom of the screen to select or deselect everything in the currently viewed folder. If you select a backup file, OnSong will prompt you that importing a backup will overwrite your current library before continuing. If confirmed, only the backup file is imported and the library is restored.
Importing
Once you have some files checked, tap on the Import button in the upper right corner to begin the import process. If you have selected to import a file that was already imported, OnSong will have you choose an action to take on the duplicate file. When importing begins, the progress is displayed as a percentage in the upper right corner. Once the import process is completed, you are returned to the All Songs screen.
Authorizing Dropbox
Whenever you first use Dropbox in OnSong, you will need to first authorize OnSong to access your Dropbox contents. This is handled completely by the Dropbox SDK, so no information is passed to OnSong along the way. Dropbox may show a different screen depending on what you have installed on your device.
Getting Dropbox
Dropbox is a popular cloud-based storage service that offers 2 GB of free storage for signing up. You can pay a subscription if you need to store more information. 2 GB is more than enough space for chord charts and OnSong backups. Sign up at http://dropbox.com.
App Authorization
If you have the Dropbox app installed on your device, you will be redirected to that device to complete the authorization process. Check the account you are using and switch accounts if necessary. Once you are sure that the proper account is selected, tap on the Allow button to authorize OnSong to access your Dropbox and to return to the OnSong app.
Web Authorization
If you do not have Dropbox installed, Dropbox displays a web-based authentication screen. Enter the email address you use to sign into Dropbox along with your password and tap the Sign In button. This will authenticate you with Dropbox and authorize OnSong to access your Dropbox.
Note: Both authorization methods are handled completely by Dropbox and no credentials are sent to OnSong at any time. OnSong requests access to your entire Dropbox to allow you to import and export files from any folder.
Import From Internet
OnSong is designed to allow you to import content from the services that you depend on. Earlier versions of OnSong could search one Internet site at a time from within the app. This was limiting and also prevented users from checking the terms of use on imported content. The new Add To OnSong extension provides a powerful tool for importing all your content into OnSong with just a tap of a button in Safari.
Add To OnSong Extension
OnSong now makes use of the Add To OnSong Safari extension that lets you import files and content from a website. This reduces technical issues when importing and also allows you to read over the website's terms of use before importing content into OnSong.
In addition to importing chord charts and lyrics, the Add To OnSong extension can also import any supported file format.
Direct Searching
Searching the Internet from within OnSong is unavailable by default and requires search parameters to be configured in Settings » Import Settings » Internet Settings to enable it for use. You can content your web-based content provider to request an OnSong settings file that configures these parameters for you, or encourage them to integrate with OnSong using our robust developer tools.
If you have OnSong configured to a web site with sufficient parameters, you can search for content within OnSong.
Note: OnSong does not distribute content and does not license you to do so. You take full responsibility for ensuring that you are using all content in accordance with the terms of use. Content available for free on the Internet does not mean that it can be used freely.
Direct Searching
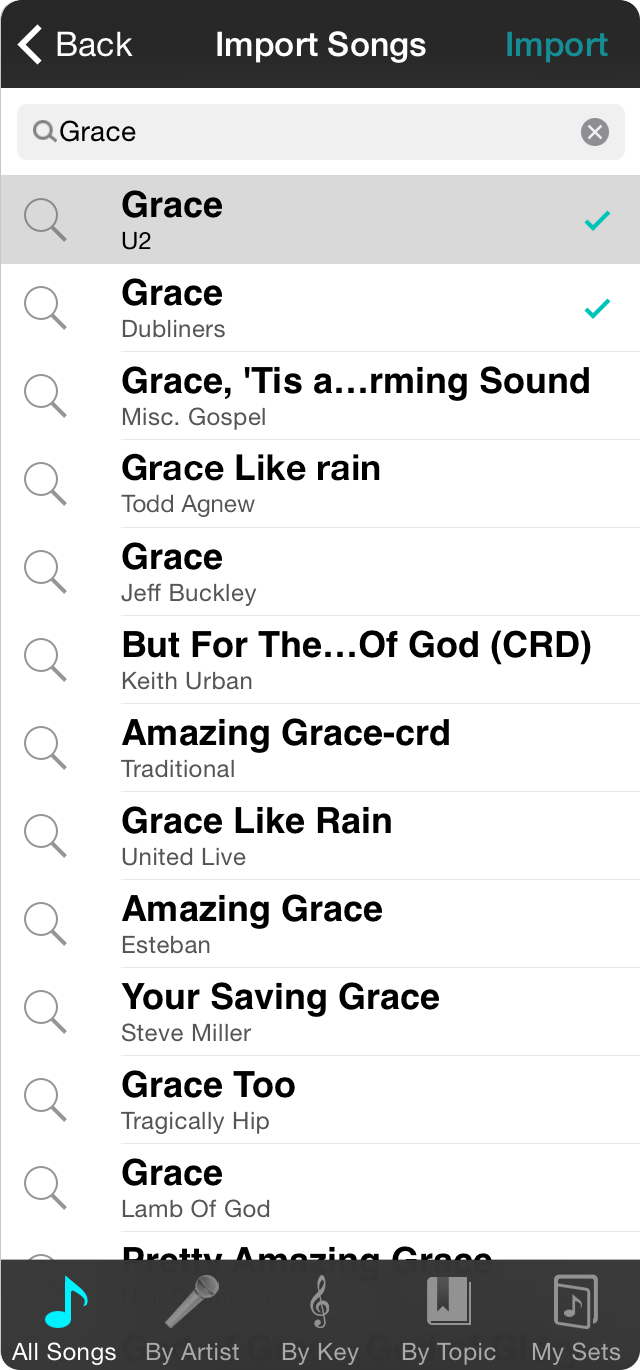
If you have a website configured in Settings » Import Settings » Internet Settings, OnSong provides an interface for searching for songs without leaving the app.
Make certain that you have agreed to the terms of use of any website where you acquire content and that you have sufficient license to use the content you are importing.
Searching
Type in keywords in the search field and tap on the Search button on the keyboard. This will locate songs using the Bing search engine.
Previewing
Since songs on the Internet are usually of poor quality, you will want to preview the song prior to importing it into your library. Tap on the magnifying glass icon on the left side to open a preview of the song. This will help you decide if the chord chart will be useful.
Importing
To import a song from the search results, tap on the song to place a checkmark next to it and then tap on the Import button. The status of the import will appear in the upper right corner. Once completed, you will be returned to the All Songs screen with the newly imported songs.
Note: Songs found on the Internet are typically made available for personal or educational uses only. Be sure that you have the legal right to use the chord charts you are accessing and acquire any licenses you need for performance or recording.
Preview
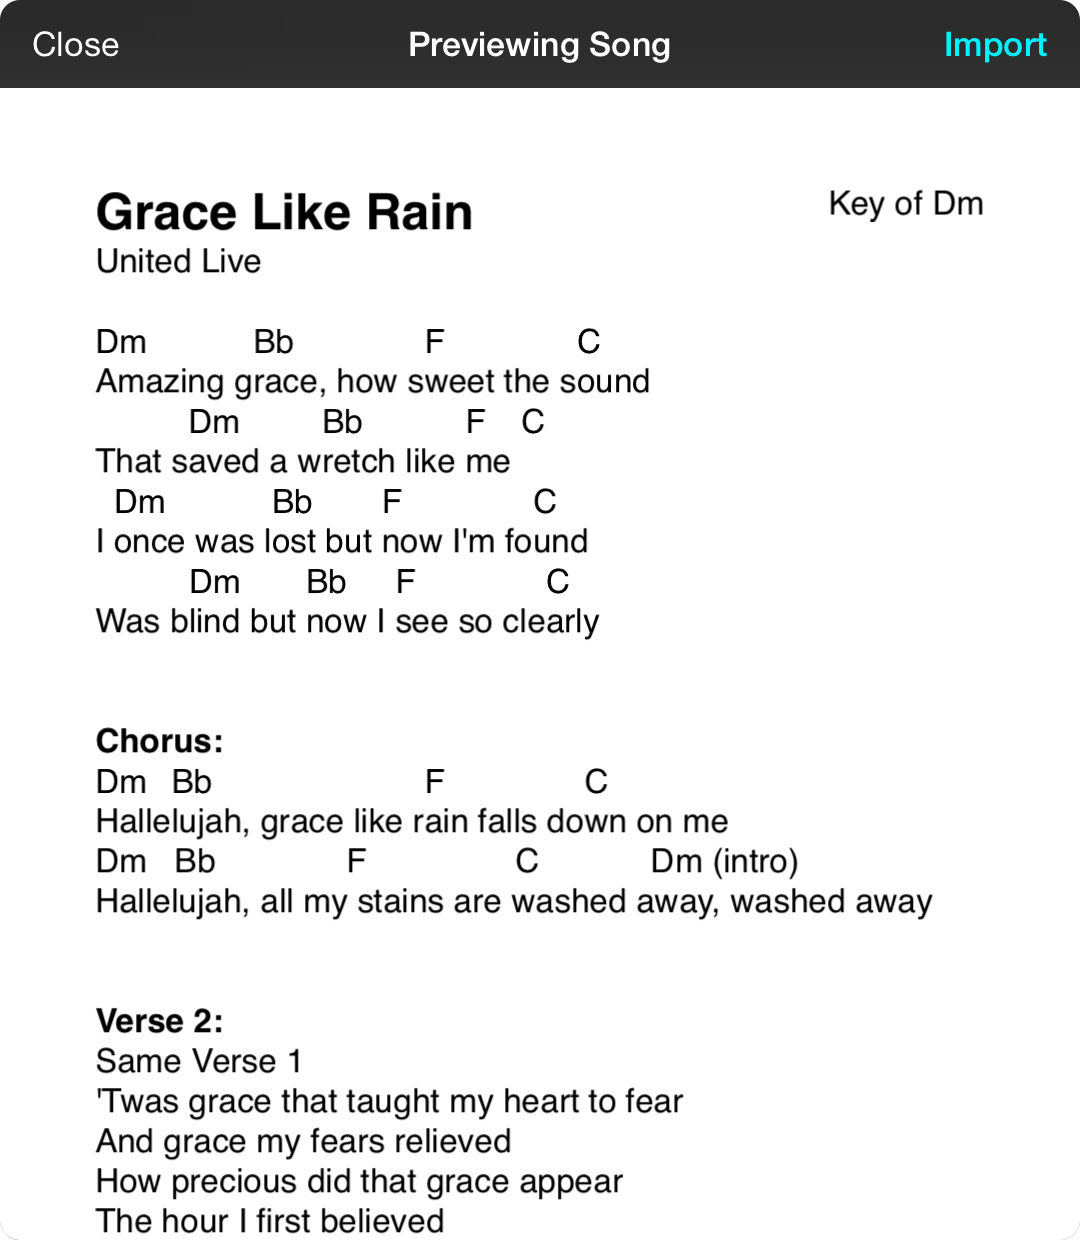
Previewing a song that is found on the Internet is important since most content found on the Internet is of poor quality and user-generated. Tapping on the magnifying glass icon in the list of search results will open the preview screen.
Once open, you can view the chord chart with default formatting. You can configure default formatting options for songs in Settings » Menu Settings » Style Preferences.
Tap on the Close button to close the preview window and return to the search results.
You can also import the song directly from the preview screen by tapping on the Import button that appears in the upper right corner.
Remember that you can change the style or key of the song after imported into your library by using the Style Preferences Menu. You can also make changes to the song content using the Song Editor.
Import from LTC Asaph
LTC Asaph is a chord chart service for accessing worship music for French-speaking congregations. If you don't have an account, you can sign up here.
Sign In
The first time you access this import screen, you'll need to sign into your LTC Asaph account.
Search
You will need to perform a search to find songs by title.
Preview
Tap on the magnifying glass icon on the left side to see a preview of the song prior to importing it. Make sure it's the song you want before importing it into your library.
Note: Previews are limited to partial lyrics only and do not include chords. The final version does include chords.
Importing
Tap on the songs that you want to import to place a checkmark on the right side. Once you've selected songs to import, tap on the Import button in the upper right side of the screen. The progress of the import will be displayed. Once finished you will be returned to the All Songs screen.
Signing Out
You can use the Sign Out link at the bottom to sign out of LTC Asaph at any time.
Sign In
To import chord charts from LTC Asaph, you first need to sign in. OnSong will present you with a sign in screen where you can enter your User ID as well as your password. Tap on the Login button to sign into LTC Asaph.
If you don't have an LTC Asaph account, tap on the Signup button to get the web address needed to sign up. Due to App Store policies, OnSong cannot provide a direct link to signup screens for subscriptions. To sign up, go to http://onsongapp.com/ltc
Import from Rockin' With The Cross
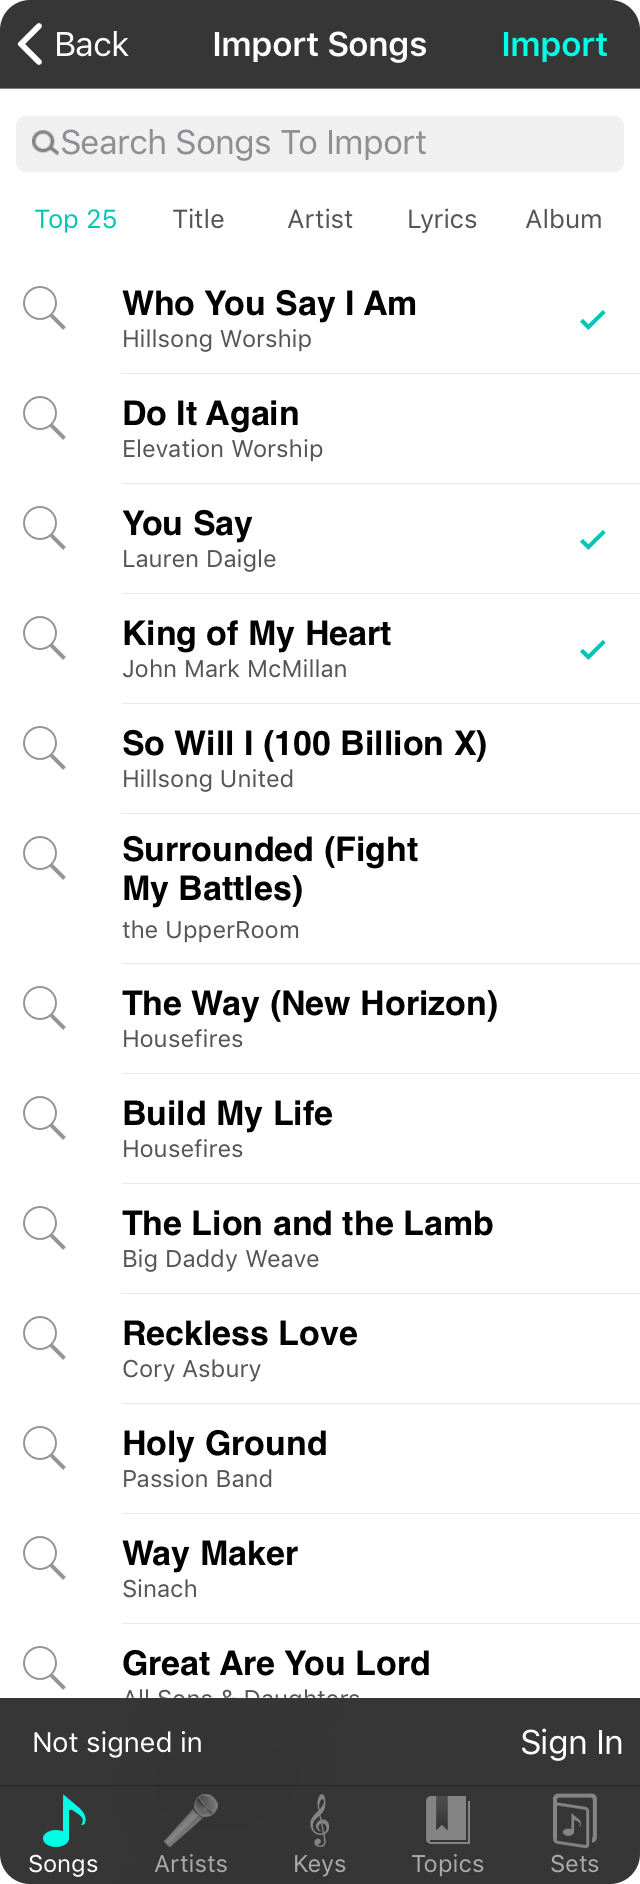
Rockin' With The Cross is the longest running, Christian chord chart library on the Internet. You can search and import chord charts right inside of OnSong. If you don't have an account you can learn more about Rockin' With The Cross and sign up today!
Sign In
The first time you access this import screen, you'll need to sign into your active Rockin' With The Cross account.
Search and Browse
By default, the top 25 songs are listed on the screen. Use the search bar to search songs by title. You can also use the buttons below the search bar to search by artist, lyrics, and album as well.
Preview
Tap on the magnifying glass icon on the left side to see a preview of the song prior to importing it. Make sure it's the song you want before importing it into your library.
Note: Previews are limited to partial lyrics only and do not include chords. The final version does include chords.
Importing
Tap on the songs that you want to import to place a checkmark on the right side. If you've already imported a song, it will appear greyed out. You can still import the song but will be prompted to update, duplicate or skip before importing.
Once you've selected songs to import, tap on the Import button in the upper right side of the screen. The progress of the import will be displayed. Once finished you will be returned to the All Songs screen.
Signing Out
You can use the Sign Out link at the bottom to sign out of Rockin' With The Cross at any time.
Note: While these chord charts are downloaded to your OnSong library, access is granted only if you have an active subscription with Rockin' With The Cross. This is due to the subscription-based licensing structure that has been negotiated with publishers and copyright holders. If you have Netflix™ or cable TV, you are familiar with this concept. You get all the content you can consume for a low monthly bill.
If your subscription lapses, OnSong does provide a grace period for you to correct your billing information. If you are traveling abroad or won't have access to an Internet connection, we recommend prepaying for a year subscription to avoid any disruption in service.
Subscription-based chord charts are not for everyone. While this model provides on-demand access to every available chord chart at any time, some musicians prefer to keep the chord chart regardless of their subscription status. You can do this with other services such as WorshipReady.com or PraiseCharts which offer their content for a few dollars per song instead.
Sign In
To import chord charts from Rockin' With The Cross, you first need to sign in. OnSong will present you with a sign in screen where you can enter your User ID as well as your password. Tap on the Login button to sign into Rockin' With The Cross.
If you don't have a Rockin' With The Cross account, tap on the Signup button to get the web address needed to sign up. Due to App Store policies, OnSong cannot provide a direct link to signup screens for subscriptions. To sign up, go to http://onsongapp.com/rwtc/signup
Import using File Sharing
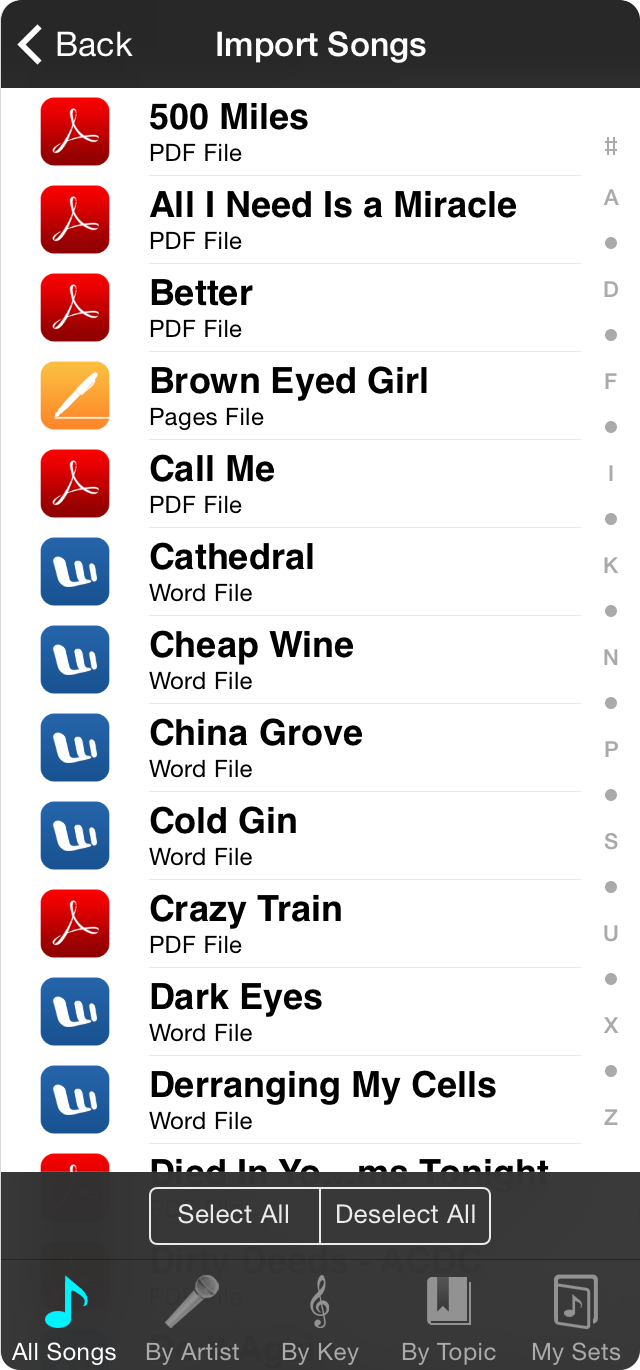
File Sharing is a way to move files on and off of your device using the Finder (Mac) or the iTunes app (Window) and a USB charging/syncing cable. Once files are added to OnSong using file sharing, you can import those files in this screen.
Adding Files
The first step in this process is to add files onto your device using file sharing. This is done using the Finder on a Mac, or iTunes on Windows.
Selecting Files
You can browse the contents of your file sharing location using the import menu. Tap on songs to place a checkmark next to the song to mark it for import. Tap again to remove the checkmark. You can also tap on the Select All or Deselect All buttons at the bottom to select or deselect all of the files in the folder.
Importing
Once you have some files checked, tap on the Import button in the upper right corner to begin the import process. If you have selected to import a file that was already imported, OnSong will have you choose an action to take on the duplicate file. When the import process is completed, you are returned to All Songs screen.
File Sharing


File sharing is designed to move files on and off of your device via the Finder (macOS) or iTunes (Windows)
Connecting Your Device
To use file sharing, connect your device to your computer with the supplied USB sync/charge cable. Next, open Finder on macOS. You can then find the device listed in a Finder window under Locations similar to connecting a USB thumb drive. You can select it retrieve files.
Finding Files
Once in this screen, tap on the Files tab and select OnSong. You can then add files to the OnSong file sharing folder by dragging and dropping those files into this screen, or you can likewise copy files from here in the same manner. You can then select multiple files and delete, etc using the delete key on your keyboard or by right-clicking for a context menu.
Remember that you can select multiple files by holding down the SHIFT or CTRL (PC) or command (Mac) keys. You can also delete files in this list by selecting them and pressing the DELETE key on your computer keyboard.
Important
It is important to note that if you export an OnSong Backup file to File Sharing, you need to save the file to your computer. If the backup file is located on your device and the device is lost, stolen, broken, or inaccessible for any reason, you will not be able to retrieve your OnSong library.
Other Sources
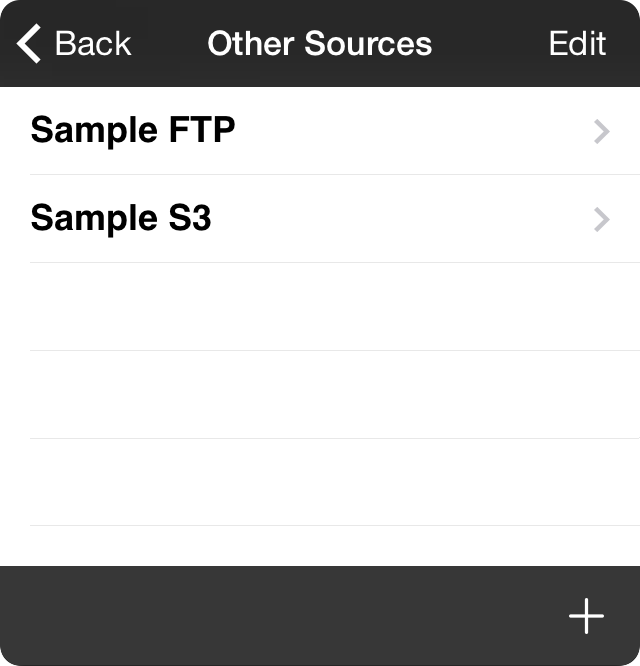
OnSong comes preloaded with access to a variety of chord chart services. However, you may also store your documents on a network-connected storage service.
Adding
When the screen is first accessed, no sources have yet been added. From this screen you can tap on the + button in the upper right corner to add a new source.
Editing
If you need to add additional sources, or make changes to the list of sources, tap on the Edit button in the upper right-hand corner to enter Editing Mode.
Browse Files
Once you have sources in your list, you can browse their files by tapping on one in the list.
Editing Mode
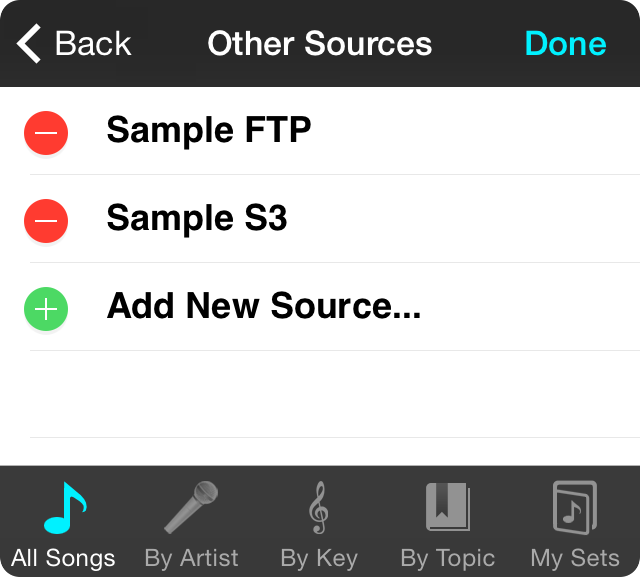
Tap on the Edit button in the sources list to enter editing mode. From there you can tap on a source to make changes to it, or tap on the Add New Source row to create a new source.
Deleting
Tap on the red minus icon to reveal a Delete button. Tapping on this will remove the source.
Editing Source
Tap on the name of the source to open the Source Editor. This allows you to make changes to the source.
Add New Source
Tap on the bottom row to open the Source Editor. This allows you to specify information for a new source.
Tap on the Done button when you are done editing the sources. You will then be able to select a source for browsing files or choose a folder.
Browse Files
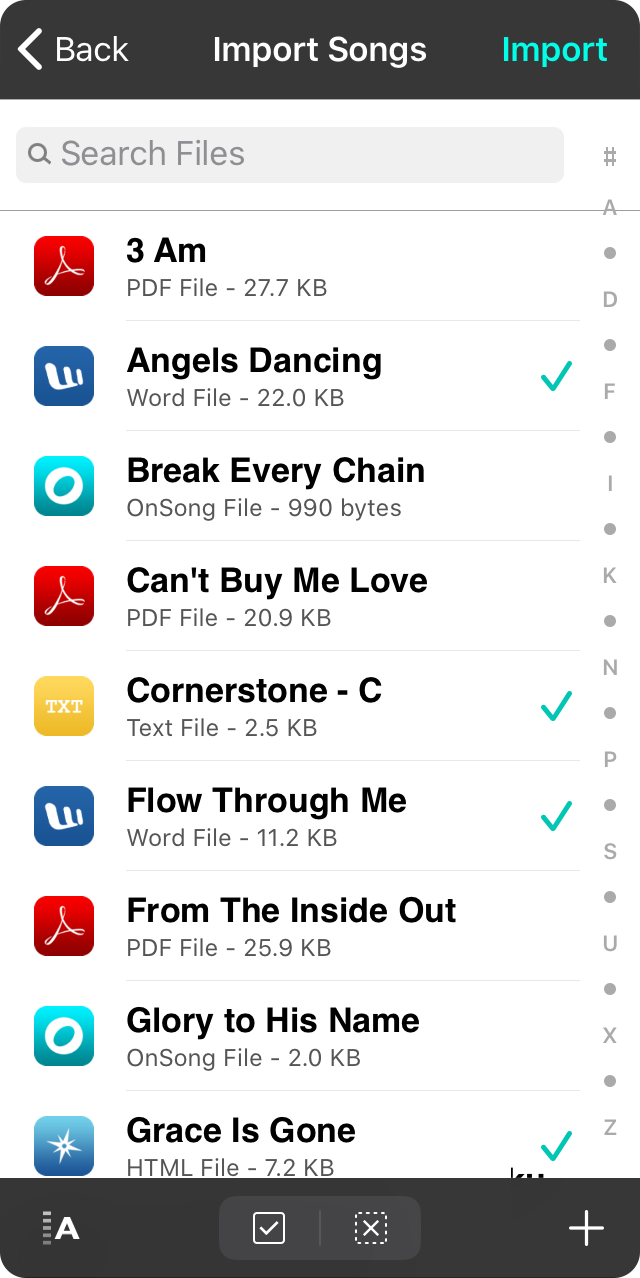
Once you've selected a source from the source list, you are presented with files and folders. Tap on folders to navigate to more files.
Selecting
Tap on files to check and uncheck them for import. You can also use the Select All and Deselect All buttons on the bottom of the screen to select or deselect everything in the currently viewed folder. If you select a backup file, OnSong will prompt you that importing a backup will overwrite your current library before continuing. If confirmed, only the backup file is imported and the library is restored.
Creating Folders
You can create a new folder in the source by tapping on the + button in the lower right corner.
Importing
Once you have some files checked, tap on the Import button in the upper right corner to begin the import process. If you have selected to import a file that was already imported, OnSong will have you choose an action to take on the duplicate file. When importing begins, the progress is displayed as a percentage in the upper right corner. Once the import process is completed, you are returned to the All Songs screen.
Source Editor

When adding a new source or editing an existing one, the source editor is displayed. This lets you specify connection parameters to your network-connected storage service.
Title
Provide a title for your source so you can identify it in the sources list.
Type
Choose the type of service that you will be connecting to. This can be one of the following options:
- FTP or File Transfer Protocol can connect to older file servers.
- Amazon S3 or Simple Storage Service is hosted by Amazon as a mechanism for storing content for web services.
- WebDAV or Web-based Distributed Authoring and Versioning is a file storage standard that allows network connected services to be treated like a local hard drive.
Host or Bucket
This is the web address or IP address of the service. When using Amazon S3, this is the optional bucket to access in S3.
Path
This is the directory to use as the root of the service that is being accessed.
Use SSL
Turn this on if communication should be performed securely.
Authenticate?
Turn this on if authentication is required for the service. The following fields will not be used if authentication is turned off.
Username or Access Key
The username used to authenticate against the service. When using Amazon S3, this is the Access Key for your account.
Password or Secret Key
The password used to authenticate against the service. When using Amazon S3, this is the Secret Key generated for the account.
Pick Songs

Using the pick songs menu, you can easily select songs to be added to the selected book.
Selecting Songs
Tap on the name of the song you wish to add to place a checkmark next to it. This indicates that the song will be placed in the book. Tap again to remove the song from the book. Of course these changes do not take place until you tap the Done button in the upper right corner of the screen.
You can select all songs or deselect all songs using the button on the bottom.
Searching and Sorting
You can also use the search bar to search for specific songs, or tap on the sort button in the lower left corner to sort songs by a particular attribute. Sorting methods include:
- Title sorts songs by the song title. Default.
- Artist sorts songs by the artist attributed to the song.
- Added sorts songs by placing the one last added to the library at the top.
- Starred sorts songs that have been favorited or starred at the top of the list.
- Number sorts songs by the number given to each in the song's metadata.
Canceling Changes
If you do not wish to change the songs in your book, tap on the Books button in the upper left corner. This will return you to the books list without changing the songs contained in the book.
SongSelect
SongSelect is a chord chart service that is common among houses of worship that use CCLI for licensing lyrics display to their congregations. We've partnered with SongSelect to bring tighter integration with OnSong like the ability to transpose PDF chord charts on-the-fly. Start by tapping on the Sign Into SongSelect button if you haven't already.
Sign In
The first time you access the SongSelect screen, you'll need to sign in and authorize OnSong to access SongSelect on your behalf.
Search and Import
Search for songs by title and then checkmark songs you want to import.
Transpose and Capo
When you import SongSelect PDF chord charts into OnSong, they are linked to your account. This means you can transpose or capo your chord charts from within the song viewer.
Change Settings
In this screen you can change what gets downloaded to OnSong when you import. You can also view your SongSelect terms of use and the OnSong end-user license agreement.
Sign Out
Tap on the Sign Out button on the bottom right to sign out of your account if you need to sign into another account.
Note: Your downloads are limited based on your subscription classification. You can commonly download 200 unique songs as PDF chord charts per year with your SongSelect subscription.
Search Results
When songs are found, they are returned in the search results screen. This displays songs based on relevance. Each row contains the song title, artist name, and songwriters of the song.
Tap on a row to view details and choose to get lyrics or get the chords sheet. You can also scroll down to view more songs, or tap on the Load More Results button to retrieve more matching songs.
Search Songs
After you've signed in, type in keywords in the search bar and tap on the Search button in the keyboard to begin searching for songs. Matching songs will be returned in the search results page.
Settings
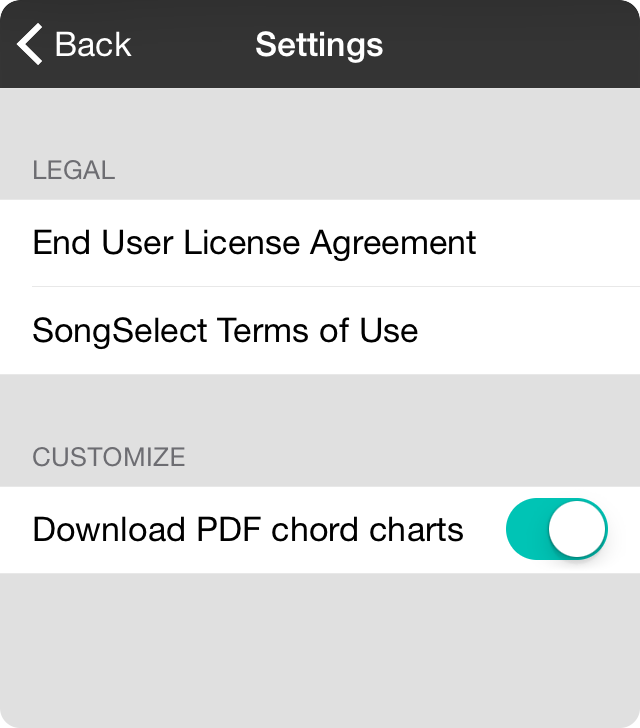
The settings screen allows you to view your agreements and well as configure the import process.
Legal
This section contains links to:
- End User License Agreement links to the standard Apple iTunes EULA that you agree to by purchasing and installing the application.
- SongSelect Terms of Use is the terms of use of your SongSelect subscription.
Customize
Here you can change how your chord charts import. By default OnSong will import both the text-based lyrics and PDF chord chart of the song (if available), making the PDF chord chart the displayed file. Turn this switch off to only import text-based chord charts.
Sign Into SongSelect
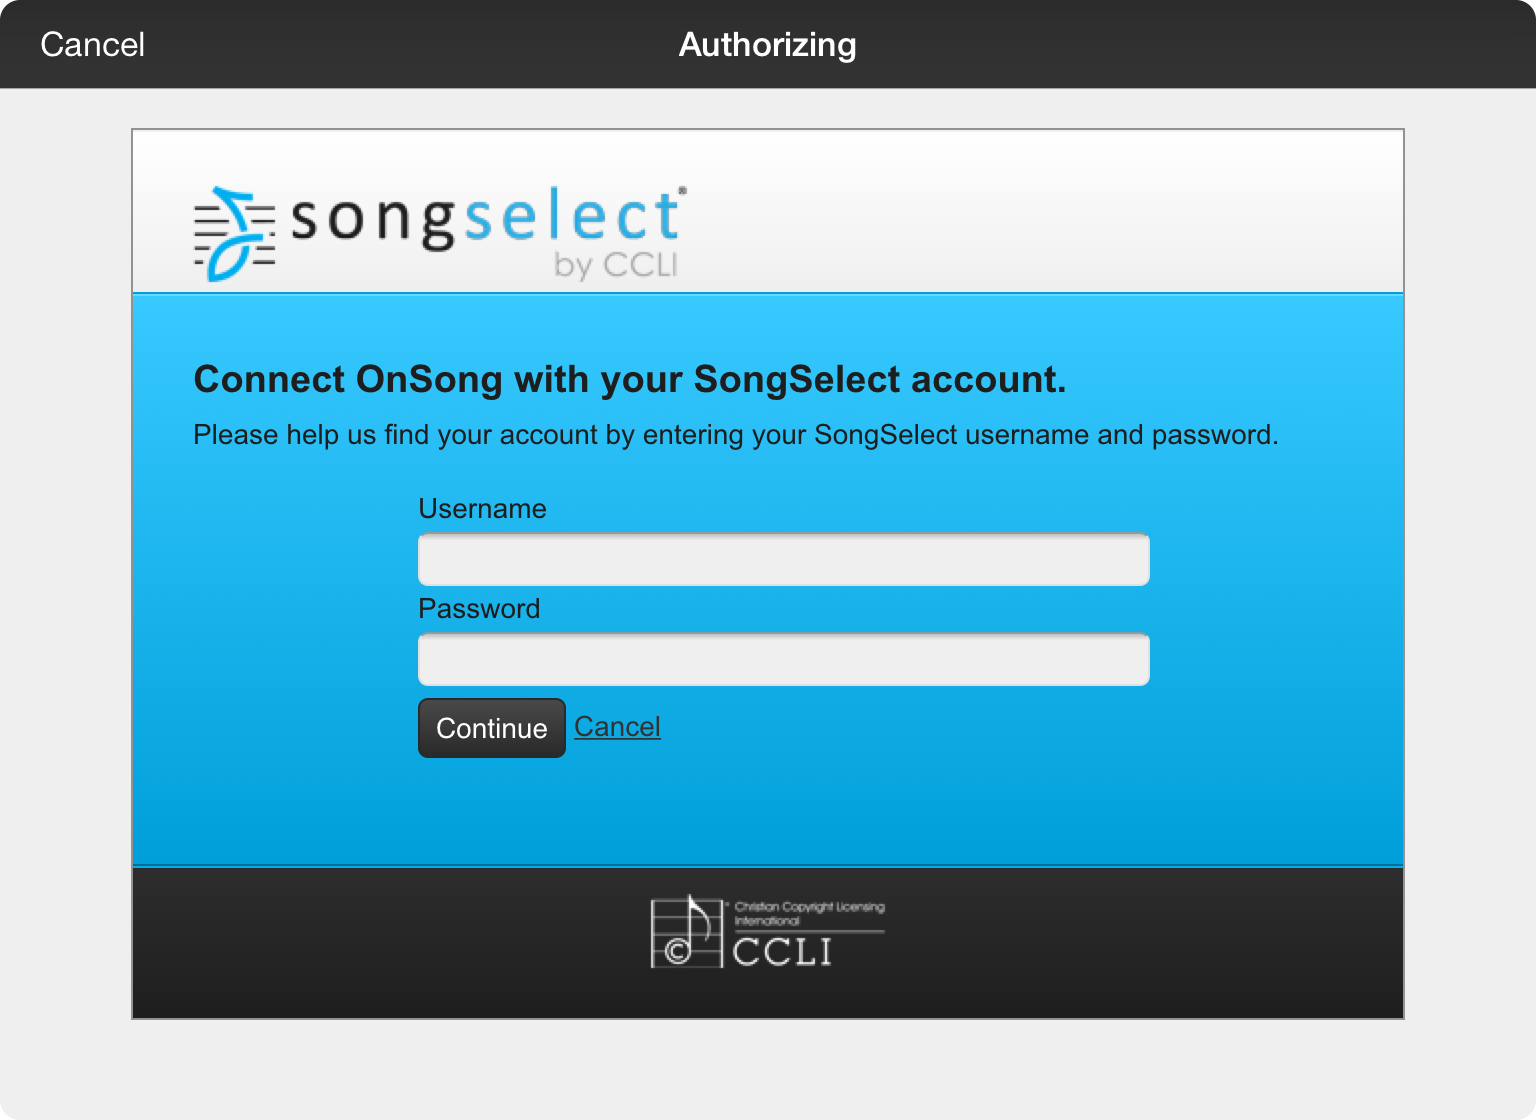
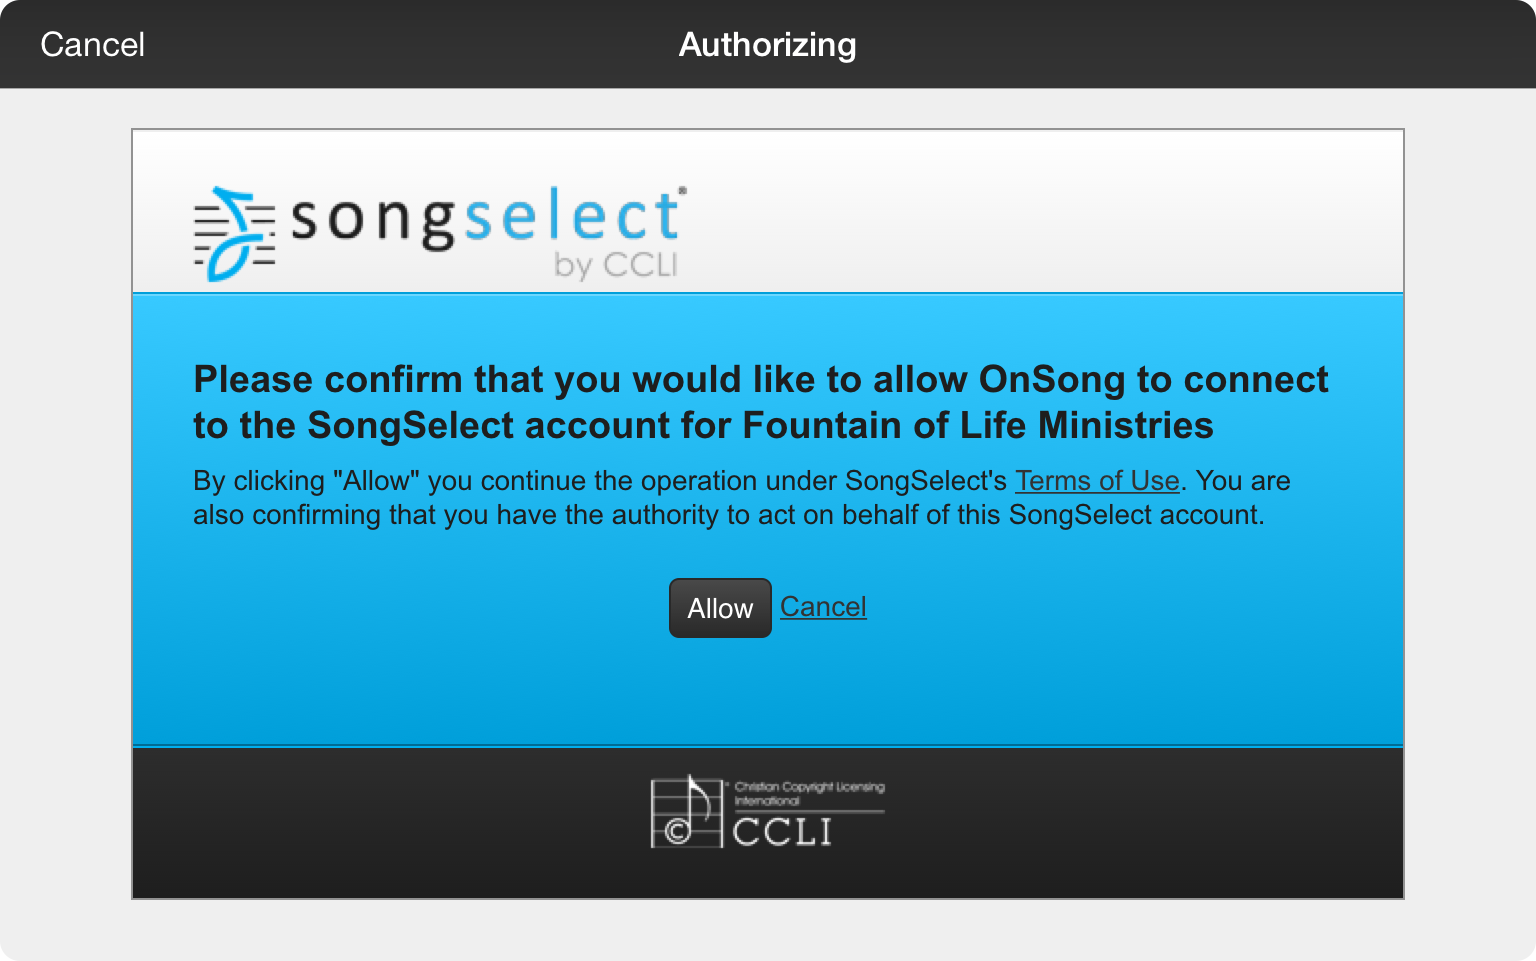
When you choose to import from SongSelect, you will be prompted to sign in. This opens a screen that loads the SongSelect sign in screen.
Type in your username or email address that you use to sign into the SongSelect web site, as well as your password. You will then be prompted by SongSelect to allow OnSong to access your account and close the screen.
Once you are signed in, your authorization token is remembered so you shouldn't have to sign in again unless there is a change to your account status.
View Song Details
This screen will show you details about the selected song including the song title, artist and songwriter names, CCLI Song #, and the key in which the song is written.
Choose one of the following options to view, download, and import a version of the song into OnSong:
Get Lyrics
Lyrics are available in plain text from SongSelect, but do not include chords.
Get Chord Sheet
Chord sheets are made available as PDF files which can be viewed "as-is" in OnSong.
Note: While OnSong does provide utilities to convert PDF files to text, SongSelect files are essentially pictures of chord charts, which means that the converted file will need adjustments to its text and chords. If you are planning to use text-based chord charts, we recommend using services such as Rockin' With The Cross or WorshipReady.com.
Get Chord Sheet
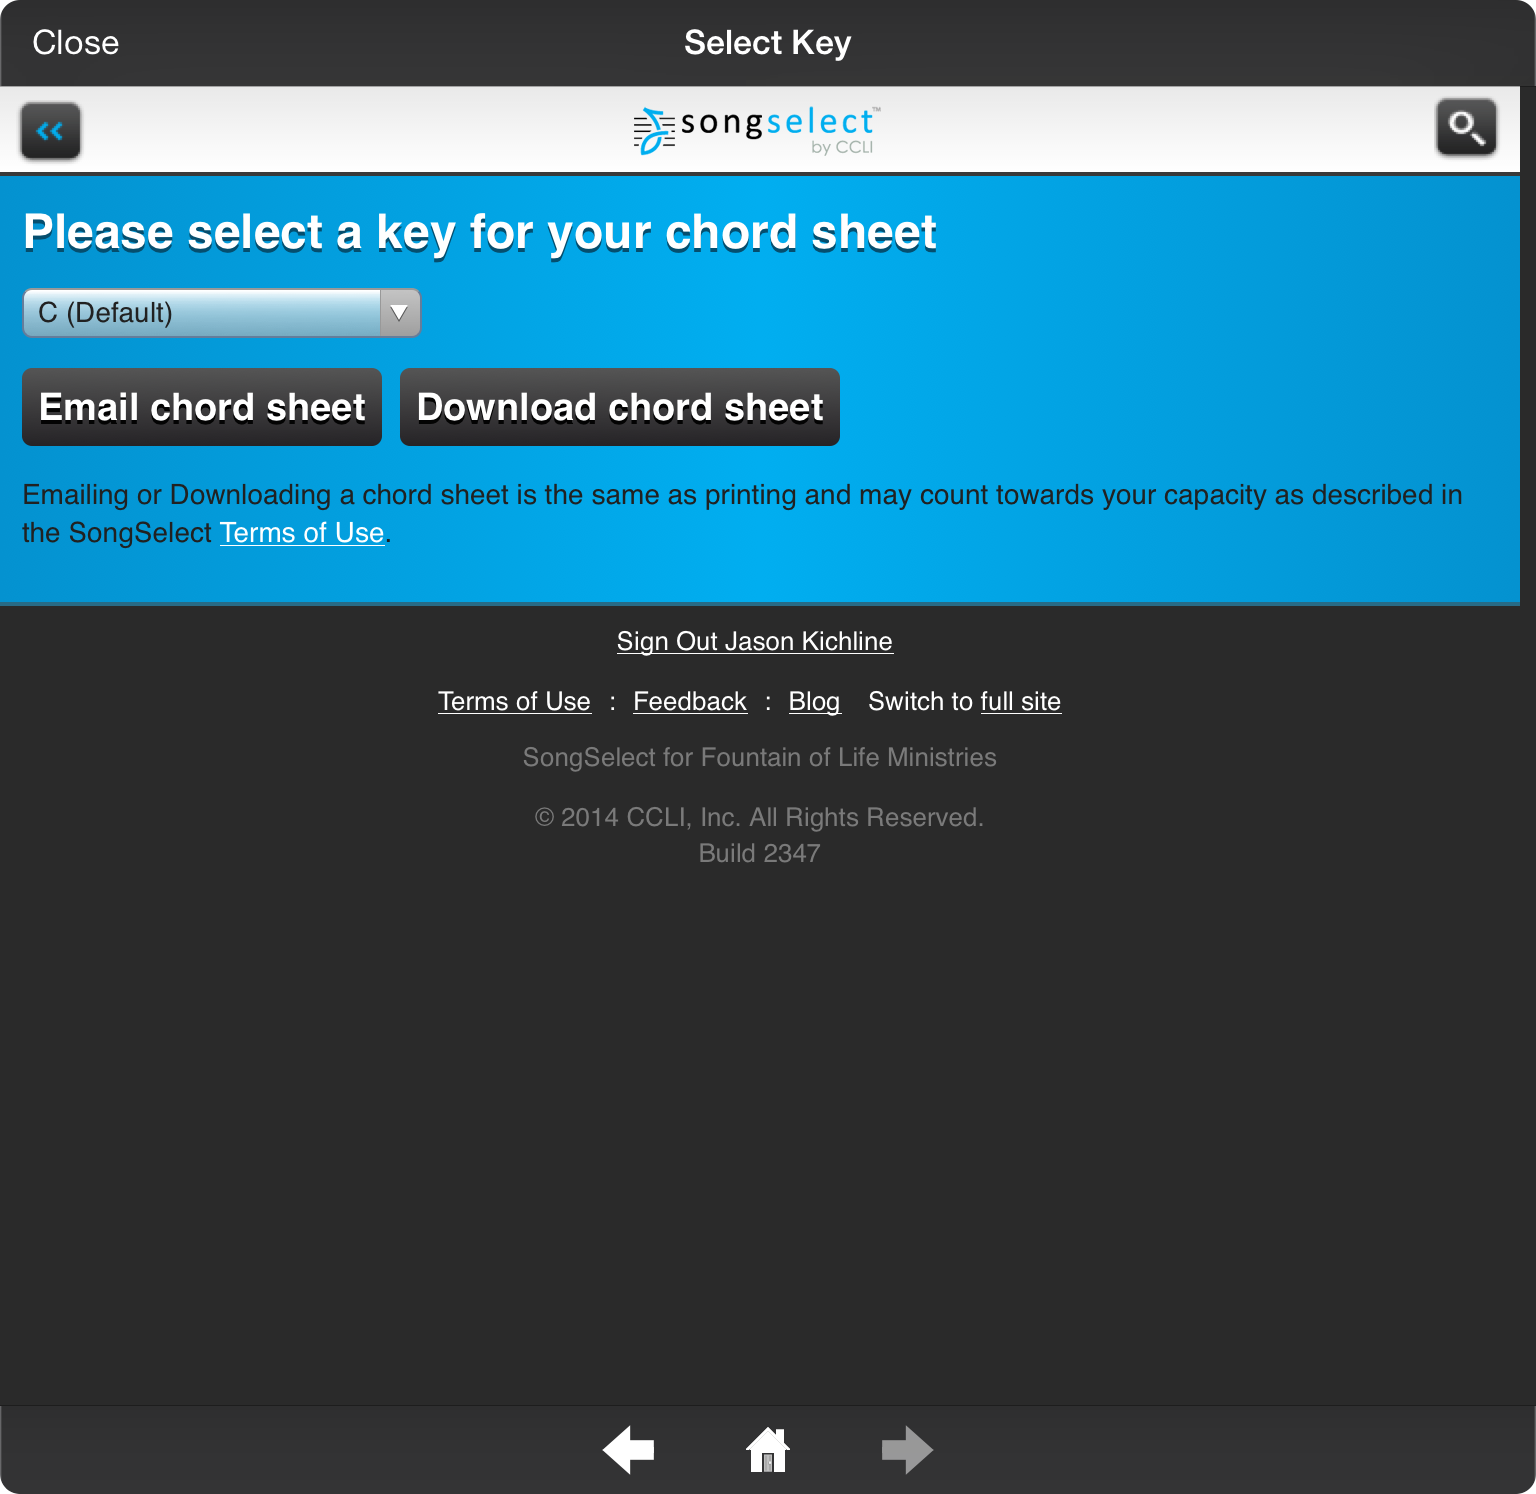
When you choose to get the chord sheet of a song, you must first choose a key. Tap on the pulldown menu to choose the key of the song you wish to import.
Next, tap on the Download chord sheet button to view the PDF file and choose to import it from there.
You can also choose the Email chord sheet button to email the PDF file as an attachment to the email address on file with your SongSelect account.
Note: If you are planning to convert the PDF file to text inside of OnSong, choose the key of C. This will omit any sharps and flats which can cause issues in the optical character recognition process.
Download Chord Sheet
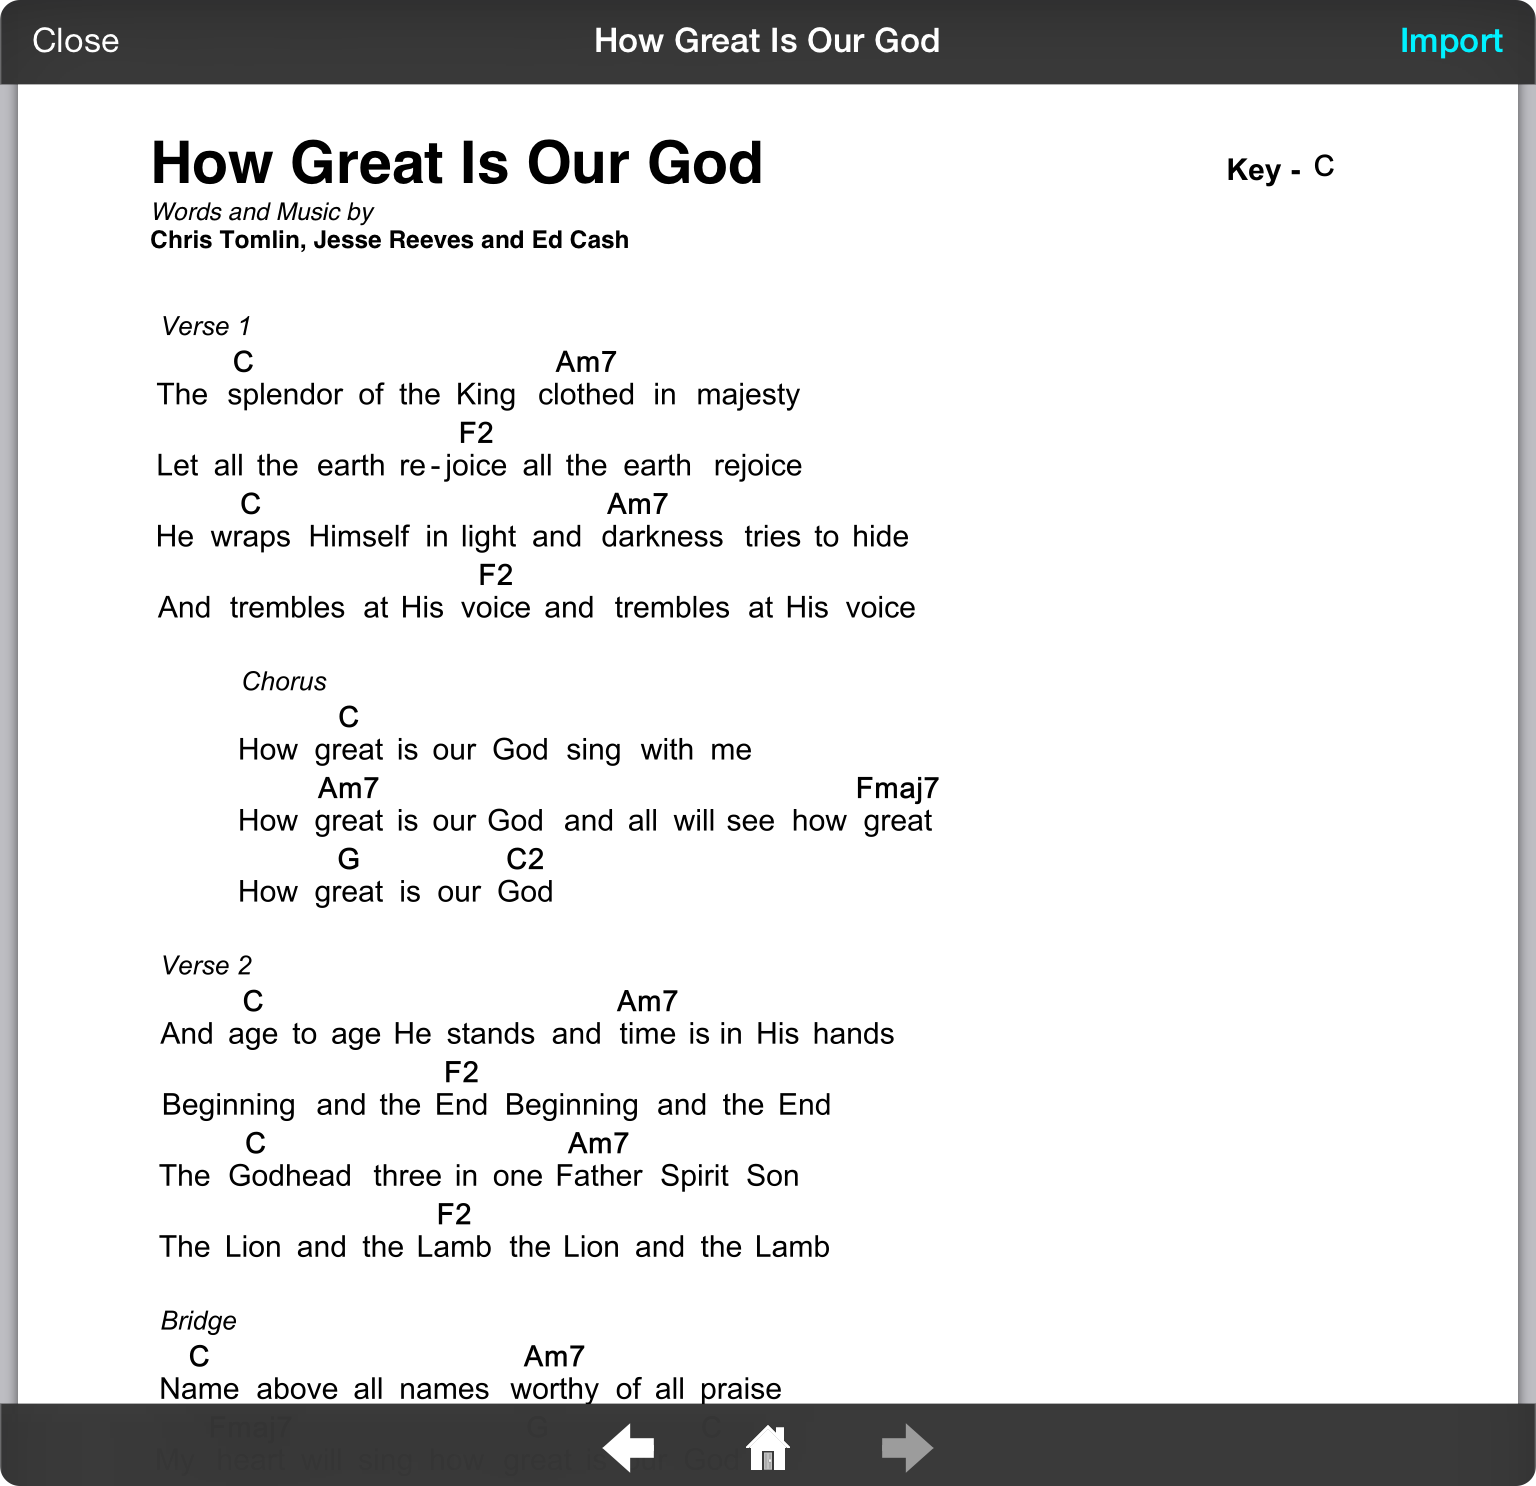
When you decide to get the chord sheet, you must download it first in order to preview the song. This happens before it is imported into your OnSong library.
This screen will display the PDF file generated by SongSelect. Tap on the Import button to import the PDF file into your OnSong library.
You can continue to navigate the SongSelect web site using the navigation toolbar buttons at the bottom of the screen. This allows you to import additional songs. When you are done importing, tap on the Close button at the top of the screen.
Note: Downloading or emailing PDF files counts against the number of charts you are permitted to download with your SongSelect subscription.
Get Lyrics
When you choose to get lyrics, the web page that appears displays the lyrics of the song. Tap on the Import button at the top of the screen to import those lyrics into OnSong.
You can also tap on the Download button to view the lyrics as text. You can also import from that screen as well.
If you tap on the Email button, the text file will be emailed as an attachment to the email address on record in your SongSelect account.
You can continue to navigate the SongSelect web site using the navigation toolbar buttons at the bottom of the screen, or using the back button in the upper left corners of the screen. This allows you to import additional songs. When you are done importing, tap on the Close button at the top of the screen.
Search and Import

This is the main interface of the SongSelect import process once you're signed in.
Searching
Get started by entering some keywords in the search bar. OnSong returns the search results which include the song title and artists.
Previewing
Tap on the magnifying glass icon to the left of each song to confirm it's the correct version you are looking for. This will display the lyrics of the song in a new window so you con confirm it's the song you want to import.
Importing
To import songs, tap on the name of the song to check or uncheck each row. This lets you import multiple songs at once. Then tap on the Import button in the upper right corner to start downloading your charts into your OnSong library. OnSong imports both the PDF chord chart as well as the text-based lyrics simultaneously so you have both.
Note: You can import just lyrics if you want by tapping on the wrench icon in the lower right and turning off PDF chord chart importing. You can also toggle between lyrics and PDF chord charts or convert PDF chord charts to text by using the Conversion Toolbar in the Song Editor.
Preview
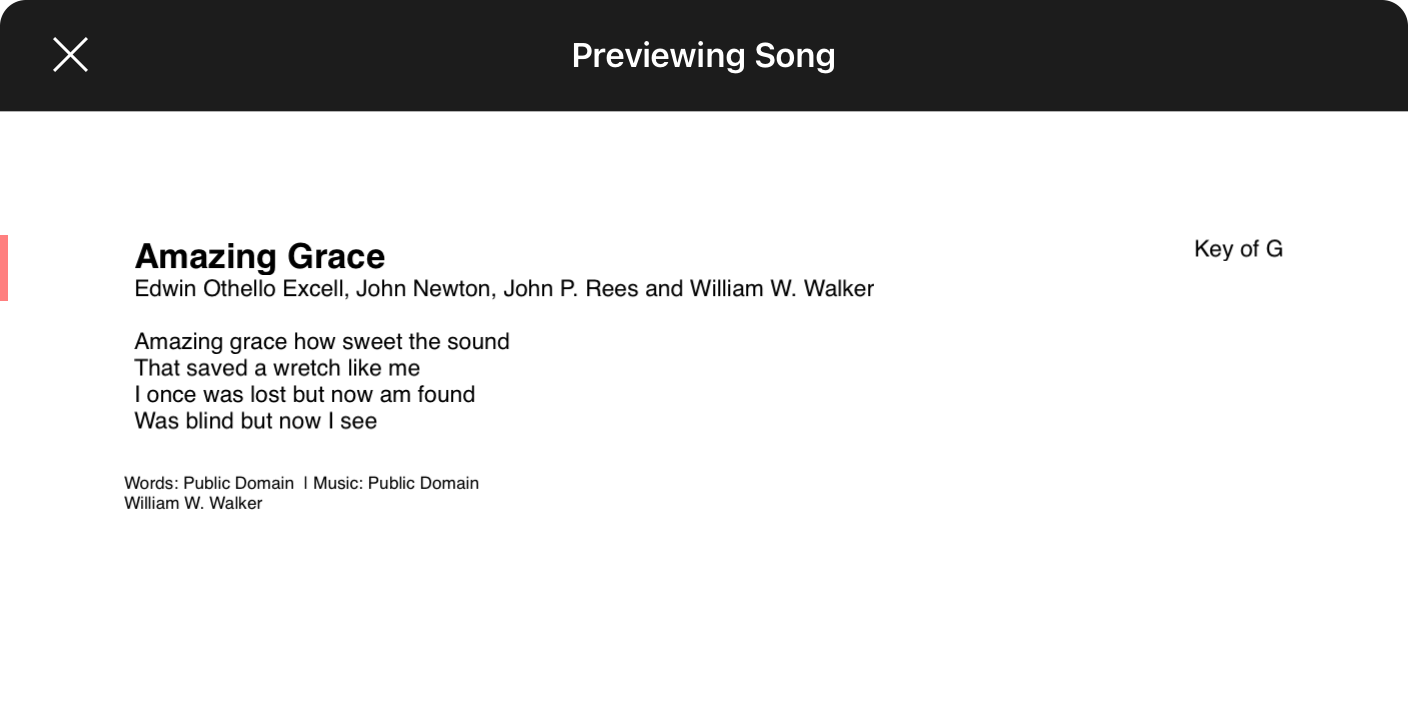
When you tap on the magnifying glass icon next to a song in the returned search results, you can view a preview of the song and it's lyrics and metadata.
This will only display the lyrics of the song instead of the PDF chord chart to avoid using your quota of downloads for the year if you don't intend to import the chord chart.
SongSelect Settings
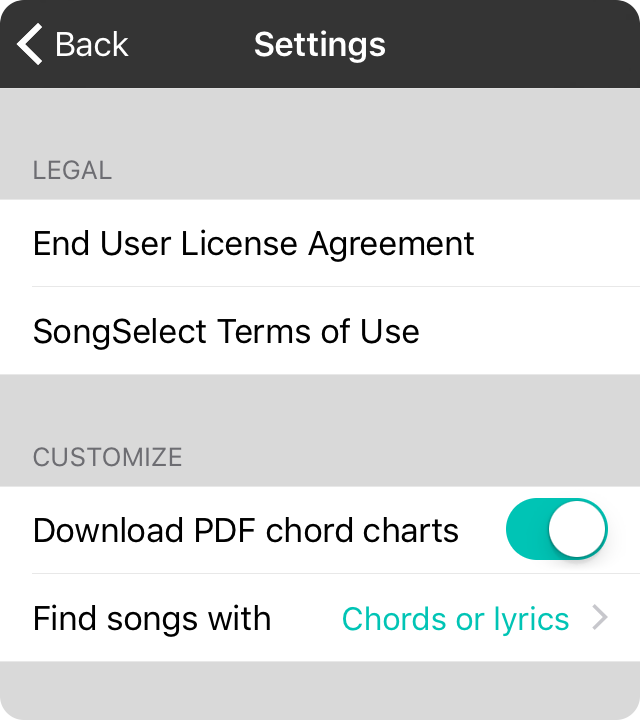
The SongSelect settings menu displays pertinent legal information about the SongSelect service as well as additional settings to customize how SongSelect songs are imported and searched.
Legal
This area contains links to legal documents to which you are bound when using OnSong and the SongSelect service.
- End User License Agreement links to the Apple legal documentation for end-user use of the OnSong application.
- SongSelect Terms of Use links to the Terms of Use for using the SongSelect service.
Customize
This section contains options that help you customize how songs are searched and imported in the SongSelect interface within OnSong.
- Download PDF chord charts is enabled by default. This allows both the PDF chord chart and the text-based lyrics to be imported. If this is turned off, then PDF chord charts are not downloaded and only lyrics are imported.
- Find songs with determines the type of songs that are returned. By default, all songs that contain chords or lyrics are returned. You can change this to Chords or lyrics, Chords, Lyrics or Both. If you want to only return songs that have chord charts, change this settings to Chords.
Transpose and Capo
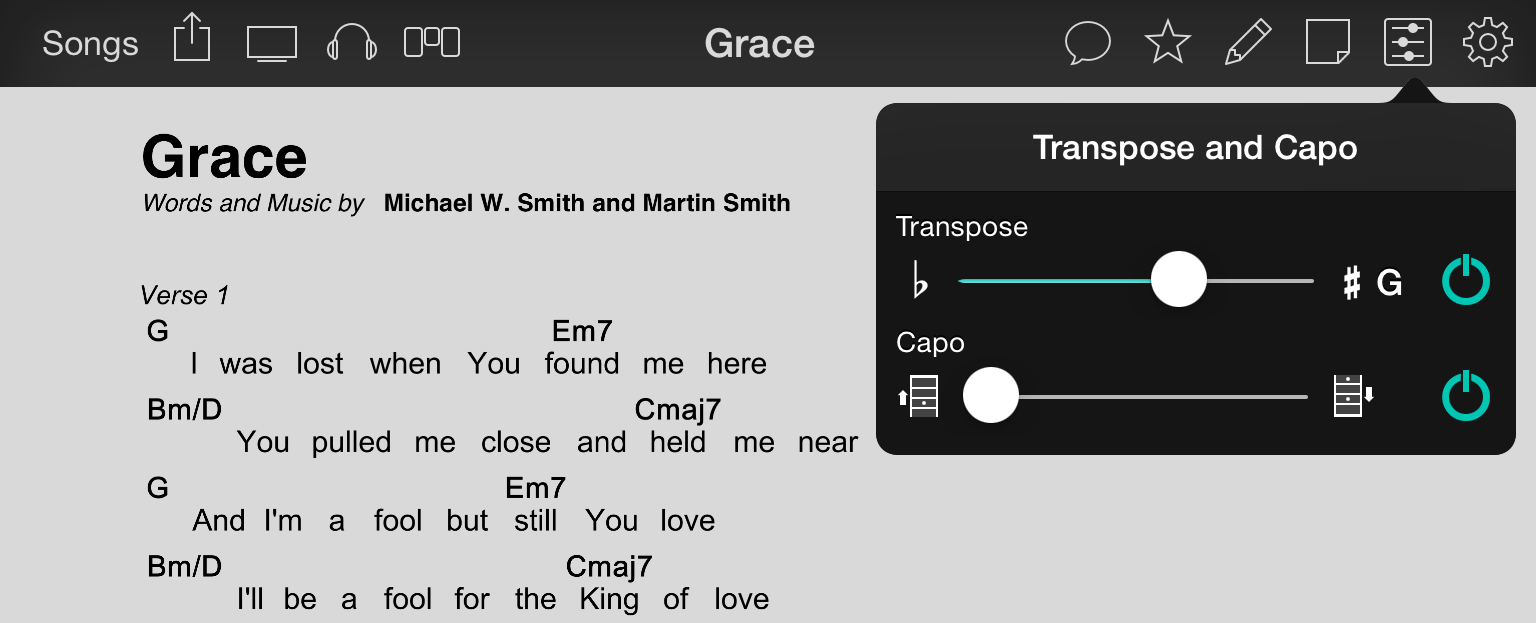
When you import a SongSelect PDF chord chart into OnSong, it associates that file with your SongSelect account. While these chord charts are still viewed "as-is", you can now transpose the chord chart using the style preferences menu in the menu bar.
Transposing
From this menu you can both transpose and capo the chord chart. OnSong combines information from both sliders to determine the key to download from SongSelect. OnSong downloads the PDF file and stores it locally so the next time you choose a different key, it is available immediately without requiring an Internet connection.
Existing Songs
You may have already downloaded PDF chord charts from SongSelect. If you are signed into SongSelect and your PDF chord chart has a CCLI number assigned to it, OnSong will automatically connect the song to your SongSelect account and permit you to transpose and capo.
Internet Requirements
Transposing SongSelect PDF files requires downloading a new version of the PDF file from the SongSelect service which requires Internet access. Each version is saved locally which allows you to access previous versions of the song without Internet access.
WorshipReady.com
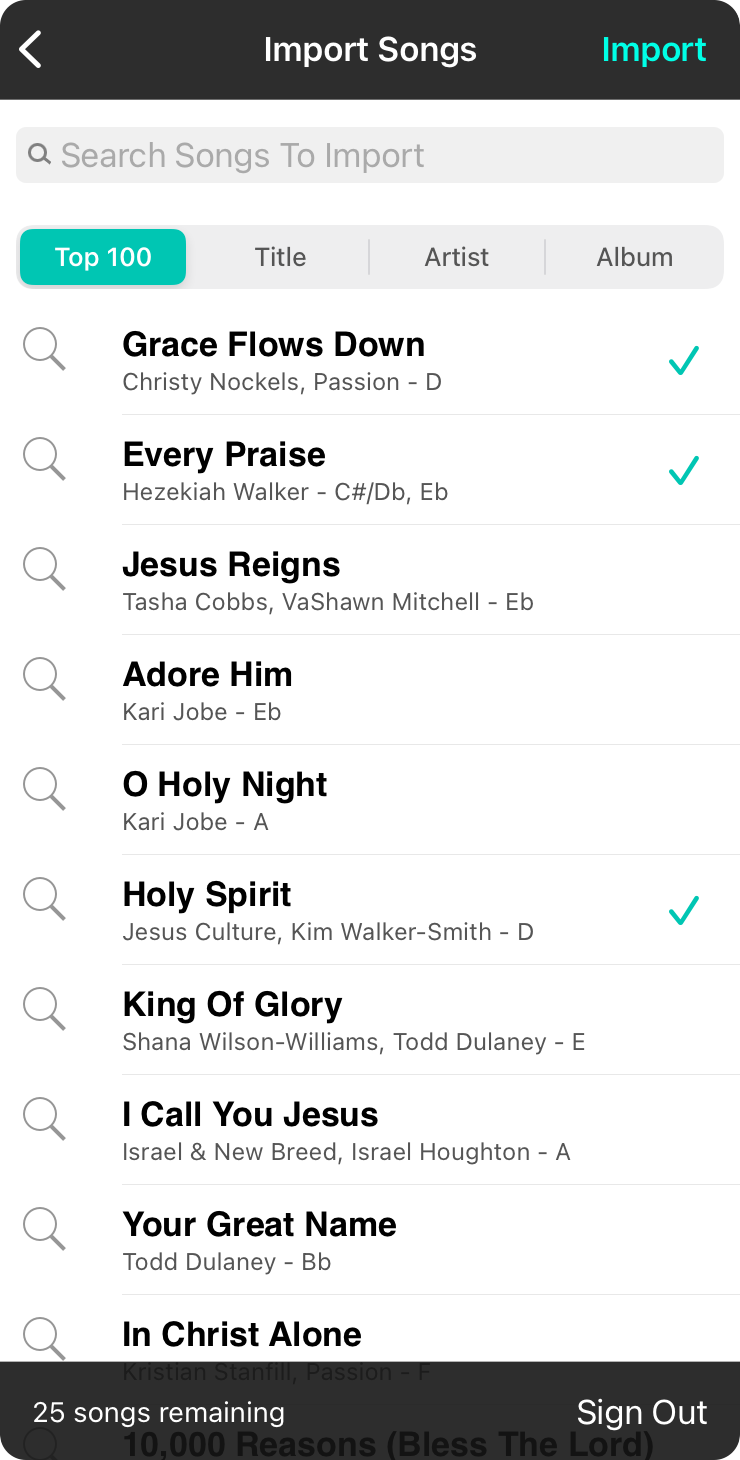
WorshipReady.com provides handcrafted chord charts for use on a number of platforms including Planning Center, PDF, and OnSong. Access to content is through subscription only and limits the number of chord charts you can download per month based on your subscription level.
Sign In
The first time you access this import screen, you'll need to sign in. Enter your credentials to view chord charts.
Search and Browse
By default, the top 100 songs are listed on the screen. Use the search bar to search songs by title. You can also use the buttons below the search bar to search by artist and album as well.
Preview
Tap on the magnifying glass icon on the left side to see a preview of the song prior to importing it. This does not count against your downloads. Make sure it's the song you want before importing it into your library.
Importing
Tap on the songs that you want to import to place a checkmark on the right side. Once you've selected songs to import, tap on the Import button in the upper right side of the screen. The progress of the import will be displayed. Once finished, the number of downloads available will decrease and you will be returned to the All Songs screen.
Note: You will only be able to checkmark the number of songs that you have available to download.
Signing Out
You can use the Sign Out link at the bottom to sign out of WorshipReady.com at any time.
Sign Into WorshipReady.com
To import chord charts from WorshipReady.com, you first need to sign in. OnSong will present you with a sign in screen where you can enter your User ID or email address as well as your password. Tap on the Login button to sign into WorshipReady.
If you don't have a WorshipReady.com account, tap on the Signup button to get the web address needed to sign up. Due to App Store policies, OnSong cannot provide a direct link to signup screens for subscriptions. To sign up, go to http://worshipready.com.
Editing Mode
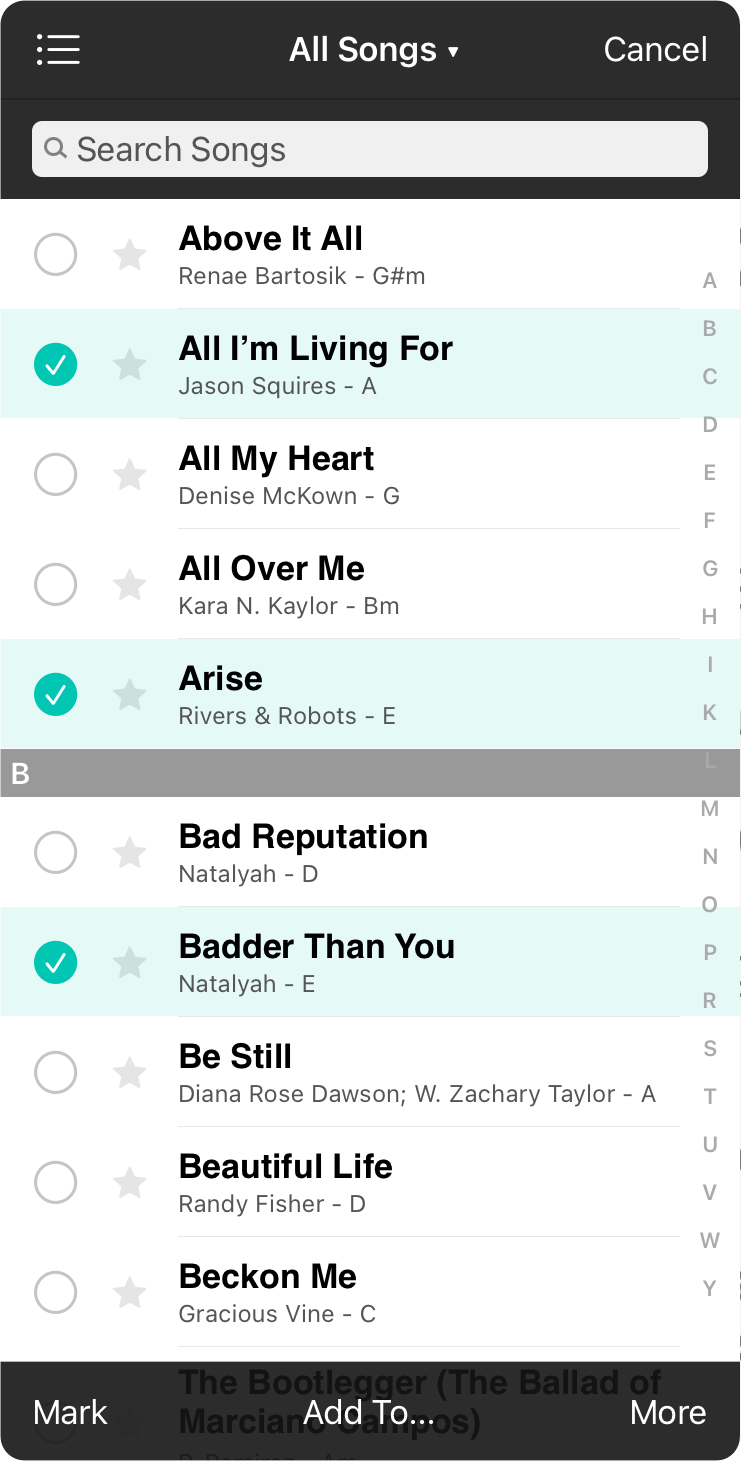
When you tap on the Edit button in the upper right corner of the All Songs menu, you enter editing mode. When enabled, you can:
Deleting Songs
While you can delete songs by swiping from right to left over each row and tapping on the Delete button, you can also delete songs in editing mode. Tap on the red minus circle to the left and then tap on the Delete button to delete the song.
Perform Additional Actions
You can perform advanced actions on songs by tapping on the name of the song. This will display the action menu that can be used to perform additional actions such as:
- Delete Song is synonymous with the other methods of deleting a song. The song will be deleted immediately without an additional prompt.
- Edit Song will open the Song Editor without first viewing the song. This can be handy for quick updates or when there is an issue with the viewable file.
- Duplicate Song will make a copy of the selected song in the master library if you need to make a different version but wish to keep the older version.
Tap the Done button in the upper right corner when you are finished to exist the edit mode and return to the normal function of the All Songs menu.
Add To...
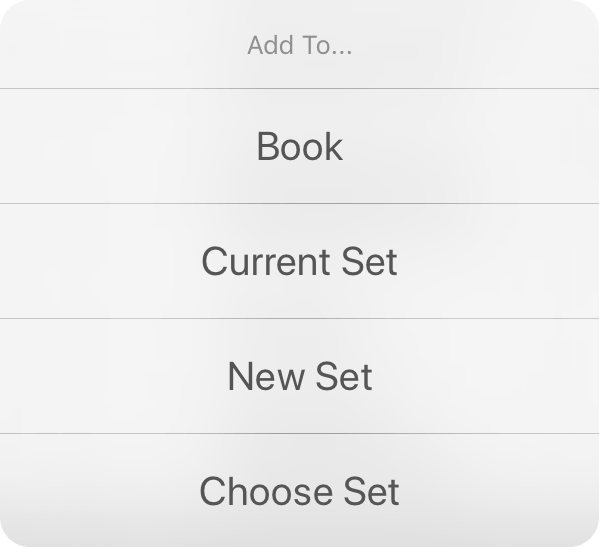
When in editing mode, you can select songs and then tap on the Add To... button in the editing mode. This will let you add the selected songs to books or sets with the following options.
Book
You can add the songs to a book of your choice. This option opens the Book Picker where you can select an existing book, or create a new book to add the songs to.
Current Set
If you've already started a set, you can take the songs you've selected and place them at the end of the currently selected set. If a set hasn't been explicitly selected, OnSong will select the set that is scheduled closest to the current date.
New Set
You could also take those selected songs and add them to a new set right from this screen. This will add the songs to a newly created set with the date of the set being today.
Choose Set
If you don't want to add the songs to the current set or a new set, you can also choose to add the songs to an existing set. Tapping on this option will open the Set Picker where you can choose an existing set or create a new set.
Cancel
If you choose not to add the songs to a book or a set, tap on this option to cancel the operation.
Note that songs will be added at the end of the selected set. Songs are also added in the order that they were selected in the song list.
Book Picker
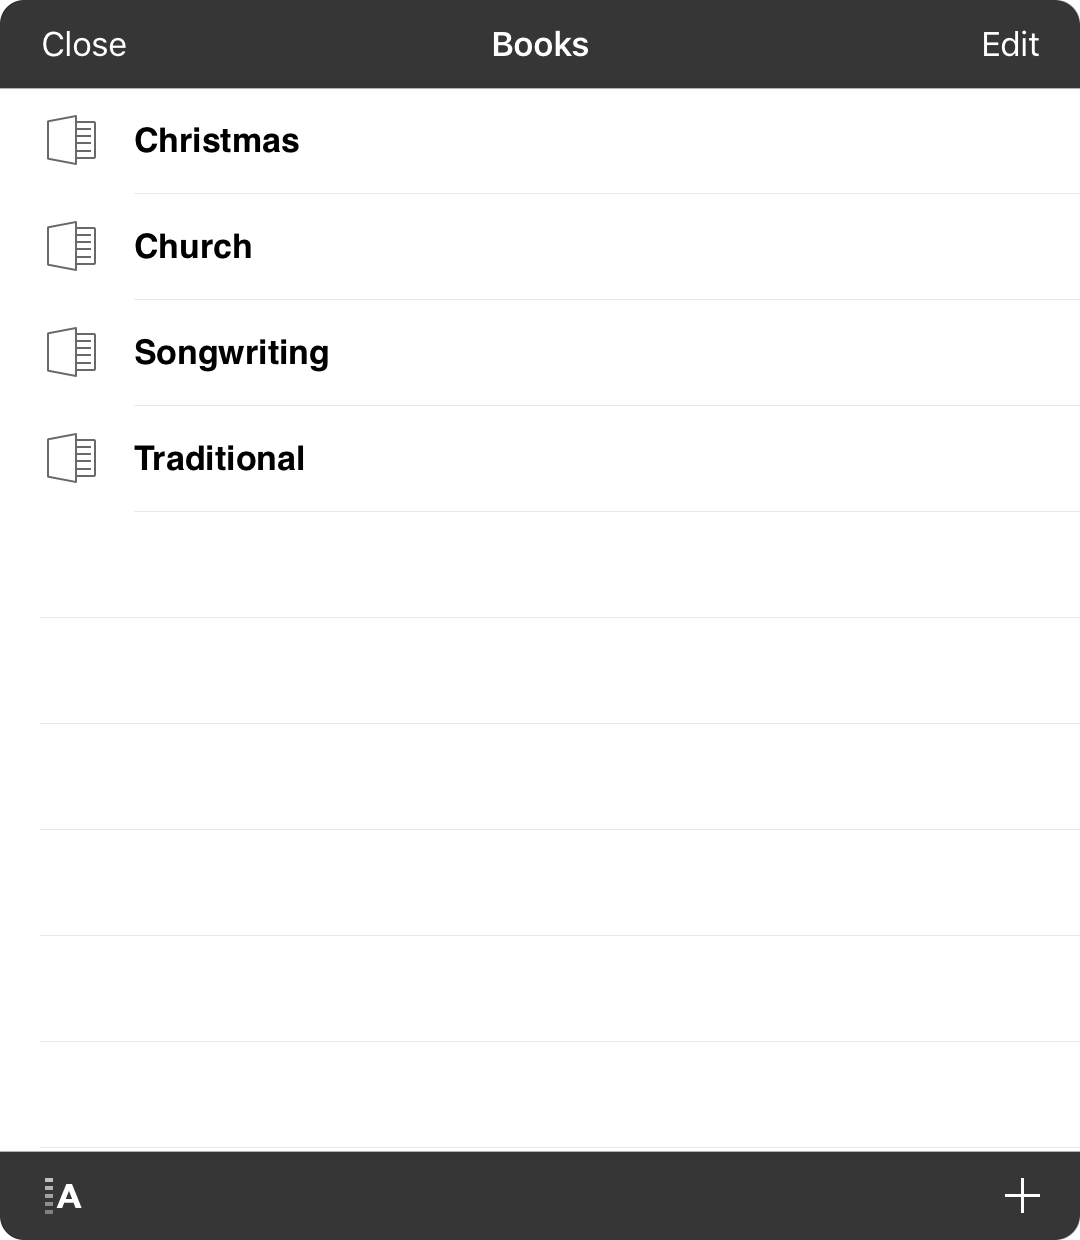
The book picker allows you to pick a book in which songs can be placed. If you don't want to pick a song, tap on the Close button in the upper left corner.
Picking Books
You can tap on a book in the list to add the selected songs to the book. The book picker will automatically close.
Editing Books
You can use this option to delete or reorder books that are found in the list by placing the list into editing mode.
Sorting Books
You can sort long lists of books by tapping on the sort icon in the lower left corner. You can toggle between alphabetic and custom order.
Adding Books
If the book you want to pick is not found in the list, tap on the + button in the lower right corner to create a new book. Once you create the book, it is automatically picked and the book picker is dismissed.
Set Picker
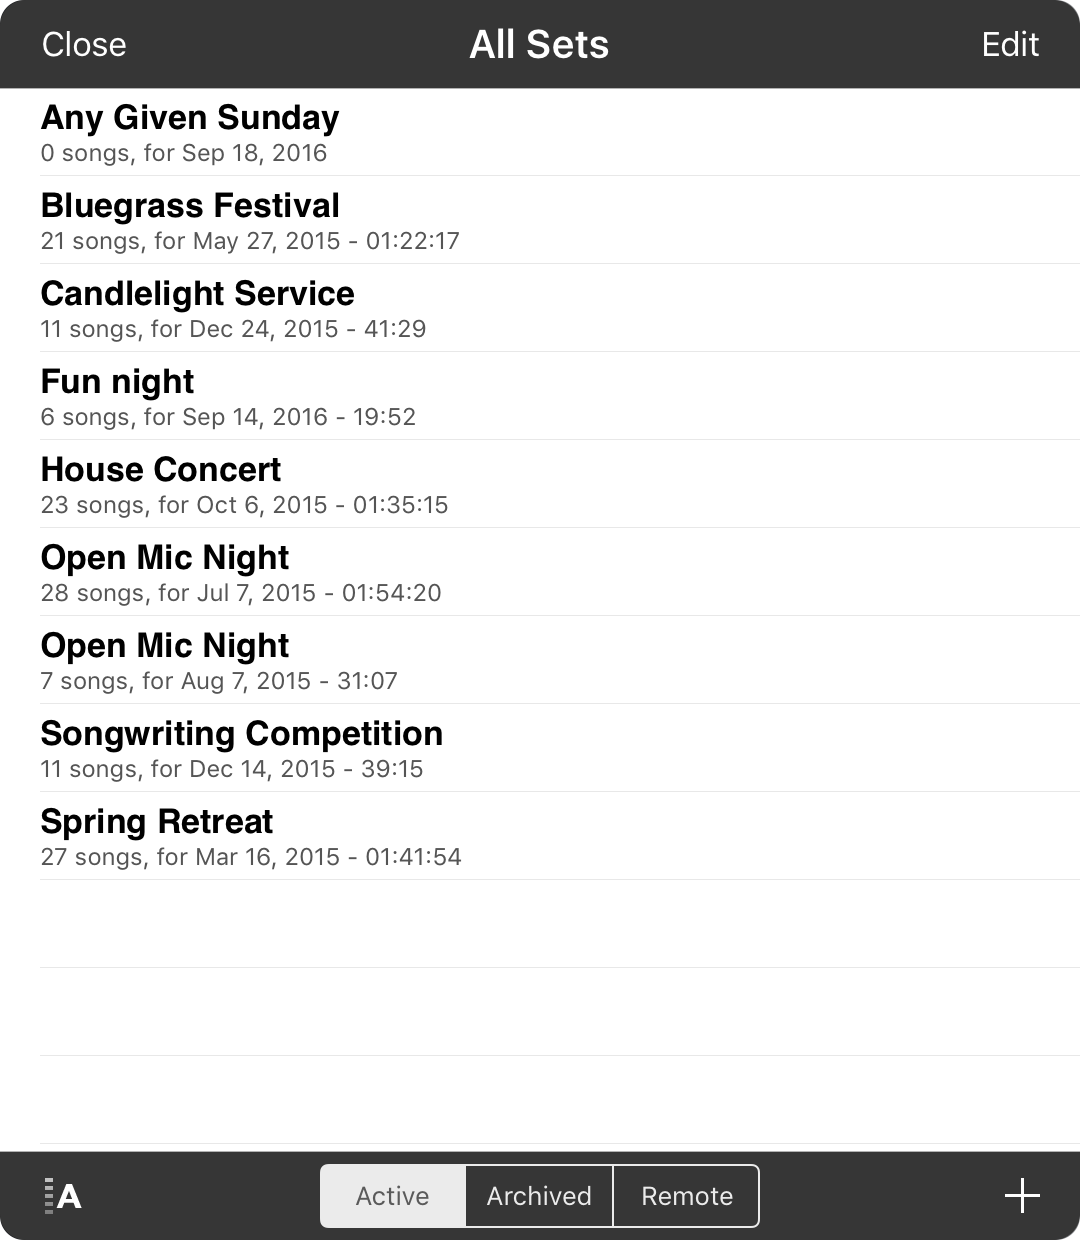
The set picker allows you to pick a set in which songs can be placed. If you don't want to pick a set, tap on the Close button in the upper left corner.
Picking Sets
You can tap on a set in the list to add the selected songs to the set. The set picker will automatically close.
Editing Sets
You can use this option to delete or reorder sets that are found in the All Sets list by placing the list into editing mode. You can only reorder sets when the list is sorted in custom order.
Sorting Sets
You can sort your list of sets by tapping on the sort icon in the lower left corner. You can toggle between alphabetic, date and custom order.
Choosing Sets
OnSong lets you manually or automatically archive sets. This keeps your main set lists in the active tab. Use the tabs at the bottom of the screen to view active, archived or remote sets if you've signed into a content provider that supports it.
Adding Sets
If the set you want to pick is not found in the list, tap on the + button in the lower right corner to create a new set. Once you create the set, it is automatically picked and the set picker is dismissed.
Mark
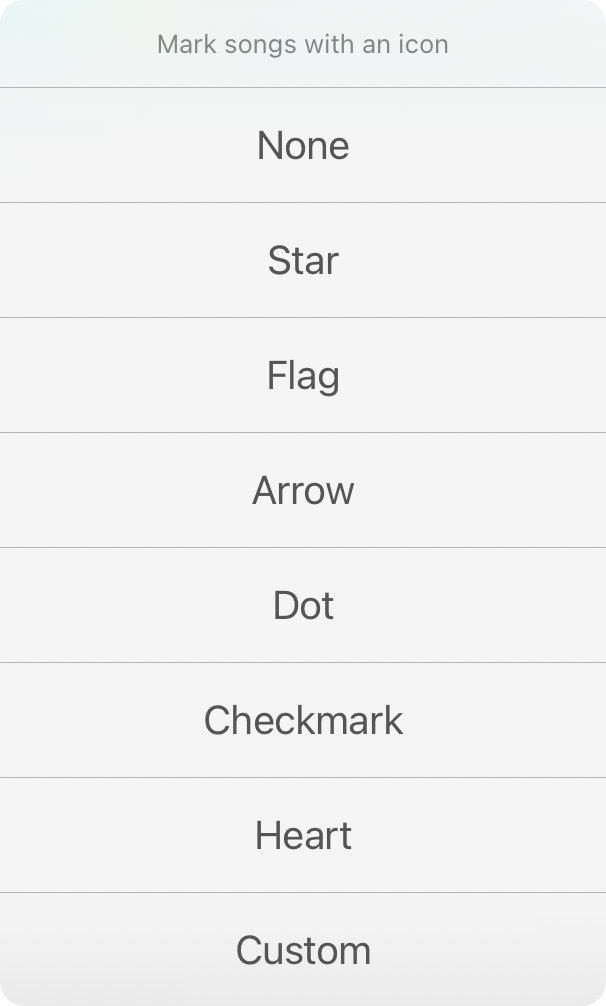
You can mark multiple songs at once when in editing mode in a list of songs. Once you've selected some songs, you can tap on the Mark button in the editing toolbar. This reveals the following list of standard icons:
- None removes any icon that has already been associated with selected songs.
- Star marks each song with a gold star.
- Flag marks each song with a red flag.
- Arrow marks each song with a purple arrow that points to the right.
- Dot marks each song with a teal dot.
- Cancel will cancel the marking action.
This provides a fast way to mark songs. For more customization such as the color of each icon, you can use the Organizer Menu
More
Once you've selected one or more songs when in editing mode, you can tap on the More button in the editing toolbar. This will reveal a menu with the following actions to be performed:
Delete
This will delete the selected songs.
Duplicate
This will duplicate the selected songs in your library which can be useful if you want to have two different versions.
Edit
If you have only one song selected, the edit option is available. Tapping on this will open the Song Editor with the selected song loaded.
The email action will open the Email Screen with the selected songs to be emailed in a format of your choice.
Export
The export action will open the Export Screen with the selected songs. You can then choose the formats and location for the files to be exported.
Open
The open action will open the Open Screen with the selected songs. You can then choose a format with which to open the file into another app.
The print action will open the Print Preview Screen with the selected songs displayed in the order that they were selected. You can customize the print outs and then either print to an AirPrint printer or export as a PDF file.
Cancel
You can tap on the cancel action if you do not wish to perform any action.
Sorting Songs
Tapping on the sort button lets the song list by sorted in the following ways:
- Title sorts the list by the song title in ascending order. Sorting ignores "The" prefixed words if Settings » Menu Settings » Songs » Remove "The" is turned on. Default.
- Artist sorts the list of songs by the name of the artist associated with the song in ascending order.
- Added sorts the list of songs by placing newly imported songs at the top of the list.
- Starred sorts the list of songs by placing favorited or starred songs at the top of the list.
- Number sorts the list of songs by song number as declared in metadata in the Song Editor.
- Last Played sorts the list of songs by placing the last played songs at the top of the list. This is determined by the date/time of the set in which songs are added. The date on which the song was last played is listed in each row if known.
- Most Popular sorts songs that have been played more at the top of the list. This is useful for determining if songs have been overplayed. The number of times the song has been played is displayed in each row if applicable. This information is provided by songs being added to sets.
If you don't want to change the sort order, tap on the Cancel button.
Sync
Sync with Google Drive
When you synchronize with Google Drive, OnSong will create or use a folder in your Google Drive to store the contents of your library folder. This folder contains files, settings, and the OnSong database file called OnSong.sqlite3. When these files are synchronized, it allows your library to stay up to date on multiple devices.
Authorization
You will need to authorize OnSong to access your Google Drive the first time you attempt to use it. Once your account is linked, you can use Dropbox without signing in again unless your account becomes unlinked for some reason.
File List
The files contained in your OnSong library and files stored in the synchronization folder on the remote server are presented in this list. In addition, arrows indicate the direction of synchronization that must occur. This is determined based on file system timestamps.
- Down the file must be downloaded from the remote drive.
- Up the file must be uploaded to the remote drive.
Note: The OnSong database file is always downloaded and synchronized with the local database file and then uploaded back to the remote drive.
Performing Synchronization
Tap on the Sync button in the upper right corner to begin the synchronization process. The status of the synchronization is provided by highlighting the files that are being uploaded, downloaded, or completed in the list. In addition, the Sync button is replaced with a percentage representing the progress of the synchronization.
Note: The default synchronization folder is called OnSong. You can change the name of this folder under Settings » Import Settings » Synchronization » Sync Folder. If you would like to be able to view and edit text-based documents contained in your OnSong database, be sure to turn on Sync As Files.
Authorizing Google Drive
Whenever you first use Google Drive in OnSong, you will need to first authorize OnSong to access your Google Drive content. This is handled completely by Google Drive, so no information is passed to OnSong in any way.
Getting Google Drive
Google Drive is a popular cloud-based storage service that offers 15 GB of free storage with options for more storage through paid subscriptions. 15 GB is more than enough space for chord charts and OnSong backups. Sign up at http://drive.google.com.
Authorization
Before you can use your Google Drive with OnSong, you need to sign in with your Google account and authorize OnSong. Enter your Google account email address and password. This will authenticate you with Google Drive and authorize OnSong to access your drive contents.
The login and authorization process is handled completely by Google and no credentials are sent to OnSong at any time. OnSong requests access to your entire Google Drive to allow you to import and export files from any folder.
Sync with Other

The first step in synchronization with another source is to choose it. This is done using the source selection list.
Choose a Source
Tap on the source to select it for synchronization. This will display the files to be synchronized. You must then choose a location on the remote server where the synchronization will occur.
Editing Mode
You can tap on the Edit button to make changes to sources in the list or to create a new source.
Source Editor

When adding a new source or editing an existing one, the source editor is displayed. This lets you specify connection parameters to your network-connected storage service.
Title
Provide a title for your source so you can identify it in the sources list.
Type
Choose the type of service that you will be connecting to. This can be one of the following options:
- FTP or File Transfer Protocol can connect to older file servers.
- Amazon S3 or Simple Storage Service is hosted by Amazon as a mechanism for storing content for web services.
- WebDAV or Web-based Distributed Authoring and Versioning is a file storage standard that allows network connected services to be treated like a local hard drive.
Host or Bucket
This is the web address or IP address of the service. When using Amazon S3, this is the optional bucket to access in S3.
Path
This is the directory to use as the root of the service that is being accessed.
Use SSL
Turn this on if communication should be performed securely.
Authenticate?
Turn this on if authentication is required for the service. The following fields will not be used if authentication is turned off.
Username or Access Key
The username used to authenticate against the service. When using Amazon S3, this is the Access Key for your account.
Password or Secret Key
The password used to authenticate against the service. When using Amazon S3, this is the Secret Key generated for the account.
Choose Folder
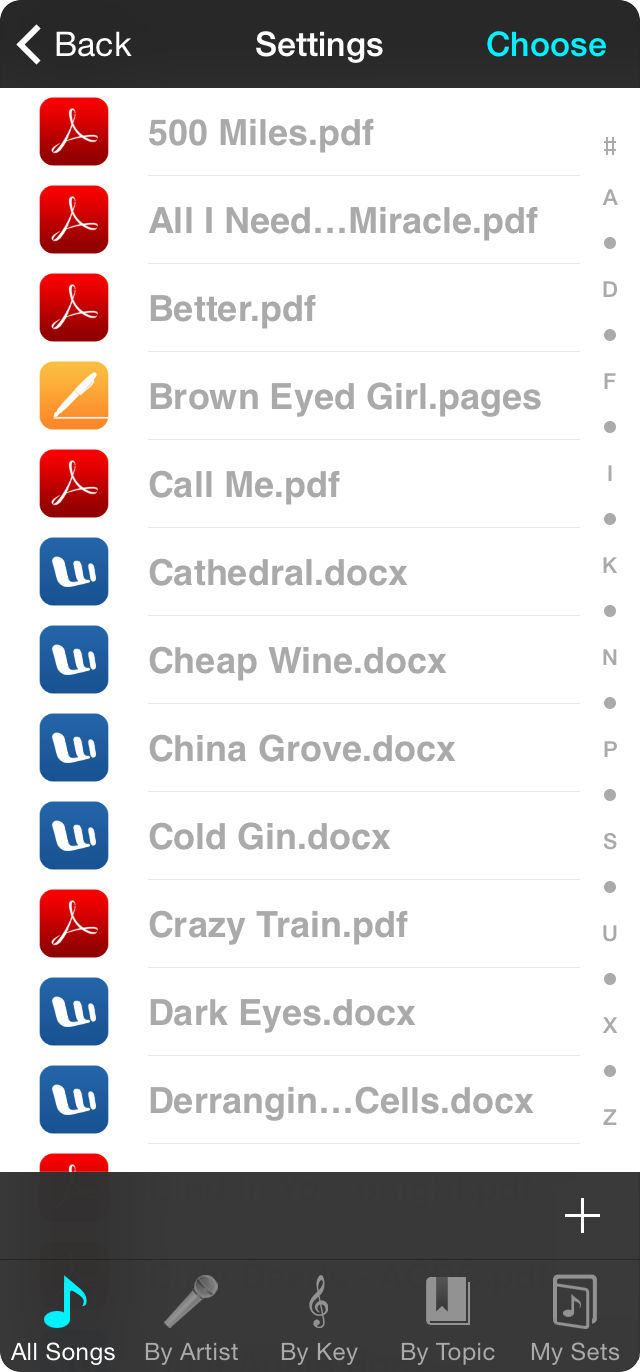
Using other sources requires additional steps prior to synchronizing.
Choosing a Folder
When you select the source to synchronize to, you will then need to choose a folder. Browse through your folders and when the folder is selected, tap on the Choose button in the upper right corner.
Performing Synchronization
After you've selected a folder, you will be taken to a screen that shows you the files to be synchronized between the remote server and your OnSong library.
Perform the Sync
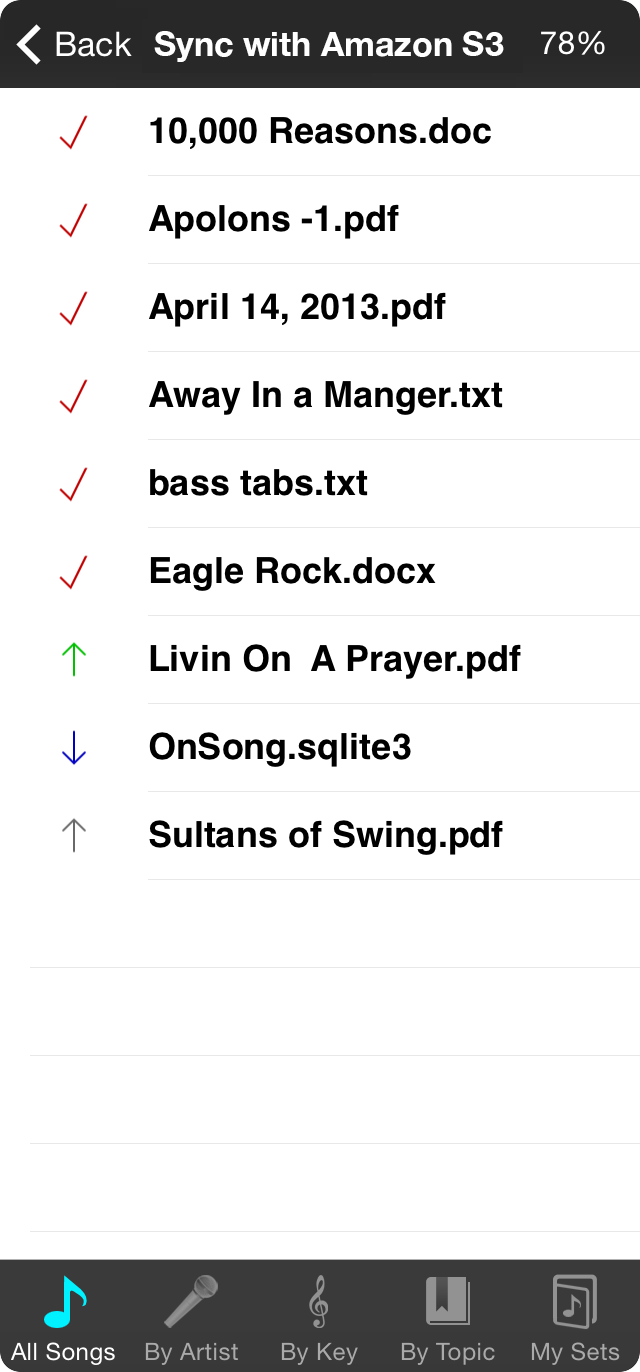
When you synchronize, OnSong will create or use a folder in your Dropbox to store the contents of your library folder. This folder contains files, settings, and the OnSong database file called OnSong.sqlite3. When these files are synchronized, it can allow your library to stay up to date on multiple devices.
File List
The files contained in your OnSong library and files stored in the synchronization folder on the remote server are presented in this list. In addition, arrows indicate the direction of synchronization that must occur. This is determined based on file system timestamps.
- Down the file must be downloaded from the remote server.
- Up the file must be uploaded to the remote server.
Note: The OnSong database file is always downloaded and synchronized with the local database file and then uploaded back to the remote server.
Performing Synchronization
Tap on the Sync button in the upper right corner to begin the synchronization process. The status of the synchronization is provided by highlighting the files that are being uploaded, downloaded, or completed in the list. In addition, the Sync button is replaced with a percentage representing the progress of the synchronization.
Note: The default synchronization folder is called OnSong. You can change the name of this folder under Settings » Import Settings » Synchronization » Sync Folder. If you would like to be able to view and edit text-based documents contained in your OnSong database, be sure to turn on Sync As Files.
Editing Mode

Tap on the Edit button in the sources list to enter editing mode. From there you can tap on a source to make changes to it, or tap on the Add New Source row to create a new source.
Deleting
Tap on the red minus icon to reveal a Delete button. Tapping on this will remove the source.
Editing Source
Tap on the name of the source to open the Source Editor. This allows you to make changes to the source.
Add New Source
Tap on the bottom row to open the Source Editor. This allows you to specify information for a new source.
Tap on the Done button when you are done editing the sources. You will then be able to select a source for browsing files or choose a folder.
Sync with Dropbox
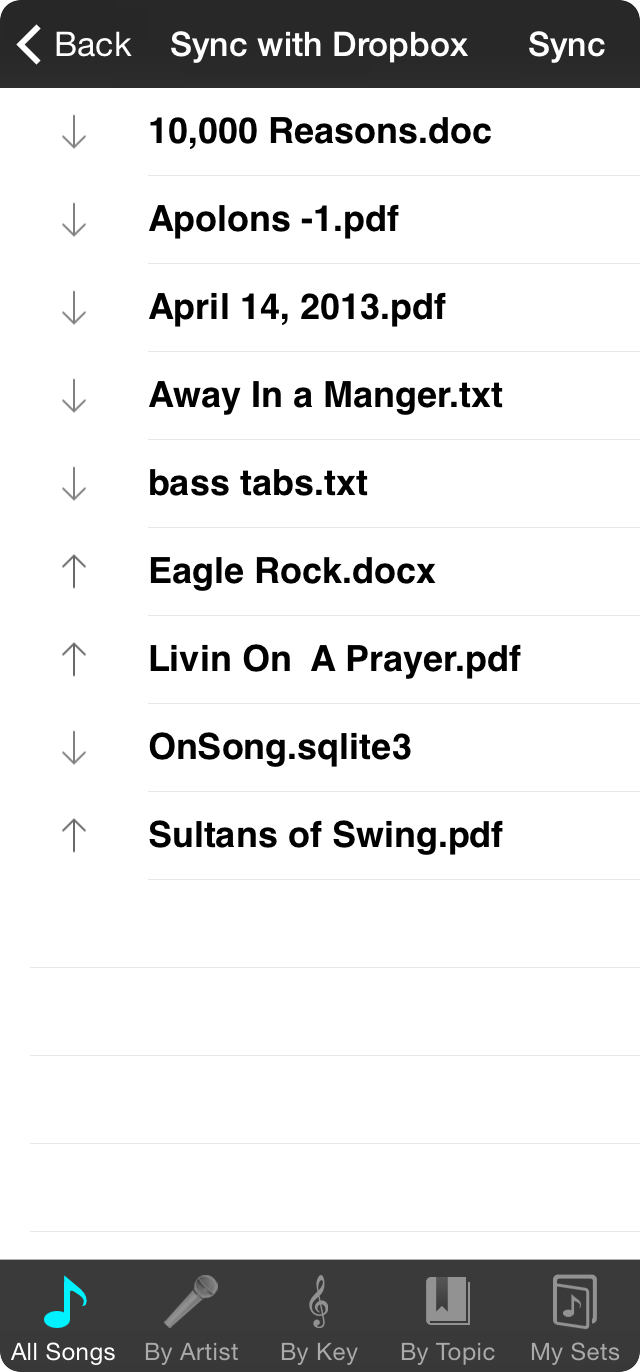
When you synchronize with Dropbox, OnSong will create or use a folder in your Dropbox to store the contents of your library folder. This folder contains files, settings, and the OnSong database file called OnSong.sqlite3. When these files are synchronized, it allows your library to stay up to date on multiple devices.
Authorization
You will need to authorize OnSong to access your Dropbox the first time you attempt to use it. This will either open a web-based authentication screen from inside of OnSong, or redirect you to the Dropbox app on your device if installed. Once your account is linked, you can use Dropbox without signing in again unless your account becomes unlinked for some reason, or if you access Dropbox in OnSong from another device.
File List
The files contained in your OnSong library and files stored in the synchronization folder on the remote server are presented in this list. In addition, arrows indicate the direction of synchronization that must occur. This is determined based on file system timestamps.
- Down the file must be downloaded from the remote server.
- Up the file must be uploaded to the remote server.
Note: The OnSong database file is always downloaded and synchronized with the local database file and then uploaded back to the remote server.
Performing Synchronization
Tap on the Sync button in the upper right corner to begin the synchronization process. The status of the synchronization is provided by highlighting the files that are being uploaded, downloaded, or completed in the list. In addition, the Sync button is replaced with a percentage representing the progress of the synchronization.
Note: The default synchronization folder is called OnSong. You can change the name of this folder under Settings » Import Settings » Synchronization » Sync Folder. If you would like to be able to view and edit text-based documents contained in your OnSong database, be sure to turn on Sync As Files.
Authorizing Dropbox

Whenever you first use Dropbox in OnSong, you will need to first authorize OnSong to access your Dropbox contents. This is handled completely by the Dropbox SDK, so no information is passed to OnSong along the way. Dropbox may show a different screen depending on what you have installed on your device.
Getting Dropbox
Dropbox is a popular cloud-based storage service that offers 2 GB of free storage for signing up. You can pay a subscription if you need to store more information. 2 GB is more than enough space for chord charts and OnSong backups. Sign up at http://dropbox.com.
App Authorization
If you have the Dropbox app installed on your device, you will be redirected to that device to complete the authorization process. Check the account you are using and switch accounts if necessary. Once you are sure that the proper account is selected, tap on the Allow button to authorize OnSong to access your Dropbox and to return to the OnSong app.
Web Authorization
If you do not have Dropbox installed, Dropbox displays a web-based authentication screen. Enter the email address you use to sign into Dropbox along with your password and tap the Sign In button. This will authenticate you with Dropbox and authorize OnSong to access your Dropbox.
Note: Both authorization methods are handled completely by Dropbox and no credentials are sent to OnSong at any time. OnSong requests access to your entire Dropbox to allow you to import and export files from any folder.
Style Preferences Menu
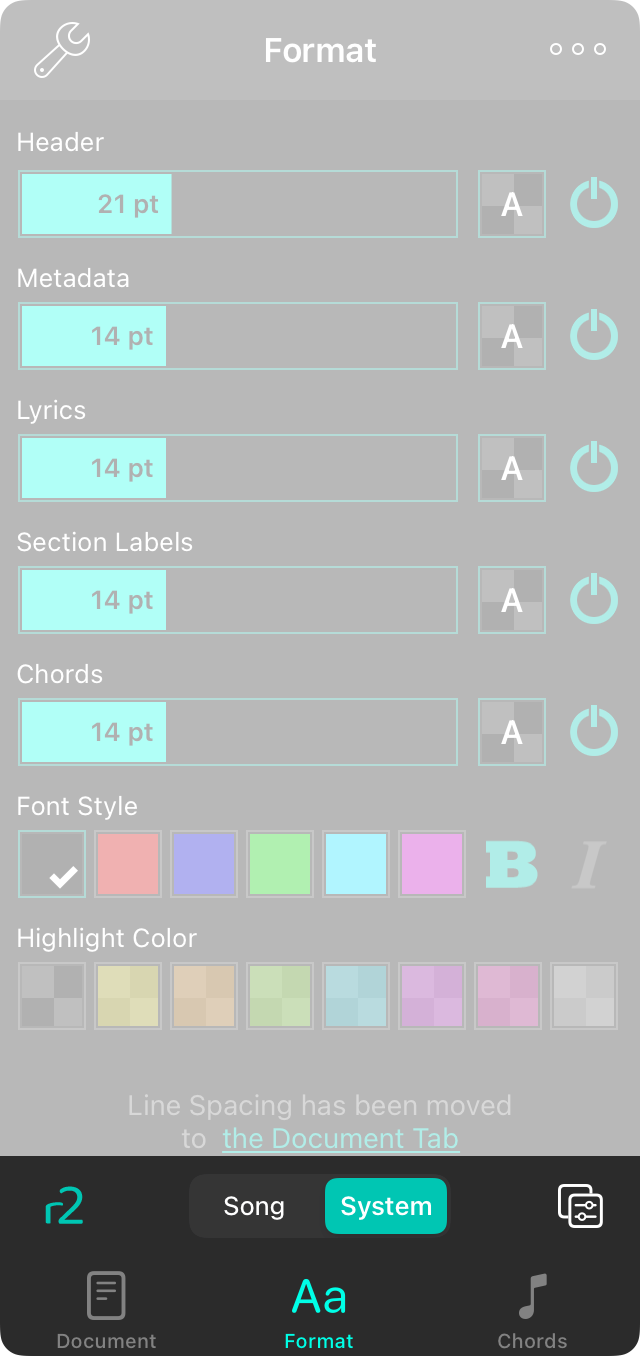
The style preferences menu allows you to change the look of the current song as well as change the key, capo and chord diagrams.
You can also use this menu to change the look or other songs in your library. Tap on the ... button in the upper right corner to apply the current style to songs in various books, sets or to set the default look for newly imported songs.
The following items may be changed in the song:
Font Family
Four buttons on the top of the menu allow you to choose the font of the entire song. You can choose from:
- Georgia is a serif font that may be easier to read for some users.
- Helvetica is a sans-serif font that is perfect for displaying chord charts. Default.
- Courier is a fixed-width font that is useful in some cases for aligning chords.
- Marker is a handwritten font that is very narrow, allowing more content to fit on the page.
Font Sizes
Below the font family buttons are four sliders. Each one allows the size of different elements on the chord chart to be adjusted. To the right of each is a power button. To turn off one of the items in the list, tap until it turns grey.
Keep in mind that you can tap on the icons to the left and right of all font size sliders to fine-tune adjust each value by one point.
- Header is the title of the song. You can adjust the font size from 12 to 38 points. Default is 21 points. Turn the header off to have more room on the page for chords and lyrics.
- Metadata is the artist of the song, key, tempo and time signature. This appears below the header. Turn this off, or reduce its size to make more room for chords and lyrics. You can adjust the size from 6 points to 30 points. Default is 14 points.
- Lyrics are nearly everything else on the screen. Turn these off if you just need to play the instrument. You can adjust the size from 6 points to 30 points. Default is 14 points.
- Chords appear above or within lyrics and can be styled separately to make them more visible. Turn chords off for vocalists or musician who memorize their music. While more options are found below, you can change the size from 6 points to 30 points. Default is 14 points.
Line Spacing
When you want to fit more onto the screen, consider reducing the line spacing, or space between lines. You can also increase the line spacing for more room between lines for better visibility. You can tap on the icons to the left and right of all sliders to fine-tune adjust each value. Adjusts between 0.7 and 1.3 lines. Default is 1.0.
Chord Highlight
This is the color of the background for chords used to highlight them from the page background. Default color presets in the chord highlight palette are the following with a 50% opacity: Clear (default), yellow, orange, green, turquoise, purple, magenta and grey. You can add and customize colors in the chord highlighting palette using the Color Picker.
Chord Style
This allows you to set a color for the chord text as well as to make chords italic or bold for greater visibility. It's recommend that either highlight colors or text colors be used to highlight chords as some combinations may be hard to read. Color presets for text colors include: Black (default), red, blue, green, light blue, and purple. You can add and customize colors in the text color palette using the Color Picker.
Transpose
The transpose slider allows you to set the key of the chord chart. This can be different than the metadata written in the song editor as transposition is performed. Move the slider from the left to the right to go from C through Cb. To turn off the transposition engine, tap on the power button on the right side. This will display the chord chart as it appears in the song editor as long as no capo is applied.
OnSong is also able to display numeric chords in addition to alphabetic variations. Please see Alternate Keys for configuring OnSong to show numeric chords.
You can tap on the icons to the left and right of the transpose slider adjust the key up or down by one half step.
Capo
The capo slider allows OnSong to adapt the chords based on capo position. This maintains the key of the song found in the transpose slider but alters the chords to work with the capo. You can capo from 0 to 11 and determine if the capo is applied by toggling the power button on the right.
By default, increasing the capo slider will modulate the chords of a song down. The reason for this is to allow the declared key of the song to be maintained. For instance, if the key of the song is C#, and a capo is applied on the first fret, then you should set the capo slider to 1. This will display the chords of the song down one half step in the key of C.
You can change how capo effects your chord chart in Settings » Display Settings » Song Formatting » Capo.
You can tap on the icons to the left and right of the capo slider to adjust the capo up and down one fret.
Diagrams
Diagrams can be drawn on the chord chart to help when you play, or for printing chord charts for educational purposes. You turn chords on and off with the power button to the right of the slider. Use the slide to adjust the size of the diagrams to fit between 4 and 10 diagrams across the width of the page.
You can change the diagram instrument by either tapping on chords or diagrams in the song viewer, opening the Chord Inspector. Here you can browse chord formations on different instruments. When the chord inspector is closed, the chord chart is redrawn with the last selected instrument's chord diagrams.
You can change how chord diagrams are drawn on the chord chart in Settings » Display Settings » Song Formatting » Chord Diagrams
You can tap on the icons to the left and right of the slider to adjust the number of diagrams.
Methodology
Note: Changes made in this menu are applied on top of the original content of the song as found in the song editor. For instance, if you set the key in the song editor and apply transposition, the original content is not effected.
When you select a song in the All Songs list, the changes are applied to the master library. If you select a song in a set that has Separate Set/Song Styles enabled, the changes are only applied to the song within that set. This allows you to transpose a song in a different key when present in a different set.
Document
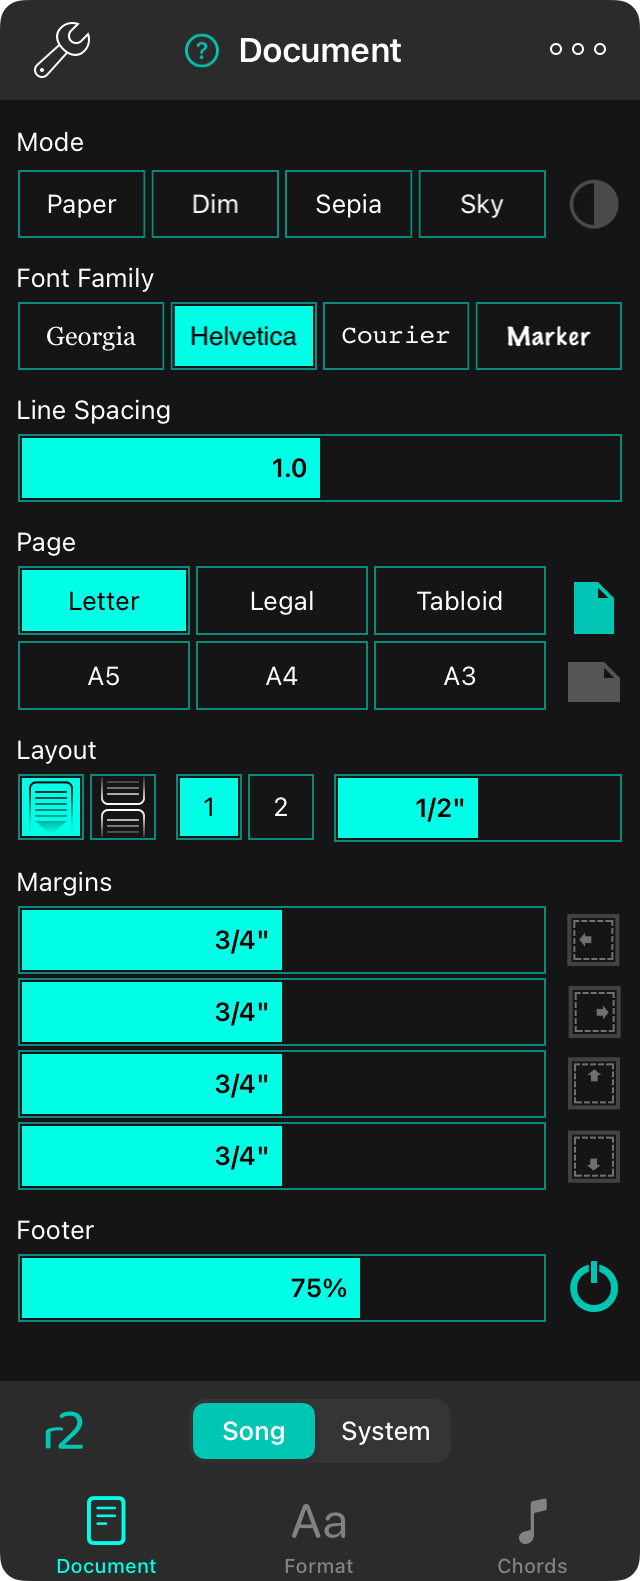
The Document tab lets you change the document settings for each song such as the low light mode, tint color, font, paper size, and margins.
Mode
The mode determines the colors used to draw the song on the screen and can be used to help make the screen more visible in different environments or for users with visual stress disorders. Modes change accordingly for Low Light Mode. If no option is selected, OnSong will display the song using default settings. Options include:
- Paper displays the song in high contrast black and white.
- Dim displays similar to paper, but with lower contrast.
- Sepia displays similar to dim, but with warmed color tones.
- Sky displays the song by overlaying a blue tint to help with visual stress disorders.
Low Light Mode
To the right of the mode buttons is an icon which you can use to toggle low light mode. This is set system-wide when toggled and you'll notice that it applies those changes to the mode we've selected too. This effects all songs and menus in OnSong.
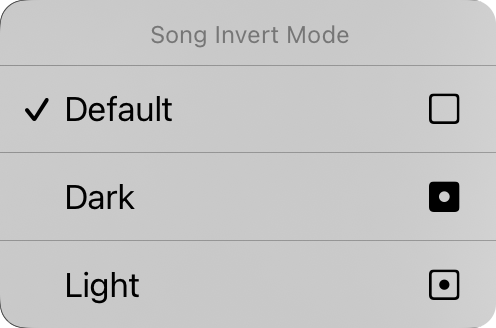
You can also tap and hold on the low light button in iOS/iPadOS 14 and higher to display the Song Invert Mode context menu. From here you can change the low light mode for the specific document. This is set to "default" by default which means that the song document will participate in low light mode as it changes in the system. You can force the song document to be viewed in either dark or light mode here independent on the low light mode set for the app.
Font Family
Four buttons on the top of the menu allow you to choose the font of the entire song. You can choose from:
- Georgia is a serif font that may be easier to read for some users.
- Helvetica is a sans-serif font that is perfect for displaying chord charts. Default.
- Courier is a fixed-width font that is useful in some cases for aligning chords.
- Marker is a handwritten font that is very narrow, allowing more content to fit on the page.
Page
This lets you set the size of the virtual page which effects the size of the fonts you select. For instance, larger paper sizes will display fonts in a smaller size. The icons on the right allow you to choose between portrait and landscape orientation.
Margins
Margins allow you to add an inset on the edges of the virtual paper on the screen. This is useful for making text visible and providing space for Hot Corners or Navigation Zones when also using section selection. The icon on the right side shows when margin is changed: left, right, top, or bottom.
Footer
This allows you to set the size of the foot as a percentage of the lyrics font size. You can also use the button on the right to toggle the footer on and off.
All of the controls on this tab except low light mode applies to the selected song. We will see how to apply our changes to different songs in our library in a little bit.
You can change the default values of each aspects of the document by tapping on the wrench icon in the upper left corner to access the Style Preferences Document options.
Transpose and Capo Menu
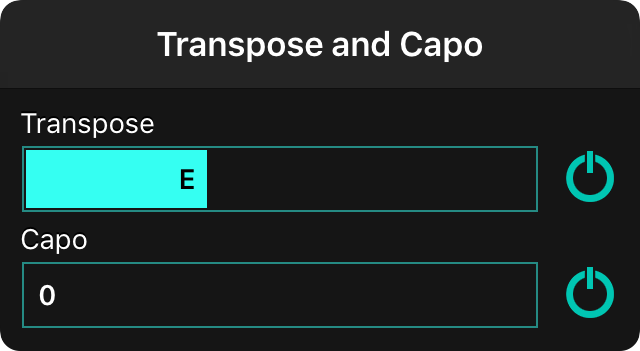
While the Style Preferences menu can control the formatting and transposition of text-based chord charts, it cannot modify imported files such as PDF and word processing chord charts. However, if chord charts haver been imported into OnSong using CCLI SongSelect, OnSong can request those chord charts in different keys as long as you have a valid SongSelect subscription.
The transpose and capo menu allows you to pick the key of the SongSelect chord chart as well as choose a capo. OnSong calculates appropriate key to retrieve and then downloads the new PDF chord chart as needed. You can turn off both transpose and capo as well to retrieve the song in its original key.
Internet connectivity is required to transpose SongSelect chord charts since they must be requested from the SongSelect service. Downloading new keys of a song do count against your download quota, however once versions of the SongSelect chord chart are downloaded, they are retained in your OnSong library. If you've already downloaded versions of the song, you do not need to be connect to the Internet to transpose into that key and the songs will not be counted against your quota.
Unavailable
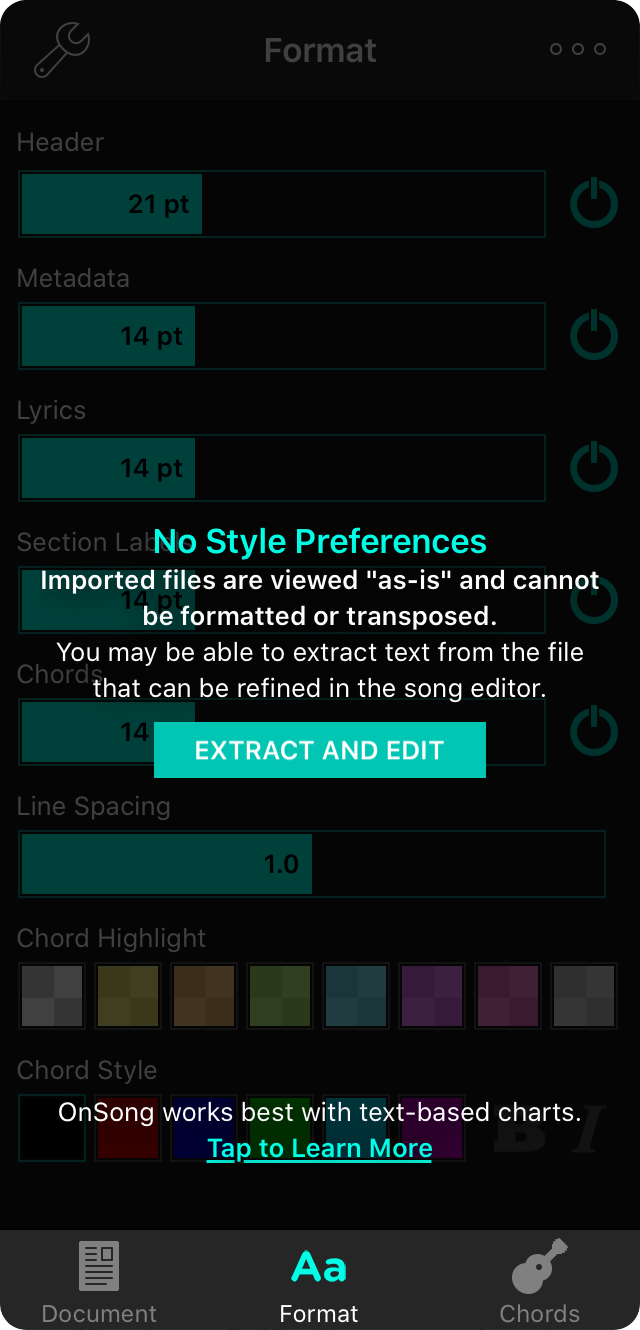
When you import PDF or word processing files, OnSong can only display those files "as-is". When you open the Style Preferences Menu, the controls will be disabled and you'll have one of the following options.
Extract and Edit
If you've viewing a file that is being viewed "as-is" and cannot be formatted or transposed, you'll see a screen like show with the option to Extract and Edit. Tapping on this button will open the Song Editor and automatically extract text from the document.
Use Text Version
If you're currently viewing an imported file, but you have text content available, this button will appear allowing you to toggle to the text-based chord chart. If you need to make changes to the text version, use the Song Editor
If you are viewing SongSelect PDF chord charts, you may still be able to transpose the song using the Key and Capo controls.
Apply Styles

To apply the current style, tap on an item in one of the sections in this screen. When you tap on an item, the progress of applying styles is displayed in the upper right corner. The screen returns to the style preferences menu when finished.
The first section allows you to apply the style to the most common selections. These include:
- All Songs will apply this style to every song in your library.
- Current Book will apply the style to all songs in the currently selected book.
- Current Set will apply the style to songs in the currently viewed set.
- Future Songs will apply the style to songs that you have not yet imported by setting this style as the default.
Books
This section displays all currently created books. Tapping on a book will apply the current style to every song contained in that book.
Note: If a book is currently selected, a teal dot will appear to the right to indicate the current book.
Sets
This section displays all current sets. Tapping on a set will apply the current style to every song in that set.
Note: If a set is currently selected, a teal dot will appear to the right to indicate the current set.
Versions
When you are using Separate Set/Song Styles you can have different styles for the same song. Choosing the Original Version option will reset the style on the original, master song in your library but will not change the style of the song in other sets. Choosing the All Versions option will reset the style of all songs versions.
Reset Style
The reset style option will reset the style of the currently selected song to the default styles.
Choose Book
When you choose to apply a style to a book and do not currently have a book selected, OnSong will prompt you to select a book. Tap on a book in this screen to begin the style application process.
Note: After you select a book to apply the style to, a window will appear that indicates the progress of this operation. This window should close upon completion or can be manually closed by tapping on the Close button in the upper left corner of the screen.
Choose Set
When you choose to apply a style to a set and do not currently have a set selected, OnSong will prompt you to select a set. Tap on a set in this screen to begin the style application process.
Note: After you select a set to apply the style to, a window will appear that indicates the progress of this operation. This window should close upon completion or can be manually closed by tapping on the Close button in the upper left corner of the screen.
Chords

The chords tab lets you transpose and capo chords as well as determine how those chords appear. It also lets you select an instrument for chord diagrams.
Style
The style choosers lets you pick how the chords should appear on the screen. You can choose from the following options:
- Alpha displays chords as an alphabetic character (A-G) including enharmonic preference (sharp or flat). Default.
- Nashville displays chords as numbers (1-7) based on their position in the key.
- Roman displays chords as Roman numerals (I, ii, iii, IV, V, vi, vii) based on their position in the key.
- Italian displays chords as numbers using Latin (do, re, mi, fa, so, la, ti) based on their position in the key.
Key
The key chooser lets you set the key of the chord chart. This can be different from how the song was written in the song editor as transposition is performed from the original key to the one selected here.
The most common keys are presented in a "circle of fifths" order, placing keys with less sharps and flats toward the left. Keys switch between major and minor based on the how song is written. You can change this interface to be in alphabetic order, or to use the original slider interface instead using the Transpose Control option.
Users who prefer more options in keys or who want to access theoretical keys can turn on Theoretical Keys option.
Capo
The capo slider allows OnSong to adapt the chords based on capo position. This maintains the key of the song found in the transpose slider but alters the chords to work with the capo. You can capo from 0 to 11 and determine if the capo is applied by toggling the power button on the right.
By default, increasing the capo slider will modulate the chords of a song down. The reason for this is to allow the declared key of the song to be maintained. For instance, if the key of the song is C#, and a capo is applied on the first fret, then you should set the capo slider to 1. This will display the chords of the song down one half step in the key of C.
You can change how capo effects your chord chart in Settings » Display Settings » Song Formatting » Capo.
You can tap on the left and right sides of the slider to adjust the capo up and down one fret.
Diagrams
Diagrams can be drawn on the chord chart to help when you play, or for printing chord charts for educational purposes. You turn chords on and off with the power button to the right of the slider. Use the slide to adjust the how many diagrams can fit across one page from between 4 and 10 diagrams per line.
You can tap on the left and right side of the slider to adjust the number of diagrams by one.
Instrument
You can change the diagram instrument by choosing from the selection in the instrument chooser. You can also change the instrument by tapping on chords or diagrams in the song viewer to open the Chord Inspector. Here you can browse chord formations on different instruments. When the chord inspector is closed, the chord chart is redrawn with the last selected instrument's chord diagrams.
Diagram Position
The diagram position chooser lets you determine where diagrams and drawn on the page. You can choose from:
- None turns off chord diagrams. Default.
- Below draws diagrams under the song content.
- Above draws diagrams above the song content directly below the title and metadata.
- Within draws chord diagrams in place of chords within the lyrics.
Methodology
Changes made in this menu do not modify the original content of the song as found in the song editor.
When you select a song in the All Songs list, the changes are applied to the master library. If you select a song in a book or set that has Separate Set/Song Styles enabled, the changes are only applied to the song within that set. This allows you to transpose a song in a different key for that book or set without changing the master version.
You can change the default behavior and interface options for this screen by tapping the wrench icon in the upper left corner to change Style Preference Chords options.
Format
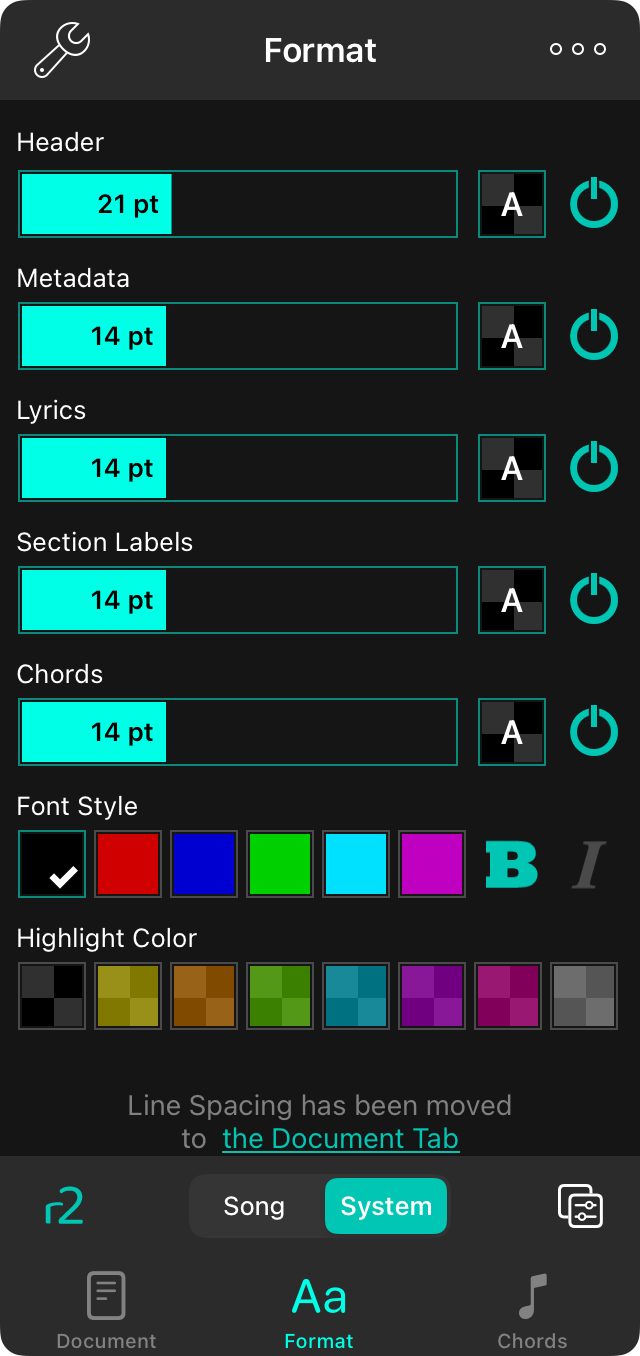
The Format tab lets you change the appearance of the song content. You can change the following aspects of the song.
Font Family
Four buttons on the top of the menu allow you to choose the font of the entire song. You can choose from:
- Georgia is a serif font that may be easier to read for some users.
- Helvetica is a sans-serif font that is perfect for displaying chord charts. Default.
- Courier is a fixed-width font that is useful in some cases for aligning chords.
- Marker is a handwritten font that is very narrow, allowing more content to fit on the page.
Font Sizes
Below the font family buttons are four sliders. Each one allows the size of different elements on the chord chart to be adjusted. To the right of each is a power button. To turn off one of the items in the list, tap until it turns grey. Tap and slide anywhere in the slider control to adjust the value. Tap on the left or right side of the slider to fine-tune adjust each value by one point.
- Header is the title of the song. You can adjust the font size from 12 to 38 points. Default is 21 points. Turn the header off to have more room on the page for chords and lyrics.
- Metadata is the artist of the song, key, tempo and time signature. This appears below the header. Turn this off, or reduce its size to make more room for chords and lyrics. You can adjust the size from 6 points to 30 points. Default is 14 points.
- Lyrics are nearly everything else on the screen. Turn these off if you just need to play the instrument. You can adjust the size from 6 points to 30 points. Default is 14 points.
- Chords appear above or within lyrics and can be styled separately to make them more visible. Turn chords off for vocalists or musician who memorize their music. While more options are found below, you can change the size from 6 points to 30 points. Default is 14 points.
Line Spacing
When you want to fit more onto the screen, consider reducing the line spacing, or space between lines. You can also increase the line spacing for more room between lines for better visibility. You can tap on the icons to the left and right of all sliders to fine-tune adjust each value. Adjusts between 0.7 and 1.3 lines. Default is 1.0.
Low Light Mode
Tap on the icon to the right of the line spacing slider to toggle low light mode on and off. This will cause chord charts and menus to appear as light text on a dark background. This is applied throughout the app and is useful when playing in a dimly lit venue to reduce light wash and eye strain.
Chord Highlight
This is the color of the background for chords used to highlight them from the page background. Default color presets in the chord highlight palette are the following with a 50% opacity: Clear (default), yellow, orange, green, turquoise, purple, magenta and grey. You can add and customize colors in the chord highlighting palette using the Color Picker.
Chord Style
This allows you to set a color for the chord text as well as to make chords italic or bold for greater visibility. It's recommend that either highlight colors or text colors be used to highlight chords as some combinations may be hard to read. Color presets for text colors include: Black (default), red, blue, green, light blue, and purple. You can add and customize colors in the text color palette using the Color Picker.
You can change the default values of each aspects of the appearance by tapping on the wrench icon in the upper left corner to access the Style Preferences Format options.
Sections
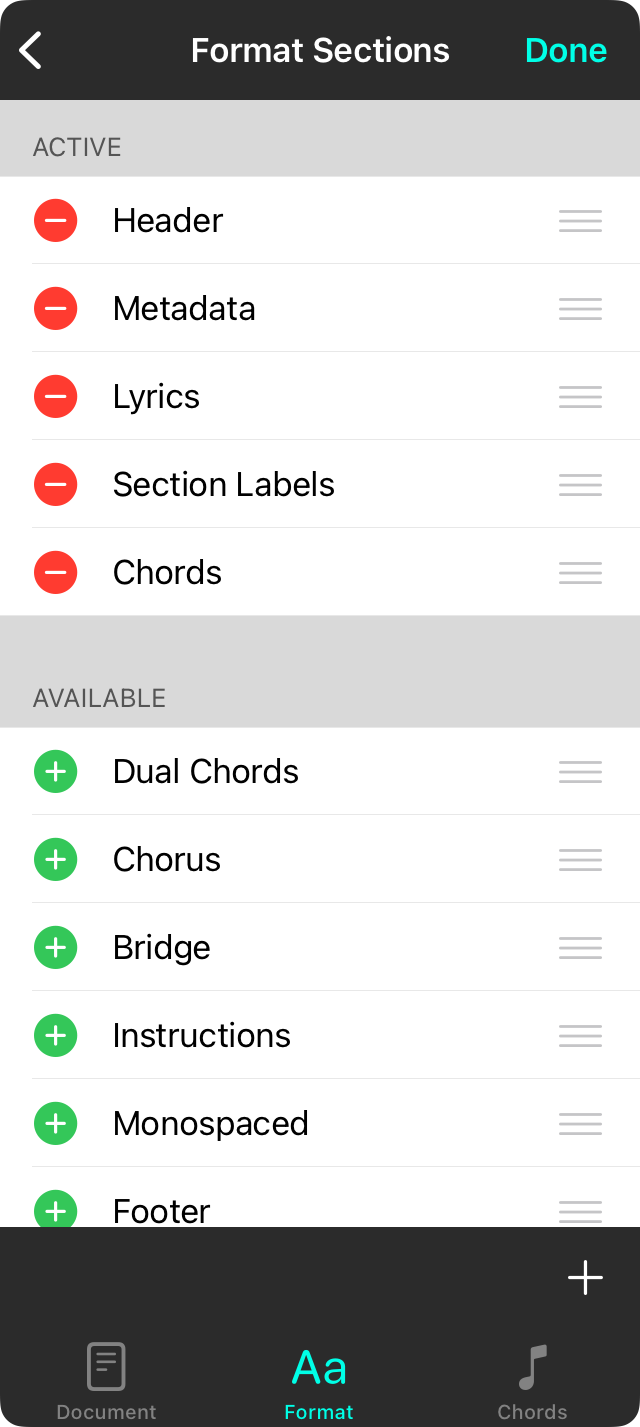
You can modify what sections appear in the Format tab using the Format Sections screen. When you're done making changes, tap on Done to apply the changes and return to the Format tab.
Active
The active list displays the sections that are currently in the format tab. You can change the order of the sections using the reordering handle on the right side, or remove the sections by dragging them into the available list, or by using the delete button on the left. Deleted sections will be placed in the available list.
Available
This list contains common sections that you may want to add to the format tab. You can do this by dragging the sections into the active list, or by tapping on the insert button on the left.
Custom
You can create your own custom sections by tapping on the + button on the lower right corner. This will open a prompt for a name. For instance, you could enter Verse 2 to format only Verse 2. The new section is added to the Available list and can be made active by moving it into the Active list.
Utilities
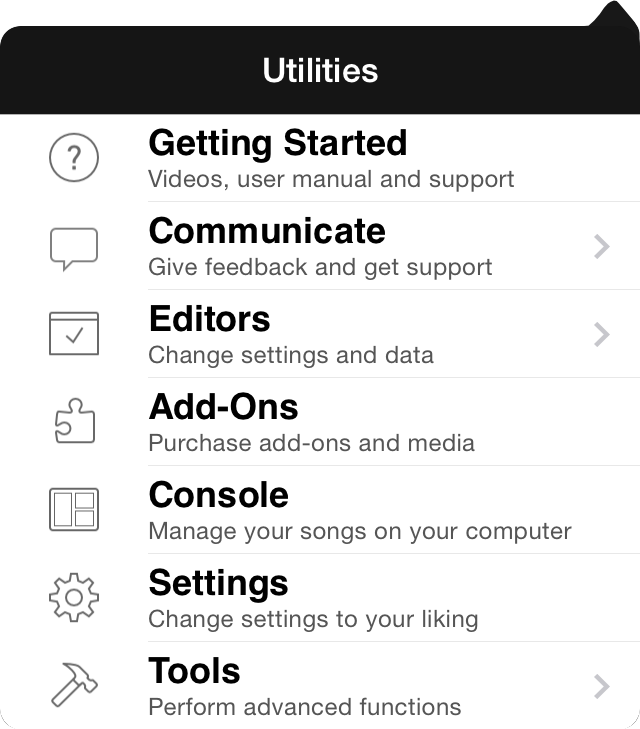
The utilities menu provides access to this help screen, as well as other functions that are outside of the typical flow of OnSong. The following details the function of each item in this menu.
Getting Started
This menu option provides access to the Getting Started screen. This provides links to the user manual, videos, and other information you need to get started using OnSong.
Communicate
Gives you quick access to communicate with the OnSong team.
Editors
Some features don't fit in the normal flow of the app. Editors gives you access to other functions for configuring OnSong.
Add-Ons
OnSong is a powerful app, and add-ons make it even more powerful. Manage your add-ons in this screen.
Console
The console allows you to manage your OnSong library through a web browser making adding and editing chord charts easy.
Settings
For every musician, there's different way to do music. Settings let you configure every aspect of OnSong.
Tools
Provides more advanced tools for managing your library.
Support
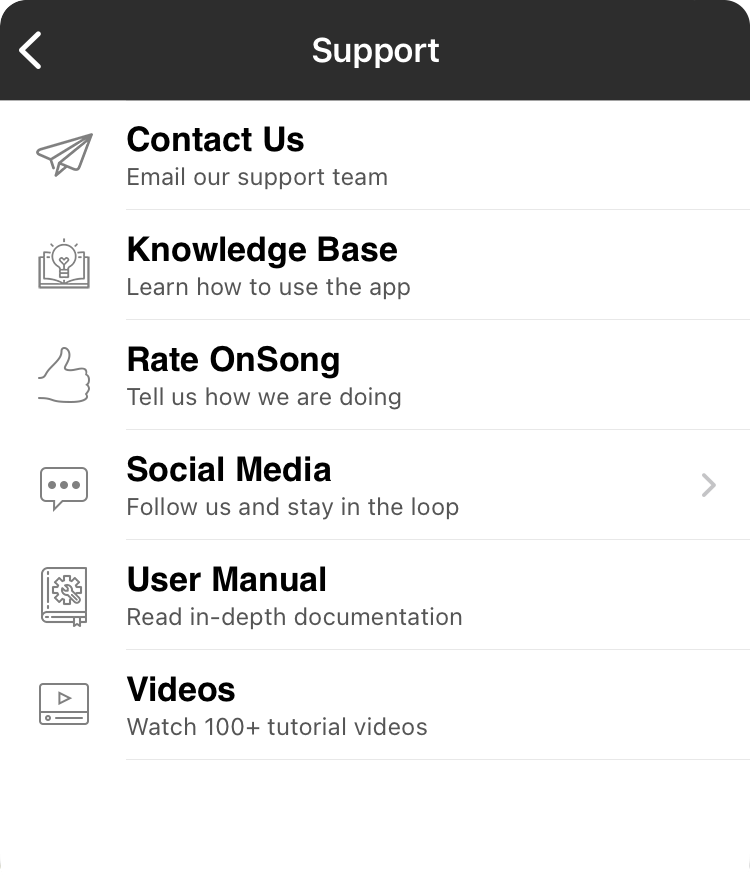
The support menu gives you the best way to learn OnSong and get answers to your questions.
Contact Us
The contact us option gives you a way to contact the OnSong support team about an issue you are having. If you have a technical support issue, be sure to fill out this form for best service.
Knowledge Base
This opens a web browser to our knowledge base full of frequently asked questions and answers.
Rate OnSong
We try hard to make OnSong the best app available. Rate us within OnSong or in the App Store and help us out. OnSong doesn't believe it's proper to bug you for reviews so we make this completely optional.
Social Media
There are many ways to stay connected to OnSong and other users. Here's where you can find us on popular social media platforms.
User Manual
This button provides a link to an in-app version of the user manual.
Videos
The best way to learn OnSong is by watching. Video tutorials show you core features of OnSong in a video format.
Contact Us
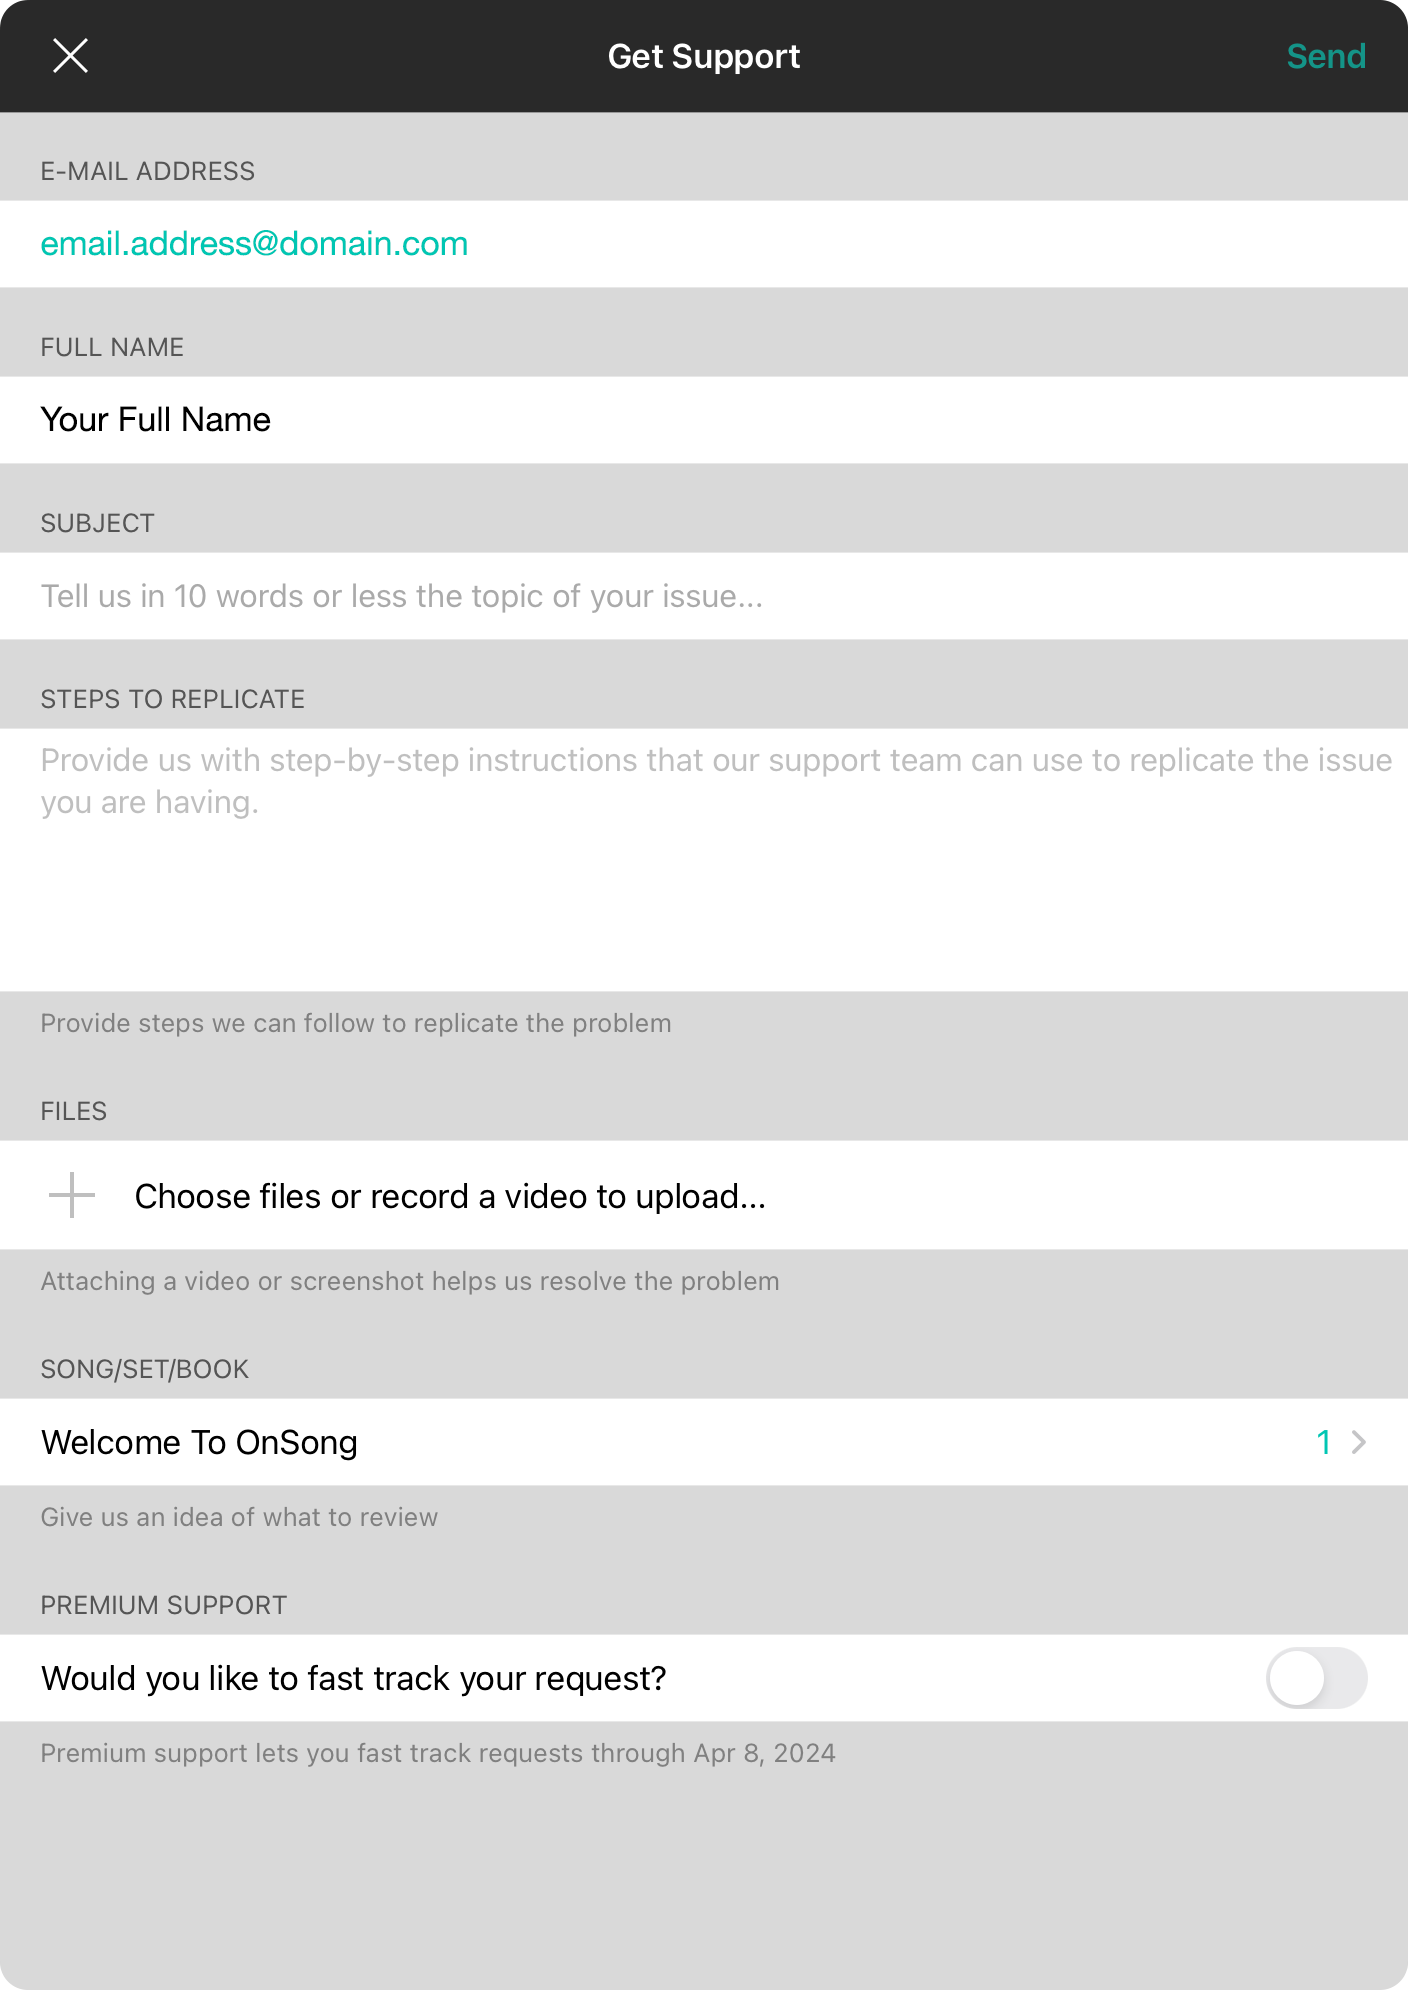
If you require technical support or are experiencing an issue, please fill out the following field to ensure the best service from the OnSong support team.
Email Address
Type your email address here and ensure it is accurately filled out. This will give us a way to respond to you. Also make sure that you whitelist the onsongapp.com domain name so that our responses are not blocked by spam filters.
Ensure that you enter the correct email address here so that we can respond to you. Also make sure you can receive responses from OnSong.
Full Name
Type in your full name so that we can be more personal when we communicate with you.
Subject
Enter a brief description (50 characters or less) of the problem so we can direct the issue to the best support agent.
Steps to Replicate
This part is important! Type in the issue you are having followed by specific steps you take that demonstrate the issue. Express what you desire to happen in contrast to what is happening. Provide details, but also remain brief as long responses can sometimes slow down our response rate.
Song/Set/Book
OnSong will automatically attach your current set or book as well as the song you were viewing at the time you accessed this screen. You can customize the set or book as well as the songs that are selected by tapping in this field.
Fast Track
Filling out this form is a great way to get placed in our support queue for standard service. Requests are handled in the order they are received. If you opt for the Fast Track service, your request is placed at the top of our list to be addressed with priority and before any other request.
Send Button
When you are all done, the Send button will illuminate. This will send your library to us with your diagnostic information. This combined with the information provided in this form will help us replicate the issue and either provide valuable advice, or issue a report to be addressed by our developers.
Crash Logs
If you are experiencing a crash condition, it is useful for OnSong to receive crash logs to resolve the issue that may be hard to diagnose. These are not able to be sent via the diagnostics step due to security restrictions in iOS. Please follow these steps to send your crash logs to OnSong.
Choose Files
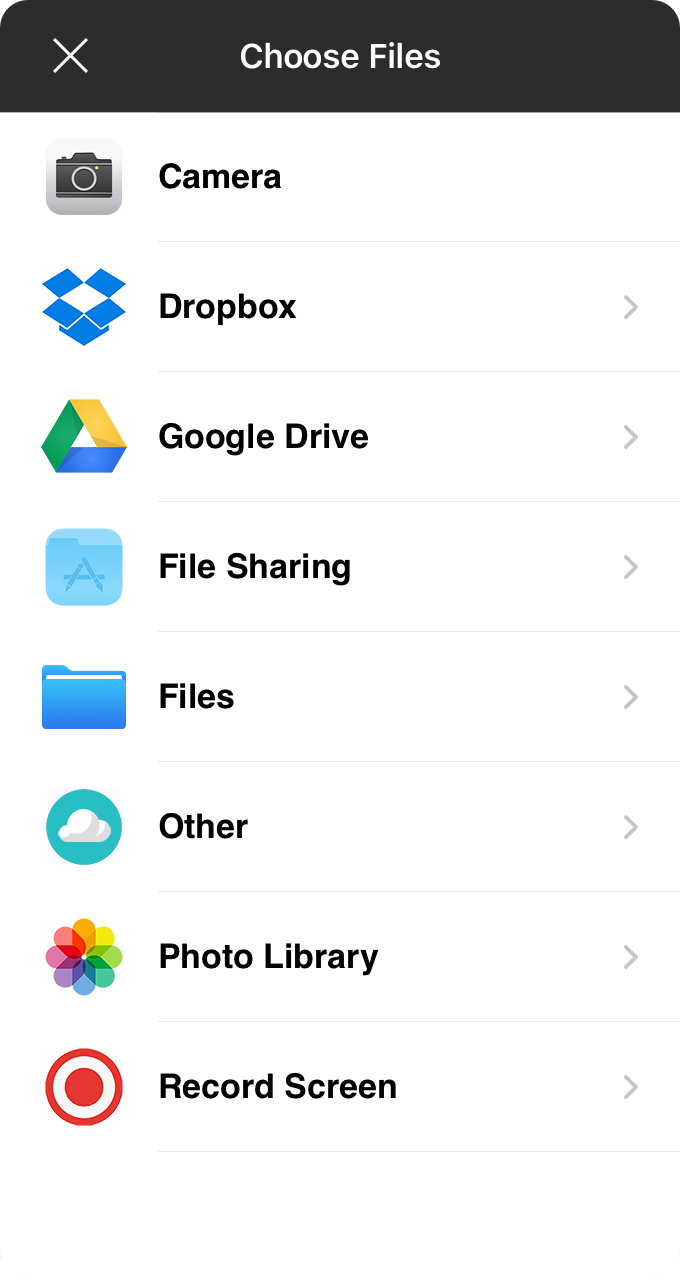
One of the best ways we can provide prompt and targeted support is when we can replicate the issue you're having and one of the best ways to help us is by sending us a screenshot or video recording. Other files sometimes help too. For instance, if you're trying to troubleshoot MIDI connections on a guitar pedalboard, you could take a picture, or if you're having a problem importing a file, you could send that to us. This screen lets you choose various ways to do just that.
Camera
This will open the camera interface inside of OnSong for you to take a picture with the front or rear-facing camera. Take a picture to show us something in your physical space, or your smiling face.
Storage Services
Most of this list is comprised by services you can use to transfer or store files like Dropbox, Google Drive, File Sharing, Files, and Other.
Photo Library
You this option to select a photo or screenshot you've taken on your device and that's saved in your Photos app.
Record Screen
This option will present you with some prompts where you can allow OnSong to record your screen with optional microphone input. We give you up to 2 minutes to record your screen and show us the issue you're having. Once you're done, you can tap on the stop recording button or wait until the 2 minutes is up.
Premium Support
If you're an OnSong Premium subscriber, you can opt to receive premium support when you submit your support requests through the app. It's simple. Locate the "Fast Track" section in the Get Support screen and turn on the switch. To open the Get Support screen, open the Utilities Menu by tapping on the gear icon in the Menubar. Next, tap on Support and Contact Us. If you're using OnSong 2020, you would tap on Communicate and Get Support.
Rate and Review
If you enjoy OnSong, please take some time to rate and review the app. It really helps us continue to make the best app possible.
Start by giving us five stars. If you can't give us five stars for any reason, please contact us for support. We want to make sure your experience is the best it can possibly be and will work hard to ensure your needs are met.
Once you submit, your star rating will be confirmed. You can then choose to write or update your review. OnSong is an active app and we work hard to put out new releases with new features and stability improvements. Please refresh your review as it helps others know more accurately how users make the most out of OnSong.
Social Media
OnSong is very active on different social media platforms. You can tap on each to open the native app for that platform, or be linked to a web-based experience.
View the official OnSong page for company news and announcements.
OnSong Community
Participate with other OnSong users around the globe to discuss issues and find answers.
Here's where we share fun things and live stream with some of our favorite people.
Get tips, tricks, and announcements involving your favorite app.
YouTube
Get access to tons of video tutorials and reviews.
Account
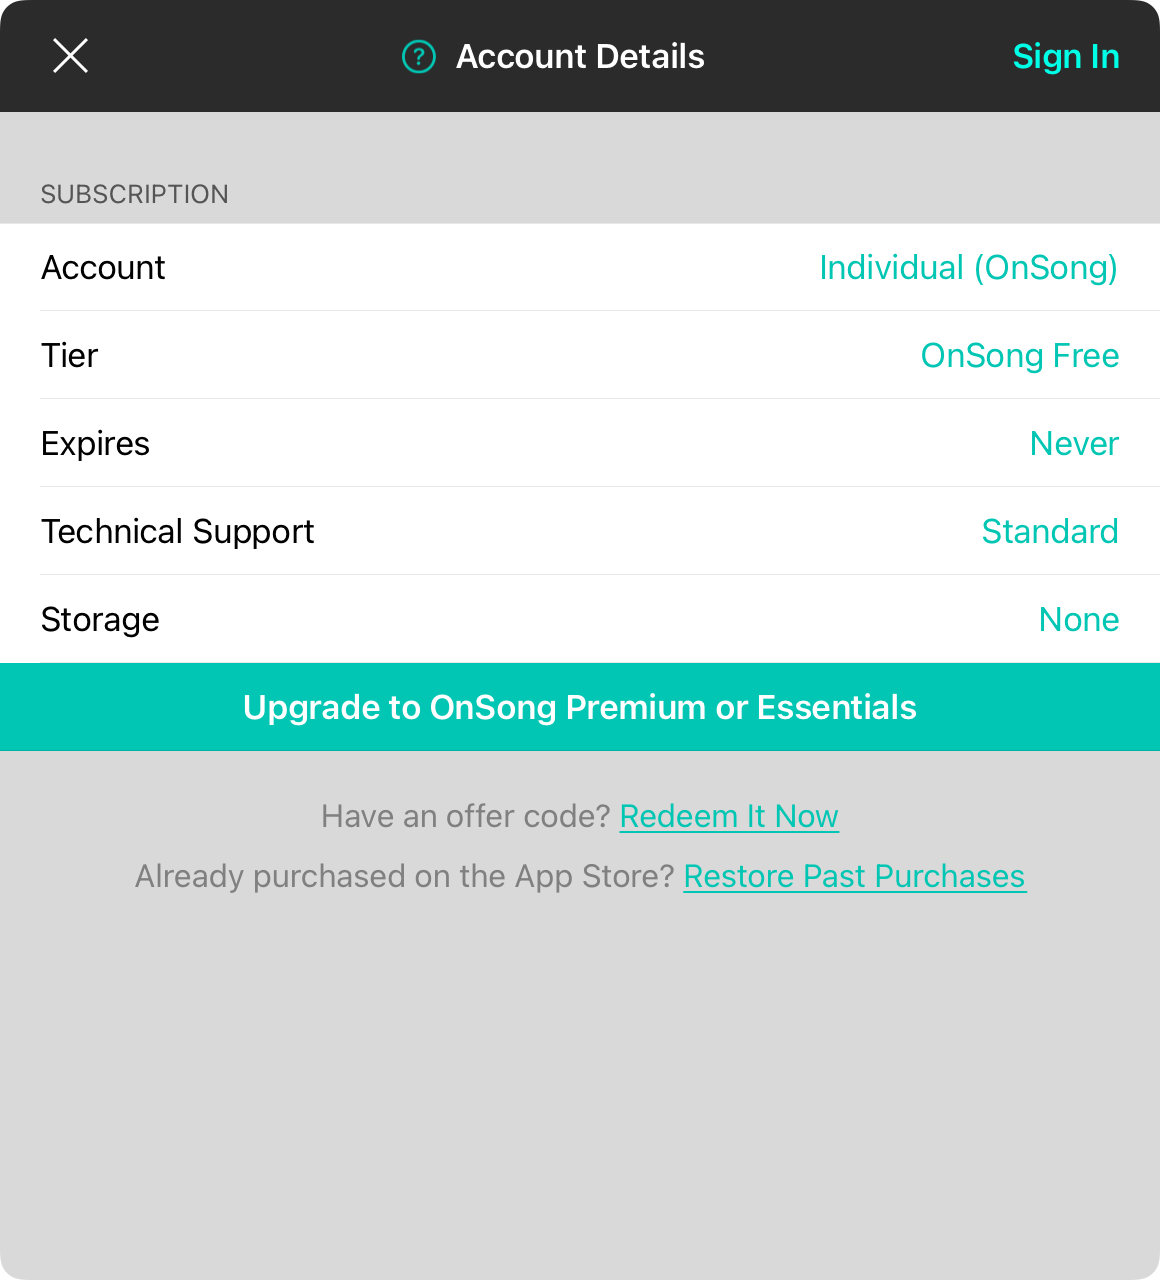
The Account Details screen shows information about your OnSong account and subscription tier. The screen appears differently depending on if you are authenticated.
Signed Out
This is the default presentation of the account screen and will display your base plan and previously purchased add-ons.
Signed In
This screen will appear to show your subscription tier and allow you to manage your account information and devices.
Add-Ons

If you're using OnSong Pro as a base plan, you may have purchased add-ons that were previously available in OnSong. In that event, you retain access to those add-on features. This screen allows you to view and restore those purchases including:
- Console allows you to use a modern web browser on a computer or device to manage your OnSong library and enter songs.
- Drawing enables the ability to make marks and drawings on any song content in your OnSong library.
- MIDI Integration makes OnSong a powerful, context-aware MIDI controller for automating your instruments and effects on-stage. This is included with OnSong Pro if purchased on or after mid-2016.
- Scenes allows you to control stage lighting as well as custom media and lyrics projection settings on a per song or section basis. This is included with OnSong Pro if purchased in 2019 or later.
Add-ons are no longer available for sale as they are included in an OnSong Premium subscription along with many new and upcoming features.
Restore Past Purchases
Purchased add-ons appear with a checkmark beside the purchase. If you have previously purchased add-ons that have not been activated, you can tap on the Restore Past Purchases button at the bottom of this screen to cause the App Store to sign in, check your purchase history, and return applicable purchases to OnSong.
Soundbanks are included with all versions of OnSong and are no longer listed.
Create Account
In order to use OnSong Premium, you'll need to first create an OnSong account. Your OnSong subscription is bound to your OnSong account allowing you to use it on a different device. In addition, OnSong cloud services will require you to have an account to deliver your personal experience.
This screen has only a few functions.
Create Account
The button in the center of the screen will begin the account creation process. Creating an account only requires an email address, name, and password.
Sign In
Certain functions in OnSong require you to have an OnSong account. If you already have an OnSong account, you can tap on the Sign In button in the upper-right corner to sign into an existing account.
Customize Your Experience
Each musician is different and OnSong gives you a lot of options with how you can use the app. In addition, this screen lets you customize your OnSong experience so that we can best communicate with you. Just tap on one of the sixteen squares to highlight the instruments you play or the roles you perform in your music career. This will let us determine how to best customize OnSong communications.
The OnSong logo is selected by default for applicable territories to receive a newsletter from OnSong to let you know about product updates and important news.
Once you've selected a number of interests, you can tap on the Done button in the upper right to save your changes and start using OnSong You can always customize your experience further by viewing your account and selected the Customize Your Experience button.
For simplicity, OnSong uses your unique email address to authenticate your account. This screen displays two fields for you to enter your email address.
Email Address
Type in the email address that you will use to access your OnSong account. We recommend ensuring that onsongapp.com is "whitelisted" in your email service and software to ensure uninterrupted communication.
Confirm Email Address
We require that you type your email address again. This is an extra step to ensure that you've entered an email address without error. If the emails do not match, you can then double-check the email address.
Continue
When done, press the Go return key on the keyboard or tap on arrow button to the right of the fields to continue to enter your first and last name.
Name
Let's make things a little more personal by typing your first and last name. Don't worry, you can always change this later.
First Name
Type your first name in the first field on the screen.
Last Name
Type your last name in the second field on the screen.
Continue
Once you're done entering your name, press the Go return key on the keyboard, or tap on the arrow button to the right of the fields to continue to the last step for setting up your account.
Password
The last step of setting up an account is to set a password. This lets you securely sign into your account through the OnSong app.
Password
Type in a password you desire in the first field. Passwords must be six-characters or longer in length.
Confirm Password
Type the same password again in the next field. This will allow the app to confirm that your passwords match. Please keep your password in a safe place and remember that you can always reset your password.
Continue
Once you've set your password, press the Go return key on the keyboard or tap on the arrow button to create your account and move on to what required your account.
Sign Into OnSong
This screen appears to allow you to sign in to your OnSong account. Type in the e-mail address you used to register your OnSong account, followed by your password. You can then tap Done return key on the keyboard or the arrow button to the right of the e-mail/password fields.
Forgot Password?
In the event that you've forgotten your password, attempt to authenticate to receive an error and a link to click to reset your password.
Sign Up
If you don't have an OnSong account, you can tap on the Sign Up button in the upper-left corner to view the Create Account screen.
Sign Into OnSong
Signing into the OnSong® App is easy with the following steps:
Email Address
Just type in your email address to get started. OnSong will determine if you have an OnSong® Account that matches the email address. If so, you'll be prompted to enter your password.
If you want to create an account without sharing your email address, you can tap on the do it later or not at all link to create an anonymous OnSong® Account. Keep in mind that you will not be able to sign into this account if you don't provide an email address or password.
Password
If you have an OnSong® Account that matches the email address, you'll be prompted to enter a password. OnSong will then authenticate your account and sign you in to access your features and services. If you've forgotten your password, tap on the Reset Password link to reset it.
If your email address isn't found, we will create a new OnSong® Account for you. You'll receive an email message for you to confirm your email address and optionally set a password.
Your email and password are securely transmitted and OnSong keeps your information safe.
Customize
When you create an OnSong® Account, you'll be prompted to customize your communication preferences. This displays a grid icons to pick the type of roles and instruments you play including updates to the app. If you don't want to receive any updates from OnSong and only transactional communications, be sure to deselect all the options. You can also change this at any time on the OnSong website.
Forgot Password

If you are certain you have an OnSong account but forgot your password, attempting to sign in will result in an error. Under this error will appear a link to reset your password.
Reset Password
To reset your password, tap on the link to open the Reset Password prompt. The email address that you filled out for authentication will appear in the text field. Ensure that the email address is correct and tap the Send button. You will receive an email message with a link to reset your password.
Forgot Email Address
If you've forgotten the email address you've used to create your account, please contact OnSong Support for assistance.
Signed In
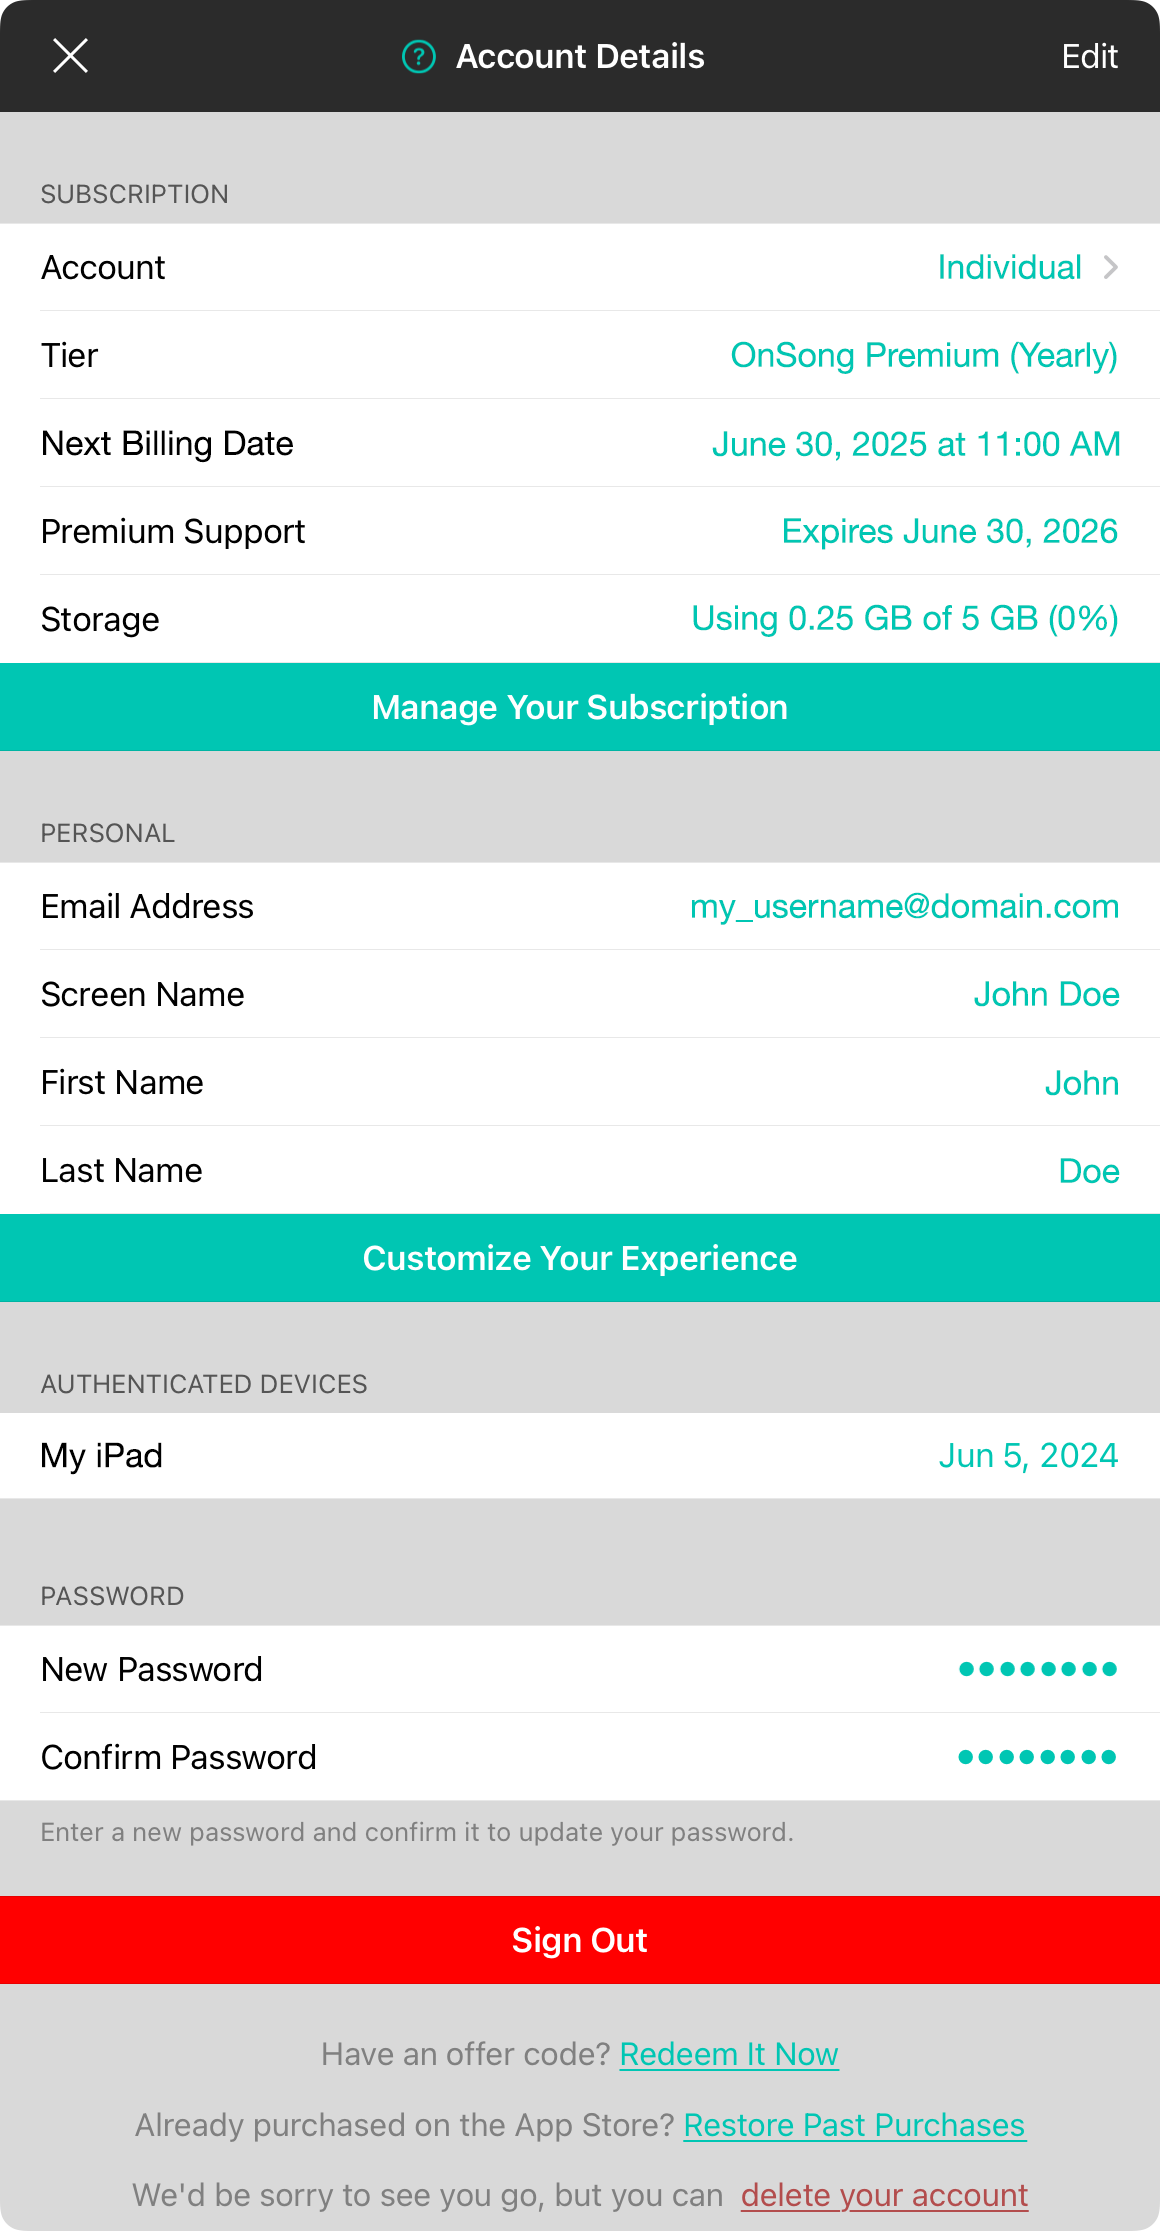
If you access the Account Details screen when signed into your OnSong account, it provides additional details and the ability to manage your account and devices with the following sections:
Subscription
This section provides details about your subscription.
- Tier is the plan that you have purchased. If you have not purchased an OnSong subscription plan, this will display your base plan such as OnSong Pro.
- Expires displays the date and time when your subscription expires. Your subscription will automatically renew at this time so you do not lose access.
- Account displays information about your account and the method used to bill for your subscription. If you've purchased through the Apple App Store, this will indicate that your Apple ID is billed. You can tap on this field to switch between different accounts. For instance, if you've joined a group subscription through your church, you could choose that role here.
- Manage Your Subscription is a button that can be pressed to either open the Apple App Store Subscriptions Screen within the App Store app, or the Billing Portal through the OnSong website depending on your subscription.
Personal
This information can be edited by tapping on the Edit button in the upper-right corner of the screen. You will be prompted to enter your account password to verify your account in order to make changes. To save your changes, tap Done in the upper-right corner, or revert your changes by tapping on the Cancel button that appears in the upper-left corner.
- Email Address allows you to change the email address associated with your account and that is used for signing in.
- Screen Name allows you to set up a nickname to be used for cloud-based services in the future.
- First Name and Last Name let you change your name.
Authenticated Devices
This section lists the devices that have signed into your account. The name of the device is listed on the left and the date the device last signed in will appear on the right. Since OnSong accounts have a limit to the number of devices that can be used, you can sign out devices by swiping right to left and tapping the revealed Sign Out button. While this will free up devices, it will not reduce the functionality of OnSong apps that are currently open.
Password
This section allows you to change your password once you tap on the Edit button in the upper-left corner. Until then, passwords appear as eight dots when not in edit mode. The number of dots is arbitrary and does not reflect the length of your actual password since your password is never stored or transferred.
- New Password is used to type in a new password for your account.
- Confirm Password is used to confirm the first password to make sure it was entered correctly.
To change your password, you will need to tap the Done button that appears in the upper-right corner. To revert your changes, tap on the Cancel button that appears in the upper-left corner.
Sign Out
This button at the very bottom allows you to sign out of your OnSong account.
Offer Code
If you have an offer code from OnSong, you can redeem it within the app by tapping on the "Redeem it now" link below the upgrade button.
Switch Accounts
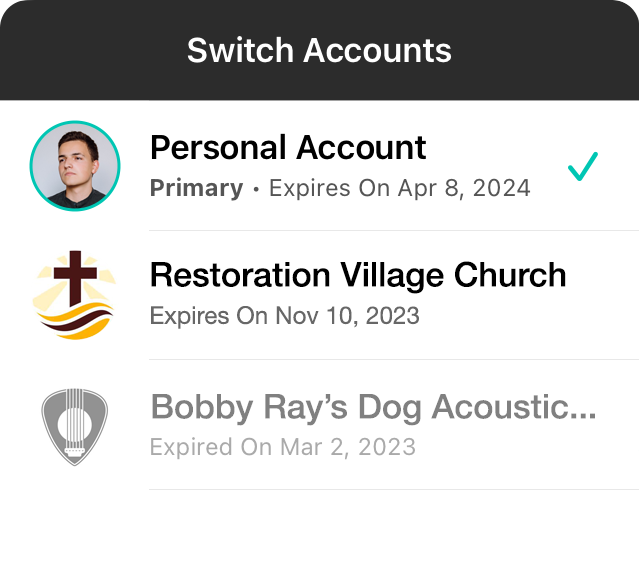
With OnSong, you could belong to more than one group, or be a member of a group while holding a personal account. This screen allows you to switch between account roles as well as showing you which groups you belong to and their subscription expiration.
OnSong will automatically pick your role based on the subscription expiration and available features. For instance, OnSong will prefer a premium tier account over an essentials one as long as it has not expired. When you switch accounts in this screen, that will then become your preferred account.
Signed Out

When you first arrive at the Account Details screen, you have likely not yet signed into an OnSong account. It will appear with the following fields:
Sign In
If you already have an OnSong account, tap on the Sign In button to sign in to your account.
Subscription
This section provides information about your subscription and then the plan that you have selected. It has the following fields:
Tier
This is the level of features that are available within OnSong. If you've purchased OnSong, your base plan is OnSong Pro which provides access to most features.
Add-Ons
This displays the number of add-ons that have been purchased previously. Tap on this to view those add-ons or restore past purchases, if needed.
Account
Here is where you can view your account information. By default, OnSong Pro users are individuals using the app. If you are signed in, this will include your account information and expiration date.
Upgrade to OnSong Premium
If you have not yet subscribed to OnSong Premium, you can tap this button to create an OnSong account and choose a subscription tier for purchase.
Offer Code
If you have an offer code from OnSong, you can redeem it within the app by tapping on the "Redeem it now" link below the upgrade button.
Subscription Plan
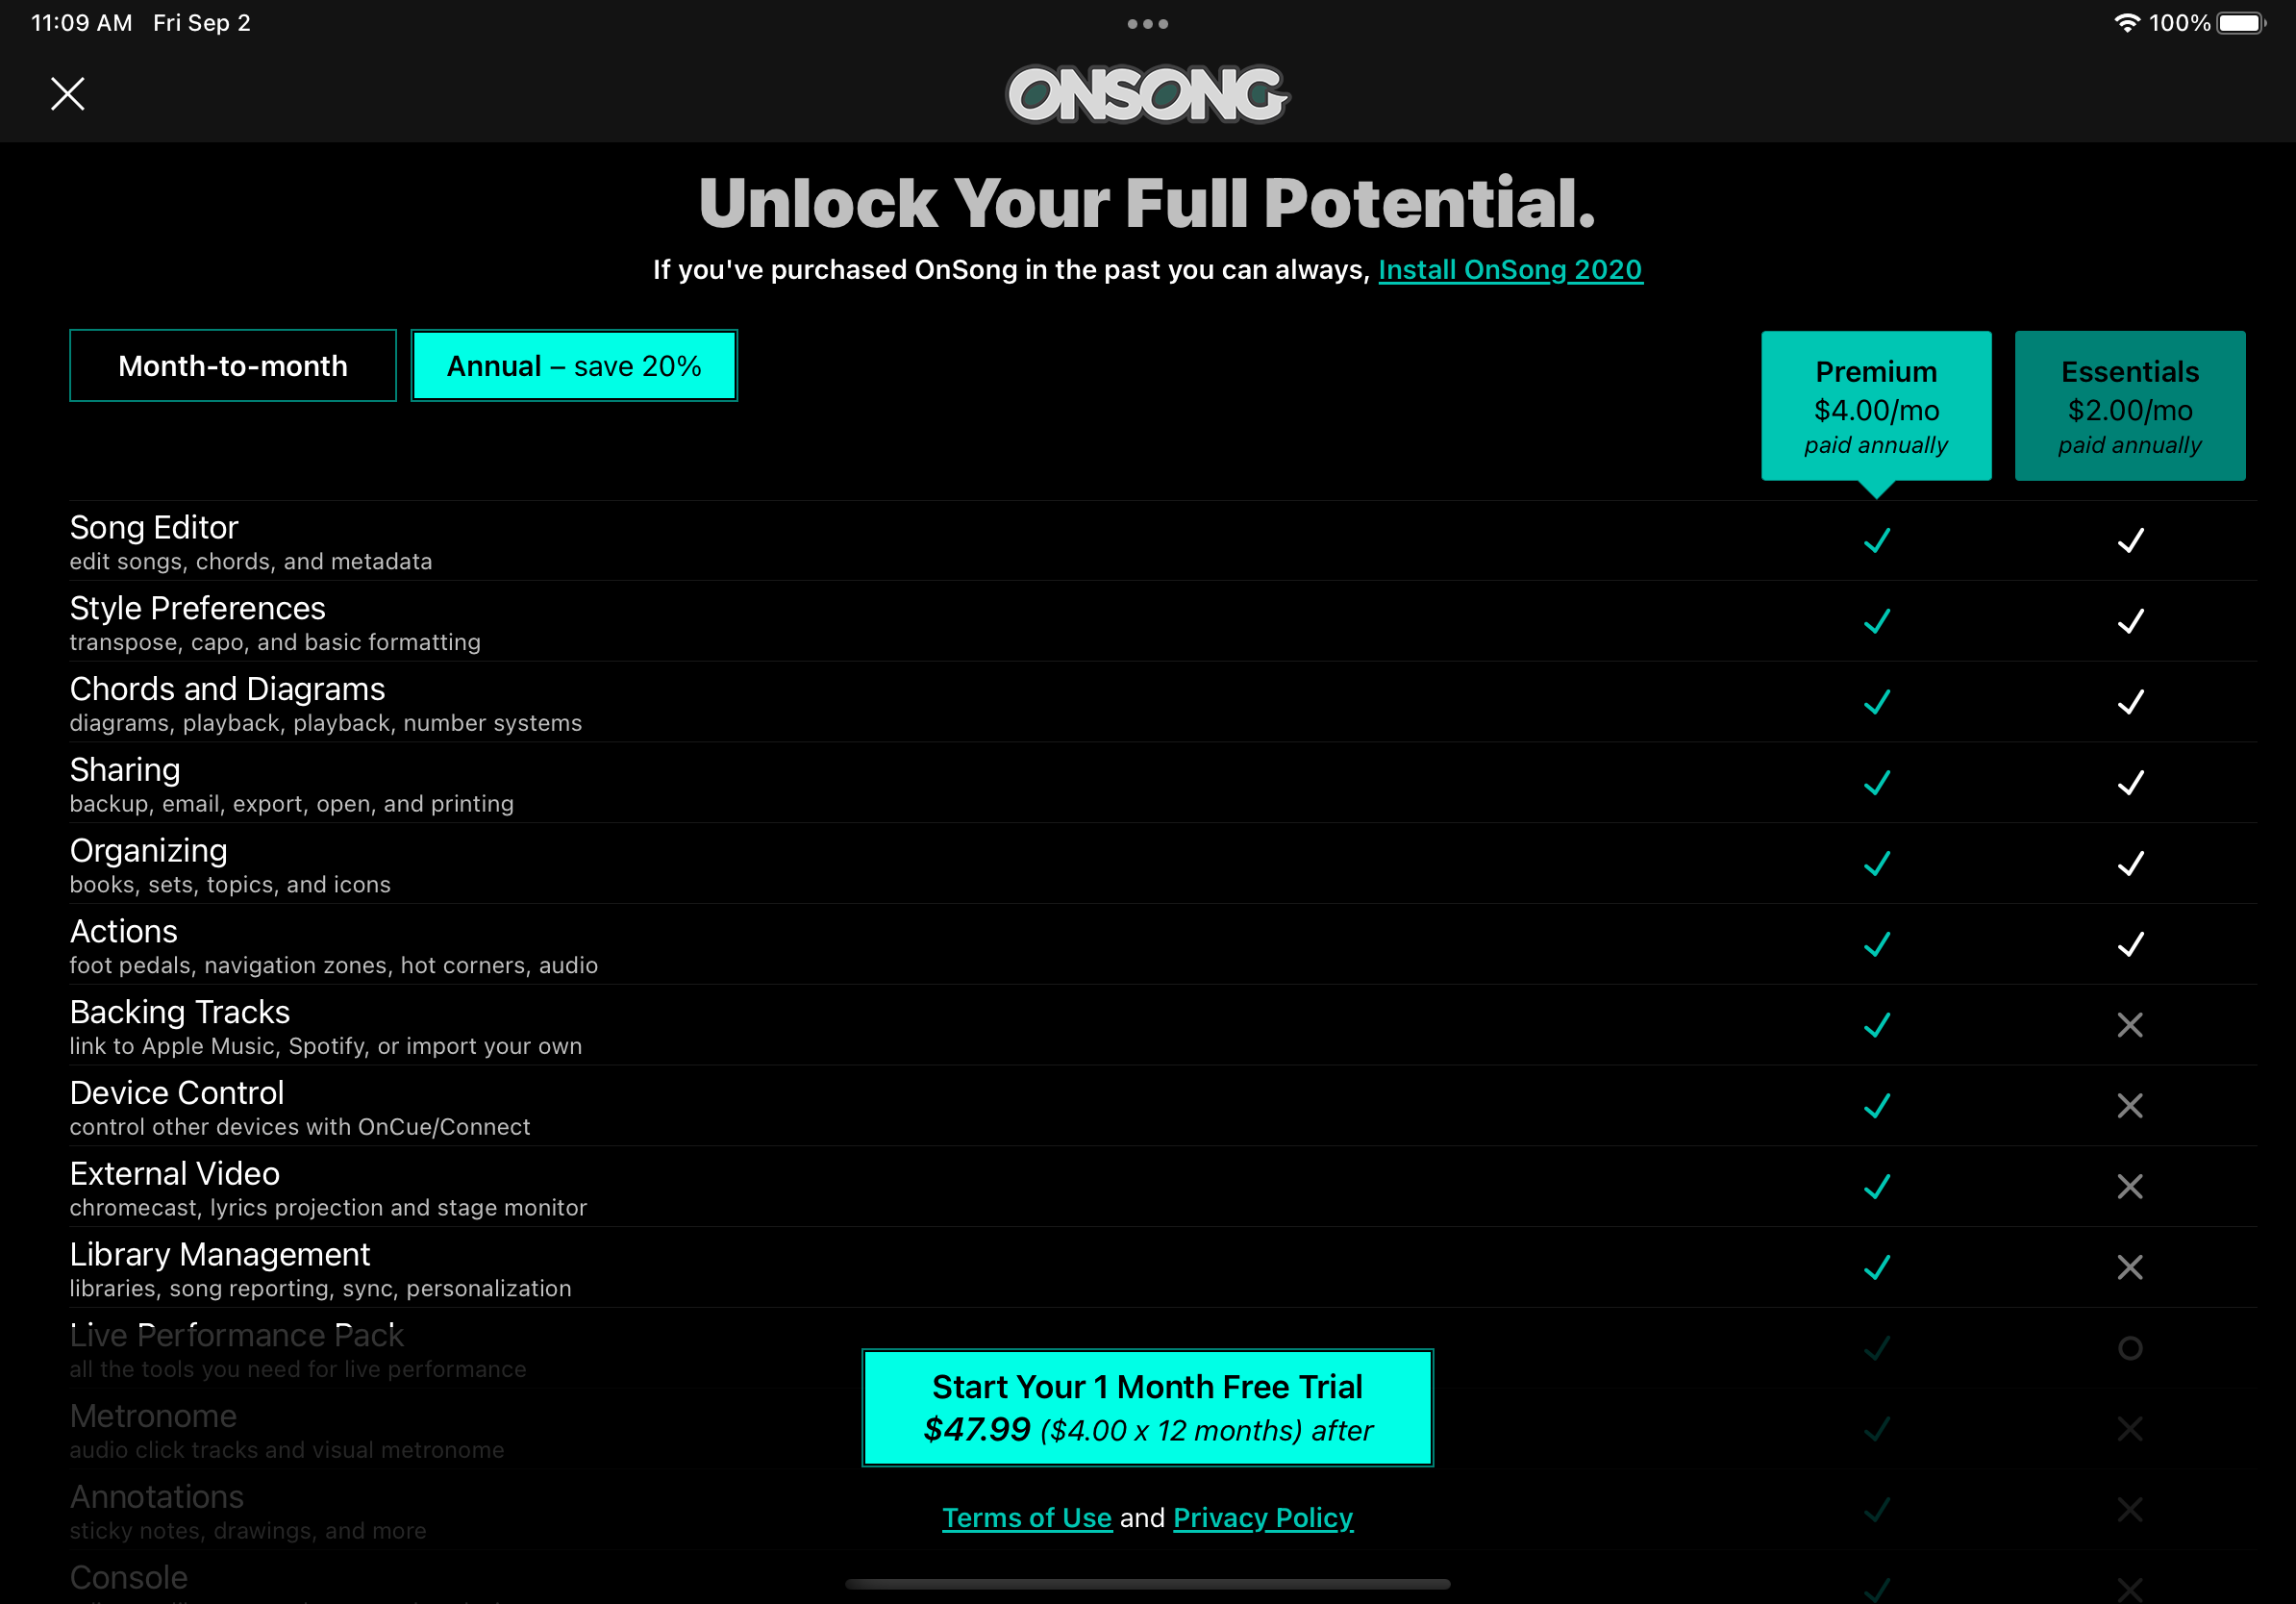
To gain more features and services in OnSong, you'll need to upgrade to a paid account. This is done through the subscription plan selection screen. Here you can do the following:
Choose Period
The first choice in the upper left corner is to select the payment period. Here you can choose between:
- Month-to-month pays for a month of access and renews automatically at the end of the month.
- Annual pays for a year of access up-front with a discount and renews automatically on the anniversary of the purchase.
View Features
Below the period chooser is a list of features sets that differentiate the tiers. Here you can see what types of features are available with each subscription package. Tap on a feature set to view individual features and more details.
Select Tier
On the right side of the screen is where you can select the tier. This coincides with a column of checkboxes that details what features are available. While only premium is available, you will be able to toggle between basic and premium in the future.
Upgrade/Renew Button
At the bottom of the screen is the Upgrade or Renew button. If you are eligible, this will also prompt to start your free trial. You can view a calculation of the cost of the subscription before you buy. Tap on this to begin the in-app purchase process.
Getting Started
The getting started screen can be accessed from the Utilities Menu or appears when OnSong starts up after you have registered OnSong. You can prevent the screen from appearing at startup by toggling the Show tips at startup switch off before closing the window.
The getting started screen displays buttons that have information you need to make the most out of OnSong such as:
Video Tutorials
The best way to learn OnSong is by watching. Video tutorials show you core features of OnSong in a video format.
User Manual
This button provides a link to an in-app version of the user manual.
Buy Accessories
Once you've gotten the hang of OnSong, you'll want to get some accessories to use it effectively on stage. Shop our online store for products that work great.
Rate and Review
Our goal at OnSong is to make the very best app for musicians. It helps us out when you give us a great rating and review. If we aren't up to snuff, contact us so we can make sure we are meeting your needs.
Change Settings
Opens the settings screen to allow you to make changes to your OnSong configuration.
Support Center
This opens a web browser to our online support portal. Ask questions and get answers from our dedicated support staff.
Buy Accessories
When it comes time to bring OnSong on stage with you, OnSong offers products that make that transition easy. The Buy Accessories screen displays the OnSong online store. Here you can purchase:
Bundles
Get everything you need in one convenient purchase. Foot pedal, mount and a t-shirt. Check.
Foot Pedals
We carry the best foot pedal on the market. with the AirTurn PED, DUO and QUAD Bluetooth foot pedals.
Merch
Right now you can get the official OnSong t-shirt but we may add some other goodies like pens or foam fingers.
Mounts
Securely attach any iPad or tablet to a mic stand with the universal Manos mount from AirTurn.
Older Products
We've put a few products out to pasture, but you can still get them if you need. These GigEasy mounts work great with iPad 2, 3, and 4.
Note: You can tap on the action menu icon in the upper right corner to print the current web page or to open the current web page in the Safari app for more options. You can also use the home and arrow buttons on the bottom to navigate the website.
Rate & Review

If you love OnSong, please rate and review the app on the App Store. It really helps us on the App Store.
If you can't give us a high rating for any reason, or have an issue with the app, please let us know directly. Many times it's due to not understanding how OnSong works and our support staff is eager to help you with your needs. We are unable to respond to reviews on the App Store.
Please contact OnSong support staff for assistance if you need it.
Support Center
The OnSong support center link opens the OnSong support portal. From here you can search for questions you may have or submit an inquiry or request for help.
The OnSong Support Portal is a web site backed by our help desk staff. It is the fastest and most direct to get assistance.
Use the action menu icon in the upper right side of the screen to print the current web page, or open the website in Safari for a full screen view and more options.
You can access the OnSong Support Portal at http://onsong.desk.com
User Manual
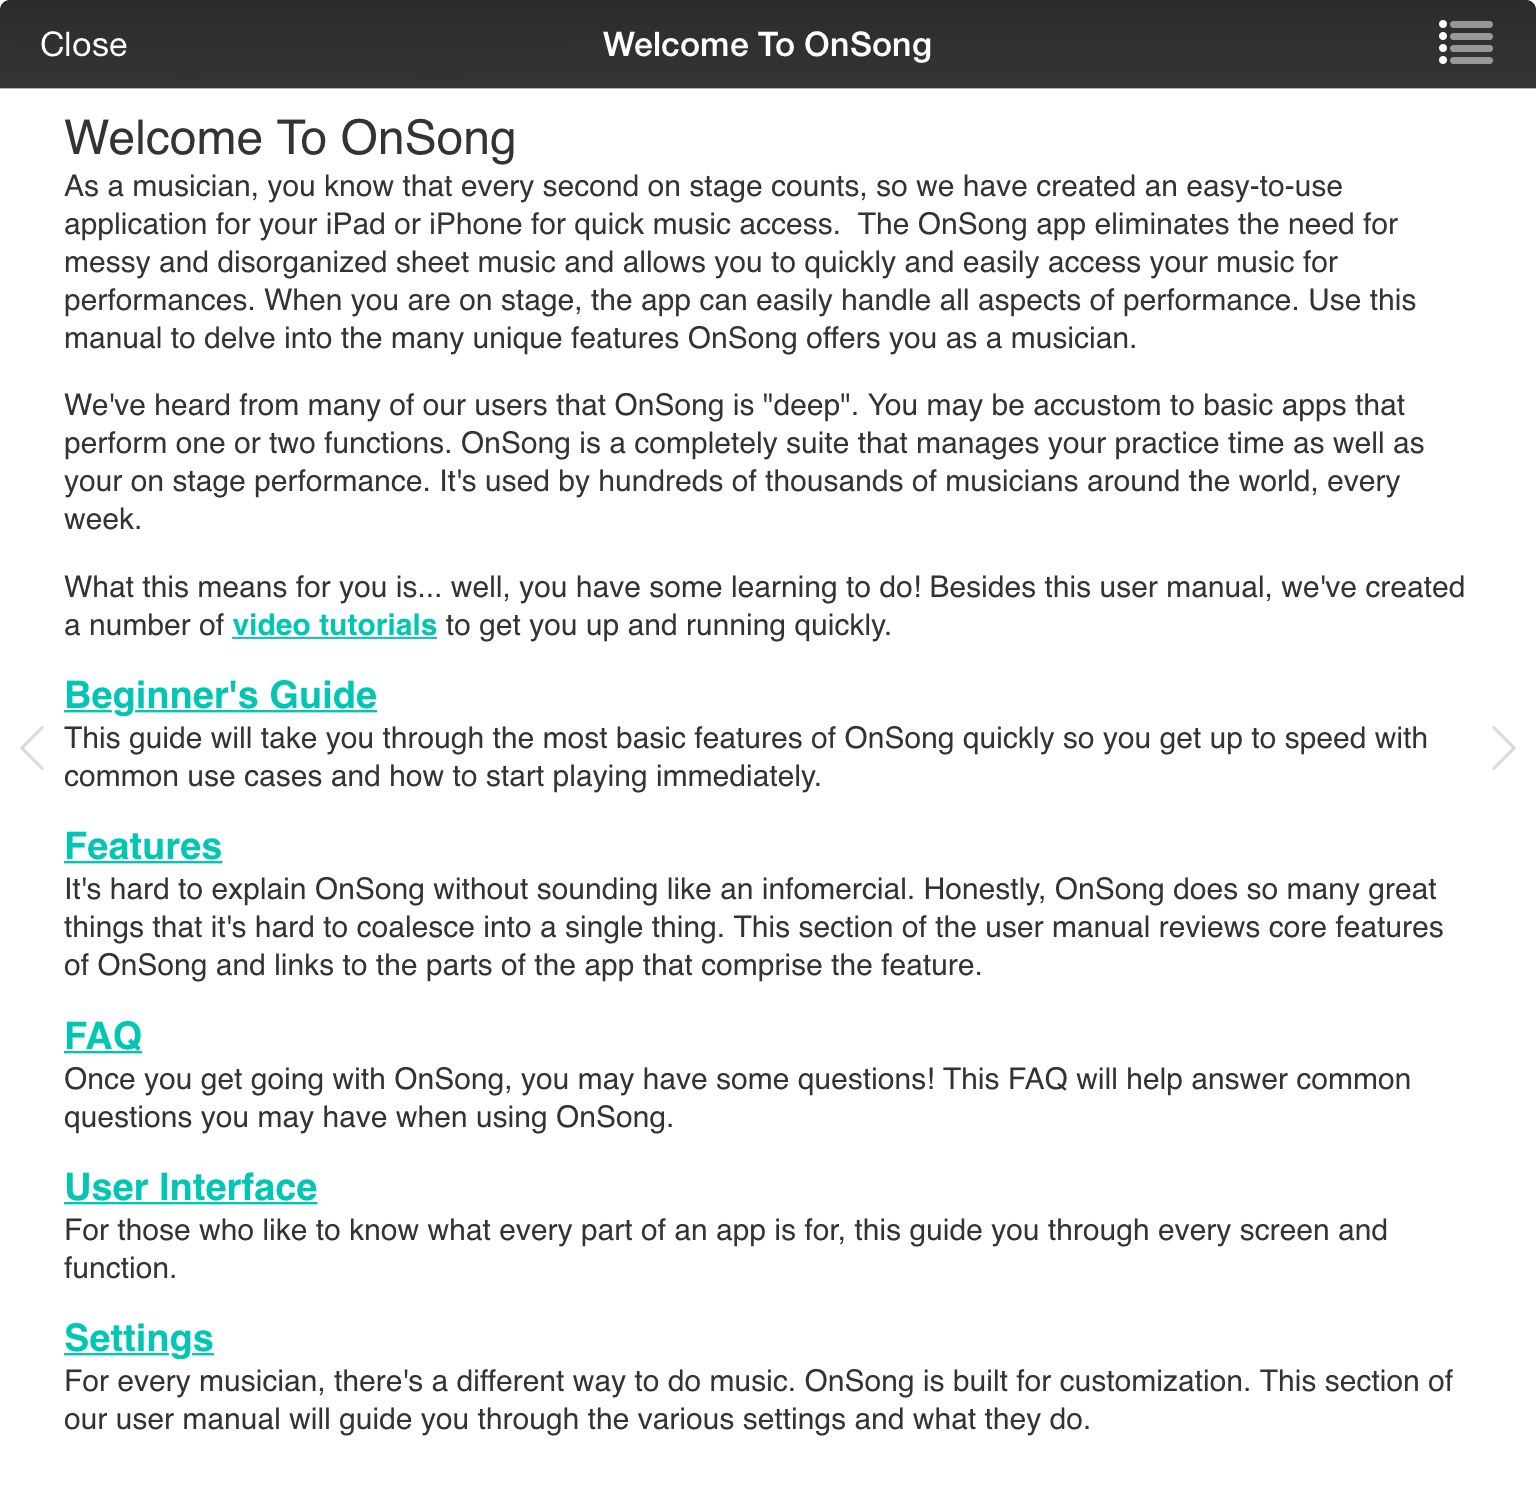
OnSong ensures that you have the latest user manual for your version and displays it in this screen without the need for an Internet connection.
Reading
The user manual is built for reading so the content is displayed front and center. Tap on the left and right edges of the screen or swipe to move through the user manual one topic at a time.
Linking
There are times when you may want to just jump to a topic of interest. Tap on links in the user manual to flip to those sections. The user manual remembers where you've been so tapping on the left and right edges of the screen take you where you'd expect.
Browsing
If you want to choose a specific topic, tap on the table of contents button in the upper right corner to open the Topics Browser. This will allow you to either search or browse wealth of OnSong knowledge in a hierarchal fashion.
Note: You can also read the full user manual on the OnSong website.
Help Topics Browser
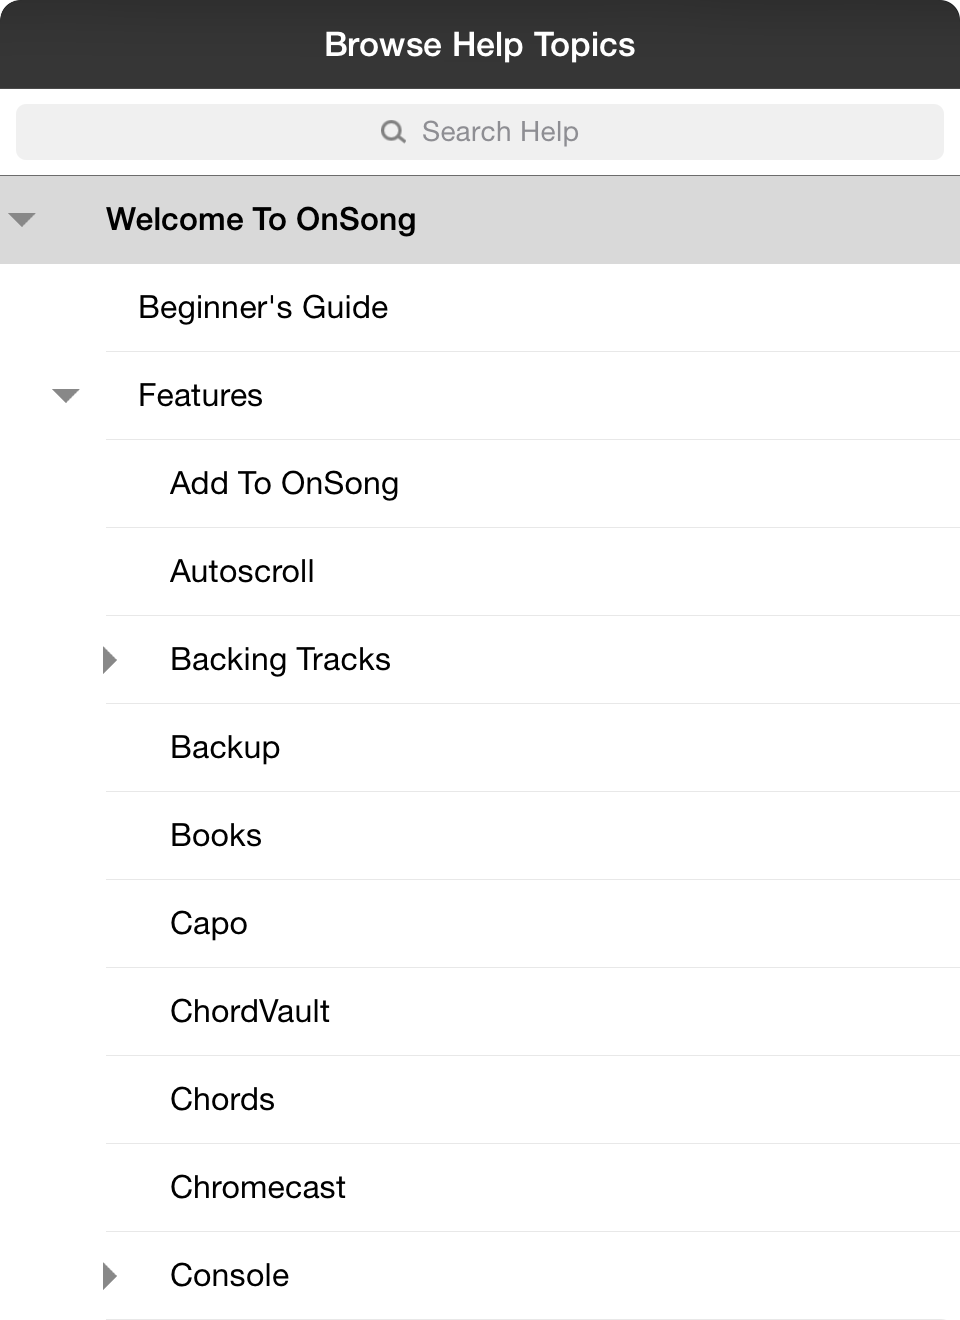
The help topics browser is like a table of contents of the user manual. With this you can both search and browse.
Search
Tap into the search bar and type a keyword. The results of found entries will be returned in the area below. By clearing the search bar the main body of the screen will return to a hierarchal list of topics.
One thing to note is that navigating the user manual by tapping on the left and right edges of the screen will flip through the contents of the help topics. So if you perform a search on "MIDI", you can flip through each topic that is found.
Browse
Tap on the arrows on the left of containing topics to reveal or hide subtopic. When a topic is found you'd like to read, tap on it to get reading.
When you've found what you are looking for, tap off of the menu to view the user manual contents.
Video Tutorials
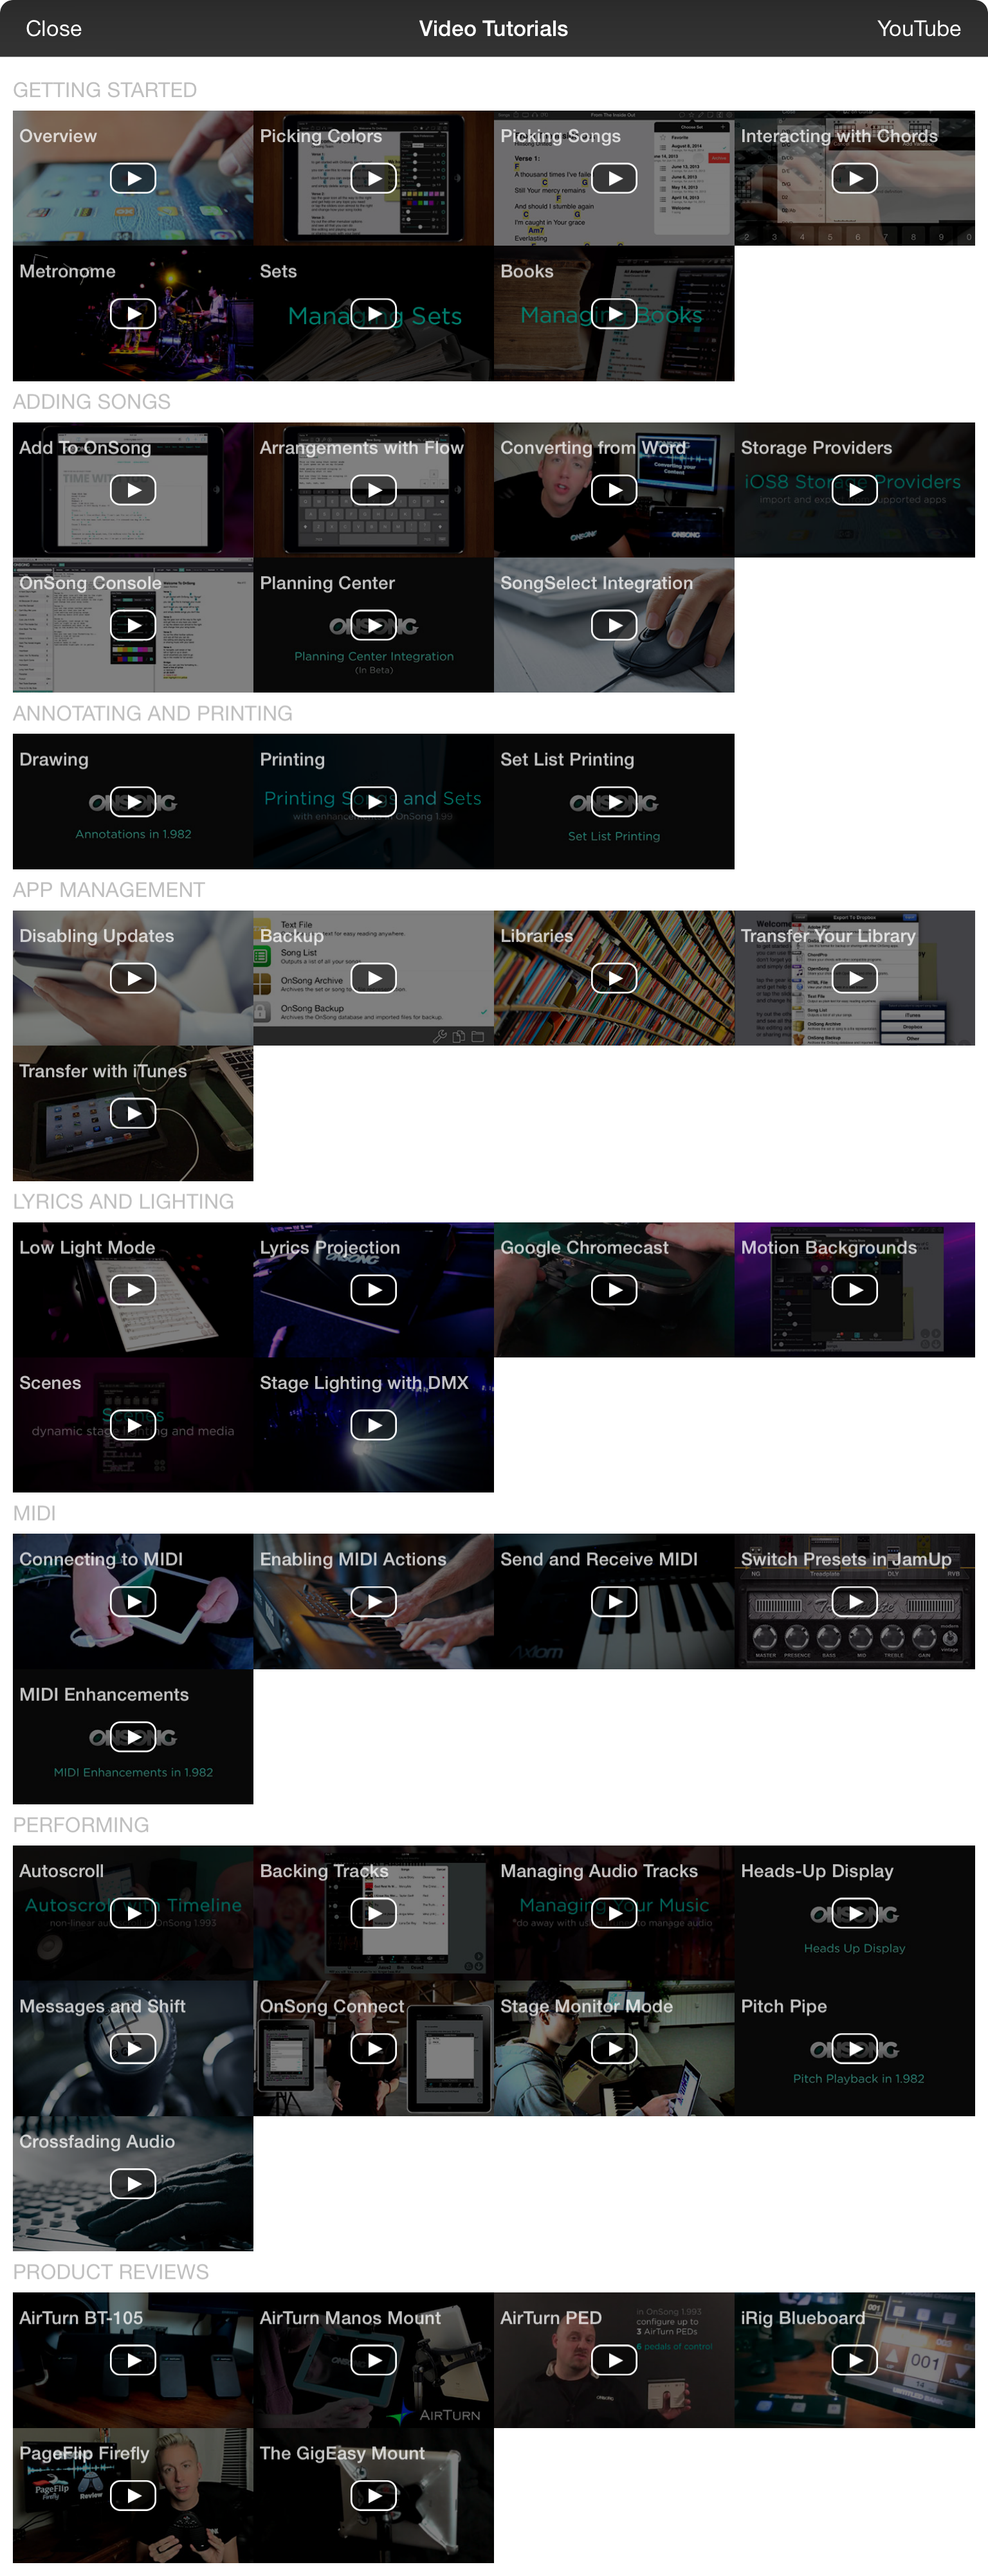
The videos tutorials screen shows you all video tutorials and reviews available for OnSong. This list may change periodically as video tutorials are added or updated.
Tap on a video to open the Video Viewer to view the video right inside of OnSong.
We divide videos into roughly the following sections:
What's New
OnSong is constantly adding new features and functions. These videos review these new changes in video format.
Tutorials
Getting started with OnSong is easy with these video tutorials that cover basic functions.
Reviews
OnSong works great with various products and apps. These videos review products and how they integrate with OnSong.
MIDI
We've split MIDI videos into their own section. Learn how to connect to MIDI and use various MIDI features available with the in-app purchase.
Video Viewer
The video viewer opens full screen to show the video content selected in the Video Tutorials Screen.
Playback Controls
The video will begin playing automatically. You can use the playback controls found at the bottom of the screen to play, pause, fast forward or rewind to a specific portion of the view.
Playhead Scrubber
Use the playhead scrubber at the top of the screen to position the playhead exactly where you would like to play the video.
Zoom Mode
In the upper right corner is an icon to toggle between letterboxes and zoomed mode of the video.
AirPlay
While not shown in the screenshot, the video viewer does support playback on external video devices including AirPlay to an AppleTV. Whether you connect to a projector via a Digital A/V Adapter, VGA Adapter or AppleTV, it's a great way to share tutorial videos with your team.
Backup
Backing up is essential to keeping your OnSong library safe and ready to perform at a moment's notice. This screen is used to manually create backups, or to schedule backups to occur automatically on a schedule while the app is running. Once you've configured your backup strategy, tap Close to save your changes, or tap on Backup to save your backup file manually.
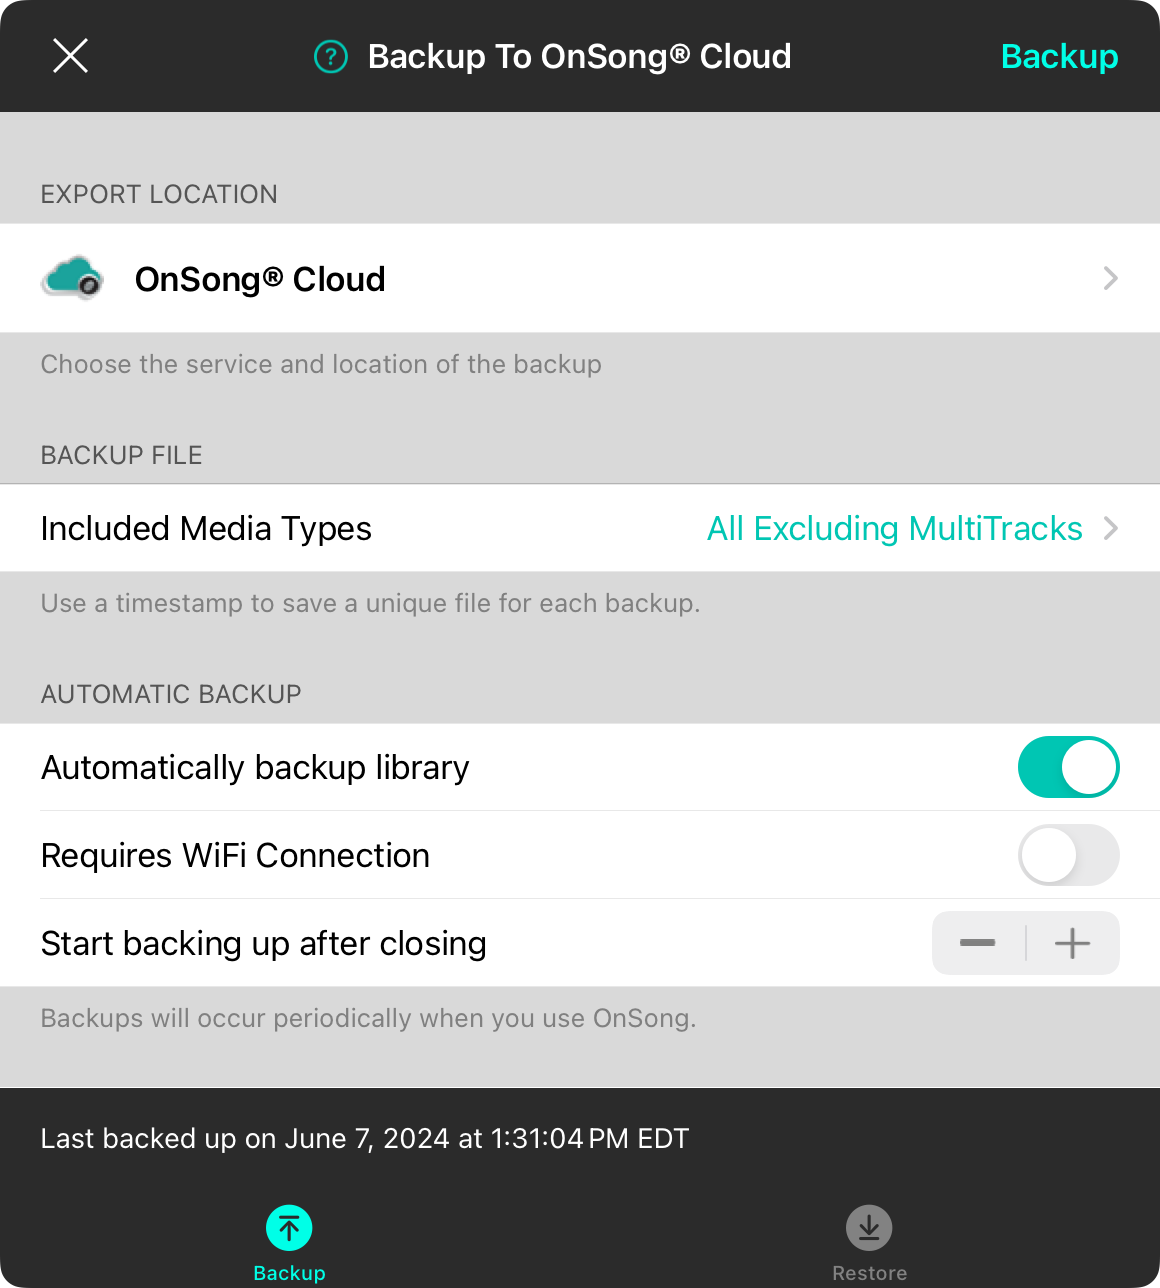
Export Location
The export location section lets you choose where OnSong should save the backup file. Tap on this row to choose a service and location for your backup file.
It's recommended that you backup to a remote storage service to ensure the backup file is stored in a safe and remote location.
Backup File
The backup file section lets you set a file name to use when saving the file. The first row lets you enter a name. By default, this is set to "OnSong". The ".backup" file extension is automatically added to the filename. The default filename is "OnSong".
Append a timestamp to the filename
By default, OnSong will append a timestamp after the filename but before the file extension. The timestamp includes the year, month, day, hour, and minute such as 201509091045. Appending the timestamp will create a new backup file every time a backup is saved. Omitting the timestamp will overwrite the backup file with the latest version.
Automatic Backup
Backup files are great, as long as you remember to make them. OnSong can be configured to automatically backup your library.
Toggle this on and then choose the scheduling on the second row. Using the stepper control on the right, you can choose between backing up when the app is closed or frequencies including hourly, daily, weekly or monthly.
Note: If both automatic backup and appending timestamps to filename is enabled, an alert will appear with a recommendation to disable timestamps. This is because this configuration can create multiple files that take up a lot of space. You can given the option to disable the timestamp.
Status Bar
At the bottom of the screen is a status bar that will show when the last backup was saved. If a backup is in progress, it will display the progress for both creating the backup file and exporting it to the service location.
While a backup is occurring, the Backup button in the upper right corner will become a Stop button. Tapping on this will halt the creation of the backup file, exporting to the service, and close the backup screen. OnSong will continue running in the background while a backup operation is in progress.
Restore
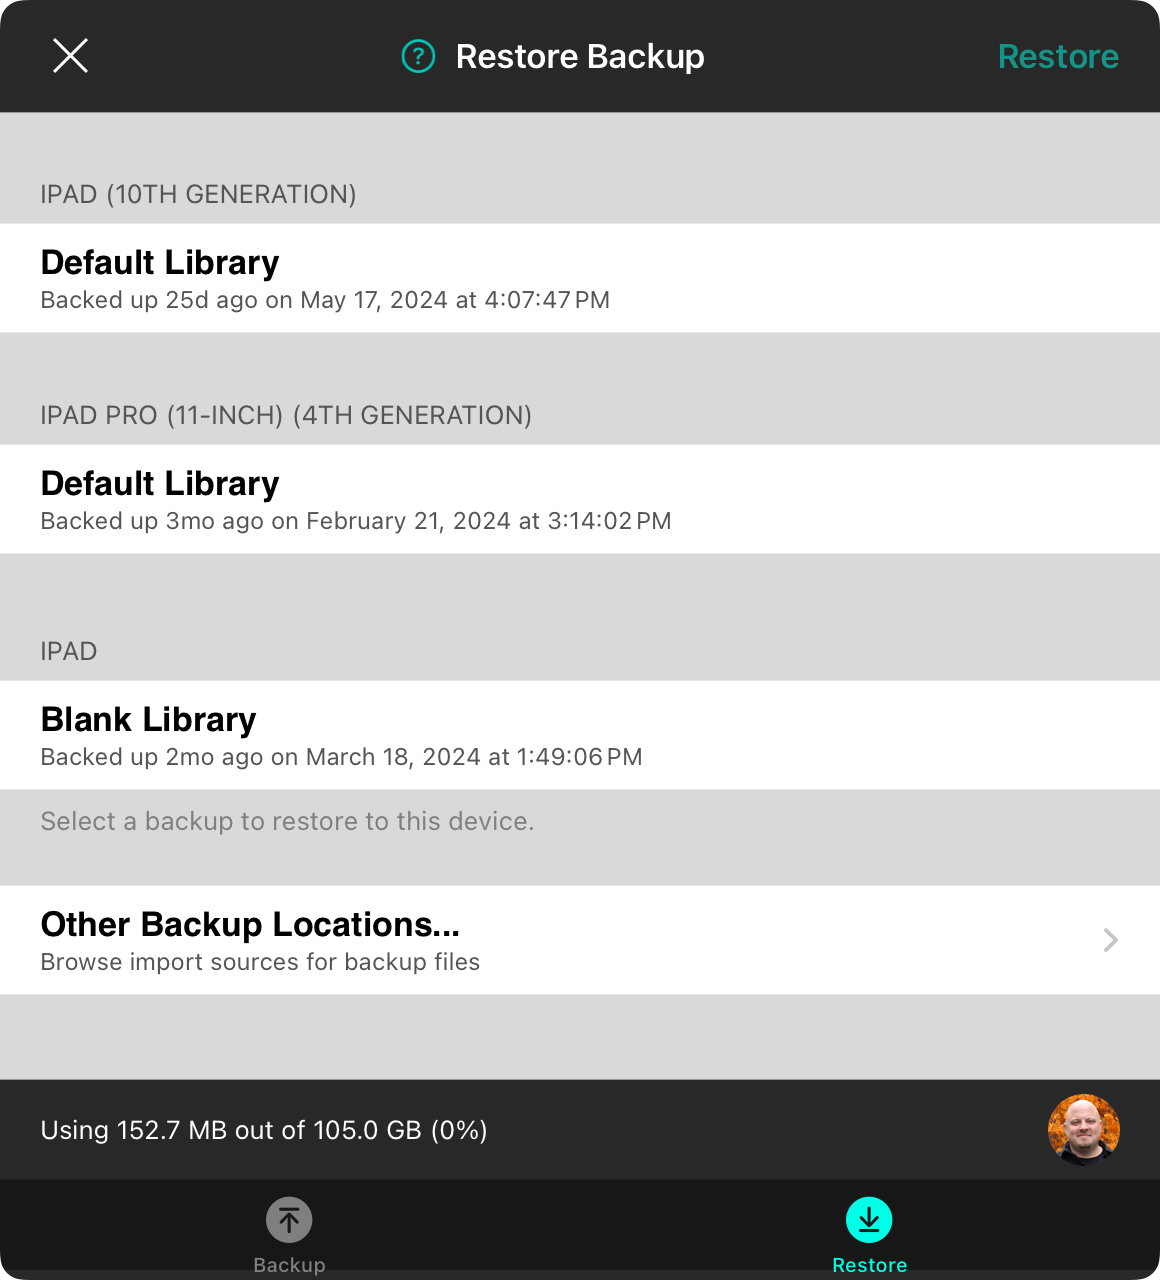
The OnSong® App stores backups to OnSong® Cloud by default. When you first sign into a default library with your OnSong® Account, you'll be prompted to restore from backup. You can also restore from backup using this screen.
The Restore Backup screen displays sections for each device that you've signed into as well as the name of the library that was backed up. That means that OnSong saves one backup per library per device on your account.
Cloud Backups
Each backup file is listed by device with the name of the library. Additionally the age and time of the backup is displayed underneath. You can restore a backup by tapping on it to select and then tapping on the Restore button. OnSong immediately downloads and restores the library into the current library.
If needed, you can delete the library by swiping right to left and tapping on the Delete button that appears.
Other Backup Locations...
Selecting this option will allow you to browse for OnSong backup files in other locations such as Dropbox, Google Drive, etc.
Choose Backup Location
When restoring a backup, you can browse for backup files in various backup locations. You can choose from the following options:
Dropbox
Dropbox is a popular cloud-based storage service that works great for importing documents from your computer.
Google Drive
Google Drive is a popular cloud-based storage service for collaborating with documents and files online.
File Sharing
iTunes File Sharing allows you to import files from your computer using a USB cable and iTunes software.
Files
You can import files from any app that supports tight integration with iOS. When selected, the files interface is presented select a file from a third-party service.
OnSong® Drive
Use this option if you have transferred a backup file using your OnSong® Drive.
Other
The other options lets you import from other remote sources using standard communication protocols.
Add-Ons
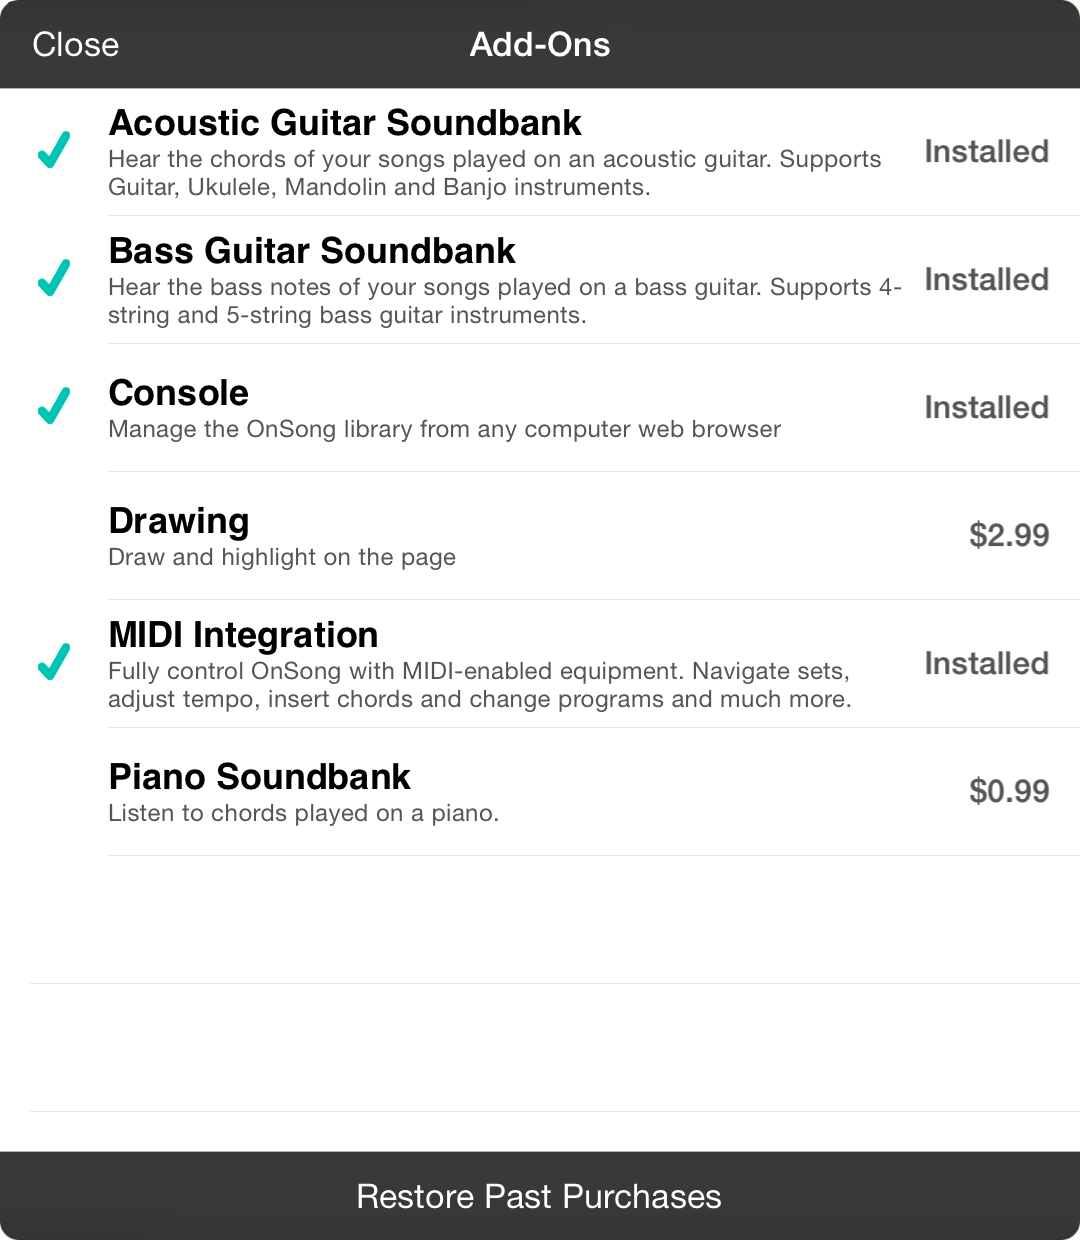
Manage all your in-app purchases from one screen. Available and purchased add-ons appear in the list. Tap on an add-on to select it and then tap the Buy button in the upper right corner. You will be prompted to sign into the App Store using your Apple ID. Once completed, the purchase will be made.
If you've already purchased items and have switched to a different device, simply tap on the Restore Past Purchases button at the bottom of the screen. This will review your purchases and automatically enable those that were purchased. This step also may require you to sign into the App Store using your Apple ID.
Note: OnSong in-app purchases are a one-time purchase and can be used on any device as long as you are using the same Apple ID on each device
Communicate
Got questions or need help troubleshooting an issue? The communicate menu is just what you are looking for.
Give Feedback
The feedback option opens an email composition screen where you can let us know how we are doing. Share an idea or ask a question.
Get Support
The send diagnostics option gives you a way to share your library with the OnSong support team. If you are having trouble, fill out this form.
Rate OnSong
We try hard to make OnSong the best app available. Rate us on the App Store and help us out. Remember that we can't respond to reviews on the App Store so it's best to ask your question first.
Get Support

If you require technical support or are experiencing an issue, please fill out the following field to ensure the best service from the OnSong support team.
Email Address
Type your email address here and ensure it is accurately filled out. This will give us a way to respond to you. Also make sure that you whitelist the onsongapp.com domain name so that our responses are not blocked by spam filters.
Ensure that you enter the correct email address here so that we can respond to you. Also make sure you can receive responses from OnSong.
Full Name
Type in your full name so that we can be more personal when we communicate with you.
Subject
Enter a brief description (50 characters or less) of the problem so we can direct the issue to the best support agent.
Steps to Replicate
This part is important! Type in the issue you are having followed by specific steps you take that demonstrate the issue. Express what you desire to happen in contrast to what is happening. Provide details, but also remain brief as long responses can sometimes slow down our response rate.
Song/Set/Book
OnSong will automatically attach your current set or book as well as the song you were viewing at the time you accessed this screen. You can customize the set or book as well as the songs that are selected by tapping in this field.
Fast Track
Filling out this form is a great way to get placed in our support queue for standard service. Requests are handled in the order they are received. If you opt for the Fast Track service, your request is placed at the top of our list to be addressed with priority and before any other request.
Send Button
When you are all done, the Send button will illuminate. This will send your library to us with your diagnostic information. This combined with the information provided in this form will help us replicate the issue and either provide valuable advice, or issue a report to be addressed by our developers.
Crash Logs
If you are experiencing a crash condition, it is useful for OnSong to receive crash logs to resolve the issue that may be hard to diagnose. These are not able to be sent via the diagnostics step due to security restrictions in iOS. Please follow these steps to send your crash logs to OnSong.
Choose Files

From here you can select files to import, take picture, or record your screen from the following options:
Camera
Use this option to open the camera interface right inside of OnSong. From here you can take pictures using your front-facing or rear-facing camera. This is a great way to show support staff how you have your pedalboard configured, for instance.
Storage Providers
OnSong supports a number of storage services like Dropbox and Google Drive. You could also import files from your device using File Sharing or Files as well as using Other web-based storage systems.
Photo Library
If you've taken screenshots, or have photos in your library, you can choose them here to upload.
Record Screen
Use this option to close open menus and start recording the screen. OnSong will allow up to two minutes of recorded screen time or you can stop it when you're done. The support screen will reopen and your video will be attached.
Crash Logs
If OnSong abruptly returns to the iOS home screen, this is a sign of a crash condition. These can happen for a number of reasons that require some more troubleshooting than your library diagnostics can provide. If you send your diagnostics to OnSong after a crash, we may request a crash log to determine what is happening. Here are instructions for finding a crash log for OnSong when using MacOS or Windows.
Sync with iTunes
Crash logs are transferred to iTunes whenever you sync your device. Connect your device using the included USB sync/charge cable and open iTunes. Open the iOS device in iTunes and click on the Sync button. This will copy the crash logs on the device to your computer.
Retrieve the Crash Log
This process is slightly different depending on the operating system you are running with iTunes. Please note that you can find your device's name within iTunes, or by opening the Settings app on your device and choosing General » About.
MacOS
- Open Finder (found in the Dock) 2. Click on the "Go menu at the top of your screen, and select "Go to Folder"
- Type (or paste): ~/Library/Logs/CrashReporter/MobileDevice/
- Open the folder with the same name as your device.
- Look for files starting with "OnSong". If you don't see any, try opening the folder called "Retired". Here, you should see at least one item starting with "OnSong". Copy any that you find to your Desktop.
- Attach the file(s) to your reply to the support case email.
Windows Vista/7
- Open any Windows Explorer Window (My Computer, My Documents, etc.)
- Enter %appdata%, and press enter.
- Navigate to Roaming » Apple computer » Logs » CrashReporter » Mobile Device and choose the folder with your device's name.
- You will see at least one item starting with "OnSong". Copy any that you find to your Desktop.
- Attach the file(s) to your reply to the support case email.
Windows XP
- Locate your Application Data folder. Click here to learn how to access this folder.
- Navigate to Apple computer » Logs » CrashReporter » Mobile Device and open the folder with your device's name.
- You will see at least one item starting with "OnSong". Copy any that you find to your Desktop.
- Attach the file(s) to your reply to the support case email.
Give Feedback
At OnSong, we always want to hear from our users. If you are having a tough time figuring out how to do something, have a general question, or even want to share an idea, we are all ears.
The feedback form lets you write your message. When your message is received, it goes into our support help desk to be reviewed. We read everything we receive and try to respond as quickly as we can.
Rate OnSong
If you enjoy OnSong, please take some time to rate and review the app. It really helps us continue to make the best app possible.
Start by giving us five stars. If you can't give us five stars for any reason, please contact us for support. We want to make sure your experience is the best it can possibly be and will work hard to ensure your needs are met.
Once you submit, your star rating will be confirmed. You can then choose to write or update your review. OnSong is an active app and we work hard to put out new releases with new features and stability improvements. Please refresh your review as it helps others know more accurately how users make the most out of OnSong.
Social Media
OnSong is very active on different social media platforms. You can tap on each to open the native app for that platform, or be linked to a web-based experience.
View the official OnSong page for company news and announcements.
OnSong Community
Participate with other OnSong users around the globe to discuss issues and find answers.
OnSong Insiders
For OnSong Premium members only to connect with OnSong staff and experts.
Here's where we share fun things and live stream with some of our favorite people.
Get tips, tricks, and announcements involving your favorite app.
YouTube
Get access to tons of video tutorials and reviews.
Console
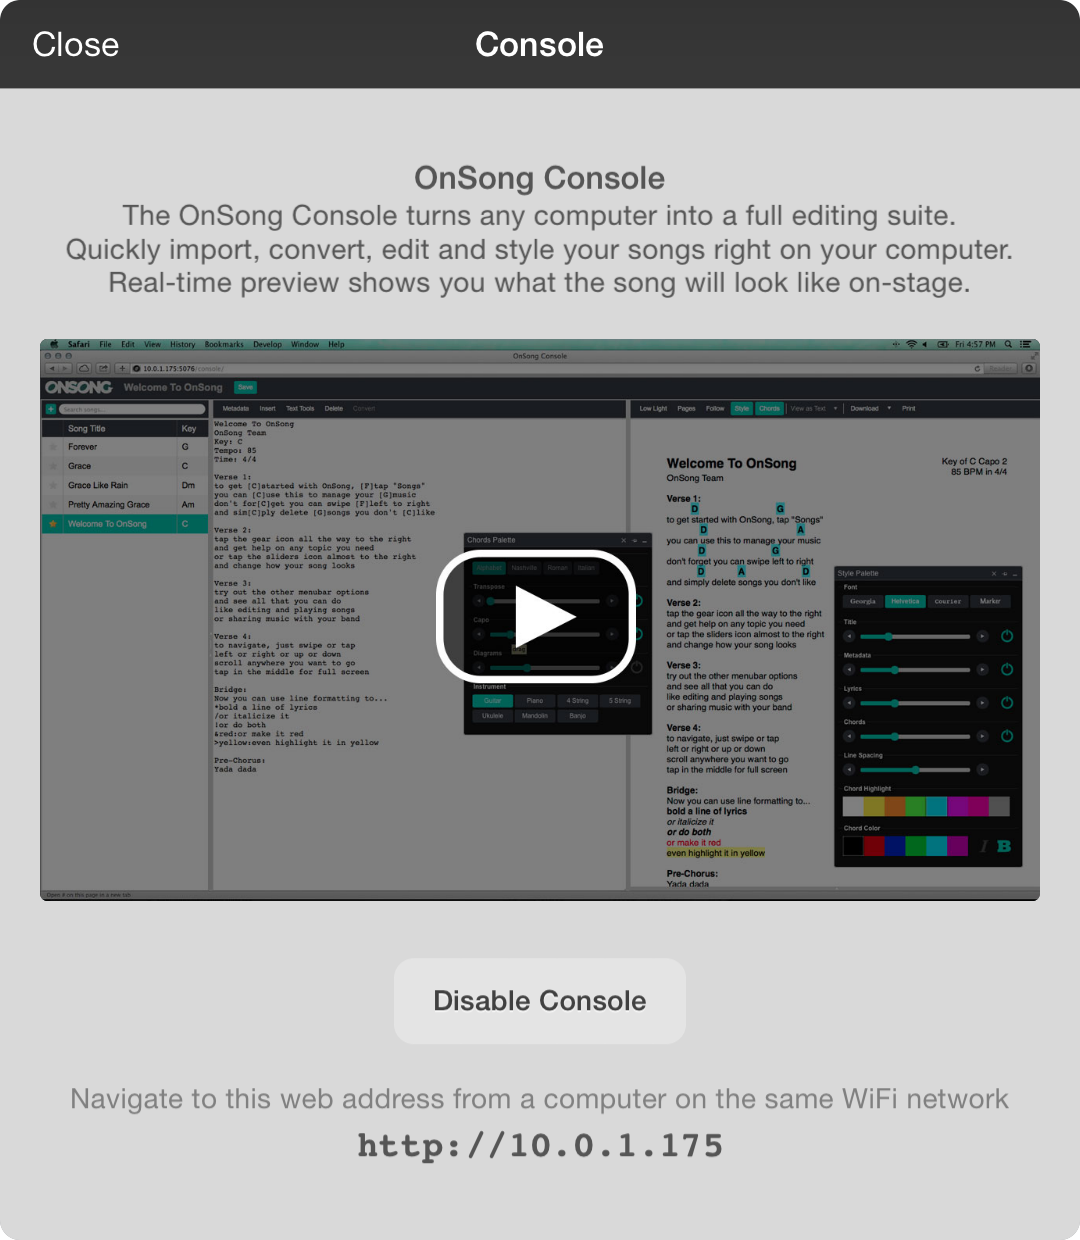
OnSong Console is an in-app purchase that gives you the ability to manage your OnSong library from a web browser on another computer. You can import and write chord charts to see a preview of the chord chart in real-time as you type. When you're all done making changes, save it back to your device's library.
Opening the Console screen displays a video tutorial about setting up and using console. Take some time to watch the video tutorial as it covers the common use patterns of the web-based application. You can also view the video tutorial, frequently asked questions (FAQ) and user manual on the Console web site.
To purchase Console, tap on the price in the upper right corner to begin the in-app purchase process. You can also tap on the Enable Console button at the bottom of the screen to either begin the in-app purchase process, or to enable Console.
Once enabled, a web address will appear at the bottom of the screen under the Disable Console button. Type this into a web browser location bar to load the Console web application.
Note: This web address is an IP address that changes as you switch wireless networks. Be sure that you are typing in the web address from this screen each time you use console. Don't bookmark this web address as it may change.
Editors
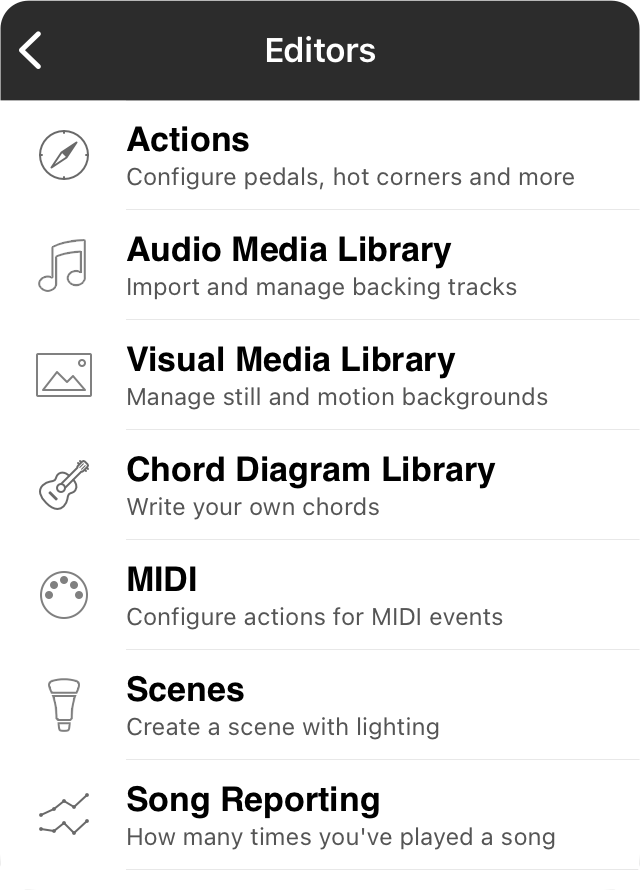
Editors are screens that provide additional functions in OnSong that don't fit in the typical use of the app. These screens allow you to configure OnSong or access information.
Chord Diagram Library
The chord diagram library lets you manage chord diagrams for playing with different instruments.
Song Reporting
The song reporting editor provides access to usage of songs by timeframe.
MIDI
The MIDI editor lets you map MIDI commands to OnSong actions, turning your MIDI controller into a control interface for OnSong.
Navigation
The navigation screen helps you configure various methods of navigating OnSong such as foot pedals or hot corners.
Scenes
The scenes editor lets you enable the feature, connect to lighting systems, and create scenes to be set when switching songs or sections.
Visual Media Library
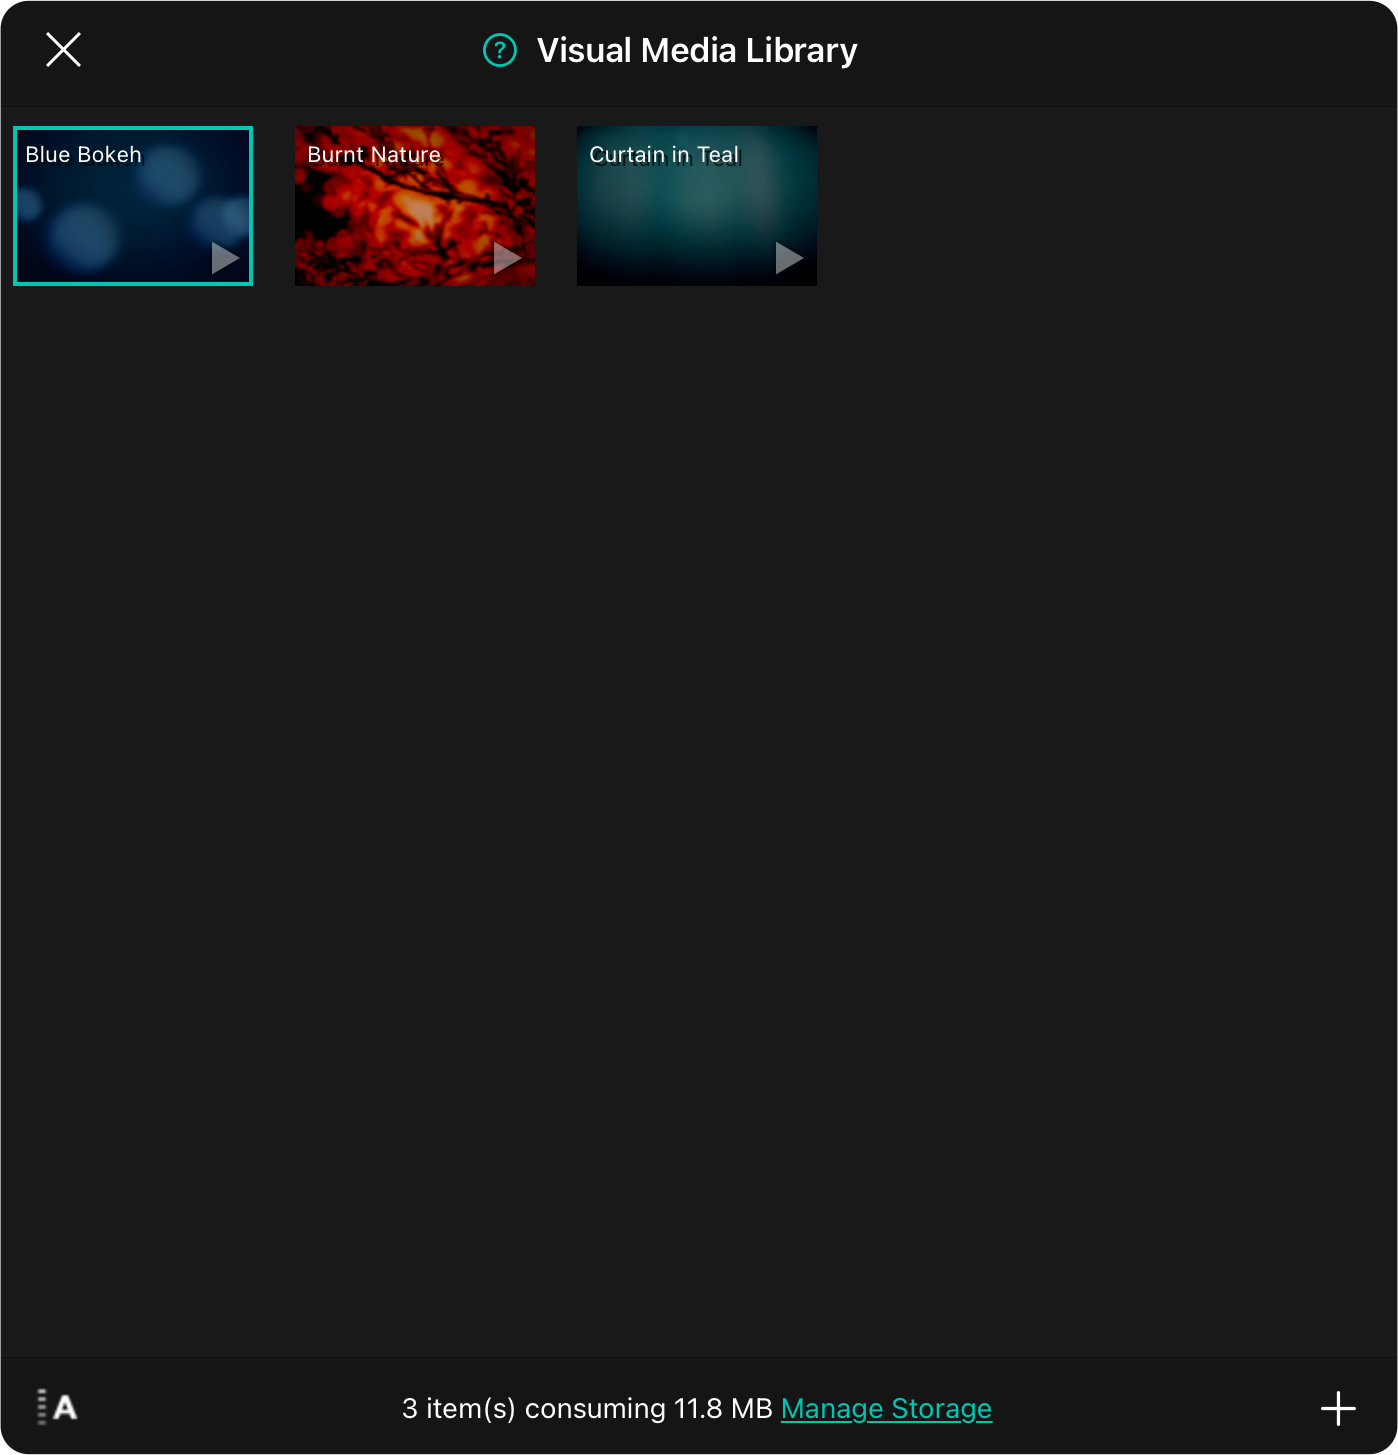
The visual media library displays images and videos available imported into your OnSong library. From this screen you can import images and video. You can also manage those assets, or use it to pick media for lyrics projection backgrounds.
Importing Media
Tap on the + button on the bottom right to import images or videos from Dropbox, Google Drive, File Sharing or Files. You can also browse your photo library, browse the web, or use one of OnSong's motion graphics. Newly imported assets appear with a banner in the upper right corner of the graphic. In addition, motion backgrounds appear with a small white triangle in the lower right to indicate that the asset is playable.
Sorting Media
You can tap in the lower-left corner to open a menu of sorting options. Default sorting is alphabetic by title.
Selecting Media
If you have opened this screen from the External Video Menu, you can display the background image or video by tapping on it in the grid of preview images. This will place a border around the image that is currently active. Tap again to turn off the selected background.
Editing Media
If you've opened this screen from the Editors Menu, you can tap on the thumbnail to open the Media Details screen. If you've opened the screen to pick an image or video, you can tap and hold on the thumbnail to display a context menu where you can choose Edit to view and edit the media.
Context Menu
You can edit background media items, or perform others actions using the context menu. To do so, tap and hold on the item (iOS/iPadOS) or right click (macOS) to view the context menu and choose from various actions.
Deleting Media
To delete the background media, use the context menu and choose the delete option.
Managing Storage
The amount of space consumed by background media items will display at the bottom of the screen. You can manage the storage used by OnSong by tapping on the Manage Storage link.
Motion backgrounds are video files that typically repeat continuously at 100% playback speed and omit audio. You can change the parameters for playback to include the audio using the context menu and choosing Edit.
Sort
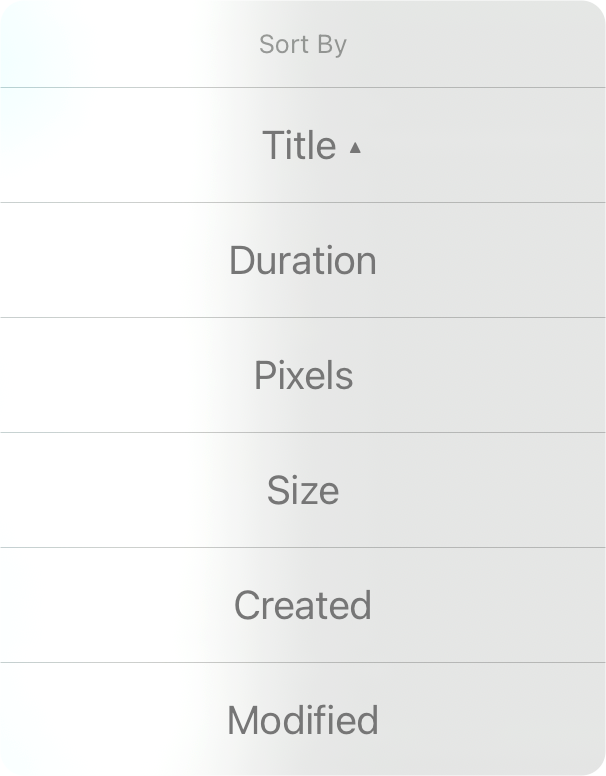
The current sort order is marked with an arrow indicating the sort order. You can sort visual media assets in the following way:
- Title is the title of the visual media.
- Duration is the length of the play time of the video.
- Pixels the size of the assets (width x height).
- Size the file size of the assets.
- Created the date and time the asset was created in the library.
- Modified the date and time the asset was last modified.
You can toggle between ascending and descending order by choosing the selected sort order again.
Context Menu
The context menu is available for all background media items by tapping and holding (iOS/iPadOS) or right-clicking (macOS) on the item. The context menu provides the following actions:
Condense
This action will condense the media item to take up less room in storage. This is usually done by compressing the asset in a way that could lose quality. For instance, video resolution may be lowered and images would have JPEG compression applied.
Edit
This action will open the media editor where you can change its name and playback preferences.
Export
This action will open the export screen where you can export the media asset to a storage service or local location.
Delete
This will delete the background media item and remove it from storage.
Media Details
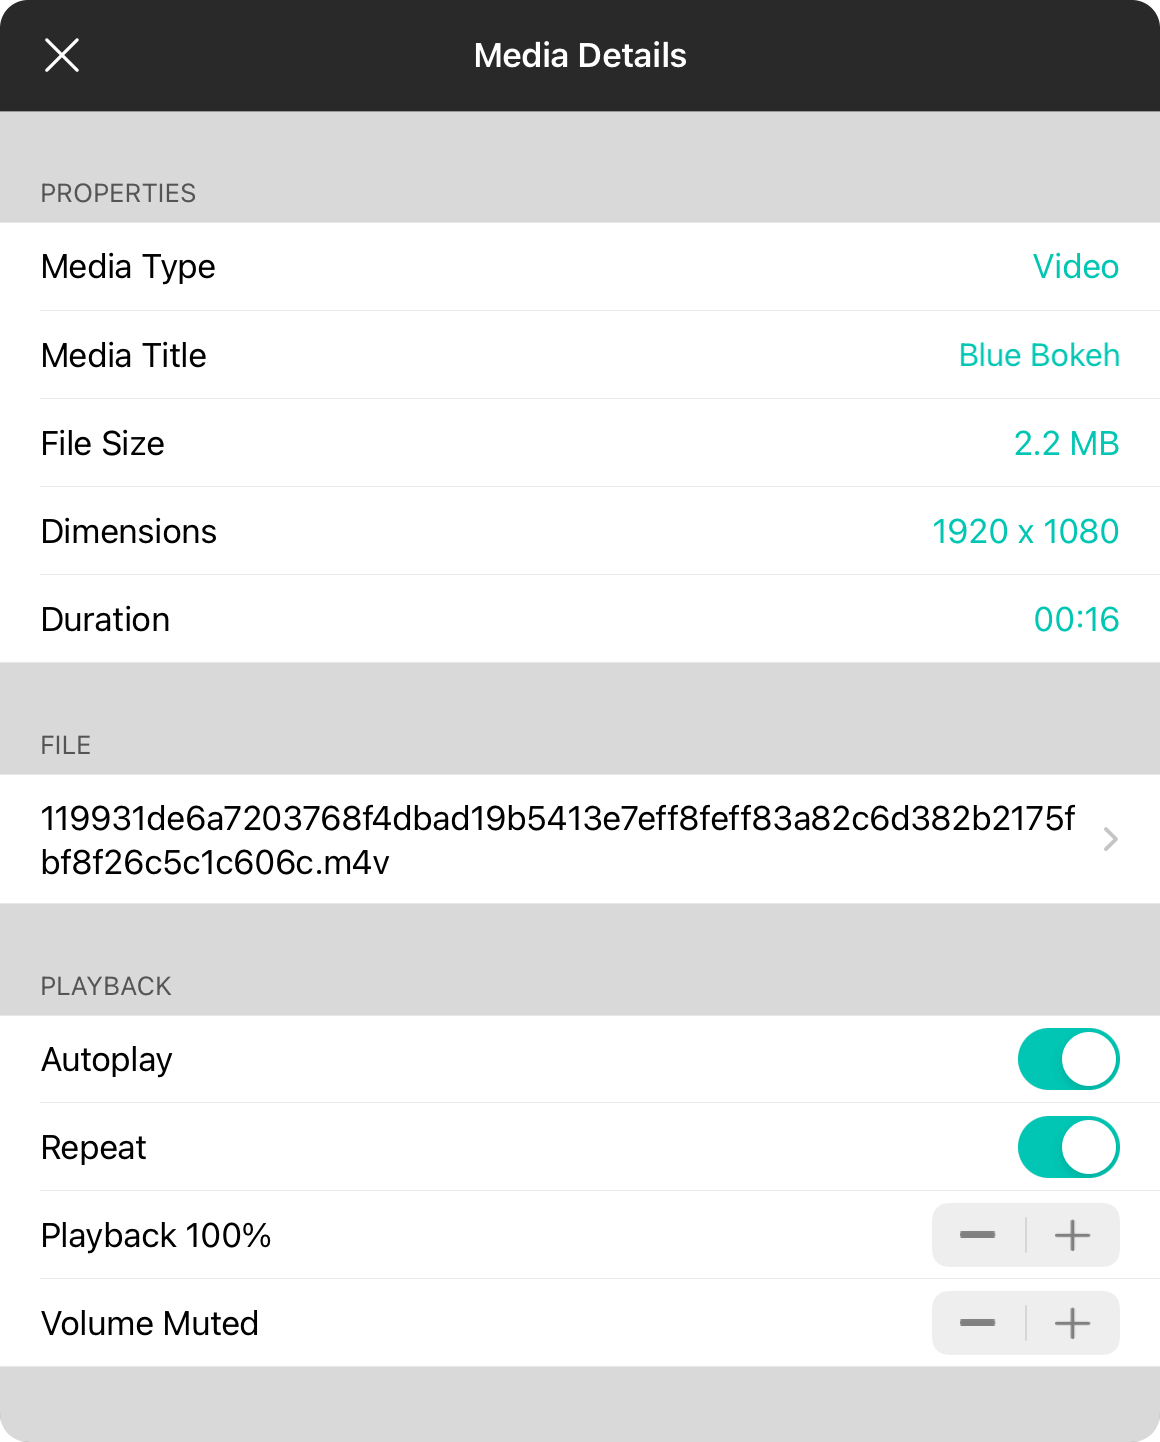
The media details menu is used to display:
Properties
This is information specifically about the asset and includes:
Media Type
This is the type of media asset. This can be either Image or Video and is not editable.
Media Title
The title provided by the media source, or in lieu of that, the filename of the imported asset. You can edit the name of the media that appears.
File Size
The size of the file in human-readable form.
Dimensions
Describes the size of the asset in pixels as width x height.
Duration
The length of time that the asset is playable in human-readable form. This is empty for image assets.
File
The file section displays the file name of the background media. If the file can be further compressed, a disclosure indicator appears. Tapping on the row provides options for reducing the size of the media asset. If the file is missing for any reason, you can tap on the this row to search for another file that matches the file type to replace the original file.
Playback
The playback section is available for video assets and provides information on how the video should be played. These attributes include:
Autoplay
Enabling this will start playing video assets immediately upon loading. Turn this option off if you would like to control playback via an action. Default is on.
Repeat
This determines if the video asset repeats from the beginning when the playback is finished. By default, videos will repeat. This can be turned off for videos assets such as countdowns.
Playback Rate
Allows you to adjust how fast or slow the video is played. By default, videos playback at a rate of 100%. This will be the natural speed of the video. You can adjust the playback rate of the video from one of the following options: Reverse: 200%, 150%, 100%, 66%, 50%; Still; Playback: 0%, 50%, 66%, 80%, 100%, 125%, 150% and 200%
Volume
Determines the volume level to use for playback. Video files are muted by default. You can enable audio on the video by adjusting the volume. Tap on the minus button to move quickly to 100%. You can adjust volume in 1% increments using the stepper control to the right. Default is muted.
Reduce File Size
When you import content into OnSong, it may be in an uncompressed state, or may be in a higher resolution than is necessary. This can take up space on your device and cause performance issues. You can use this menu to reduce the size of the media asset, right from within OnSong.
Video files can be reencoded in different resolutions to reduce file size. Choose a size to reduce the asset into and then tap the Convert button to begin encoding. Once completed, the original asset will be replaced with the reduced asset.
Please keep in mind that reducing the resolution of video assets will cause them to appear blurry on higher resolution screens.
Import Files
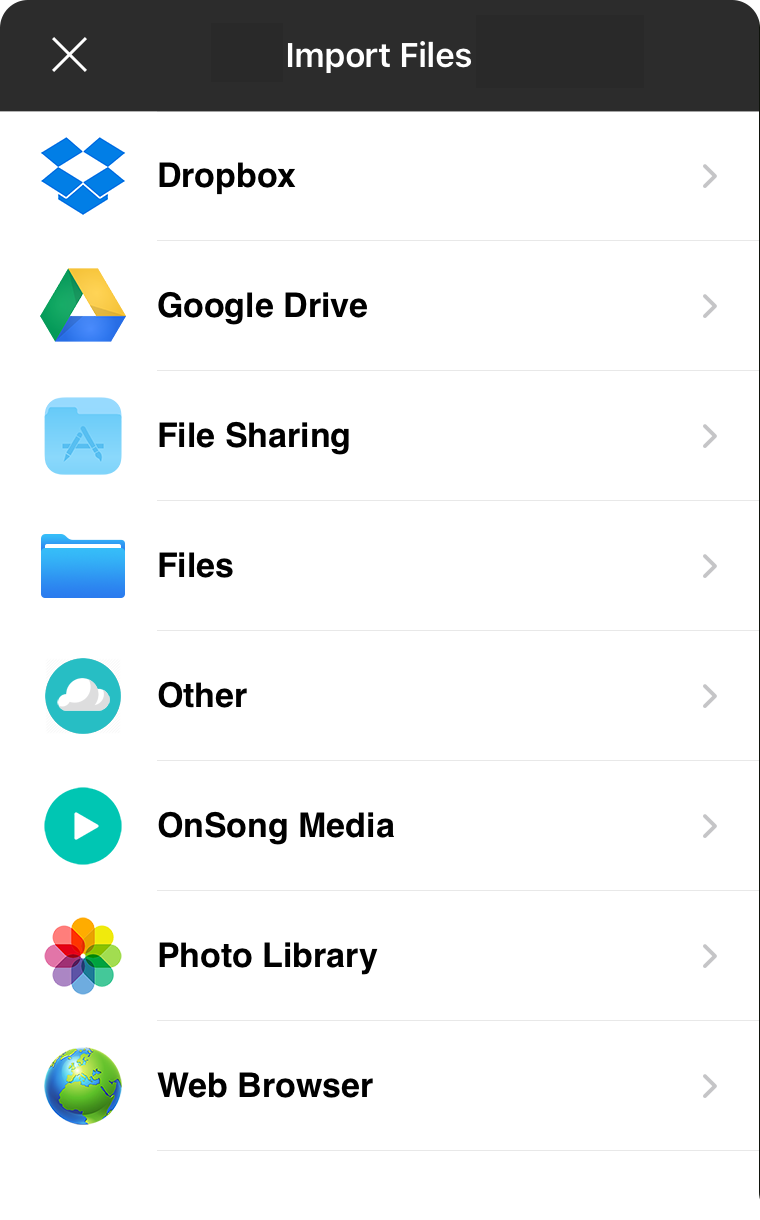
The import files menu provides a list of common import locations with the ability to import photos or videos from those sources. This is similar to other import screens except that only video or photo files are selectable and we've included additional import sources.
Dropbox
Dropbox is a popular cloud-based storage service that works great for importing documents from your computer.
Google Drive
Dropbox is a popular cloud-based storage service allows you to store and collaborate with files online.
File Sharing
File Sharing allows you to import files from your computer using a USB cable and iTunes software.
Files
The files option can be used if you need to import from a storage service that integrates with the iOS/iPadOS Files app. When this is selected, the storage provider's interface will be presented for you to select a file to import from a third-party service.
Other
The other options lets you import from other remote sources using standard communication protocols.
OnSong Media
This option displays motion backgrounds provided by OnSong with your subscription tier.
Photo Library
This provides an interface for browsing and selecting photos and video in your photo library on the device.
Web Browser
This opens a mini web browser inside of your app where you can search for websites, browse videos and import compatible files.
Photo Library
Choose the Photo Library import option will open a native interface for iOS, iPadOS, or macOS depending on the type of device you are using. You can browse photos and videos located locally on your device or iCloud if you have that configured. Tap on a photo or video to choose it for import.
If you do not want to choose a photo or video, tap on the Cancel button to close the menu, or simply tap off of the menu.
Note: Video files may be compressed when selecting video files in this manner.
Web Browser

The last tab in the media picker is the web browser. This allows you to access other web resources for media acquisition.
Type a website in the URL to load a different resource. Use the bookmark icon on the right to load a bookmarked site or to add the current site to the list of bookmarks as well.
Once OnSong detects an importable asset in the web browser, the Import button will be enabled allowing you to add that asset to your local media library. This typically requires the asset to be downloadable on the site. For instance, if you are downloading an image asset, you will need to access the JPEG or PNG file. If you are seeking a motion background, OnSong will require an MP4 or M4V file.
Some web sites are not designed for use on mobile devices. You may need to pinch to zoom to read and interact with some content.
OnSong Media
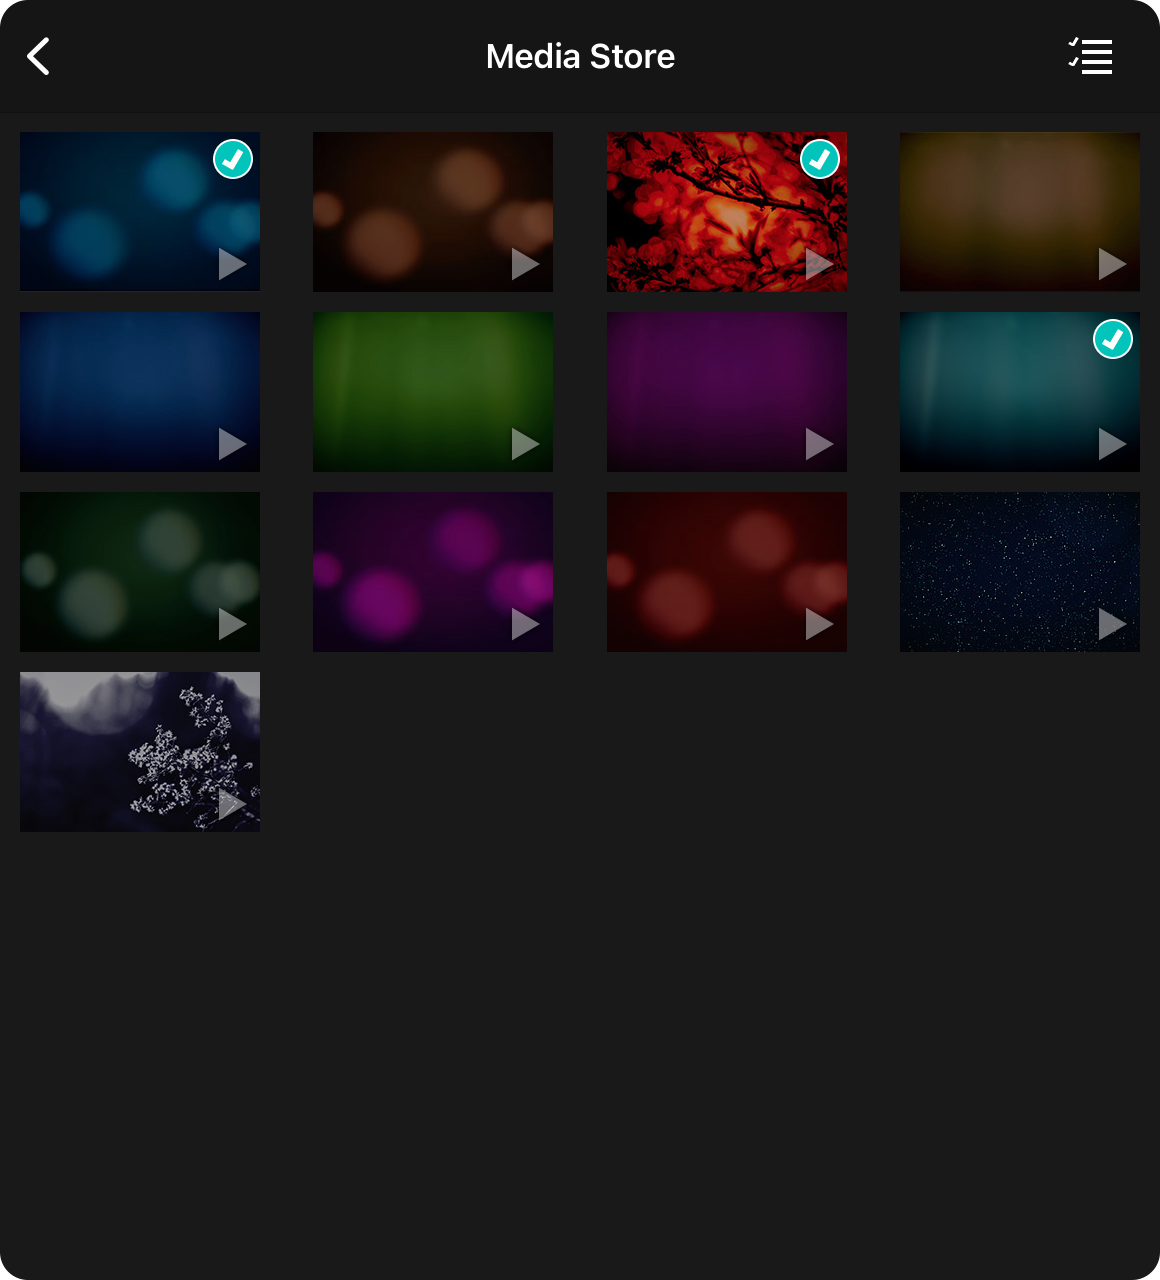
The media store screen is used to browse images and videos available in the OnSong media store. Enjoy all the available motion backgrounds with your OnSong Premium membership.
Filtering
By default, all available assets are displayed in the preview grid. You can filter the assets that are displayed using the filter button in the upper right corner to display the Pick Categories menu.
Previewing
Tap on an asset to preview it in the viewer. This is useful to get an idea of the motion background. Already purchased assets appear with a checkmark in the upper right corner and can also be previewed.
OnSong media items that have already been imported into your background media library are displayed with a checkmark.
Categories
The pick categories menu is used to narrow the results returned from the media store. This menu is populated by current categories and types of categories and can be changed in the future. Tap to check a category and have assets of that category displayed.
Selecting more categories in a type will restrict the number of results returned. For instance, selecting both Blue and Brown from the Colors category will result in no results being returned.
The following are the types of categories that can be selected.
Artists
This is the name of the person or entity who created the background image.
Colors
This is the general color of the asset.
Styles
This is the style of photography used. For instance, an abstract work may not be immediately discernible or a bokeh style image will feature out of focus light sources.
Preview
The media preview screen allows you to view the media asset with an included watermark. Previews are displayed with higher compression rates as well.
OnSong will automatically begin playing motion graphics in a repeating loop.
You can acquire an asset if you are an OnSong Premium subscriber as they are included with your subscription.
Once the media asset is downloaded to the local library, you can come back into the preview screen to update the asset if there have been any changes, or if there is a problem with the file that was downloaded.
As long as you keep the media asset in your library you will not be required to pay again for the asset. Media is backed up and restored with your OnSong library as well.
If you choose not to purchase the media asset, tap on the back button to return to the media store.
Visual Media Library

The visual media library displays images and videos available imported into your OnSong library. From this screen you can import images and video. You can also manage those assets, or use it to pick media for lyrics projection backgrounds.
Importing Media
Tap on the + button on the bottom right to import images or videos from Dropbox, Google Drive, File Sharing or Files. You can also browse your photo library, browse the web, or use one of OnSong's motion graphics. Newly imported assets appear with a banner in the upper right corner of the graphic. In addition, motion backgrounds appear with a small white triangle in the lower right to indicate that the asset is playable.
Sorting Media
You can tap in the lower-left corner to open a menu of sorting options. Default sorting is alphabetic by title.
Selecting Media
If you have opened this screen from the External Video Menu, you can display the background image or video by tapping on it in the grid of preview images. This will place a border around the image that is currently active. Tap again to turn off the selected background.
Editing Media
If you've opened this screen from the Editors Menu, you can tap on the thumbnail to open the Media Details screen. If you've opened the screen to pick an image or video, you can tap and hold on the thumbnail to display a context menu where you can choose Edit to view and edit the media.
Context Menu
You can edit background media items, or perform others actions using the context menu. To do so, tap and hold on the item (iOS/iPadOS) or right click (macOS) to view the context menu and choose from various actions.
Deleting Media
To delete the background media, use the context menu and choose the delete option.
Managing Storage
The amount of space consumed by background media items will display at the bottom of the screen. You can manage the storage used by OnSong by tapping on the Manage Storage link.
Motion backgrounds are video files that typically repeat continuously at 100% playback speed and omit audio. You can change the parameters for playback to include the audio using the context menu and choosing Edit.
Context Menu

The context menu is available for all background media items by tapping and holding (iOS/iPadOS) or right-clicking (macOS) on the item. The context menu provides the following actions:
Condense
This action will condense the media item to take up less room in storage. This is usually done by compressing the asset in a way that could lose quality. For instance, video resolution may be lowered and images would have JPEG compression applied.
Edit
This action will open the media editor where you can change its name and playback preferences.
Export
This action will open the export screen where you can export the media asset to a storage service or local location.
Delete
This will delete the background media item and remove it from storage.
Import Files

The import files menu provides a list of common import locations with the ability to import photos or videos from those sources. This is similar to other import screens except that only video or photo files are selectable and we've included additional import sources.
Dropbox
Dropbox is a popular cloud-based storage service that works great for importing documents from your computer.
Google Drive
Dropbox is a popular cloud-based storage service allows you to store and collaborate with files online.
File Sharing
File Sharing allows you to import files from your computer using a USB cable and iTunes software.
Files
The files option can be used if you need to import from a storage service that integrates with the iOS/iPadOS Files app. When this is selected, the storage provider's interface will be presented for you to select a file to import from a third-party service.
Other
The other options lets you import from other remote sources using standard communication protocols.
OnSong Media
This option displays motion backgrounds provided by OnSong with your subscription tier.
Photo Library
This provides an interface for browsing and selecting photos and video in your photo library on the device.
Web Browser
This opens a mini web browser inside of your app where you can search for websites, browse videos and import compatible files.
OnSong Media

The media store screen is used to browse images and videos available in the OnSong media store. Enjoy all the available motion backgrounds with your OnSong Premium membership.
Filtering
By default, all available assets are displayed in the preview grid. You can filter the assets that are displayed using the filter button in the upper right corner to display the Pick Categories menu.
Previewing
Tap on an asset to preview it in the viewer. This is useful to get an idea of the motion background. Already purchased assets appear with a checkmark in the upper right corner and can also be previewed.
OnSong media items that have already been imported into your background media library are displayed with a checkmark.
Categories

The pick categories menu is used to narrow the results returned from the media store. This menu is populated by current categories and types of categories and can be changed in the future. Tap to check a category and have assets of that category displayed.
Selecting more categories in a type will restrict the number of results returned. For instance, selecting both Blue and Brown from the Colors category will result in no results being returned.
The following are the types of categories that can be selected.
Artists
This is the name of the person or entity who created the background image.
Colors
This is the general color of the asset.
Styles
This is the style of photography used. For instance, an abstract work may not be immediately discernible or a bokeh style image will feature out of focus light sources.
Preview

The media preview screen allows you to view the media asset with an included watermark. Previews are displayed with higher compression rates as well.
OnSong will automatically begin playing motion graphics in a repeating loop.
You can acquire an asset if you are an OnSong Premium subscriber as they are included with your subscription.
Once the media asset is downloaded to the local library, you can come back into the preview screen to update the asset if there have been any changes, or if there is a problem with the file that was downloaded.
As long as you keep the media asset in your library you will not be required to pay again for the asset. Media is backed up and restored with your OnSong library as well.
If you choose not to purchase the media asset, tap on the back button to return to the media store.
Photo Library

Choose the Photo Library import option will open a native interface for iOS, iPadOS, or macOS depending on the type of device you are using. You can browse photos and videos located locally on your device or iCloud if you have that configured. Tap on a photo or video to choose it for import.
If you do not want to choose a photo or video, tap on the Cancel button to close the menu, or simply tap off of the menu.
Note: Video files may be compressed when selecting video files in this manner.
Web Browser

The last tab in the media picker is the web browser. This allows you to access other web resources for media acquisition.
Type a website in the URL to load a different resource. Use the bookmark icon on the right to load a bookmarked site or to add the current site to the list of bookmarks as well.
Once OnSong detects an importable asset in the web browser, the Import button will be enabled allowing you to add that asset to your local media library. This typically requires the asset to be downloadable on the site. For instance, if you are downloading an image asset, you will need to access the JPEG or PNG file. If you are seeking a motion background, OnSong will require an MP4 or M4V file.
Some web sites are not designed for use on mobile devices. You may need to pinch to zoom to read and interact with some content.
Media Details

The media details menu is used to display:
Properties
This is information specifically about the asset and includes:
Media Type
This is the type of media asset. This can be either Image or Video and is not editable.
Media Title
The title provided by the media source, or in lieu of that, the filename of the imported asset. You can edit the name of the media that appears.
File Size
The size of the file in human-readable form.
Dimensions
Describes the size of the asset in pixels as width x height.
Duration
The length of time that the asset is playable in human-readable form. This is empty for image assets.
File
The file section displays the file name of the background media. If the file can be further compressed, a disclosure indicator appears. Tapping on the row provides options for reducing the size of the media asset. If the file is missing for any reason, you can tap on the this row to search for another file that matches the file type to replace the original file.
Playback
The playback section is available for video assets and provides information on how the video should be played. These attributes include:
Autoplay
Enabling this will start playing video assets immediately upon loading. Turn this option off if you would like to control playback via an action. Default is on.
Repeat
This determines if the video asset repeats from the beginning when the playback is finished. By default, videos will repeat. This can be turned off for videos assets such as countdowns.
Playback Rate
Allows you to adjust how fast or slow the video is played. By default, videos playback at a rate of 100%. This will be the natural speed of the video. You can adjust the playback rate of the video from one of the following options: Reverse: 200%, 150%, 100%, 66%, 50%; Still; Playback: 0%, 50%, 66%, 80%, 100%, 125%, 150% and 200%
Volume
Determines the volume level to use for playback. Video files are muted by default. You can enable audio on the video by adjusting the volume. Tap on the minus button to move quickly to 100%. You can adjust volume in 1% increments using the stepper control to the right. Default is muted.
Reduce File Size

When you import content into OnSong, it may be in an uncompressed state, or may be in a higher resolution than is necessary. This can take up space on your device and cause performance issues. You can use this menu to reduce the size of the media asset, right from within OnSong.
Video files can be reencoded in different resolutions to reduce file size. Choose a size to reduce the asset into and then tap the Convert button to begin encoding. Once completed, the original asset will be replaced with the reduced asset.
Please keep in mind that reducing the resolution of video assets will cause them to appear blurry on higher resolution screens.
Sort By
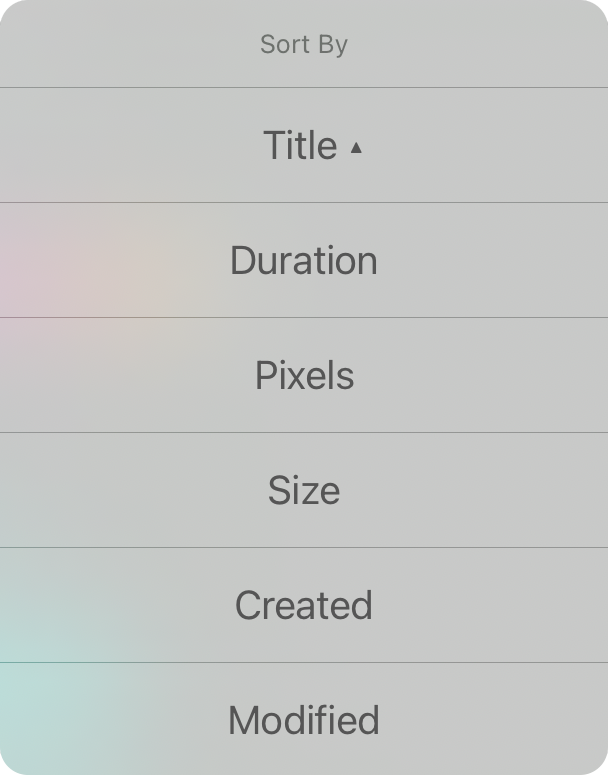
You can sort background media items in a variety of ways. The currently selected sort direction appears next to each option. Select that sort option again to invert the sort direction.
Title
The title given to the media asset.
Duration
The duration of the media asset. This is also a great way to group images and videos together.
Pixels
Sorts based on the number of pixels contained in the media asset.
Size
The file size of the asset used in storage.
Created
The date and time the asset was created or added to your OnSong library.
Modified
The date and time the asset was last modified.
Actions Editor
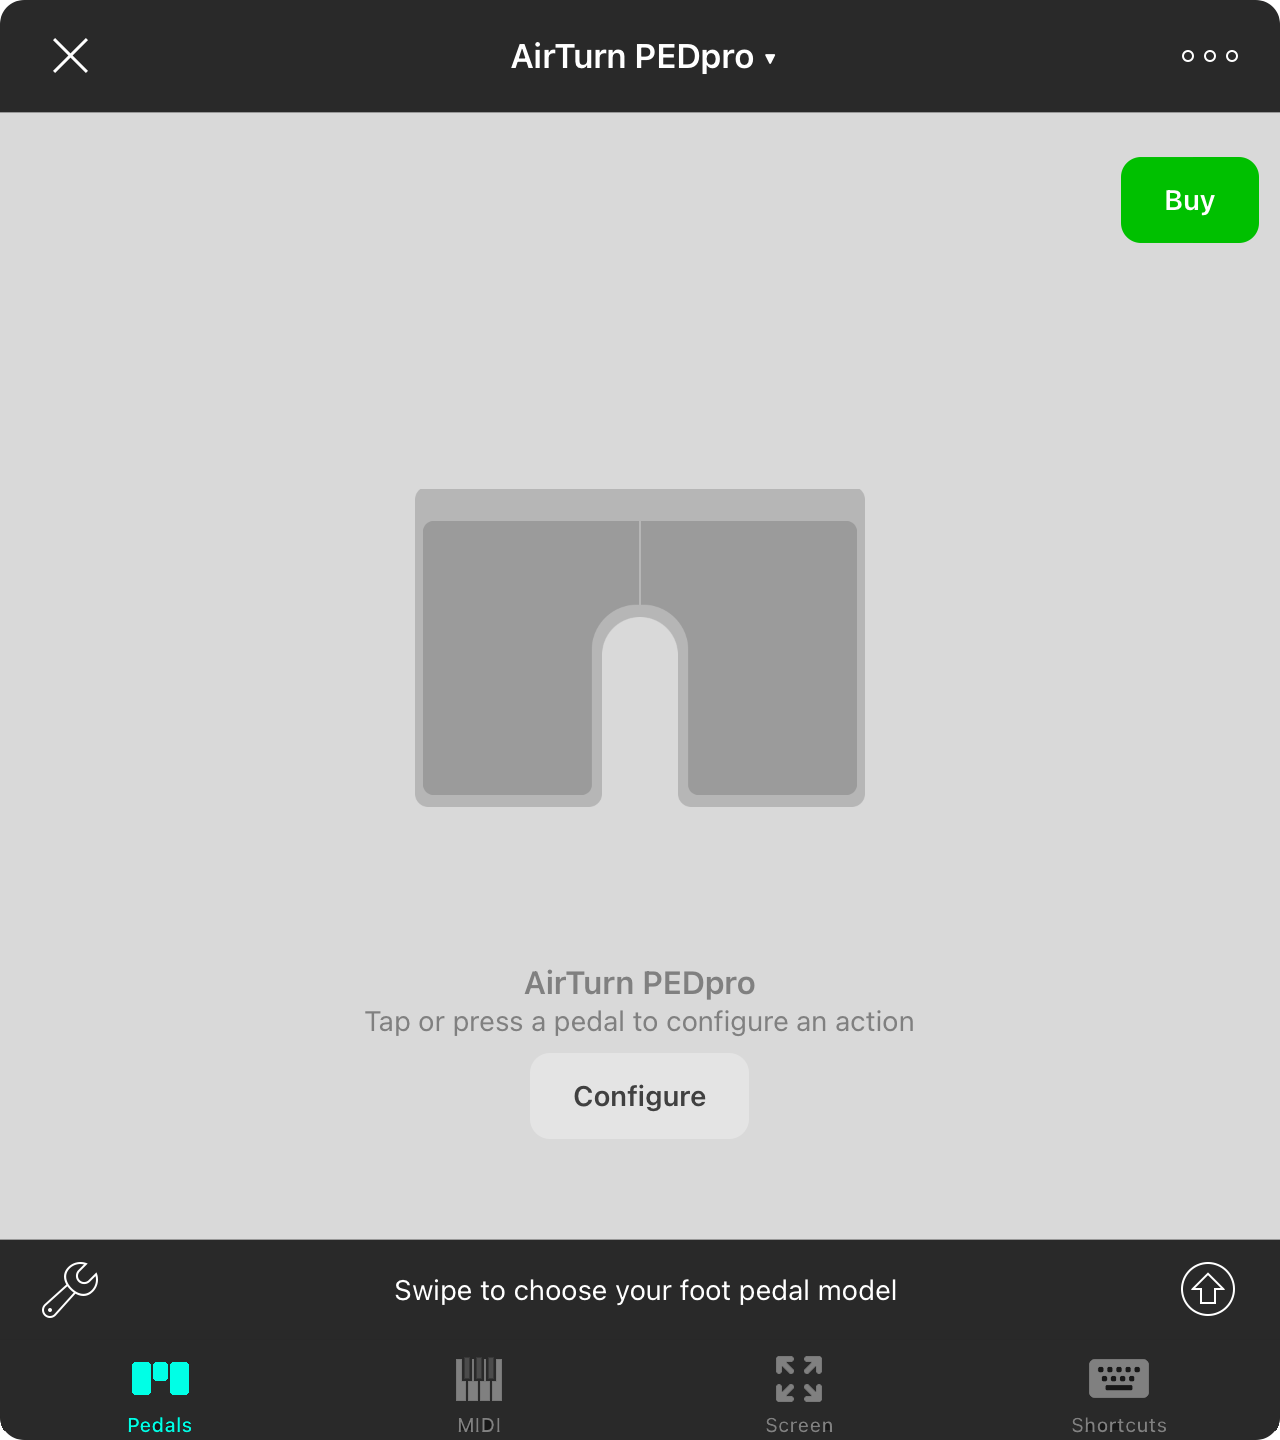
There are many ways to navigate your songs and sets in OnSong. Whether you are tapping on the screen or using wireless foot pedals for hands-free operation, this screen can configure OnSong to work the way you do by mapping these triggers to actions.
Pedals
OnSong works great with foot pedals for hands-free operation. This tab lets you configure OnSong for use with your foot pedal model and to choose actions for each foot pedal to trigger.
MIDI
Take your performance to the next level with MIDI triggers. Control OnSong using your guitar pedalboard, synthesizer, or load songs and scroll through them using Ableton Live from your laptop.
Screen
The screen is the primary input device you use. Leverage the power of hot corners and navigation zones to get OnSong to trigger more actions.
Shortcuts
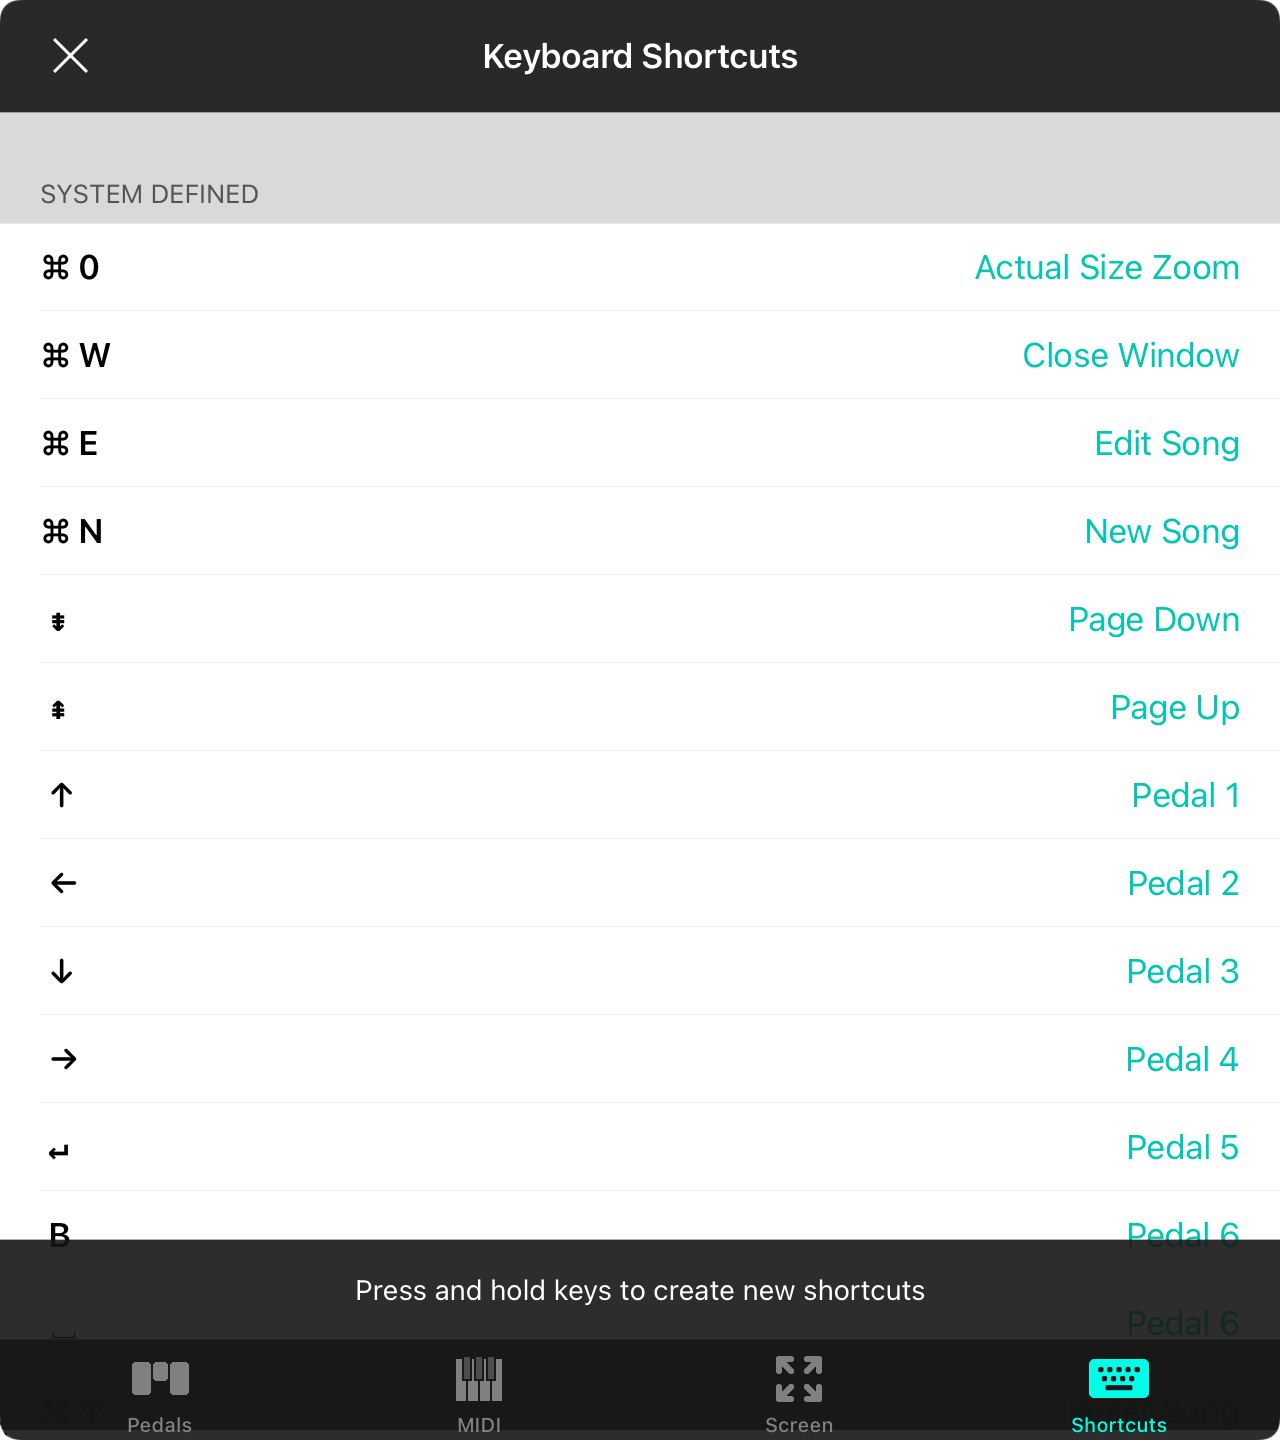
OnSong can now run natively on Mac computers which means that the primary input method for the app is the keyboard. In addition, many users have keyboards that can be used with their iPad devices. OnSong not only has built-in keyboard shortcuts, but you can also create your own too.
The Shortcuts tab shows you existing keyboard shortcuts inherit in the app. For instance, CMD+W can close the currently open window. Arrow keys can be used to navigate the set and used with modifier keys can access the live bar buttons, etc. You can view these keyboard shortcuts in the System Defined list. You can edit the actions of the system defined list by tapping on them.
To create your own keyboard shortcuts, press the key combination you would like to use on the physical keyboard. After a moment, OnSong will display the Actions Menu where you can pick an action to be performed. These user defined actions appear at the bottom in the User Defined list. You can change the action by tapping on it, or swipe to delete the action.
Variable Actions
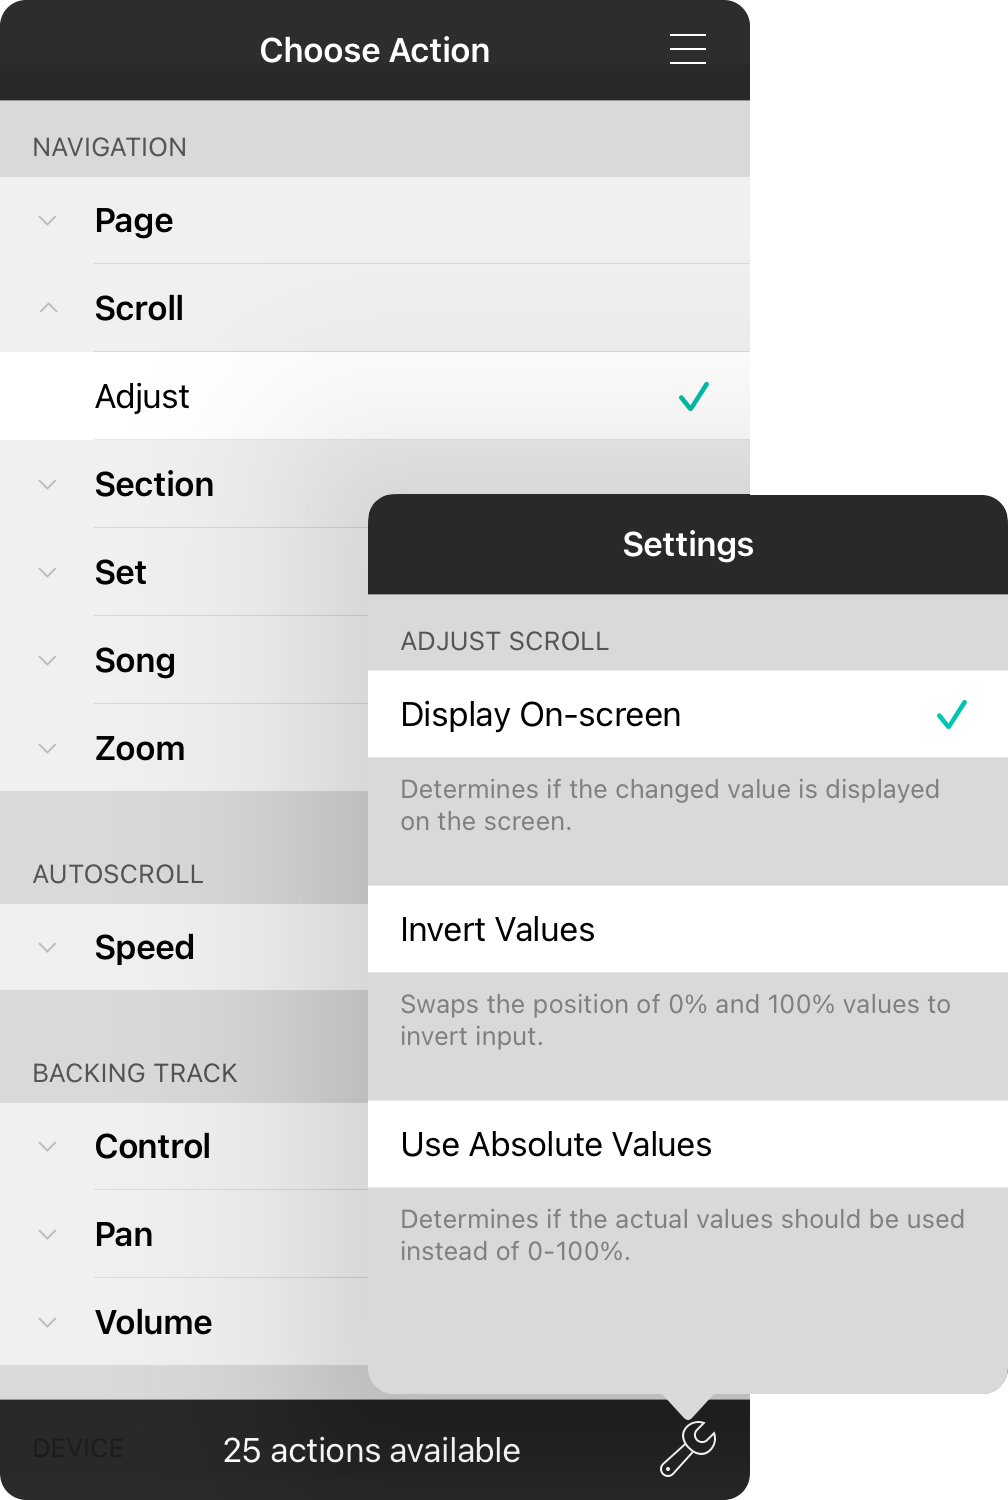
Most actions are momentary. That means that you press a button or tap the screen to perform an action such as scrolling down or toggling tracks. However, OnSong supports variable actions when you use a MIDI Control Change, or an analog input like an expression pedal. These let you adjust parameters, usually from 0-100% but may have addition options too.
You can review the Actions Menu for the variable actions that are not shown in each section. In addition, after selecting a variable action, a wrench icon will appear in the bottom right. This will let you configure settings for the variable action including:
- Display On-screen will determine if information is flashed on the screen as the parameter is changed. For instance, when adjusting volume, the current volume will be displayed as a percentage.
- Invert Values will invert the information coming from the variable input. For instance, you may want to invert values when scrolling. This would allow the expression at 0% to represent fully scrolled down the page, while a value of 100% is scrolled up.
- Use Absolute Values is used to determine how values are sent. For instance, MIDI Control Changes can be values between 0-127. If the absolute value is used, OnSong will send a number from 2 through 127 as the value. This may be helpful if you want to target a specific section by number. However, the default is off which means amounts are relative from 0-100%. This means that OnSong would, in our previous scenario, choose a section based on the number of available section of the song where 100% would choose the last section and 0% would choose the first section.
Customize Page Layout
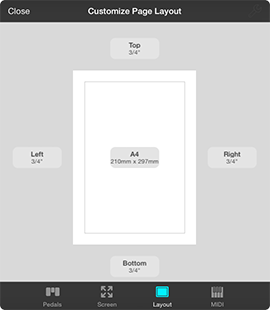
When OnSong draws chord charts in the song viewer, it uses the dimensions of a piece of paper. You can change how OnSong draws chord charts by adjusting these parameters.
Tap on the middle button change the size of the virtual paper that chord charts are drawn on. You can choose common paper size such as U.S. Letter or A4.
Tap on the bottoms on the top, bottom, left and right to adjust the margins. Make the margins smaller to fit more chords and lyrics on the screen. Remember that some margin on the top helps compensate for the menubar and status bar which overlaps the song viewer.
Foot Pedal Triggers
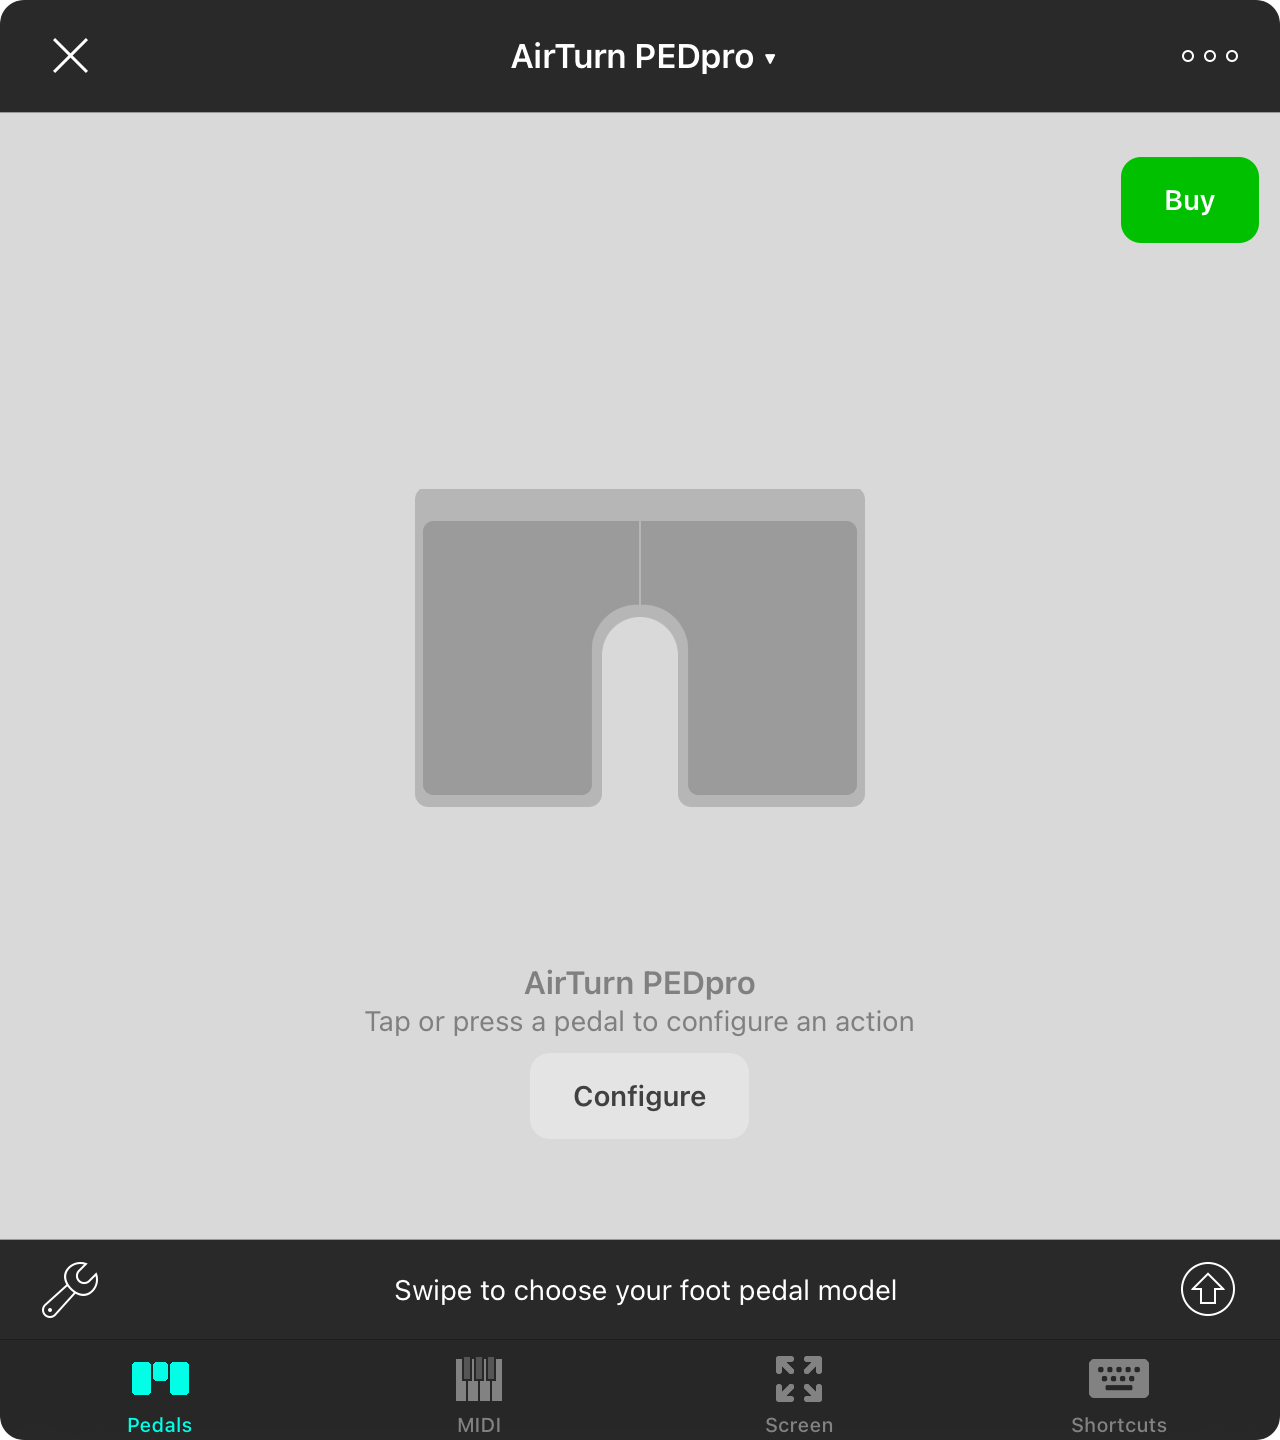
The Pedals tab allows you to configure one or more foot pedals to trigger actions in OnSong.
Choose Pedal
OnSong works with many popular foot pedal models. Swipe or tap on the title bar to pick one of the supported foot pedal models.
Buy a foot pedal
A green button appears in the upper right corner to purchase a foot pedal from the OnSong Store. Pressing this pedal will open an in-app web browser allowing you to view options for controlling OnSong and other on-stage solutions.
Select actions to perform
Foot pedals are configured with default actions "out of the box" to navigate your songs and sets. You can change this default behavior by either pressing a foot pedal or tapping on the pedal on the screen. This will display actions that OnSong can perform. For a complete list, please see Actions Menu.
Reading the manual
Just below the foot pedal model is either a Configure or User Guide button to give you quick access to how to set up the physical foot pedal.
Configure advanced options
In the lower-left corner is a wrench icon that provides access to more advanced settings. From this screen, you can configure scrolling behavior, triggers, and other options. See Foot Pedal Settings for more details.
Set up gears
Gears is a powerful tool that lets you expand the actions you can perform with just a single foot pedal. Imagine controlling your live performance with just a few physical pedals. Gears allow you to do just this by providing a great way to make the most of your pedal.
Boss FS-1-WL
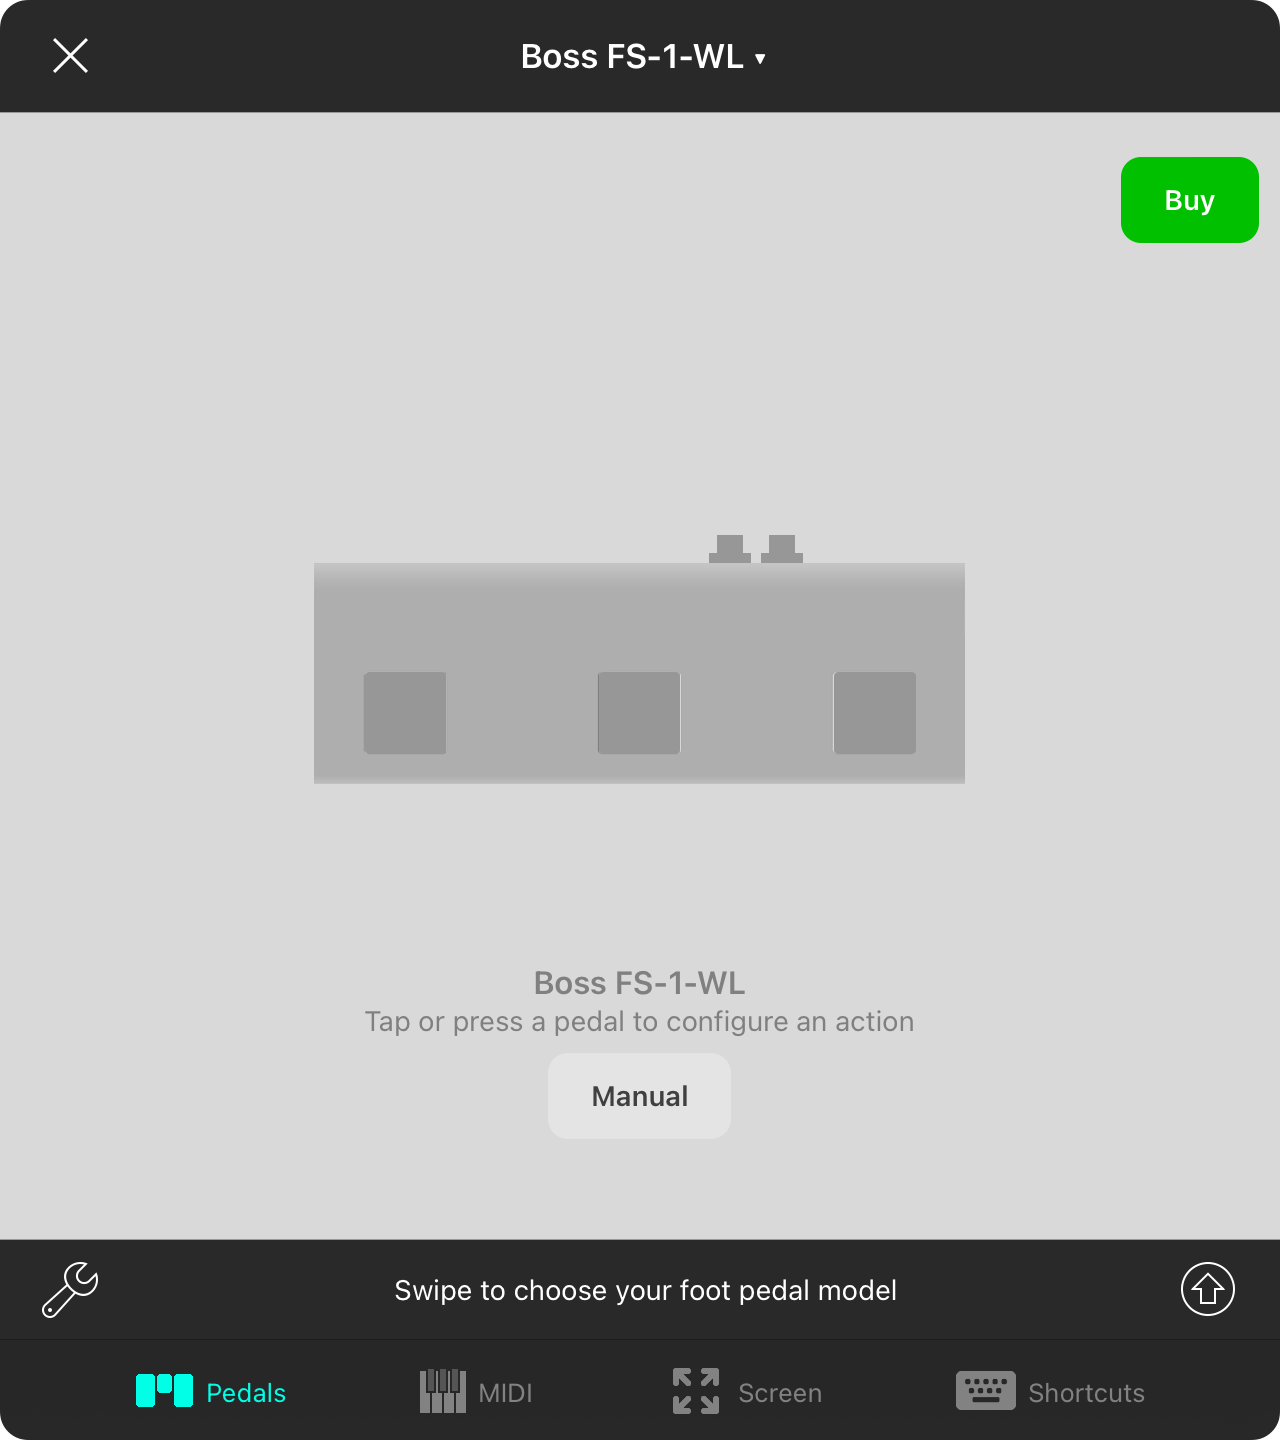
Swipe to the Boss FS-1-WL setup screen to configure the Boss FS-1-WL foot pedal.
Choose Actions
Here you can tap on the foot pedals in the screen to set the action in the Actions Menu.
Buy
If you are interested in purchasing a Boss FS-1-WL, tap on the Buy button to view purchasing options.
Manual
Learn how to configure and use the Boss FS-1-WL by reading the user manual.
AirTurn BT500 S6
The AirTurn S6 Analog is an affordable and convenient way to add six configurable switches for page turning and more to your pedal board, or all on its own. It features a rechargeable battery and 9V power supply with modern, energy efficient Bluetooth 5.0 connectivity. It also contains two analog input ports for connecting expression pedals for variable actions.
Swipe to the AirTurn S6 Analog setup screen to configure the AirTurn S6 Analog foot pedal.
Choose Actions
Here you can tap on the foot pedals in the screen to set the action in the Actions Menu. In addition, you can set variable actions by tapping on the two buttons that resemble plugs in the upper right corner of the graphic. Keep in mind that you need to use the AirTurn Manager app to calibrate your analog input device before using.
Choose Pedal Mode
The AirTurn S6 Analog can operate in a number of modes. Use this method to choose the pedal based on its current mode to configure. This allows you to configure multiple AirTurn devices from one screen.
Buy
If you are interested in purchasing an AirTurn BT500 S6 Analog, tap on the Buy button to view the AirTurn store.
Configure
Learn how to configure and use the AirTurn BT200 and BT500 series of foot pedals by watching the tutorial video.
Donner
Swipe to the Donner setup screen to configure the inexpensive Donner foot pedal.
Choose Actions
Here you can tap on the foot pedals in the screen to set the action in the Actions Menu.
Choose Pedal Mode
The pedal can operate in a number of modes. Use this method to choose the pedal based on its current mode to configure including up/down, left/right, and space/enter modes.
Buy
If you are interested in purchasing a Donner foot pedal, tap on the Buy button to view purchase options.
Manual
Learn how to configure and use the Donner by reading the user manual by Coda Music Technologies.
Vidami Blue
Swipe to the Vidami Blue setup screen to configure a Vidami Blue foot pedal.
Choose Actions
Here you can tap on the foot pedals in the screen to set the action in the Actions Menu.
Buy
If you are interested in purchasing a Vidami Blue foot pedal, tap on the Buy button to view purchase options.
Manual
Learn how to configure and use the Vidami Blue by reading the user manual.
AirTurn BT200 S2
The AirTurn BT200 S2 is an affordable and convenient way to add page turning and other actions to your pedal board, or all on its own. It features a rechargeable battery and 9V power supply with modern, energy efficient Bluetooth connectivity.
Swipe to the AirTurn BT200 S2 setup screen to configure the AirTurn BT200 S2 foot pedal.
Choose Actions
Here you can tap on the foot pedals in the screen to set the action in the Actions Menu.
Choose Pedal Mode
The AirTurn BT200 can operate in a number of modes. Use this method to choose the pedal based on it's current mode to configure. This allows you to configure multiple AirTurn BT200 devices from one screen.
Buy
If you are interested in purchasing an AirTurn BT200 S2, tap on the Buy button to view the AirTurn store.
Configure
Learn how to configure and use the AirTurn BT200 series of foot pedals by watching the tutorial video.
AirTurn BT200 S4
The AirTurn BT200 S4 is an affordable and convenient way to add four configurable switches for page turning and more to your pedal board, or all on its own. It features a rechargeable battery and 9V power supply with modern, energy efficient Bluetooth connectivity.
Swipe to the AirTurn BT200 S4 setup screen to configure the AirTurn BT200 S4 foot pedal.
Choose Actions
Here you can tap on the foot pedals in the screen to set the action in the Actions Menu.
Choose Pedal Mode
The AirTurn BT200 can operate in a number of modes. Use this method to choose the pedal based on it's current mode to configure. This allows you to configure multiple AirTurn BT200 devices from one screen.
Buy
If you are interested in purchasing an AirTurn BT200 S4, tap on the Buy button to view the AirTurn store.
Configure
Learn how to configure and use the AirTurn BT200 series of foot pedals by watching the tutorial video.
AirTurn BT200 S6
The AirTurn BT200 S6 is an affordable and convenient way to add six configurable switches for page turning and more to your pedal board, or all on its own. It features a rechargeable battery and 9V power supply with modern, energy efficient Bluetooth connectivity.
Swipe to the AirTurn BT200 S6 setup screen to configure the AirTurn BT200 S6 foot pedal.
Choose Actions
Here you can tap on the foot pedals in the screen to set the action in the Actions Menu.
Choose Pedal Mode
The AirTurn BT200 can operate in a number of modes. Use this method to choose the pedal based on it's current mode to configure. This allows you to configure multiple AirTurn BT200 devices from one screen.
Buy
If you are interested in purchasing an AirTurn BT200 S6, tap on the Buy button to view the AirTurn store.
Configure
Learn how to configure and use the AirTurn BT200 series of foot pedals by watching the tutorial video.
AirTurn QUAD 200
Switch to the AirTurn QUAD 200 screen if you are using an AirTurn QUAD 200 foot pedal.
Choose Actions
Tap on each of the foot pedals in the screen or press the pedals on the device to open the Actions Menu allowing you to pick from momentary actions.
Choose Pedal Mode
The AirTurn QUAD 200 includes the BT200 module which can operate in a number of modes. Use this method to choose the pedal based on its current mode to configure. This allows you to configure multiple AirTurn BT200 devices from one screen.
Buy
Tap on the Buy button in the upper right corner to purchase the AirTurn QUAD 200.
Configure
Tap on the Configure button to learn more about using the AirTurn QUAD and how to turn on, pair, change modes and turn off the device.
Choose Pedal

OnSong works with popular foot pedals. Tap on the title bar of the pedals action tab to jump to the setup screen for a supported foot pedal.
- AirTurn BT200 S2 has two stomp switches in a lightweight and affordable package.
- AirTurn BT200 S4 has four stomp switches in a lightweight and affordable package.
- AirTurn BT200 S6 has six stomp switches in a lightweight and affordable package.
- AirTurn PED/PEDpro is a compact, inexpensive foot pedal that can attach using multiple modes for up to six-foot pedals of control.
- AirTurn QUAD 200 is a new version of the classic for four pedals in a BT200 design.
- AirTurn DUO is the professional AirTurn 2-pedal combination and comes in BT-105, BT-106, and BT200 models.
- AirTurn QUAD features four pedals of control for more advanced uses and comes in BT-105 and BT-106 models*.
- AirTurn STOMP 6 features six-foot switches that can be mounted in your pedalboard*.
- AirTurn Digit II is a handheld remote that's perfect for singers or speakers*.
- AirTurn Digit III is a handheld remote that's perfect for singers or speakers.
- Coda STOMP is an easy-to-use foot pedal with great features.
- Flic 2 lets you place the latest smart buttons within your reach.
- Flic connects the original smart button to your rig.
- IK BlueTurn features lightweight design with illuminated membrane switches.
- PageFlip Butterfly is the classic, two-pedal design.
- PageFlip Firefly is the more advanced design with two-pedals.
- PageFlip Dragonfly offers four pedal buttons in a compact size.
- Custom Foot Pedal allows you to configure USB or other foot pedals.
No Foot Pedal turns off foot pedals altogether.
Models no longer in production and cannot be purchased, although newer models are available which include similar features.
Coda STOMP
Swipe to the Coda STOMP setup screen to configure the Coda Music Technologies STOMP foot pedal.
Choose Actions
Here you can tap on the foot pedals in the screen to set the action in the Actions Menu.
Choose Pedal Mode
The Coda STOMP can operate in a number of modes. Use this method to choose the pedal based on its current mode to configure including up/down, left/right, and space/enter modes.
Buy
If you are interested in purchasing a Coda STOMP, tap on the Buy button to view the Coda Music Technologies store.
Manual
Learn how to configure and use the Coda STOMP by reading the user manual by Coda Music Technologies.
Flic
Flic are smart, Bluetooth buttons that you can place anywhere that's convenient. OnSong lets you grab these buttons to perform any action in OnSong. You can assign up to three actions per button with single click, double click and press and hold.
Grabbing Flics
To get started, you'll need to add Flic buttons using the Flic app. You can then tap on a + button to be taken to the Flic app to grab the button and add it to OnSong. You can learn more about how to add Flics to OnSong in our video tutorial.
Choose Actions
Just tap on the buttons that you've added or press the Flic button choose an action in the Actions Menu.
Buy
Tap on the Buy button in the upper right corner to purchase Flic smart buttons online.
Configure
Tap on the Configure button to learn more about how to set up your Flic smart button.
You can configure up to six Flic smart buttons and use those with a foot pedal. Just configure your Flic smart buttons on this screen and then swipe back to the correct foot pedal screen to ensure the foot pedal mode is set.
Configure
This screen features a video tutorial for how to set up one or more Flic smart buttons for use in OnSong. Tap on the play button in the middle of the screen to play the video tutorial within OnSong.
Video Player
The video plays inside of the window and can either be played full screen or played as a picture-in-picture so you can watch the video and use OnSong at the same.
Manual
You can tap on the Manual button in the upper-right corner to view the user manual for the Flic documentation on the Flic.io website.
Action Picker
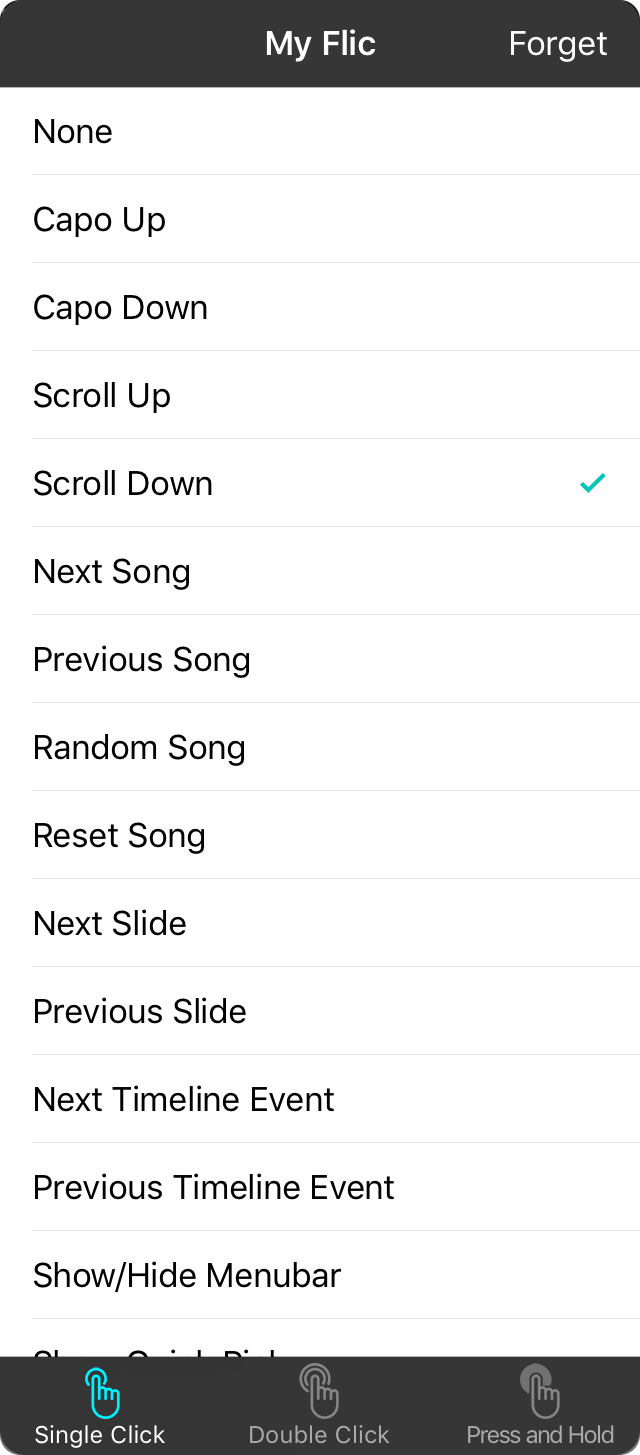
When picking actions for Flic, you're presented with the standard Action Picker but with three tabs to select actions for single click, double click and press and hold actions. The name of the Flic you have selected is displayed at the top of the menu.
Single Click
Use this tab to select an action to perform when you click the selected Flic smart button once. This will prompt you to pick from the standard list of actions.
Double Click
Use this tab to select an action to perform when you double-click on the selected Flic smart button. This will prompt you to pick from the standard list of actions. Please note that setting an action to double-click will result in additional latency for the single click action so that Flic can determine what gesture was used.
Press and Hold
Use this tab to select an action to perform when you press and hold on the selected Flic smart button. This will prompt you to pick from the standard list of actions. Please note that setting an action to press and hold will result in additional latency for the single click action so that Flic can determine what gesture was used.
Forget
The forget button in the upper-right corner is used to cause OnSong to release the button in the event that you want to grab it with another app, or if you want to unpair the button from your device. You can learn more about pairing and unpairing your Flic smart buttons in our video tutorial.
Flic 2
Flics are smart, Bluetooth buttons that you can place anywhere that's convenient. OnSong lets you pair these to perform any action in OnSong. You can assign up to three actions per button with single click, double click and press and hold.
Pairing Flics
To get started, you'll need to add Flic 2 buttons by pairing them with your device. Tap on a + button to scan for Flic buttons and then add them to your interface.
Choose Actions
Just tap on the buttons that you've added or press the Flic button choose an action to each function.
Buy
Tap on the Buy button in the upper right corner to purchase Flic 2 smart buttons online.
Configure
Tap on the Configure button to learn more about how to set up your Flic smart button.
You can configure up to six Flic 2 smart buttons and use those with a foot pedal. Just configure your Flic 2 smart buttons on this screen and then swipe back to the correct foot pedal screen to ensure the foot pedal mode is set.
Action Picker
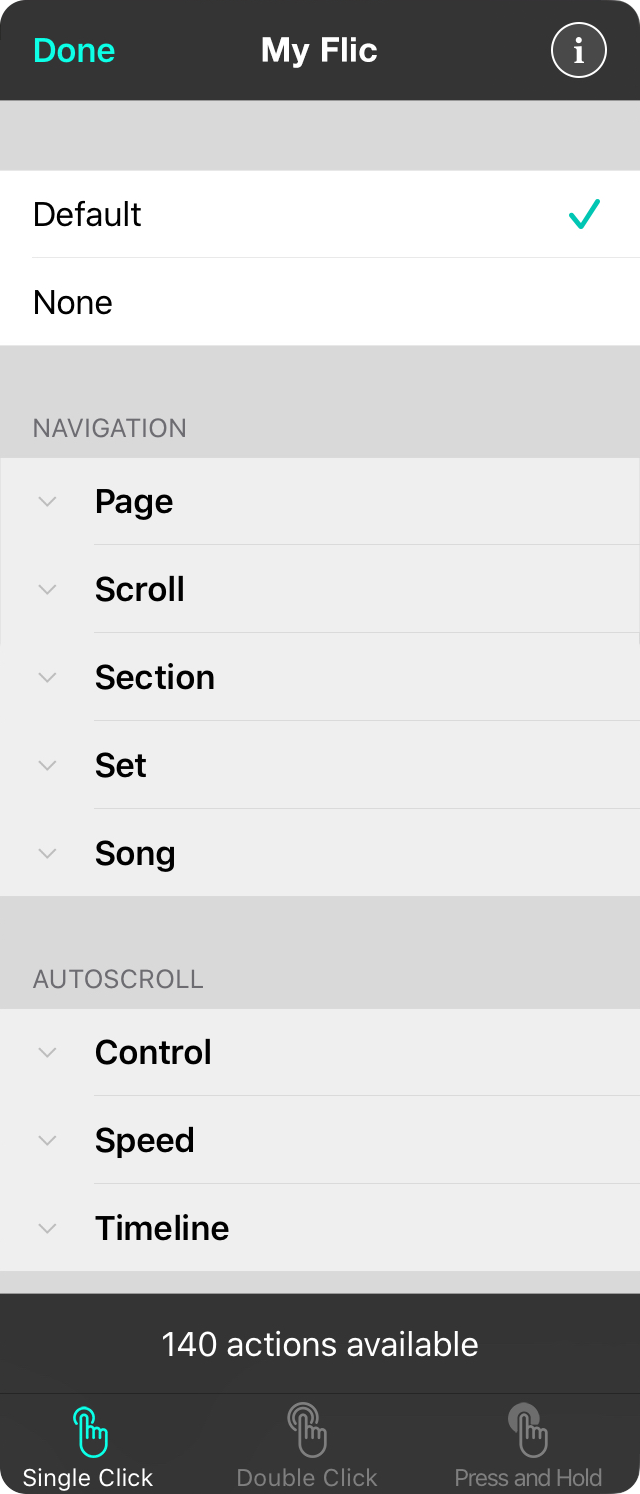
When picking actions for Flic, you're presented with the standard Action Picker but with three tabs to select actions for single click, double click and press and hold actions. The name of the Flic you have selected is displayed at the top of the menu.
Single Click
Use this tab to select an action to perform when you click the selected Flic smart button once. This will prompt you to pick from the standard list of actions.
Double Click
Use this tab to select an action to perform when you double-click on the selected Flic smart button. This will prompt you to pick from the standard list of actions. Please note that setting an action to double-click will result in additional latency for the single click action so that Flic can determine what gesture was used.
Press and Hold
Use this tab to select an action to perform when you press and hold on the selected Flic smart button. This will prompt you to pick from the standard list of actions. Please note that setting an action to press and hold will result in additional latency for the single click action so that Flic can determine what gesture was used.
Flic Information
The information button in the upper-right corner provides detailed information about the Flic button and the available to forget the Flic button.
Flic Information
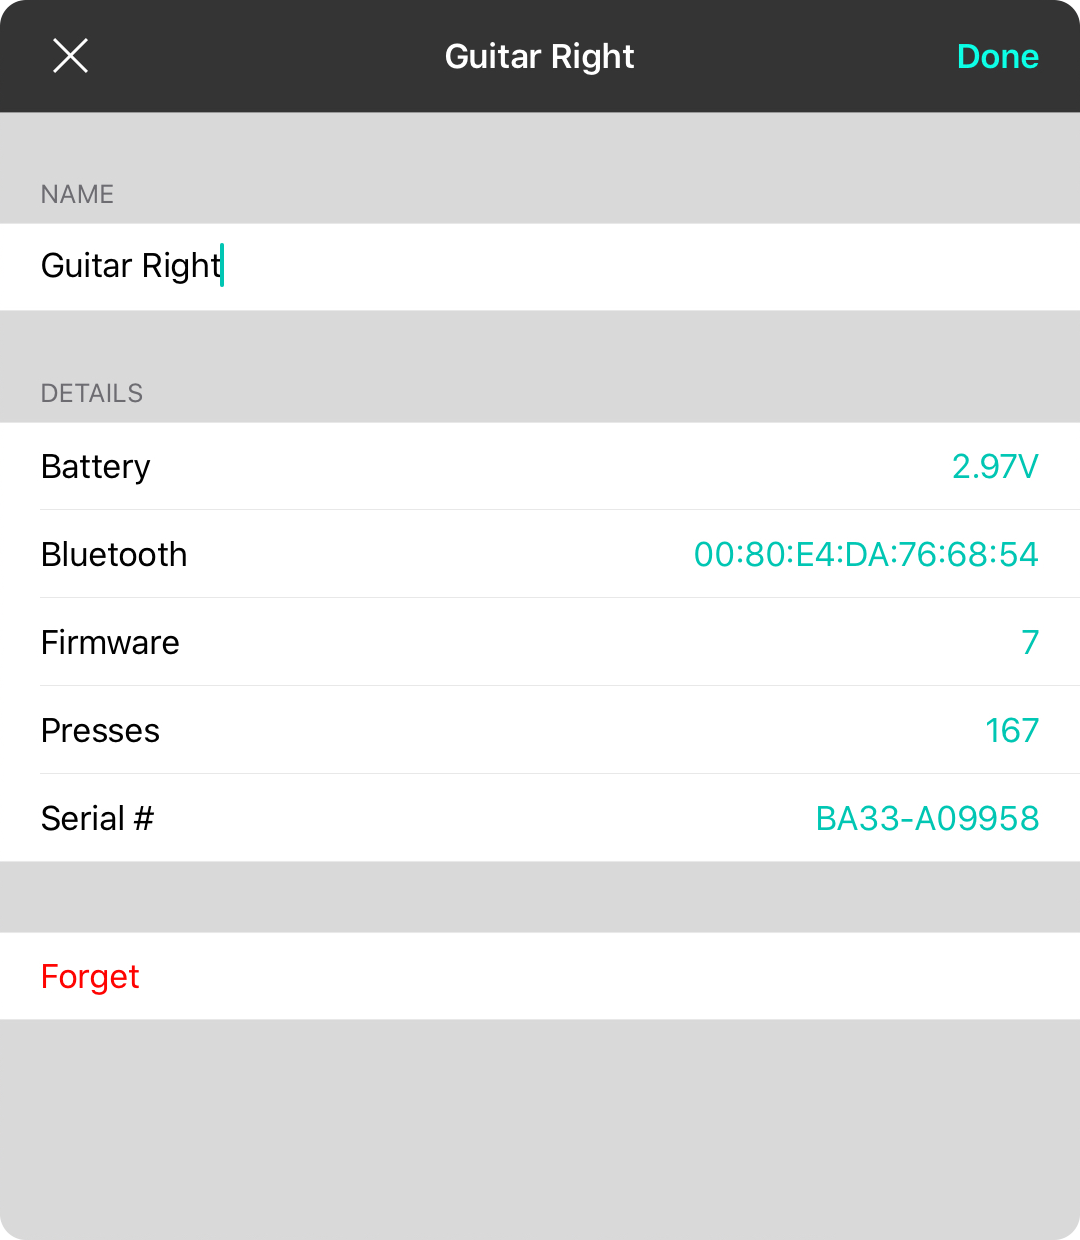
This screen lets you view and edit your Flic button using the following fields:
Name
This is the name of your Flic. This will display the name assigned to your Flic and you can customize it. To return to use the default name of the Flic, you can leave this field blank.
Battery
This shows the approximate voltage of the battery for your Flic with a maximum of 3 volts. If this turns red, it is time to change your battery.
Bluetooth
This is the physical Bluetooth address on the Flic.
Firmware
This is the version of the firmware installed in the Flic button from the factory.
Presses
This is the number of presses of the button since it was reset.
Serial
This is the unique serial number of the Flic.
Forget
This button at the bottom allows you to forget this Flic on the device. Tapping this will unpair the Flic.
Configure
This screen features a video tutorial for how to set up one or more Flic smart buttons for use in OnSong. Tap on the play button in the middle of the screen to play the video tutorial within OnSong.
Video Player
The video plays inside of the window and can either be played full screen or played as a picture-in-picture so you can watch the video and use OnSong at the same.
Manual
You can tap on the Manual button in the upper-right corner to view the user manual for the Flic documentation on the Flic.io website.
Pairing
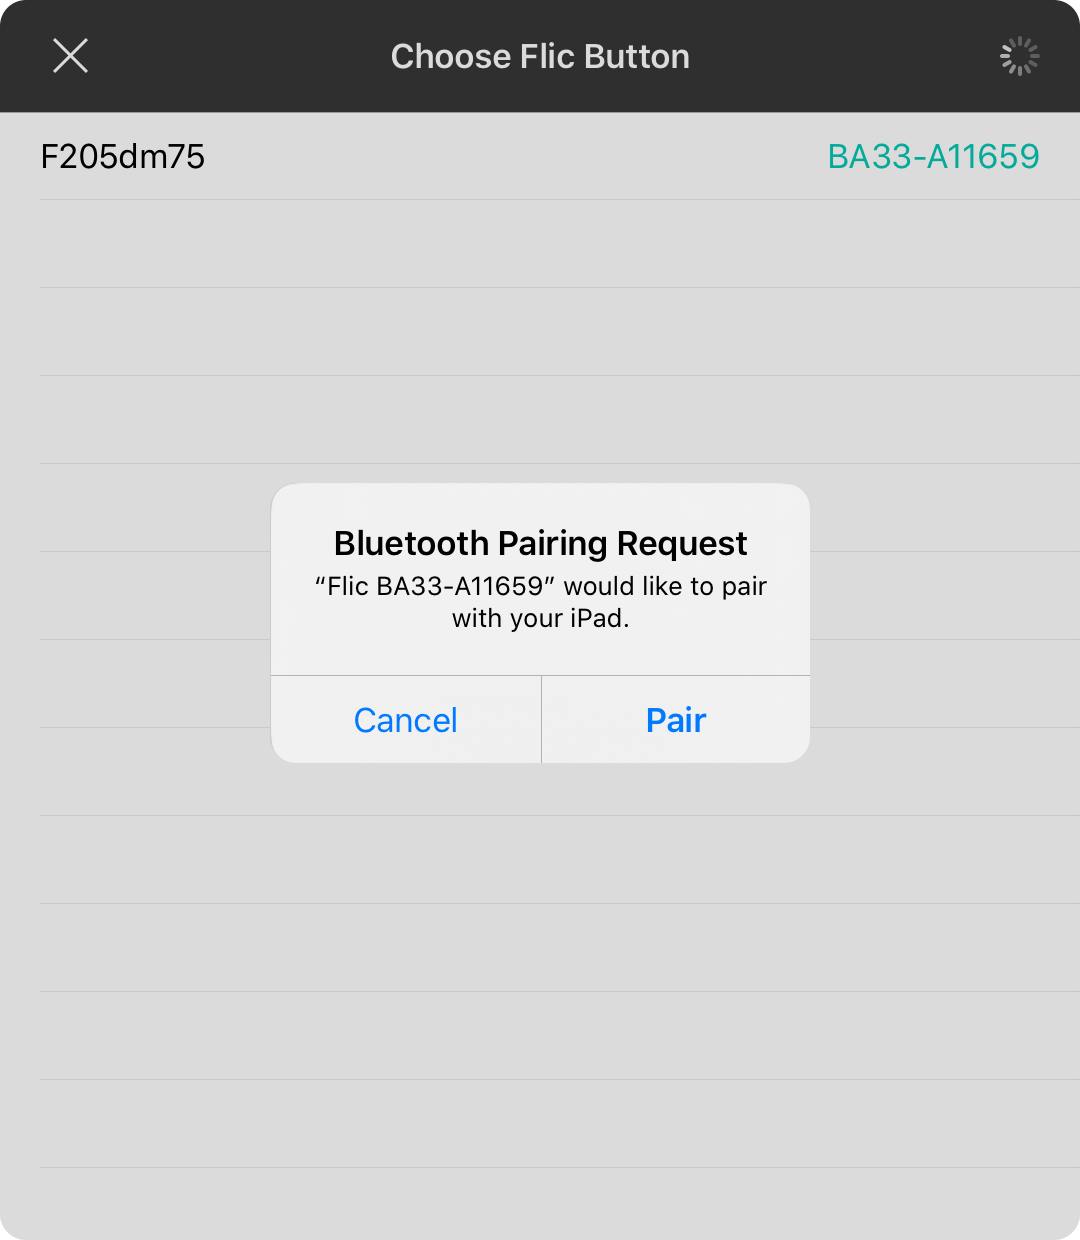
Flic 2 allows you to pair your smart buttons directly with an app like OnSong.
Grabbing Flics
As soon as you tap on the + button, the pairing screen appears and begins scanning for Flic 2 buttons. Press and hold the Flic 2 button for about 8-10 seconds until the pairing prompt appears.
Once you tap on the Pair button in the prompt, the Flic 2 will appear in the list. Tap on the Flic 2 to connect it to the OnSong app.
Managing Flics
Flic 2 buttons can be paired to multiple devices at once and will rotate through devices. This means that you shouldn't have to forget or unpair the button to use it on multiple devices. If needed, you can swipe right to left over buttons in this list and forget those buttons on the device.
Once you're paired to a Flic button, you can manage the button by tapping on it to open the Action Picker and then tap on the information icon to open the Flic Information Screen. There you can rename the button, view additional details, and forget the button as well.
Handheld Menu
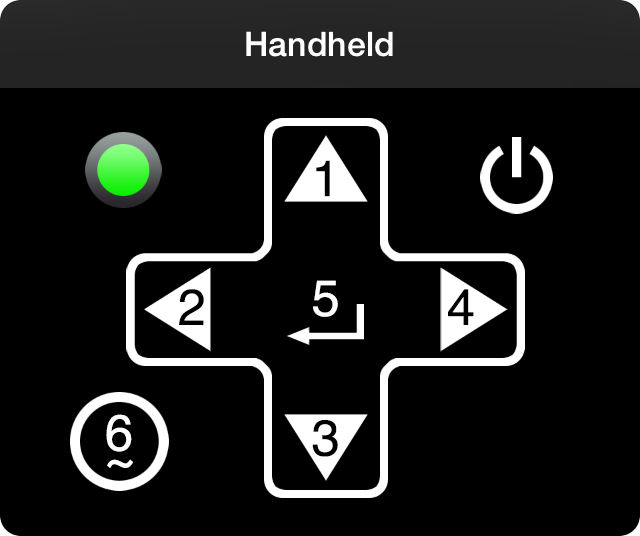
Some models of AirTurn products feature a membrane switch on the module that allows for handheld operation. Tapping on the module in the foot pedal setup screen will display a menu allowing you to set actions for the various button functions.
Setting Actions
Tap on one of the numbered buttons on the screen to open the Actions Menu allowing you to pick from momentary actions for each button.
Note: Foot pedals utilize the directional arrows to operate. For instance, the left foot pedal is assigned to the up arrow (button 1) and the right foot pedal is assigned to the down arrow (button 2).
PageFlip Butterfly
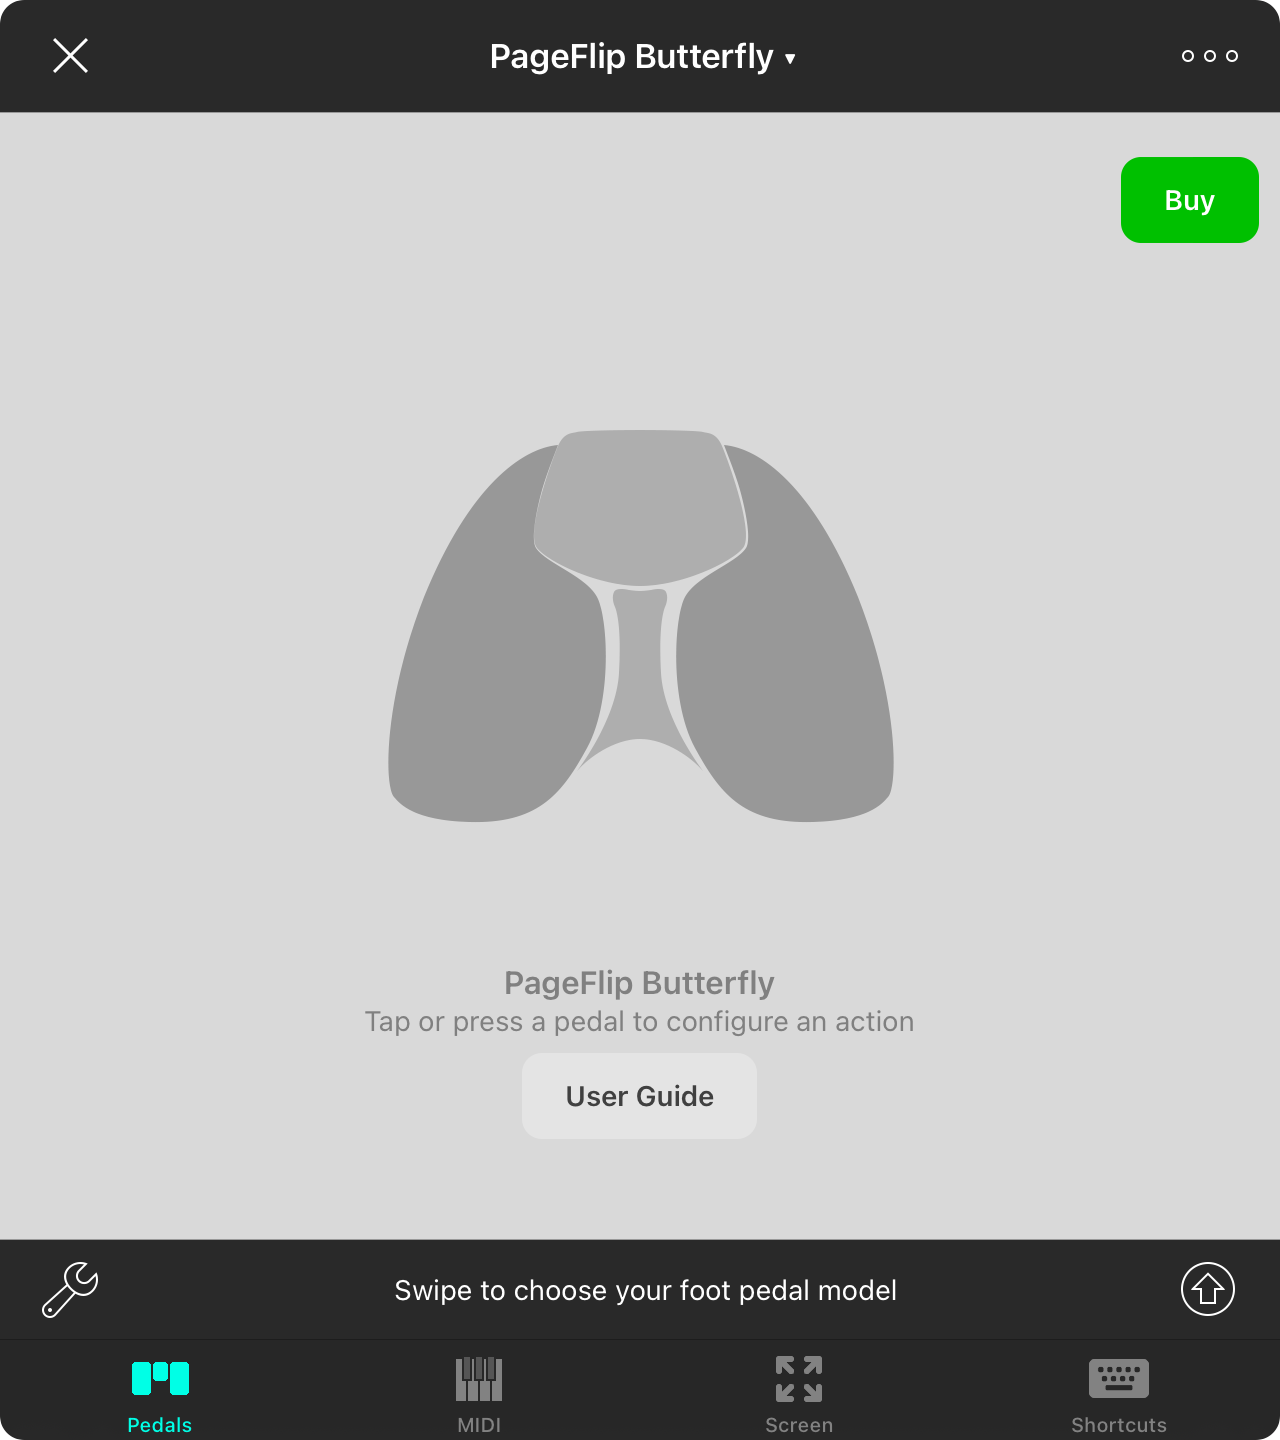
The PageFlip Butterfly pedal which can both be configured on this screen.
Choose Actions
Tap on each foot pedal to configure your PageFlip Butterfly pedal actions. This will open the Actions Menu providing you with momentary actions.
Choose Pedal Mode
Tap on the mode button in the upper right corner to determine which mode on the pedal is currently enabled. For instance, you can have two foot pedals with each in a different arrow mode and configure both through this screen for a total of four foot pedals.
Buy
Tap on the Buy button in the upper right corner to purchase a PageFlip foot pedal.
User Guide
For more details on how to use the PageFlip Butterfly, tap on the User Guide button to be directed to PDF user manuals on the PageFlip website.
PageFlip Dragonfly
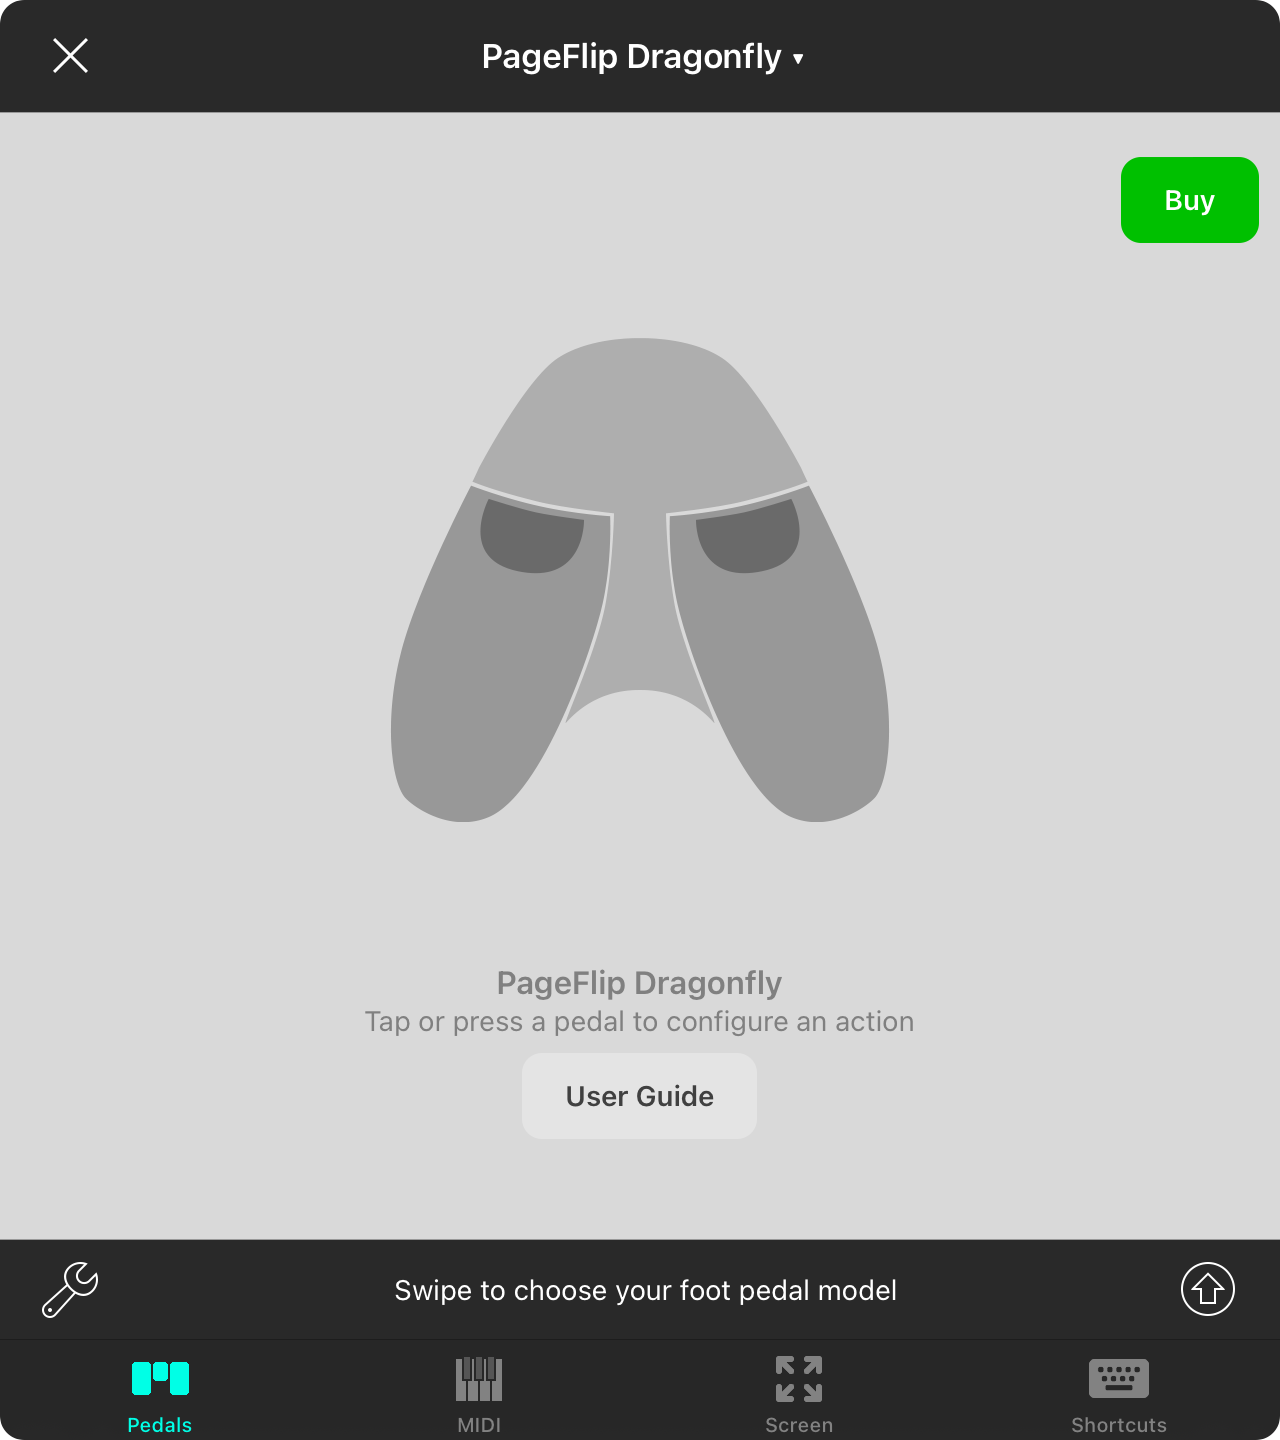
The PageFlip Dragonfly pedal which can both be configured on this screen.
Choose Actions
Tap on each foot pedal to configure your PageFlip Dragonfly pedal actions. This will open the Actions Menu providing you with momentary actions.
Choose Pedal Mode
Tap on the mode button in the upper right corner to determine which mode on the pedal is currently enabled. For instance, you can have two foot pedals with each in a different arrow mode and configure both through this screen for a total of four foot pedals.
Buy
Tap on the Buy button in the upper right corner to purchase a PageFlip Dragonfly foot pedal.
User Guide
For more details on how to use the PageFlip Firefly, tap on the User Guide button to be directed to PDF user manuals on the PageFlip website.
PageFlip Firefly
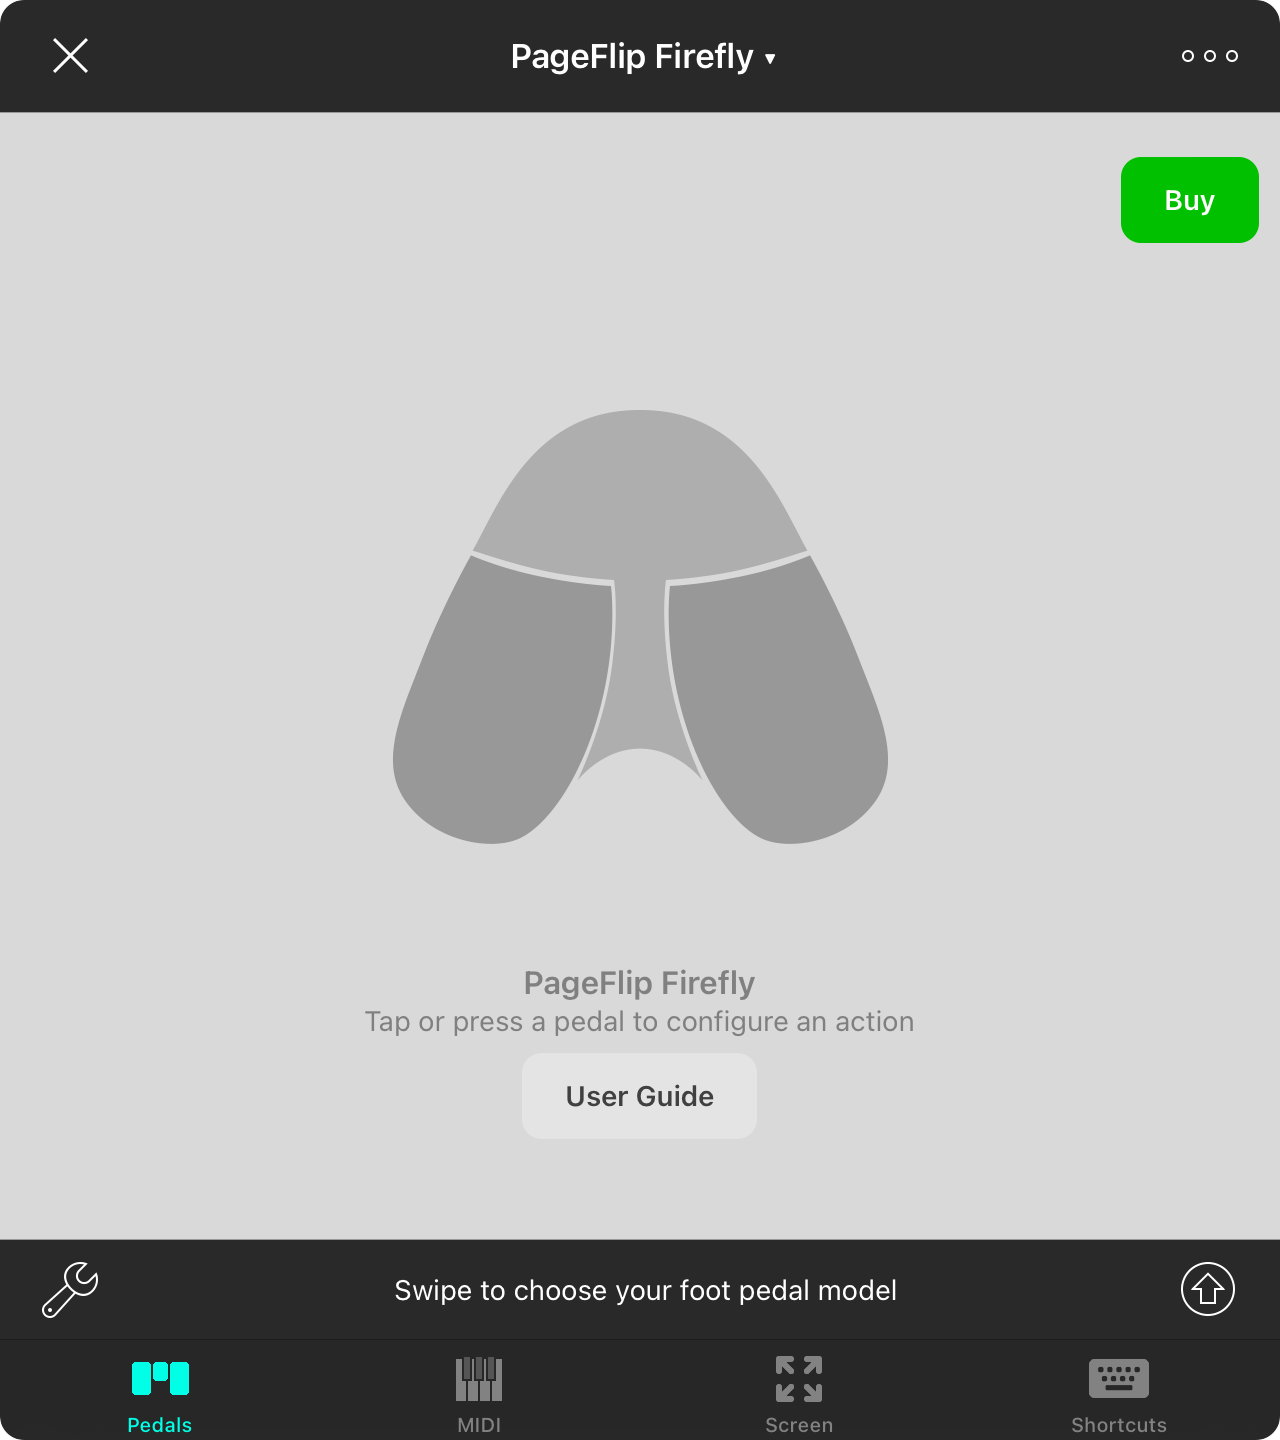
The PageFlip Firefly pedal which can both be configured on this screen.
Choose Actions
Tap on each foot pedal to configure your PageFlip Firefly pedal actions. This will open the Actions Menu providing you with momentary actions.
Choose Pedal Mode
Tap on the mode button in the upper right corner to determine which mode on the pedal is currently enabled. For instance, you can have two foot pedals with each in a different arrow mode and configure both through this screen for a total of four foot pedals.
Buy
Tap on the Buy button in the upper right corner to purchase a PageFlip Firefly foot pedal.
User Guide
For more details on how to use the PageFlip Firefly, tap on the User Guide button to be directed to PDF user manuals on the PageFlip website.
AirTurn Digit III
The AirTurn Digit III is perfect for vocalists or speakers who want to push a button rather than press a foot pedal. It's compact size and six, user-assignable buttons makes it incredibly flexible for scrolling songs, turning pages, triggering backing tracks(/docs/features/audio/) or any one of more than 50 actions in OnSong.
Choose Actions
Just tap on the buttons on the AirTurn Digit III on the screen or press the button on the device in your hand to choose an action in the Actions Menu.
Buy
Tap on the Buy button in the upper right corner to purchase the AirTurn Digit III on the AirTurn online store.
Configure
Tap on the Configure button to watch a video on how to connect your AirTurn Digit III to your iOS device so you can use it in OnSong.
Note: The AirTurn Digit III works with a number of apps on your device including control of iTunes and even Keynote presentations.
AirTurn STOMP 6
Switch to the AirTurn STOMP 6 screen if you are using an AirTurn STOMP 6 foot pedal to assign actions for all six stomp-style footswitches.
The STOMP 6 features an all-metal enclosure that's designed to be mounted on a standard pedalboard. This gives you instant access to dozens of actions in OnSong that let you transpose on the fly, start backing tracks or send MIDI to other devices in your setup. The STOMP 6 lets you completely automate your performance.
Choose Actions
Tap on each of the foot switches in the screen or press the switches on the STOMP 6 to open the Actions Menu allowing you to pick from momentary actions.
Buy
Tap on the Buy button in the upper right corner to purchase the AirTurn STOMP 6 on the OnSong online store or from an AirTurn dealer in your area.
Configure
Tap on the User Guide button to learn more about using the STOMP 6 foot pedal by being directed towards a tutorial video or user manual.
Configure
This screen features a video tutorial for how to set up an AirTurn STOMP 6 for use in OnSong. Tap on the play button in the middle of the screen to play the video tutorial within OnSong.
Video Player
The video plays inside of the window and can either be played full screen or played as a picture-in-picture so you can watch the video and use OnSong at the same.
Manual
You can tap on the Manual button in the upper-right corner to view the user manual for the AirTurn STOMP 6 on the AirTurn website.
iRig BlueTurn
IK Multimedia makes a number of products for iOS music production. The BlueTurn is similar to other Bluetooth-enabled foot pedals that OnSong supports.
Choose Actions
Tap on each foot pedal to configure your BlueTurn pedal actions. This will open the Actions Menu providing you with momentary actions.
Buy
Tap on the Buy button in the upper right corner to purchase the IK BlueTurn.
Choose Pedal Mode
Tap on the mode button in the upper right corner to determine which mode on the pedal is currently enabled. For instance, you can have two foot pedals with each in a different arrow mode and configure both through this screen for a total of four foot pedals.
User Guide
For more details on how to use the BlueTurn, tap on the User Guide button to be directed to more information on the IK Multimedia website.
AirTurn Digit II
The AirTurn Digit II is perfect for vocalists or speakers who want to push a button rather than press a foot pedal. It's compact size and five function buttons makes it incredibly flexible for scrolling songs, turning pages, triggering backing tracks or any other function in OnSong.
Choose Actions
Just tap on the buttons on the AirTurn Digit II on the screen or press the button on the device in your hand to choose an action in the Actions Menu.
Buy
Tap on the Buy button in the upper right corner to purchase the AirTurn Digit II on the OnSong online store or from an AirTurn dealer in your area.
Configure
Tap on the Configure button to watch a video on how to connect your AirTurn Digit II to your iOS device so you can use it in OnSong.
Note: The AirTurn Digit II works with a number of apps on your device including control of iTunes and even Keynote presentations.
Setup Your AirTurn Digit
When you tap on the configure button in the AirTurn Digit II setup screen, you can view a video on how to set up your AirTurn Digit II for use with OnSong. The following are steps you can take to ensure proper functionality. Be sure to refer to the user manual for details on operation.
Choosing the Right Mode
The AirTurn Digit II works when placed in Mode 2. To enter Mode 2, hold down the the left button when you power up the device until both the LED lights blink and then release. This will allow OnSong to use all five buttons of the device.
Powering On/Off
To power on your AirTurn Digit II, press and hold the center button for about 1 seconds until the lights begin to blink. To power off, press and hold the center button for about 2 seconds. The device will power off automatically after 10 hours of non-use.
Pairing
Go into the Settings app on your iPad or iPhone and open the Bluetooth section. Tap on the device in the Other Devices list and wait for it to pair. Once paired, it will appear in the My Devices list as connected.
Resetting
If you've connected the AirTurn Digit II to a different iOS device or are having trouble pairing in general, you may need to reset it. This removes any pairing memory it had and returns it to the factory defaults. To reset, press and hold the top button for 8 seconds until both lights blink.
Toggling the On-Screen Keyboard
The AirTurn Digit II acts like a computer keyboard so iOS will hide the on-screen keyboard when in use. You can bring the on-screen keyboard back and use the AirTurn Digit II at the same time by pressing and holding the left button.
AirTurn DUO
Switch to the AirTurn DUO screen if you are using an AirTurn DUO BT-105 pedal board.
Choose Actions
Tap on each of the foot pedals in the screen or press the pedals on the device to open the Actions Menu allowing you to pick from momentary actions.
If you have an AirTurn Digit or BT-106 module, tap on the module in the middle to open the Handheld Menu to configuration actions for handheld functions.
Buy
Tap on the Buy button in the upper right corner to purchase the AirTurn DUO on the OnSong online store or from an AirTurn dealer in your area.
Configure
Tap on the Configure button to learn more about using the BT-105 module and how to turn on, pair, change modes and turn off the device.
AirTurn PED
Swipe to the AirTurn PED setup screen to configure the AirTurn PED foot pedal.
Choose Actions
Here you can tap on the foot pedals in the screen to set the action in the Actions Menu.
Choose Pedal Mode
The AirTurn PED can operate in a number of modes. Use this method to choose the pedal based on it's current mode to configure. This allows you to configure multiple AirTurn PED devices from one screen.
Buy
If you are interested in purchasing an AirTurn PED, tap on the Buy button to access the OnSong online store or be redirected to dealers in your region.
Setup
Learn how to configure and use the AirTurn PED by watching the tutorial video. You can also alter advanced settings on the device here as well.
AirTurn PED Setup
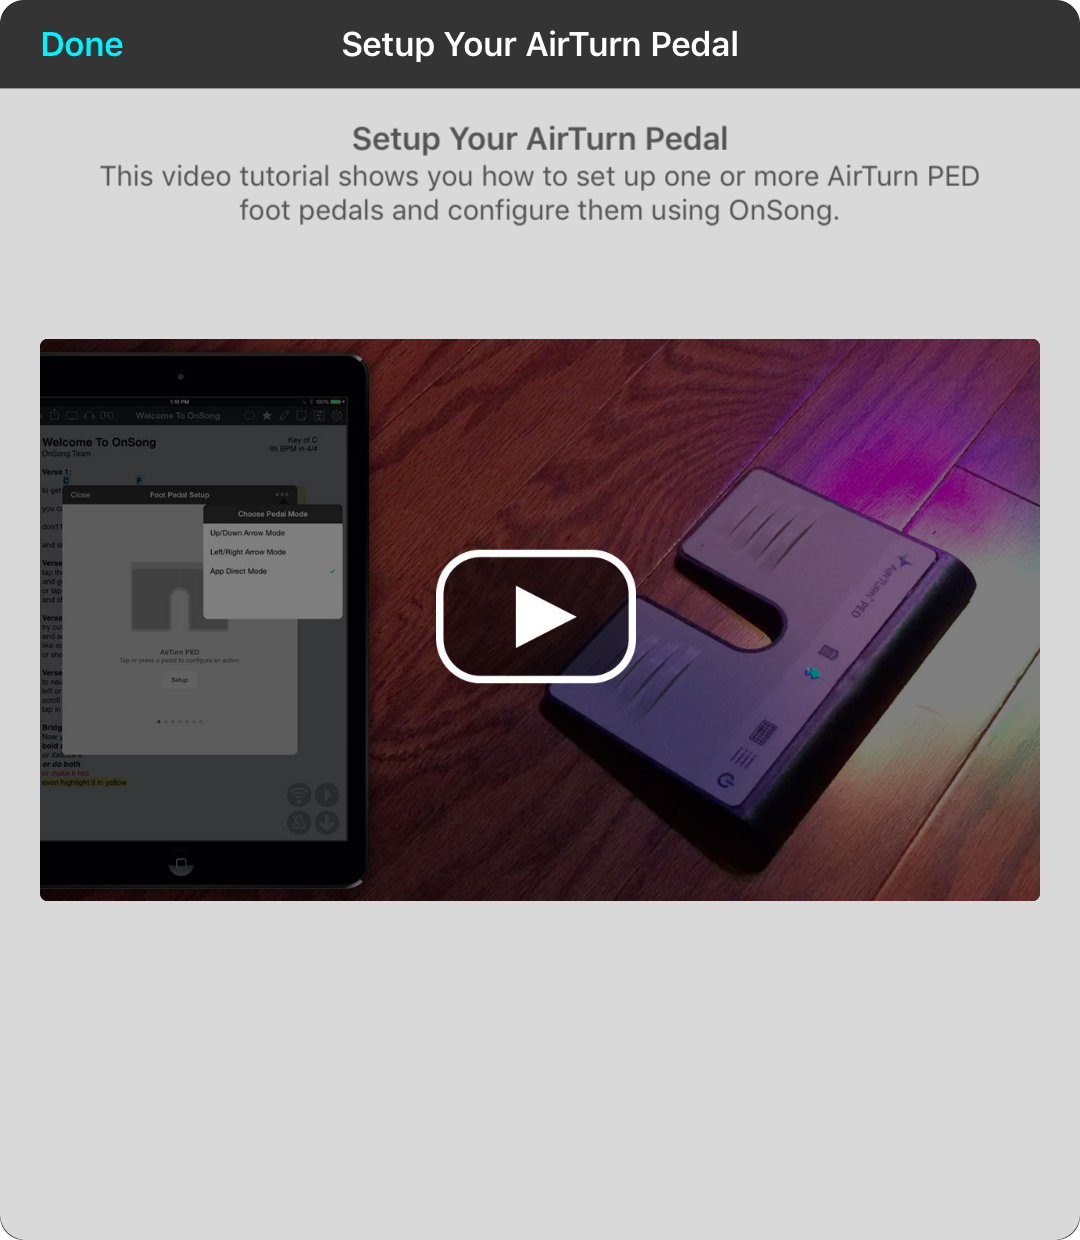
This screen features a video tutorial for how to set up one or more AirTurn PED devices in OnSong. Tap on the play button in the middle of the screen to playback the video tutorial within OnSong.
Configuring
If you are currently paired to an AirTurn PED in App Direct Mode, you can configure additional properties of the device by tapping on the Configure button in the bottom right to Configure the foot pedal further.
Properties of that foot pedal that can be configured are:
- Name displays the name of the device which is currently read-only.
- Repeat Delay adjusts the amount of time in seconds to wait until repeat is enabled on the device.
- Repeat Rate sets the speed at which repeated signals are sent while the pedal is being pressed.
- Idle Power Off sets the amount of time to wait until the device automatically powers off. The default setting is to turn off the pedal after 2 hours without use.
- Forget Device is a button in the toolbar that will unpair the device from OnSong.
AirTurn QUAD
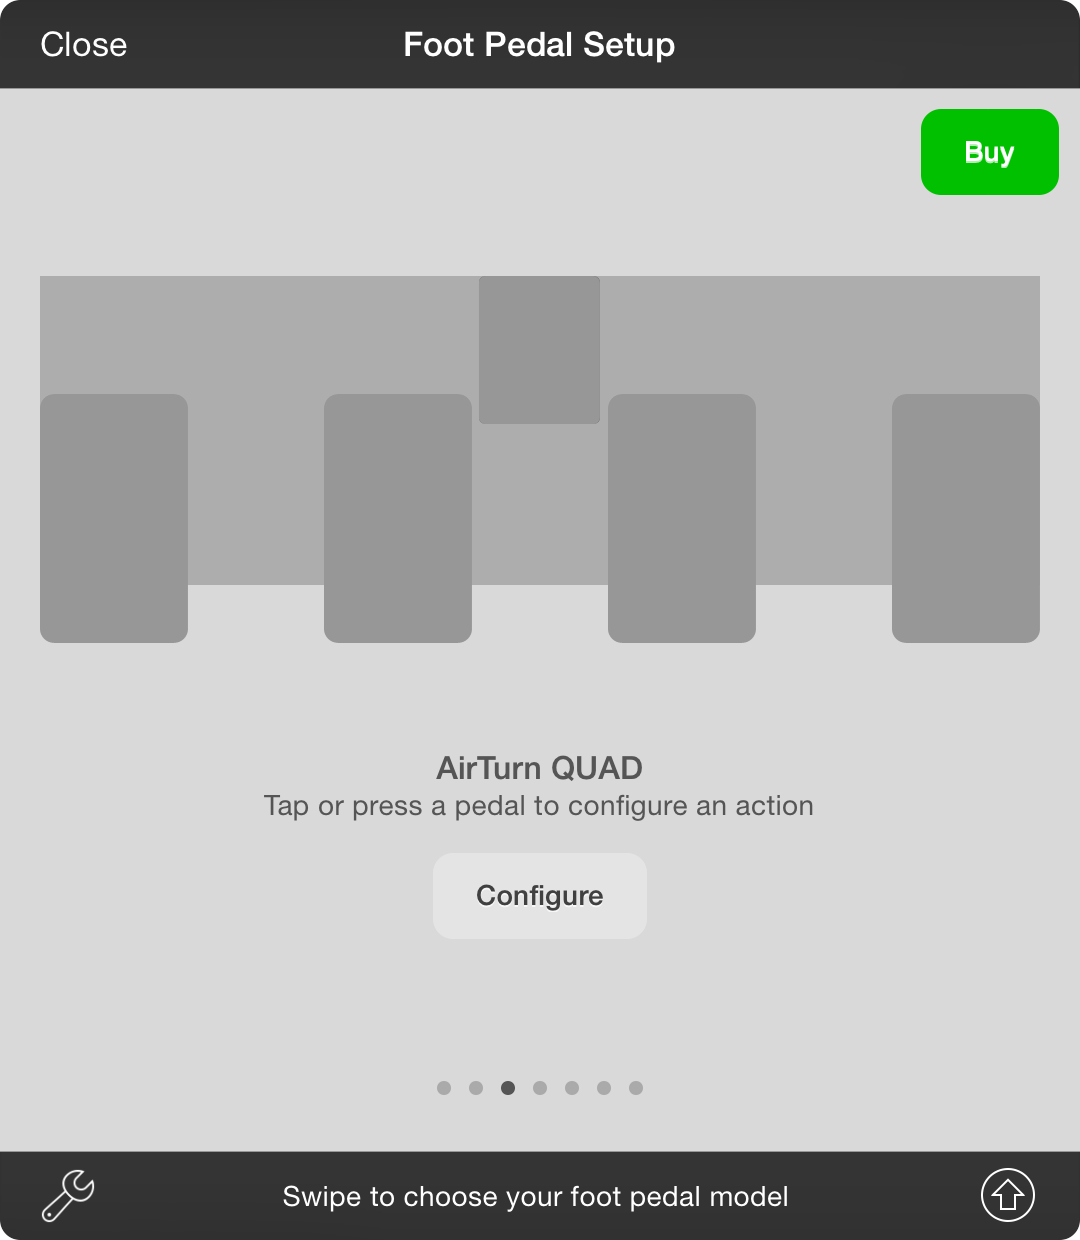
Switch to the AirTurn QUAD screen if you are using an AirTurn QUAD BT-105 pedal board.
Choose Actions
Tap on each of the foot pedals in the screen or press the pedals on the device to open the Actions Menu allowing you to pick from momentary actions.
If you have an AirTurn Digit or BT-106 module, tap on the module in the middle to open the Handheld Menu to configuration actions for handheld functions.
Buy
Tap on the Buy button in the upper right corner to purchase the AirTurn QUAD on the OnSong online store or from an AirTurn dealer in your area.
Configure
Tap on the Configure button to learn more about using the BT-105 module and how to turn on, pair, change modes and turn off the device.
Choose Pedal Mode
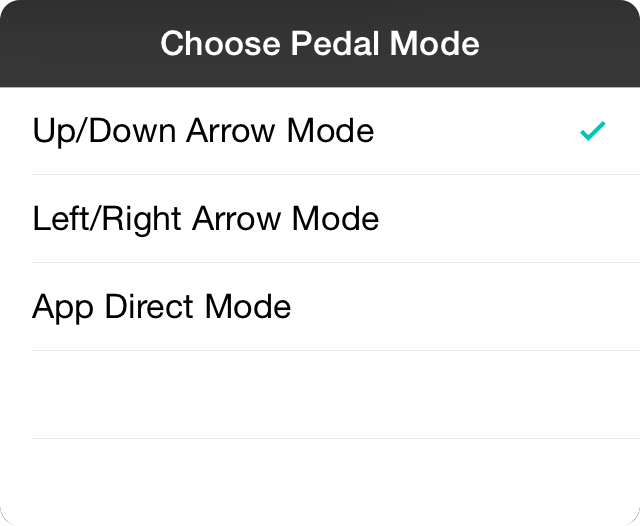
This menu allows you to choose which mode you'd like to configure for your AirTurn PED. If you have more than one AirTurn PED, use this menu to choose one to configure at a time. Options include:
- Up/Down Arrow Mode or Mode 2 is the default mode for the AirTurn PED which simulates up and down arrows on a computer keyboard.
- Left/Right Arrow Mode or Mode 3 can be used in conjunction with other modes to support more than one AirTurn PED foot pedal.
- App Direct Mode or Mode 1 is used to connect the AirTurn PED directly to your OnSong app. This means that you can connect a different AirTurn PED to another app for simultaneous control. Tapping on this option will open the AirTurn Peripherals screen to choose which AirTurn device to pair with OnSong.
AirTurn Peripherals
Use the AirTurn peripherals picker to choose which AirTurn PED that has been placed in App Direct Mode or Mode 1 to pair. This screen will automatically locate AirTurn PED devices that are in range. Tap on the Scan button to locate nearby devices again if needed.
Connecting
Once one or more devices have been found, tap on it to pair the device to OnSong. Once paired, the peripherals screen is closed.
Note: You can only connect to one AirTurn PED at a time using App Direct Mode. To connect a different PED instead, you will need to forget the device in the setup screen and also forget the device from your device's Bluetooth screen in the Settings app.
Configure
If you are currently paired to an AirTurn PED in App Direct Mode, you can configure additional properties of the device by tapping on the connected foot pedal in the AirTurn Peripherals list.
Properties of that foot pedal that can be configured are:
- Name shows the current name of the AirTurn PED and can be changed.
- Repeat Delay adjusts the amount of time in seconds to wait until repeat is enabled on the device.
- Repeat Rate sets the speed at which repeated signals are sent while the pedal is being pressed.
- Idle Power Off sets the amount of time to wait until the device automatically powers off. The default setting is to turn off the pedal after 2 hours without use.
- Forget Device is a button in the toolbar that will unpair the device from OnSong.
If your AirTurn PED is due for an update, you will be prompted to install the latest firmware. This will open the App Store for you to download and install the AirTurn Manager app in order to perform the update.
Custom Foot Pedal
OnSong has the ability to map custom character sequences to perform an action. This is great if you create your own foot pedals out of spare computer keyboards, or have a foot pedal that is not typically supported.
Choose Actions
Since the location of pedals are not known, tapping on the keyboard-like graphic on this screen will present a Pedal Picker where you can choose between four different configured pedals. This will then allow you to set actions for each pedal accordingly.
Settings
Of course you will need to set up character sequences for each foot pedal that you want to use. Tap on the Settings button to open the Pedal Setup Screen.
Pick Pedal
This menu allows you to pick the pedal that you want to set actions for. Once you tap on an option, you'll be shown the Action Picker allowing you to set an action to a custom foot pedal.
Foot Pedal Settings

The foot pedal settings menu allows you to configure more advanced settings for how foot pedals interact with OnSong.
Scroll Behavior
When a scroll down or scroll up action is performed, it can be handled in various ways. These include:
- Scroll Page scrolls down the screen a certain percentage of the height of the screen. By default this is 75% of the height and can be adjusted by using the scroll amount slider.
- Jump to Section moves through the sections of the song. Not only does this select the section, but will also scroll it into view.
- Jump to Page is used when viewing PDF files or text-based chord charts that have page breaks added. This will scroll the song to the top of each page.
- Jump to Song will not scroll the song but rather navigate back and forth through the set.
Scroll Amount
When using the Scroll Page pedal behavior, OnSong will scroll the page a specified percentage of the screen height. You can adjust this between 25% and 100%. The default value is 75% to allow some overlap.
Scroll Speed
Animation helps maintain context through the scrolling action. You can adjust this speed from zero seconds (no animation) to three seconds. Default is 0.3 seconds which is the standard animation speed of scrolling.
Forward Pedal Trigger
The forward pedal trigger is an action to take the first time the Scroll Down foot pedal is pressed. This allows one foot pedal to have multiple uses. After the action is triggered, the pedal returns to its normal scroll down action. Options include:
- None performs no action and scrolls down on the first press. Default.
- Audio starts the audio track playback.
- Autoscroll begins autoscrolling the chord chart. Note that you can also set an autoscroll trigger to perform more than one action at a time like starting audio and autoscroll simultaneously.
- Metronome toggles the metronome.
Start Set Trigger
When using foot pedals to navigate to the start of the set, you can have an action performed when the scroll up pedal is pressed at the beginning of the set. Options include:
- None performs no action. Default.
- Show Songs List will display the songs menu to pick a different list or song.
- Previous Set will load the previous set in the currently selected list of sets. For instance, if you choose a set folder in a particular order, the set preceding the current set will be loaded.
End Set Trigger
When using foot pedals to navigate to the end of the set, you can have an action performed when the scroll down pedal is pressed when on the last song of the set. Options include:
- None performs no action. Default.
- Show Songs List will display the songs menu to pick a different list or song.
- Next Set will load the next set in the currently selected list of sets. For instance, if you choose a set folder in a particular order, then the set succeeding the current set will be loaded.
Options
The following options can be toggled on and off.
- Half Page Scrolling effects how pages are scrolled when pedal behavior is set to Jump to Page. This could miss content if the device is in the landscape orientation. Half page scrolling allows scrolling to occur halfway through a page. Options include on, off and automatic. The default is automatic which will determine if half page scrolling is applicable based on the current orientation of the device in comparison to the orientation of the page.
- Disable Section Navigation can be toggled on to prevent lyrics projection from automatically switching to the Jump To Section scroll behavior.
- Disable Set Navigation prevents foot pedal presses from navigating between songs in a set. By default, scroll up and scroll down actions will go to the previous or next song in the set once the top or bottom of the chord chart is reached. If this is enabled you must swipe, tap the screen or use another action to move through songs in your set.
- Scroll To Tapped Section is used to reposition the song viewer to encompass the selected section when tapped.
- Show Icon in Menubar This option will show the Foot Pedal Setup icon in the Menubar. Turn this off to remove the icon from the menubar. Default is set to on.
Gears
Gears enable you to extend the number of actions you can perform with just one foot pedal model. For instance, one 4-switch foot pedal can be extended to perform dozens of actions.
Configuring Gears
To use, tap on the icon in the lower right corner of the Foot Pedal Setup Screen. This will display currently configured gears. By default, you have just one gear that is selected. You can configure the foot pedal switches to perform actions.
Adding Gears
To add a gear, tap on the "+" button in the upper right corner. Once a gear has been added, tap on it to select it. Close the gears menu and configure your foot pedals again. Now you have two distinct set of actions operating on the same foot pedal.
Editing Gears
Numbered gears have suited us just fine in automobiles for some time, but you may want to name your gears instead. To do this, tap on the edit button in the upper left corner and then tap on the name of the gear you wish to rename.
You can also reorder gears when in edit mode as well. The order of gears determines how you shift through them.
While in edit mode, tap on the red minus on the left to delete gears you are no longer using.
Shifting Gears
Something you will need to keep in mind is you need to be able to "shift" to these gears. To do that, configure a foot pedal or hot corner to do just that. Choose either Shift Up, Shift Down or Unshift from the Actions Menu.
Cycling Through Gears
Shifting gears in a live scenario has to be fast and intuitive. As you shift through your gears, OnSong will display the number of the gear in the lower left corner of your screen. If you've specified a name for your gear, that is displayed instead.
The following actions effect how shifting occurs.
Shift Up increments through your gears by increasing the gear count. For instance, if you are on Gear 1, shifting up will go to Gear 2, Gear 3 and so on. Once there are no more gears, shifting will cycle back to Gear 1 allowing you to go through all your gears.
Shift Down decrements through your gears. For instance, if you are on Gear 4, shifting down will go to Gear 3, Gear 2, etc. Once Gear 1 is reached, shifting will resume at the highest gear available.
Unshift returns you to the first gear in your collection of gears.
Return to first gear automatically is a switch at the bottom of the menu that is turned on by default. This will automatically return you to the first gear once an action is performed. For instance, you can use shift up to get to a gear for messaging and send a message. After that action is performed, you are immediately returned to the first gear on your list.
Griffin Stompbox
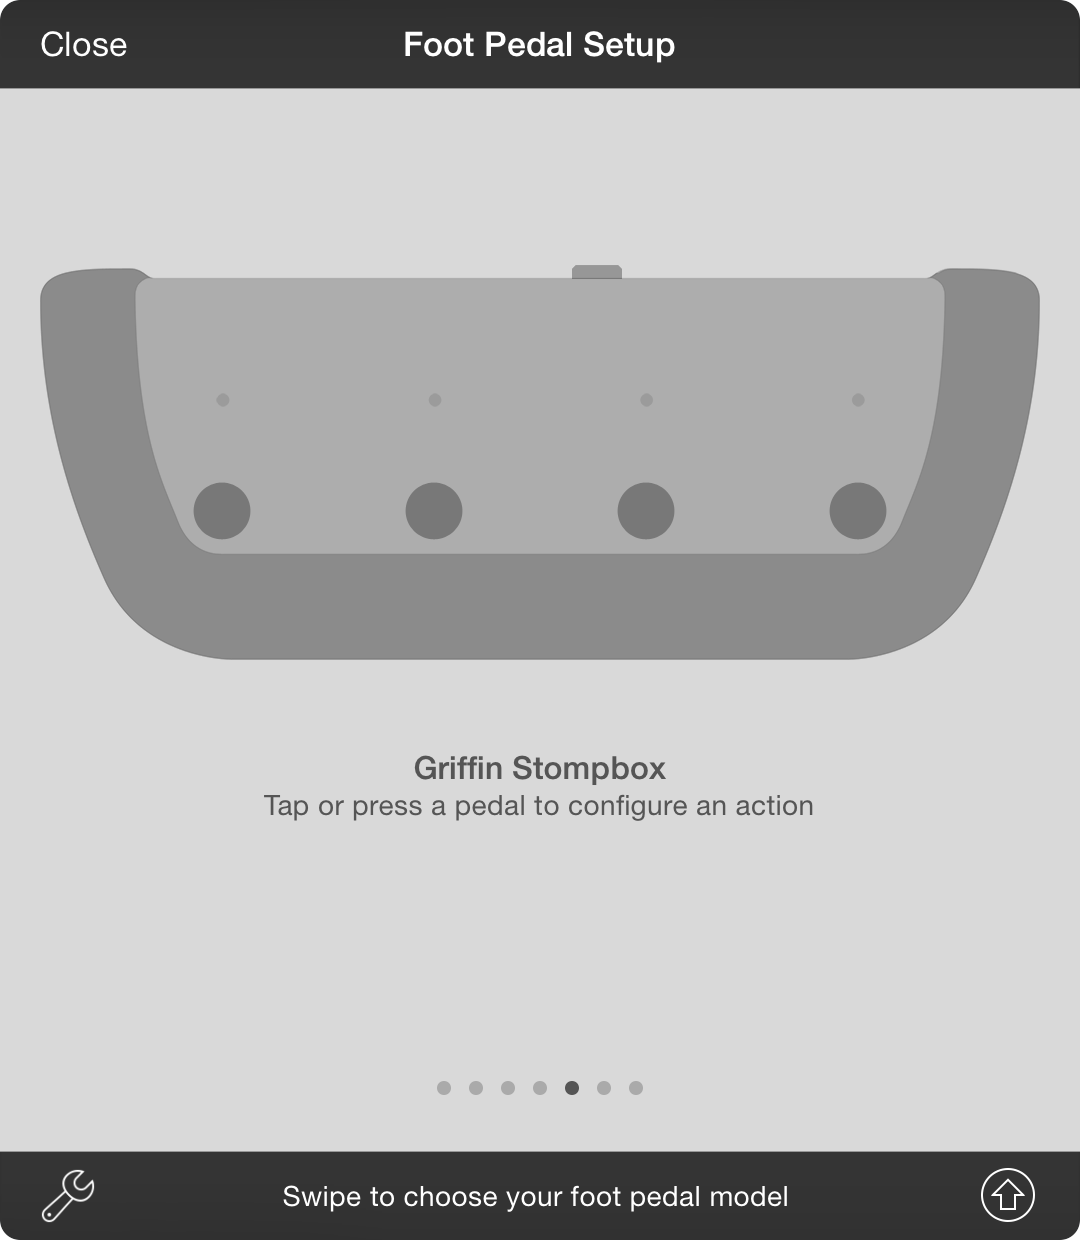
Switch to the Griffin Stompbox to configure your Stompbox to use in OnSong. Tap on each of the buttons in the graphic or press the button on the device to open the Actions Menu to assign functions to each button.
Choose Actions
Tap on the the expression pedal port on the rear of the Stompbox graphic to set the action for an optional expression pedal. This will provide options for variable input instead of momentary input.
Note: The Griffin Stompbox only works with 30-pin dock connector devices like the iPad 3 and earlier and iPhone 4S and earlier. Lightning port adapters do not appear to supply enough voltage to power the unit.
No Foot Pedal
Selecting this option will turn off any foot pedal drivers that are active in the app.
If you'd like to buy a foot pedal, tap on the Buy button to open a webpage featuring foot pedals for purchase on the OnSong Online Store.
PageFlip Cicada/Firefly
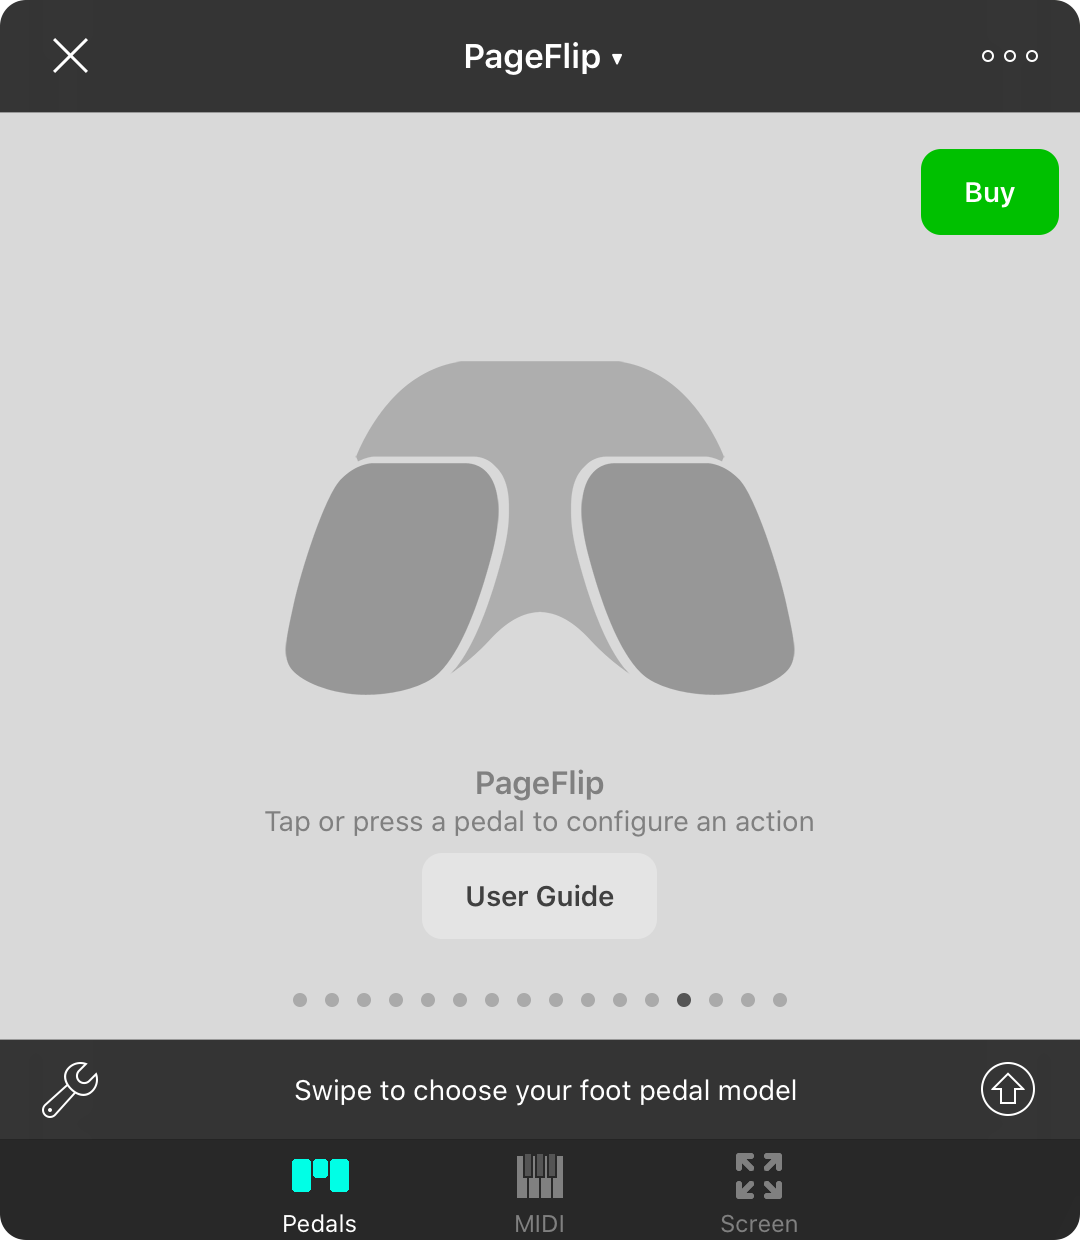
PageFlip creates the Cicada and Firefly foot pedals which can both be configured on this screen.
Choose Actions
Tap on each foot pedal to configure you Cicada or Firefly pedal actions. This will open the Actions Menu providing you with momentary actions.
Choose Pedal Mode
Tap on the mode button in the upper right corner to determine which mode on the pedal is currently enabled. For instance, you can have two foot pedals with each in a different arrow mode and configure both through this screen for a total of four foot pedals.
User Guide
For more details on how to use the PageFlip Cicada and Firefly, tap on the User Guide button to be directed to PDF user manuals on the PageFlip website.
Screen Triggers
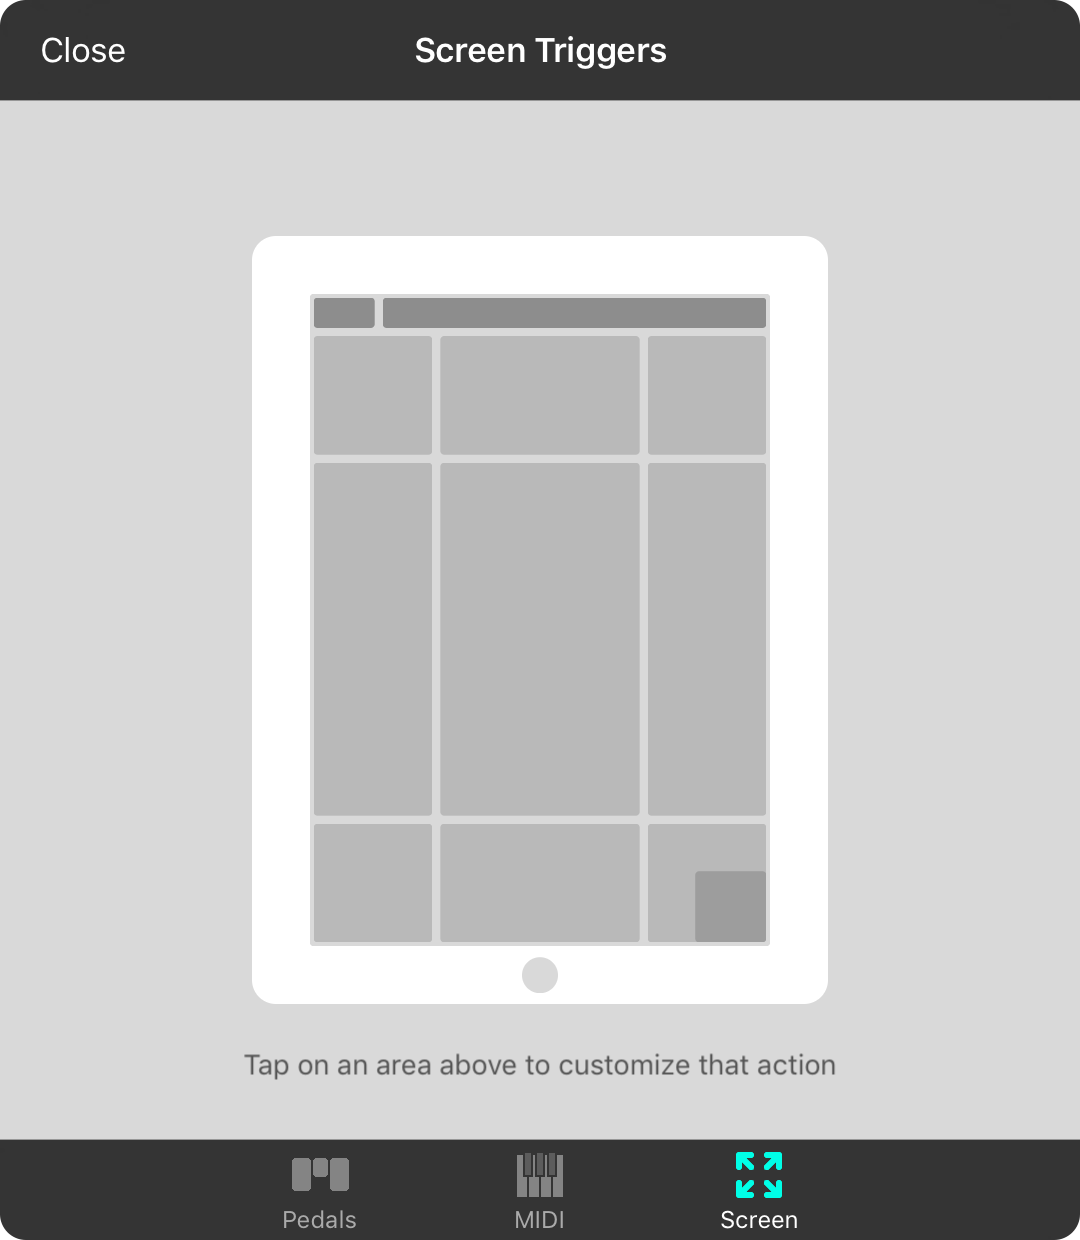
The screen tab lets you configure areas of the screen that can be tapped to perform an action. In addition, you can customize the songs menu, menubar and live bar as well.
Hot Corners
Hot corners are the area in the four corners of the screen. Tap on one of these in the device graphic to choose an action from the Actions Menu. Once set, the corner is darkened to indicate an action is set. You can tap again to view which action is selected.
You can assign single tap and double-tap actions for each hot corner.
Live Bar Options
The live bar are a collection of four buttons in the lower right of the screen that are used to toggle features on and off like playback of backing tracks or autoscroll. Tapping the lower right corner of the screen in this tab will allow you to turn those buttons on and off.
Menubar Options
Tapping the menubar area of the graphic on this tab allows you to configure how the menubar behaves.
Navigation Zones
Navigation zones are the four edges of the device. By default, these are set to scroll the page up and down as well as navigate back and forth through a set. Tapping on the middle of the screen toggles the menubar on and off by default.
Tap on one of these edges to select a different action to perform using the Actions Menu. The navigation edge will appear darkened in the graphic to indicate that a custom action has been set. Tap again to view or change the action.
You can assign single tap and double-tap actions for each navigation zone.
Songs Menu Options
Tapping in the upper left corner of the graphic will provide options for configuring how the songs menu behaves.
Live Bar Options
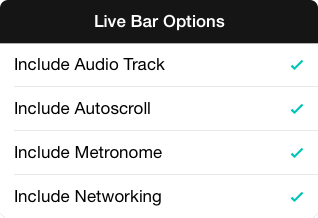
The Live Bar helps you to trigger audio, autoscroll and metronome for the main screen with large, easy-to-press buttons. By tapping in the lower right corners of the screen, you can configure which buttons are displayed. There include:
- Include Audio Track to show the play/pause/stop button for playing back audio tracks.
- Include Autoscroll to show the start/pause button for autoscrolling.
- Include Metronome to show the start/stop button for playing the metronome.
- Include Networking to show the ad-hoc networking button used to toggle wireless sharing on and off.
Menubar Options
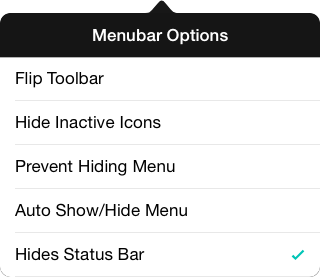
Tap on the menubar in the screen graphic to configure how the menubar behaves. Options include:
- Flip Toolbar reverse the order of the toolbar, placing the Songs Menu on the right and the Utilities Menu on the left.
- Hide Inactive Icons hides the external video icon when an external video device is not attached.
- Prevent Hiding Menu prevents the menubar from ever hiding. This overrides the center navigation zone's default behavior.
- Auto Show/Hide Menu allows the menubar to automatically hide when a song is selected from the Songs Menu. Tapping in the center of the screen will then show the menu and open the Songs Menu.
- Hides Status Bar is available on iOS 7 and higher and also hides the status bar for a completely full screen.
Actions Menu

The actions menu lets you pick an action to perform when pressing a foot pedal or tapping on the screen.
None
Set the action to None to perform no action when the input is received.
Variable
Variable actions are performed when a variable input such as a MIDI controller knob or expression pedal is used. The values will appear on the screen but not take place until the variable input has not changed for a brief period of time.
- Adjust Autoscroll continuously alters the autoscroll speed from between 0 and 15 minutes.
- Adjust Brightness continuously adjusts the brightness of the screen from between 0 and 100 percent.
- Adjust Capo continuously adjusts the capo setting from between 0 and 11 frets.
- Adjust Key continuously changes the key using the values in the transpose slider in the Styles Preferences Menu.
- Adjust Scroll Position continuously adjusts the scroll position of the page from the top to the bottom.
- Adjust Section continuously adjusts the currently selected section from the top-most section to the bottom.
- Adjust Song In Set continuously scrolls through songs in the currently selected set.
- Adjust Tempo continuously adjusts the tempo of the song from between minimum and maximum tempos as defined in settings.
- Adjust Velocity continuously adjusts the velocity to use when playing MIDI notes through OnSong.
- Adjust Volume continuously adjusts the volume of the device between 0 and 100%.
Momentary
Momentary actions are ones that are performed with a single input such as a tap or pedal press. These include:
- None no action is performed.
- Capo Up increases the capo for the song by one fret.
- Capo Down decreases the capo for the song by one fret.
- Scroll Up scrolls the song up. If using a foot pedal, performing this action once the top of a song is reached will navigate to the previous song in the set.
- Scroll Down scrolls the song down. If using a foot pedal, performing this action once the bottom of a song is reached will navigate to the next song in the set.
- Next Song navigates to the next song in the set.
- Previous Song navigates to the previous song in the set.
- Next Slide advances to the next slide when projecting lyrics.
- Previous Slide advances to the previous slide when projecting lyrics.
- Show/Hide Menubar toggles the menubar on and off for a full screen view.
- Show Songs List displays the song menu. When using non-keyboard input such as MIDI, this action will also hide the songs menu.
- Scroll Faster decreases the duration of the song by 30 seconds which causes autoscroll to speed up.
- Scroll Slower increases the duration of the song by 30 seconds which causes the autoscroll to slow down.
- Toggle Audio play, pause, or stop the backing track associated to the song.
- Toggle Autoscroll starts or pauses the autoscroll.
- Toggle Capo turns the capo on or off.
- Toggle Low Light Mode turns low light mode on and off. When on, the background of the song is black with white foreground text.
- Toggle Metronome turns the metronome on and off.
- Toggle MIDI Start/Stop sends the MIDI start or stop command.
- Mute Metronome mutes the metronome, allowing it to continue to keep time and optionally blink the menubar. This is great to use for practice to see if the beat can be maintained without click reinforcement.
- Tap For Tempo is used to change the tempo of the current song. This should not be used on high latency foot pedals like the AirTurn BT-105 since they are designed to forgive accidental foot taps or double entry.
- Tempo Up increase the tempo of the song by 1 BPM.
- Tempo Down decreases the tempo of the song by 1 BPM.
- Transpose Up transposes the song up by one half step including enharmonic variations.
- Transpose Down transposes the song up down one half step including enharmonic variations.
- Volume Up increases the master volume of the device by 5%.
- Volume Down decreases the master volume of the device by 5%.
- Blackout Lyrics blacks out the lyrics for lyrics projection by hiding lyrics and removing the background.
- Clear Lyrics shows or hides the lyrics during lyrics projection while retaining the background image or video.
- Continue Scene will continue the playback of a scene if a step is encountered that has an infinite duration. Use this for more advanced playback without the creation of addition scenes.
- Play Scene is used to restart playback of the currently loaded scene.
- Stop Scene is used to stop the playback of the currently playing scene.
- Toggle Scene Playback can be used to toggle the playback state of the currently loaded scene.
- Playback Pitch plays the pitch of the song for a cappella groups. This can be configured using metadata.
- Shift Up shifts to the next gear in the configured gears.
- Shift Down shifts to the previous gear in the configured gears.
- Unshift shifts to the first gear in the configured gears.
- Send Message allows you to select a message to be sent to connected devices.
- Send MIDI when using the MIDI in-app purchase, this option is available and allows you to define a MIDI command to be sent.
- Switch Scene can map a specific scene to an action. For instance, set an action to blackout all lights or to bring the house lights up.
- Switch Section allows you to link an action directly to a named section in your song. For instance, you can link to "Verse 1" or "Chorus".
Songs Menu Options
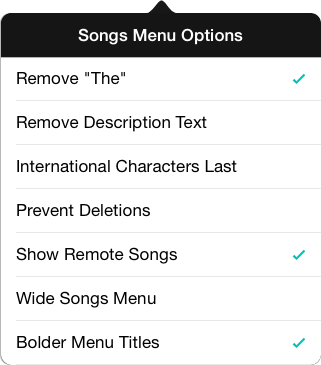
The songs menu option let's you define how the songs menu in OnSong behaves. These options include:
- Remove "The" removes the "The" word during sort operations. For instance, if a song is titled "The Blue Bayou", it will appear in the "B" section instead of the "T" section.
- Remove Description Text removes the second line of information such as the artist name and key. This has the effect of making the song title larger.
- International Characters Last sorts international characters like Ü or Ø to be sorted last in the list. If turned off, OnSong will sort these song titles near their non-accented cousins.
- Prevent Deletions turns off the ability to delete a song by swiping to prevent accidental deletions.
- Show Remote Songs is used to toggle the Local/Remote tab on and off in All Songs and My Sets.
- Wide Songs Menu can be turned on if you desire a wider songs menu. This roughly doubles the width of the menu to display longer songs titles.
- Bolder Menu Titles in iOS 7, most of the default styles used very thin fonts that are hard to read. OnSong bolds the text in the songs menu for song titles. You can disable this for the native iOS 7 appearance.
Actions Menu

The actions menu lets you pick an action to perform when pressing a foot pedal or tapping on the screen.
None
Set the action to None to perform no action when the input is received.
Variable
Variable actions are performed when a variable input such as a MIDI controller knob or expression pedal is used. The values will appear on the screen but not take place until the variable input has not changed for a brief period of time.
- Adjust Autoscroll continuously alters the autoscroll speed from between 0 and 15 minutes.
- Adjust Brightness continuously adjusts the brightness of the screen from between 0 and 100 percent.
- Adjust Capo continuously adjusts the capo setting from between 0 and 11 frets.
- Adjust Key continuously changes the key using the values in the transpose slider in the Styles Preferences Menu.
- Adjust Scroll Position continuously adjusts the scroll position of the page from the top to the bottom.
- Adjust Section continuously adjusts the currently selected section from the top-most section to the bottom.
- Adjust Song In Set continuously scrolls through songs in the currently selected set.
- Adjust Tempo continuously adjusts the tempo of the song from between minimum and maximum tempos as defined in settings.
- Adjust Velocity continuously adjusts the velocity to use when playing MIDI notes through OnSong.
- Adjust Volume continuously adjusts the volume of the device between 0 and 100%.
Momentary
Momentary actions are ones that are performed with a single input such as a tap or pedal press. These include:
- None no action is performed.
- Capo Up increases the capo for the song by one fret.
- Capo Down decreases the capo for the song by one fret.
- Scroll Up scrolls the song up. If using a foot pedal, performing this action once the top of a song is reached will navigate to the previous song in the set.
- Scroll Down scrolls the song down. If using a foot pedal, performing this action once the bottom of a song is reached will navigate to the next song in the set.
- Next Song navigates to the next song in the set.
- Previous Song navigates to the previous song in the set.
- Next Slide advances to the next slide when projecting lyrics.
- Previous Slide advances to the previous slide when projecting lyrics.
- Show/Hide Menubar toggles the menubar on and off for a full screen view.
- Show Songs List displays the song menu. When using non-keyboard input such as MIDI, this action will also hide the songs menu.
- Scroll Faster decreases the duration of the song by 30 seconds which causes autoscroll to speed up.
- Scroll Slower increases the duration of the song by 30 seconds which causes the autoscroll to slow down.
- Toggle Audio play, pause, or stop the backing track associated to the song.
- Toggle Autoscroll starts or pauses the autoscroll.
- Toggle Capo turns the capo on or off.
- Toggle Low Light Mode turns low light mode on and off. When on, the background of the song is black with white foreground text.
- Toggle Metronome turns the metronome on and off.
- Toggle MIDI Start/Stop sends the MIDI start or stop command.
- Mute Metronome mutes the metronome, allowing it to continue to keep time and optionally blink the menubar. This is great to use for practice to see if the beat can be maintained without click reinforcement.
- Tap For Tempo is used to change the tempo of the current song. This should not be used on high latency foot pedals like the AirTurn BT-105 since they are designed to forgive accidental foot taps or double entry.
- Tempo Up increase the tempo of the song by 1 BPM.
- Tempo Down decreases the tempo of the song by 1 BPM.
- Transpose Up transposes the song up by one half step including enharmonic variations.
- Transpose Down transposes the song up down one half step including enharmonic variations.
- Volume Up increases the master volume of the device by 5%.
- Volume Down decreases the master volume of the device by 5%.
- Blackout Lyrics blacks out the lyrics for lyrics projection by hiding lyrics and removing the background.
- Clear Lyrics shows or hides the lyrics during lyrics projection while retaining the background image or video.
- Continue Scene will continue the playback of a scene if a step is encountered that has an infinite duration. Use this for more advanced playback without the creation of addition scenes.
- Play Scene is used to restart playback of the currently loaded scene.
- Stop Scene is used to stop the playback of the currently playing scene.
- Toggle Scene Playback can be used to toggle the playback state of the currently loaded scene.
- Playback Pitch plays the pitch of the song for a cappella groups. This can be configured using metadata.
- Shift Up shifts to the next gear in the configured gears.
- Shift Down shifts to the previous gear in the configured gears.
- Unshift shifts to the first gear in the configured gears.
- Send Message allows you to select a message to be sent to connected devices.
- Send MIDI when using the MIDI in-app purchase, this option is available and allows you to define a MIDI command to be sent.
- Switch Scene can map a specific scene to an action. For instance, set an action to blackout all lights or to bring the house lights up.
- Switch Section allows you to link an action directly to a named section in your song. For instance, you can link to "Verse 1" or "Chorus".
Autoscroll
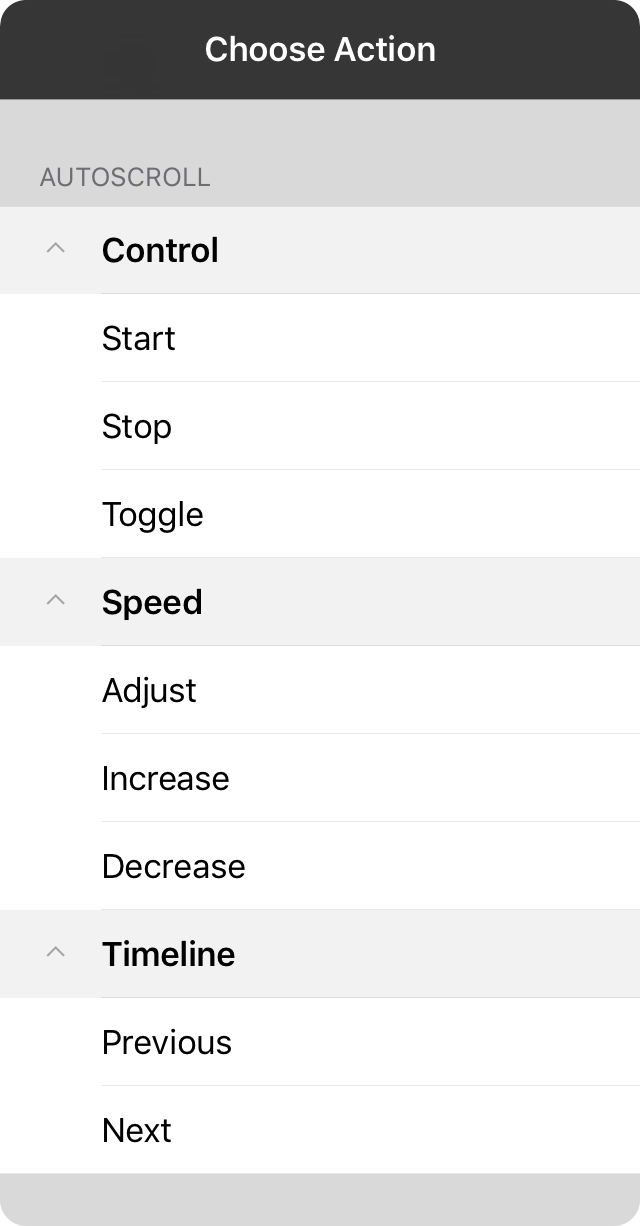
The autoscroll category contains actions that can adjust the speed and playback of linear and non-linear autoscrolling including:
Control
Perform control of autoscroll state including:
- Start will begin autoscrolling the current song.
- Stop will pause autoscroll whether linear or in a non-linear timeline.
- Toggle starts or pauses the autoscroll depending on its current state.
Speed
Changes the duration of the current song.
- Adjust changes the duration of the song using variable input.
- Increase will speed up the scrolling of the song by decreasing the duration of the song by 30 seconds.
- Decrease will slow down the scrolling of the song by increasing the duration of the song by 30 seconds.
Timeline
Manually moves through a timeline based on the triggered action.
Backing Tracks

Actions for controlling playback, pan, and volume of backing tracks.
Control
Controls the playback state of the backing track linked to the current song.
- Play will start playing a backing track assigned to the currently viewed song.
- Pause will start pause a backing track assigned to the currently viewed song, allowing playback to resume.
- Stop will stop the audio track if one is playing, causing playback to start at the beginning of the track.
- Scrub is a variable action that allows a MIDI control to change the playback position of the track.
- Toggle play, pause, or stop the backing track associated to the song according to the audio behavior.
Pan
Adjusts the pan of the backing track.
- Adjust continuously adjusts the panning of the backing track between 100% left, 100% right, or anywhere in between.
- Left causes the backing track to be output to the left channel when supported.
- Center causes the backing track to be outputted centered between left and right channels.
- Right causes the backing track to be output to the right channel when supported.
Volume
Adjusts the volume of the backing track.
- Adjust continuously adjusts the volume of the backing track between 0 and 100%.
- Increase the volume of the backing track by the default volume increment of 6.25%.
- Decrease the volume of the backing track by the default volume increment of 6.25%.
Panning is only available on tracks that can be played through the OnSong audio player. Digital rights managed and streamed tracks that play through the Music app cannot be panned.
Choose Group
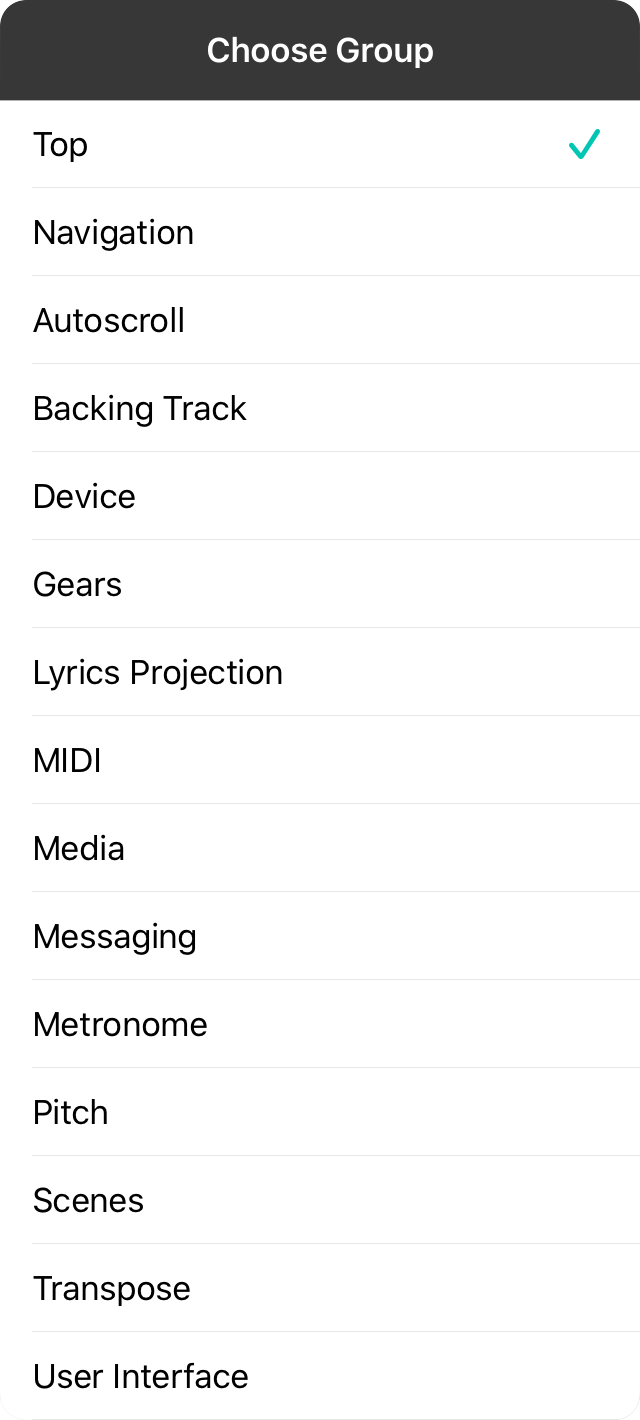
Use this menu to quickly navigate to an action group. Choose from one of the following:
- Top contains the default and none options.
- Navigation for moving through your song, set, or library.
- Autoscroll controls speed and timeline events for linear and non-linear autoscroll.
- Backing Tracks manages audio playback of linked backing tracks.
- Device for controlling things like system volume and screen brightness.
- Gears for multiplying the number of actions you can perform with foot pedals.
- Lyrics Projection including controlling slides and backgrounds right from the stage.
- MIDI for managing your instruments and effects pedals.
- Media handles background media including volume and fading.
- Messaging to send text to connected devices and external screens.
- Metronome toggles the click track along with tempo control.
- Scenes for managing stage lighting.
- Transpose lets you change the key and capo of the song.
- User Interface shows and hides elements of the app.
Device
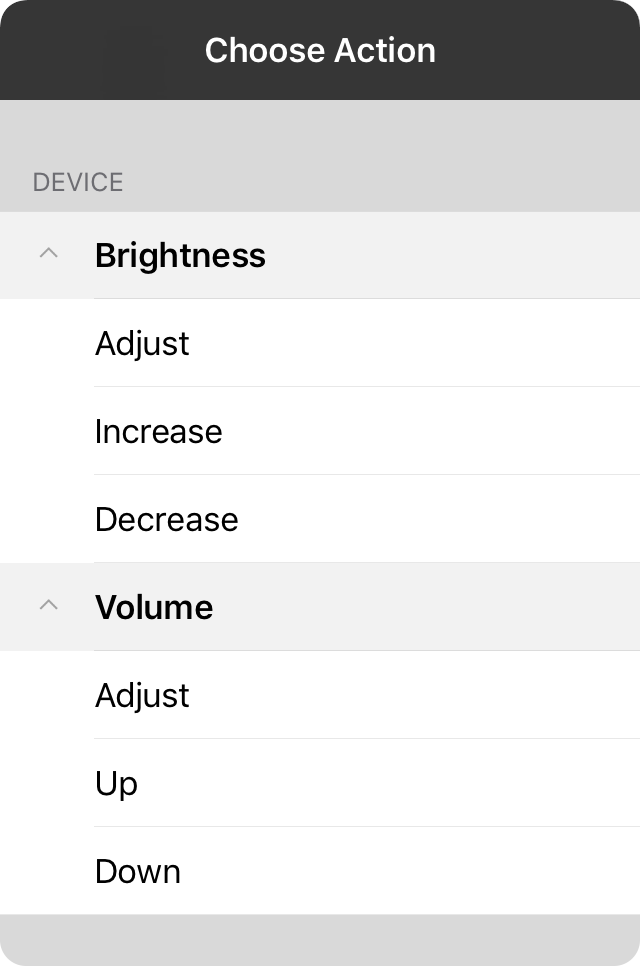
The device category provides actions used for modifying the settings on the iOS device. It has the following nouns:
Brightness
Change the screen brightness of the device.
- Adjust the brightness of the screen from between 0 and 100 percent using variable input.
- Increase the brightness of the screen by 6.25%.
- Decrease the brightness of the screen by 6.25%.
Volume
Adjusts the system volume of the device.
- Adjust continuously adjusts the volume of the device between 0 and 100%.
- Up increases the master volume of the device by the default volume increment of 6.25%.
- Down decreases the master volume of the device by the default volume increment of 6.25%.
Gears
Gears allow one foot pedal to be configured with different action depending on the current gear.
Shift
These actions allow you to shift gears accordingly.
- First shifts to the first gear in the configured gears.
- Up shifts to the next gear in the configured gears.
- Down shifts to the previous gear in the configured gears.
Lyrics Projection

Lyrics projection allows you to display lyrics on an external display for audience participation or congregational singing.
Background
Determines the visibility of the background color or media.
- Show displays the background under lyrics.
- Hide removes the background from under the lyrics, resulting in a black background.
- Toggle changes the background visibility according to its current state.
Blackout
Is used to set the lyrics projection screen to black.
- On turns on blackout, turning off all lyrics, background color and media.
- Off removes the blackout state, returning to the previous state before blackout.
- Toggle the blackout which turns off all lyrics and background color and media.
Lyrics
Alters the visibility of lyrics.
- Show shows the lyrics during lyrics projection while retaining the background image or video.
- Hide hides the lyrics during lyrics projection while retaining the background image or video.
- Toggle shows or hides the lyrics during lyrics projection while retaining the background image or video.
- Larger makes the font size larger.
- Smaller makes the font size smaller.
Media
Determines the visibility of background media.
- Show shows the background media on the color background.
- Hide hides the background media on the color background.
- Toggle toggles the visibility of the background media on the color background.
Overlay
Performs actions that change the overall composited onto the background color, image, or video.
- Previous shows the previous gradient in the list.
- Next shows the next gradient in the list.
- Show the gradient overlaid on the background.
- Hide the gradient overlaid on the background.
- Toggle changes the visibility of the overlay depending on it's current state.
Slide
Changes the current section being projected on the external display.
- Previous advances to the previous slide when projecting lyrics.
- Next advances to the next slide when projecting lyrics.
Media
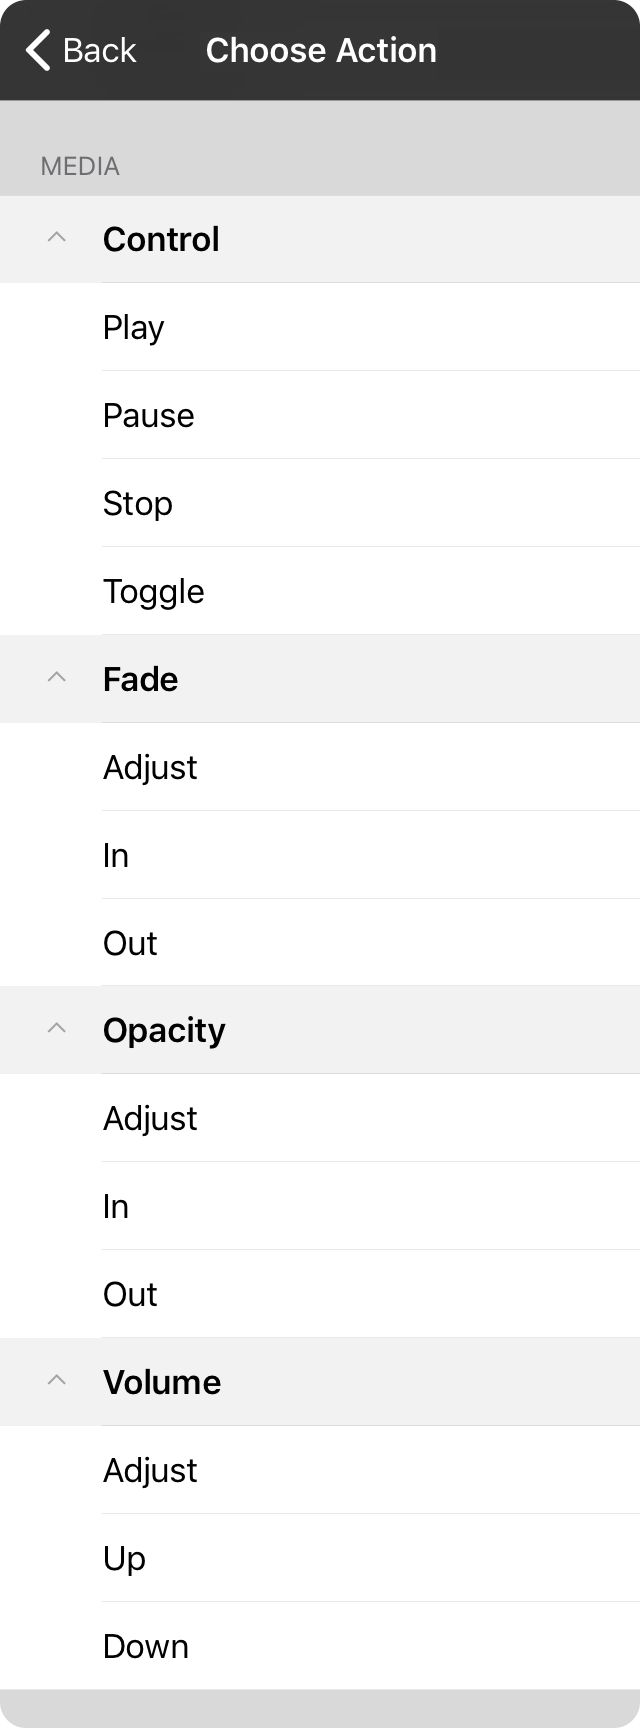
This category of actions is used to control background media such as images or videos used in lyrics projection.
Control
Controls the playback state of the background media. To prevent the media from playing automatically, switch off the Autoplay switch in the Media Details Menu.
- Play the background media.
- Pause the background media resulting in playback starting where it was paused.
- Stop the background media resulting in playback starting at the beginning.
- Toggle the state of playback.
Fade
Changes the opacity and volume of the playing background media, blending with the background color and adjusting the volume simultaneously.
- Adjust the opacity and volume of the background media based on variable input.
- In increases the opacity of the volume and background media over the duration set in the external video menu.
- Out decreases the opacity and volume of the background media over the duration set in the external video menu.
Opacity
Changes the opacity of the background media, blending with the background color.
- Adjust the opacity of the background media based on variable input.
- In increases the background media opacity over the duration set in the external video menu.
- Out decreases the background media opacity over the duration set in the external video menu.
Volume
Changes the volume of the media background during playback.
- Adjust the volume based on variable input.
- Up increases the volume the default volume increment of 6.25%.
- Down decreases the volume by the default volume increment of 6.25%.
Messaging
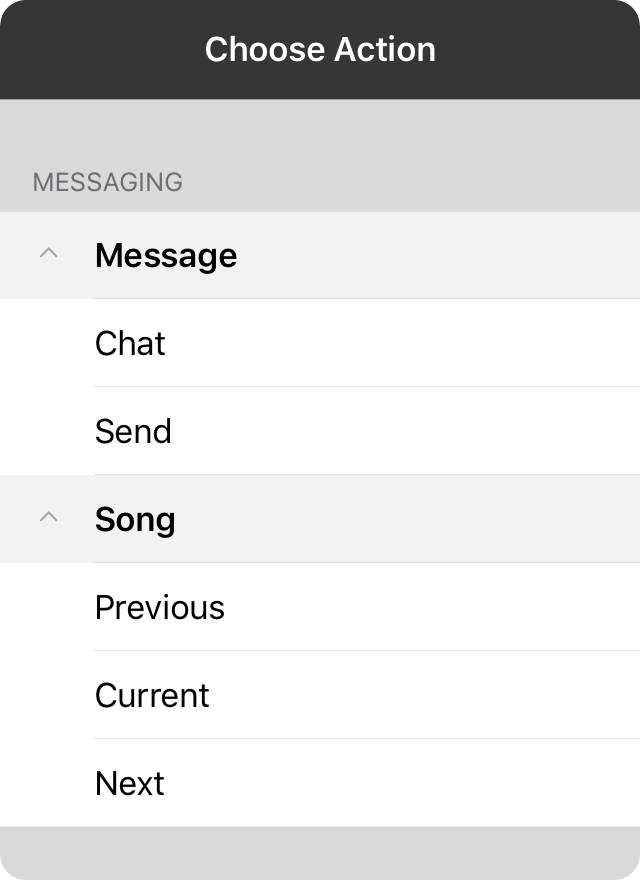
Sends messages out to connected devices and screens for visual communication.
Message
Used for sending custom messages or chats to connected devices.
Song
Used for sending information about songs you are viewing to connected devices. This includes the song title, artist, key, capo, tempo, and time signature in the sender's App Color.
- Previous sends information about the previous song in the song viewer.
- Current sends information about the current song in song viewer.
- Next sends information about the next song in the song viewer.
Metronome

The following actions can be performed to manipulate the metronome in OnSong.
Control
Controls the playback state of the metronome.
- Start the metronome.
- Stop the metronome.
- Toggle the metronome on or off depending on the current state of the metronome.
Pan
Changes the position of the metronome in the stereo plane.
- Adjust the position of the metronome from left to right using a variable trigger.
- Left places the metronome into the left channel.
- Center places the metronome into the center, using both left and right channels.
- Right places the metronome into the right channel.
Tempo
Change the tempo of the metronome.
- Adjust the tempo of the song using variable input from between minimum and maximum tempos.
- Change lets you change to a tempo using the Tempo Picker.
- Increase the tempo of the song by 1 BPM.
- Decrease the tempo of the song by 1 BPM.
- Tap changes the tempo of the current song based on taps. This taken into account the current time signature. This should not be used on high latency foot pedals since they are designed to forgive accidental foot taps or double entry.
Volume
Changes the volume of the metronome.
- Adjust the volume of the metronome using a variable trigger.
- Increase the volume of the metronome using the default increment of 6.25%.
- Decrease the volume of the metronome using the default increment of 6.25%.
- Mute the metronome, allowing it to continue to keep time and optionally blink the menubar. This is great to use for practice to see if the beat can be maintained without click reinforcement.
Multiple Actions
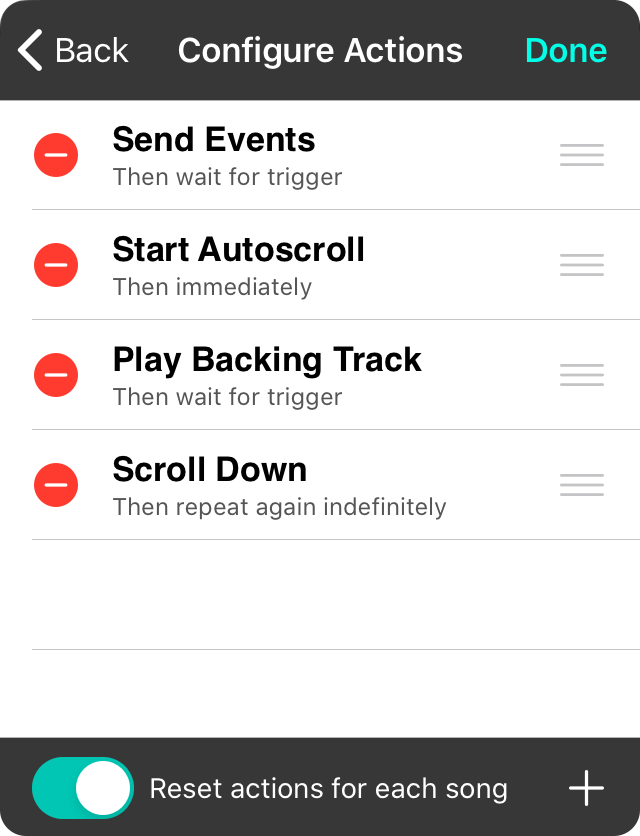
Multiple actions lets you perform multiple actions using a single trigger. For instance, in the example on the right, you can press a foot pedal to send MIDI to configure your rig, then press again to start the backing track and autoscroll. Finally every press of the foot pedal will scroll the page down.
Add Action
The first step to setting up multiple actions is to add some to the list. You can do this by tapping on the + button in the lower right corner. This will open the Actions Menu where you can choose the action to be added to the list.
Editing Actions
When you add an action to the list, it's automatically configured to perform the action when triggered and then wait for that trigger again. You can change this behavior by tapping on the name of the action in the list to open the Multiple Action Editor.
Deleting Actions
If you've accidentally added an action to the list, simply tap on the red minus button on the left to remove.
Reordering Actions
Even after you've added the actions, you can rearrange them into the order you want them performed. Use the reordering handles on the right to move the action in the list.
Reset Actions
Unlike Timeline, multiple actions operate outside of a song context. However it's common that you want to reset the multiple action to the top of the list when you change songs. The switch on the bottom is enabled by default to do this.
Multiple Actions Editor
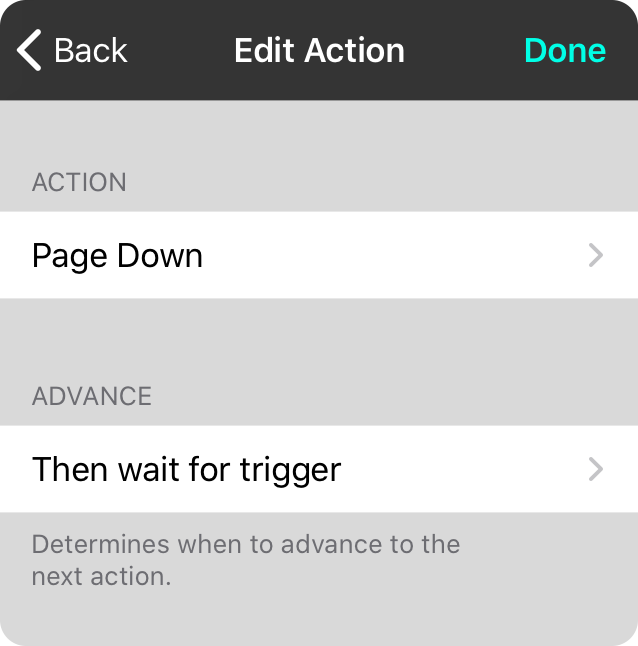
When you edit an action added to a multiple actions list, you can change the action as well as its advance behavior.
Action
This displays the action to take with the option to change the action by choosing another one from the Actions Menu.
Advance
Here you can choose what should happen after the action is performed. Tapping on this option will display the Advance Behavior Menu.
Advance Behavior
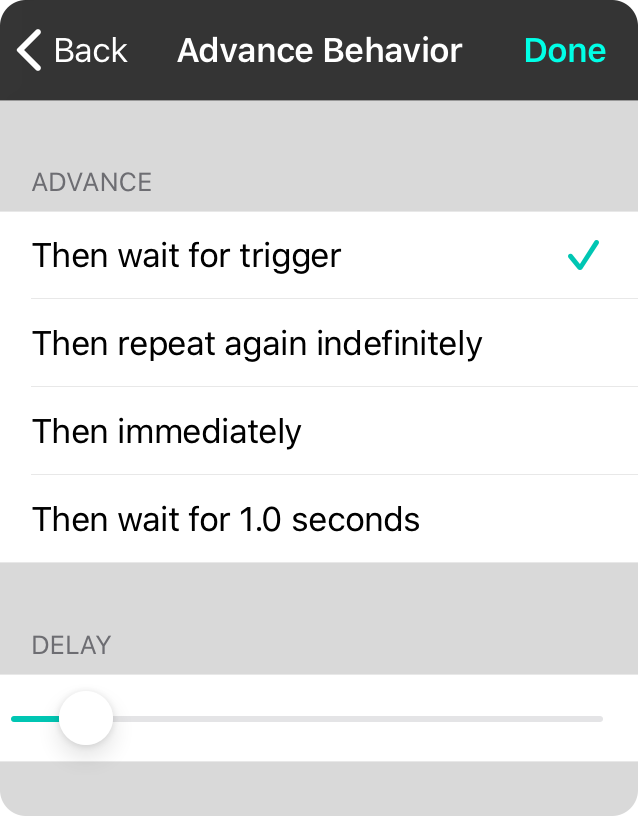
In this screen, you can choose from a number of option as to what OnSong does after it performs the selected action. These options include.
Then wait for trigger
This will not perform the next action until the trigger is activated again.
For instance, if you have two actions in your multiple actions list, you will press a pedal once to perform the first action, and then press the same pedal again to perform the second trigger. Once at the end of the list, pressing the pedal again will return to the top of the actions list.
Then repeat again indefinitely
This will continue to perform the selected action over and over again with each subsequent trigger.
Then immediately
This will perform the selected action, and then immediately execute the next action in the list. This is used to allow multiple actions to be performed at once with a single trigger.
Then wait for n seconds
This option will perform the next action in the list automatically after a set period of time. Set the delay using the slider underneath the advance behavior picker above.
Navigation

The navigation category provides actions that are used to navigate through your song, as well as thought your set or library. It has the following nouns:
Page
Scroll by page as long as page breaks are supported. Actions include:
- Adjust moves through the pages in the document using variable input.
- Up navigates to the previous page of content.
- Down navigates to the next page of content.
- Switch allows you to specify a specific page to switch to.
These actions require either PDF or text-based chord charts with page breaks. If not available, the action performs a standard scroll up or down action.
Scroll
Scrolls the song up or down a percentage of the screen height or based on the configured Scroll Behavior. Actions include:
- Adjust takes input to adjust the scroll position of the song.
- Up scrolls the song up based on the configured Scroll Behavior. When a user interface list is presented, this command will select the row above the selected row.
- Down scrolls the song down based on the configured Scroll Behavior. When a user interface list is presented, this command will select the row below the selected row.
- Top scrolls the song viewer to the top of the song.
- Bottom scrolls the song viewer to the bottom of the song.
Section
Selects sections within text-based chord charts and will scroll to those sections. Actions include:
- Adjust selects the section in the chart according to variable input.
- Previous selects the previous section relative to the currently selected section.
- Next selects the next section relative to the currently selected section.
- Switch allows the trigger to go to a section by name.
Set
Changes the current set of songs loaded in the song viewer.
- Previous moves to the previous set loaded in your library.
- Next moves to the next set loaded in your library.
- Switch allows you to switch to a specific set in your library then triggered.
Song
Changes the song that is currently viewed in the song viewer.
- Adjust moves to a song in the song viewer based on variable input.
- Previous navigates to the previous song in the song viewer.
- Next navigates to the next song in the song viewer.
- Switch allows you to switch to a particular song in your library when triggered.
- Random loads a random song from the currently selected book or set. Use for practicing songs in your library without a pattern.
- Reset scrolls the current song to the top and optionally resets toggled events such as autoscroll, backing tracks, the metronome and section assignments. These can be customized in Settings » Navigation Settings » Actions » Reset Song.
Scenes
Scenes allows you to control stage lighting from within OnSong by connecting to smart lights and DMX stage lighting.
Control
Controls the selection and playback of scenes.
- Play the currently selected scene.
- Stop stop the currently playing scene.
- Continue playing the scene, moving to the next steps in a sequence.
- Toggle the playback state of the current scene.
- Switch to a specific scene based on the trigger.
Master Dimmer
Controls the level for all connected lights in scenes.
- Adjust the master dimmer for lighting using variable input.
- Blackout toggles blackout mode, turning off lights, or bringing them back to the previous state.
Switch Scene
Scenes let you assign color washes, lighting programs and lyrics projection backgrounds. You can switch scenes using an action.
Picking Scenes
Place a checkmark next to the scene you would like to map to the action. If you tap on a checked scene, it will remove that action. Tap on the preview on the left to see a preview of the scene.
Adding Scenes
You can create new scenes right from this menu. Tap on the + button in the upper right corner to open the Scene Editor within the menu.
Editing Scenes
To edit a scene, open the Scenes Editor and choose a scene from the list to make changes. Any changes you make the scene will be automatically applied to the action.
Switch Sections
When you want to switch to a specific section when input is received, you will need to target a section name. This screen allows you not only choose a section label to target, but also add new section labels to be targeted.
Targeting Sections
To have the action automatically select and scroll to a section, pick the section name from the list. This list contains typical parts of a song. OnSong finds sections to target using the following rules:
- If you specify the name of the section exactly, only that section will be selected. For instance, you can assign an action to "Verse 1" and only the first verse will be selected.
- If you specify a section that is less precise and that could match multiple sections, the first found section is selected first. The second time the action is performed on the same song, the second section is selected and so on. Once the end of found sections is reached, another action returns to the first found section to start over. In this way, choosing "Verse" will cycle through Verse 1, Verse 2, Verse 3, etc in order.
- If you specify an abbreviation in this list, a match can also be made. For instance, targeting "V1" will target "Verse 1" and targeting "V" will be the same as targeting "Verse".
- Groups of sections are made by using multiple "words" in the section label. For instance, if you use "Verse1" as a section label, "Verse" will not be able to target it.
- Section cycling is determined by how the song is outputted on the screen. This means that you can use Flow to alter the order of your sections.
Adding Sections
Tap on the + button in the lower right corner to type in the name of a section. The sections are targeted based on their
Editing Mode
Tap on the Edit button in the upper right corner to switch to editing mode. From here you can reorder or modify section targets.
Add Section
To add a section, simply tap on the + button in the section list to open the section edit screen. Here you can type in the name of the section you would like to target.
The name of the section can be as precise or imprecise as you would like. For instance, typing in "Verse 1" will only ever select a section labeled "Verse 1". If you type in just "Verse", any section that starts with the word "Verse" will be selected. Each time the action is performed to target a "Verse", OnSong will cycle through verses from the top to the bottom and returning to the first verse.
You can also specify an abbreviation here as well. For instance, "V1" will target "Verse 1" and a "V" will target any section which first word starts with the letter "V". One way to use this could be to enter an "I" to target both "Intro" and "Instrumental".
Tap Done to add the section to the list. Tap Cancel if you don't want to save your changes.
Editing Mode
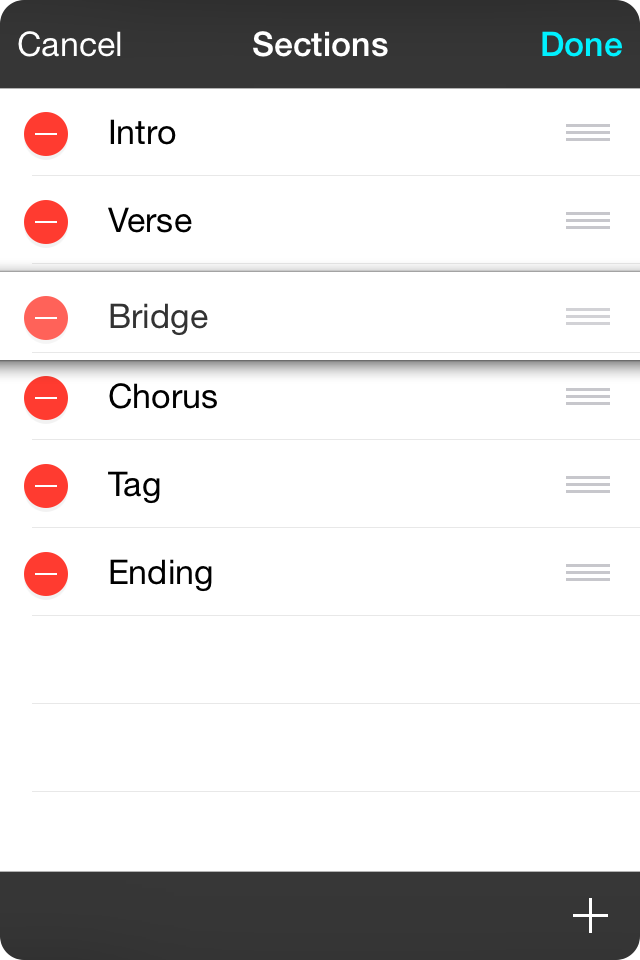
Tapping on the Edit button in the upper right corner will allow you to make changes to the list of section targets.
Deleting
While you can delete a section from the list by swiping right to left and tapping on the Delete button, you can also delete messages by tapping on the red minus circle icon on the left and then tapping on the Delete button that is revealed.
Sorting
You may want to place commonly section labels at the top or bottom of the list. Use the reordering handles on the right to tap and drag the message where you would like it to be in the list. Tap on the Done button to save your changes.
Renaming
You can change the section target's name by tapping on it's name while in editing mode.
Edit Section

Tap on the name of a section while in editing mode to change the section label. Here you can type in what you like instead of deleting a section and then adding a new one.
Tap on the Done button to save your changes or the Cancel button to keep the original name.
Switch Song
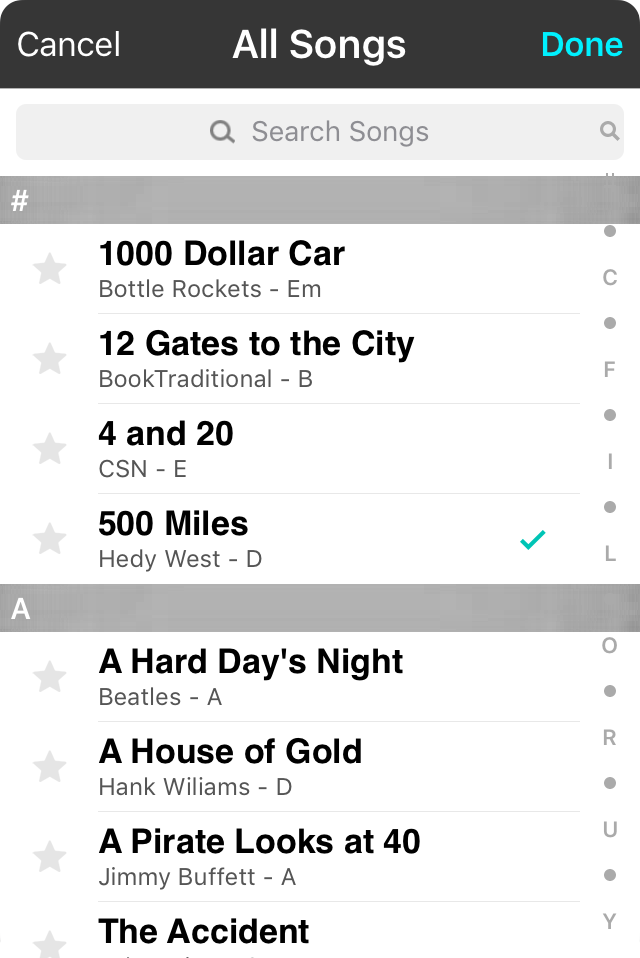
Some songs just go great together. One way you can remember this is by placing a Sticky Note on the song and type the name of the song. You can then assign an action to switch to that very song, just by tapping on the sticky note!
When you assign this action, a song picker appears. Simply search or browse for the song and place a checkmark next to it by tapping on the row. Then tap Done to set the song to switch to.
Note: If the song you are switching to is contained in the currently active set, then OnSong will navigate to that song within the set. Otherwise, the song will be loaded and replace the currently viewed song or set.
Top
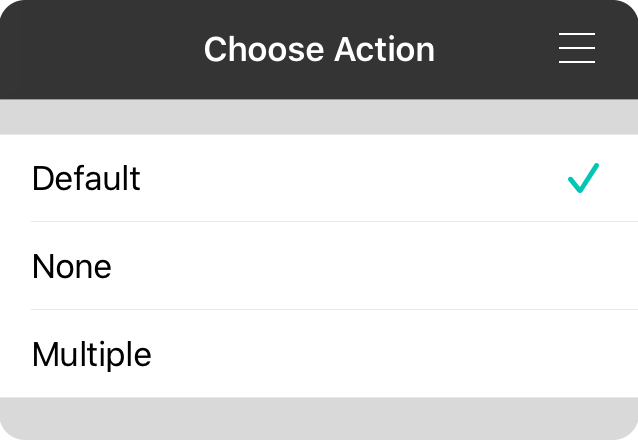
At the top of the Actions Menu are options that do not fit into the other groups of actions because they define the relationship between the trigger and other actions. These include:
Default
Performs the default action associated with the trigger, if one is available.
For instance, tapping on the right side of the screen navigates to the next song in the set or collection because that's the navigation zone's default behavior.
None
Perform no action at all, even if a default action is available.
Multiple
For most uses, assigning an action to a trigger is the most straightforward way to interface with OnSong. But if you're looking for more control over sophisticated rigs, you'll want to look into using multiple action that are triggered with each pedal press or screen tap.
Transpose
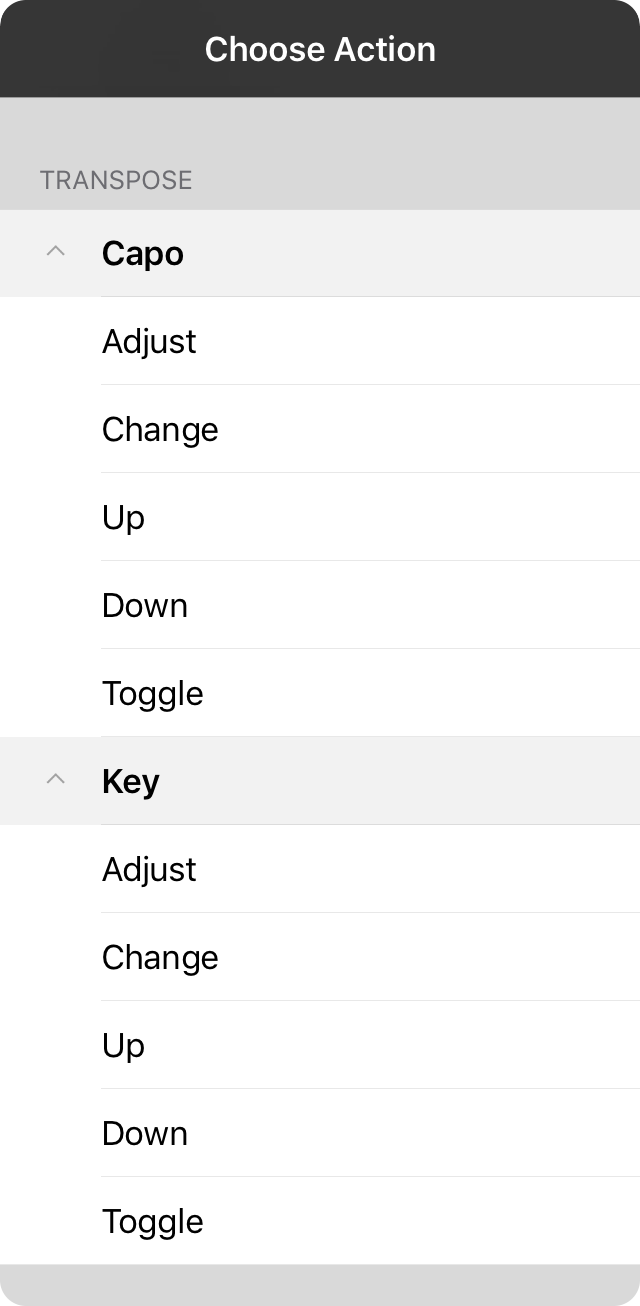
Performs transposition on the currently selected song by adjusting the key, or applying a capo.
Capo
Applies a capo to the currently selected key, showing the chords you ought to play with the capo affixed to result in the desired key.
- Adjust the capo using variable input between the no capo and frets 1 through 11.
- Change allows you to select a specific capo amount.
- Up moves the capo up one fret.
- Down moves the capo down one fret.
- Toggle the capo on or off.
Key
Adjusts the key in which the song should be played.
- Adjust the key using keys available in the key section of the Styles Preferences Menu.
- Change allows you to specify a key to change to.
- Up transposes the song up by one half step including enharmonic variations if Theoretical Keys is enabled.
- Down transposes the song down by one half step including enharmonic variations if Theoretical Keys is enabled.
- Toggle the transposition engine on or off to use the original key instead of the transposed key.
User Interface

When you're using OnSong live, you don't have time to tap on the interface to perform tasks. These actions allow those functions to be triggered.
Low Light
Change to a dark screen interface for use on dimly lit stages.
- On turns low light mode on for dark paper with light text.
- Off turns low light mode off for a light paper with dark text.
- Toggle low light mode on and off. When on, the background of the song is black with white foreground text.
Menubar
The menubar allows you to interact with the app but it can get in the way during a performance.
- Show the menubar to interact with the app.
- Hide the menubar for a full screen view.
- Toggle toggles the menubar on and off for a full screen view.
Quick Pick
Allows you to quickly search for songs to play or add to the set. Hiding the Quick Pick screen may not function when HID Bluetooth devices such as foot pedals that emulate a computer keyboard. This is due to the text cursor being used for text entry at that time.
- Show the Quick Pick screen for quickly searching and loading songs.
- Hide the Quick Pick screen.
- Toggle the Quick Pick screen visibility.
Navigation
Actions can be used to navigate menus in the user interface. OnSong will assign some of these action to foot pedal buttons when a songs menu is displayed.
- Previous navigates the selected item to the previous item in the list.
- Next navigates the selected item to the next item in the list.
- Top goes to the top of the currently opened menu.
- Bottom goes to the bottom of the currently opened menu.
- Back navigates to the previous menu screen on the navigation stack. For instance, if you are viewing your All Songs list, the Back action will view the Books List.
- Search will scroll to the search bar in the list, highlight the search term, and display the on-screen keyboard. If no search bar exists in the current menu, no action is taken.
- Select will select the currently highlighted item, immediately performing its selected action.
By default, items are not selected immediately but merely highlighted until a period of time as expired. Use the Select action to select the items immediately and perform the selected function. You can change this behavior under Settings » Menu Settings » Songs » Navigation » Automatically Select.
Song List
The songs list is used for interacting with your song library, set, and book. When opened, the Scroll Up and Down actions can select rows in the list.
- Show the song menu.
- Hide the song menu.
- Toggle shows and hides the song menu based on its current state.
Web Action
Web actions allow you to open a web page or video file as an action in your song. For instance, you could tap on a sticky note to view a tutorial video for that song part.
- Open presents the Web Action Editor where you can configure how a URL will be opened.
- Close the opened web action.
Web Action Editor
The web action editor lets you create or edit a web action.
Web Address
The URL that should be opened.
Method
This is the method used to open the web address. You can choose from the following methods:
- External Browser opens the web address into the external web browser such as Safari. This will leave OnSong to open the web browser.
- Internal Browser opens the web address into an internal web browser inside of OnSong.
- Video Player is used to open an interface to play a video URL inside of OnSong.
Send MIDI
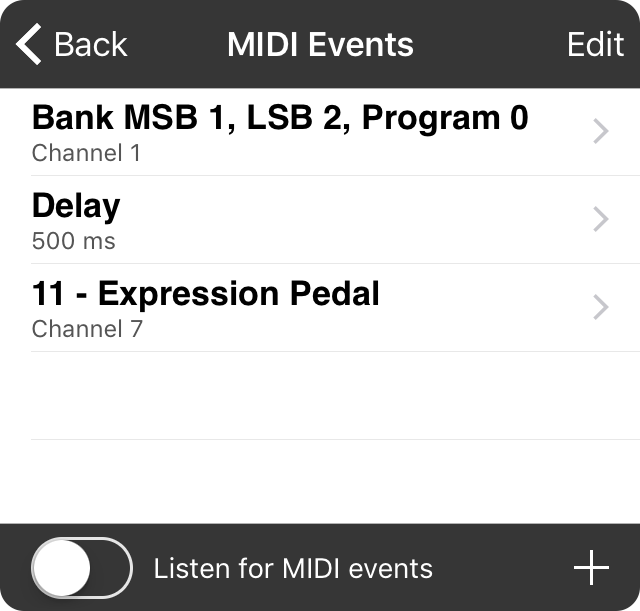
When you choose to send MIDI for action, the MIDI Editor is displayed allowing you to choose the type of MIDI event to be sent. Depending on the type of MIDI command that is sent you will also need to configure the channel and values.
Test Command
Once you've configured the MIDI command using the MIDI Editor, you can tap on the Test Command button to send the MIDI and ensure that other hardware or applications respond correctly.
Chord Diagram Library
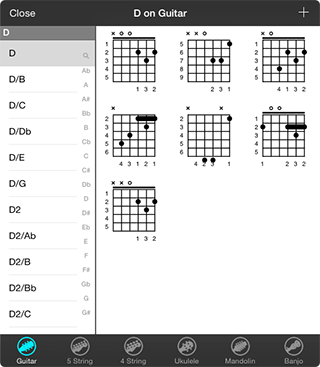
OnSong features a large collection of chord diagrams that can be displayed on songs with chords. This editor lets you view chord diagrams, create your own, or manage existing ones.
Instruments Tab
At the bottom of the screen is a tab bar that contains various instruments. Pick from one of the options to manage chord diagrams for that particular instrument. OnSong supports Guitar, 5-String Bass, 4-String Bass, Ukulele, Mandolin, and Banjo. Piano chord diagrams are automatically generated.
Chord List
On the left side is a list of all the chords known to OnSong. You can scroll through this list or use the alphabetic indices on the right to jump to a specific note. You can also use the search bar at the top to search for a specific chord variation.
Diagrams Grid
When you tap on a chord on the left, its diagrams will appear on the right in a grid. Tap on the diagram to select it. Once it's selected, you can perform actions on it by tapping on the action menu in the upper right. Tap off the chord diagram or tap on the selected diagram to unselect it. When there is no selection, you can create chord diagrams by tapping on the add button in the upper right corner.
Actions
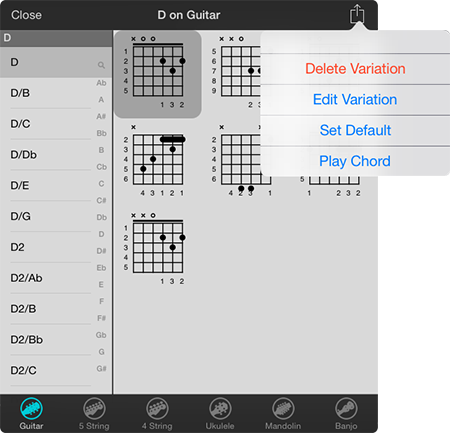
You can perform a number of actions on a chord diagram. Tapping on the action menu in the upper right corner lets you choose from the following list of actions:
Delete Variation
Deletes the selected chord variation. This operation cannot be undone.
Edit Variation
Opens the Chord Variation Editor to allow frets and fingerings to be adjusted.
Set Default
Moves the selected chord diagram to the front of the list. This will cause the chord variation to be used first when no preferred chord variation has been selected.
Play Chord
Plays the chord using an optional soundbank to hear how it would sound on the instrument. Soundbanks are an in-app purchase of $0.99 USD and can be purchased using the Add-Ons Screen.
Export Chord Diagrams
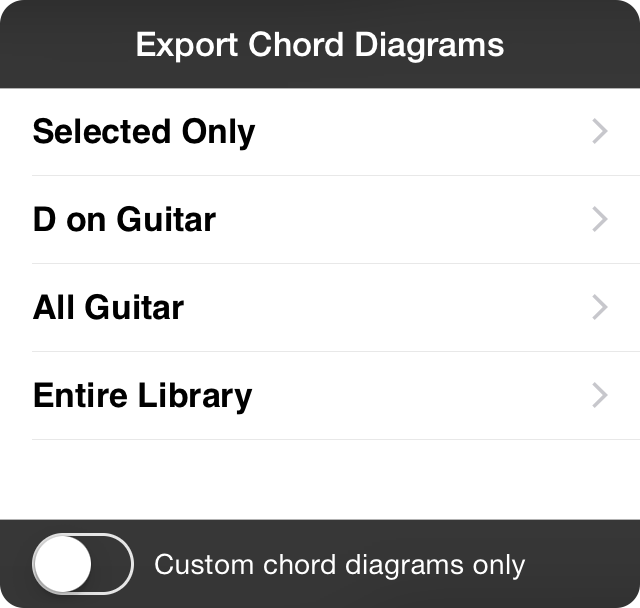
This screen lets you determine what chord diagrams are exported. Choose from one of the following options to be exported using the Location Picker.
- Selected Only exports only the selected chord diagram.
- D on Guitar will export all chord diagrams for the selected chord and instrument.
- All Guitar will export all chord diagrams available on the selected instrument.
- Entire Library will export a file containing all chord definitions.
Note: If you are only interested in exporting chord diagrams you've made or changed, turn on the Custom chord diagrams only option.
Chord Variation Editor
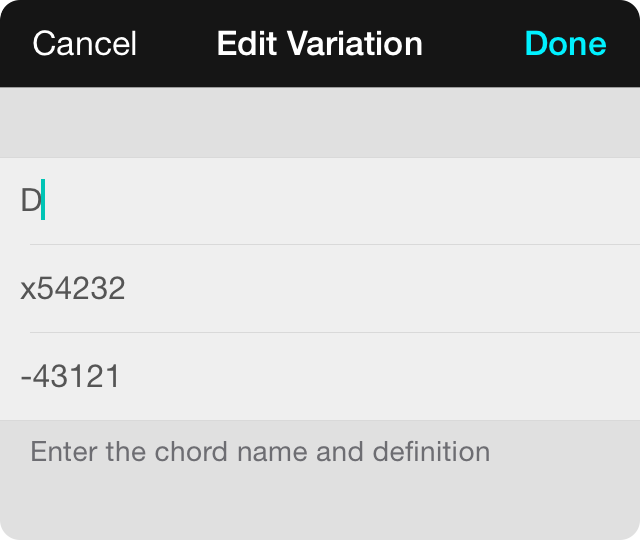
The chord variation editor is used to create new chord variations, or to edit existing ones. It contains the following fields:
Chord Name
Type the name of the chord in the first line. This is used to match the chord variation to an alphabetic chord. Required.
Frets
Type the frets used to play the chord on the instrument here. This is required and can consist of:
- x to not play the string at all
- 0 to play an open string
- 1-9 to play with frets one through nine.
- A-Z to play with frets ten through thirty-six.
Finger Positions
Use the last line to enter finger positions for the chord. This is optional, as fingerings are calculated if they are not specified. Finger positions consist of:
- - the string is not played with any fingers.
- 1 play the string with the index finger
- 2 play the string with the middle finger
- 3 play the string with the ring finger
- 4 play the string with the pinky finger
Tap on the Done button to save the changes or create the chord variation.
Chord Variation Editor

The chord variation editor is used to create new chord variations, or to edit existing ones. It contains the following fields:
Chord Name
Type the name of the chord in the first line. This is used to match the chord variation to an alphabetic chord. Required.
Frets
Type the frets used to play the chord on the instrument here. This is required and can consist of:
- x to not play the string at all
- 0 to play an open string
- 1-9 to play with frets one through nine.
- A-Z to play with frets ten through thirty-six.
Finger Positions
Use the last line to enter finger positions for the chord. This is optional, as fingerings are calculated if they are not specified. Finger positions consist of:
- - the string is not played with any fingers.
- 1 play the string with the index finger
- 2 play the string with the middle finger
- 3 play the string with the ring finger
- 4 play the string with the pinky finger
Tap on the Done button to save the changes or create the chord variation.
MIDI
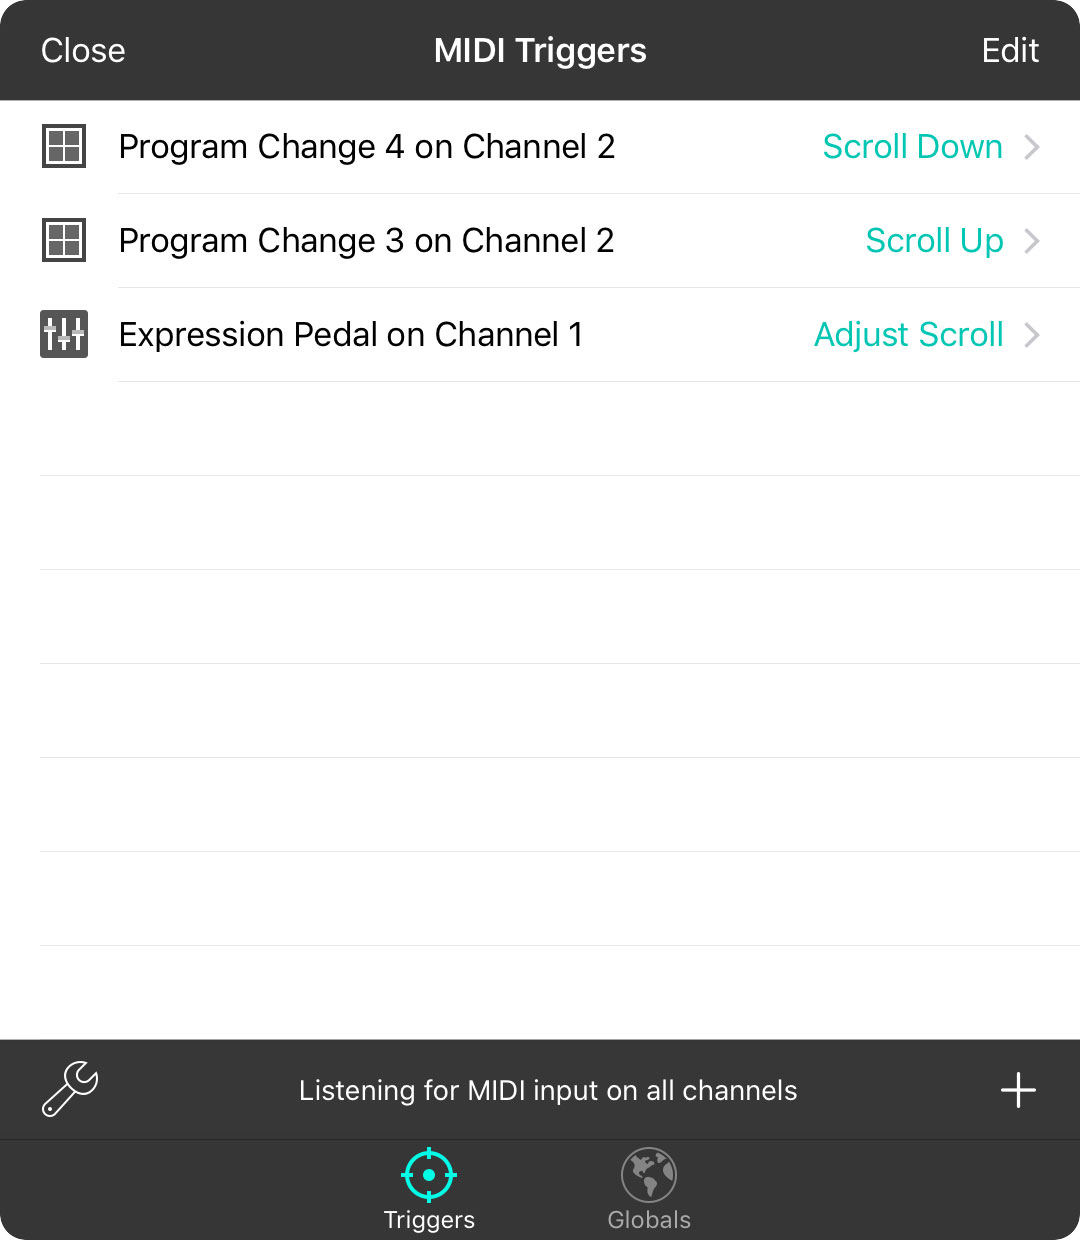
MIDI is a powerful protocol for controlling all aspects of your live performance. OnSong makes full use of MIDI to bring a new level of automation. Whether you're looking to navigate through your songs with a MIDI foot pedal, or want to configure your instruments, effects processors, or integration with other software, this is where to start.
Triggers
In OnSong, triggers are events that cause actions to be performed. For MIDI Triggers, OnSong listens for incoming MIDI input. When a matching MIDI event is received, OnSong then performs the associated action. This tab allows you to create MIDI triggers by manually entering MIDI events, or by listening for incoming MIDI events to be configured.
Globals
OnSong is a powerful, contextual MIDI controller that lets you control your rig in an intuitive way. For instance, you may want to change the reverb effects on a vocal processor when you get to the chorus of certain songs. MIDI Globals give you one place to manage complex MIDI events. You can then assign these to any place in OnSong. If you need to change those events, you can do it all from one place.
Globals
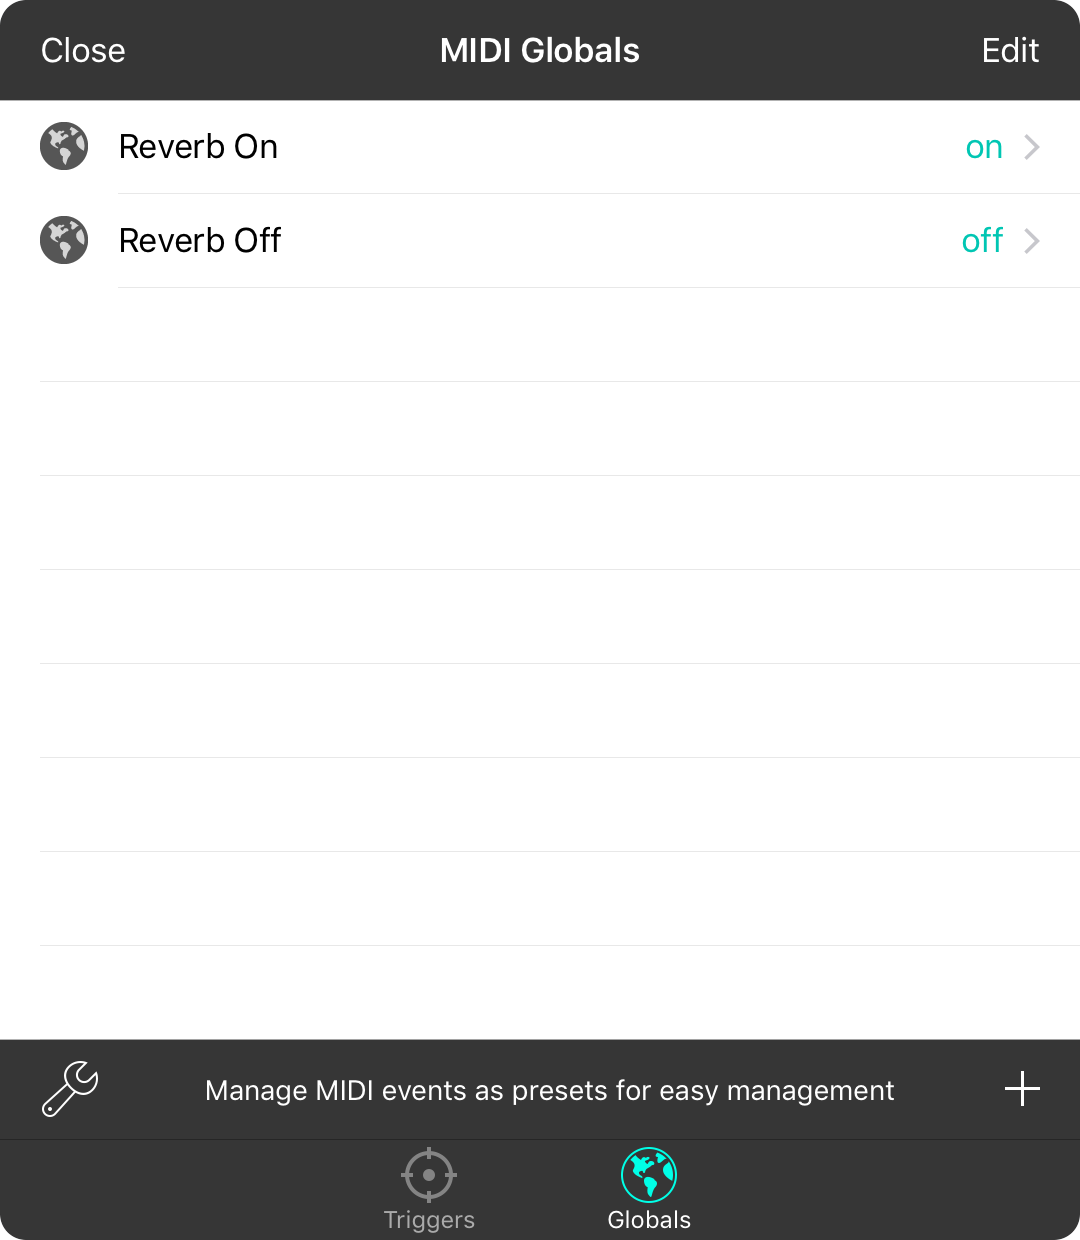
MIDI globals can be thought of as named collections of MIDI events that you can recall anywhere you use MIDI events in OnSong. The advantage is if you want to change the MIDI events in the future, you can just change the MIDI global in one place and it applies everywhere in your library.
Adding Globals
To add a global, just tap on the + button in the lower right corner. This opens the MIDI Global Editor where you can set the name and tag used for the global as well as MIDI events.
Editing Globals
Tap on a global to edit it in the MIDI Global Editor.
Reordering Triggers
You can change the order of MIDI globals appearing in this list either by tapping on the Edit button in the upper right enter edit mode, or via drag and drop. The order of the globals have no bearing on their function but it only for user preference.
Removing Triggers
You can delete a MIDI global by swiping right to left over it and tapping on the Delete button. You can also delete the trigger when in the edit mode.
Changing Settings
You can change how OnSong handles MIDI features through the MIDI Settings Menu. This allows you to perform additional functions such as listening for chords or playing chords back through your MIDI instrument.
Edit Mode
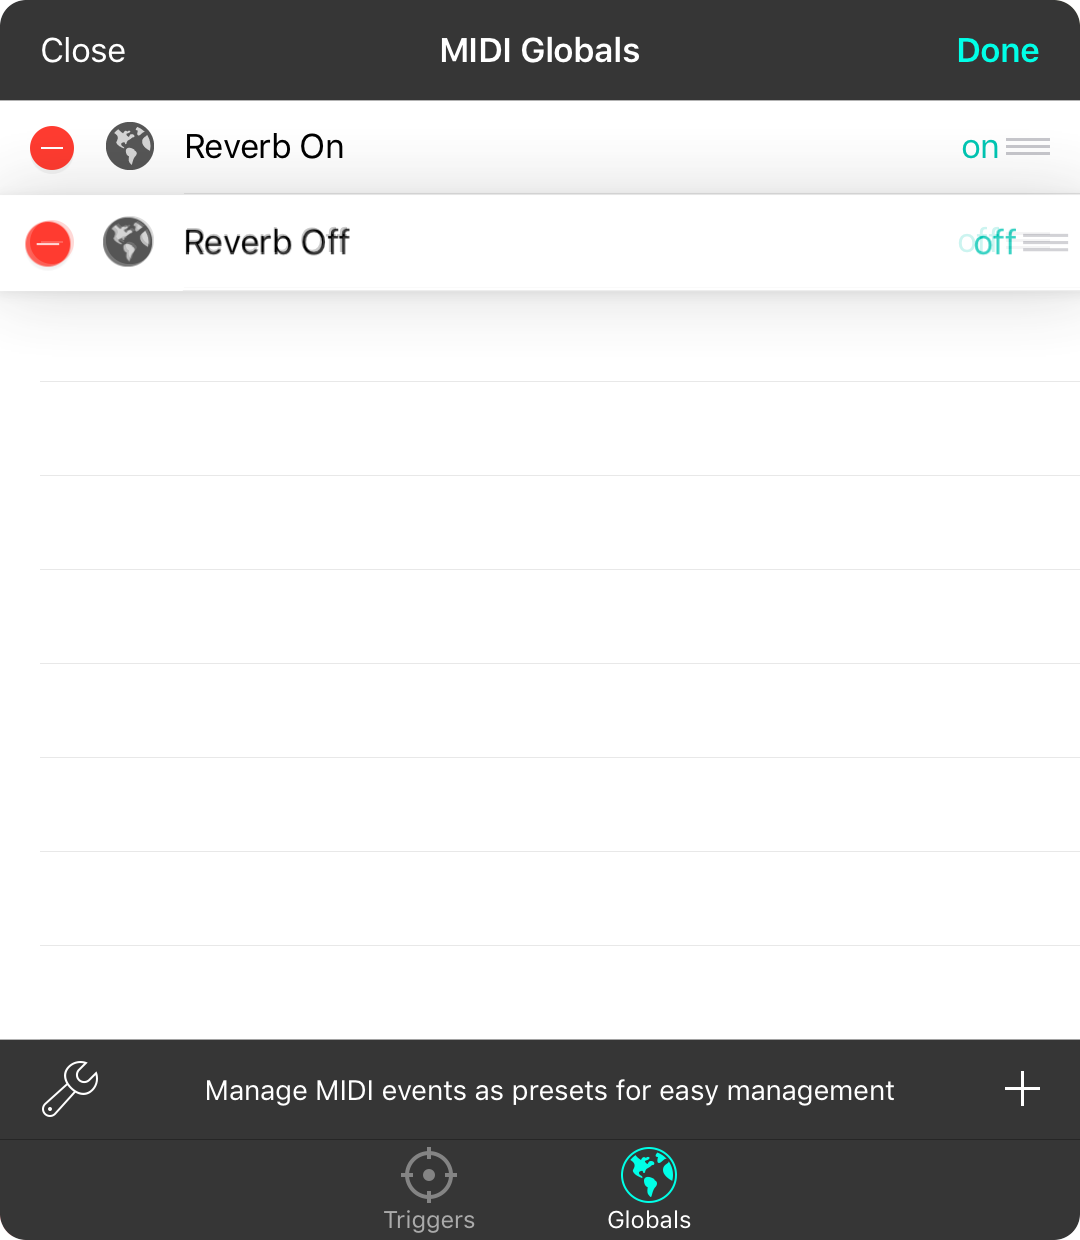
Tapping on the Edit button in the upper right corner will place the list of MIDI Globals into editing mode. Here you can use the reordering handles to rearrange the order of globals, as well as tap on the name of the MIDI global to edit it when selecting.
Reordering Globals
Use the reordering handles on the right side of each row to change the order of globals for visual purposes only.
Deleting Globals
You can delete a MIDI Global by tapping on the red minus circle icon on the left and then confirm your intent by tapping on the revealed Delete button.
Editing Globals
You can edit the global by tapping on the text of the row when in editing mode.
Adding Globals
Tap on the + button in the lower right to add a new MIDI global.
Editor
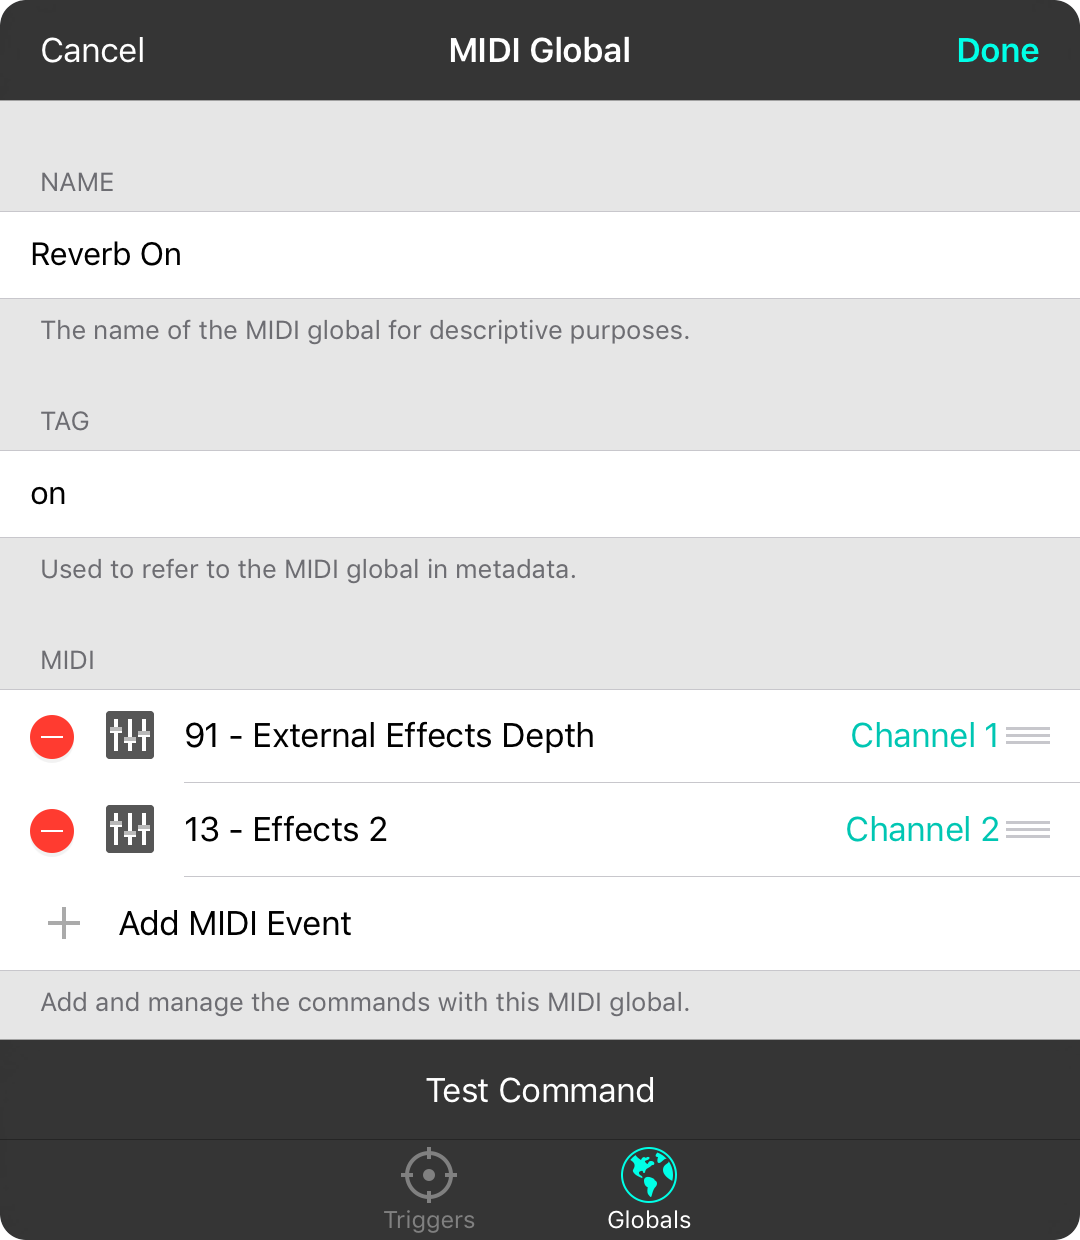
MIDI globals are presets of MIDI events that you can edit in one place and use throughout your library. For instance, you may create a MIDI global for turning on the reverb of your voice and guitar rig. If you add or change your rig, you can easily add new MIDI events or change others in one place and have that applied throughout your library.
Creating and editing a MIDI Global is pretty straight forward. This screen is comprised of the following:
Name
This gives your MIDI global a descriptive name so you can find and edit the MIDI global later.
Tag
The tag is used if you are expressing the MIDI global in MIDI Syntax in OnSong. For instance, instead of typing out the PC or CC in a list, you could type @on instead to have OnSong load the global and send MIDI events associated with it.
MIDI
This is a list of MIDI events to be sent when the MIDI global is encountered. You can add MIDI to the list by tapping on the Add MIDI Event row to open the MIDI Editor. Once added, you can change the MIDI event by tapping on it again.
You can change the order in which MIDI events are sent using the reordering handle to the right. You can also remove MIDI events by tapping on the delete icon on the left.
Test Command
You can test sending the MIDI global events by tapping the button on the bottom of the screen.
Triggers

The MIDI triggers screen is used to perform actions in OnSong from commands that are received from MIDI devices. You can use this screen to listen for these MIDI commands and then map them to OnSong action. These are referred to as MIDI triggers.
Listening for Triggers
When this screen is open, OnSong will listen for MIDI commands and then add them to the list. Sending the same MIDI command again will select the item in the list. Sending the MIDI command a third time will prompt you to choose an action. Actions are displayed to the right of the MIDI command.
You can change the channels that are listening, or disable listening for MIDI on this screen by tapping on the "Listening for MIDI input..." text at the bottom of the screen to open the Listening Channel Picker.
Setting Actions
Actions are mapped to the MIDI commands by tapping on the row. This will allow you to choose an action to map to the command.
Adding Triggers
You can also add MIDI triggers manually by tapping on the + button in the lower right corner. This will open the MIDI Editor to determine what MIDI command should be observed.
Editing Triggers
You can edit MIDI triggers by tapping on the Edit button in the upper right corner. This will place the triggers list into edit mode, allowing you to tap on the row to change the MIDI command using the MIDI Editor.
Reordering Triggers
You can change the order of MIDI triggers appearing in this list either by tapping on the Edit button in the upper right, or via drag and drop. The order of the triggers has no bearing on their function.
Removing Triggers
If you've accidentally observed a MIDI command, you can delete it by swiping right to left over it and tapping on the Delete button. You can also delete the trigger when in the edit mode.
Changing Settings
You can change how OnSong handles MIDI features through the MIDI Settings Menu. This allows you to perform additional functions such as listening for chords or playing chords back through your MIDI instrument.
Any MIDI that is added to the list but not assigned to an action will be removed once the screen is closed.
Listening Channel
This menu is used to determine if OnSong should listen for MIDI events and, if so, the channel or channels. This screen provides the following options:
- Off prevents in MIDI from being learned on any channel.
- On all channels will listen for MIDI events on all MIDI events.
- On channel will listen on a specific channel. You can select one or more channels (1-16) to listen.
Actions Menu

The actions menu lets you pick an action to perform when pressing a foot pedal or tapping on the screen.
None
Set the action to None to perform no action when the input is received.
Variable
Variable actions are performed when a variable input such as a MIDI controller knob or expression pedal is used. The values will appear on the screen but not take place until the variable input has not changed for a brief period of time.
- Adjust Autoscroll continuously alters the autoscroll speed from between 0 and 15 minutes.
- Adjust Brightness continuously adjusts the brightness of the screen from between 0 and 100 percent.
- Adjust Capo continuously adjusts the capo setting from between 0 and 11 frets.
- Adjust Key continuously changes the key using the values in the transpose slider in the Styles Preferences Menu.
- Adjust Scroll Position continuously adjusts the scroll position of the page from the top to the bottom.
- Adjust Section continuously adjusts the currently selected section from the top-most section to the bottom.
- Adjust Song In Set continuously scrolls through songs in the currently selected set.
- Adjust Tempo continuously adjusts the tempo of the song from between minimum and maximum tempos as defined in settings.
- Adjust Velocity continuously adjusts the velocity to use when playing MIDI notes through OnSong.
- Adjust Volume continuously adjusts the volume of the device between 0 and 100%.
Momentary
Momentary actions are ones that are performed with a single input such as a tap or pedal press. These include:
- None no action is performed.
- Capo Up increases the capo for the song by one fret.
- Capo Down decreases the capo for the song by one fret.
- Scroll Up scrolls the song up. If using a foot pedal, performing this action once the top of a song is reached will navigate to the previous song in the set.
- Scroll Down scrolls the song down. If using a foot pedal, performing this action once the bottom of a song is reached will navigate to the next song in the set.
- Next Song navigates to the next song in the set.
- Previous Song navigates to the previous song in the set.
- Next Slide advances to the next slide when projecting lyrics.
- Previous Slide advances to the previous slide when projecting lyrics.
- Show/Hide Menubar toggles the menubar on and off for a full screen view.
- Show Songs List displays the song menu. When using non-keyboard input such as MIDI, this action will also hide the songs menu.
- Scroll Faster decreases the duration of the song by 30 seconds which causes autoscroll to speed up.
- Scroll Slower increases the duration of the song by 30 seconds which causes the autoscroll to slow down.
- Toggle Audio play, pause, or stop the backing track associated to the song.
- Toggle Autoscroll starts or pauses the autoscroll.
- Toggle Capo turns the capo on or off.
- Toggle Low Light Mode turns low light mode on and off. When on, the background of the song is black with white foreground text.
- Toggle Metronome turns the metronome on and off.
- Toggle MIDI Start/Stop sends the MIDI start or stop command.
- Mute Metronome mutes the metronome, allowing it to continue to keep time and optionally blink the menubar. This is great to use for practice to see if the beat can be maintained without click reinforcement.
- Tap For Tempo is used to change the tempo of the current song. This should not be used on high latency foot pedals like the AirTurn BT-105 since they are designed to forgive accidental foot taps or double entry.
- Tempo Up increase the tempo of the song by 1 BPM.
- Tempo Down decreases the tempo of the song by 1 BPM.
- Transpose Up transposes the song up by one half step including enharmonic variations.
- Transpose Down transposes the song up down one half step including enharmonic variations.
- Volume Up increases the master volume of the device by 5%.
- Volume Down decreases the master volume of the device by 5%.
- Blackout Lyrics blacks out the lyrics for lyrics projection by hiding lyrics and removing the background.
- Clear Lyrics shows or hides the lyrics during lyrics projection while retaining the background image or video.
- Continue Scene will continue the playback of a scene if a step is encountered that has an infinite duration. Use this for more advanced playback without the creation of addition scenes.
- Play Scene is used to restart playback of the currently loaded scene.
- Stop Scene is used to stop the playback of the currently playing scene.
- Toggle Scene Playback can be used to toggle the playback state of the currently loaded scene.
- Playback Pitch plays the pitch of the song for a cappella groups. This can be configured using metadata.
- Shift Up shifts to the next gear in the configured gears.
- Shift Down shifts to the previous gear in the configured gears.
- Unshift shifts to the first gear in the configured gears.
- Send Message allows you to select a message to be sent to connected devices.
- Send MIDI when using the MIDI in-app purchase, this option is available and allows you to define a MIDI command to be sent.
- Switch Scene can map a specific scene to an action. For instance, set an action to blackout all lights or to bring the house lights up.
- Switch Section allows you to link an action directly to a named section in your song. For instance, you can link to "Verse 1" or "Chorus".
MIDI Editor

The MIDI editor allows you to create or edit a MIDI event. This lets you specify the type of MIDI event to send or receive, as well as the optional channel, value, and other parameters pertaining to the selected MIDI event.
OnSong supports a number of types of MIDI events. Pick one of these types to learn how to configure it for you needs.
Control
This is a control change (or CC) which is typically sent from a foot pedal, knob, or slider. You can pick a channel and value to send for the control change event.
Program
This is a program change (or PC) event which is used for selecting different sounds or modules on a device. You must pick a channel as well as the program. Optionally you can choose bank select information.
Note
This is used for playing notes on a MIDI instrument. You must pick a channel as well as the note value.
Start, Continue and Stop
These are used to control MIDI playback of a track or sequence and do not have any additional properties.
Song Select
This is used for picking a specific song to be queued.
SysEx
This is used for sending more advanced messages to and from MIDI devices. These are often times manufacturer specific.
Choose Event Type
The MIDI editor allows you to configure a variety of MIDI event types including:
Control
This is a control change (or CC) which is typically sent from a foot pedal, knob, or slider. You can pick a channel and value to send for the control change event.
Program
This is a program change (or PC) event which is used for selecting different sounds or modules on a device. You must pick a channel as well as the program. Optionally you can choose bank select information.
Note
This is used for playing notes on a MIDI instrument. You must pick a channel as well as the note value.
NRPN
This is used to send Non-Registered Parameter Numbers to devices which require it. (Experimental)
Start, Continue and Stop
These are used to control MIDI playback of a track or sequence and do not have any additional properties.
Song Select
This is used for picking a specific song to be queued.
SysEx
This is used for sending more advanced messages to and from MIDI devices. These are often times manufacturer specific.
Delay
This is used to add delays when sending multiple MIDI commands for equipment that must process MIDI before accepting more information.
Edit Channel Name
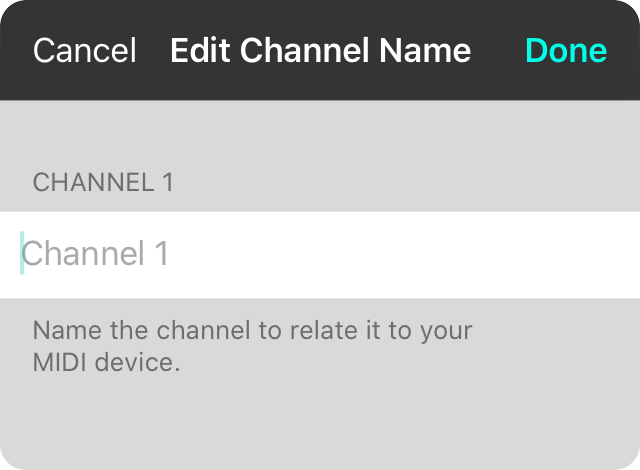
You can change the name of a channel in order to reflect the instrument or equipment that uses that channel for easier configuration of your rig. For instance, you may use a specific keyboard on Channel 1 and an effects pedal on channel 2. Use this screen to set those names to make configuring and viewing MIDI information easier and more personalized.
Global
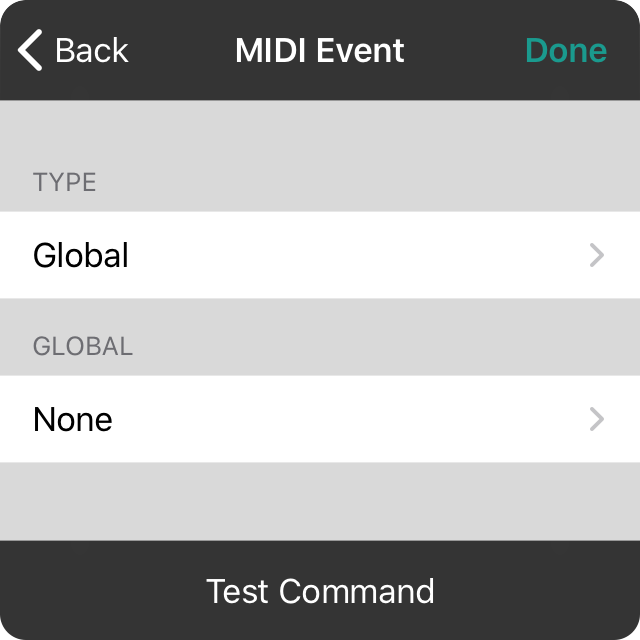
You can add a MIDI global which is a named collection of MIDI events to be sent as a group.
Type
To setup a MIDI Global in the MIDI editor, choose Global in the type section.
Global
Tap on this to choose a MIDI Global from the list, or create a new one.
Delays

When sending multiple MIDI commands, it might be necessary to delay sending an event for a period of time. This may be required be a specific hardware device or if you need to wait until the receiving MIDI device has sent other MIDI.
When you choose the delay event, you can sent a delay from zero to 3 seconds in 100 millisecond increments.
NRPN Events
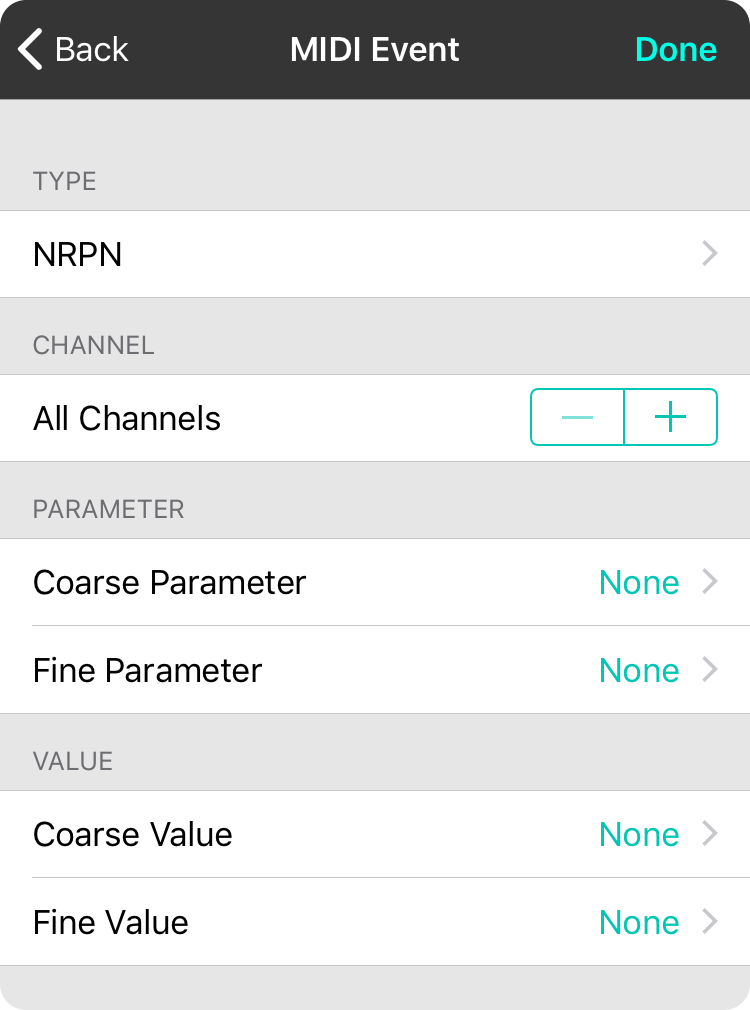
Non-Registered Parameter Numbers allow for a large number of values to be sent to MIDI devices that require input that is not normally covered by standard MIDI commands. You sent a coarse and fine parameter number followed by a coarse and fine value.
Type
To setup an NRPN event in the MIDI editor, choose NRPN in the type section.
Channel
The channel determines which MIDI channel the NRPN event is sent or received on. By default, OnSong will receive or send on all channels. Use the plus and minus buttons to choose a specific channel if necessary.
Parameter
This is the parameter to be changed. Use the coarse and fine parameter settings to choose the parameter required by the MIDI instrument. Consult the users manual from your manufacturer to determine what NRPN parameters can be changed.
Value
This is the value to set for the parameter. Use the coarse and fine settings to choose the value to send to your MIDI instrument for the selected parameter.
Program Change

Program changes in MIDI are typically sent and received to handle changes to the instrument's sound or module. They can also be used for general messaging to apps such as OnSong.
Type
To setup a program change in the MIDI editor, choose Program in the type section.
Channel
The channel determines which MIDI channel the program change is sent or received on. By default, OnSong will receive or send on all channels. Use the plus and minus buttons to choose a specific channel if necessary.
Program
Pick a program to send or receive by tapping on the None option. OnSong will display a list of program changes. These are listed as programs 0 through 127 with their General MIDI sound to the right.
Bank
When sending program changes, OnSong can also send a bank select. This is sent as either or both MSB and LSB. MSB stands for "Most Significant Bit" and LSB stands for "Least Significant Bit". Together they provide more options for MIDI hardware and software which supports it. Each bank select bit can have values of 0 through 127 or none.
The bank select is sent previous to the program change with OnSong. The delaying of the sent MIDI is to allow the device to process the bank select requests before handling the program change request.
Control Change

Control changes in MIDI are sent from pedals, knobs, and sliders, and are used to control the dynamics of music. They can also be used for general messaging to apps such as OnSong.
Type
To setup a control change in the MIDI editor, choose Control in the type section.
Channel
The channel determines which MIDI channel the control change is sent or received on. By default, OnSong will receive or send on all channels. Use the plus and minus buttons to choose a specific channel if necessary.
Control
Pick a control to send or receive by tapping on the None option. OnSong will display a list of control values 0 through 127 with known controls named in the list.
Value
When you are sending a control change, you can also choose the value to send from 0 to 127. This can be adjusted with the slider or by tapping on the "i" icon to pick a value from a distinct list.
Note Events

Note events in MIDI are used to play an instrument by sending note on and off commands. They can also be used for general messaging to apps such as OnSong.
Type
To setup a note event in the MIDI editor, choose Note in the type section.
Channel
The channel determines which MIDI channel the note event is sent or received on. By default, OnSong will receive or send on all channels. Use the plus and minus buttons to choose a specific channel if necessary.
Note
Pick a note to send or receive by tapping on the None option. OnSong will display a list of notes including their numeric representation in MIDI (0-127), as well as the letter, enharmonic preference, and octave of the sound.
Velocity
When sending note events, the velocity of the note can also be sent. By default this is set to 127. You can use the slider to adjust the velocity between 0-127. You can also tap on the "i" icon to choose a discreet value from a list of options from 0 through 127.
Note that OnSong does not send nor receive MIDI note off commands.
Sequence Commands

Start, continue, or stop commands are used to control MIDI playback on a sequencer. These commands have no parameters as they are sent out on all channels automatically.
Song Select

The Song Select command is sent on all channels and is used to load a new song on devices which support this MIDI event. Choose a value in the song section between 0 and 127 to be sent.
SysEx

Certain MIDI equipment can perform more advanced tasks by receiving system-exclusive or "SysEx" commands. These are specific bytes of information that can be sent using the command MIDI connection.
In OnSong, you choose the SysEx command and then tap on the value row to set the value of the SysEx. This is entered using a text-entry screen in the menu, allowing you to view and type the SysEx values. Values are typically entered as hexadecimal numbers referring to bytes to be sent over MIDI.
Note: You will need to contact the manufacturer of your MIDI equipment to determine what should be written in these fields. The nature of SysEx deems that these are system-exclusive commands and not in the common MIDI command lexicon.
SysEx Editor
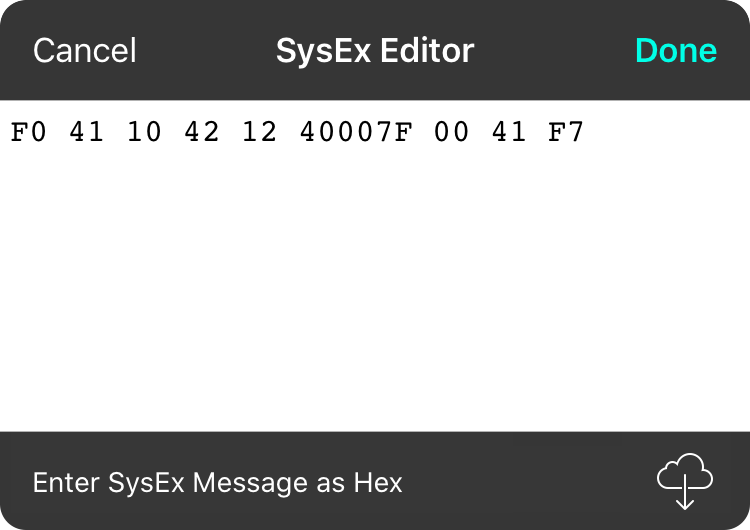
System Exclusive messages are binary data sent via MIDI that is designed for more advanced, manufacturer-specific functions. These special codes are entered using the text entry screen in this editor. Values are entered as hexadecimal numbers referring to bytes to be sent over MIDI.
You can also use the button on the lower right to import a SysEx file into the editor instead.
Note: You will need to contact the manufacturer of your MIDI equipment to determine what should be written in these fields. The nature of SysEx deems that these are system-exclusive commands and not in the common MIDI command lexicon.
MIDI Settings Menu

While mapping MIDI commands to actions via triggers is one of the most common functions of MIDI integration in OnSong, there are a number of other features that can be configured through settings. You can access these settings from the MIDI Triggers Screen. The following options are available:
Devices
This section shows found sources and destinations for MIDI input and output. Sources and destinations are automatically added to OnSong as they become available. You can tap on either to see the name of those devices displayed.
You can also disable MIDI with the MIDI Enabled switch. This will prevent MIDI commands from being forwarded to OnSong.
Sync
This sections provides tools to synchronize OnSong with another MIDI device or hardware. Turn on the following options to enable synchronization.
- Playback sends MIDI start, stop and continue commands to start, stop and pause MIDI programs on other devices. For instance, tapping on the Audio Button in the Live Bar will not only start a backing track if available, but also start the MIDI program on a synthesize or application like Ableton Live.
- MIDI clock synchronizes the tempo of the current song to connected hardware or software using the MIDI clock. This sends 24 clock signals for every beat. As you switch songs, the tempo of your MIDI hardware or software will adapter, assuming it supports MIDI clock tempo synchronization.
- Clock adjustment is located below the MIDI clock option and can be used to adjust the speed of the MIDI clock by a percentage. Use the - or + buttons to decrease or increase this amount.
Listen
OnSong can listen for chords to be played on your MIDI sources. This is used in the Song Editor to write chords. Enable this feature by turning on the For Chords switch. By default, OnSong listens on all channels for chords but you can change that by tapping on the channel picker below the switch.
When turned on, you can place your text cursor in the Song Editor and play a chord on a keyboard or other instrument. The chord is detected and inserted in the text.
Control Change
Some MIDI devices handle control change or CC events differently. For instance, some guitar pedal boards are set to be latching instead of momentary. Momentary switches typically send single value of 127. Latching will toggle between 0 and 127 each time the pedal is pressed. Typically OnSong ignores values below 64 for momentary actions. To use a latching switch with OnSong, turn the Toggle between on/off switch on to set the same or different actions for the on and off state of the pedal.
Playback
OnSong can play back chords using optional sound banks, or by sending the chord's notes through MIDI to your MIDI destinations. Turn this on by choosing a channel. When chords are set to play using MIDI, standard sound banks will be nonfunctional until this setting is turned back to Off.
Velocity
When playing notes in MIDI, they are required to have a specific velocity. Velocity for note events is how hard each note is to be played. OnSong defaults to 64 with the velocity to avoid being to quiet or too loud. You can adjust the velocity to play the chords louder or softer.
Display
It's handy to know what MIDI is being sent by OnSong. The display section allows you to turn on various MIDI events to be viewed by flashing a message on the screen. You can turn on:
- Note Events displays Note On and Note Off events.
- Program Changes displays Program Change the Bank Select events.
- Control Events displays Control Change events.
- Sequence Events displays start, stop and continue events.
- One-Based Index (1-128) changes the display of MIDI channels, programs, controls and values to start with 1 instead of 0 to avoid confusion.
MIDI Clock
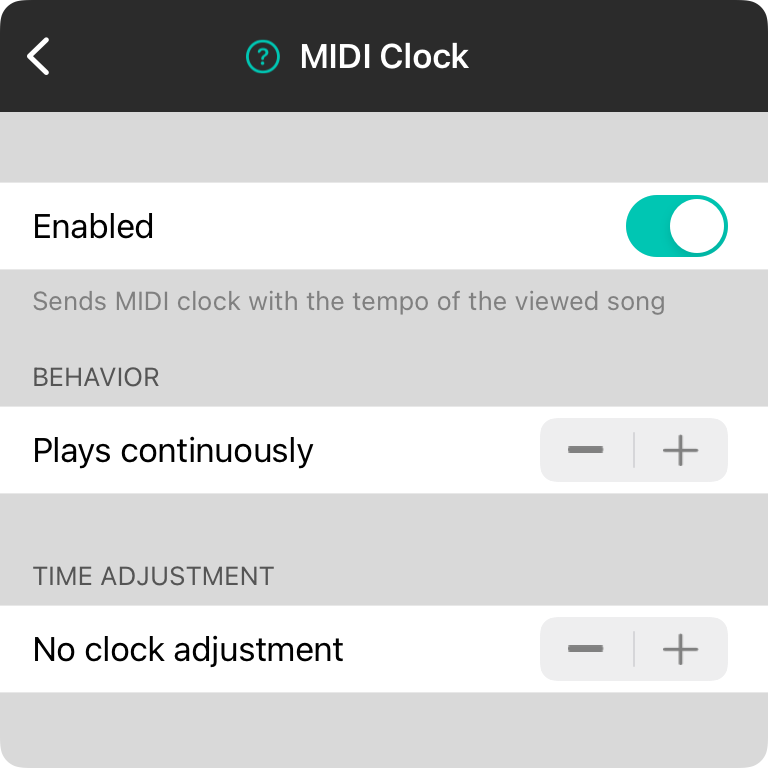
This screen allows you to configure MIDI clock by enabling or disabling it, as well as ways to effect how it behaves. Options include:
Enabled
This is pretty straightforward. Because MIDI clock sends 24 MIDI signals for every beat, sending MIDI clock can send a lot of data. It's only recommended to use MIDI clock on hard-wired MIDI connections as wireless MIDI transports have too much latency for accurate readings. Flip the switch to start sending MIDI clock according to the currently viewed song tempo.
Behavior
This section determines how MIDI is sent. Use the stepper control to choose from the following options:
- Play continuously will send MIDI clock events continuously according to the tempo of the currently viewed song. If you switch to a song that does not have a tempo, the previous tempo continues to be sent. Default.
- Stops without tempo will continuously send MIDI clock events and change tempo as the currently viewed song changes. However, if the song has no tempo, the MIDI clock will stop. When you view a song with a tempo, the MIDI clock will start again automatically.
- Stops after 1-30 seconds will send MIDI when a song is viewed, and then stop sending MIDI after a predetermined timeframe between 1 to 30 seconds. If a song with no tempo is encountered, the MIDI clock will also stop. The MIDI clock will start again when the currently viewed song tempo changes.
Time Adjustment
Because MIDI clock sends many MIDI events, the received tempo can drifted depending on the processing latency of the device. You can adjust the MIDI clock to run faster or slower if needed to adapt to these hardware limitations.
- No clock adjustment will send MIDI clock events as-is. Default.
- Adjust 75%-12% slower/faster lets you adjust how much slower or faster to make the MIDI clock in 0.5% increments.
Broadcast MIDI Settings
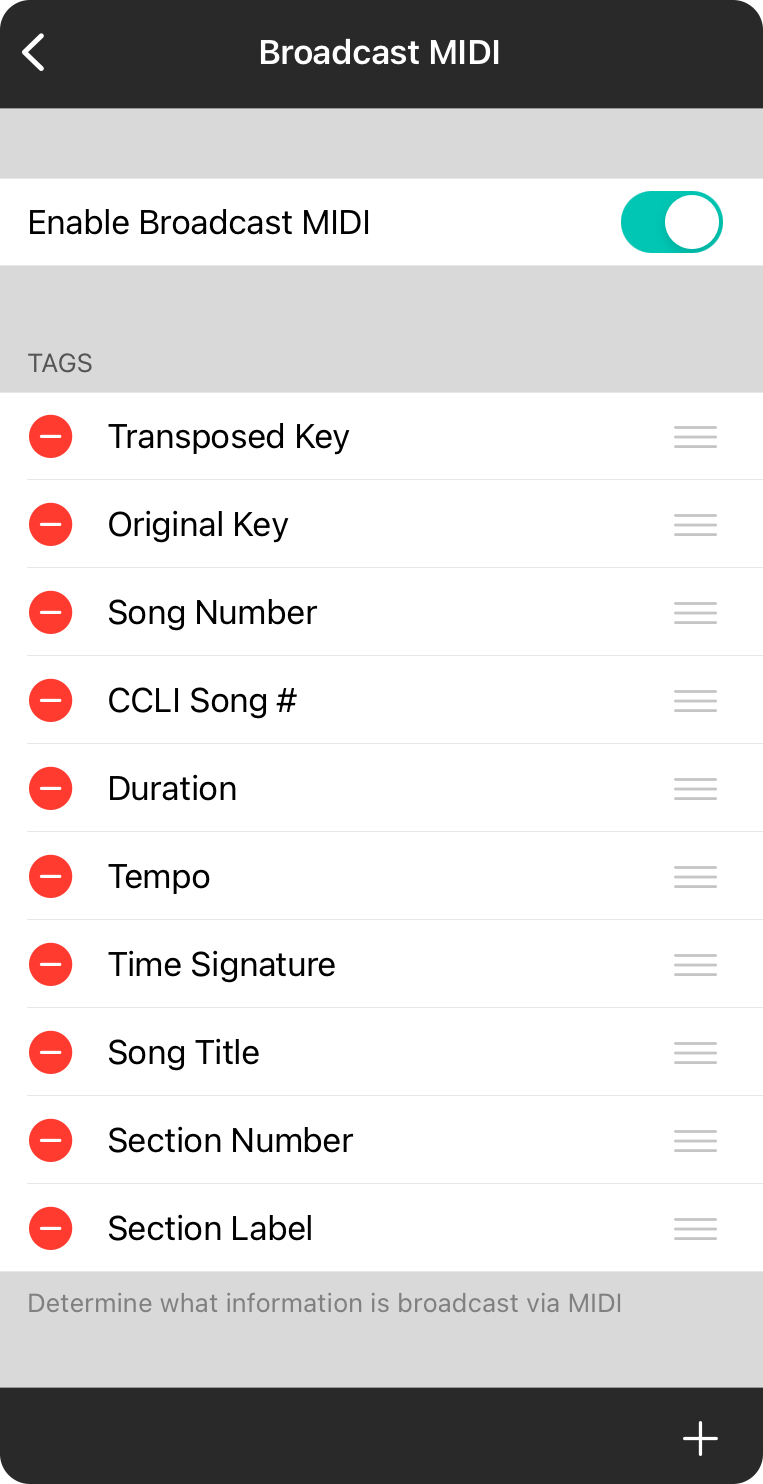
Broadcast MIDI sends system exclusive messages to any connected MIDI device that contains information about the selected song as well as section changes. These settings allow you to determine if MIDI is broadcast using this mechanism, and if so, customize the type of information that is sent.
Enable Broadcast MIDI
This switch is turned off by default so that no system exclusive (SysEx) MIDI messages are sent. If this is enabled, then MIDI messages are sent and can be listened to by compatible products or software.
Default Tags
This section contains the tags or metadata of the song that is sent about the song. While these tags may be enabled, the information is only sent if it exists for the song. For instance, if no tempo for a song is set, then no tempo tag is broadcast for that song. The default set of tags are: Transposed Key, Original Key, Song Number, CCLI Song #, Duration, Tempo, Time Signature, Song Title, Section Number and Section Label.
Editing Tags
If broadcast MIDI is enabled (as shown) the list of tags can be edited. You can remove tags by tapping on the red minus button and confirming the deletion. In addition, you can change the order the tags are sent.
Adding Tags
You can also add additional tags by tapping on the + button in the lower right corner. The following tags can be added as well as any tags that are removed from the default list displayed above. Other tags include: Artist, Song Identifier, Books, Copyright, Keywords, Lyrics, Flow, Content, and Capo.
Destinations
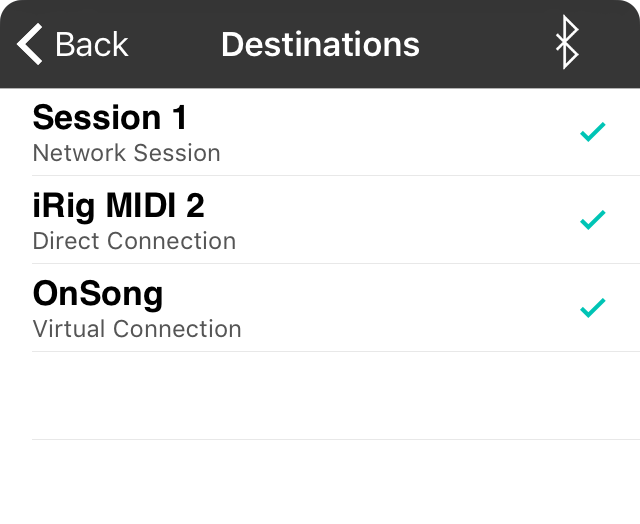
Destinations are hardware or software devices that OnSong can send MIDI to. For instance, you can connect a vocal effects processor to the port on your iOS device and change your effects setting for each song you perform. Check out the MIDI Integration feature for more details on how to connect MIDI devices to your iOS device for use in OnSong.
This screen displays a list of MIDI destinations as provided by CoreMIDI. These may include both direct connection to a device via an adapter, a WiFi network session, virtual connections to specific apps like OnSong, or a Bluetooth MIDI service that you can configure. Tap on the Bluetooth icon in the upper-right corner of the screen to advertise OnSong as a Local MIDI Service.
Destinations are automatically added to the list as they are discovered and are enabled by default. To prevent OnSong from sending MIDI to new destinations, tap on the row to remove the checkmark. OnSong will only send MIDI to destinations that display a checkmark.
Local MIDI Service
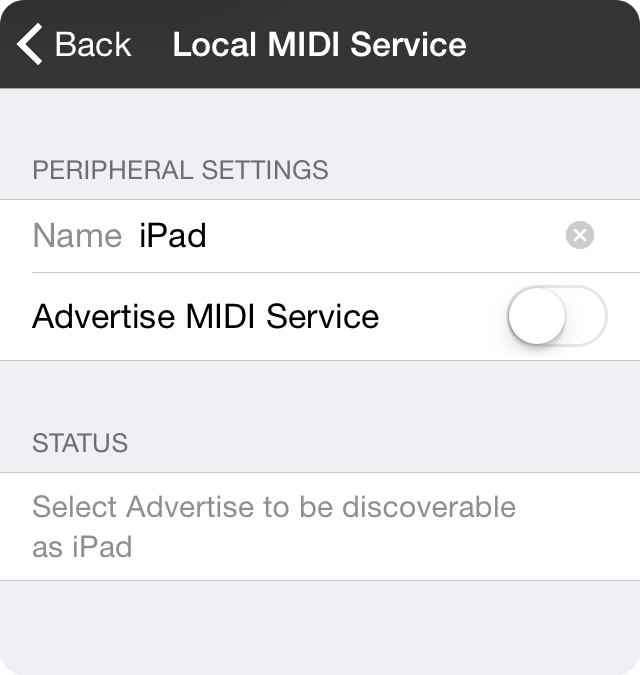
MIDI is a powerful tool for connecting disparate musical instruments and equipment. You can even use MIDI to communicate actions between OnSong devices. The Local MIDI Service screen allows OnSong to advertise as a MIDI source to other devices using Bluetooth.
To configure, type the name that you would like to use to broadcast OnSong as a Bluetooth MIDI device. Then turn on the Advertise MIDI Service switch to start the service. You can then connect to this using the Bluetooth MIDI Devices screen on another OnSong device.
Playback
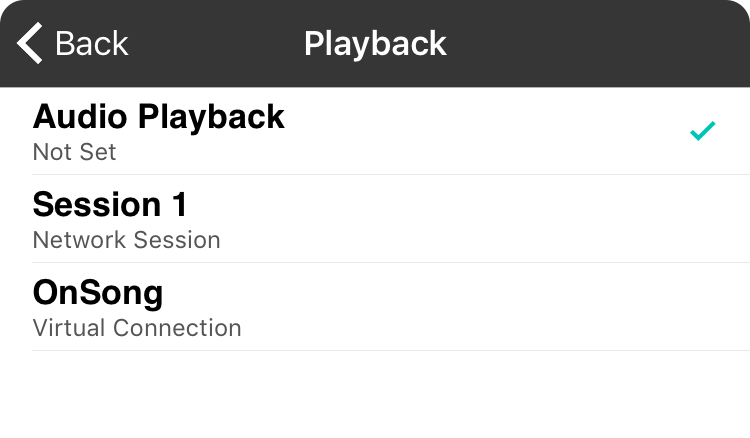
When OnSong plays MIDI files as if they were audio files, it must forward MIDI events to a destination in order for the MIDI information to be synthesized into sound. OnSong does not include a synthesizer or sampler to convert MIDI into sound. This is because there are scores of great music apps available that can make the sound you need.
Choose a MIDI destination from the list where OnSong should forward MIDI events for playback.
Audio Playback
The default option is to have no destination set for MIDI playback. This causes iOS to handle the MIDI events and s synthesize the sound directly if support. Default.
Direct Connections
CoreMIDI can be connected to physical MIDI hardware using various MIDI adapters, Bluetooth dongles or USB. Each connection will appear in this list if available.
Network Sessions
CoreMIDI supports MIDI sessions that are configured on the WiFi network. You can set up a MIDI network session on Mac OS X. Some MIDI manufacturers also make products that set up network MIDI sessions. See video tutorials on MIDI for more information.
Virtual Connections
Most MIDI-enabled apps can be configured as act as a virtual MIDI destination. This makes the app appear as another MIDI port that can be communicated with directly. This is especially useful for MIDI playback since you may want to target one app in particular.
Sources
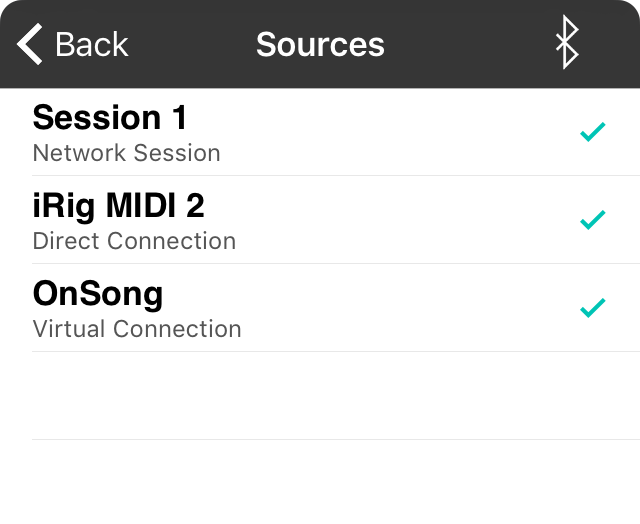
Sources are hardware or software devices from which OnSong can receive MIDI. For instance, you can connect a MIDI adapter to the port on your device to receive MIDI from that device. Check out the MIDI Integration feature for more details on how to connect MIDI devices to your iOS device for use in OnSong.
This screen displays a list of MIDI sources as provided by CoreMIDI. These may include both direct connection to a device via an adapter, a WiFi network session, virtual connections made available by specific apps like OnSong, or a Bluetooth MIDI device. Since Bluetooth MIDI devices need to be paired, tap on the Bluetooth icon in the upper right corner to pair Bluetooth MIDI Devices.
Sources are automatically added to the list as they are discovered and are enabled by default. To prevent OnSong from receiving MIDI from new sources, tap on the row to remove the checkmark. OnSong will only receive MIDI from sources that display a checkmark.
Bluetooth MIDI Devices
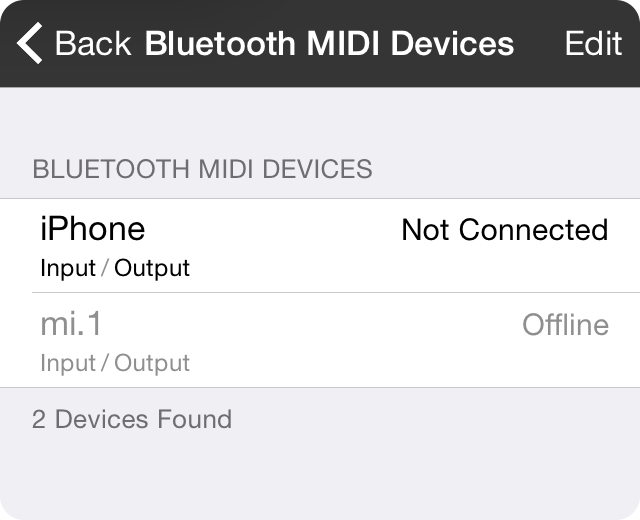
The Bluetooth MIDI Devices screen will discover nearby Bluetooth MIDI devices that can be used with OnSong.
These devices may include other apps or iOS devices that have advertised the ability to send MIDI over Bluetooth, or other hardware products like the mi.1 by Quicco which makes it really easy to connect traditional MIDI instruments wirelessly.
Tap on the device to connect to it and start the pairing process. You can tap again to disconnect from the device. Swipe right to left over a device to Forget the device so it can be paired elsewhere.
Once you've paired to your Bluetooth devices, tap on the Back button to view it in your sources list.
Tap
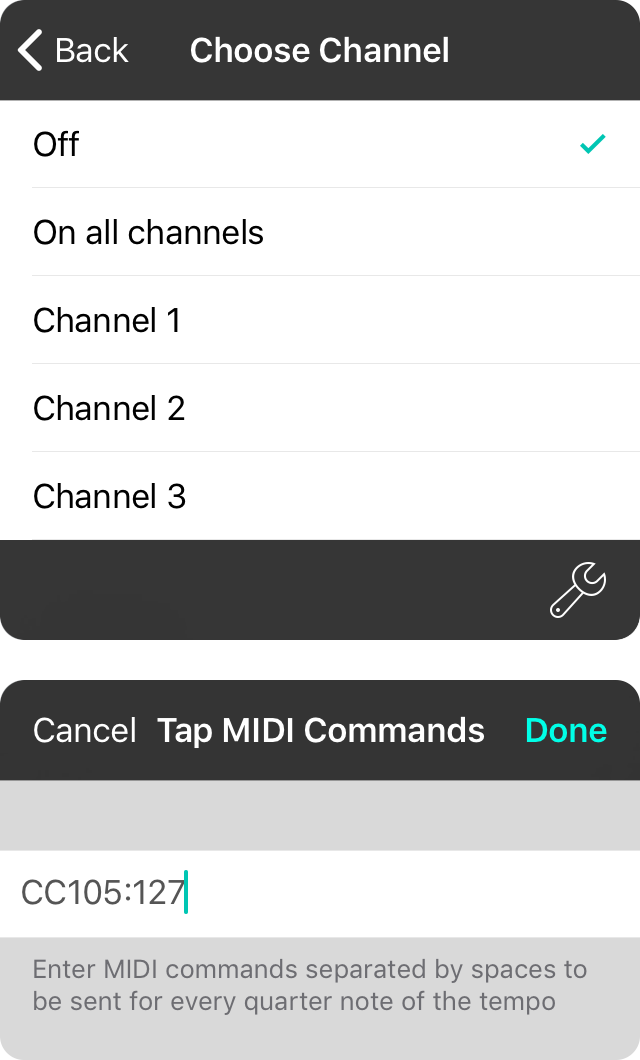
The tap feature of OnSong will send a MIDI event every time a quarter note is performed according to the tempo set on each song. On some MIDI equipment, this can be used to set the tempo instead of using MIDI clock which sends 24 MIDI events per quarter note, or sending the BPM as Control Changes.
To configure OnSong to send a MIDI event for each tap, choose a channel. By default, tap is disabled. You can enable it by choosing On all channels or a specific channel.
Tap on the wrench icon to set the MIDI commands to send for the tap. This will open the Tap MIDI Commands screen where you can type in a MIDI command using OnSong's MIDI syntax. The default value is to send a value of 127 on Control Change #105. You can change this value here, or use commas to specify multiple values.
Tempo Menu
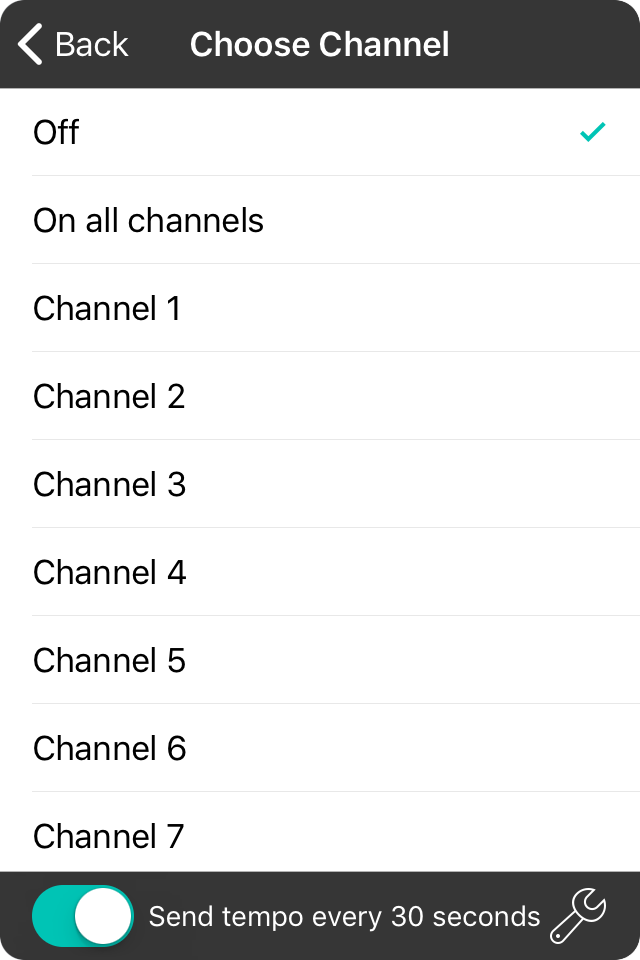
OnSong can send the current tempo of the song as a MIDI MSB/LSB control change. For instance, if the tempo of the song is 96, OnSong would set the first MSB MIDI command to 0 and the second LSB to 96. Combined, this would equal 96. If the tempo is set to 130, OnSong would send MSB 1 and LSB 2. Since the MSB is equal to the value multiplied by 128, this would equal 130 (128 + 2).
Channel
To enable tempo changes via MIDI commands, choose a channel or all channels. Whenever the tempo is OnSong is changed, the MIDI values are sent to inform compatible apps and hardware. Setting the channel to Off will prevent MIDI from being sent.
Send tempo every n sections
Tempo is sent out every two seconds by default. This handles equipment that many try to reconfigure the tempo periodically. This will ensure that the tempo set in OnSong overrides the tempo set on the device. You can turn this on or off accordingly.
In addition, you can tap on the label to alter the time interval that the tempo is sent. Options include 1, 2, 5, 10, 15, and 30 seconds.
Configure
By default, OnSong will send MIDI tempo changes on CC 106/107. Since there is no standard control change that tempo information is sent, you may need to customize or add to this list. You can do so by tapping on this button.
Tempo Configuration
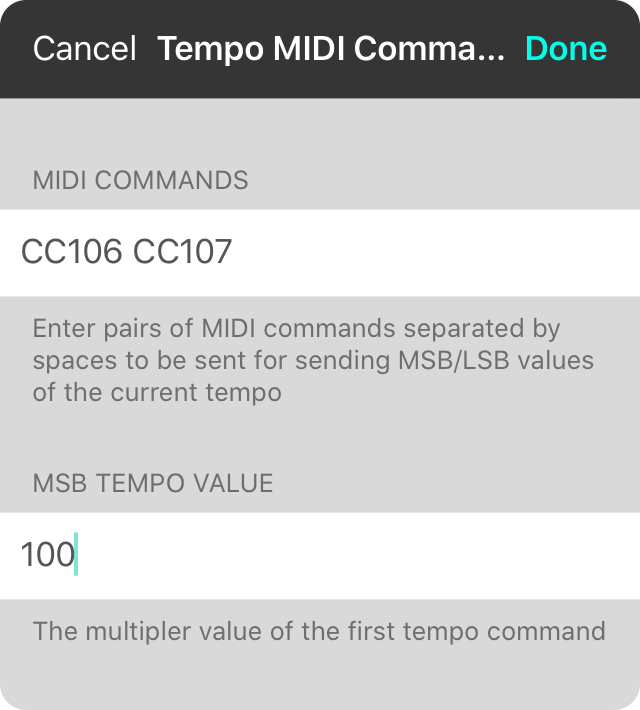
OnSong can send tempo changes using MSB/LSB MIDI commands. You can change or alter the MIDI commands that are used in this screen.
This screen consisted of a text field containing space-delimited MIDI commands. By default, OnSong uses "CC106 CC107" which uses Control Change #106 as the MSB of the tempo and Control Change #107 as the LSB value. You can change these control changes, or add MIDI commands in pairs to this list. For instance, if you wanted to send tempo on CC106/107 and CC54/55, you would enter the following: CC106 CC107 CC54 CC55
You are not limited to control changes and could send other types of events. For instance, you could send Note On events using the "N" prefix, or Program Change events using the "PC" prefix.
Scenes
When you first open the scenes editor, OnSong presents you with a tutorial video to learn how to set up scenes. Since OnSong is an in-app purchase, you'll need to enable the add-on by either tapping on the price in the upper right corner or tap on the Enable Scenes button at the bottom.
Once the add-on has been purchased, the Enable Scenes button turns into a Manage Scenes button. Tap on this button to open the Scenes List.
Scenes List
If you tap on the Manage Scenes button after purchasing the in-app purchase, or if you open Scenes from the Editors Menu after purchasing, you'll be taken directly to the Scenes List.
Scenes List
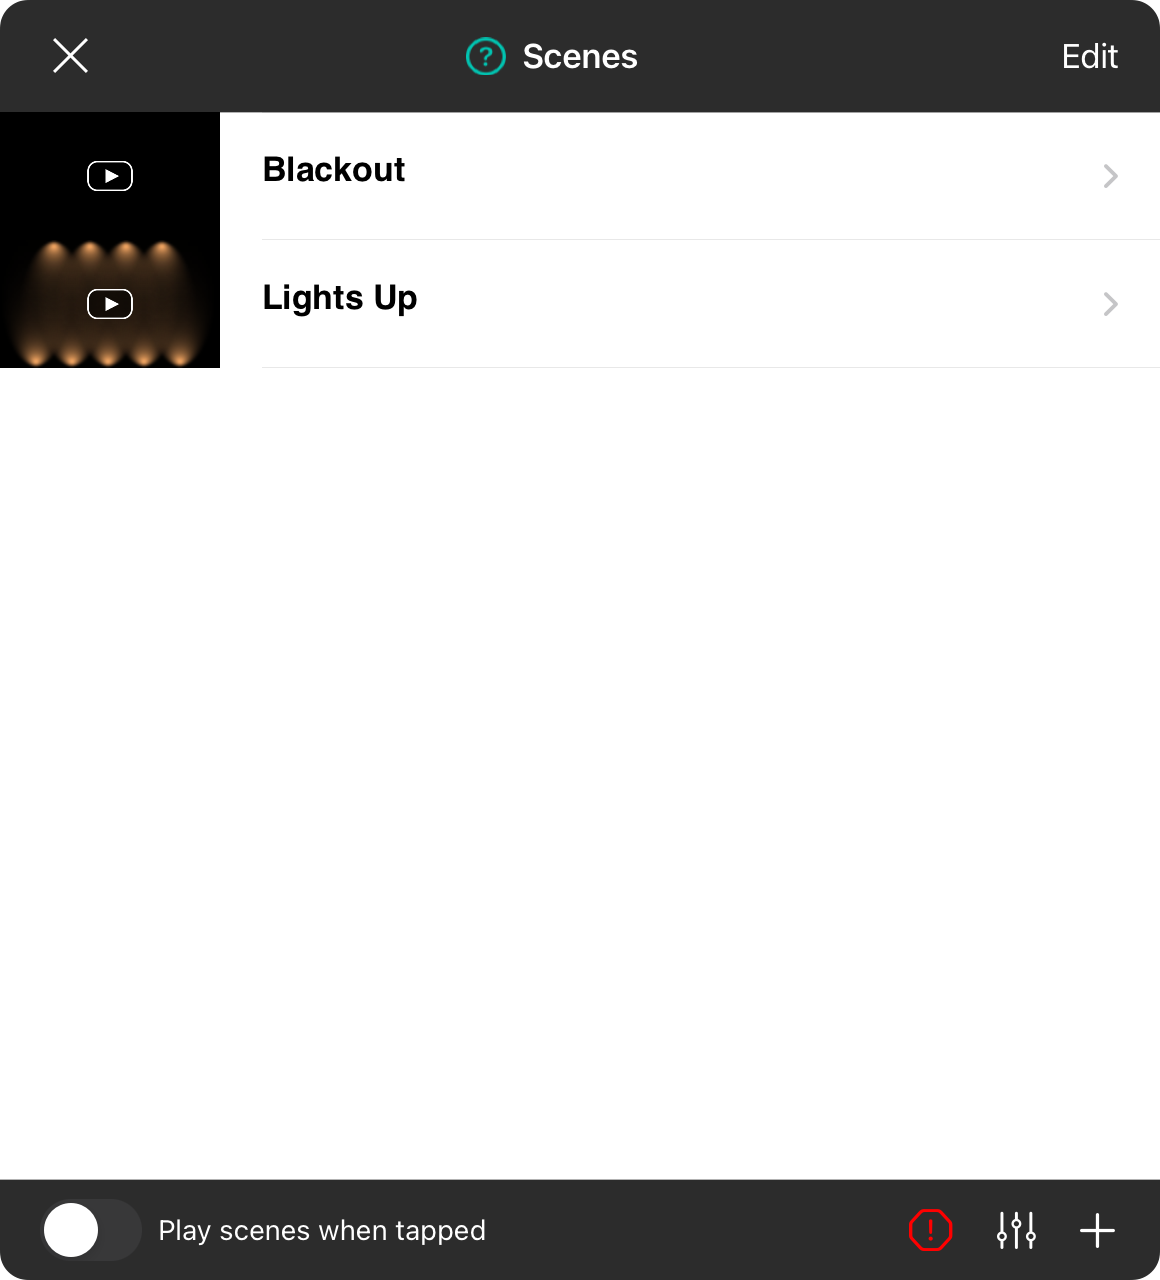
The main entry point to Scenes is a list that displays all the scenes that you've created. OnSong comes preloaded with two scenes:
- Blackout is a scene that fades all lights to off. This is useful for turning lights off.
- Lights Up is a scene that turns all lights connected to OnSong to a warm white light.
Editing Scenes
Each scene is listed next to a preview of the scene. Tapping on the preview will animate the preview screen. Tapping on a scene in the list will open the Scene Editor. One exception to this is if you have the Play scenes when tapped switch turned on. In this case, tapping on the scene will first play the scene and a second tap will open the Scene Editor.
Adding Scenes
Tap on the + button on the bottom right corner to add a new scene.
Edit Mode
Tap on the Edit button to place the scenes list into edit mode. This will allow you to reorder and delete scenes.
Master Dimmer
The master dimmer button is located in the lower right corner adjacent to the + button. Tapping this will open the Master Dimmer Level Menu to adjust the brightness of all lights.
Tap on the Close button in the upper left corner to close the screen.
Context Menu
The context menu can be displayed and shows additional actions that can be performed on a scene. These include:
Delete
Deletes the scene from the library. This action cannot be undone.
Duplicate
Makes a copy of the scene in the list. This is a great way to make small tweaks to base scenes.
Edit
This will open the scenes editor where you can make changes.
Play
This will play the scene through the connected lighting systems.
Edit Mode
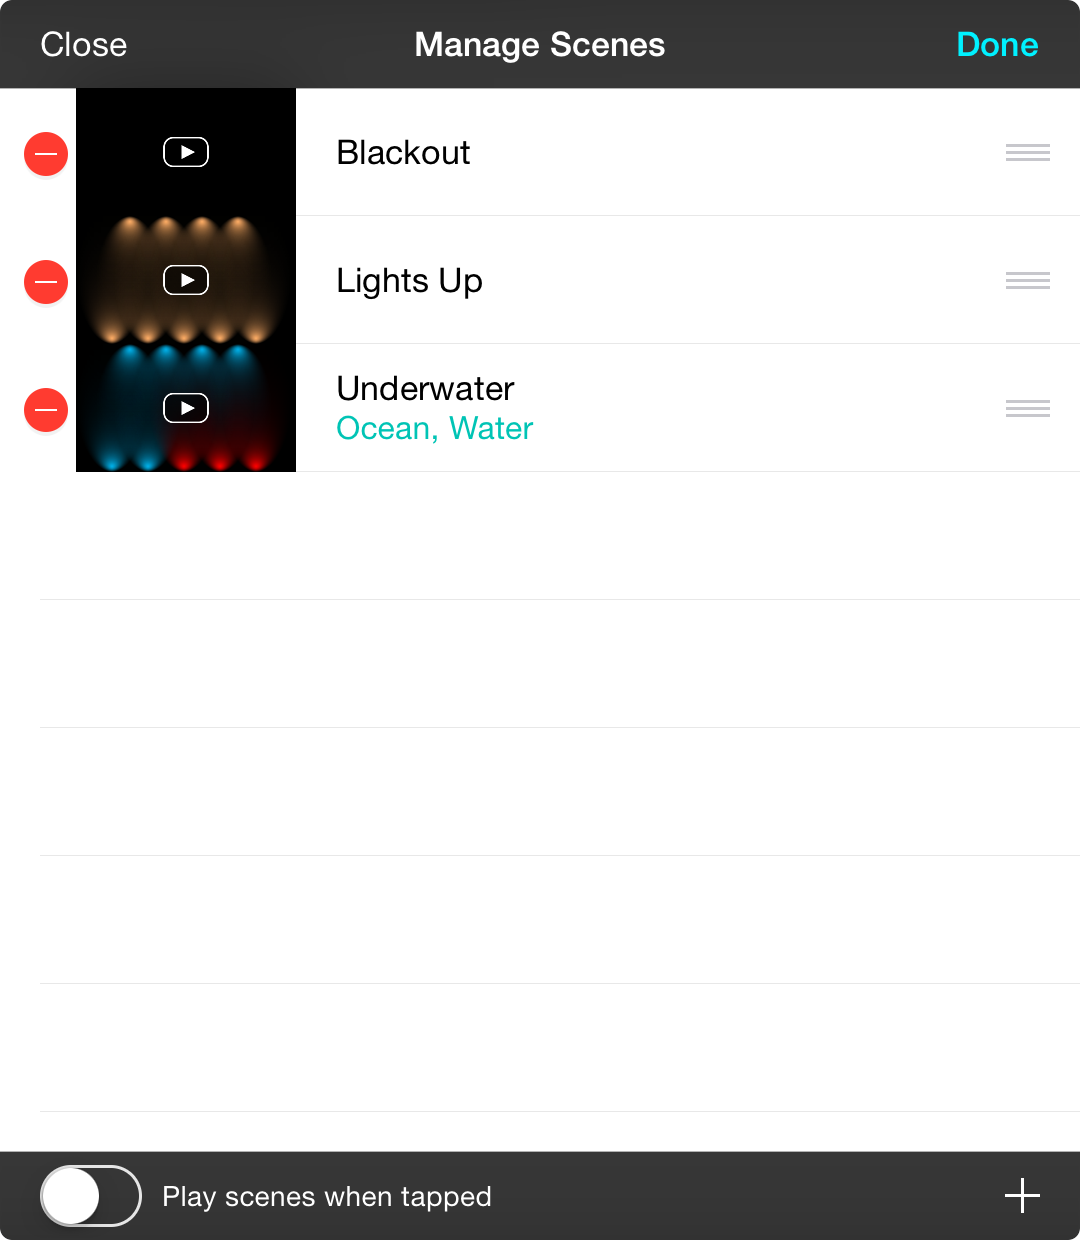
Tapping on the Edit button in the upper right corner of the Scenes List to make changes to the list.
Deleting Scenes
Tap on the red minus icon on the left side of the scene row and tap the revealed Delete button to remove the scene from your OnSong library.
Reordering Scenes
Tap and hold the reordering handle on the right of the row to drag scenes into a different order. Use this to place commonly used scenes to the top or bottom of the list.
Tap on the Done button in the upper right corner when you are done making changes to the list to save your changes.
Lighting Console
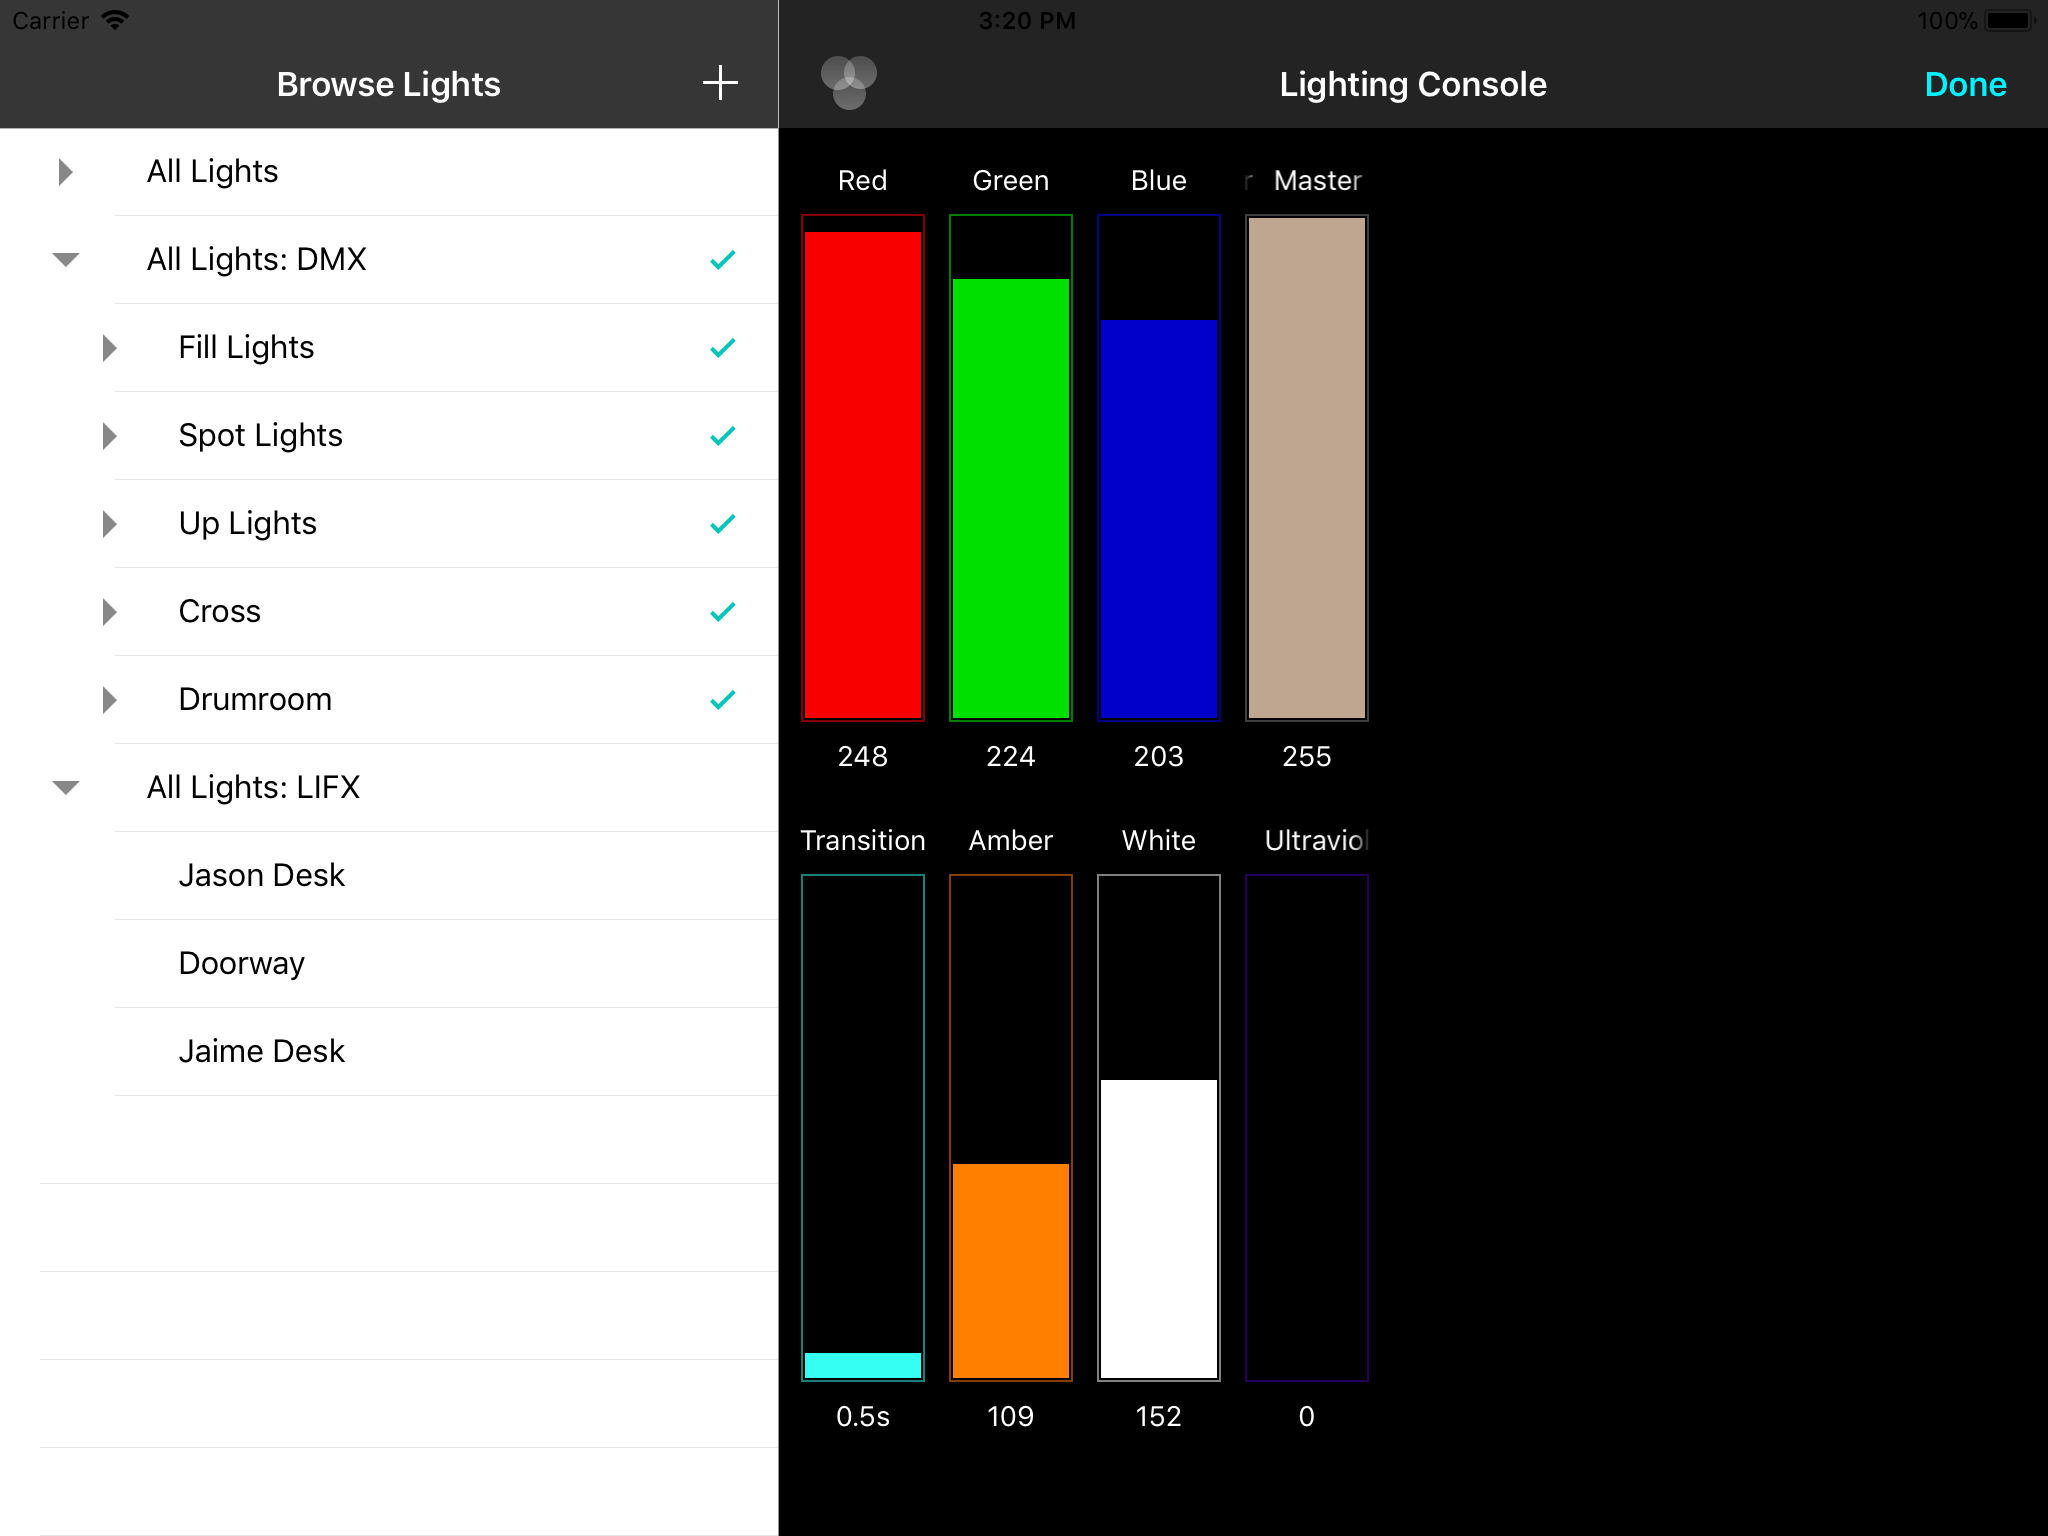
The lighting console allows you to control all of your lights and fixtures from a simple, multitouch interface. This interface is divided into two panels:
Light Browser
The light browser displays a hierarchy view of lights, fixtures and groups that have been configured in your system.
Control Surface
When you select lights in the browser, the lighting console activates faders to control the lighting for the selected lights, fixtures or groups.
Control Surface
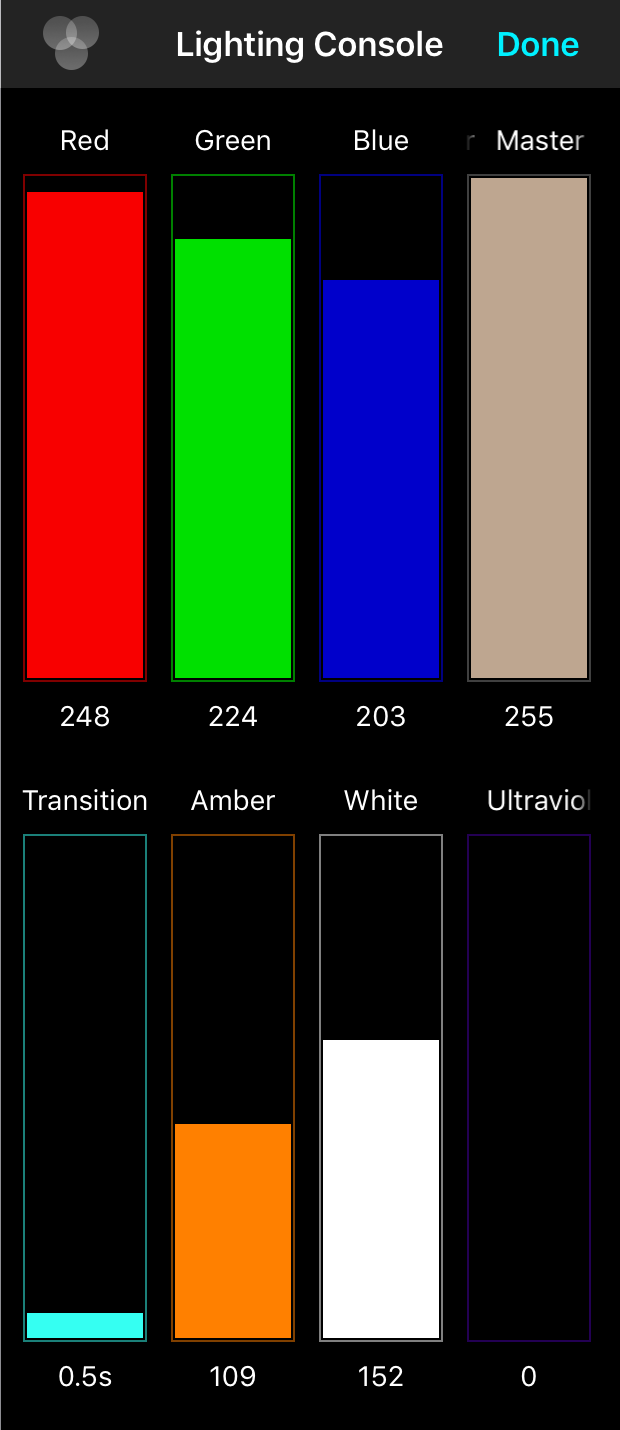
The lighting control surface provides an intuitive, multitouch interface for controlling the lights you've selected in the Light Browser. The surface is divided into scrollable sections that contain the following:
Color Sliders
Use the color sliders to change the color of the selected lights. If you have a time set in the Transition slider, your changes will take effect over that duration once you are done adjusting all sliders. If the transition slider is set to zero, adjustments are made in real-time.
The color slider is expressed by default in RGB or red, green and blue channels. You can change the color model using the Color Model button.
Master Dimmer
The master dimmer reduces the total brightness of whatever color is configured in the color sliders.
Transition Slider
The transition slider lets you choose how fast color or brightness changes should be applied. The default value is a half a second which provides a satisfying fade between color states after changes are made. You can set this between 0.0 seconds and 10.0 seconds.
Setting the transition slider to 0.0 seconds results in changes made to sliders being immediately reflected in real-time.
Traits Sliders
The traits sliders allow you to control more than just color on DMX lighting fixtures that support it. For instance, "HEX" lights include not just RGB control, but also Amber, White and UV controls for creating more natural-looking light on a color temperature scale.
When you select a DMX fixture or group that contains fixtures, the traits supported by those fixtures are enabled. This coalesces traits with the same name together so you can adjust them simultaneously on disparate fixtures.
Color
OnSong supports different color models that meet various needs for configuring lights.
RGB
Additive color model used frequently in LED lighting by mix red, green, and blue lights together.
CMY
Subtractive color model used frequently in transition DMX lighting with use of cyan, magenta, and yellow filters.
HSB
Natural color model that allows users to choose a hue and then determine it's saturation and brightness.
CMY
The CMY color model defines color as cyan, magenta, and yellow values in a subtractive color system. This color model is typically used in the printing process or with traditional lighting system that produce color by implementing motorized filters that move in front of a white light.
Turning all colors to 255 produces no color and setting all values to 0 produces full white.
HSB
The HSB color model defines color as hue, saturation, and brightness. This is the most natural way to think about color as it allows the user to choose a hue representing the colors of the rainbow in their most color form. From there you can adjust the saturation of the color. For instance, removing all saturation would result in a greyscale color. Lastly, the brightness of the color can be set as well to make the resulting color from bright to black.
RGB
RGB is a color model that defines color as red, green, and blue values in an additive color system. Turning all channels to 255 produces white light and turning them all to 0 produces no light. This color model is typically used in digital photography or LED lighting systems where red, green and blue hues are turned on to produce color.
Light Browser
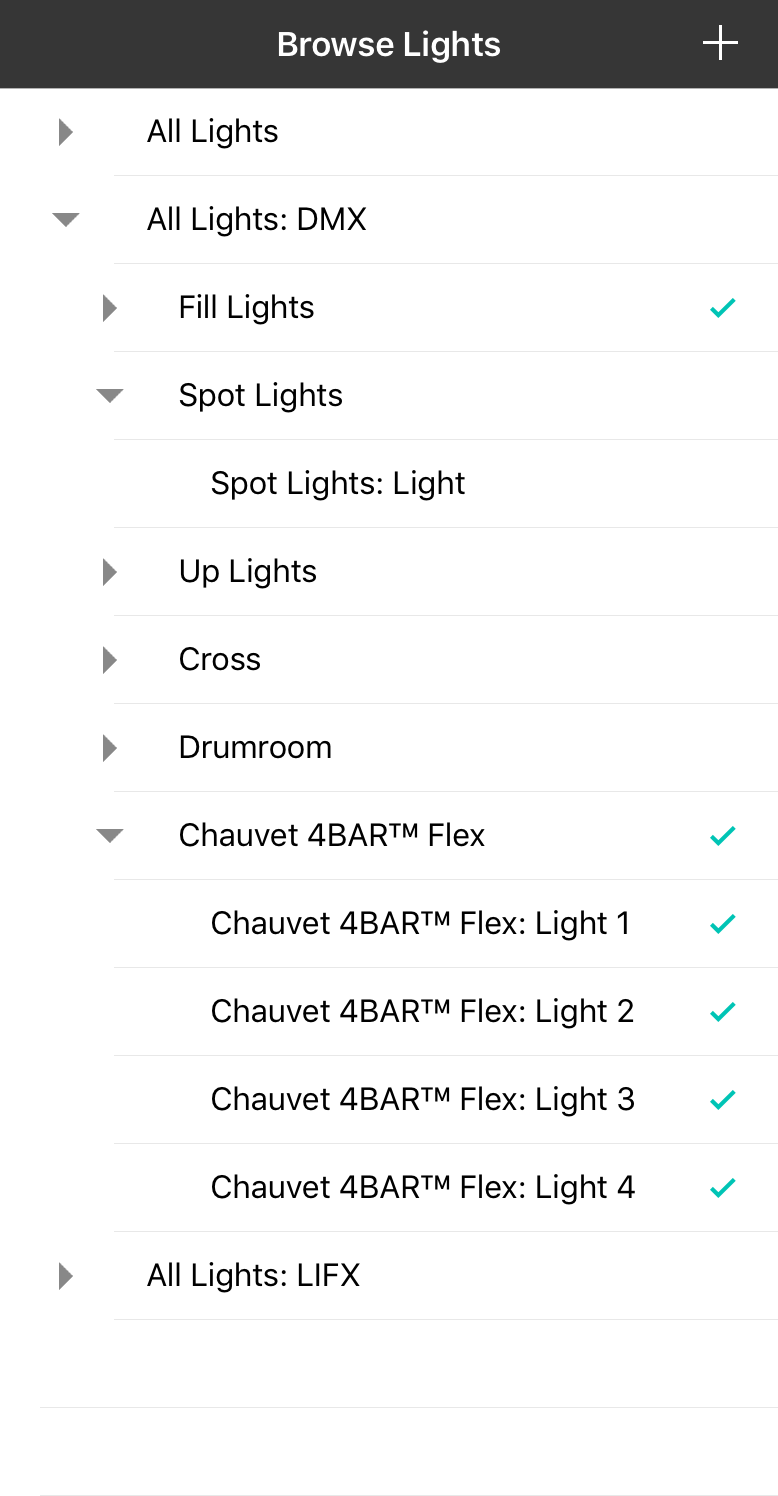
The light browser provides a hierarchal view of all the lights, fixtures, and groups that have been configured in OnSong.
Adding Lights
You can add or modify lights found in this list by tapping on the + button in the upper right corner. This opens the Bridge Editor that is used to turn on different lighting bridges and add lights or fixtures.
Selecting Lights
The primary function of the light browser is to select lights to control via the Control Surface. The browser provides a top-level list of bridges that you have activated for use in the Bridge Editor.
- All Lights is not a bridge, but rather coalesces all lights and fixtures from all active bridges. Under the All Lights group you will find each light in the system.
- DMX are all stage lighting fixtures that have been added using an ArtNet Interface. Listed under this bridge are all fixtures and groups that have been configured. You can access individual lights under each fixture and group.
- Hue are all the lights that have been added using Philips hue lighting. You can drill in and find groups and lights set on the Philips hue bridge.
- LIFX are all LIFX lights that are connected to the current WiFi network. You can drill in to find all WiFi groups and lights.
Controlling Lights
Once you've selected the lights you want to control, the Control Surface on the right will change to reflect the known state of the selected items. If items have different colors or traits, these are averaged. Only the colors or traits that can be modified will be enabled.
Master Dimmer
The master dimmer menu allows you to set the overall brightness of all lights that you manage with Scenes. You can slide your finger to the left or right or up and down to adjust the percentage brightness of all lights. Adjustments happen in near realtime once you pause for a moment. That is designed to fade smoothly between brightness levels.
Once you set a new master dimmer level, all lights immediately adjust brightness accordingly. Any scenes that are played or are in progress also adjust brightness to the new level. All brightness levels set in sequences are multiplied by the master dimmer. So if you have a light set to 50% brightness, and you have the master dimmer set to 50% brightness, the effective brightness of the light will be 25%.
You can set the brightness from 0-100%. If you set the brightness to 0%, all lights will be turned off.
Scenes Editor
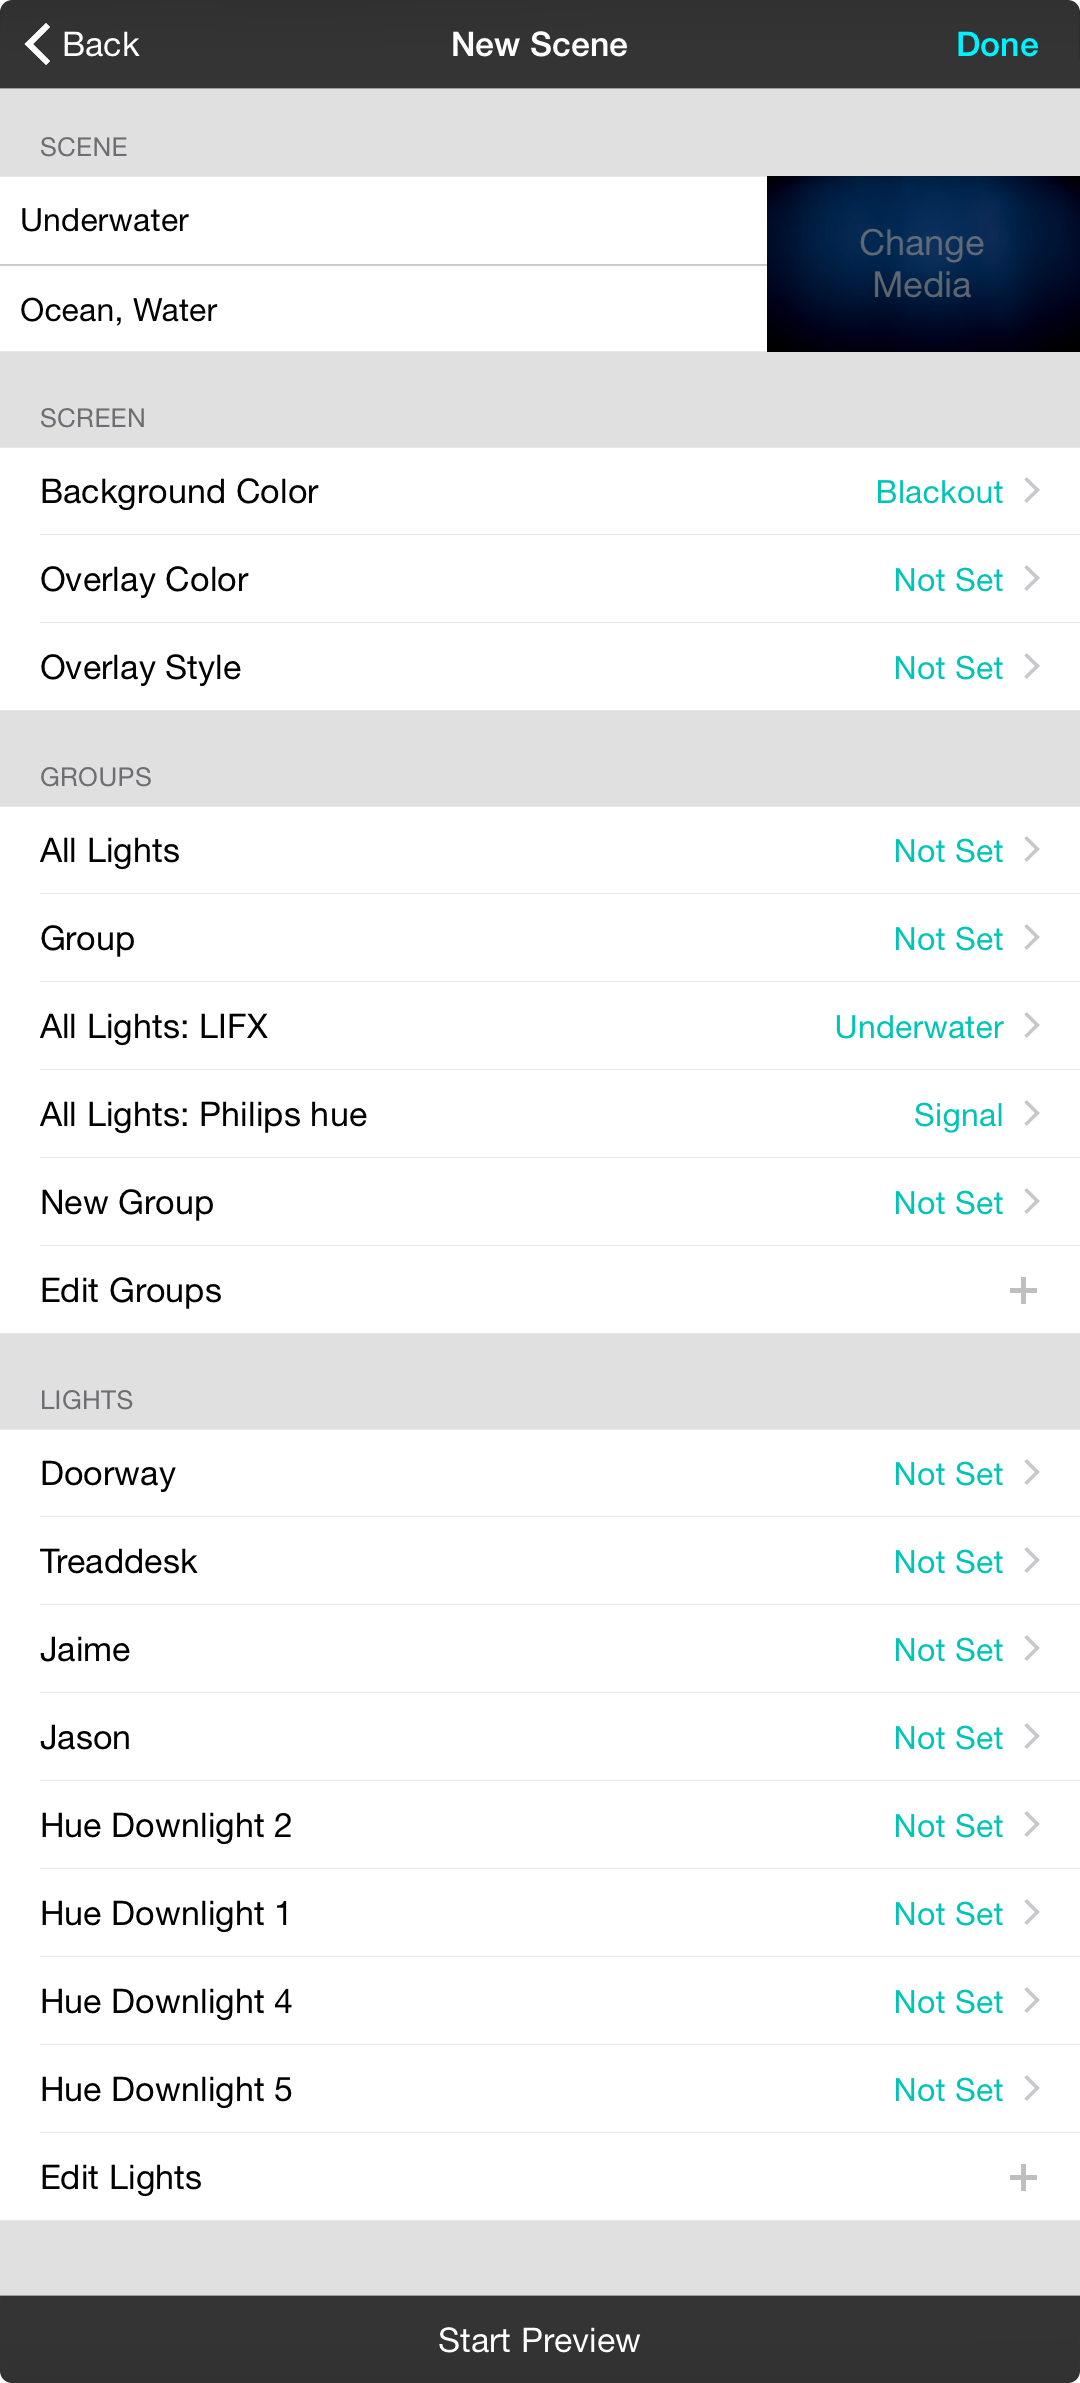
The scenes editor is used for either creating new scenes or editing existing ones. This screen is divided into the following sections:
Scenes
The scenes section contains information about the scene like:
- Title is the name of the scene.
- Keywords is a comma-delimited list of keywords. If you specify keywords then OnSong can automatically load a scene when a section is selected in the song viewer. OnSong reviews words in the section and determines the best matching scene.
Screen
You can use Scenes to change lyrics projection for songs and sections. All properties are animated and include:
- Background Media is located next to the title and keywords fields. Tapping on the Change Media to open the Image Media Picker and select background media to be loaded when the scene is played.
- Background Color sets the color of lyrics projection background. Since colors are animated, you will need to choose a sequence.
- Overlay Color allows you to change the color of overlays. Overlays are applied on top of background color, images and video. Since colors are animated, you will need to choose a sequence.
- Overlay Style allows you to choose a different overlay style for this scene.
Groups
Typically you would set the color of groups of lights. This will show any groups you've created as well as all lights on a bridge.
- All Lights lets you set all connected lights, or all lights on a bridge to a sequence.
- Custom Groups sets sequences to groups that you create on a bridge.
- Edit Groups lets you configure bridges and the groups associated with each bridge.
Lights
Each light that is connected to OnSong through a bridge is displayed in this list. You can choose a sequence for each light. You can add or edit lights on bridges by tapping on the Edit Lights button.
Preview Button
Tapping on the Start Preview button to play the scene. Once running, this button will turn into a Stop Preview button which will stop the scene if tapped.
Note: Duration times for changing background media and overlays are derived from the first known sequence of the scene.
Overlay Picker
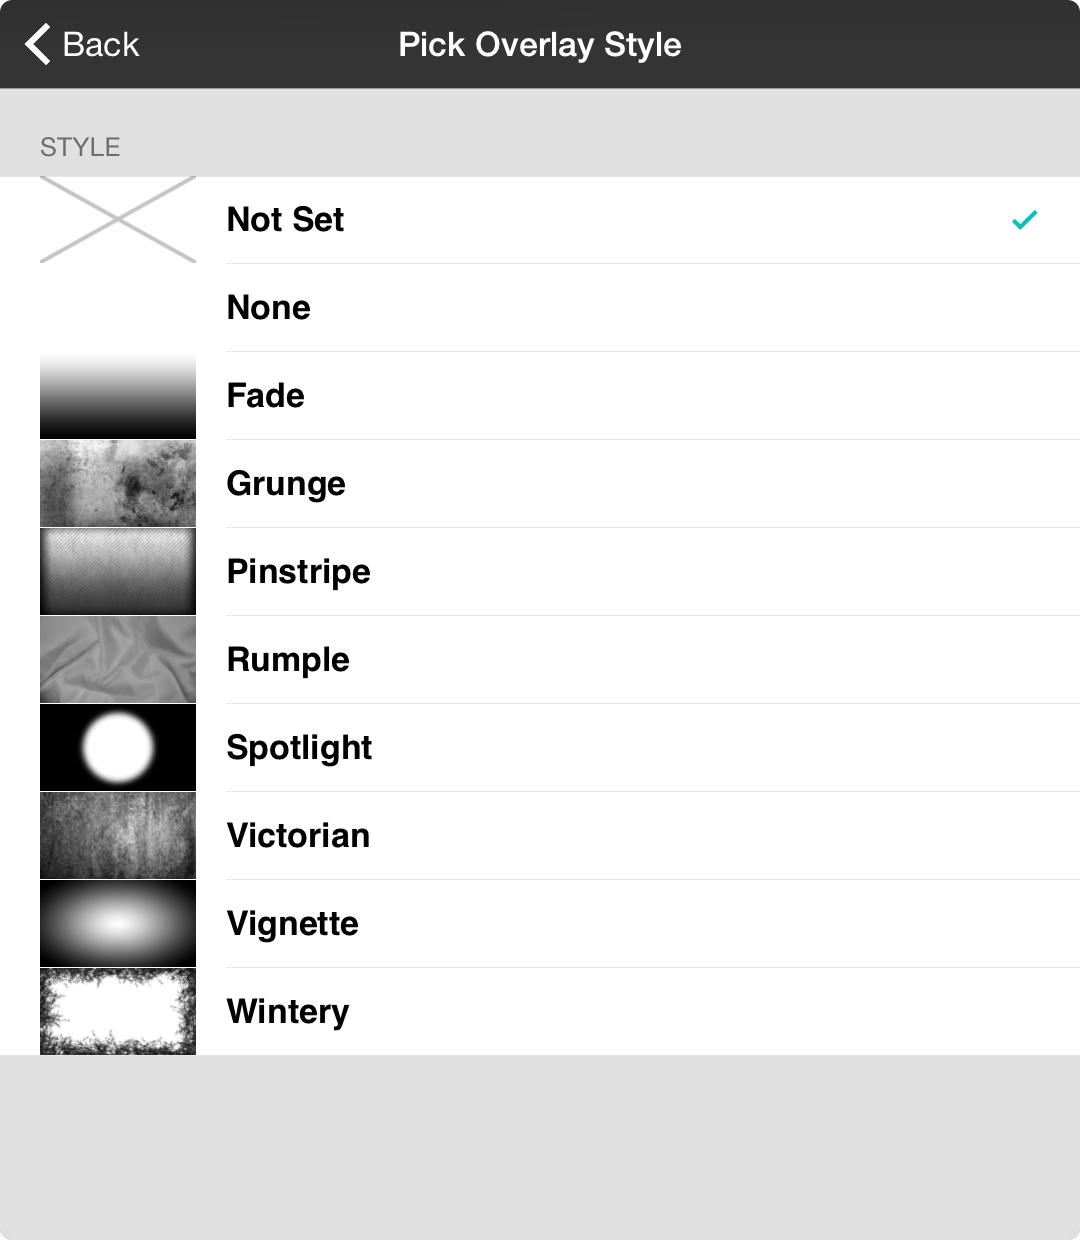
The overlay picker allows you to create rich lyrics projection backgrounds by combining color, image or video with a semi-translucent overlay. Tap on an option in the list to select it or tap on the Back button to cancel.
Style
Choose one of the built-in overlay styles. Each are displayed with a preview as well as a checkmark next to the currently selected style.
- None turns the overlay off.
- Fade fades from fully transparent on top to black on the bottom.
- Grunge adds concrete-like weathering to your background image or video.
- Pinstripe adds a thin vignette in combination with vertical pinstripe lines.
- Rumple simulates wrinkled fabric and turns any background into a cloth.
- Spotlight can turn a projector into a light for use with Scenes since you can control the background color of your lyrics projection background using sequences.
- Victorian adds an old wallpaper-like allure to your images.
- Vignette features a circular fade to the edges to highlight background content.
- Wintery features icy crystals around the edge of an image, useful when combined with a white overlay color.
Sequence Chooser
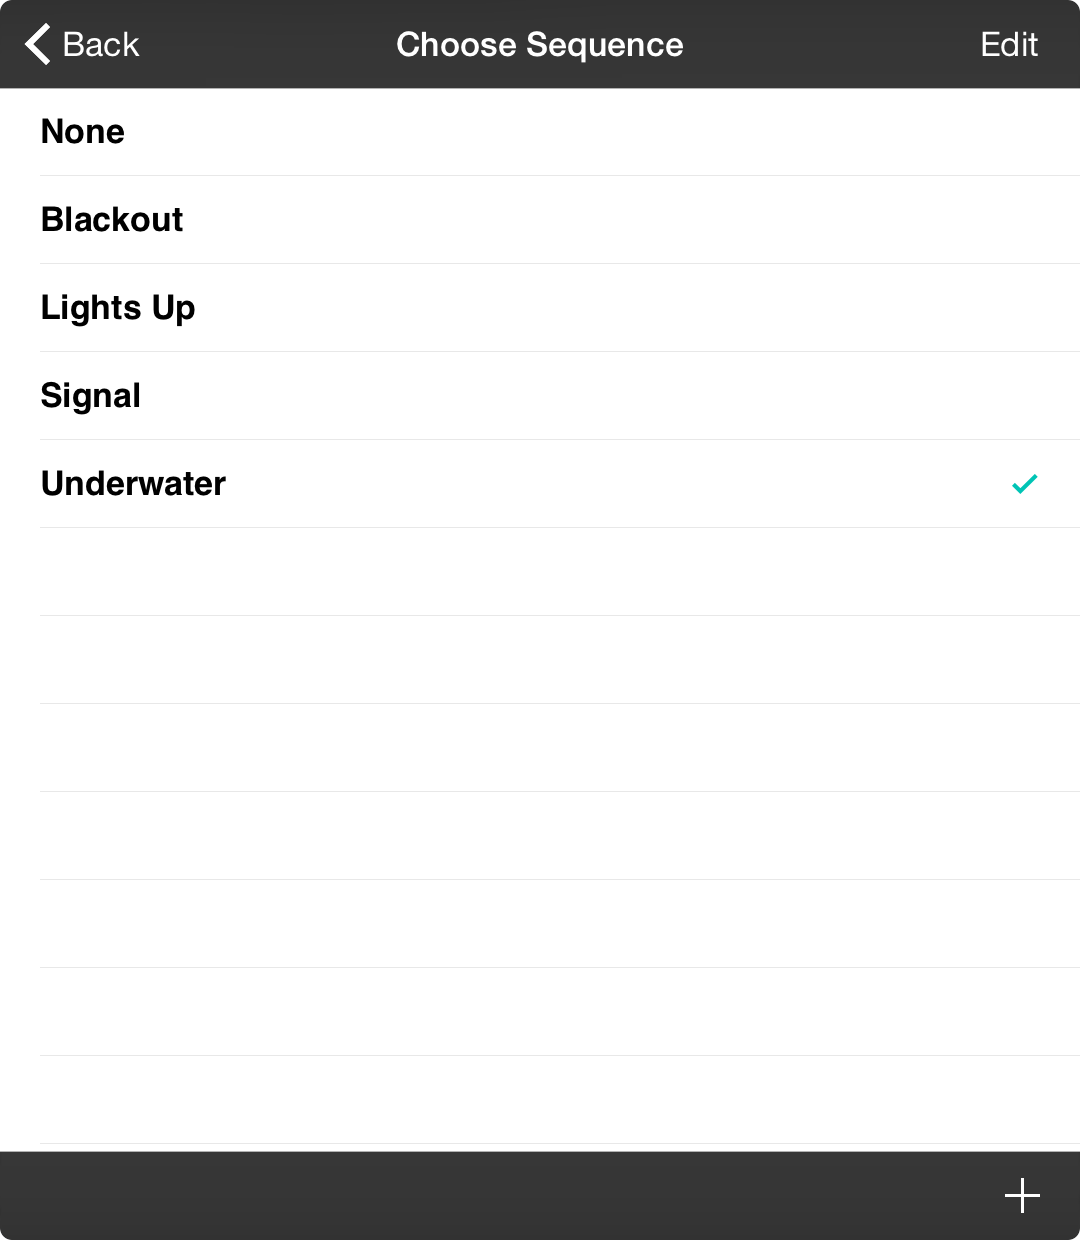
Since colors in scenes can be animated, we use a sequence. A sequence is a collection of steps which set up a color, how long it is displayed and its transition.
Choosing Sequences
Tap on a sequence in the list to select it for a screen attribute, group or light. Tap on None to remove the sequence.
Adding Sequences
To create a new sequence, tap on the + button in the lower right corner to open the Sequence Editor.
Edit Mode
To make changes to sequences in the list, tap on the Edit button in the upper right corner to enter edit mode. In this mode you can modify, delete and reorder sequences.
Add Sequence
Sequences are comprised of a name and series of steps. Steps are cycled in turn when a sequence is loaded. They contain the color, duration and transition time of the step. Steps continue to cycle until a step with an infinite duration is encountered.
Details
This following fields are used to recall sequences.
- Title is the title of the sequence.
- Description describes the the sequence with some more text.
Steps
This lists the steps that comprise the sequence. Tap on a step to edit it or on the Add New Step option to create a new step.
Steps are created in the order they are added. You can then delete steps or reorder them if needed. Tap on the Done button in the upper right to save changes to the sequence.
Edit Mode
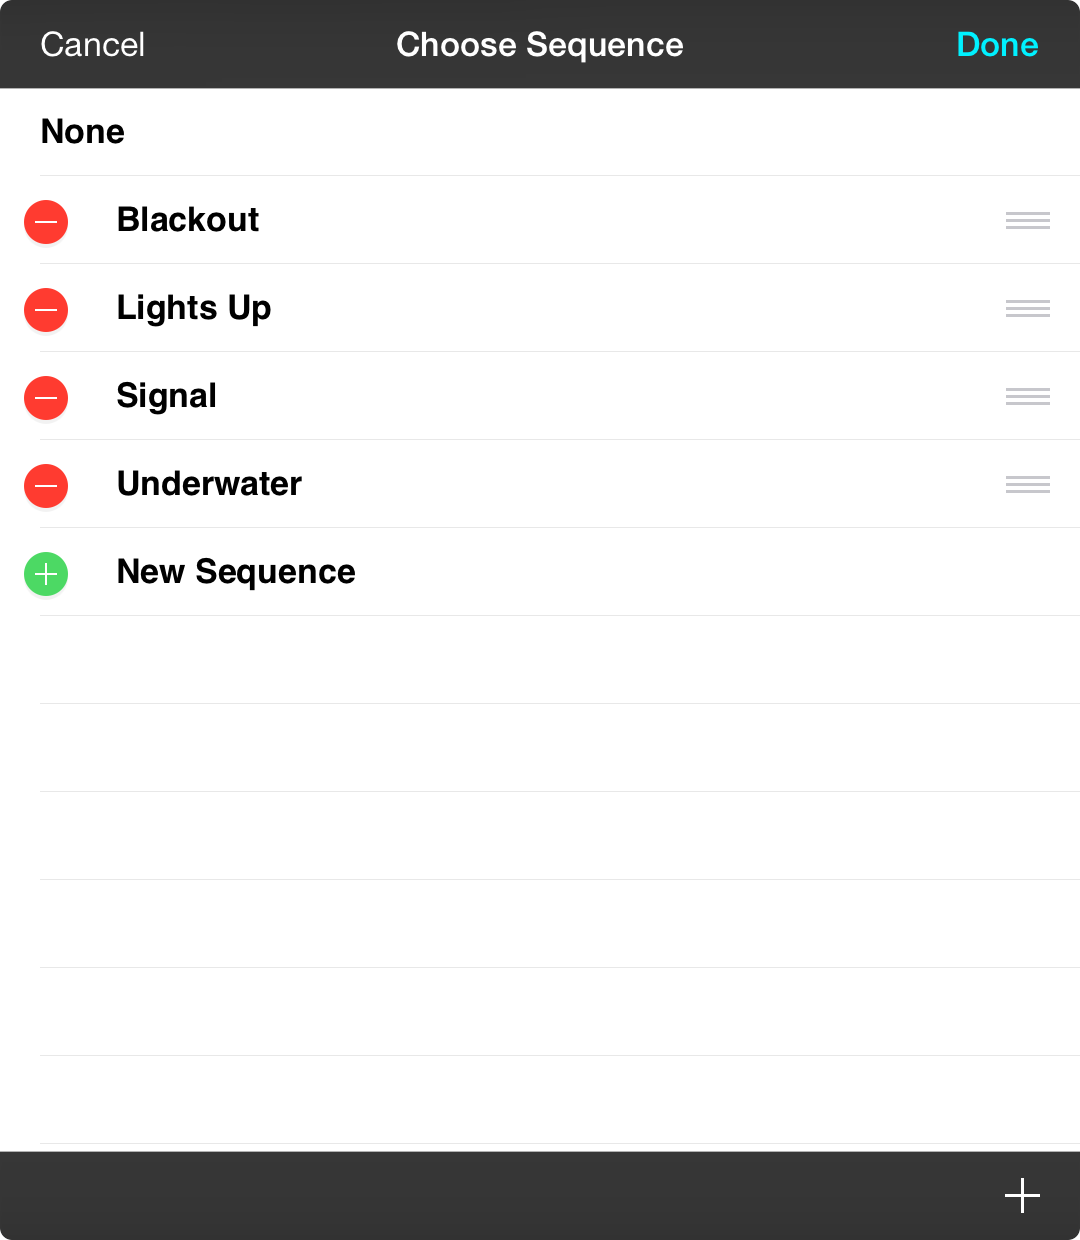
Tapping on the Edit button in the upper right corner to make changes to the list.
Adding Sequences
Tap on the New Sequence row to open the sequence editor to create a new sequence.
Deleting Sequences
Tap on the red minus icon on the left side of the sequence row and tap the revealed Delete button to remove the sequence from your OnSong library.
Editing Sequences
Tap on a sequence in this list when in edit mode to open the sequence editor and make changes.
Reordering Sequences
Tap and hold the reordering handle on the right of the row to drag sequences into a different order. Use this to place commonly used sequences to the top or bottom of the list.
Tap on the Done button in the upper right corner when you are done making changes to the list to save your changes.
Step Editor
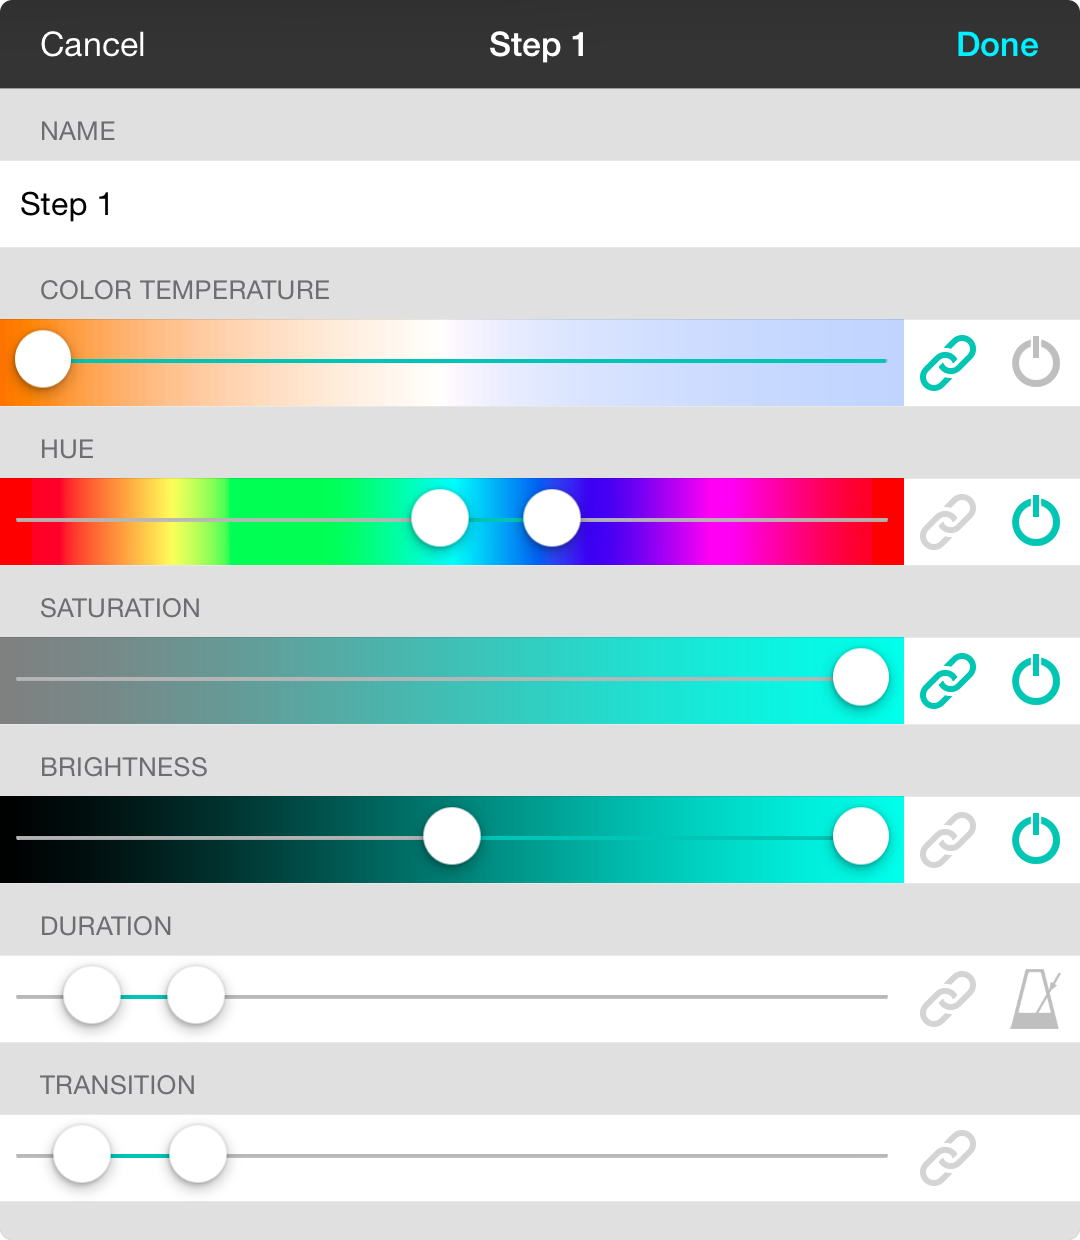
The step editor allows you to configure color, duration and transition time for each step.
Common Buttons
Next to each slider is both a link button and a power button.
- Link Button is used to determine if you are adjusting a single value or a range of values. By unlocking the slider you can specify a range of values which are randomly selected each time the step is encountered.
- Power Button is used to determine what attributes are added to the step definition. For instance, you can create a step that only includes a brightness attribute which allows the current color to have its brightness altered.
Name
The name of the step is automatically assigned numerically. You can change the name of the step if you desire.
Color Temperature
You can choose between either color temperature or hue using the power buttons. Color temperature is used to specify color in degrees kelvin for natural lighting.
Hue
Choosing color with the hue slider allows for a rainbow of colors to be selected.
Saturation
The saturation slider adjusts the intensity of the color to be displayed. For instance, to create a pink color you would choose red from the hue slider and lower the saturation.
Brightness
The brightness slider adjusts the brightness of the color to be displayed. For instance, you can create a dark green color by picking green in the hue slider and dropping the brightness.
Duration
The duration slider is used to determine how long a step is shown for. This value includes the transition. For instance, if you set the duration to three seconds and the transition is set to one second, then the color is displayed in full for two seconds with a one second transition time.
While the duration is typically set with seconds, the metronome button allows you to set the duration in beats instead. For instance, you can display a step for four beats. This allows the duration to be adjusted based on the tempo of the current song.
Transition
The transition slider allows you to determine how quickly the color transitions from the last color.
Editing Sequences
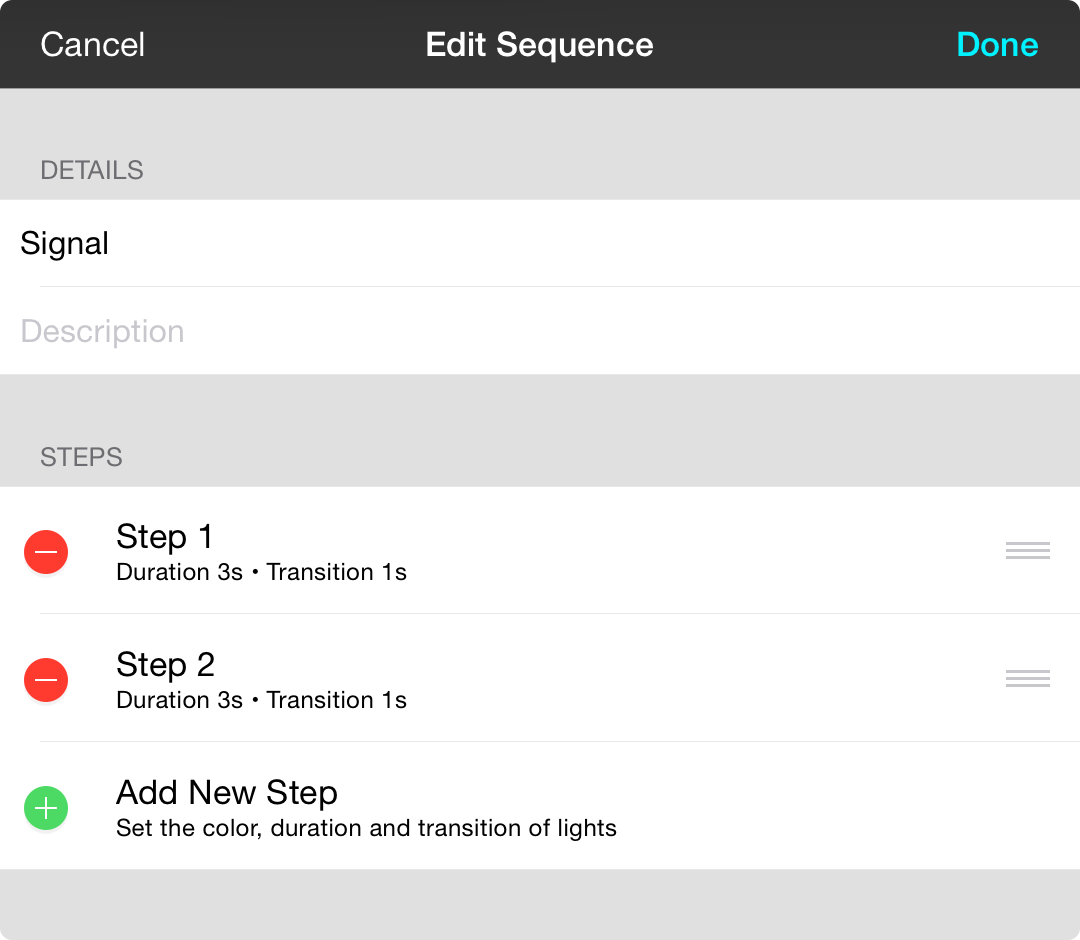
Sequences are comprised of a name and series of steps. Steps are cycled in turn when a sequence is loaded. They contain the color, duration and transition time of the step. Steps continue to cycle until a step with an infinite duration is encountered.
Details
This following fields are used to recall sequences.
- Title is the title of the sequence.
- Description describes the the sequence with some more text.
Steps
This lists the steps that comprise the sequence. Tap on a step to edit it or on the Add New Step option to create a new step.
Steps are created in the order they are added. You can then delete steps or reorder them if needed. Tap on the Done button in the upper right to save changes to the sequence.
Bridge Editor
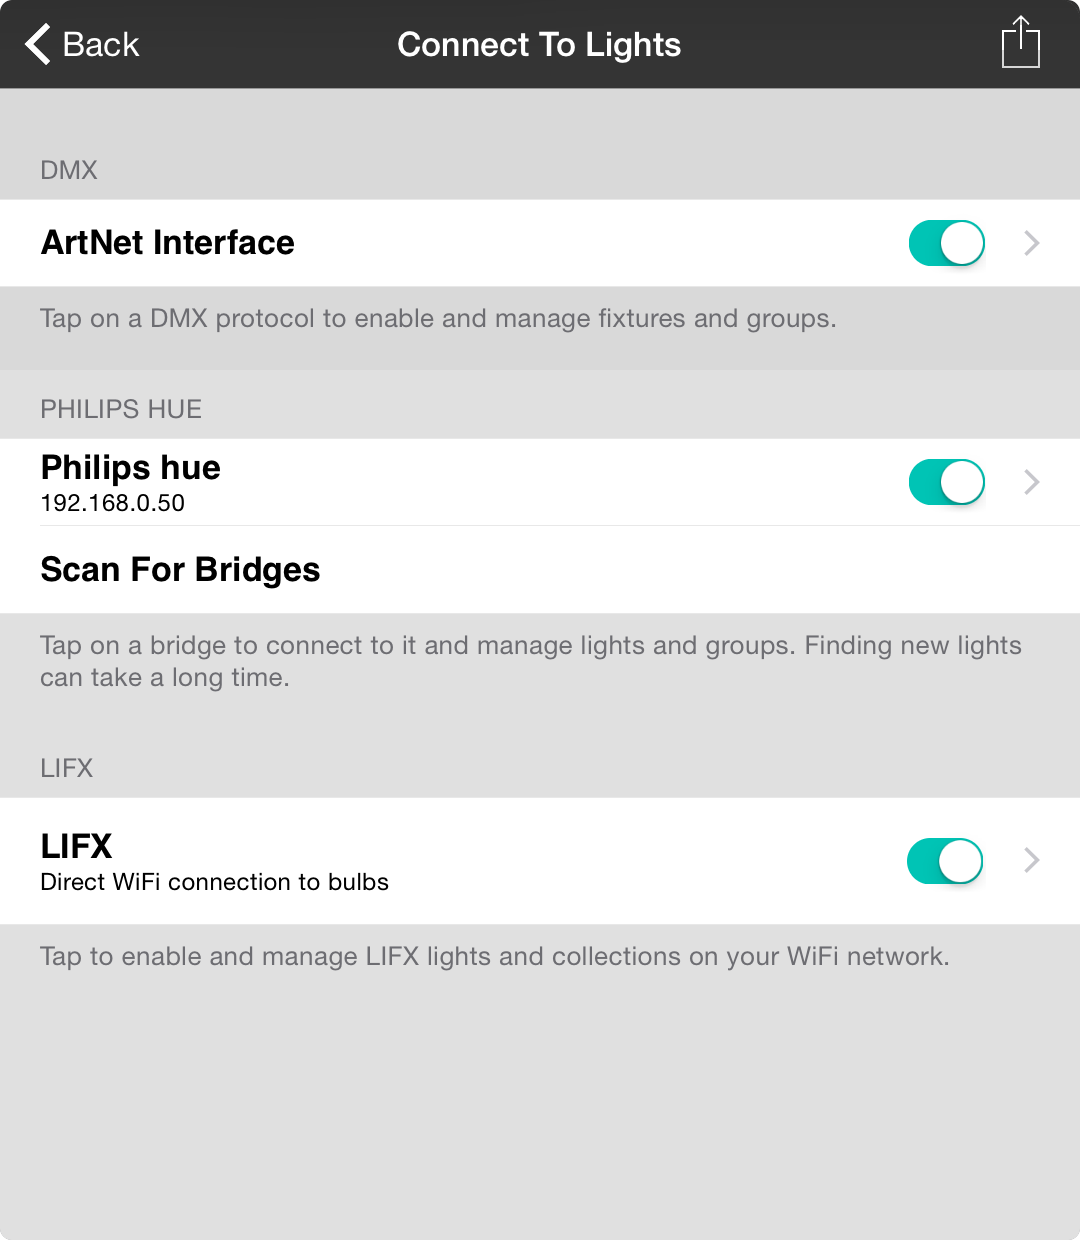
When you tap on Edit Groups or Edit Lights, you're brought to a screen entitled Connect To Lights. Here you can enable different lighting systems by connecting to a bridge.
A bridge is an interface between your WiFi network and the smart bulb or lighting platform you are using that often takes the form of a piece of hardware.
DMX
DMX or Digital Multiplex is used for professional stage lighting to control not only color, but other traits for lighting fixtures.
OnSong communicates to DMX through a protocol called ArtNet that uses a hardware interface that allows you to plug a DMX cable into your WiFi-enabled router. We recommend products from DMXKing.com.
One you have your ArtNet hardware configured on your network, tap on the row labeled ArtNet Interface to enable the bridge. You can then tap on the row once enabled to manage fixtures and groups.
You can toggle support for that bridge on and off using the toggle switch on the right side of the row.
Philips hue
The Philips hue smart bulb platform uses a physical bridge to make a connection from your network to smart bulbs in your home using a ZigBee wireless mesh.
Once the bridge is connected to your network, tap on the Scan For Bridges button to start looking on the network for the bridge. When found, it will appear in the list above along with it's IP address. This allows it to be uniquely identified on the network if you have more than one bridge. Tap on the bridge to connect to it. You will be prompted to press the button on the top of the bridge to complete the pairing process.
You can toggle support for that bridge on and off using the toggle switch on the right side of the row. You can also tap on the row to edit the lights and groups attached to that bridge.
LIFX
LIFX smart bulbs do not require a physical bridge and connect directly to your network. This means that each bulb has it's own IP address on your network.
To enable LIFX, simply tap on the LIFX row. Immediately you'll see a switch that you can use to disable or enable the LIFX bridge. Tap on the row to edit lights and groups on the LIFX network. It may take a few moments for all LIFX lights to be found on your network.
Note: OnSong can use lights on multiple bridges concurrently. That way you can choose the right lights to meet your needs.
Edit Lights and Groups
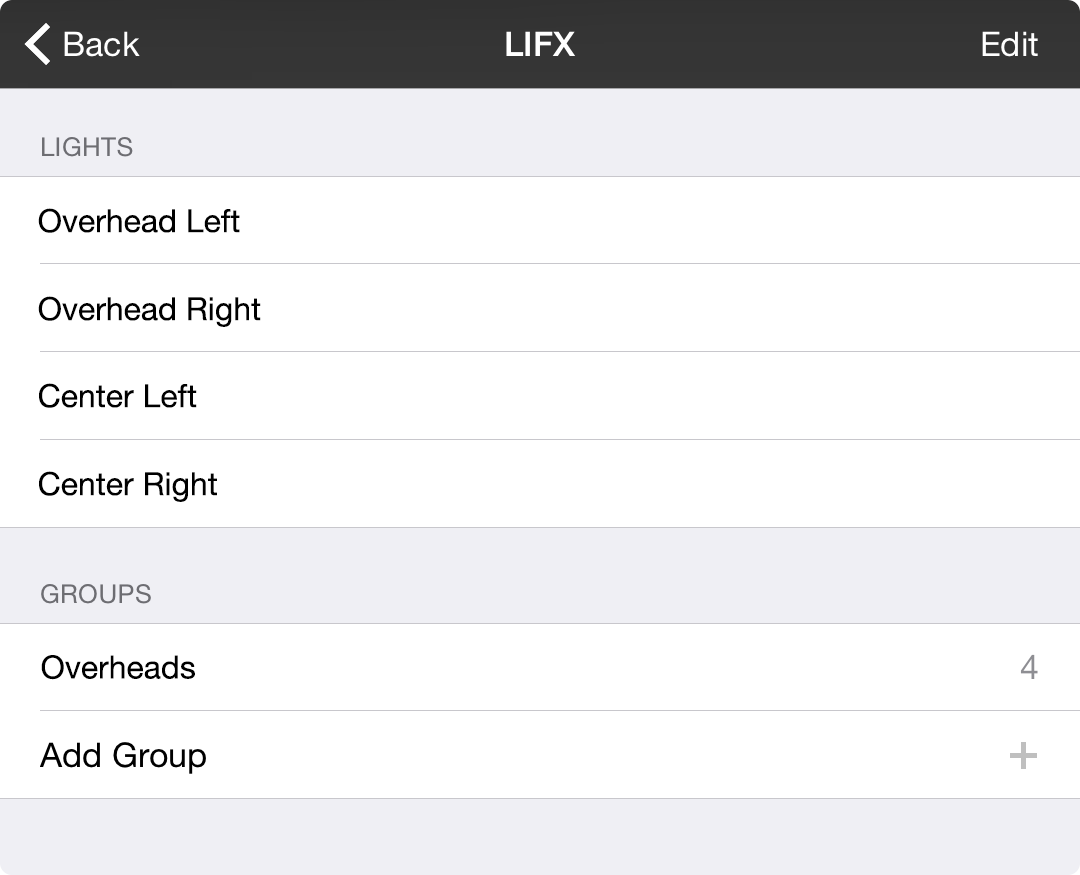
When you tap on an enabled bridge in the bridge editor, you can view and edit lights and groups connected with that bridge.
Lights
All lights connected to the bridge are displayed in the lights section. Tap on each light and it will physically blink to show you where it's located.
Tap on the Edit button in the upper right corner and then tap on a light in the list to rename the light.
Removing lights may require you to follow the manufacturing instructions depending on the lighting platform.
Groups
Groups allow you to refer to multiple lights more easily. Not only is this more convenient from a setup point of view, but it also allows those lights to act immediately without delay.
Tapping on groups that are already in your list will physically blink the lights in that group so you can identify it. The number of lights associated with the group appears on the right side of each row.
Tap on the Add Group button to open the Group Editor to name your group and add lights to it.
Tap on the Edit button in the upper right corner to enter edit mode. Here you can delete groups, or tap on the name of the group to open the Group Editor to rename it or add and remove lights to the group.
Group Editor
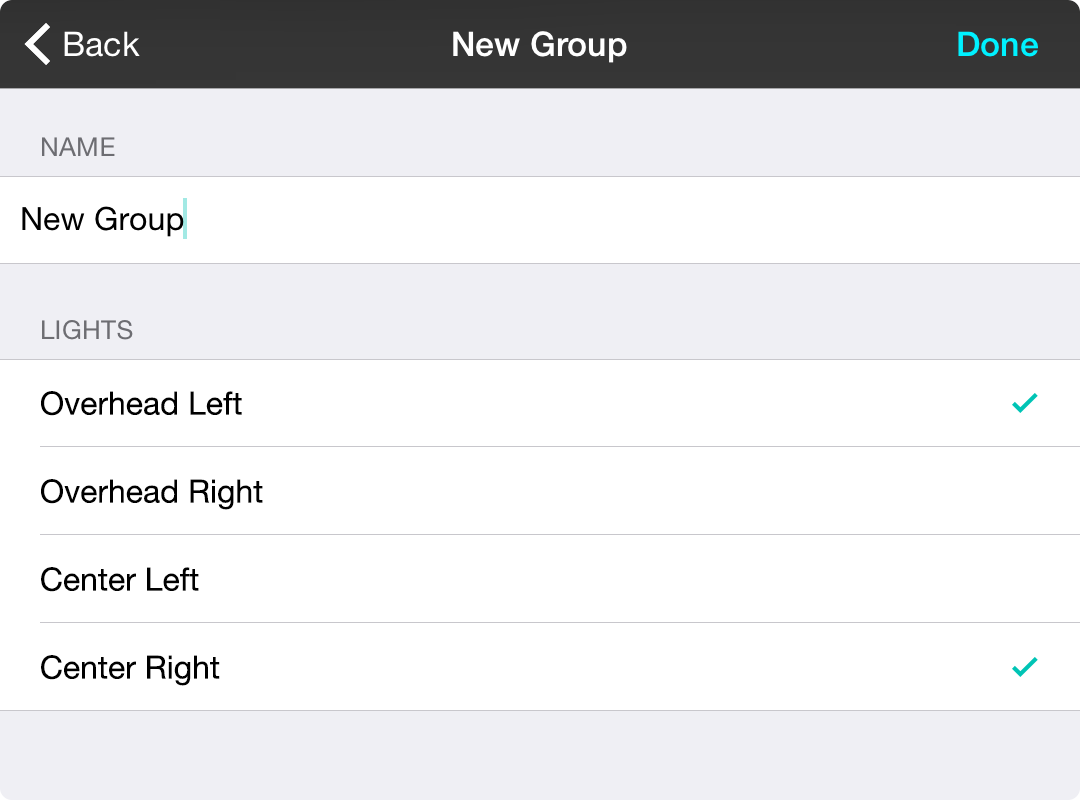
The group editor allows you to create new groups of lights, or edit existing ones. These groups exist on your lighting bridge which allows you to access these groups from others apps.
Name
Give your group a name. This is required to enable the Done button to save your changes.
Lights
This area lists all lights attached to the bridge. Tap on each to place or remove a checkmark on the right. As you tap each light, it will physically blink to reinforce which bulb you are selected.
When you are finished, tap on the Done button to create the group or save your changes. You can tap the Back button to cancel making changes to the group.
Light Editor
Use the light editor to rename your lights. Typically lighting platforms assign random names or device identifiers to each bulb.
In this screen you can choose a new name. Once you have typed something, tap on the Done button to save your changes. You can cancel your changes by tapping on the Back button.
DMX Fixtures and Groups
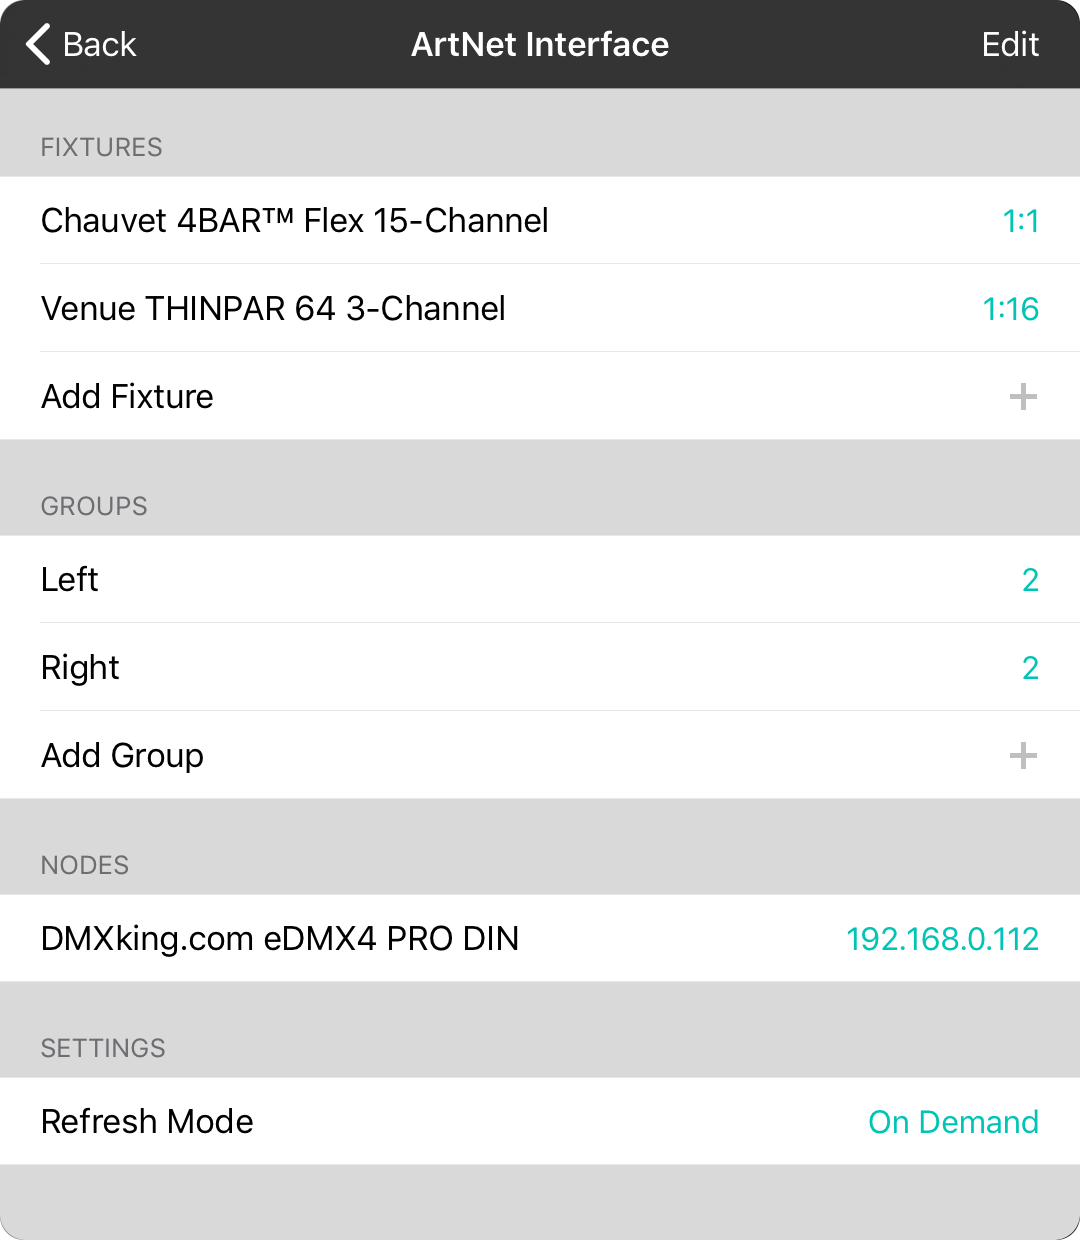
DMX512 is used to connect lighting used in concerts, churches and theaters. This provides 512 channels of adjustment. At the most basic level, this would allow 512 separate dimmer switches.
Lighting is a bit more complex than that simple example. We can now produce full RGB color within a single light. Some lights also feature white, amber or UV lights to emit even greater ranges of colors. Fixtures can contain multiple lights as well as traits such as strobe, master dimmers, or x/y/z coordinates for movers. This means that one fixture can consume a number of channels on one 512-channel DMX universe.
Fixtures
To get started using DMX fixtures, we need to add some fixtures. Tap on the Add Fixture row at the bottom of the fixtures section to pick or add a fixture.
If you've already added a fixture, tapping on it in the list should cause it to dim and return to it's set brightness. This allows you to identify the fixture.
If you need to make changes to the fixture, including its DMX channel placement, tap on the Edit button in the upper right corner and then tap on the fixture to open the Fixture Editor screen.
Groups
Just like other lighting platforms supported by OnSong, you can group lights together. Since fixtures can control multiple RGB lights, this allows you to control lights from various fixtures virtually.
Tapping on groups that are already in your list will physically blink the lights in that group so you can identify it. The number of lights associated with the group appears on the right side of each row.
To add a group, tap on the Add Group to open the Group Editor to name your group and add lights to it.
Tap on the Edit button in the upper right corner to enter edit mode. Here you can delete groups, or tap on the name of the group to open the Group Editor to rename it or add and remove lights to the group.
Choose Fixture
OnSong features a library of DMX fixtures that you can choose from, or you can create your own.
Picking
Scroll to the manufacturer section and pick one of the fixtures. For each fixture, there are different DMX personalities for various channel configurations. OnSong works best with lights that feature RGB in 3-channel configurations, but can also manage traits for more advanced control.
Once you tap on a fixture in the list, you will be able to view available personalities and then tap on one to add it to your DMX universe. If you need to change the channel of the fixture, be sure to do so by editing the fixture on the previous screen.
Adding
If the fixture or a specific personality does not exist, you can add it using the built-in fixture editor. Tap on the + button in the upper right corner to enter information about the fixture.
Copying
Most manufacturers provide fixtures that have common properties, personalities and traits. In these cases it may be beneficial to copy a fixture and give it a new name.
To do this, tap and hold on the light you would like to copy and choose the Copy options that appears in the menu. Type in a new name for the new fixture and confirm. This will create a new fixture based on the original and refresh the list. You can then make changes to the fixture by tapping on it and editing each personality.
Edit Fixture
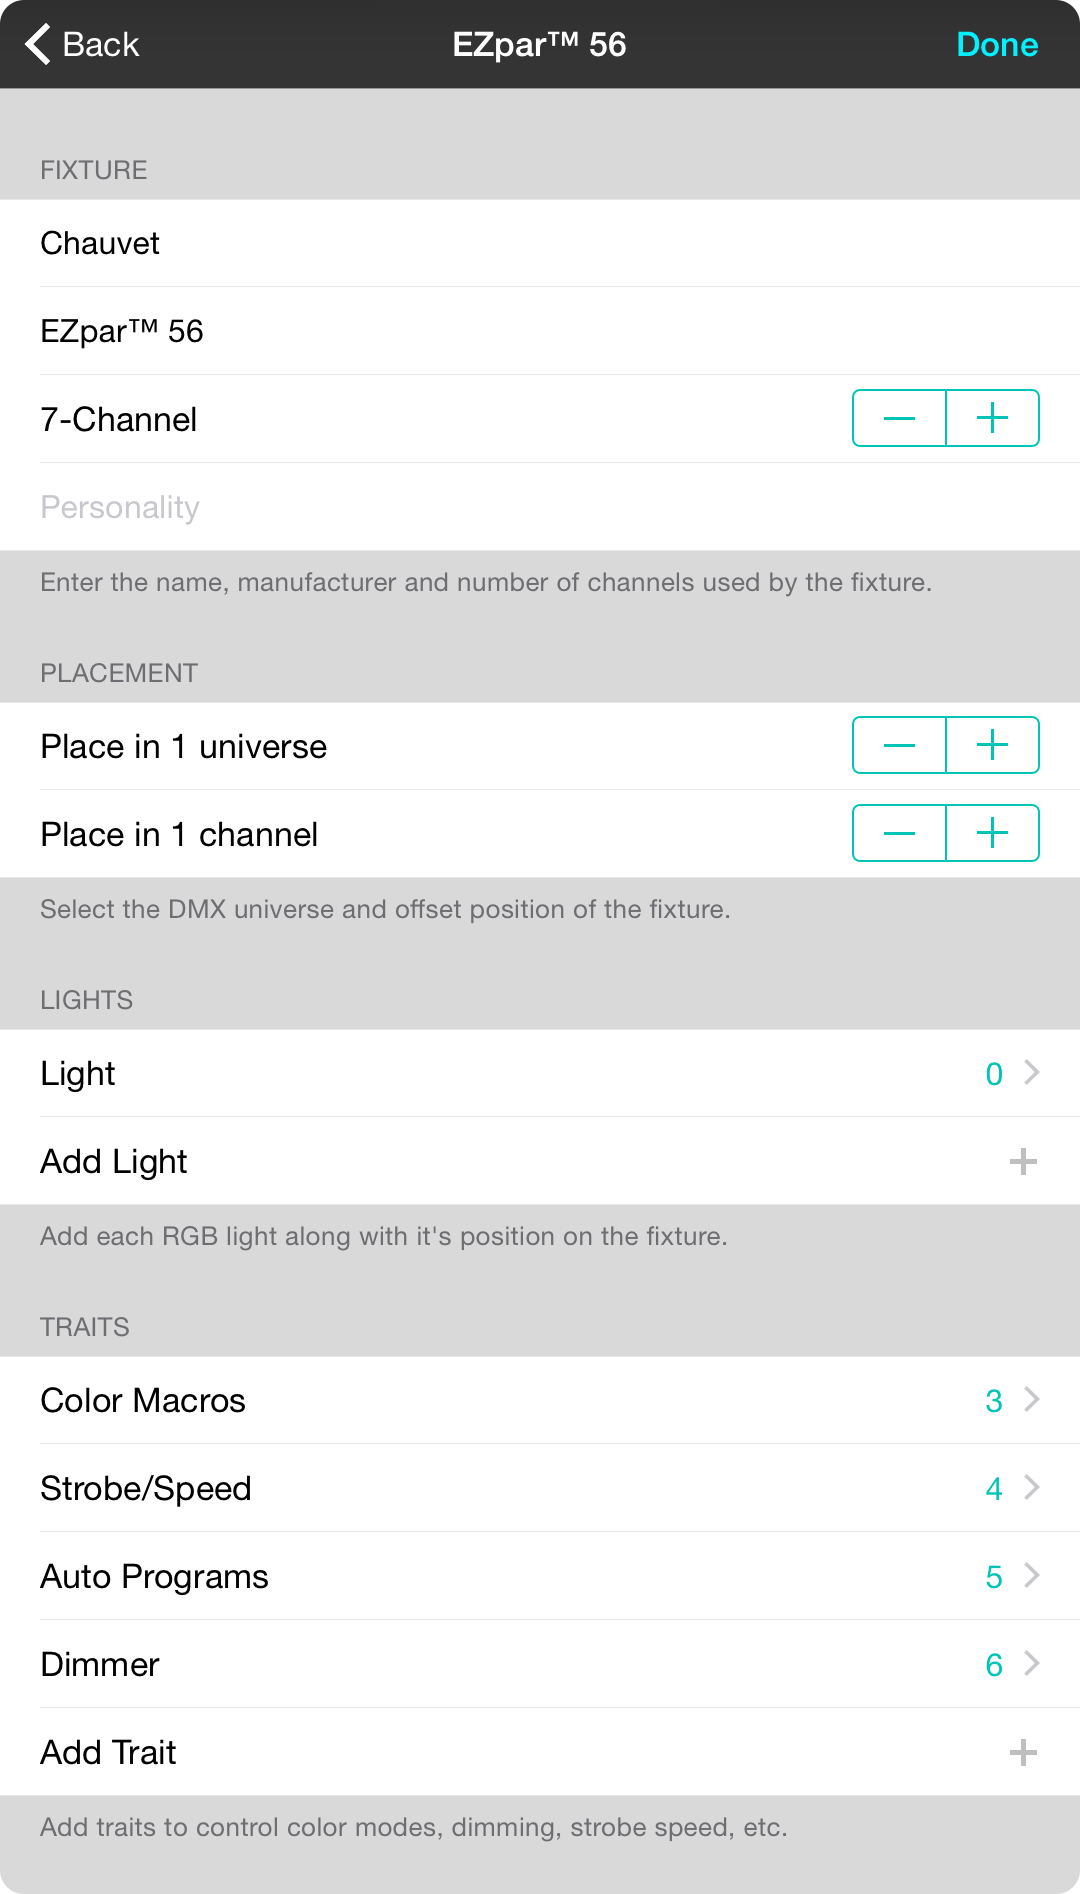
To create a new fixture, you need to complete information to identify the fixture as well as where RGB lights can be found and any additional traits.
Fixture
This contains information about the fixture and it's configuration.
- Label should be the name of the product such as EZpar64.
- Manufacturer should be the name of the manufacturer such as Chauvet.
- Channels should be set to the number of channels supported by the configuration. This means you may need to add a different fixture for every channel configuration. This value is automatically incremented to contain all traits and lights.
Placement
If you are editing a fixture that you've added to your universe, this section allows you to place the fixture on a specific channel (0-511) in a specific universe (0-32). Use the steppers to find the proper universe or channel. Tapping and holding for longer periods of time will cause the selection to speed up.
Note: This section will not appear if you are editing fixture personalities direction in the fixture picker.
Lights
OnSong allows lights on the fixture to have their color set using RGB values. If supported by the fixture, add a row for every 3-channel light.
Tap on the Add Light row to add an additional light or tap on an existing row to edit the light. You can also swipe right to left across the row to remove a light.
Traits
Traits are other properties of the fixture that can be set with a channel. Be sure to add traits such as master dimmers, strobe, speed, position, or any other trait that is not a 3-channel light here.
Tap on the Add Trait row to add a trait or tap on an existing row to edit the trait. You can also swipe right to left across the row to remove a trait.
Since some traits can be complex with multiple options, it would be beneficial to create a trait and then duplicate it. Tap and hold on a trait and choose the Copy option that appears. The copied trait appears at the bottom of the list with an incremented offset and can be edited.
Add/Edit Light
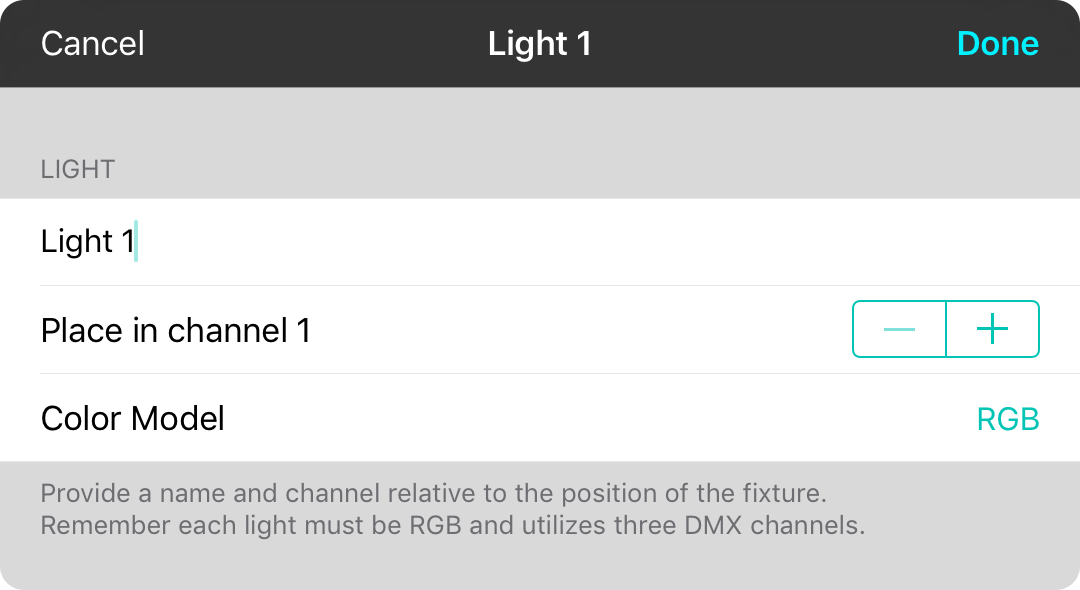
When you add or edit a trait, you need to give it a name as well as where it exists relative to the start of the fixture.
- Label is the name of the light. Typically this starts as Light 1 and increments automatically for you.
- Offset is the channel number where the light starts relative to the start of the fixture.
Tap Done to save your changes or tap Cancel to return to the fixture editor without saving your changes.
Add/Edit Trait
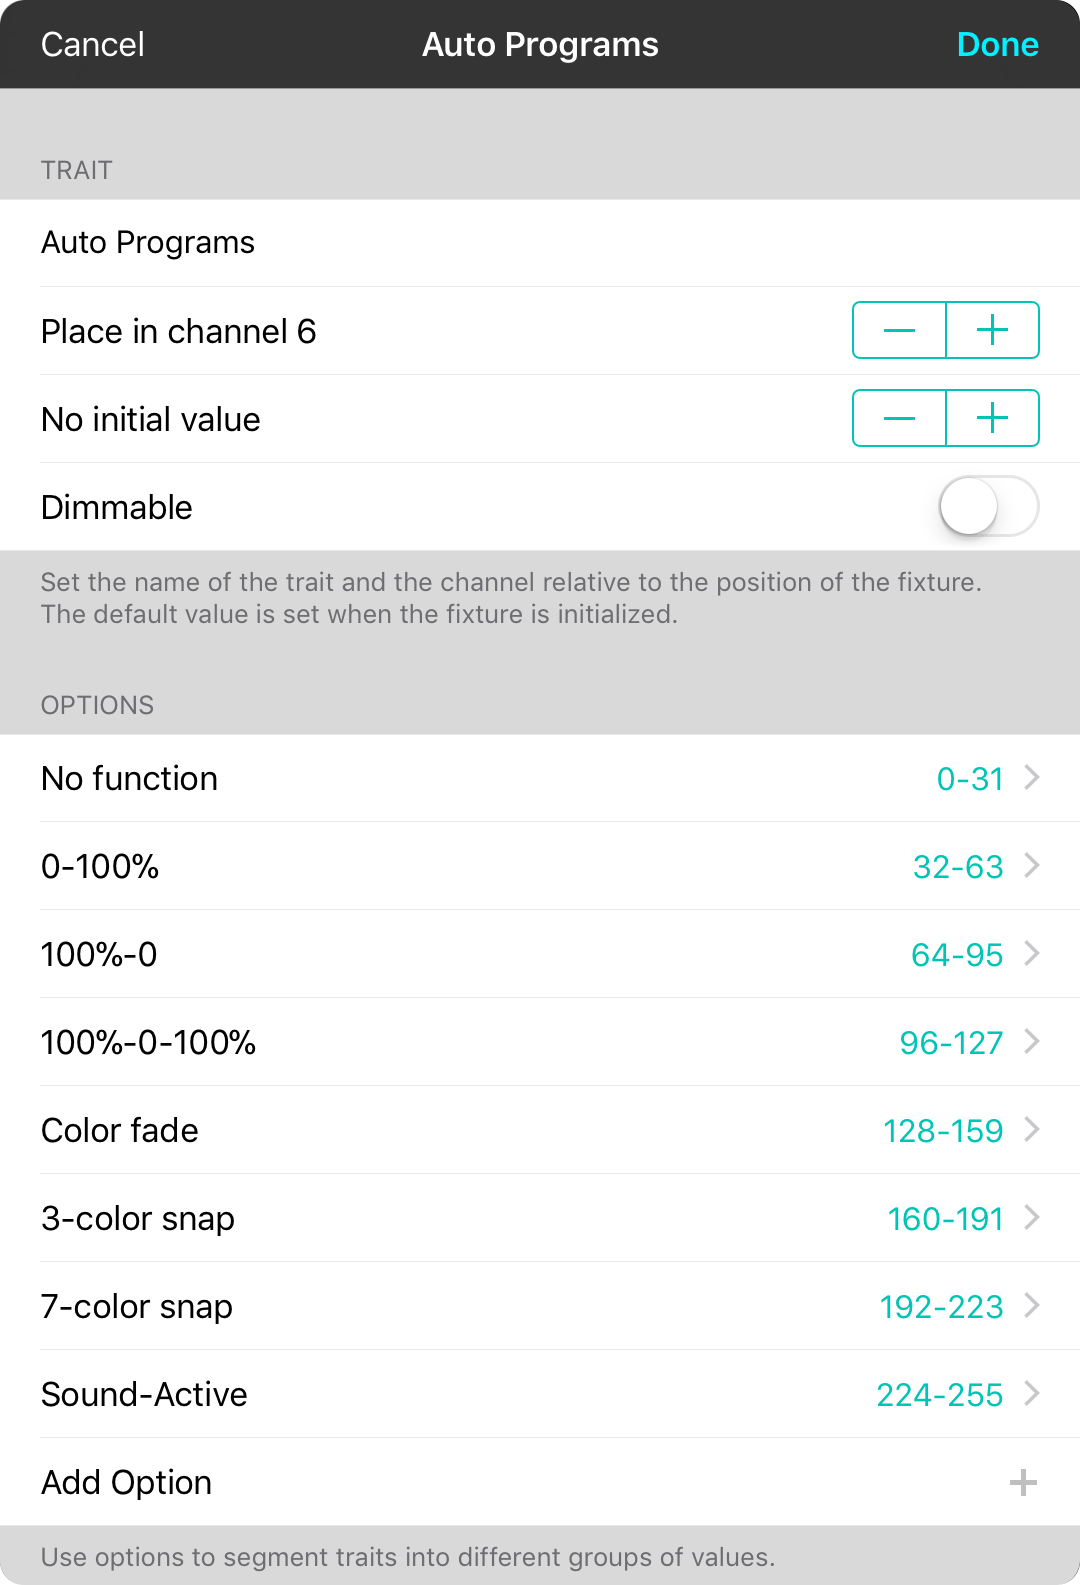
When you create a trait, you need to give it a name as well as where it exists relative to the start of the fixture. In addition, you can provide options which appear when setting the trait in the step editor.
Trait
Here you provide information about the trait, where it's located and it's initial value.
- Label is the name of the trait.
- Offset is the channel number where the trait starts relative to the start of the fixture. In this instance, we may have a 3-channel RGB light starting with a zero offset, and then two other traits preceding this trait. The offset is automatically calculated from existing lights and traits.
- Initial Value can be set so once the DMX interface is connected, the value is set. This is useful for setting programs or color modes to be DMX-controlled.
- Dimmable can to toggled on for traits that should be effected by the master dimmer.
Options
Options let you optionally specify ranges between 0-255 that perform certain tasks. In this example, the 0-255 range allows for 8 different programs.
Tap on the Add Option row to add a new option to the list or tap on an existing option to edit that option. You can also swipe right to left to remove an option from the list. Options are sorted in order of their ranges.
Add/Edit Option
When you add or edit an option, you simply give it a name and a range.
- Label is the name of the option and should be descriptive of what the range means.
- Range is set using two handles. The range automatically starts at the maximum range previously set by other options.
Tap Done to save your changes or Cancel to return to the trait editor without saving changes.
Note: The range and label are calculated from the last available option to make data entry faster.
New Fixture
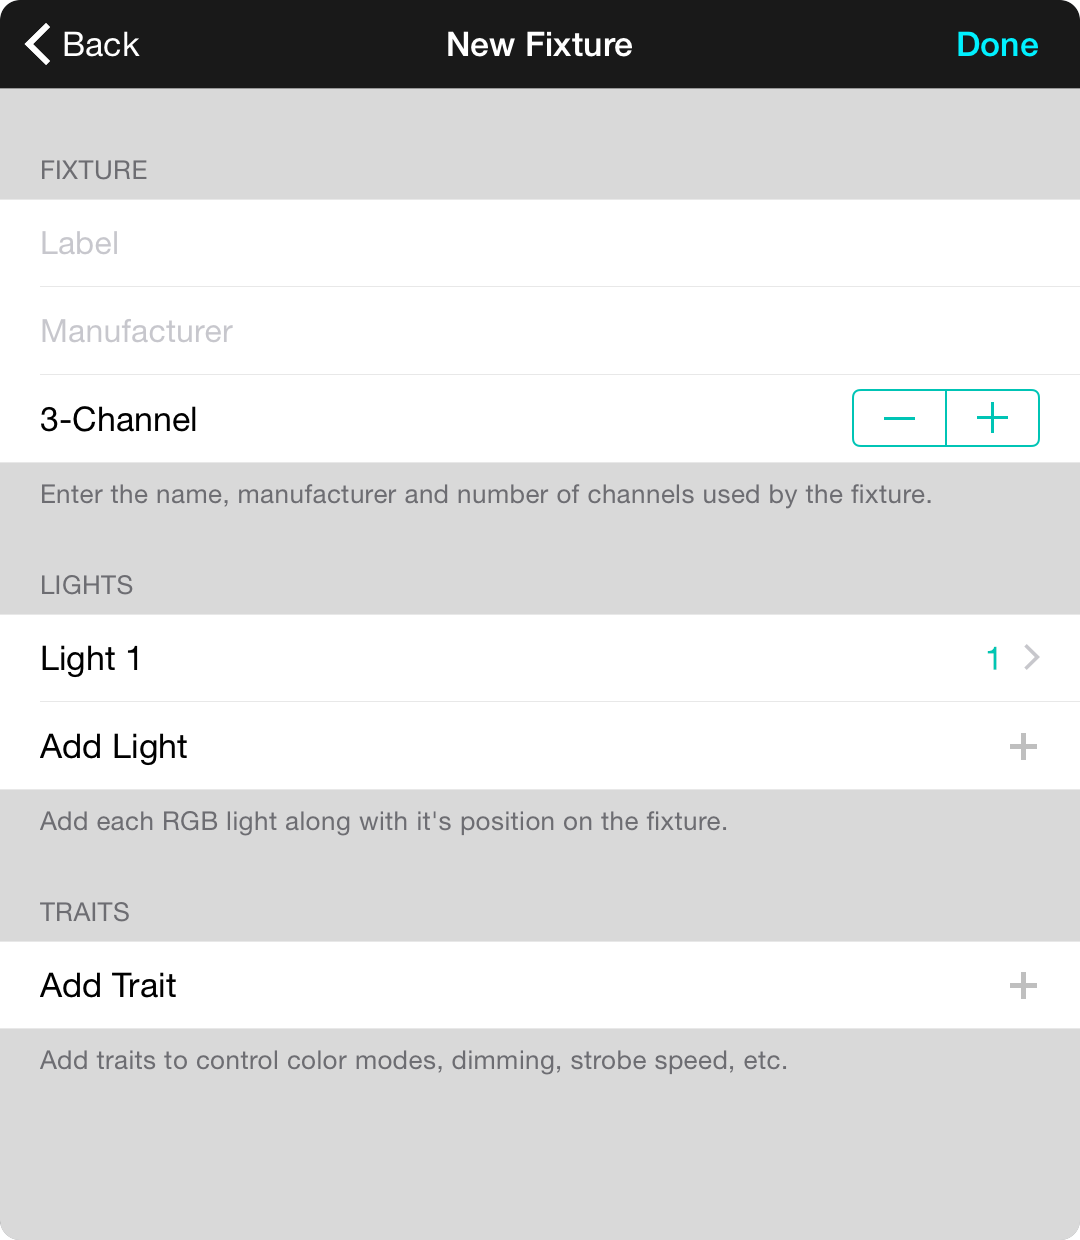
To create a new fixture, you need to complete information to identify the fixture as well as where RGB lights can be found and any additional traits.
Fixture
This contains information about the fixture and it's configuration.
- Label should be the name of the product such as EZpar64.
- Manufacturer should be the name of the manufacturer such as Chauvet.
- Channels should be set to the number of channels supported by the configuration. This means you may need to add a different fixture for every channel configuration.
Lights
OnSong allows lights on the fixture to have their color set using RGB values. If supported by the fixture, add a row for every 3-channel light.
Tap on the Add Light row to add an additional light or tap on an existing row to edit the light. You can also swipe right to left across the row to remove a light.
Traits
Traits are other properties of the fixture that can be set with a channel. Be sure to add traits such as master dimmers, strobe, speed, position, or any other trait that is not a 3-channel light here.
Tap on the Add Trait row to add a trait or tap on an existing row to edit the trait. You can also swipe right to left across the row to remove a trait.
Note: Fixture definitions are automatically uploaded to OnSong cloud services to allow others to use common fixture definitions upon review.
Personalities
When you tap on a DMX fixture, you are shown a list of personalities. Personalities are different ways that one fixture can be addressed in the DMX universe. For instance, a basic configuration may only use threes channels, but a more advanced configuration can use seven to control more advanced options.
The list of options shows the personality name on the left and the number of channels the personality consumes on the right.
Picking
Tap on a personality to select it to be added to your DMX universe. This allows you set the color of lights and values of DMX traits in the sequence editor.
Editing
You can make changes to individual fixture personalities by tapping on the Edit button in the upper right corner. This will place the table in edit mode. Tap on the row you would like to edit to open the Fixture Editor.
Song Reporting
The song reporting screen allows you to view the activity that has taken place either by what songs are placed into a set, or by actual usage of the song. This can be set in Utilities Menu » Settings » Menu Settings » Song Reporting » Reporting Method.
Timeframe
The timeframe list on the left is created based on usage of songs. You can change the timeframes used under Utilities Menu » Settings » Menu Settings » Song Reporting » Show Reports.
If you are reporting based on usage, you can swipe right to left over the timeframe to delete entries during that time.
Song Usage
When selected, each song in the timeframe are displayed on the right along with the artist and the number of times the song was played. Expanding the row shows an entry for the date and time the song was played.
If you are reporting based on usage, you can swipe right to left over rows in the song usage panel to remove individual tracking information.
Output Menu
Tapping on the icon in the upper-right corner of the screen will open the output menu. From this menu you can output the list by export, email or print.
Choose Reports

Tap on the center title of the navigation bar to choose a report to view. While this list will show the last selected type of report being viewed, you can tap Back to see the types of timeframes of automatically generated reports. You can also choose Custom to generate custom timeframe reports.
Here are the types of reports that can be listed:
Daily
Automatically generates daily reports based on usage.
Weekly
Automatically generates weekly reports based on usage.
Quarterly
Automatically generates quarterly reports based on usage.
Yearly
Automatically generates yearly reports based on usage.
Custom
Allows you to create custom timeframe reports.
Monthly
This lists monthly reports that are automatically generated for quarters of the year when songs were in use and is ordered by descending date.
The usage of songs is determined either By Set to which they were assigned (Default) or By Usage which tracks when a song was visible on the screen for a certain amount of time. This is configurable within Settings » Menu Settings » Song Reporting Settings.
Custom
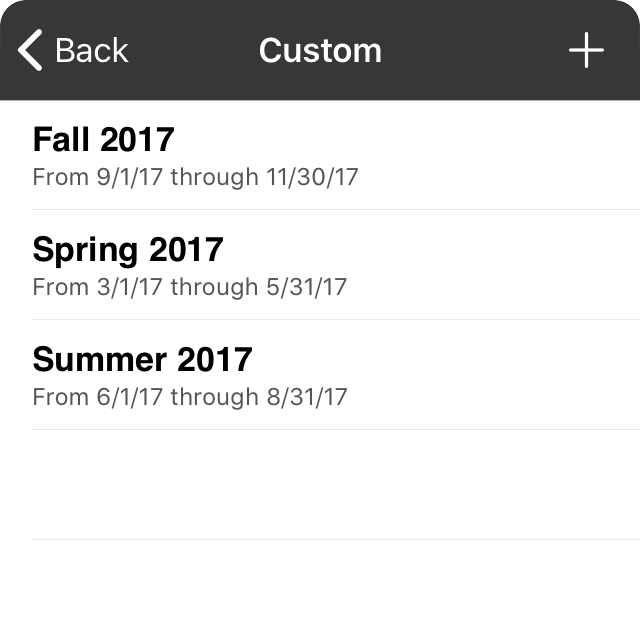
This lists displays custom reports that are created by the user. Tap on a report in the list to view it.
Adding
To add a new report, tap on the + button in the upper-right corner to open the Custom Report Editor. Here you can set the timeframe or the report and a title.
Editing
To edit existing reports, swipe right to left to reveal an Edit and Delete button. Tap on Edit to open the Custom Report Editor to make your changes.
Deleting
To delete a custom report, swipe right to left on the report you wish to release to reveal an Edit and Delete button and then tap Delete.
Edit
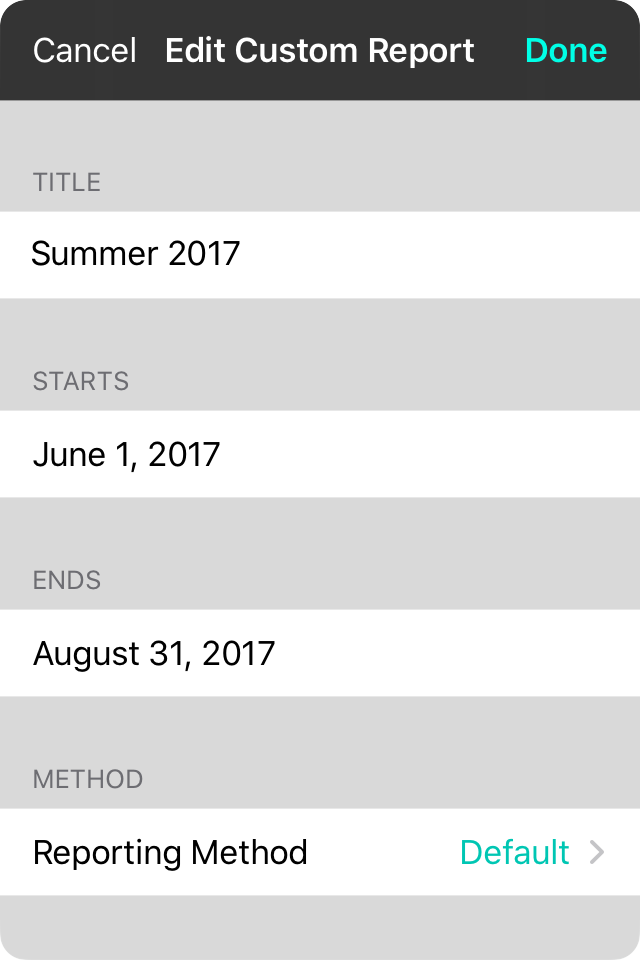
The custom report editor lets you create and edit custom reports with the following fields:
Title
Type a name for your report. This is optional and if omitted, the timeframe of the report will display instead.
Starts
The start date of the timeframe for which the report will be generated.
Ends
The end date of the timeframe for which the report will be generated.
Method
This is the reporting method to use when generating results. Unlike generated timeframe reports, you can choose to each report by:
- Default to use the method set in Song Reporting Settings.
- By Set to use the inclusion of a song within a set.
- By Usage to use the date and time when the song was viewed.
Daily
This lists daily reports that are automatically generated for days when songs were in use and is ordered by descending date.
The usage of songs is determined either By Set to which they were assigned (Default) or By Usage which tracks when a song was visible on the screen for a certain amount of time. This is configurable within Settings » Menu Settings » Song Reporting Settings.
Quarterly
This lists quarterly reports that are automatically generated for quarters of the year when songs were in use and is ordered by descending date. Quarters are measured from the start of the year in three month increments.
The usage of songs is determined either By Set to which they were assigned (Default) or By Usage which tracks when a song was visible on the screen for a certain amount of time. This is configurable within Settings » Menu Settings » Song Reporting Settings.
Weekly
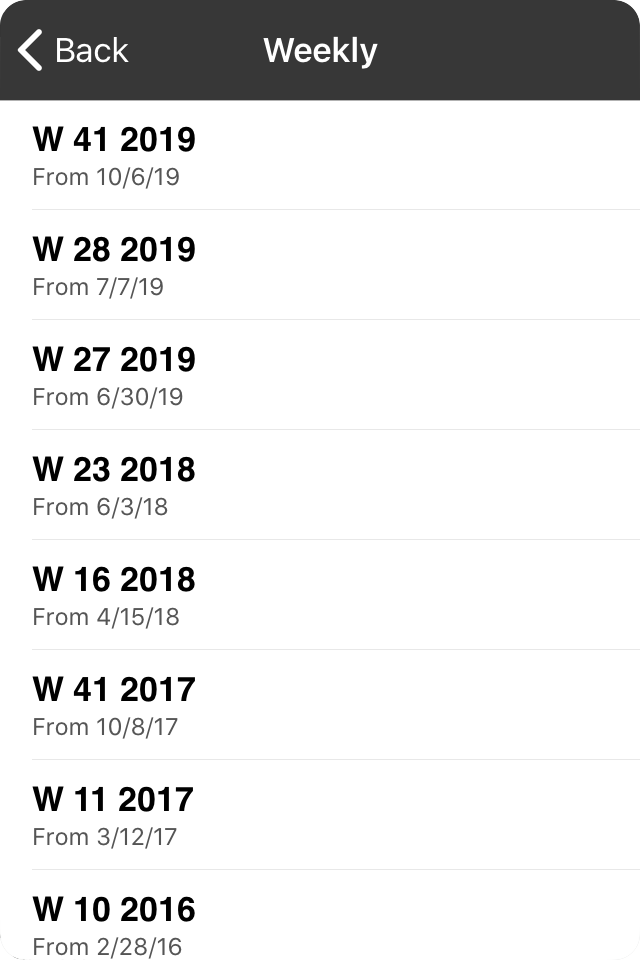
This lists weekly reports that are automatically generated for weeks of the year when songs were in use and is ordered by descending date.
The usage of songs is determined either By Set to which they were assigned (Default) or By Usage which tracks when a song was visible on the screen for a certain amount of time. This is configurable within Settings » Menu Settings » Song Reporting Settings.
Yearly
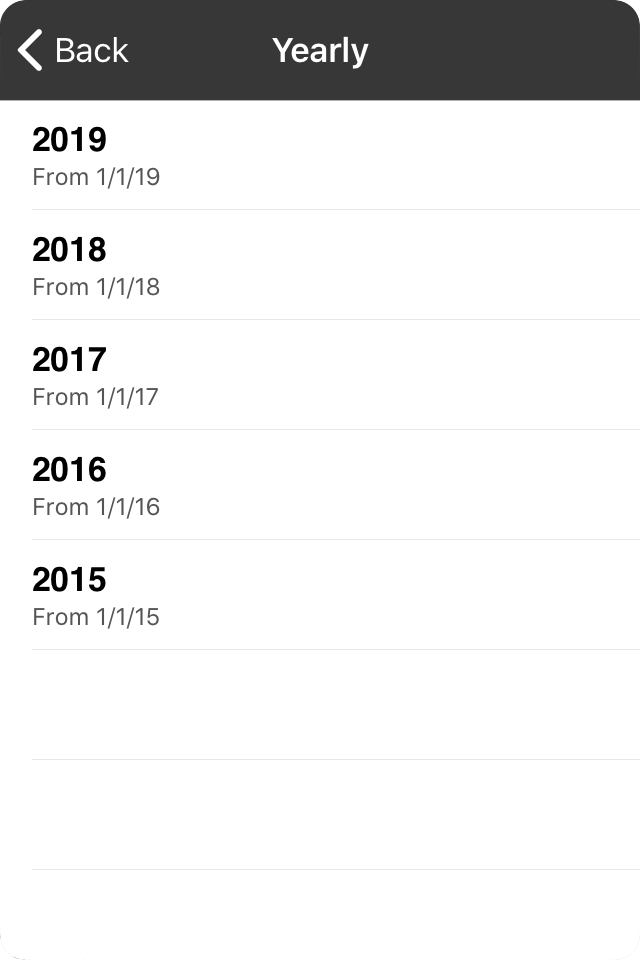
This lists annual reports that are automatically generated for years when songs were in use and is ordered by descending date.
The usage of songs is determined either By Set to which they were assigned (Default) or By Usage which tracks when a song was visible on the screen for a certain amount of time. This is configurable within Settings » Menu Settings » Song Reporting Settings.
Share Menu

The share menu is the built-in activities menu in iOS/iPadOS which provides access to all available apps and actions.
Apps
Here you some standard apps available to share the report into:
- AirDrop the files to another device over peer-to-peer WiFi.
- Messages to send as an iMessage attachment.
- Mail to email the attachments.
Actions
You can also select from actions available in the system or through OnSong:
- Copy will place the content into the clipboard for pasting.
- Export will open the Export Menu allowing you to export using the OnSong export interface.
- Markup opens the PDF into a markup interface where you can annotate the report.
- Print allows you to print the report to an AirPrint printer.
- Add To OnSong will import the files into your OnSong library which would be an odd choice, but you're free to choose!
- Save To Files allows you to save the reports to storage locations or drives connected to the Files app.
Output Menu
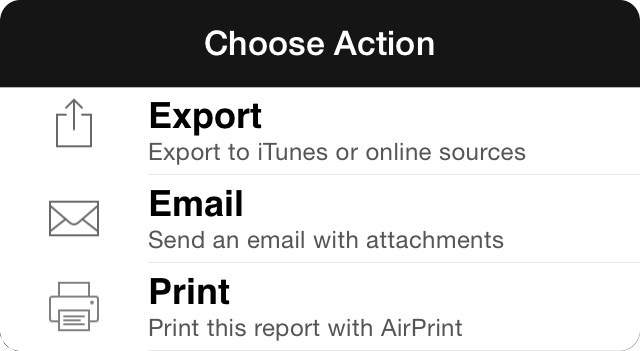
The output menu allows you to export, email and print the usage information for the selected timeframe.
Export
The export option allows you to save a file to either File Sharing or Dropbox.
The email option opens an email composition screen that contains the report for sending to recipients.
Send the usage report to an AirPrint printer.
Export Menu

The export menu lets you choose a location where exported content should be saved. If you have more than one file to export, the number of items is displayed in parenthesis in the title.
OnSong supports four general locations with the last option allowing for future expansion to web services that implement standard access protocols.
Dropbox
Dropbox is a file storage service that allows you to place your important documents in the cloud. This means that they are near-instantly available on all your devices, making the service a great candidate for backing up your library. Tapping on the Dropbox option allows you to select a folder in your Dropbox where you would like your files exported.
Google Drive
Dropbox is a cloud-based storage service that allows you to store documents in the cloud. This means that they are near-instantly available on all your devices, making the service a great candidate for backing up your library or storing files. Tapping on the Google Drive option allows you to select a folder in your Google Drive where you would like your files exported.
File Sharing
This option allows the user to export to file sharing. This is a special folder contained inside of the OnSong app which can be accessed through the Finder (macOS) or iTunes (Windows) when connected with a sync/charge cable. This means that the file is stored on your device until it is saved off of the device onto a computer.
Files
iOS has the ability to export files to apps from storage providers that support integration with the iOS Files app. Use this option to select a location and folder where the file should be exported.
Other
Some online storage services have support for open standards, allowing files to be securely stored and retrieved without individual configurations. Use this option if you would like to add an online source that supports Amazon S3, FTP, or WebDAV protocols.
Dropbox

Choosing the Dropbox option for sharing a printout will prompt you for an export location. Navigate to the folder where you would like the PDF file exported and tap on the Export button in the upper right corner.
Linking to Dropbox
If you are not signed into Dropbox, OnSong will automatically begin linking to your Dropbox account. If you have the Dropbox app installed on your device, you will be directed to the Dropbox app to authorize access to the OnSong app. If you do not have the Dropbox app installed, another screen appears which is a web-based authorization form provided by Dropbox. The entire authorization process is handled by Dropbox and no information is passed to the OnSong app.
Signing Out
If you need to sign out of Dropbox for any reason, tap on the Sign Out button in the lower left corner. You will then be prompted to sign into Dropbox or authorize your account again.
Creating Folders
If you would like to export the PDF file to a new folder, tap on the + button in the lower right corner to create a new folder. Once created you will need to select the folder and tap on the Export button.
File Sharing


File sharing is designed to move files on and off of your device via the Finder (macOS) or iTunes (Windows)
Connecting Your Device
To use file sharing, connect your device to your computer with the supplied USB sync/charge cable. Next, open Finder on macOS. You can then find the device listed in a Finder window under Locations similar to connecting a USB thumb drive. You can select it retrieve files.
Finding Files
Once in this screen, tap on the Files tab and select OnSong. You can then add files to the OnSong file sharing folder by dragging and dropping those files into this screen, or you can likewise copy files from here in the same manner. You can then select multiple files and delete, etc using the delete key on your keyboard or by right-clicking for a context menu.
Remember that you can select multiple files by holding down the SHIFT or CTRL (PC) or command (Mac) keys. You can also delete files in this list by selecting them and pressing the DELETE key on your computer keyboard.
Important
It is important to note that if you export an OnSong Backup file to File Sharing, you need to save the file to your computer. If the backup file is located on your device and the device is lost, stolen, broken, or inaccessible for any reason, you will not be able to retrieve your OnSong library.
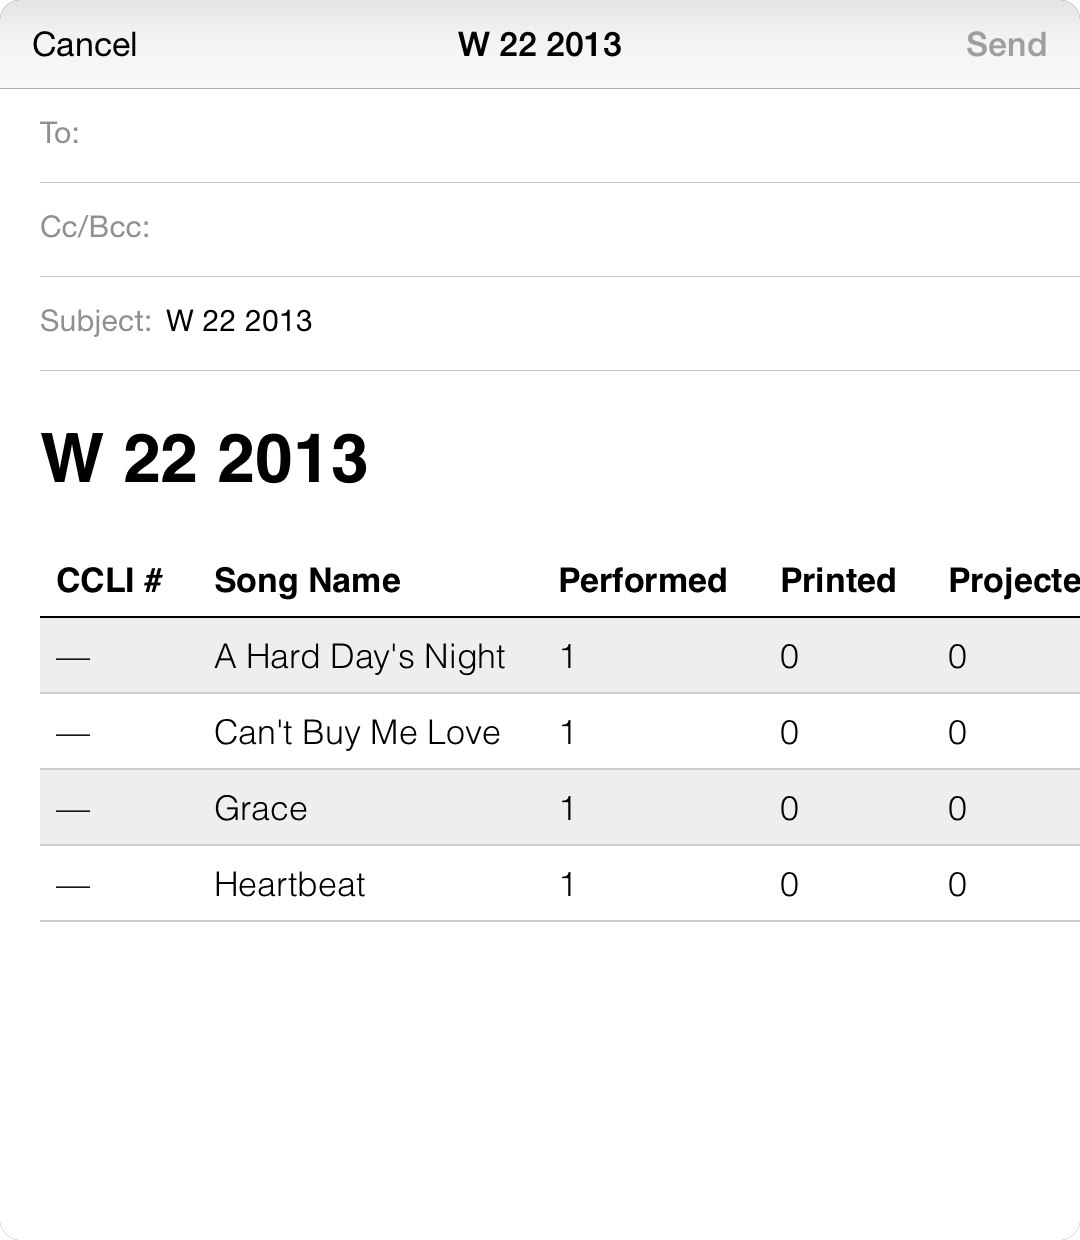
The email composition screen appears with the song usage report loaded in the body of the email. You can adjust the properties of the email to send it through the built-in Mail app.
Type in the following fields and then tap on the Send button to send the email.
To
Sets the recipients of the email.
Cc/Bcc
Sets carbon copy and blind carbon copy recipients of the email.
Subject
The subject of the email which is set to the timeframe by default.
Body
The content of the email which contains an HTML version of usage report. This contains the CCLI #, Song Name and quantity of different tracked actions. You can customize the email here to add a greeting or signature.
Print Menu

When you tap on the print option, you are presented with a print menu that allows you to choose a printer as well as the number of copies to print.
Printer
Tap on the Select Printer row to choose a printer. This will search for nearby printers on your network. OnSong uses AirPrint to print documents. To determine if your printer is supported by AirPrint, or to find a printer that supports AirPrint, please refer to the About AirPrint support document.
Copies
Use the stepper control to adjust the number of copies you want to output.
Print Button
Tap on the print button to send the print job to the printer.
Settings
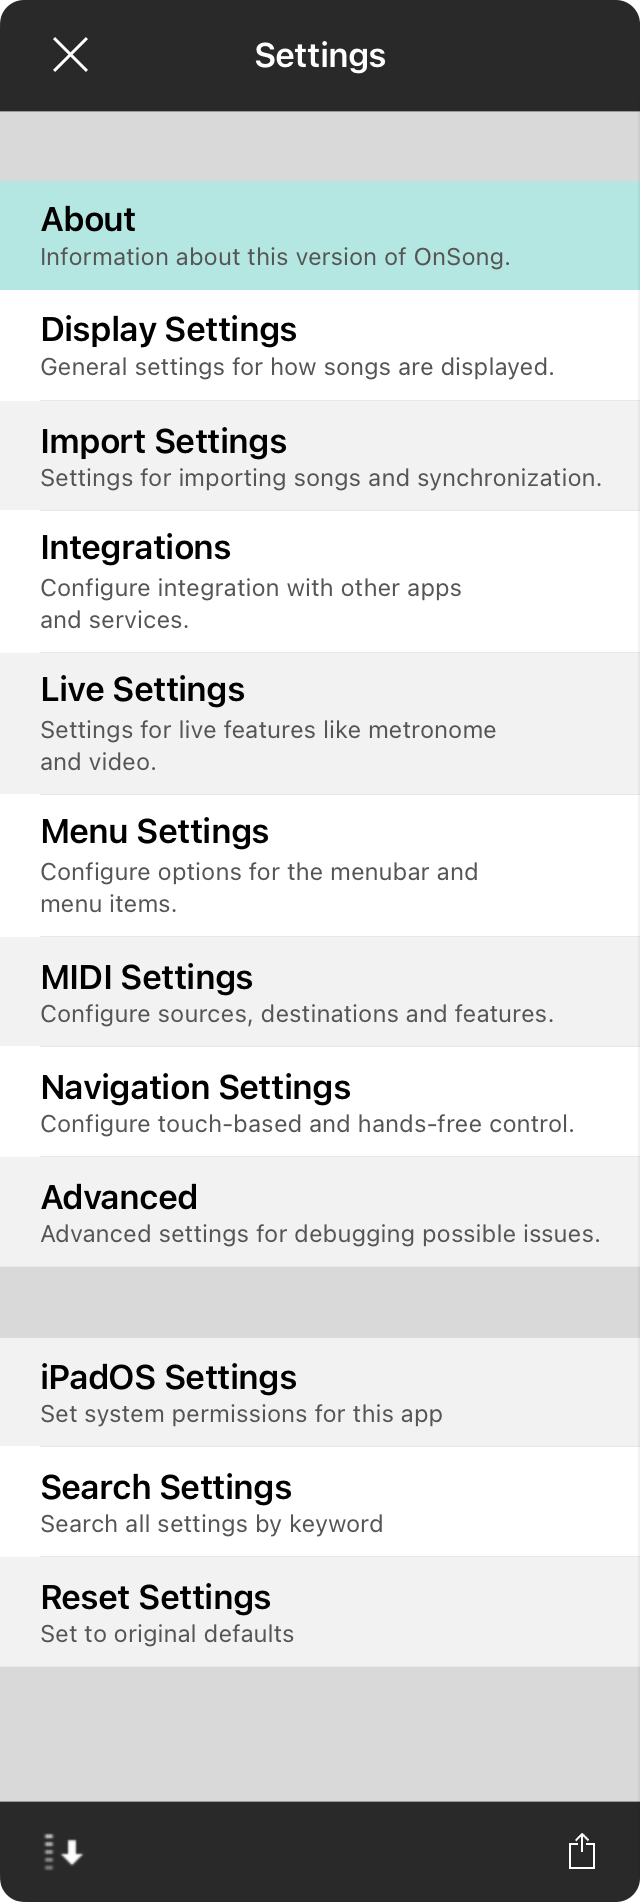
For every musician, there's a different way of doing music. OnSong is a powerful app that works for most users out of the box. Use the settings screen to tweak the app to meet your specific needs. This screen appears with the following sections:
About
Information about this version of OnSong.
Display Settings
General settings for how songs and the user interface are displayed.
Import Settings
Settings for imports songs and synchronization.
Live Settings
Settings for live features like metronome and video.
Menu Settings
Configure options for the menubar and menu items.
Navigation Settings
Configure touch-based and hands-free control.
Debug
Advanced settings for debugging possible issues.
Reset Settings
This function will clear your user preferences, resetting to factory defaults. This will keep your OnSong library, but all settings you have made in the Settings screen will be reset. In addition, user interface prompts will reappear.
How to Access
You can access the settings screen through the Utilities Menu or through the Settings app located on your device's home screen. If accessing from the Settings app, tap on OnSong under the Applications section located on the main screen of the Settings app. The same settings will appear on the right side.
The Settings screen that appears in the app allows you to navigate settings. Tap Done in the upper right to apply the settings change you make, or tap on the Cancel button to close the Settings screen without applying the settings. In addition, you can change the sort order of the sections displayed on the left using the Sort Alphabetically switch at the bottom.
Note: On the iPhone, all sections are displayed at once. Tap on the bookmark icon in the upper right to quickly jump to a section to change.
App Settings
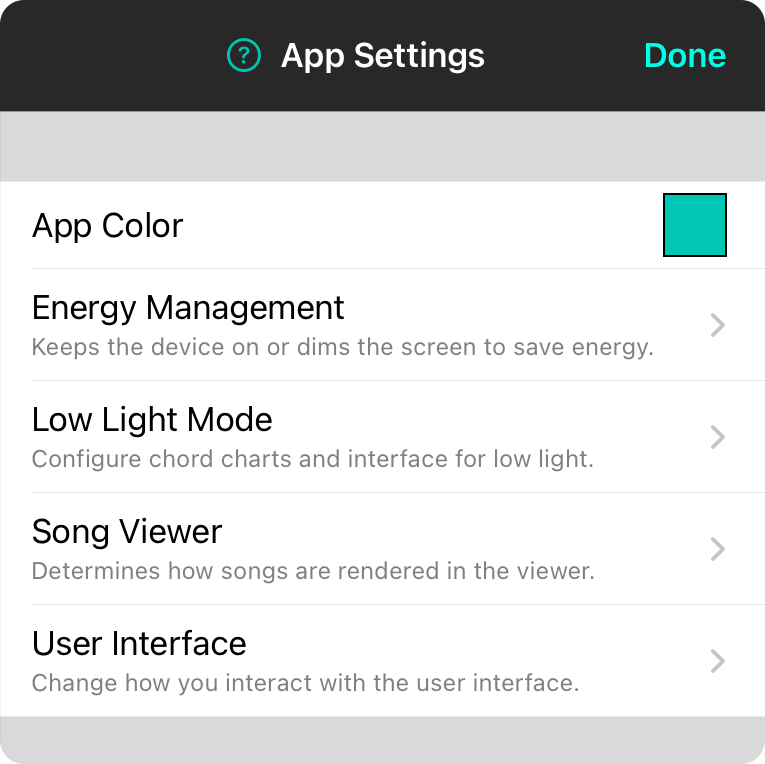
OnSong is super-customizable to meet your specific needs as an artist. This screen lets you modify how your app appears or how songs are rendered. This includes:
App Color
OnSong uses a color throughout the app for various user interface elements such as tab icons, checkmarks, controls and more. You can change this color to suit your needs here.
Energy Management
Preferences to keeps the device on or dims the screen to save energy.
Low Light Mode
Low light mode gives you options that allows you to use OnSong in dimly lit scenarios.
Song Viewer
This will determine how songs are rendered in the viewer.
User Interface
Changes how you interact with the app's user interface.
Energy Management
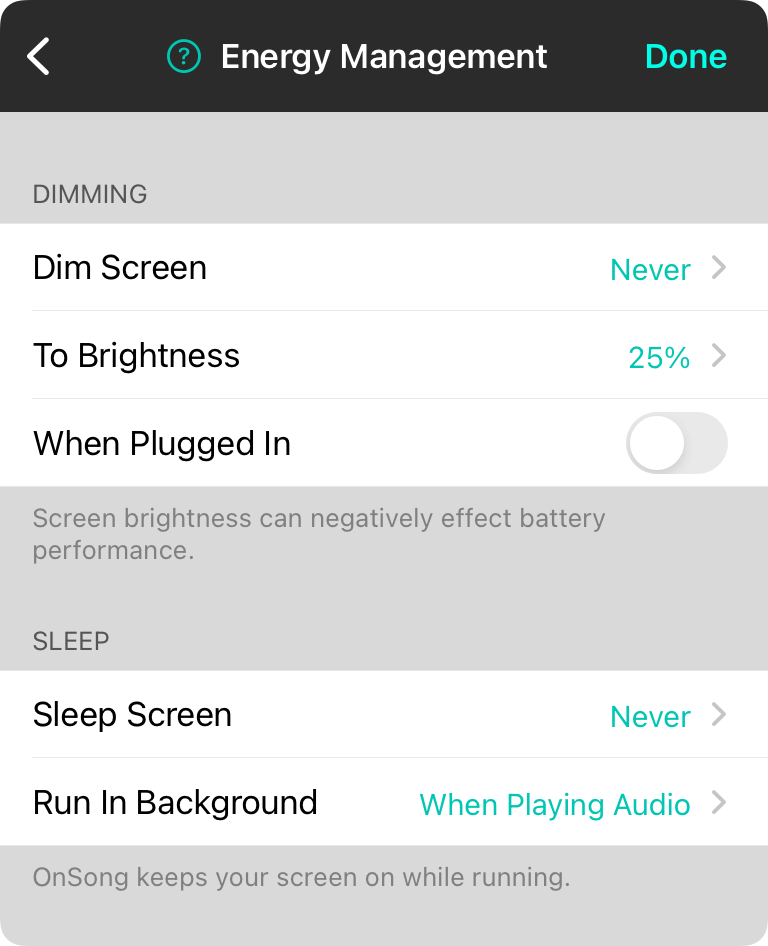
Unlike other apps, OnSong will prevent the device screen from going to sleep during use. You can use these settings to modify how OnSong behaves and provides ways to conserve battery.
Dimming
Screen brightness is a significant source of energy use. You can extend the user of your charge by lowering the screen brightness. If you frequently play a set and then leave the stage for a while, OnSong can automatically dim the screen to conserve power.
Dim Screen
This lets you turn automatically screen dimming on by setting an amount of time before the screen is dimmed. Options include Never (default), and times between 2 minutes and 3 hours.
To Brightness
This is the percentage of brightness the screen should be set to. For instance, if you have a timeframe set in the dim screen options, OnSong will reduce the screen brightness to the percentage specified.
When Plugged In
By default, OnSong will not dim the screen if the device is plugged in and charging. You can turn on this settings to dim the screen even if the device is plugged in and charging.
Sleep
OnSong is performance-ready so it will keep your device on as long as it's open. You can adjust these preferences here.
Sleep Screen
OnSong will stay on indefinitely and prevent the device from going to sleep until you turn off the device or leave the app. You can change this behavior by choosing a timeframe between 2 minutes to 3 hours. The default is Never.
Run in Background
When OnSong is no longer running in the foreground, the operating system will shut down the app automatically. However, if OnSong is playing audio, it will keep running in the background. You can change this to:
- Always will keep the app running even in the background and while not playing audio. This can be useful if OnSong is running lights or sending MIDI events like MIDI clock.
- Never will always shut down OnSong when it is no longer running in the foreground.
- When Playing Audio will shut down the app if no longer in the foreground unless OnSong is actively playing audio. Default.
Low Light Mode
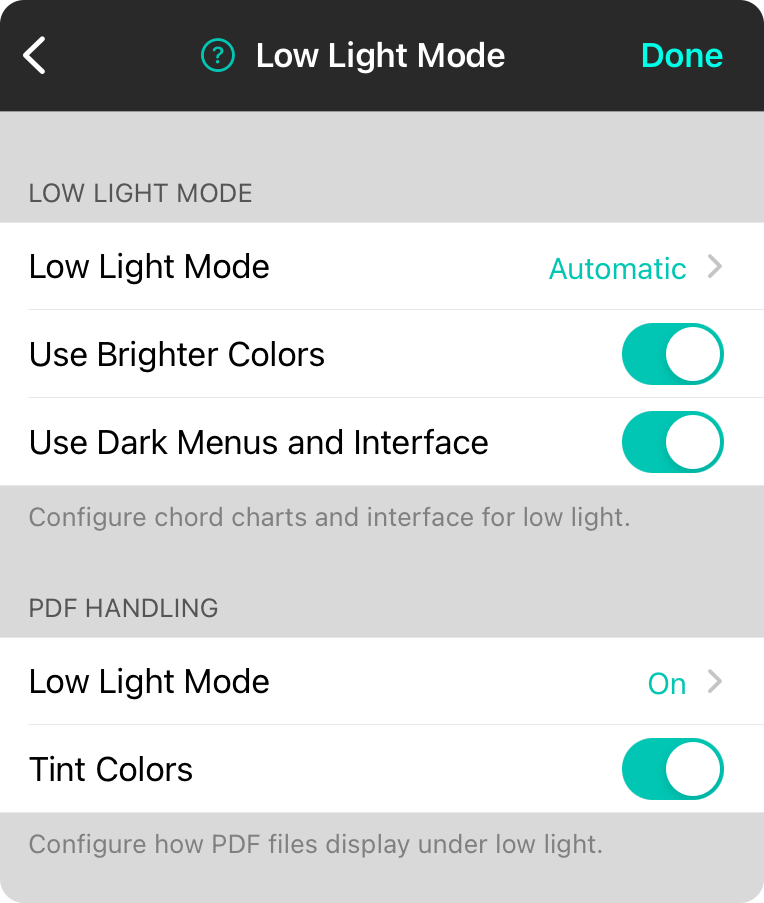
Low light mode lets you view your songs and user interface in low light conditions.
Low Light Mode
You can turn this on and off explicitly, or set to automatic to toggle with the operating system, if supported. Options include:
- Automatic will automatically toggle low light mode with Dark Mode. With this on, it is still possible to override the current setting using the Style Preferences Document Tab.
- Off will turn off low light mode regardless of operating system preferences.
- On will turn on low light mode regardless of operating system preferences.
Use Brighter Colors
When in low light mode, darker colors would be harder to view. This option will brighten those colors if turned on.
Use Dark Menus and Interface
This switch is turned on by default and will give menus a black background with white text when using Low Light Mode. If turned off, the menus will appear with black text on a white background. The default setting is on.
PDF Handling
OnSong has the ability to alter the color of regular PDF documents to abide with low light mode preferences.
Low Light Mode
You can determine if you want PDF files to be converted into low light viewable versions with the following settings.
- Off turns off low light mode completely for PDF files.
- On turns on low light mode for PDF files with the default effect. This will invert all grayscale elements of the document while maintaining colors. Default.
- Invert turns on low light mode, but only inverts the colors of the document. This may be slightly faster and take up less spaced for cached PDF files.
- Monochrome turns on low light mode, but converts all colors in the document to grayscale, removing all color so it is not inverted.
Tint Colors
In addition to low light mode, you can also tint colors of the PDF document. This will use the Tint Colors configured in Settings » Display Settings » Song Formatting » Tint or through Modes in the Document tab of the Style Preferences menu.
Song Viewer

Song viewer settings effect how the song viewer in OnSong behaves. Options include:
Flash Message
OnSong can "flash" information on the screen including messages. You can configure how messages appear by default here.
Vertical Position Indicator
When autoscrolling is occurring or when a section is selected, it may be difficult to judge where you are located in a song. OnSong uses a colored line on the left side of the screen to indicate the relative position of the chord chart at the given time. The shape will align with the approximate place in the song according to the lyrics and chords.
Renderer
These options dictate how OnSong displays content in the song viewer. You can adjust these options to help improve performance on older devices or for certain kinds of content.
Screen
This section controls both the background of the song viewer which is know as the desk, as well as borders to be placed around the virtual paper onto which your music is drawn.
Sections
The song viewer displays sections of lyrics and chords that can be interacted with using screen touches, foot pedals, and other actions. This section controls section selection appearance as well as how the song viewer scrolls to selected sections.
Zoom and Position
This section controls how the viewer zooms in and out.
Flash Message
This screen lets you alter how messages are flashed on to the screen by setting default duration and colors.
Duration
 OnSong will keep flashed text up for a length of time based on the number of words the message contains. This is set by default to 0.3 seconds per word plus a standard fade out delay of 0.3 seconds. You can adjust how long messages stay on the screen by adjusting this slider. Moving the slider to the left will leave messages on the screen less time. To the right will keep the messages on the screen long. You can choose a value between 0.1 seconds and 1.0 seconds per word.
Text Color
If a text color is not explicitly defined by a message, this text color will be used. The Default is 50% gray with 50% opacity.
Background Color
If a background color is not explicitly defined, this background color will be used. The default is transparent.
Renderer
This section provides fine-grain control over how the song viewer renders content.
Render Ahead/Behind
 When swiping through songs in a set, OnSong will render songs just before and after the current song. This results in smooth swiping through songs, but may also increase the memory overhead of the song viewer since it is drawing multiple songs at once. For performance reasons, you may wish to alter this behavior. Options include:
- Automatic allows OnSong to determine what is best. Normally this is turned on unless file formats dictate that it should be disabled for the current set. Default.
- Off results in only the current song being rendered. This results in swiping to blank pages but can improve performance when using external files that are not optimized for OnSong.
- On results in song pages before and after the current song page to be rendered and never disabled.
Renderer Version
You can choose the default rendering engine to use for text-based charts here. This will be applied to any songs where the rendering version is not explicitly chosen. Options include:
- Automatic determines which renderer to use based on the song content features.
- Default is the default renderer version of the OnSong version.
- Original will use the original version that does not have as many features.
- New uses the new unified rendering engine with new features like columns and inline formatting.
Show Scroll Indicators
OnSong features multiple scrollable panes to display a set. The first is a horizontal scrollable pane which provides access to songs in a set. The second is the scrollable pane that contains each song. By default, the scroll indicators on the right side of a scrollview are disabled, but you can enable them through this setting.
View Files as PDF
OnSong will automatically convert non-text imported file types to PDF files to maximize compatibility and to remove operating specific rendering issues that may occur. This setting is on by default and also allows other file types to be viewed in Low Light Mode as well as in a browser running OnSong Console. Turning this off will display these file types "as-is" using the operating system web-based renderer.
Screen
Screen settings allow you to configure how the overall song viewer appears in the app. It features the following settings:

Borders
Borders allow you to designate empty space between the edge of the screen and the virtual paper that appears. This can be useful for setting up blank space to accommodate the OnSong status and menubar. This can also be used to provide spaces between songs.
Desk Color
The desk color is what appears behind the virtual paper. Typically this is set to black and not visible, but if the border widths are altered, the desk color will peek through. Prepared colors are various shades of grayscale including black and white. Tapping on the option opens the Color Builder.
Mirror Horizontally
OnSong is great to use on stage for live performance. But if you're needing to perform to a camera, it's best to use a teleprompter to look straight into the camera while reading a script or singing a song. Turn on the switch to mirror the text horizontally on the screen to work with mirror-based teleprompters.
Sections
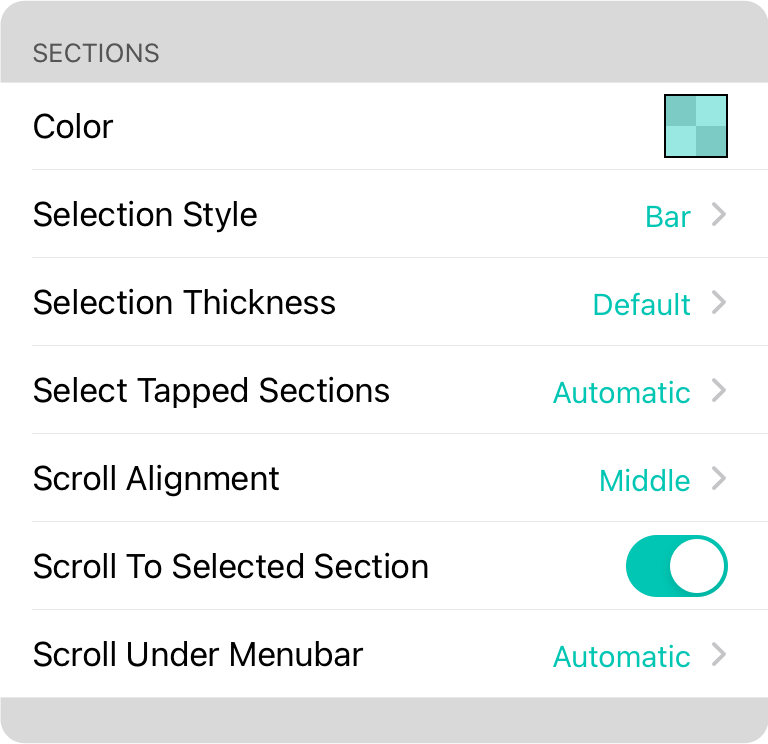
Tapping on the section of a song in the song viewer can select the section. These settings dictate the behavior and appearance of section selection.
Color
You can change the color of the section selector by tapping on the row to use the Color Builder. This will let you create a custom color or choose from the preset palette of these partially opaque colors: Transparent, Red, Orange, Green, Blue, Purple, Pink, Grey, or Teal. (Default)
Selection Style
The selection style option can be used to greatly improve the visibility of the selected section. You can change this to one of the follow options:
- None turns off visualization of the section selection.
- Bar displays the selection as a thin bar on the left side of the screen. The thickness of this bar is determined by the thickness of the vertical position indicator.
- Page highlights the section across the entire page as if a ruler was placed across the screen.
- Section places a rectangle around the selection section with slightly rounded corners.
Selection Thickness
You can set the thickness of the selection when using the bar selection style. the Default options determines the width of the bar from the vertical position indicator. Other options include hairline, thin, medium, thick, thicker and thickest.
Select Tapped Sections
However section selection take precedence over other user input events. OnSong determines automatically if a section should be selected. Options include:
- Never will prevent sections from ever being selected.
- Automatic will determine if the section should be selected based on active features including if MIDI or scenes are assigned to the section, if lyrics projection is enabled or if you are currently streaming to other recipients via OnSong Connect or OnCue. Default.
- Always will always select sections.
Scroll Alignment
When sections are selected, they usually scroll into view in the Song Viewer. This option allows you to define where they should appear in relationship to the viewport. The song viewer will be scrolled as close to the desired settings as possible as long as the song viewer has room to scroll.
- Top aligns the section to the top of the viewable area of the song viewer's view port.
- Middle aligns the section to the middle of the song viewer's viewport. (default)
- Bottom aligns the section to the bottom of the song viewer's viewport.
Scroll to Selected Section
When you tap on a section, it is selected and sends associated MIDI events, changes scenes and presents lyrics. By turning this option on, selecting the section will also reposition it into view on the screen. Default is on.
Scroll Under Menubar
In OnSong, the menubar and statusbar hover above the song viewer. This allows user interface components to smoothly hide for full screen mode. However, when selecting sections, this can cause the content to scroll under the menubar. You can choose from the following options for how content scrolls under the menubar.
- Never will prevent the section from ever scrolling under the menubar under all circumstances.
- Automatic will prevent the section from scrolling under the menubar and statusbar if the menubar is visible and if the menubar is fully opaque. Semi-transparent menubar colors will allow the content to flow underneath the menubar. (default)
- Always will allow content to scroll under the menubar without adjustment.
Note: If you are using an iPhone, the Scroll Under Menubar option also applies to the toolbar that appears at the bottom of the screen.
Vertical Position Indicator
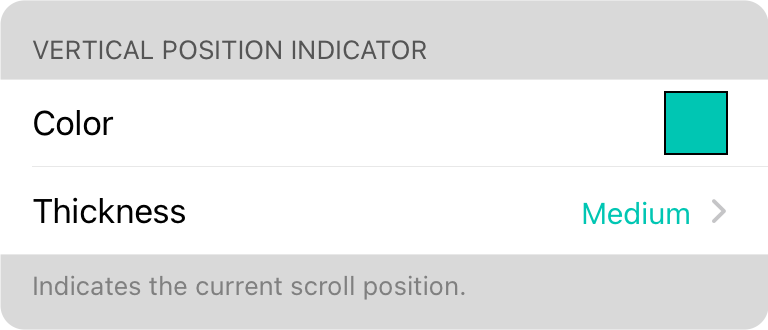
The vertical position indicator is used to show the relative scroll position during autoscroll operations. These settings allow you to adjust how this indicator appears in the song viewer.
Color
You can change the color of this line by tapping on the row to use the Color Builder. This will let you create a custom color or choose from the preset palette of the following colors:
- Black displays the ruler in black.
- Red displays the ruler in red.
- Orange displays the ruler in orange.
- Green displays the ruler in green.
- Blue displays the ruler in blue.
- Purple displays the ruler in purple.
- Pink displays the ruler in pink.
- Grey displays the ruler in grey.
- Teal displays the default app color. Default.
Thickness
You can also change the thickness of the vertical position indicator or turn it off using the thickness option. Choose from none, hairline, thin, medium, thick, thicker and thickest.
Zoom and Position
These options adjust how the song viewer zooms in and out.

Fit to Page Height
If you are using PDF charts that are a longer size like the European A4, or legal size, you may notice the bottom of the song content is cut off when viewed with a portrait orientation. Turning on this option will zoom the song viewer out slightly to contain the full page height.
Minimum Zoom Scale
This prevents the song viewer from being zoomed out beyond a certain point. You can adjust this to prevent zooming out, or to zoom out further.
Maximum Zoom Scale
This prevents the song viewer from being zoomed in beyond a certain point. You can adjust this to prevent zooming by setting it to 100%, or to allow further scaling.
User Interface
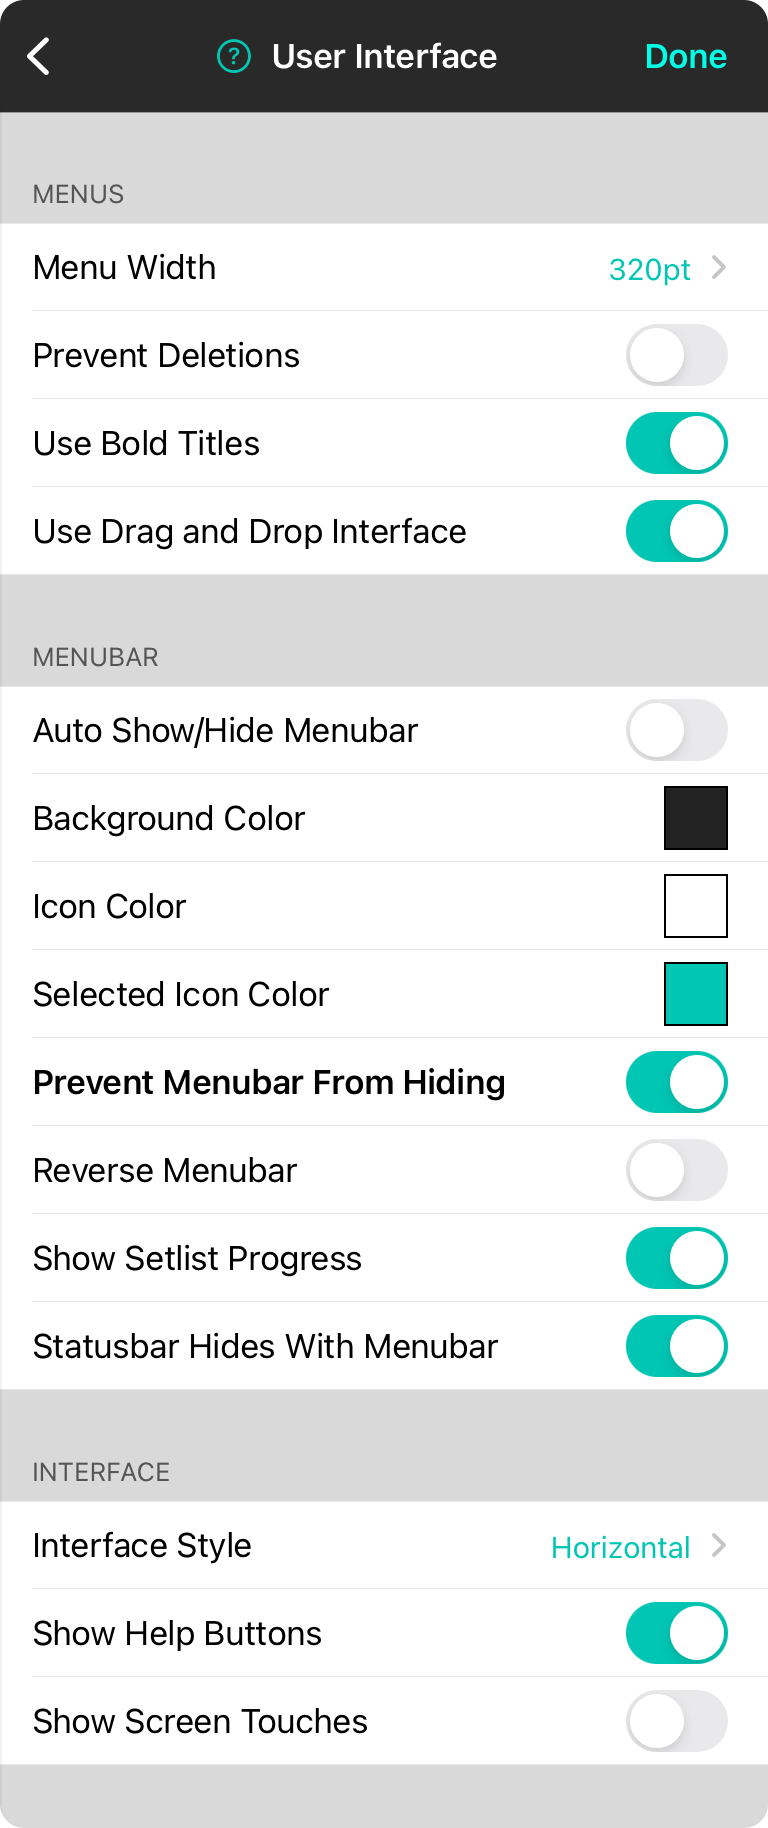
User interface settings let you control how you use the app.
Menus
This section control how menus appear.
Menu Width
Change the width of the menus to be wider than the default 320 pt. Tap on this to select sizes between 240 and 600 pts.
Prevent Deletions
You can swipe right to left to delete most list items found in the app. Turn on this setting to prevent accidental deletion by requiring it to be done through the context menu instead.
Use Bold Titles
This will display title text in lists to appear as bold. Default is on.
Use Drag and Drop Interface
Drag and drop allows to you drag content into and out of lists as well as rearrange list items where supported. Default is on.
Menubar
This section provides options for how the menubar behaves.
Auto Show/Hide Menubar
This switch allows the menubar to automatically hide when a song is picked using the Songs Menu. Tapping in the middle of the screen can then show the menubar again. If Auto Show/Hide Song List is enabled, showing the menubar will also open the song list. Default is off.
Background Color
The background color of the menubar that appears in the song viewer. This can be used to reduce the transparency of the menubar.
Icon Color
The color of icons that appear on the menubar in the song viewer.
Selected Icon Color
The color of icons selected in vertical menubar mode.
Prevent Menubar From Hiding
The visibility of the menubar automatically toggles on and off when you tap in the middle of the song viewer. You can disable any kind of menubar toggling by turning on this option. The first time the user taps in the middle of the screen, a prompt appears to configure this setting. Default is off.
Reverse Menubar
Some users prefer to have the Songs Menu on the right of the screen. You can flip the menubar to mirror it's contents by turning this option on. Default is off.
Show Setlist Progress
OnSong can now display a thin, teal line in the menubar to indicate the progress through a set list. You can toggle this setting to turn off the progress bar.
Statusbar Hides With Menubar
When you hide the menubar, the statusbar also hides to create as much space for the app as possible. You can disable this to keep the status bar active along with the current time and system information.
Style
Defines the layout of the overall app.
Interface Style
By default, OnSong displays the menubar horizontally across the top edge of the screen. You can change this to Vertical which displays menus along an edge of the screen instead. This can be useful for split screen control where menus don't overlap content.
The reverse menubar option will move the menus to either side of the screen when the interface style is set to Vertical.
Show Help Buttons
OnSong provides help for every menu and screen by displaying a question mark next to the title. Default is on.
Show Screen Touches
This features will show a translucent and radiating circle in the app color when you touch the screen. This can be handy when capturing videos for tutorial content.
Integrations
OnSong works with various services and software and you can configure these integrations in settings.
ProPresenter
You can connect to ProPresenter 7 through your local network to move between presentations, slides, and build playlists.
SongSelect
SongSelect now features auto-reporting that you can enable and configure here.
ProPresenter
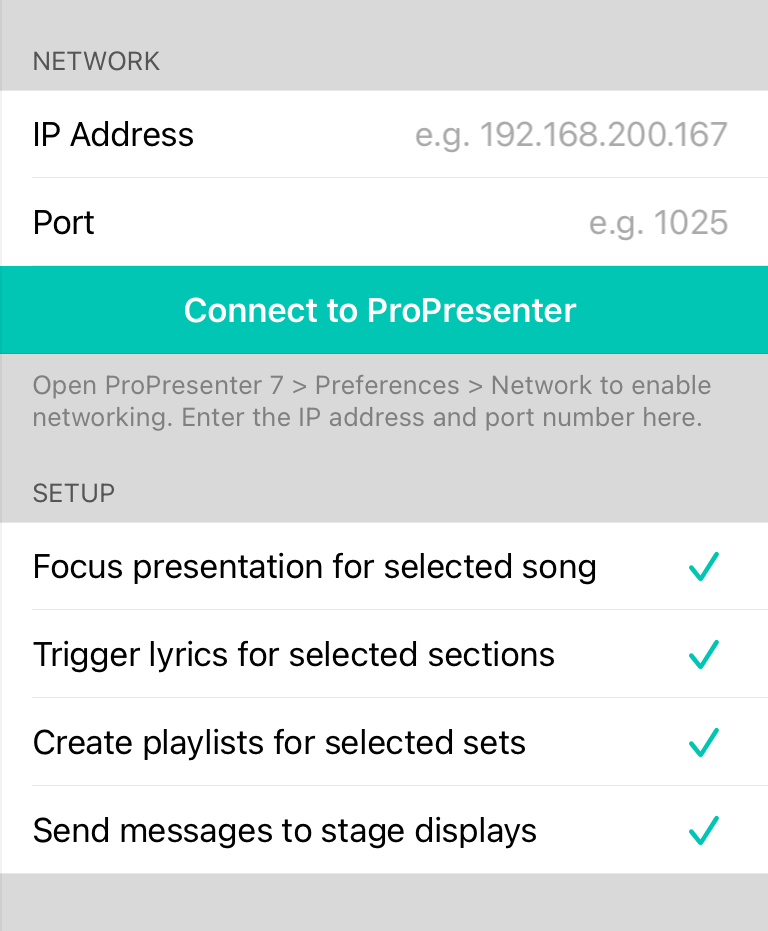
This screen allows you to configure OnSong to send commands to ProPresenter 7 for remote control.
Network
Here is where you can type in the IP address and port that appears in the ProPresenter Network Preferences tab.
Connect/Disconnect
Once you've configured the network, you can connect to ProPresenter. This will check to make sure the ProPresenter API is available and working before it shows as connected with a disconnect button.
Setup
This is where you can determine how you would like to remote-control OnSong.
Focus presentation for selected song
This will focus ProPresenter on the presentation that represents the current song based on song title match. Songs must be imported into the ProPresenter library separately from OnSong.
Trigger lyrics for selected sections
When you tap on a section in OnSong, this option will trigger the lyrics slide on the focused presentation. This is done using lyric matching technology.
Create playlists for selected sets
This option will automatically create playlists in ProPresenter when you select a set to view in OnSong. The playlist will contain found presentations that match the songs in the set using exact song title match.
Send messages to stage displays
This option will show any messages you show in OnSong to also appear on any connected ProPresenter stage displays.
iPadOS/iOS Settings
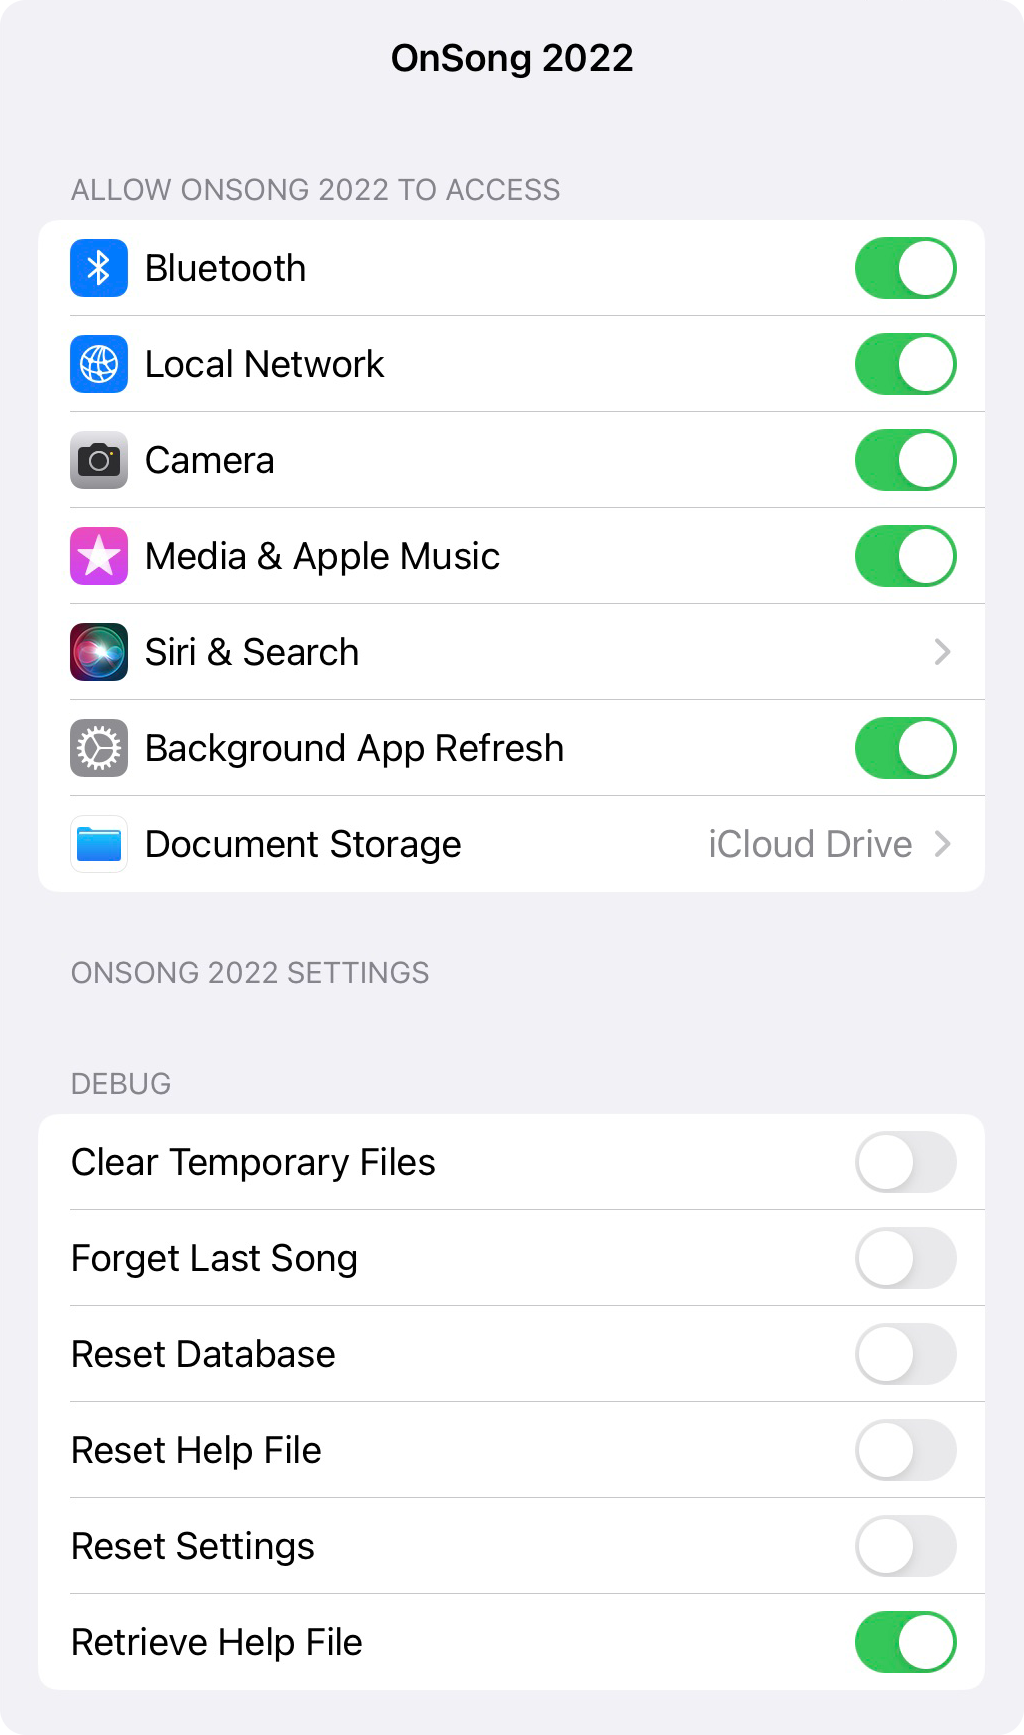
Apps can have settings that are only accessible through the Settings app on your device. This contains switches for changing permissions that you may have granted or declined. It also contains settings that are available to all users for troubleshooting issues. Here's what settings are currently available in the Settings app of iOS/iPadOS:
Access
This section is automatically set with prompts that appear in the app when specific resources are requested. You can change the settings here after the initial prompt is displayed.
- Bluetooth determines if OnSong can access Bluetooth devices like wireless foot pedals.
- Local Network determines if OnSong can use the local network. This is used by OnSong Connect and OnSong Console.
- Camera determines if OnSong can access the device's cameras. This is used by live backgrounds in lyrics projection and the document scanner.
- Media & Apple Music determines if OnSong can access your Apple Music media library for backing tracks.
- Siri & Search allows you to customize search settings that integrate OnSong into Siri and Spotlight.
- Background App Refresh determines if OnSong can retrieve content from services in the background.
- Document Storage lets you choose how data in OnSong is stored.
Debug
This section contains switches that can be enabled for troubleshooting issues in OnSong.
- Clear Temporary Files will force any temporary files that are created to be flushed when the app is next loaded.
- Forget Last Song can be used if a song caused OnSong to shut down. Since songs are remember, this can cause issues opening OnSong again. Turn this on to clear OnSong's knowledge of what song it should automatically load.
- Reset Database will cause the database to be backed up to file sharing and then purged. This can be handy if there are issues loading OnSong and you need to send your library to support staff for diagnosis.
- Reset Settings will clear all settings in OnSong and reload the user interface when you open the app.
- Retrieve Help File will determine if an offline-viewable help file is retrieved from OnSong.
Search Settings
You can choose to search settings by keyword which brings up a search interface on the right side of the search screen. On iPhone devices, it will appear in a new modal. Type in a search into the search bar. In the example on the left, we've typed in "Color". OnSong automatically filters all settings, looking for the term "Color" in the name of the setting. Here you can see that we have many color options. You can then adjust the settings in place. Tap Done to exit search mode.
Allow Access
Newer versions of iOS allow you to configure app permissions within the Settings app after selected the application. The following items are configurable under iOS 10 or greater:

Media Library
OnSong automatically links chord charts to backing tracks contained in your iTunes Media Library. Under iOS 9.3 and higher, you may be prompted for access to your library. If you decline, you must enabled media library access here.
Notifications
OnSong very rarely sends push notifications, but you can customize how these notifications will be viewed under this option. You can also disable notifications from OnSong altogether.
Background App Refresh
While not currently in use, OnSong could update information un the app upon receiving a notification. You can disable this function here.
Cellular Data
OnSong is designed to operate completely within WiFi or access to the Internet. If you are using OnSong on a cellular-enabled device, you may wish to prevent the use of cellular data on the application level. You can disable cellular data use for OnSong here.
Advanced
The debug section in settings is used to correct issues that may occur when using OnSong. The following are switches that inform OnSong to perform certain functions when it starts up. Let's take a look at these options and how they may help get you out of a jam.
Backup Media Files
By default, all media files such as audio backing tracks and background images or video, are placed inside of the backup file. This can result in large backups that are difficult to manage. Turn this option off to prevent media files from being placed into the backup file.
When you restore a library that doesn't contain media files, you OnSong keeps the records of that media but needs to reestablish the underlying media files. If you import files of the same filename, OnSong will reestablish the media record.
Clear Temporary Files
Turning on this option will clear temporary files when the app is placed into the background. This may be used if you are running out of storage space on your device. This is not recommended to be used otherwise as it will affect performance and temporary files are cleared automatically by iOS when needed.
Forget Last Song
This is the most important debug setting to keep in mind. If you import a song that has incompatible content or is too large it may cause OnSong to crash. Because OnSong remembers the last song you had viewed, this can cause a crash loop. In that case, open the Settings app on your device and turn on this setting. The next time you start OnSong, the last known song will be forgotten and the demo song will be viewed instead. This allows you to get back into OnSong and delete the offending file.
Purge Database
Turning on this function will instruct OnSong to delete your current library and start over. When OnSong purges the database, it jettisons the library as a backup so you can restore it later.
Reset Help File
In some cases, the help file in OnSong may become corrupted. Turn on this setting to delete the help file on your device and cause OnSong to download a fresh copy.
Reset Settings
This is equal to the Reset Settings tool found in the Utilities Menu. It will remove all user preferences and reset the settings back to the factory defaults. This does not remove your OnSong library. This can be useful if a combination of settings is causing a problem when starting OnSong.
Retrieve Help File
OnSong checks for updates to its help file when launched. You can turn this feature off to prevent OnSong from looking for a new help file. Default is on.
Storage Location
Since its inception, OnSong has stored libraries inside of the OnSong app. This has caused some users to lose their library when the app is deleted or corrupted. You can change the location of OnSong libraries to:
- Local stores the OnSong library folders inside of the app. This keeps the library only accessible to the OnSong app, but also means that deleting the app will remove the library.
- Shared stores the OnSong library folders in an app group. This allows other, OnSong-created apps to access your library. It also means that deleting the app will not delete your OnSong libraries. You will need to delete libraries before uninstalling the OnSong app to completely remove the data.
Note: most of these features are off and when turned on, will be reset to off once the action has been performed when OnSong starts up. This is by design.
Import Settings
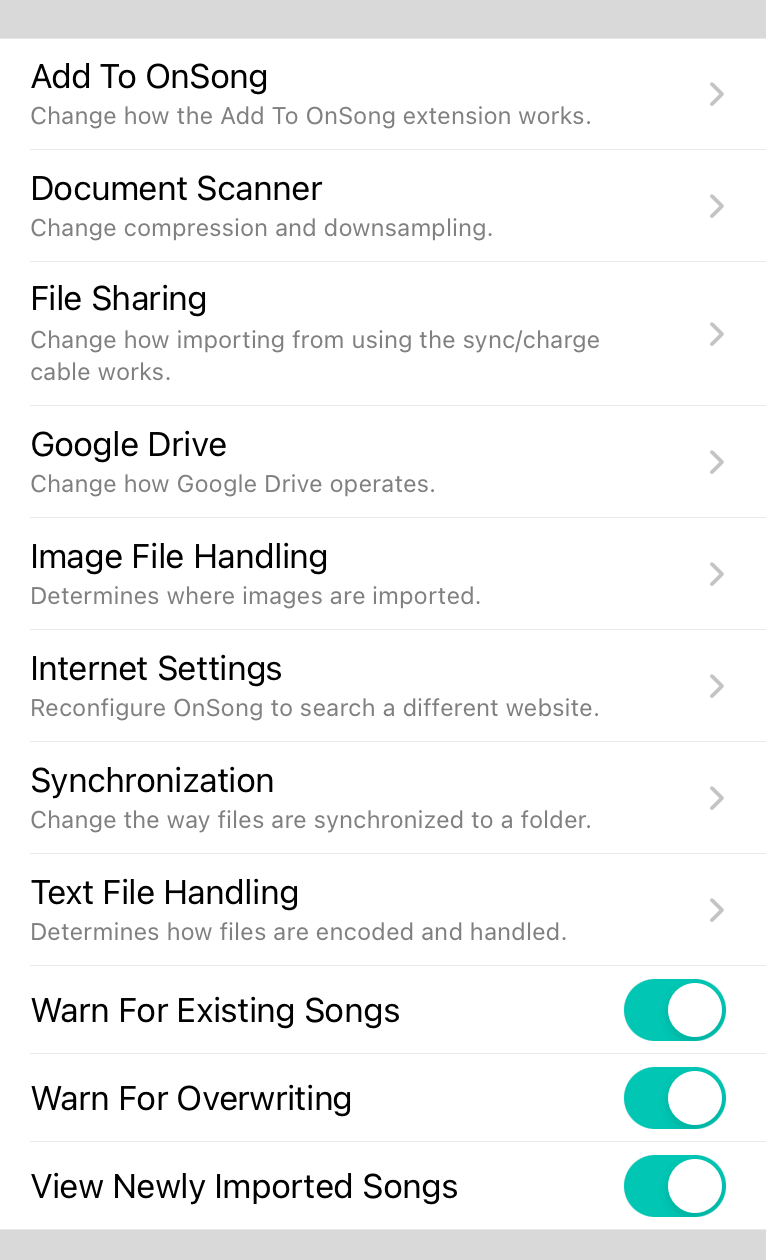
The import settings screen allows you to configure how various import operations occur. These settings are separated by import source.
Dropbox Settings
Dropbox is a common choice for importing files.
Internet Settings
OnSong can import songs from an Internet website. Only one can be configured at a time. Use these settings to configure a different website.
File Sharing
When importing from file sharing, you can choose to have files automatically removed.
Synchronization
Synchronization is slightly different from import methods but it in the similar category. Configure where OnSong can synchronize it's library to here.
Text File Handling
Text files may need to be configured for different file encodings or conversions.
Warn For Existing Songs
When this is enabled, OnSong will display songs that have been imported that already exist in your OnSong library. If you attempt to import those songs again, you will be prompted as to what to do. OnSong matches based on the filename of the song. Default is on.
View Newly Imported Songs
When this is enabled, imported songs are displayed in a temporary set. This allows you to review newly imported songs and edit them if needed. Default is on.
File Sharing Settings

File Sharing allows you to import files into your OnSong by first transferring them to your device with a USB sync/charge cable and through the Finder (macOS) or iTunes (Windows). The following settings are available.
Keep File In File Sharing
When you transfer files into OnSong via File Sharing, they are not automatically imported into your OnSong library. This is because OnSong uses file sharing for exporting as well.
When files are imported in OnSong from file sharing, the file will remain in file sharing by default. If this option is disabled, the file will be removed from file sharing once imported in your library.
Synchronization Settings
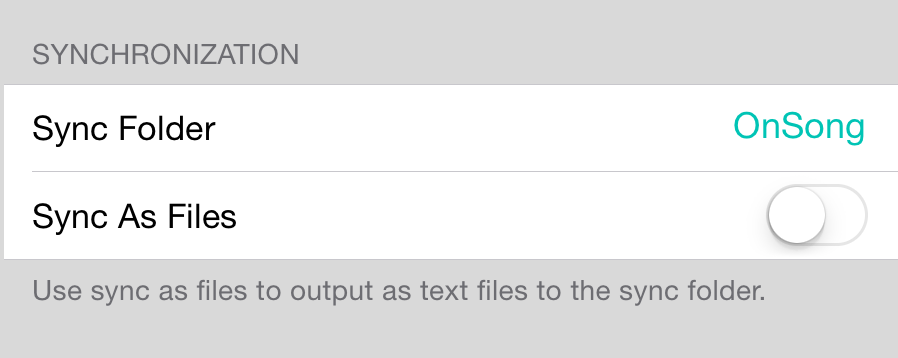
Synchronization allows OnSong to upload and download library files to a remote location such as Dropbox. Any external files are synchronized as well as the OnSong database file.
This setting screen allows you to configure where and how the synchronization takes place.
Sync Folder
When synchronization is performed, all files are placed in a folder in the root of the remote storage service. By default, OnSong will store this in a folder called OnSong. You can change this folder name here. You can also set a subfolder. For instance, you could set this parameter to "Sync/OnSong".
When the synchronization occurs, OnSong will create the synchronization folder if needed. If you are using a subfolder such as "Sync/OnSong", you may need to create the top-level folders.
Sync As Files
Synchronization is intended to store your OnSong library in another location. However, the OnSong library is not intended to be directly modified outside of the control of OnSong. For instance, text-based files that are in your library are stored in a single database file which is not easily editable. If you require to edit your chord charts in addition to synchronization, you can turn on this option.
Sync As Files will output a text file to your OnSong library directory within the OnSong app. When synchronization takes place, these files are also transferred in addition to the OnSong database file. If those files change, they are additional imported during the synchronization process.
Exceptions
OnSong synchronizes all files in your OnSong library but with one important exception. Chord charts that are not permitted to be distributed or uploaded will not be outputted when Sync As Files is enabled. However, since the OnSong database file handles rights management, the songs are synchronized at the database level. In addition, if externally imported files such as PDF are used and restricted, they will be uploaded to the synchronization destination regardless since they are required to handle a full synchronization of the OnSong library.
Add To OnSong
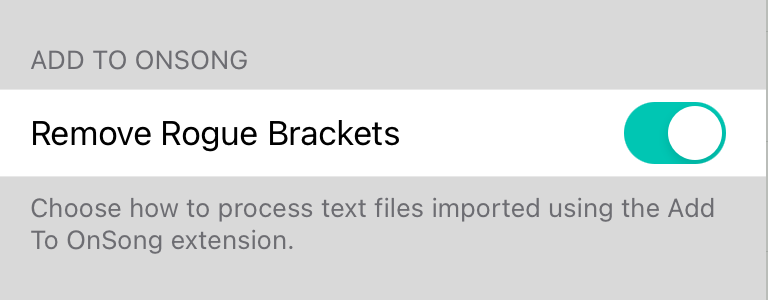
Add To OnSong is an iOS/iPadOS extension that allows you to import content into your OnSong library from nearly any app. The following are options when importing content using the Add To OnSong extension.
Remove Rogue Brackets
Some content provider have content that is not suitable for use in OnSong or other ChordPro-enabled apps by using square brackets to surround song sections, for instance. OnSong and ChordPro file formats use square brackets to denote chords. With this feature enabled, imported content is scanned and evaluated to turn bracketed section into standard sections upon import.
Document Scanner
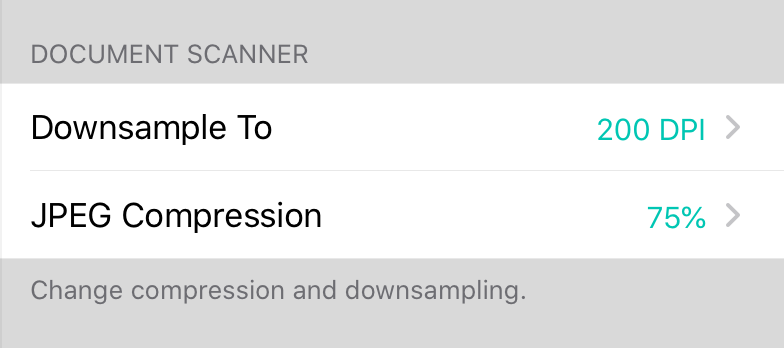
The document scanner uses the built-in camera on your device to capture the contents of documents. Your camera is high resolution to capture the most detail possible, but this can result in large PDF files from the scanning interface. These settings allow you to shrink the size of scanned document.
Downsample To
Downsampling is the process of taking a high-resolution image and lowering the resolution while maintaining the size of the file. The scanning process can produce images that are higher than 400 DPI or dots per inch. Typically scan resolution of 200 DPI is fine for most uses.
Changing the target DPI will lower the resolution of the scan if needed to the specified DPI. Options include 100-400 DPI as well as an option to disable downsampling. The default settings is 200 DPI.
JPEG Compression
Your device stores photos in a file format that is mildly compressed, but is "lossless" in that the quality of the image stays constant. This results in very large PDF files. If JPEG compression is enabled, OnSong will convert the image to a JPEG image with the desired compression. This can result in artifacts if the compression is to great. You can choose between 50% and 100% compression levels, as well as turn off the conversion to JPEG using the "None" option. The default is 75% compression.
Google Drive
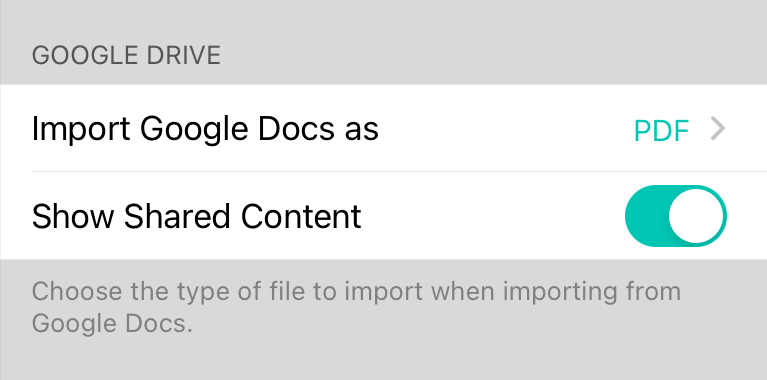
When you import Google Docs from Google Drive, OnSong needs to determine how the document should be converted.
You can choose from the following formats for Google Docs conversion:
- Off prevents the document from being imported.
- HTML converts the document into an HTML file.
- PDF converts the document into a PDF file to retain all formatting. This format will not convert well into a text-based document however (Default).
- RTF converts the document into a Rich Text Formatted file.
- Text converts the file into plain text which will work best for creating OnSong or ChordPro file formats.
Image File Handling

Images imported into OnSong can either be imported into your library as songs, or be used as background images for lyrics projection. When image file types are imported, OnSong must decide where they should be placed.
If you're importing images within the Add Songs screen, OnSong will always import the image files as songs in your library. Likewise, if you import images in the Background Media Library screen, the image will be imported into the media library to be used as a background for lyrics projection.
However, if you're importing an image into OnSong from another app or a website, OnSong needs to make a decision. This settings gives you three options to choose from:
- Automatic is the default selection where OnSong attempts to make the decision based on image analysis. With this option, if the image is in a portrait orientation, it will always be imported as a song document. If in the landscape orientation, the four corners of the image are evaluated for relative brightness. If the corners are determined to be paper-colored, the image is imported as a song document. Otherwise, the image is considered a background image.
- Backgrounds will always import any externally-imported image into the Background Media Library.
- Songs will always import any externally-imported image into the Songs Menu.
Internet Settings
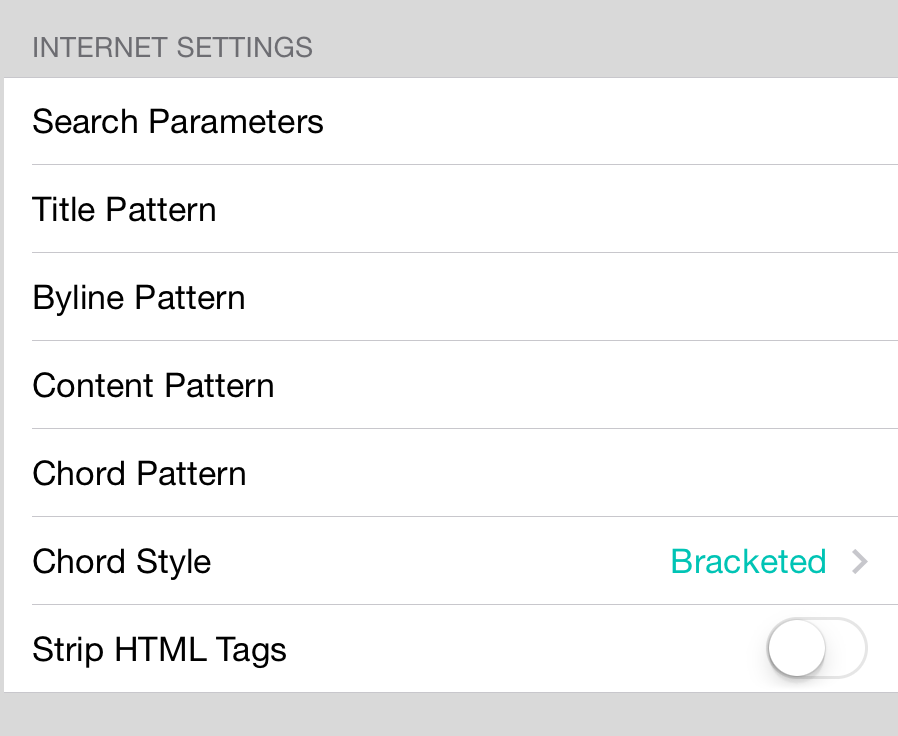
Setting Internet settings is not a trivial task but does allow in-app searching of content from the Internet if configured properly. OnSong cannot provide these settings for you since it required that you agree and use the content of the web site in accordance with the web site's terms of use. If these settings are left blank, the in-app Internet search feature is disabled and you will need to use the Add To OnSong Safari Extension instead.
Note: OnSong uses a pattern-oriented programming language called Regular Expressions to define content to import. When written correctly, these strings of characters comprise patterns that can extract text from the content of a web page. Regular Expressions are using in the pattern properties below.
You can configure OnSong to search different websites using the following fields:
Search Parameters
OnSong uses Microsoft Bing to search for content on the Internet. While the query of your search is passed directly to the search engine, additional parameters for the search can be passed here such as the domain to be searched. The following example limits the search to the chords directory of a specific website:
site:http://www.domain.com/chords
Learn more about advanced Bing search parameters
Title Pattern
The title pattern is performed against the title attribute of the found page content and is used to extract the title of the song. The following example extracts Brown Eyed Girl out of the full title of the web page, Brown Eyed Girl By Van Morrison.
(.+?)(?=(( +Chords)|( +By)))
Byline Pattern
The byline pattern is performed against the title attribute of the found page content and is used to extract the byline or artist of the song. The following example extracts Van Morrision out of the full title of the web page, Brown Eyed Girl - Van Morrison.
(?<=[\-])(.+?)(?=\|+\s*)
Content Pattern
The content pattern is used to extract the content of the song from the full HTML content of the web page. Typically this content is placed in HTML <pre></pre> tags. The following example extracts the content from the pre elements in the HTML content of the found web page.
(?<=<pre>)(.+?)(?=</pre>)
Chord Pattern
In some cases, chords are marked up using HTML. OnSong can locate chords using a regular expression pattern as well. In this example, HTML <u></u> tags are used to denote chords in the HTML. The following pattern will extract those values and convert them into bracketed chords.
<u>(.+?)</u>
Chord Style
When content is encountered, it may be bracketed, or it may be plain text using chords over lyrics. You can configure the format that is expected from the web site here. For instance, if we choose bracketed and the previous chord pattern is used, the found chords are surrounded by square brackets.
Strip HTML Tags
While most chord charts in web pages are created as plain text within <pre></pre> tags, sometimes they contain extraneous HTML tags. Turn this option on to strip out extraneous HTML tags. Default is off.
Regular Expressions
While not a full programming language, regular expressions fulfill an important role in most modern operating systems. They provide a text-based method for describing textual patterns that can be used for search and replace or extraction operations on text files. They are tremendously flexible and fast, but are difficult to master.
This user manual is not going to attempt to teach Regular Expressions since there are other great resources and entire books devoted to the subject. Instead, we will offer some great links and resources you may find helpful when beginning to learn.
- RegexOne is a website that guides you through learning regular expressions at your own pace.
- Reggy is a useful app for OS X that helps you write and test regular expressions.
- regular-expressions.info is a great website with a lot of resources and tutorials.
Text File Handling
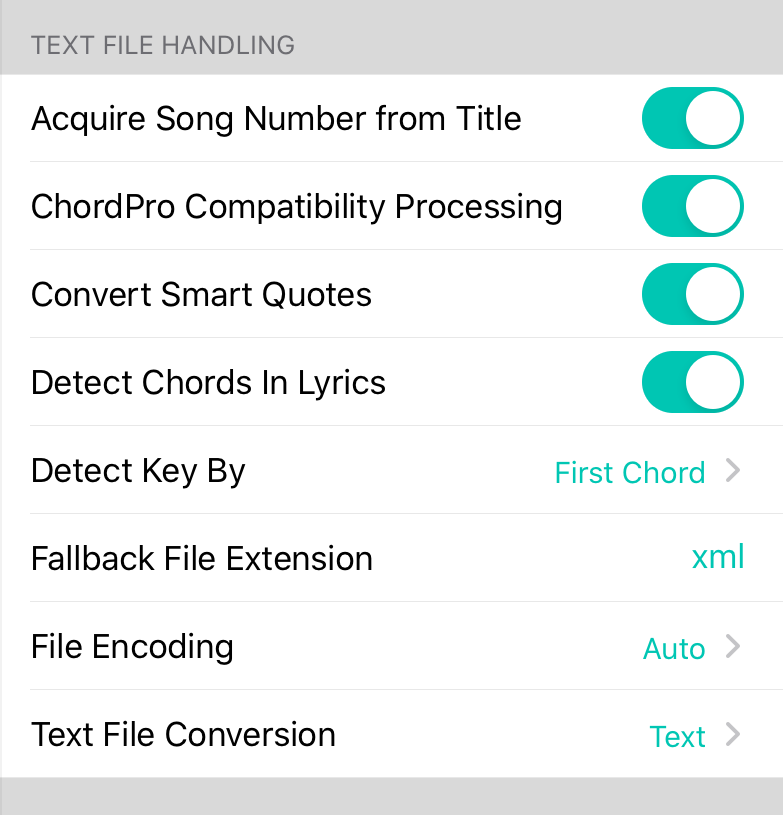
When OnSong imports certain files, it may need to be given a hint to the file encoding or format. Text File Handling settings help OnSong know how to handle certain files it encounters.
Fallback File Extension
OnSong uses the file extension of a file to determine its file format. This is important during the import process so that text conversion can occur to a supported internal format, or so external files like PDF can be viewed correctly.
In most cases files have a file extension. OpenSong files tend to be extension-less but are really XML-formatted files. For this reason, OnSong will automatically append a .xml file extension to files that have no extension. This identifies the file as an OpenSong file and converts it appropriately.
If you have many files that have no extension, and the type of the file is known, enter the file extension in this place.
File Encoding
Text encoding is the process of converting characters in a written language into binary values that can be stored by a computer. OnSong is designed to guess the file encoding of a file, but there are some occasions where the file encoding is not known. The default setting for this is Auto meaning the encoding is guessed. If you know the encoding of the file, select it from one of the options:
- Auto detects the encoding based on the contents of the file. Default.
- ASCII is a basic text encoding that covers most western character sets.
- UTF-8 is a superset of ASCII which contains most characters found through the world, but does not include some characters such as those found in Asian languages. OnSong uses UTF-8 internally and stores larger character sets in a way that makes them retrievable.
- UTF-16 uses 16-bit values for defining the character set allowing for 32,768 possible characters.
- UTF-32 uses 32-bit values for defining the character set allowing for 2 billion possible characters.
- ISO-Latin or better known as its codepage "iOS-8859-1". It is similar to UTF-8 and holds Latin-based characters.
Text File Conversion
When text files are imported, OnSong can automatically translate them in the OnSong file format. This places chords into square brackets automatically. Since OnSong can now automatically handle chords over lyrics in the song viewer, this is set to Text by default. You can still have OnSong convert your songs automatically by choosing OnSong instead.
About
The about section contains the version of OnSong you are using. This is useful for determining if you are using the latest version of OnSong, or to share with OnSong support staff.
System Information
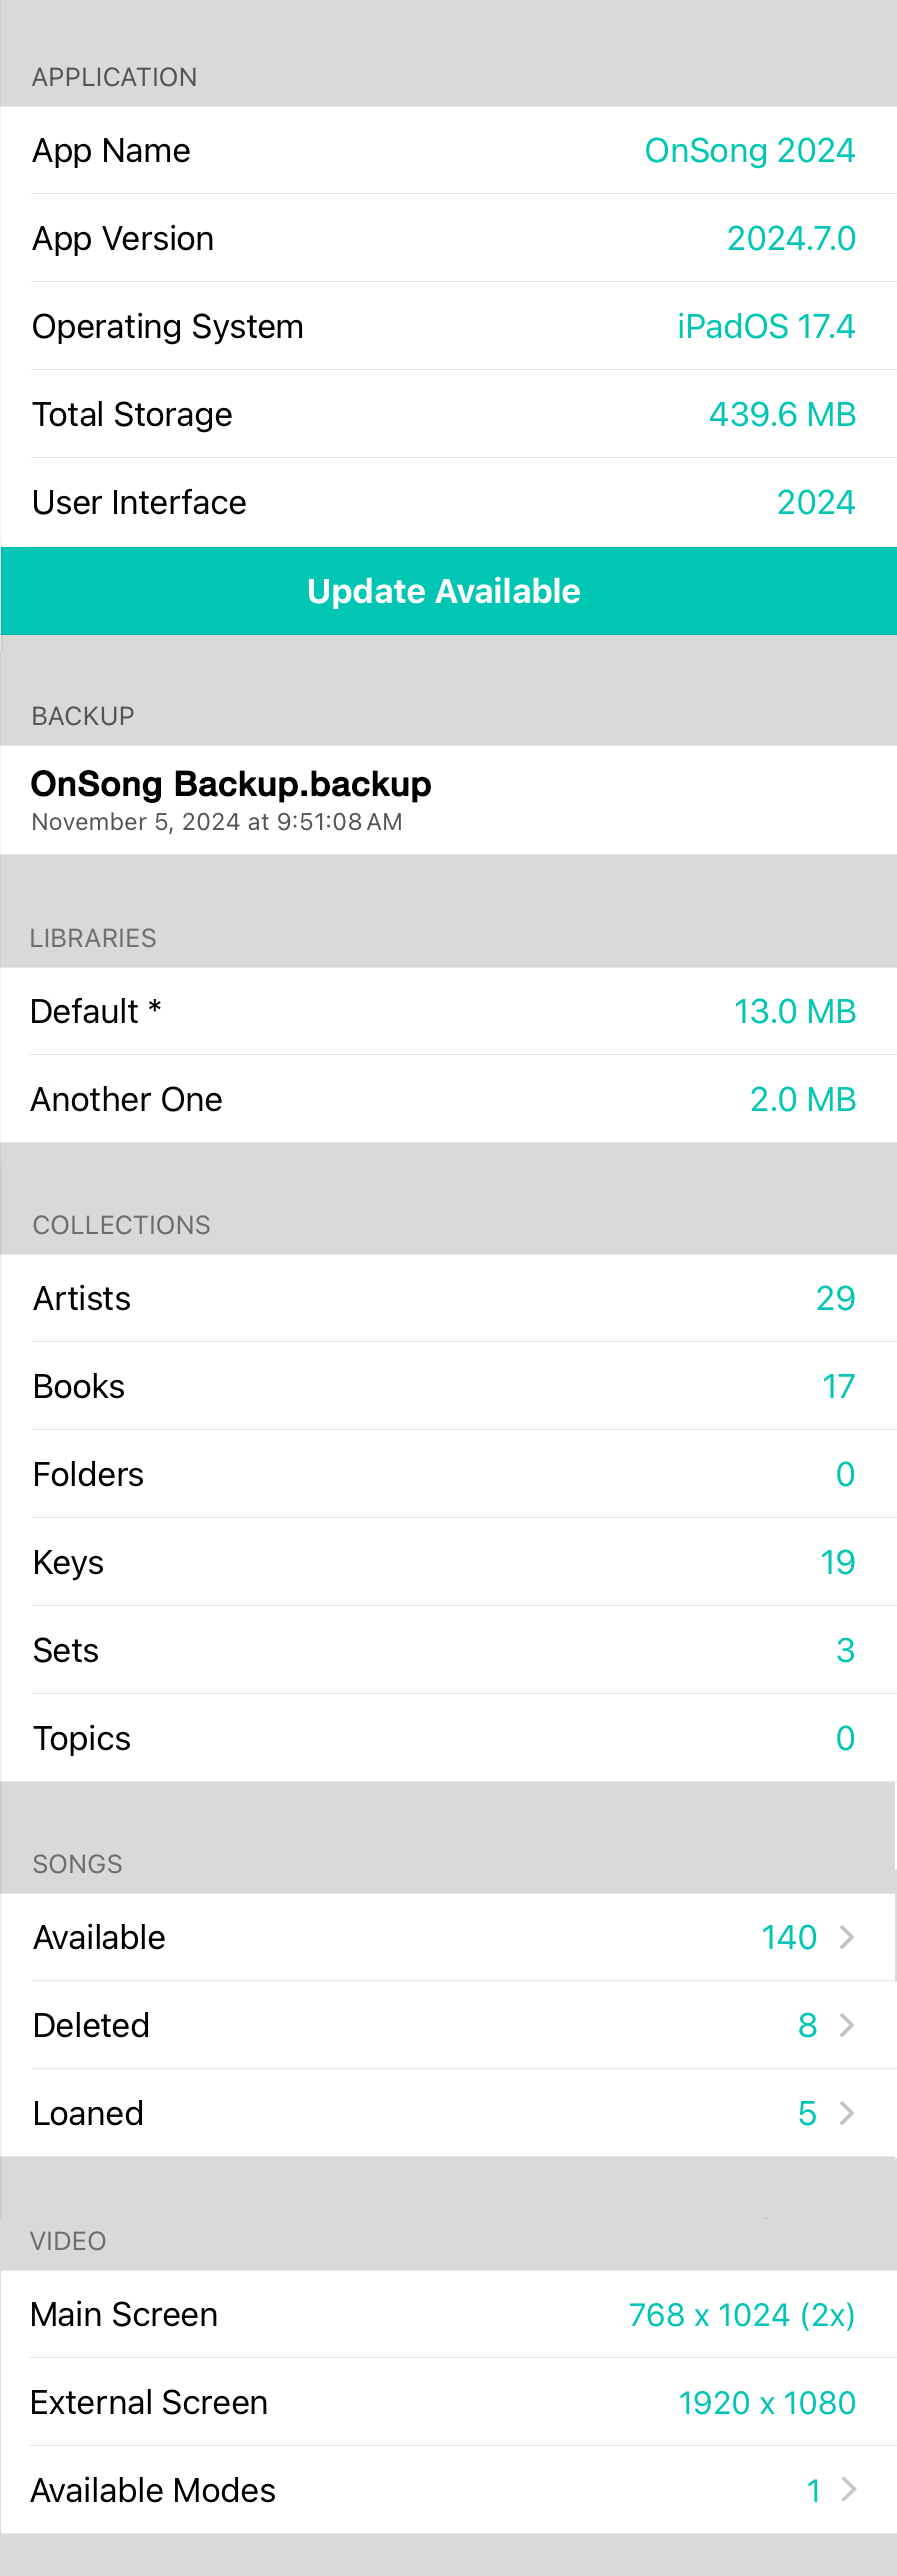
The system information screen provides information about your OnSong library, statistic and precise control over secondary screens.
Application
The application section shows information about the OnSong app including:
- Version is the actual version number as reported to the App Store.
- Libraries shows the number of libraries that are managed by the application. You can switch between libraries within OnSong, but each library is separate.
- Total Storage is the amount of data consumed by OnSong libraries.
Library
This section contains information about the currently selected library. This includes:
- Name is the name of the currently selected library.
- Size is the amount of storage consumed by the current library.
Songs
This section contains statistics about the currently selected library including:
- Artists is the number of artists in the OnSong library.
- Books is the number of books used to manage songs in the OnSong library.
- Folders is the number of folders used to organize sets.
- Keys is the number of key signatures that your library contains.
- Sets is the number of sets contained in your library.
- Songs is the number of total songs found in your library.
- Topics is the number of topics used to search songs in your library.
Video
This section contains information about the main screen as well as any connected screens. This section includes:
- Main Screen reports information about the iOS device's screen and is reported in the device's native resolution and orientation. If a number appears in brackets after the resolution, that indicates the DPI. For instance, 768x1024 (2x) indicates a Retina-class iPad with a true screen resolution of 1536x2048.
- External Screen displays if an external screen is connected. If there is no external screen connected, this displays "Not Connected". If there is a secondary screen connected, this will display the resolution of the display.
- Available Modes appears when there is a secondary screen connected. This will display the resolutions that the external screen supports. You can tap on this to change modes of the secondary screen.
Available Modes

This screen will display available modes as reported by the secondary screen. The currently selected mode will appear with a checkmark. You can change the mode by selecting one from the list of available modes. This will immediately changes the screen resolution of the connected device.
Available Songs
This displays a list of available songs in your library which are the same songs you can view in the songs menu when viewing the All Songs collection. You can tap on a song to view a preview of it.
Loaned Songs
This shows a list of songs that have been shared with you but are not available in your All Songs collection. These songs can only be displayed within sets that were shared with you. You can tap on a song to view a preview of it. Additionally, in the event that a song has been marked loaned but you have the necessarily legal permission to use that song in your library, you can claim this song within the song preview screen. This may be necessary in the event that you had beamed the song from one device you own to another and have lost access to the original device.
Display Settings
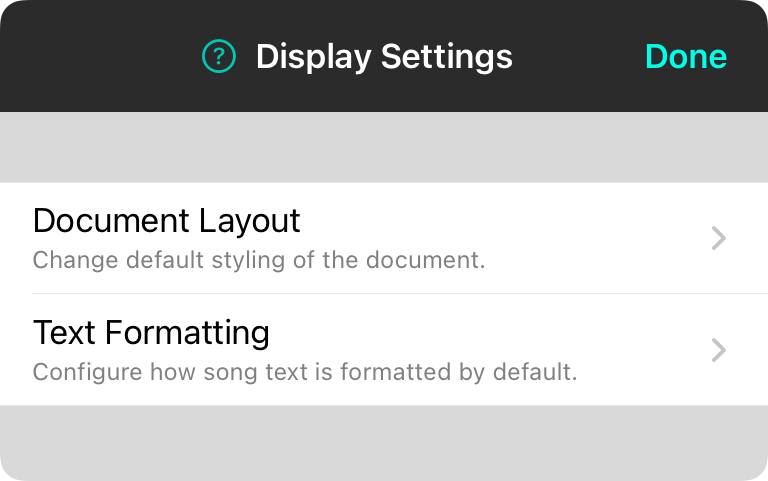
Display settings allow you to configure how OnSong displays songs and its user interface on the device. It contains the following options:
Enable Low Light Mode
This switch allows you to toggle low light mode on and off for the app. When on, chord charts appear with a black background and white text. In addition, menus appear with a black background with white text. Low light mode is intended for dark stages to reduce eye strain as well as minimize ambient light.
Note: Low light mode will only work for text-based chord charts. Songs that are displayed as PDF, Microsoft Word or other file formats are displayed "as-is. In these cases, low light mode cannot be applied.
Language
OnSong uses the language of your device by default. OnSong does support some languages not supported by all devices. You can change the language of the OnSong user interface here. This will necessity a complete restart of the OnSong app to take effect.
Sleep Screen
When you're playing music, you don't have time to tap on the screen to keep it awake. OnSong is set to keep the screen on and never fall asleep. This means that you need to turn off OnSong when you are done to avoid battery drain. You can change this setting to various timeframes between 2 minutes and 3 hours.
Song Formatting
This provides access to the song formatting portion of the settings screen. These options effect how chords, lyrics and other song components are displayed.
Song Viewer
This provides access to song viewer options. This changes how the song viewer draws content on the screen and provides options to maximize performance for certain file type.
Document Layout
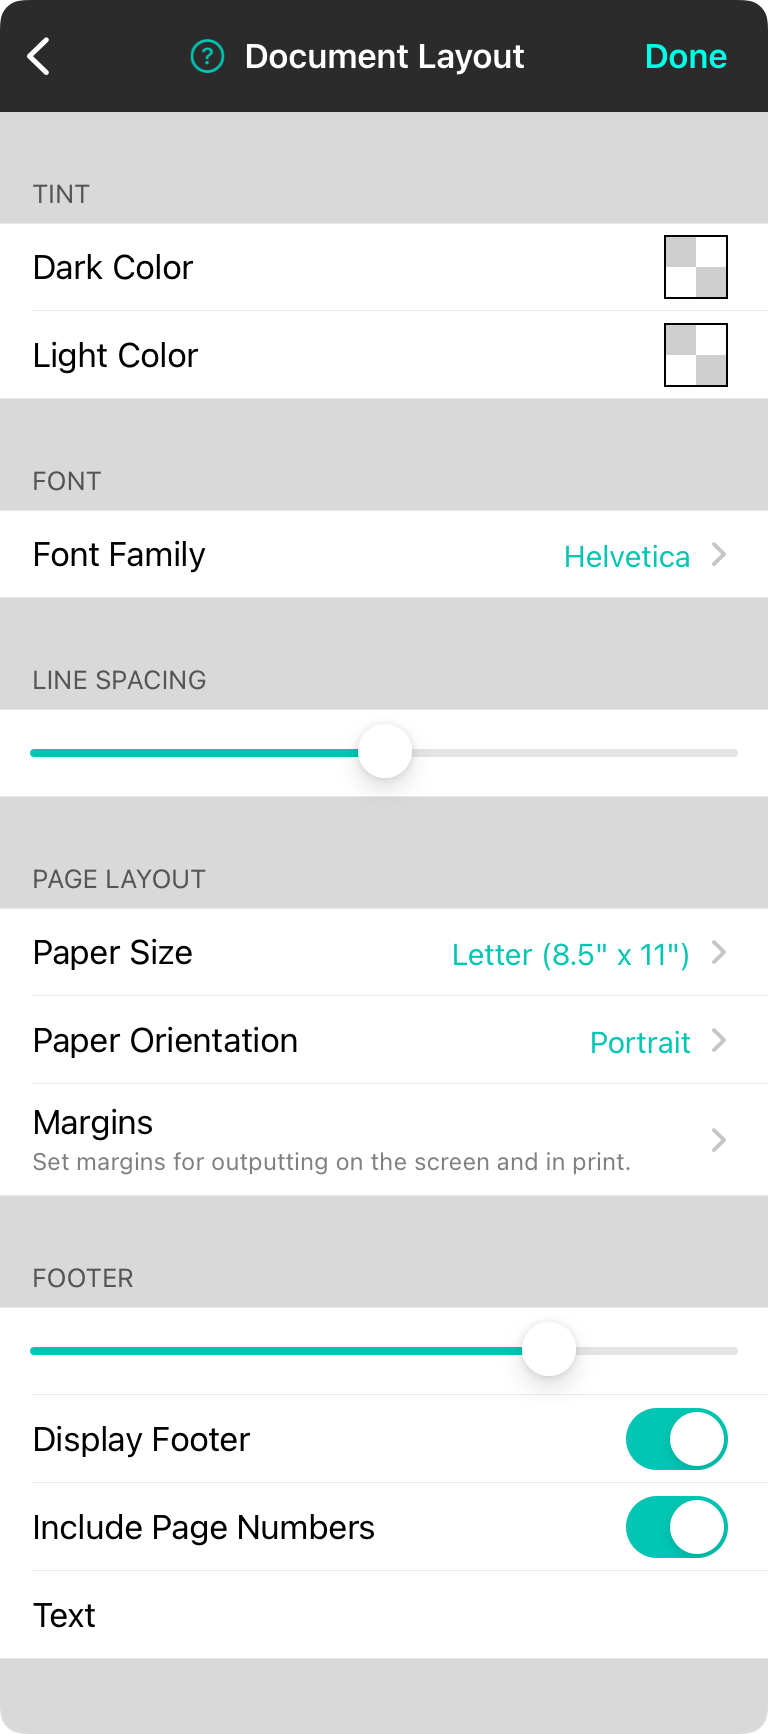
These settings define how text-based charts are laid out on the virtual page.
Tint
The tint is used as a translucent overlay to otherwise black and white text. This can be used to tint colors for those with visual stress disorders to improve reading or to reduce eye strain.
Dark Color
This color will be blended with any black "ink" on the page to colorize it. Default is transparent.
Light Color
This color will be blended with any white color on the page to colorize it. Default it transparent.
Font
This is the default font to use for new charts.
Font Family
You can select between common fonts including: Georgia, Helvetica (Default), Courier, and Marker.
Line Spacing
This allows you to adjust the distance between lines of text. The range that can be selected is 0.7 to 1.3. Default is 1.0.
Page Layout
This section defines the default sheet of virtual paper used to determine the size of elements as well as printing. Options include:
Paper Size
This lets you choose the size of the paper to draw the chart. Options include: Letter (Default), Legal, Tabloid, A5, A4, or A3.
Paper Orientation
This is the orientation of the paper used to render the song. Options include: Portrait (Default) or Landscape.
Margins
This lets you choose the default margins for the paper. This is between 0" and 1-1/2" in 1/8" or 1/4" increments. Default is 3/4".
Footer
This sections dictates how the footer of the song appears by default.
Footer Size
This slider allows you to determine the relative font size of the footer compared to the lyric size of the chart. This can be between 0-100%. Default is 75%.
Display Footer
This switch determines if the footer is outputted.
Include Page Numbers
This determines if page numbers are outputted in the footer.
Text
This allow you to add additional text to the footer.
Text Formatting
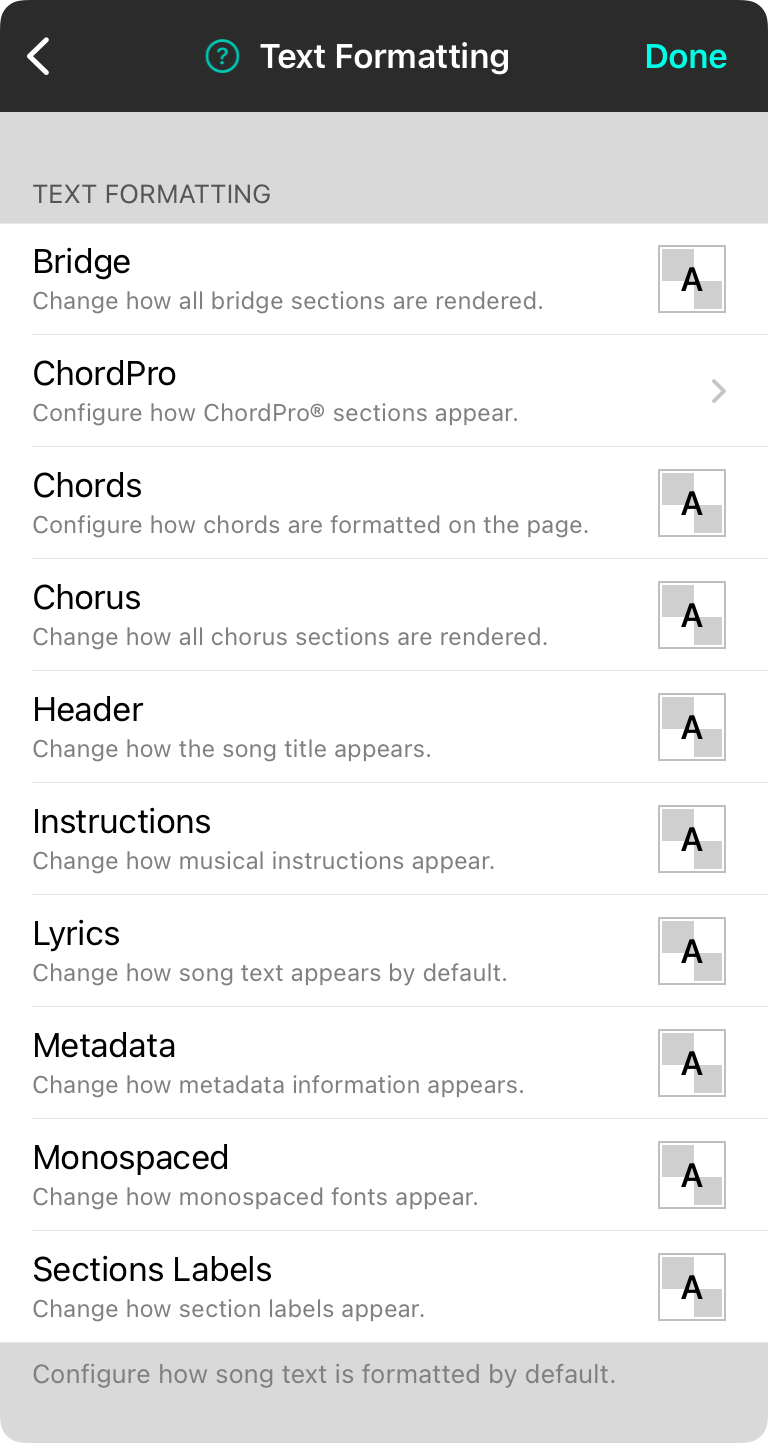
This screen allows you to configure the default formatting for various sections of text-based chord charts.
Bridge
Change how all bridge sections are rendered.
ChordPro
Configure how ChordPro® sections appear.
Chords
Configure how chords are formatted on the page.
Chorus
Change how all chorus sections are rendered.
Header
Change how the song title appears.
Instructions
Change how musical instructions appear.
Lyrics
Change how song text appears by default.
Metadata
Change how metadata information appears such as artist and key.
Monospaced
Change how monospaced fonts appear.
Section Labels
Change how section labels appear.
Bridge
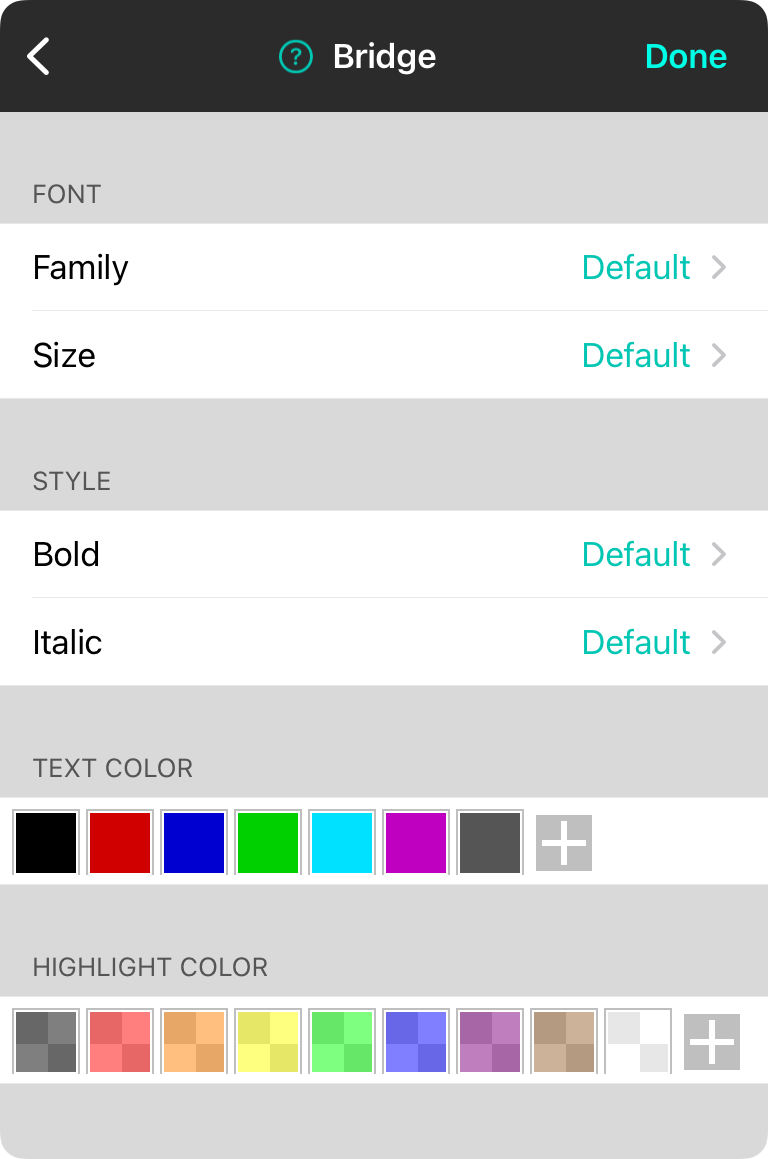
This setting screen lets you determine how sections defined as bridges appear by default in the system.
Font
This is the font to use for rendering the text in the section.
Family
The font family is the name of the font which represents a family of font definitions. Options include: Default, Georgia, Helvetica, Courier and Marker. The default setting will allow the underlying style font family to be used.
Size
This is the size of the font. Options include: Default as well as sizes from 6pt to 40pt. Default will use the font size of the underlying style.
Style
This section allows you to adjust if the font is bold, italic, or both. Options include: Default, Off, or On. The default setting will use the underlying font style.
Text Color
This is the color to use for text. This displays a color picker as well as the option to create new colors using the color builder. By default, no color is chosen which uses the underlying style text color.
Highlight Color
This is the color to use for highlighting text. This displays a color picker as well as the option to create new colors using the color builder. By default, no color is chosen which uses the underlying style highlight color.
Chords
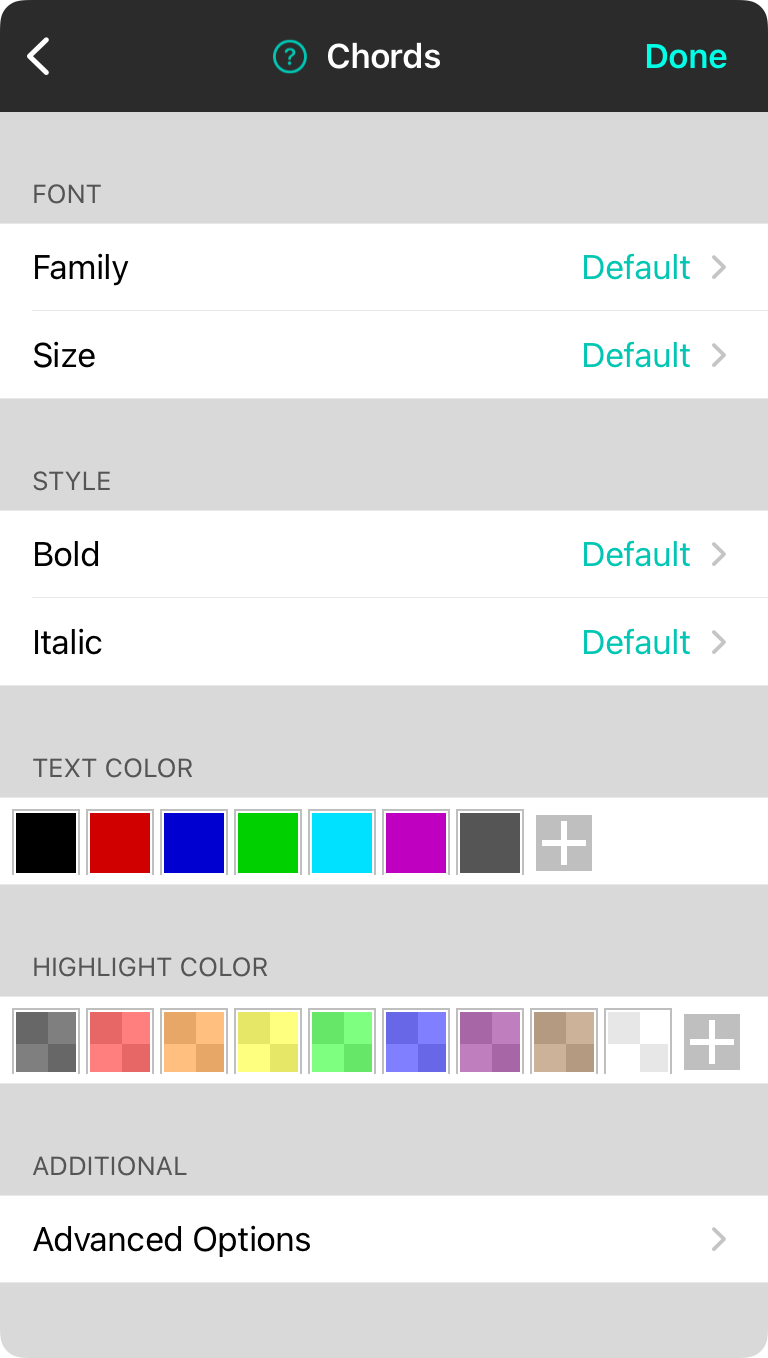
This setting screen lets you determine how sections defined as bridges appear by default in the system.
Font
This is the font to use for rendering the text in the section.
Family
The font family is the name of the font which represents a family of font definitions. Options include: Default, Georgia, Helvetica, Courier and Marker. The default setting will allow the underlying style font family to be used.
Size
This is the size of the font. Options include: Default as well as sizes from 6pt to 40pt. Default will use the font size of the underlying style.
Style
This section allows you to adjust if the font is bold, italic, or both. Options include: Default, Off, or On. The default setting will use the underlying font style.
Text Color
This is the color to use for text. This displays a color picker as well as the option to create new colors using the color builder. By default, no color is chosen which uses the underlying style text color.
Highlight Color
This is the color to use for highlighting text. This displays a color picker as well as the option to create new colors using the color builder. By default, no color is chosen which uses the underlying style highlight color.
Advanced Options
You can set advanced chord formatting such as how the chord text is outputted to match your musical preferences.
Advanced Options
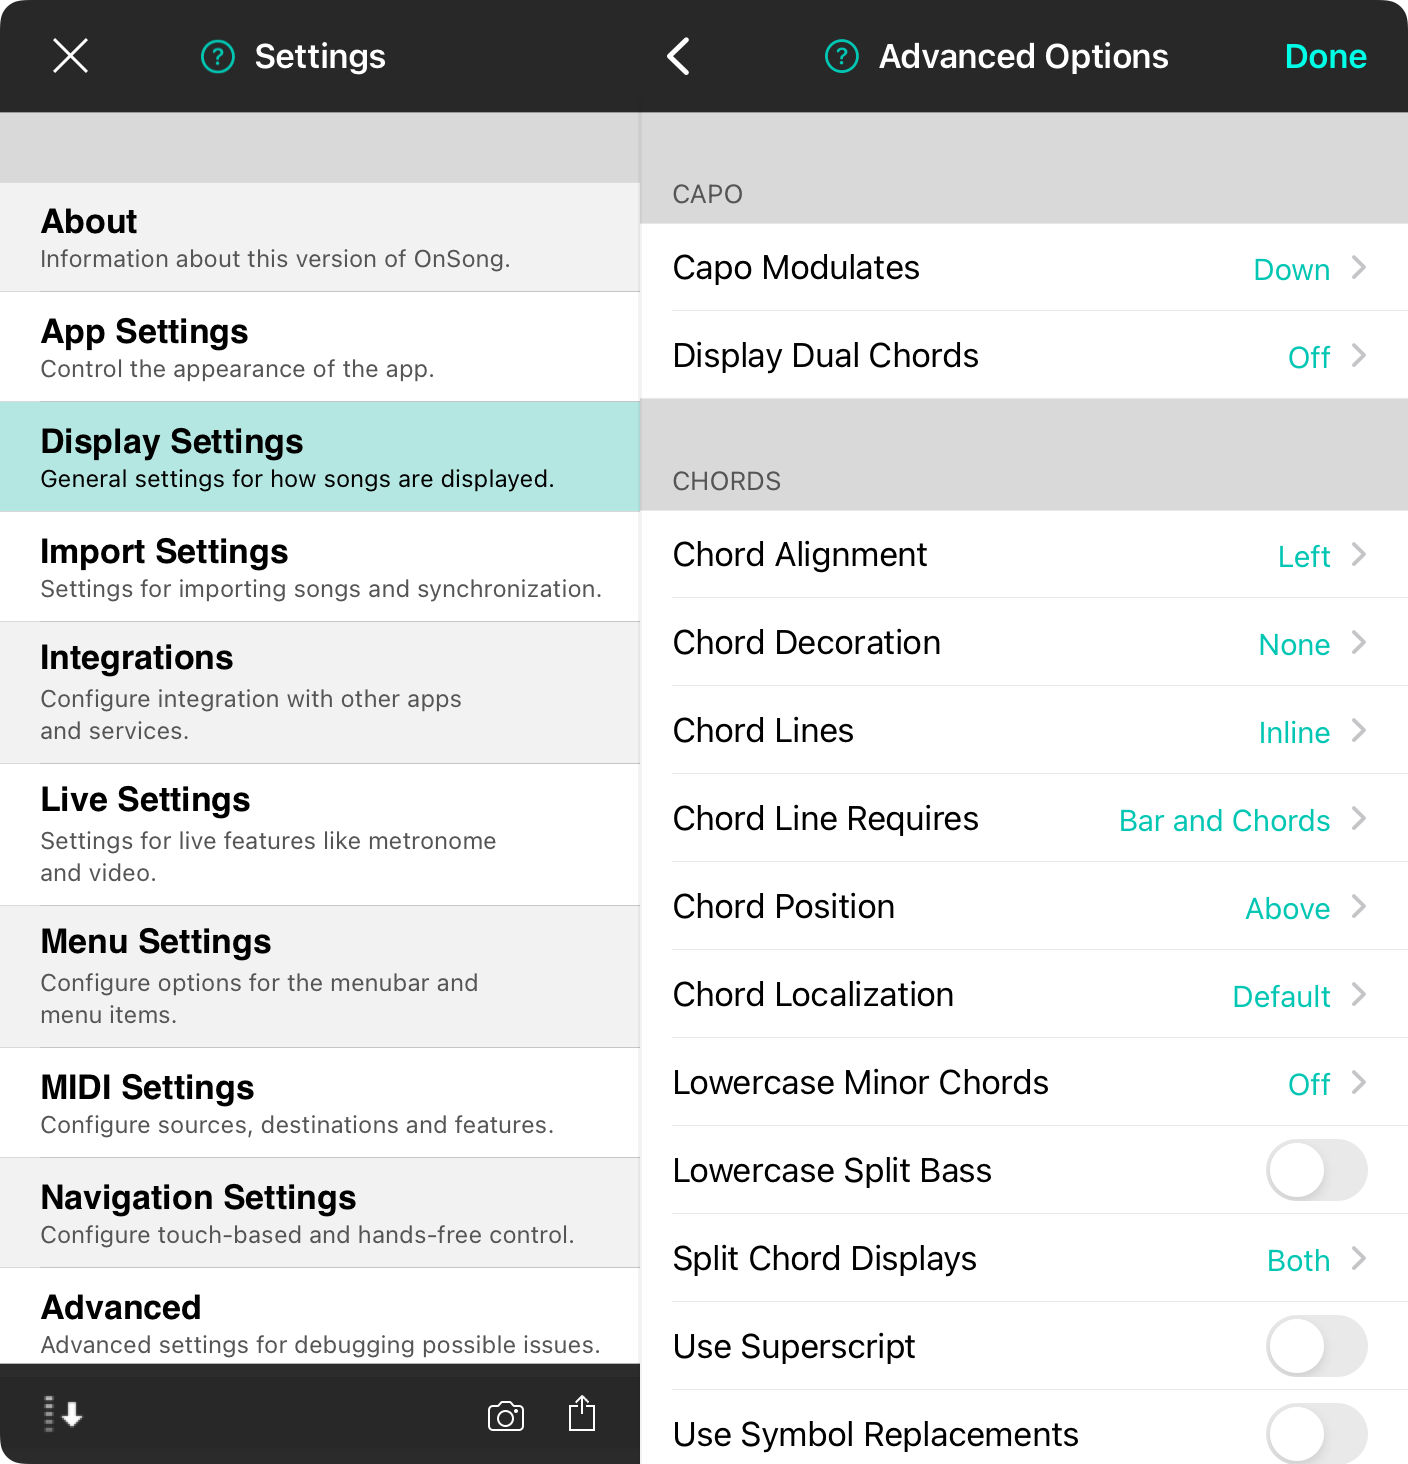
Chord Formatting effects how chords are displayed on the outputted chart. The following preferences provide a number of options for users depending on their locale or playing preference.
Capo
OnSong can be used to manage when a capo should be applied. How that is treated on the display changes depending on user preferences.
Chords
Chords are handled differently depending on your visual and language preferences. This section allows you to adjust how chords are rendered on the page.
Chord Diagrams
Chord diagrams are used to help you learn or remember how to play chord formations on your instrument.
Enharmonic
Enharmonic preferences are used to determine how OnSong handles sharps or flats.
Spacing
Spacing of chords and other components is important. This section provides configuration to help manage spaces in your document.
Capo
On many instruments a capo can be applied to change the pitch of the instrument to a different key while maintaining easier to play chord formations. OnSong handles capo by modulating chords to match the transposed key. This allows you to know the chord formation to play while playing in a different key. The following settings are used to change how OnSong handles capoed chords.
Capo Modulates
 By default, if a song is set to the key of C# with capo set to 1, the chords are displayed in the key of C. This can be changed to "Up" to allow the chords to be modulated up. In this case if the song is set to the key of C#, the outputted chords would be in the key of D. Options include:
- Down modulates chords down to account for the applied capo. Default.
- Up modulates the chords up to account for capo applied as transposition.
Display Dual Chords
In some cases, you may share the same chord chart with multiple people on different instruments. The guitarist may require the chord to be played when a capo is applied, but the pianist and bassist need non-capoed chords. This settings allows both the capoed and non-capped to be displayed. Options include:
- Off only the capoed or non-capoed chord is displayed. Default.
- Capo Chord First displays the capoed version of the chord first followed by the non-capoed chord in parenthesis.
- Capo Chord Last displays the non-capoed version of the chord first followed by the capoed chord in parenthesis.
Chord Diagrams
Chord diagram appear when you tap on a chord in the song viewer to open the Chord Inspector, or if you turn on chord diagrams to appear using the Style Preferences Menu. You can change how chord diagrams are drawn using these preferences.

Left Hand Diagrams
When this is turned on, chord diagrams are flipped to enable left-handed players (who use a left-handed instrument) to play the chord in a more natural manner. Default is off.
Display Bars
Bars are indicated by solid lines across many strings and represent where one finger is used to depress multiple strings. This is determined by the fingerings defined by the chord variation, or determined automatically by OnSong if no fingering information is provided. If disabled, only dots are displayed on the strings. Default is on.
Display Fret Positions
The fret positions are outputted on the left side of the chord diagram. Default is on.
Display Note
The bottom of the chord chart contains numbers associated with the dots in the grid formed by frets and strings. These can represent one of three options:
- Off shows no information at the bottom of the chord diagram.
- Finger Position represents the finger number used to depress the string. This ranges from 1 through four indicating the index finger, middle finger, ring finger and pinkie finger. Default.
- Letter represents the letter of the note that is being played by the string.
Show Only Exact Matches
OnSong displays chord diagrams in the Song Viewer and Chord Inspector that match the chord regardless of a split bass note and by normalizing chord variations. Turning on this switch will require an exact match of the chord name to display the diagram.
Show Only Preferred Chords
When chord diagrams are displayed in a chord chart within the song viewer, the chords in the song are automatically paired to default chord diagrams based on their chord name. Most musicians know common chords, so turning on this switch will only output chord diagrams for chords you specifically select in the Chord Inspector.
Chords
Chords that appear in your chord chart may appear differently based on their context as well as regional preferences. OnSong has a number of options to change how chords appear including:

Chord Alignment
By default, chords are aligned so that the left edge of the chord text is placed to the left edge of the lyrics that it's associated with. You can change this to:
- Left aligns the left edge of the chord text to the left edge of the lyric. (Default)
- Center aligns the center of the chord text to the left edge of the lyric.
- Right aligns the right edge of the chord text to the left edge of the lyric.
- Character aligns the center of the chord text to the center of the first character of the lyric.
- Word aligns the center of the chord text to the center of the first word or fragment to which the chord is associated.
Chord Decoration
OnSong recognizes bracketed chords and chords over lyrics for denoting chords in text-based files. This removes square brackets. Use the chord decoration to surround chords with various types of decorative brackets.
Chord Lines
Sometimes it's important to output chords with symbols such as vertical bars and slashes to indicate strum patterns. When OnSong encounters a line of chords containing a vertical bar or pipe character, it will automatically place chords inline with those characters. This behavior can be changed to the following parameters:
- Above displays chords above the characters as if the text were lyrics.
- Inline displays the chords on the same line as the characters. Default.
Chord Line Requires
This setting determines what is required to determine if a chord line has been encountered. Options include:
- Bar and Chords requires the presence of a vertical pipe character (bar) as well as only chords on the line. Default.
- Bar Only requires only the presence of a vertical pipe character (bar).
Chord Position
When chords are placed with lyrics in a chord chart, OnSong typically draws them above the lyrics where they are placed. This position can be changed to:
- Above displays chords on a line above the lyrics. Default.
- Inline display chords on the same line as the lyrics to conserve vertical space for less scrolling.
Chord Localization
OnSong uses alphabetic letters as a convention for defining chords. By default, OnSong understands capital letters A through G. Some regional preferences exist which vary from this convention. These include:
- Default displays chords as capital letters from A through G with flat or sharp symbols as needed. Minor chords are denoted by a lowercase "m" to the right of the chord.
- Čeština displays chords in a convention familiar with the Czech language. This displays "B" as "H" and "Bb" as "B". In addition, minor chords are denoted by lowercase "mi".
- Deutsch displays chords in a convention familiar with German-speaking people. This displays "B" as "H" and "Bb" as "B".
- Scandinavian displays chords in a convention familiar with Scandinavian-speaking people. This displays "B" as "H" and "Bb" as "Bb".
Lowercase Minor Chords
OnSong denotes minor chords with a lowercase "m" to the right of the uppercase chord letter and option enharmonic symbol. This settings gives you different options for using lowercase to indicate minor chords.
- Off is the default so minor chords display as an uppercase chord with a lowercase "m" like "Bbm".
- Note Only will remove the "m" and the chord letter is lowercased. For instance, "Gm" becomes "g".
- Full Chord will lowercase the chord and keep the "m". For instance, "Gm" becomes "gm".
Lowercase Split Bass
Split bass notes are separated from chords using a forward slash. Some cultures prefer this to be expressed as a lowercase letter. Toggle this setting on to lowercase the bass note. Default is off.
Split Chord Displays
OnSong supports compound chords that provide a bass component as well as the chord. For instance, Am/G is described as "A minor over G". In this case, G is what the bass player plays or what is played with the left hand on a piano. By default, OnSong displays the entire compound chord but can be configured to one of the following options:
- Both shows both the chord and the bass component. For instance, "Am/G" displays as "Am/G" with no changes.
- Bass Only shows only the bass component of the chord. For instance, "Am/G" displays just "G".
- Chord Only shows only the chord component of the chord. For instance, "Am/G" displays just "Am".
Use Superscript
When expressing a variation or voicing of a chord, OnSong simply outputs the text indicating that. Enabling superscript will make text like "m", "sus4" or "dim" smaller and place it slightly above the baseline.
Use Symbol Replacements
When this option is enabled, common symbols are used to replace common chord voicing. For instance, an "m" indicating a minor chord becomes "-". The following replacements are made:
- minor becomes -
- diminished becomes º
- augmented becomes +
- major seventh becomes †
- major becomes M
Enharmonic
Enharmonic represents how sharps and flats are applied during transposition. By default, OnSong uses the enharmonic preference of the key that is being transposed into. The following preference can adjust how this is treated:

Enharmonic Preference
When a song is transposed into a specific key, the enharmonic preference of that key is used for all the transposed chords. This works except in the key of C where there are typically no sharps or flats. By default, OnSong will us a flat symbol for any half step accidentals in the key of C. You can alter this behavior to:
- Default allows OnSong to determine the best enharmonic preference to use for each key. Default.
- Flat uses the flat symbol when required in a key where the enharmonic preference is unknown.
- Sharp uses the sharp symbol when required in a key where the enharmonic preference is unknown.
Force Enharmonic Preference
When this setting is enabled, the enharmonic preference is used regardless of the transposed key's enharmonic preference. For instance, if you transpose into the key of D, but have this enabled and the enharmonic preference se to flat, then F# will be outputted as Gb.
Format Musical Symbols
By default, OnSong outputs sharps and flats as # and b respectively. You can change this to the following:
- Off will not reformat any symbols keeping text or symbols as encountered. Default.
- Text converts any sharp or flat symbols to the plain text version like "#" or "b".
- Symbol converts any plain text version of sharp or flat to symbols like "♯" or "â™".
- Localized changes sharp and flat symbols to language specific variations. For instance in German, this will convert G# to Gis and Gb to Ges.
Use Natural Notes
Some musical keys may contain sharps or flats that are not standard such as B#, E#, Fb and Cb. This setting will standardize these notes into one's that are more desirable. You can change this to the following:
- Off will not convert any note and will use the proper enharmonic preference available in the key.
- On will replace non-standard notes like double sharps, double flats, and B#, Cb, E#, or Fb with natural notes.
- Guitar will replace enharmonic notes into ones that are more friendly to guitarists. This will also replace non-standard notes (see above), but additional make the following replacements: Db to C#, D# to Eb, Gb to F#, Ab to G#, A# to Bb.
Spacing
Spacing settings allow you adjust how different types of spaces effect the drawing of the chord chart. The following options are available:

Adjust Whitespace
When you enter chords above lyrics, chords are aligned to lyrics underneath. If there are no lyrics to align with, the chords are spaced using a standard space character. In variable-width fonts, the space character is about 35% the width of other characters such as the capital letter "M". This means that chords that appear to have a lot of spaces between them may appear closer together.
Turning on the adjust whitespace switch will replace space characters with a different character when measuring. This helps to compensate for the relatively narrow space character. Default is off.
Adjusted Space Character
If adjust whitespace is turned on, an underscore character is used as a proxy for the width of space characters. You can change which character is substitute to fine-tune adjust the width. Default is an underscore character.
Tab Spaces
Tabs are particularly problematic when making text-based chord charts. This is because a tab character can have different meaning depending on the text editor or viewer. OnSong replaces tab characters with a series of spaces to avoid this issue. Options include between 0 and 20 space characters. Default is 8.
Trim Whitespace
If this option is turned on, the whitespace at the beginning and end of lines of text is removed. Default is on.
Chorus
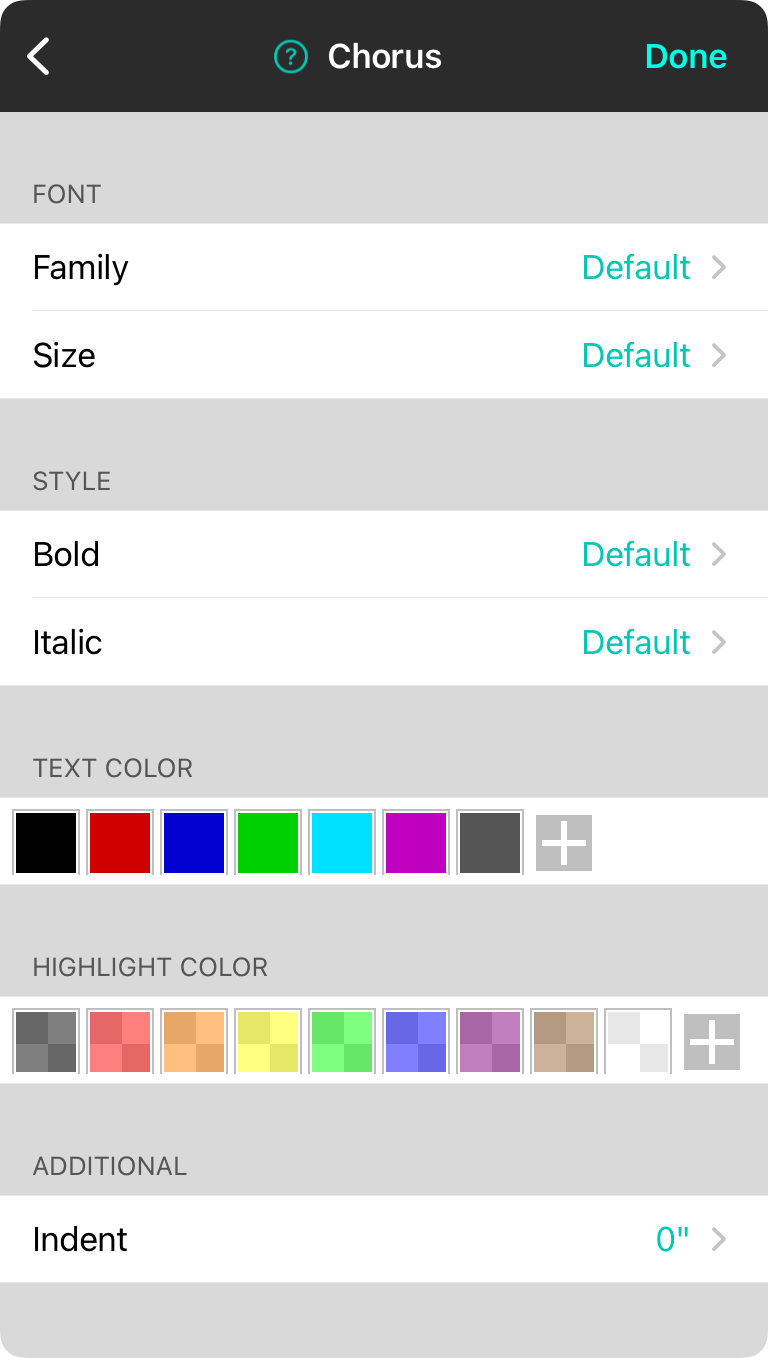
This setting screen lets you determine how sections defined as choruses appear by default in the system.
Font
This is the font to use for rendering the text in the section.
Family
The font family is the name of the font which represents a family of font definitions. Options include: Default, Georgia, Helvetica, Courier and Marker. The default setting will allow the underlying style font family to be used.
Size
This is the size of the font. Options include: Default as well as sizes from 6pt to 40pt. Default will use the font size of the underlying style.
Style
This section allows you to adjust if the font is bold, italic, or both. Options include: Default, Off, or On. The default setting will use the underlying font style.
Text Color
This is the color to use for text. This displays a color picker as well as the option to create new colors using the color builder. By default, no color is chosen which uses the underlying style text color.
Highlight Color
This is the color to use for highlighting text. This displays a color picker as well as the option to create new colors using the color builder. By default, no color is chosen which uses the underlying style highlight color.
Additional
This section lets you change additional attributes for the chorus section.
Indent
This lets you indent the chorus section by a certain amount. Options include 0" to 1-1/2" in 1/8" and 1/4" increments. Default is 0" or no indent.
Font List
When setting text formatting, you can choose a font family to use to override default styles. You can choose from the following:
Default
This is the default selection and will use the font family of the underlying style.
Standard List
This is the list of standard fonts that can be used typically for formatting songs: Georgia, Helvetica, Courier, or Marker Felt.
Monospaced Text
If you are stylizing monospaced text, a different font list is shown. These options include: Anadale Mono, Courier, Courier New, Lucida Console. (not shown)
Header
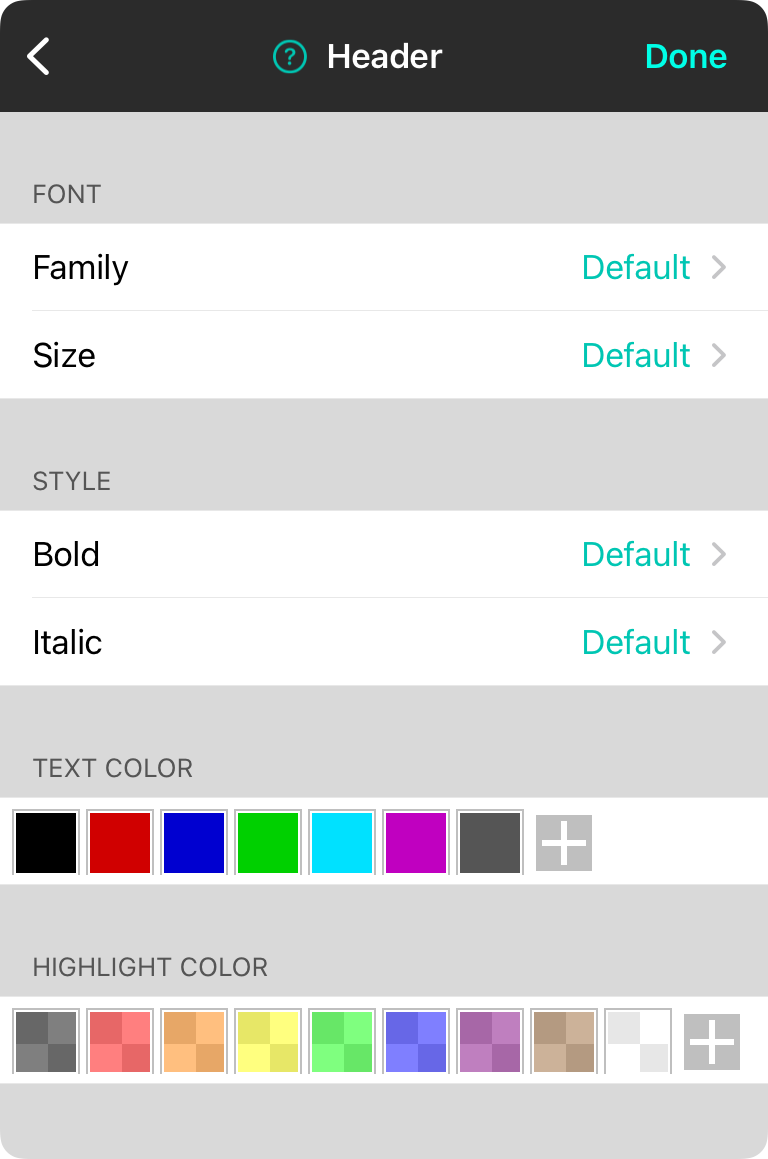
This setting screen lets you determine how the song title of the song appears by default in the system.
Font
This is the font to use for rendering the song title.
Family
The font family is the name of the font which represents a family of font definitions. Options include: Default, Georgia, Helvetica, Courier and Marker. The default setting will allow the underlying style font family to be used.
Size
This is the size of the font. Options include: Default as well as sizes from 6pt to 40pt. Default will use the font size of the underlying style.
Style
This section allows you to adjust if the font is bold, italic, or both. Options include: Default, Off, or On. The default setting will use the underlying font style.
Text Color
This is the color to use for text. This displays a color picker as well as the option to create new colors using the color builder. By default, no color is chosen which uses the underlying style text color.
Highlight Color
This is the color to use for highlighting text. This displays a color picker as well as the option to create new colors using the color builder. By default, no color is chosen which uses the underlying style highlight color.
Instructions
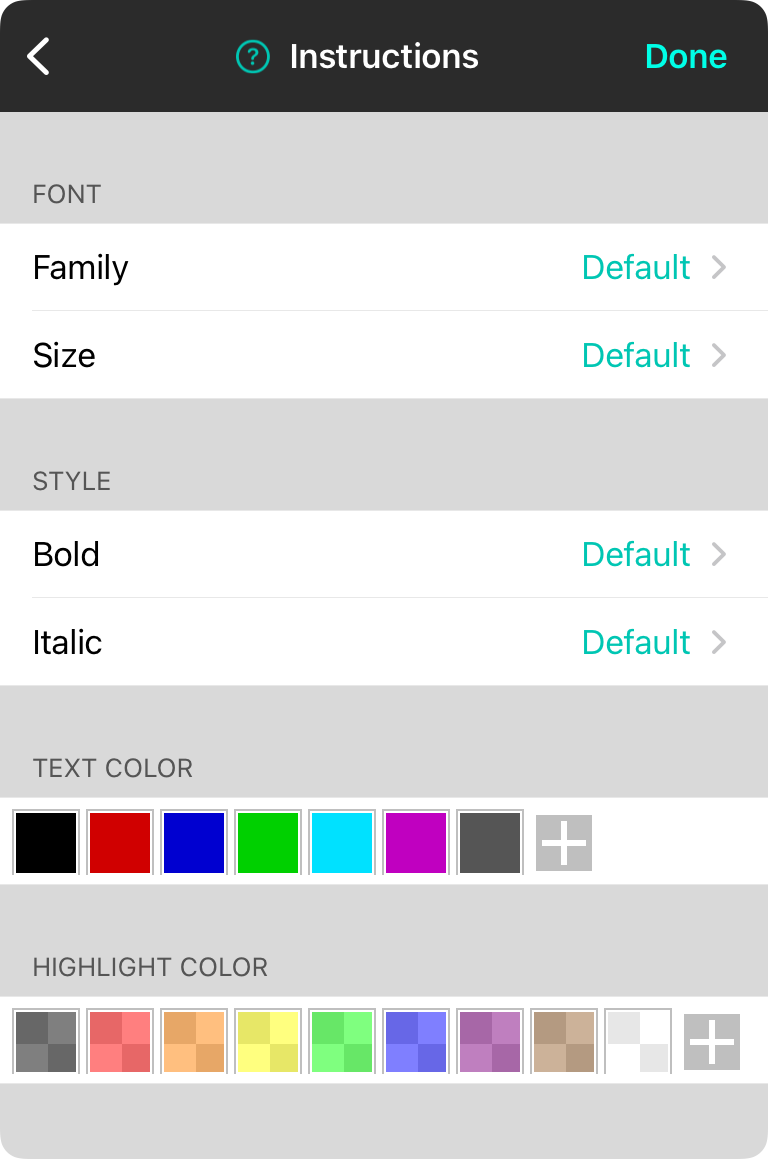
This setting screen lets you determine how musical instructions appear by default in the system.
Font
This is the font to use for rendering the musical instruction.
Family
The font family is the name of the font which represents a family of font definitions. Options include: Default, Georgia, Helvetica, Courier and Marker. The default setting will allow the underlying style font family to be used.
Size
This is the size of the font. Options include: Default as well as sizes from 6pt to 40pt. Default will use the font size of the underlying style.
Style
This section allows you to adjust if the font is bold, italic, or both. Options include: Default, Off, or On. The default setting will use the underlying font style.
Text Color
This is the color to use for text. This displays a color picker as well as the option to create new colors using the color builder. By default, no color is chosen which uses the underlying style text color.
Highlight Color
This is the color to use for highlighting text. This displays a color picker as well as the option to create new colors using the color builder. By default, no color is chosen which uses the underlying style highlight color.
Lyrics
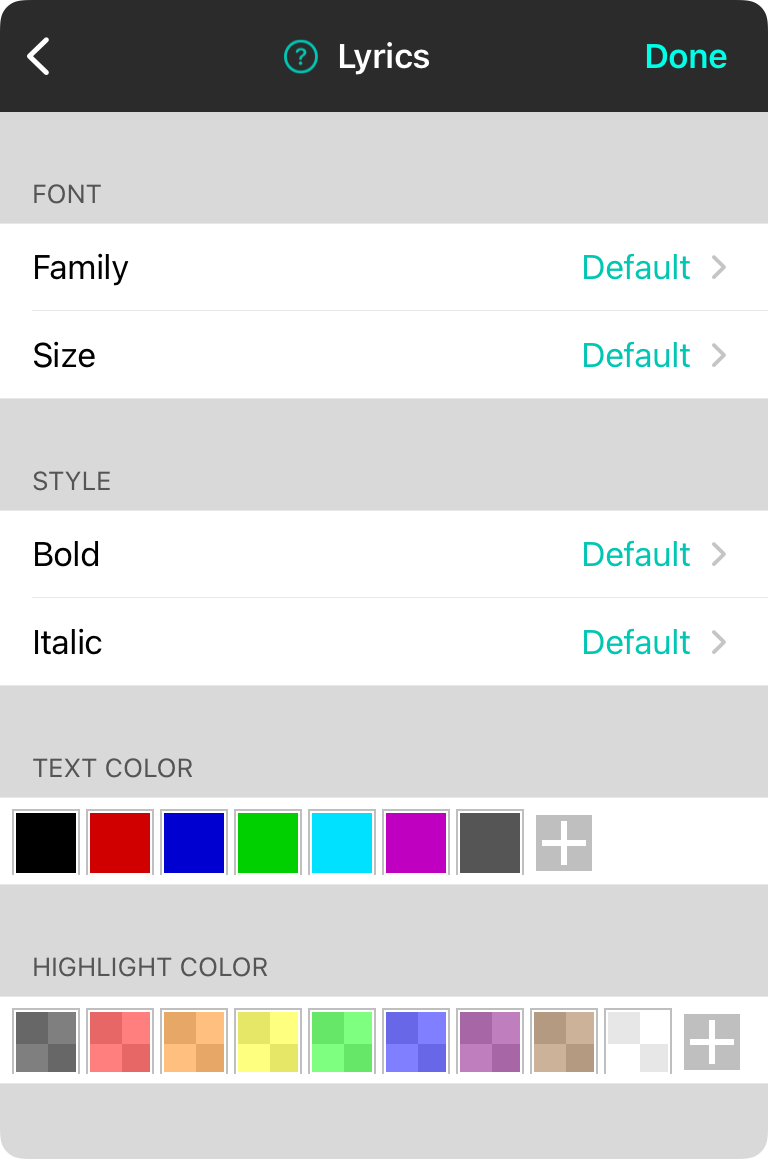
This setting screen lets you determine how lyrics of the song appear by default in the system.
Font
This is the font to use for rendering the lyrics.
Family
The font family is the name of the font which represents a family of font definitions. Options include: Default, Georgia, Helvetica, Courier and Marker. The default setting will allow the underlying style font family to be used.
Size
This is the size of the font. Options include: Default as well as sizes from 6pt to 40pt. Default will use the font size of the underlying style.
Style
This section allows you to adjust if the font is bold, italic, or both. Options include: Default, Off, or On. The default setting will use the underlying font style.
Text Color
This is the color to use for text. This displays a color picker as well as the option to create new colors using the color builder. By default, no color is chosen which uses the underlying style text color.
Highlight Color
This is the color to use for highlighting text. This displays a color picker as well as the option to create new colors using the color builder. By default, no color is chosen which uses the underlying style highlight color.
Metadata
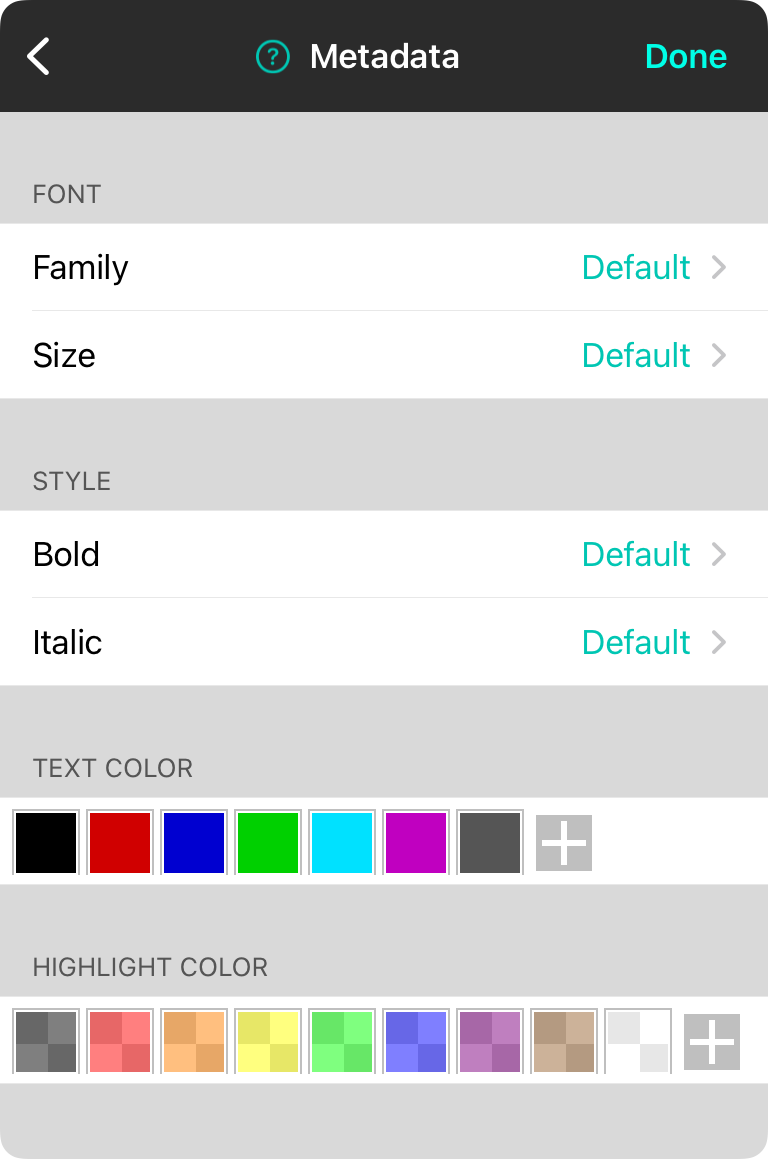
This setting screen lets you determine how the metadata of the song appears by default in the system.
Font
This is the font to use for rendering the artist, key, tempo, etc.
Family
The font family is the name of the font which represents a family of font definitions. Options include: Default, Georgia, Helvetica, Courier and Marker. The default setting will allow the underlying style font family to be used.
Size
This is the size of the font. Options include: Default as well as sizes from 6pt to 40pt. Default will use the font size of the underlying style.
Style
This section allows you to adjust if the font is bold, italic, or both. Options include: Default, Off, or On. The default setting will use the underlying font style.
Text Color
This is the color to use for text. This displays a color picker as well as the option to create new colors using the color builder. By default, no color is chosen which uses the underlying style text color.
Highlight Color
This is the color to use for highlighting text. This displays a color picker as well as the option to create new colors using the color builder. By default, no color is chosen which uses the underlying style highlight color.
Monospaced
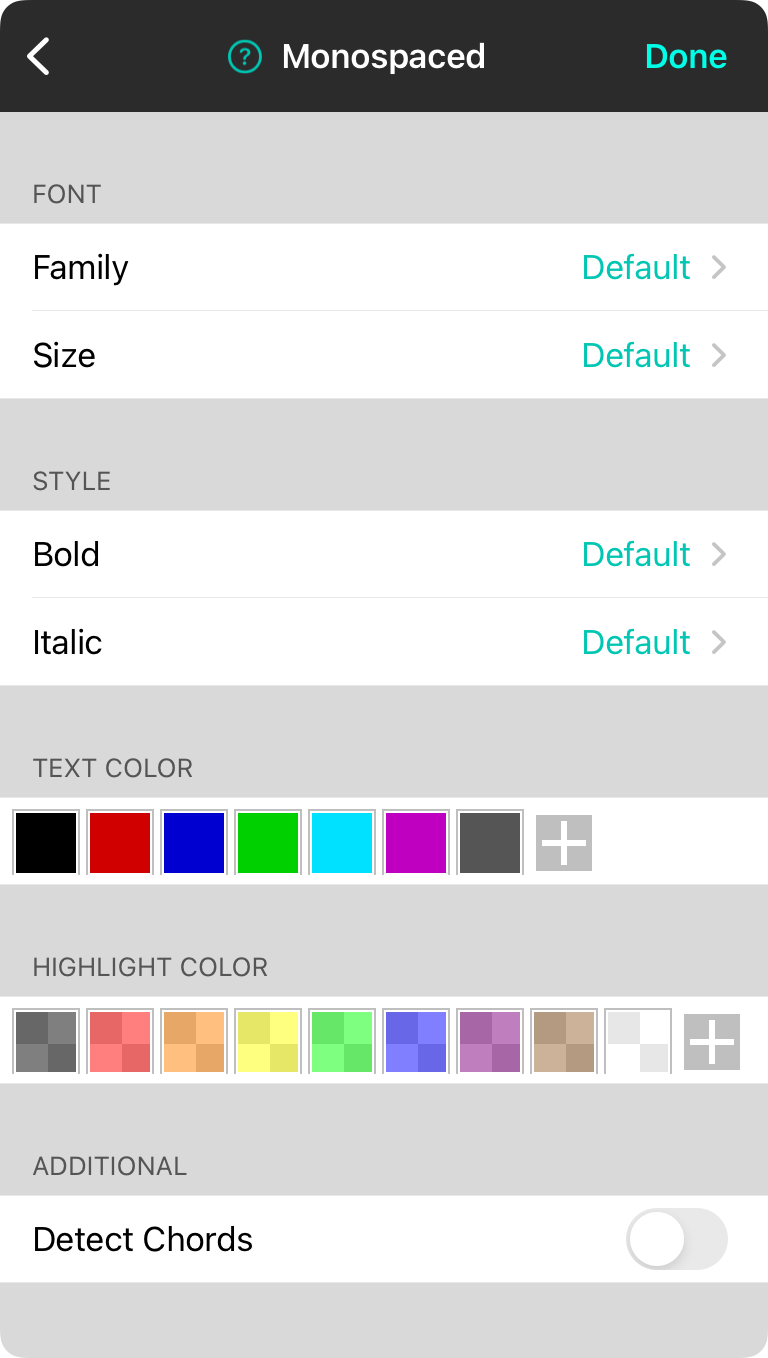
This setting screen lets you determine how sections as tablature or other monospaced fonts appear by default in the system.
Font
This is the font to use for rendering the monospaced text.
Family
The font family is the name of the font which represents a family of font definitions. Options include: Default, Georgia, Helvetica, Courier and Marker. The default setting will allow the underlying style font family to be used.
Size
This is the size of the font. Options include: Default as well as sizes from 6pt to 40pt. Default will use the font size of the underlying style.
Style
This section allows you to adjust if the font is bold, italic, or both. Options include: Default, Off, or On. The default setting will use the underlying font style.
Text Color
This is the color to use for text. This displays a color picker as well as the option to create new colors using the color builder. By default, no color is chosen which uses the underlying style text color.
Highlight Color
This is the color to use for highlighting text. This displays a color picker as well as the option to create new colors using the color builder. By default, no color is chosen which uses the underlying style highlight color.
Additional
This section has other settings that apply to monospaced sections.
Detect Chords
This determines if chords should be detected in monospaced tablature sections. Default is off.
Section Labels
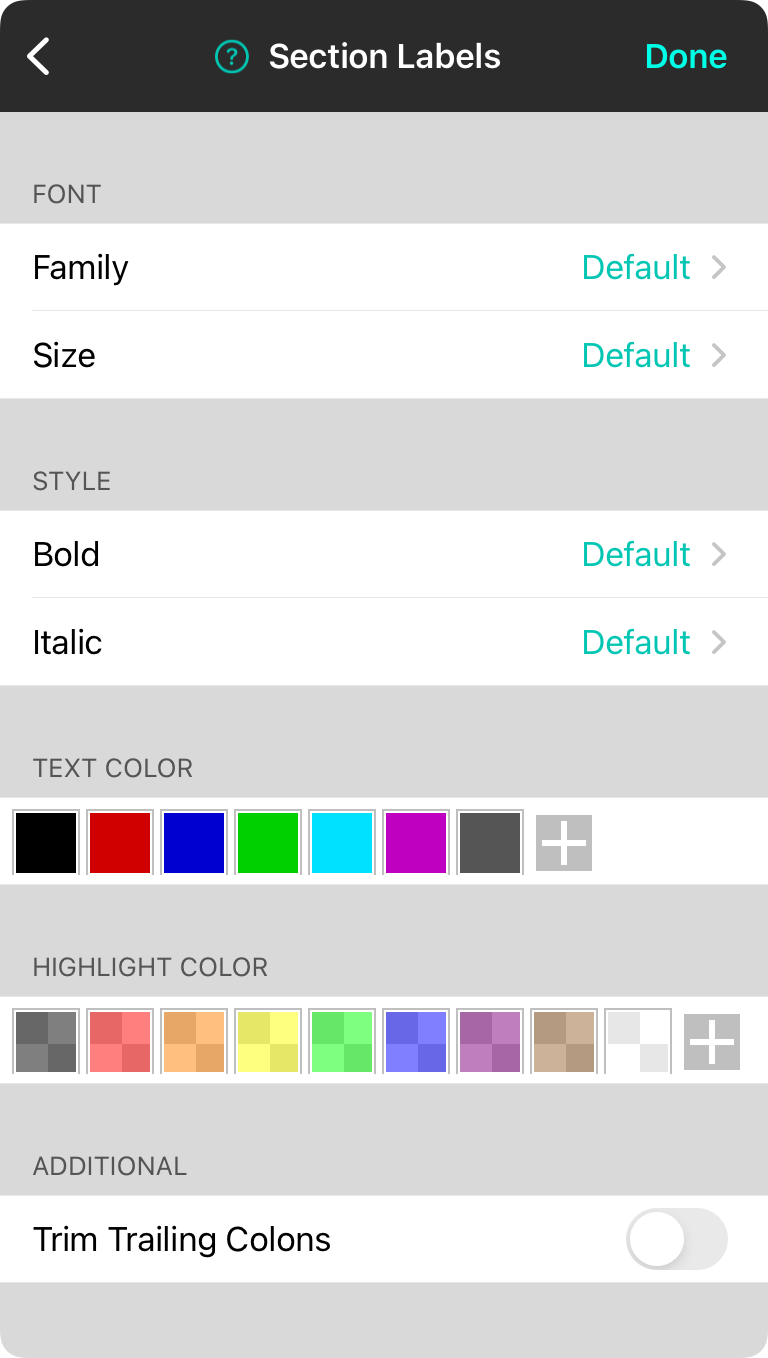
This setting screen lets you determine how section labels appear by default in the system.
Font
This is the font to use for rendering the section label.
Family
The font family is the name of the font which represents a family of font definitions. Options include: Default, Georgia, Helvetica, Courier and Marker. The default setting will allow the underlying style font family to be used.
Size
This is the size of the font. Options include: Default as well as sizes from 6pt to 40pt. Default will use the font size of the underlying style.
Style
This section allows you to adjust if the font is bold, italic, or both. Options include: Default, Off, or On. The default setting will use the underlying font style.
Text Color
This is the color to use for text. This displays a color picker as well as the option to create new colors using the color builder. By default, no color is chosen which uses the underlying style text color.
Highlight Color
This is the color to use for highlighting text. This displays a color picker as well as the option to create new colors using the color builder. By default, no color is chosen which uses the underlying style highlight color.
Additional
This section provides additional settings that apply to section labels.
Trim Trailing Colons
Section labels are defined by text followed by a colon. Turning this setting on will remove the colon from appearing in the final outputted chart. Default is off.
Value List
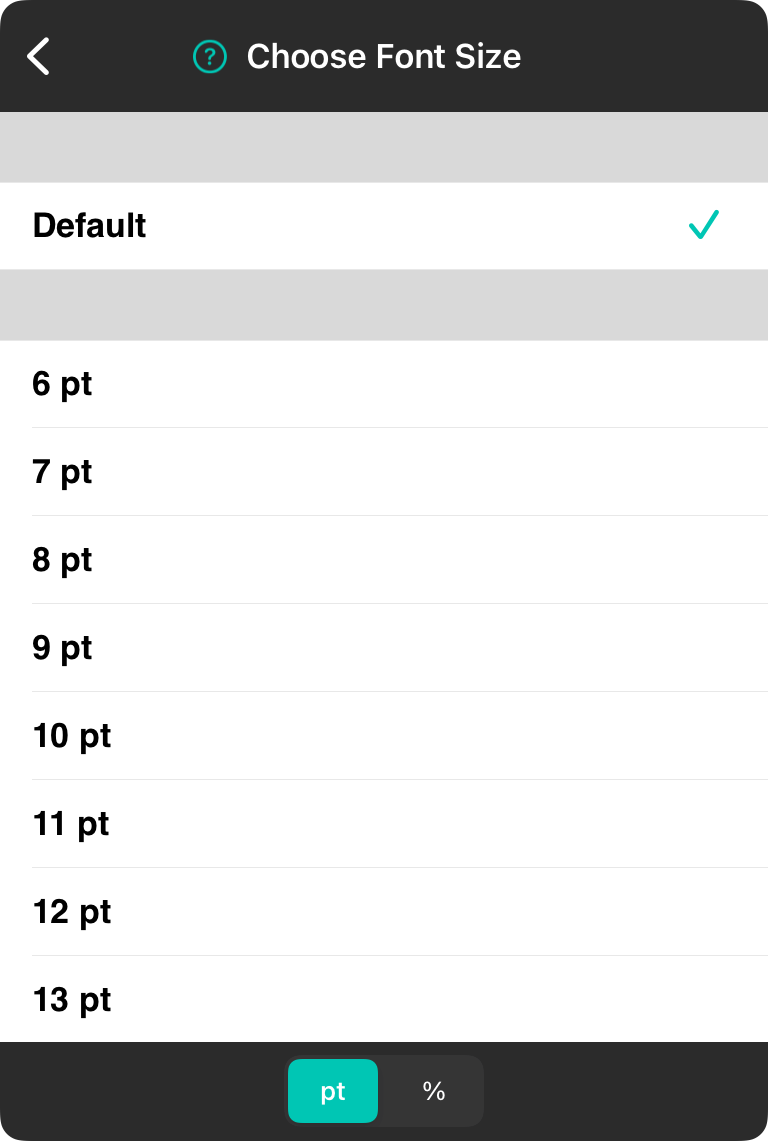
This screen is often used to allow choosing of numeric values in a range.
Default
This is the default selection and will use the value that is found in the underlying style.
Font Size
The value list is often used to select a font size by points. The list displayed is 6 points to 40 points. You can also toggle to user percentages of the underlying style.
Font Scale
Instead of setting an absolute font size by points, you can also make the font size relative to the underlying style's font size. Tap on the % option to switch to choosing percentages from 30-200% in 10% increments.
Low Light Mode

Low Light Mode
Low light mode lets you view your songs and user interface in low light conditions. It can be turned on and off explicitly, or set to automatic to toggle with the operating system, if supported. Options include:
- Automatic will automatically toggle low light mode with Dark Mode found in iOS and iPadOS 13 and higher. With this on, it is still possible to override the current setting using the Style Preferences Document Tab.
- Off will turn off low light mode regardless of operating system preferences.
- On will turn on low light mode regardless of operating system preferences.
Use Brighter Colors
When in low light mode, darker colors would be harder to view. This option will brighten those colors if turned on.
Use Dark Menus and Interface
This switch is turned on by default and will give menus a black background with white text when using Low Light Mode. If turned off, the menus will appear with black text on a white background. The default setting is on.
PDF Handling Low Light Mode
This section gives you options for how PDF files are viewed in low light mode. This also applied to other non-text imported files that are being viewed as PDF files. You can adjust this to the following options:
- Off turns off low light mode completely for PDF files.
- On turns on low light mode for PDF files with the default effect. This will invert all grayscale elements of the document while maintaining colors. Default.
- Invert turns on low light mode, but only inverts the colors of the document. This may be slightly faster and take up less spaced for cached PDF files.
- Monochrome turns on low light mode, but converts all colors in the document to grayscale, removing all color so it is not inverted.
Tint Colors
In addition to low light mode, you can also tint colors of the PDF document. This will use the Tint Colors configured in Settings » Display Settings » Song Formatting » Tint or through Modes in the Document tab of the Style Preferences menu.
Song Formatting
Song formatting setting effect the overall drawing of songs. The following preferences provide a number of options for users depending on their locale or playing preference.
The following sections are used to adjust various aspects of song formatting.
Capo
OnSong can be used to manage when a capo should be applied. How that is treated on the display changes depending on user preferences.
Chords
Chords are handled differently depending on your visual and language preferences. This section allows you to adjust how chords are rendered on the page.
Chord Diagrams
Chord diagrams are used to help you learn or remember how to play chord formations on your instrument.
Chorus
OnSong can recognize chorus sections of your song and render them differently. Change the formatting of chorus sections here.
Enharmonic
Enharmonic preferences are used to determine how OnSong handles sharps or flats.
Instructions
Musical instructions are denoted in OnSong with a line of text surrounded by parenthesis.
Monospaced
Monospaced content is sometimes displayed in your song such as tablature. You can adjust how that appears using settings in this section.
Page Layout
OnSong renders your chord charts on the screen using metrics similar to printing on a physical page. You can adjust the size and orientation of the virtual paper here. This is also used as default settings for printing.
Spacing
Spacing of chords and other components is important. This section provides configuration to help manage spaces in your document.
Capo

On many instruments a capo can be applied to change the pitch of the instrument to a different key while maintaining easier to play chord formations. OnSong handles capo by modulating chords to match the transposed key. This allows you to know the chord formation to play while playing in a different key. The following settings are used to change how OnSong handles capoed chords.
Capo Modulates
By default, if a song is set to the key of C# with capo set to 1, the chords are displayed in the key of C. This can be changed to "Up" to allow the chords to be modulated up. In this case if the song is set to the key of C#, the outputted chords would be in the key of D. Options include:
- Down modulates chords down to account for the applied capo. Default.
- Up modulates the chords up to account for capo applied as transposition.
Display Dual Chords
In some cases, you may share the same chord chart with multiple people on different instruments. The guitarist may require the chord to be played when a capo is applied, but the pianist and bassist need non-capoed chords. This settings allows both the capoed and non-capped to be displayed. Options include:
- Off only the capoed or non-capoed chord is displayed. Default.
- Capo Chord First displays the capoed version of the chord first followed by the non-capoed chord in parenthesis.
- Capo Chord Last displays the non-capoed version of the chord first followed by the capoed chord in parenthesis.
Page Layout
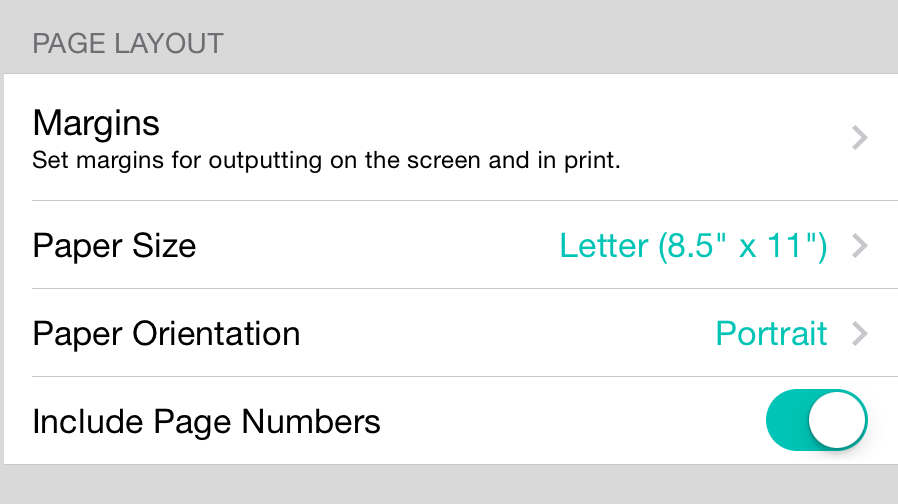
OnSong uses the concept of a sheet of paper to render chord charts. This allows the size of fonts and other elements to be measured relative to the paper size. OnSong displays this virtual sheet of paper with the width of the device reflecting the width of the sheet of paper. This means that rotating the device into landscape orientation will make the font appear larger.
The page layout section contains the following settings that effect not only how OnSong draws chord charts on the screen, but also as device settings for printing.
Margins
Adjust the margins of the page to inset the chords and lyrics from the edge. Margins can be set for the left, right, top and bottom margins separately. Options include 0", 1/8", 1/4", 3/8", 1/2", 3/4", 1", 1-1/4" and 1-1/2". Default is 3/4". Remember to maintain some top margin to compensate for the menubar and status bar which overlap the chord chart.
Paper Size
Paper size is used to determine the width and height of the song page. Options include:
- US Letter which is 8.5" by 11". Default.
- US Legal which is 8.5" by 14".
- Tabloid which is 11" by 17".
- A5 which is 148mm by 210mm.
- A4 which is 210mm by 297mm.
- A3 which is 297mm by 420mm.
Paper Orientation
The paper orientation refers to if the page is in portrait or landscape orientation. Portrait is selected by default.
Include Page Numbers
This option determines if page numbers should be displayed. This is enabled by default and is only used when printing documents as a default setting.
ChordPro Settings
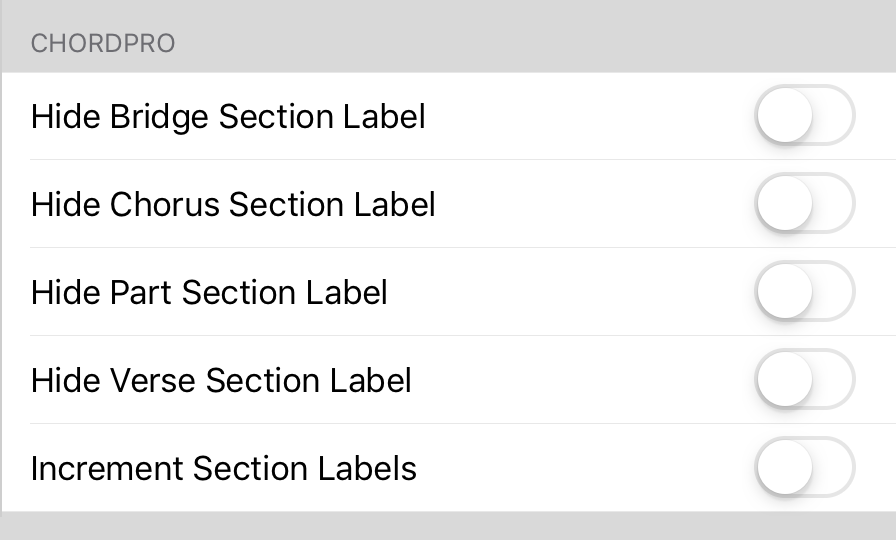
These settings allow certain parts of the ChordPro syntax to be rendered differently and includes the following options:
Hide Bridge Section Label
When a {start_of_bridge} or {sob} directive is encountered, the OnSong will output Bridge: as a section label if none is defined. Turn on this switch to hide the label.
Hide Chorus Section Label
When a {start_of_chorus} or {soc} directive is encountered, the OnSong will output Chorus: as a section label if none is defined. Turn on this switch to hide the label.
Hide Part Section Label
When a {start_of_part} or {sop} directive is encountered, the OnSong will output Part: as a section label if none is defined. Turn on this switch to hide the label.
Hide Verse Section Label
When a {start_of_verse} or {sov} directive is encountered, the OnSong will output Verse: as a section label if none is defined. Turn on this switch to hide the label.
Increment Section Labels
When this switch is enabled, sections defined using the ChordPro {start_of_?} directive that don't have section labels defined will be automatically incremented resulting in section labels like Verse 1:, Verse 2:, etc.
Footer

The footer is text that appears at the bottom of the page in the song viewer. The following settings can effect its behavior:
Display Footer
This determines if the footer is displayed at the bottom of the song viewer page, or in printed or exported PDF documents. This is enabled by default.
Text
If you wish to apply text across all song pages, type the text in this field. This will be added to the footer text after licensing information, if available.
Instructions

Instructions are information about how to play a song that are intended for the chord chart only. This allows this information to be omitted from lyrics projection. Instructions are denoted by typing them on a single line, surrounded by parenthesis. The following options are available to alter how instructions are displayed:
Instructions Color
This allows you to change the color of the instructions using the Color Builder. You can create your own colors or choose from one of the preset color options. These include:
- Grey (default)
- Black
- Red
- Blue
- Green
- Turquoise
- Purple
Section Labels

This section provides settings for handling how section labels are drawn in the song viewer and include the following options:
- Trim Trailing Colons will remove the colons that are used denote section labels from the final output.
Tint

OnSong will render chord charts with black text on a white background to mimic paper chord charts. You can also invert these colors when playing in a dimly lit venue using Low Light Mode.
Use the following tint colors to colorize or replace the light and dark colors that OnSong uses to achieve less contract or other effects such as sepia.
Dark Color
The dark color is used to draw text on the screen by default. Tap on the row to open a color picker to choose a preset tint, or create your own. Preset include:
- Clear applies no tint to the base color.
- Grey applies a 20% grey to the base color to soften contrast.
- Sepia applies a 20% brown tint to the base color to create an antique color.
Light Color
The light color is used to draw the paper color of the screen by default. Tap on the row to open a color picker to choose a preset tint, or create your own. Preset include:
- Clear applies no tint to the base color.
- Grey applies a 20% grey to the base color to soften contrast.
- Sepia applies a 20% brown tint to the base color to create an antique color.
Note: Tint colors are applied to the base color depending on their opacity. If you wish to replace the color instead, create and set a color with no opacity.
Chorus

When OnSong encounters a chorus, it can display the chorus different from other sections. OnSong can detect a chorus in the song content if it has been labeled as a Chorus in either English, or the set language of OnSong. Keep in mind that if you are using a named section that the chorus section will continue until another named section is encountered.
In addition, the ChordPro syntax can be used to denote a chorus section. These include the short versions soc and eoc tags or the longer versions, start_of_chorus and end_of_chorus tags.
You can alter how chorus sections appear with the following settings:
Bold Chorus
When enabled, the entire content of the chorus is outputted in a bold version of the selected font. Default is off.
Indent Chorus
This option will indent the chorus from the other sections. Options include 0" to 1-1/2" in 1/8" or 1/4" increments. Default is 0".
Hide Chorus Label
When using ChordPro tags to indicate a chorus, OnSong automatically adds the "Chorus:" section label to the output. If you would like to not show this text, turn this option on. Default is off.
Spacing
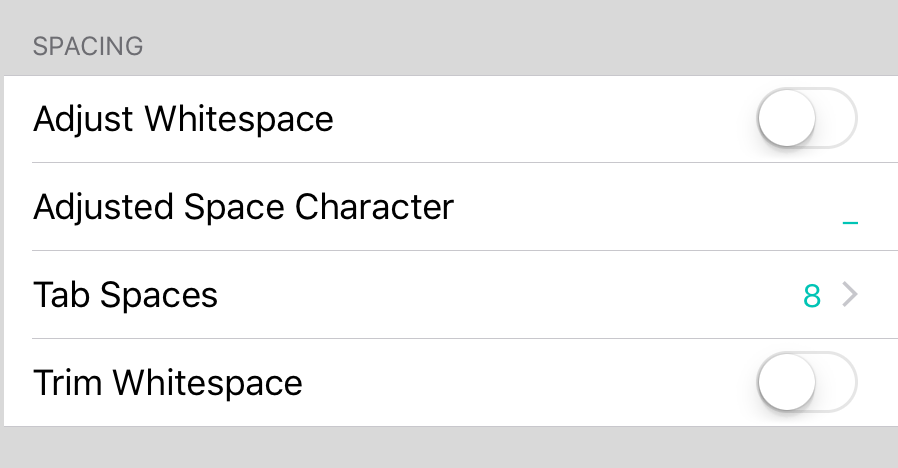
Spacing settings allow you adjust how different types of spaces effect the drawing of the chord chart. The following options are available:
Adjust Whitespace
When you enter chords above lyrics, chords are aligned to lyrics underneath. If there are no lyrics to align with, the chords are spaced using a standard space character. In variable-width fonts, the space character is about 35% the width of other characters such as the capital letter "M". This means that chords that appear to have a lot of spaces between them may appear closer together.
Turning on the adjust whitespace switch will replace space characters with a different character when measuring. This helps to compensate for the relatively narrow space character. Default is off.
Adjusted Space Character
If adjust whitespace is turned on, an underscore character is used as a proxy for the width of space characters. You can change which character is substitute to fine-tune adjust the width. Default is an underscore character.
Tab Spaces
Tabs are particularly problematic when making text-based chord charts. This is because a tab character can have different meaning depending on the text editor or viewer. OnSong replaces tab characters with a series of spaces to avoid this issue. Options include between 0 and 20 space characters. Default is 8.
Chord Diagrams
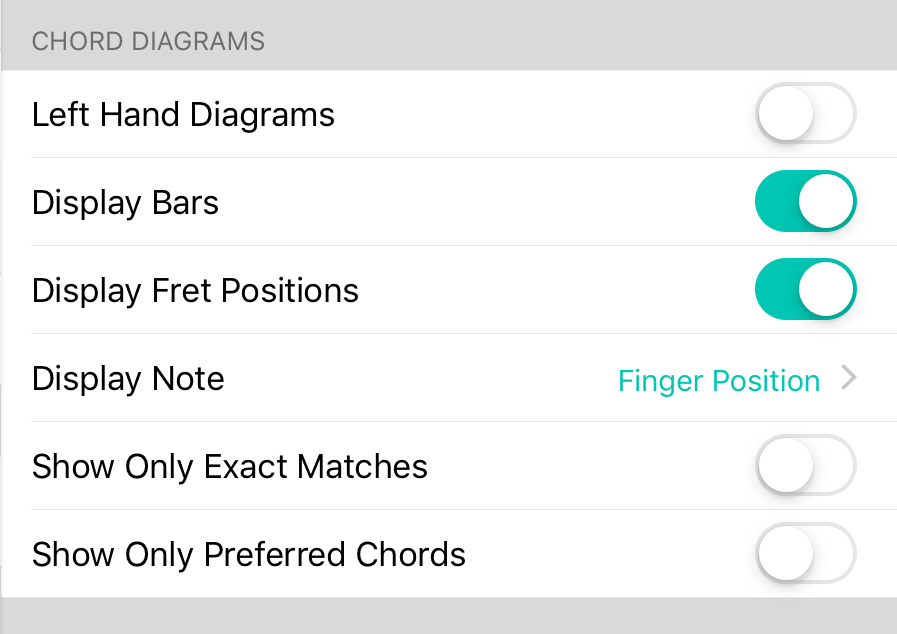
Chord diagram appear when you tap on a chord in the song viewer to open the Chord Inspector, or if you turn on chord diagrams to appear using the Style Preferences Menu. You can change how chord diagrams are drawn using these preferences.
Left Hand Diagrams
When this is turned on, chord diagrams are flipped to enable left-handed players (who use a left-handed instrument) to play the chord in a more natural manner. Default is off.
Instrument
This setting allows you to set a default instrument to use when a chord chart is loaded. By default chord diagrams are drawn for guitar. You can also choose chord diagrams for Banjo, Bass (4-string), Bass (5-string), Guitar, Mandolin, Piano or Ukulele. The default is Guitar.
Diagram Position
This setting allows you to specify where chord diagrams should be outputted on the song page. Options include:
- Above Lyrics places the chord diagrams below the metadata such as song title and artist, but above the first section of the chord chart.
- Below Lyrics places the chord diagrams below all song content at the bottom of the song page. Default.
- Within Lyrics replaces the chord letters in the chord chart with individual diagrams. The size of those diagrams are controlled by both the diagram size slider in the Style Preferences Menu as well as chord size slider.
Display Bars
Bars are indicated by solid lines across many strings and represent where one finger is used to depress multiple strings. This is determined by the fingerings defined by the chord variation, or determined automatically by OnSong if no fingering information is provided. If disabled, only dots are displayed on the strings. Default is on.
Display Finger Positions
The bottom of the chord chart contains numbers associated with the dots in the grid formed by frets and strings. These represent the finger number used to depress the string. This ranges from 1 through four indicating the index finger, middle finger, ring finger and pinkie finger. Default is on.
Display Fret Positions
The fret positions are outputted on the left side of the chord diagram. Default is on.
Chords
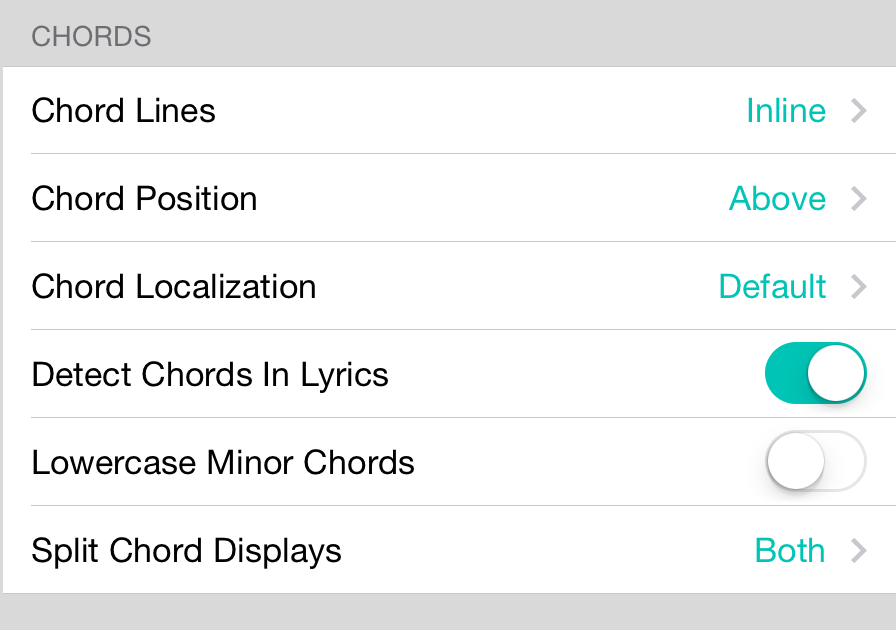
Chords that appear in your chord chart may appear differently based on their context as well as regional preferences. OnSong has a number of options to change how chords appear including:
Chord Lines
Sometimes it's important to output chords with symbols such as vertical bars and slashes to indicate strum patterns. When OnSong encounters a line of chords containing a vertical bar or pipe character, it will automatically place chords inline with those characters. This behavior can be changed to the following parameters:
- Above displays chords above the characters as if the text were lyrics.
- Inline displays the chords on the same line as the characters. Default.
Chord Position
When chords are placed with lyrics in a chord chart, OnSong typically draws them above the lyrics where they are placed. This position can be changed to:
- Above displays chords on a line above the lyrics. Default.
- Inline display chords on the same line as the lyrics to conserve vertical space for less scrolling.
Chord Localization
OnSong uses alphabetic letters as a convention for defining chords. By default, OnSong understands capital letters A through G. Some regional preferences exist which vary from this convention. These include:
- Default displays chords as capital letters from A through G with flat or sharp symbols as needed. Minor chords are denoted by a lowercase "m" to the right of the chord.
- Čeština displays chords in a convention familiar with the Czech language. This displays "B" as "H" and "Bb" as "B". In addition, minor chords are denoted by lowercase "mi".
- Deutsch display chord in a convention familiar with German-speaking people. This displays "B" as "H" and "Bb" as "B".
Detect Chords In Lyrics
OnSong uses text-based song content to render chord charts on the screen. Both OnSong and ChordPro file formats denote chord in square brackets within lyrics. However, most chord charts are available with chords on a separate line above lyrics. When this option is turned on, OnSong detected chords over lyrics and places the chords with lyrics automatically. Default is on.
Lowercase Minor Chords
OnSong denotes minor chords with a lowercase "m" to the right of the uppercase chord letter and option enharmonic symbol. When this option is turned on, the "m" is removed and the chord letter is lowercased. For instance, "Gm" becomes "g". Default is off.
Split Chord Displays
OnSong supports compound chords that provide a bass component as well as the chord. For instance, Am/G is described as "A minor over G". In this case, G is what the bass player plays or what is played with the left hand on a piano. By default, OnSong displays the entire compound chord but can be configured to one of the following options:
- Both shows both the chord and the bass component. For instance, "Am/G" displays as "Am/G" with no changes.
- Bass Only shows only the bass component of the chord. For instance, "Am/G" displays just "G".
- Chord Only shows only the chord component of the chord. For instance, "Am/G" displays just "Am".
Enharmonic
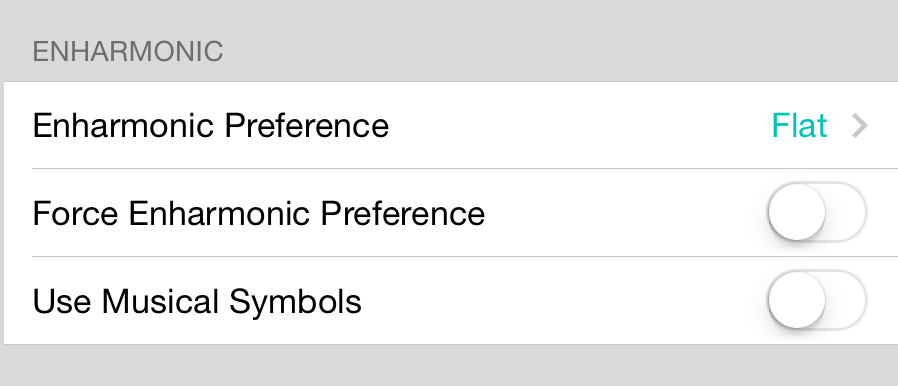
Enharmonic represents how sharps and flats are applied during transposition. By default, OnSong uses the enharmonic preference of the key that is being transposed into. The following preference can adjust how this is treated:
Enharmonic Preference
When a song is transposed into a specific key, the enharmonic preference of that key is used for all the transposed chords. This works except in the key of C where there are typically no sharps or flats. By default, OnSong will us a flat symbol for any half step accidentals in the key of C. You can alter this behavior to:
- Flat uses the flat symbol when required in a key where the enharmonic preference is unknown. Default.
- Sharp uses the sharp symbol when required in a key where the enharmonic preference is unknown.
Force Enharmonic Preference
When this setting is enabled, the enharmonic preference is used regardless of the transposed key's enharmonic preference. For instance, if you transpose into the key of D, but have this enabled and the enharmonic preference se to flat, then F# will be outputted as Gb.
Use Musical Symbols
By default, OnSong outputs sharps and flats as # and b respectively. If this setting is enabled, the ♯ and ♭ are used instead. Default is off.
Monospaced

Monospaced fonts may be used when tablature is found in the chord chart. You can denote tablature using the ChordPro start_of_tab and end_of_tab tags, or the shortened version with sot and eot tags. Tablature sections of your chord chart should be surrounded with these tags, placing each tag on its own line. Tablature sections are outputted in a monospaced font to maintain alignment of the characters.
Option for changing the appearance of monospaced sections include:
Font Family
Allows you to change the font that is used when outputting tablature in monospaced fonts. Options include:
- Andale Mono
- Courier Default.
- Courier New
- Lucida Console
Scale
Instead of making all monospaced fonts in tablature a common size, OnSong provides a scale for the font. This allows the size of the tablature to be adjusted along with the chords and lyrics sizes. Options include values between 30% and 130% in 10% increments. Default is 100% of the size of the chord font size.
Song Viewer

Song viewer settings effect how the song viewer in OnSong behaves. Options include:
Flash Message
When using messaging, OnSong will keep each message up for a length of time based on the number of words the message contains. This is set by default to 0.3 seconds per word plus a standard fade out delay of 0.3 seconds. You can adjust how long messages stay on the screen by adjusting this slider. Moving the slider to the left will leave messages on the screen less time. To the right will keep the messages on the screen long. You can choose a value between 0.1 seconds and 1.0 seconds per word.
Vertical Position Ruler
When autoscrolling is occurring or when a section is selected, it may be difficult to judge where you are located in a song. OnSong uses a colored line on the left side of the screen to indicate the relative position of the chord chart at the given time. The shape will align with the approximate place in the song according to the lyrics and chords.
You can change the color of this line by tapping on the row to use the Color Builder. This will let you create a custom color or choose from the preset palette of the following colors:
- Black displays the ruler in black.
- Red displays the ruler in red. Default.
- Orange displays the ruler in orange.
- Green displays the ruler in green.
- Blue displays the ruler in blue.
- Purple displays the ruler in purple.
- Pink displays the ruler in pink.
- Grey displays the ruler in grey.
You can also change the thickness of the vertical position ruler or turn it off using the thickness option. Choose from none, hairline, thin, medium, thick, thicker and thickest.
Render Ahead/Behind
When swiping through songs in a set, OnSong will render songs just before and after the current song. This results in smooth swiping through songs, but may also increase the memory overhead of the song viewer since it is drawing multiple songs at once. For performance reasons, you may wish to alter this behavior. Options include:
- Automatic allows OnSong to determine what is best. Normally this is turned on unless file formats dictate that it should be disabled for the current set. Default.
- Off results in only the current song being rendered. This results in swiping to blank pages but can improve performance when using external files that are not optimized for OnSong.
- On results in song pages before and after the current song page to be rendered and never disabled.
Renderer Version
OnSong features two renderers to handle different usage patterns. These options include:
- Original is the original renderer which draws external files using the web view component of iOS. The web view size is expanded to contain the entire contents of the document which may result in extra memory usage. This is the most compatible renderer for most document types.
- New is the new renderer which draws external files using a view component allowing the component to handle the scrolling of content. This has historical caused some drawing issues for annotations depending on the content type.
Show Scroll Indicators
OnSong features multiple scrollable panes to display a set. The first is a horizontal scrollable pane which provides access to songs in a set. The second is the scrollable pane that contains each song. By default, the scroll indicators on the right side of a scrollview are disabled, but you can enable them through this setting.
Remember Zoom/Position
This setting enables OnSong to remember the last known position and zoom level of each song. When the song is recalled from the songs menu, the last known position and zoom level are restored. Default is off.
Flash Message
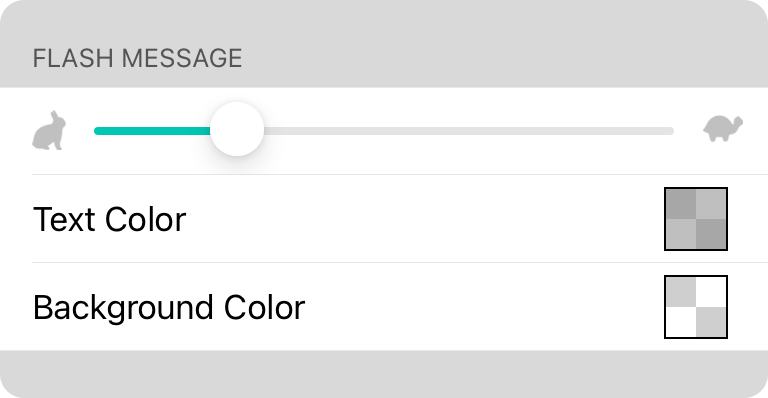
This screen lets you alter how messages are flashed on to the screen by setting default duration and colors.
Duration
OnSong will keep flashed text up for a length of time based on the number of words the message contains. This is set by default to 0.3 seconds per word plus a standard fade out delay of 0.3 seconds. You can adjust how long messages stay on the screen by adjusting this slider. Moving the slider to the left will leave messages on the screen less time. To the right will keep the messages on the screen long. You can choose a value between 0.1 seconds and 1.0 seconds per word.
Text Color
If a text color is not explicitly defined by a message, this text color will be used. The Default is 50% gray with 50% opacity.
Background Color
If a background color is not explicitly defined, this background color will be used. The default is transparent.
Zoom
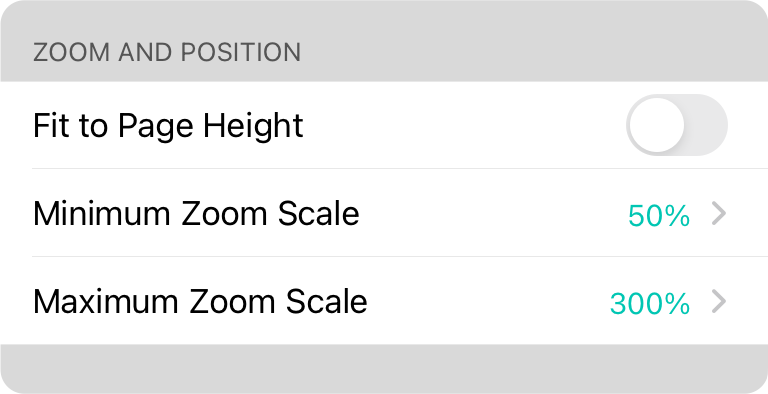
These options adjust how the song viewer zooms in and out.
Fit to Page Height
If you are using PDF charts that are a longer size like the European A4, or legal size, you may notice the bottom of the song content is cut off when viewed with a portrait orientation. Turning on this option will zoom the song viewer out slightly to contain the full page height.
Minimum Zoom Scale
This prevents the song viewer from being zoomed out beyond a certain point. You can adjust this to prevent zooming out, or to zoom out further.
Maximum Zoom Scale
This prevents the song viewer from being zoomed in beyond a certain point. You can adjust this to prevent zooming by setting it to 100%, or to allow further scaling.
Vertical Position Indicator
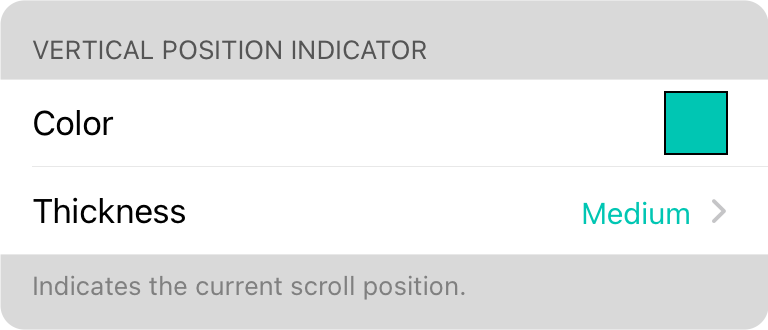
The vertical position indicator is used to show the relative scroll position during autoscroll operations. These settings allow you to adjust how this indicator appears in the song viewer.
Color
You can change the color of this line by tapping on the row to use the Color Builder. This will let you create a custom color or choose from the preset palette of the following colors:
- Black displays the ruler in black.
- Red displays the ruler in red. Default.
- Orange displays the ruler in orange.
- Green displays the ruler in green.
- Blue displays the ruler in blue.
- Purple displays the ruler in purple.
- Pink displays the ruler in pink.
- Grey displays the ruler in grey.
Thickness
You can also change the thickness of the vertical position indicator or turn it off using the thickness option. Choose from none, hairline, thin, medium, thick, thicker and thickest.
Renderer
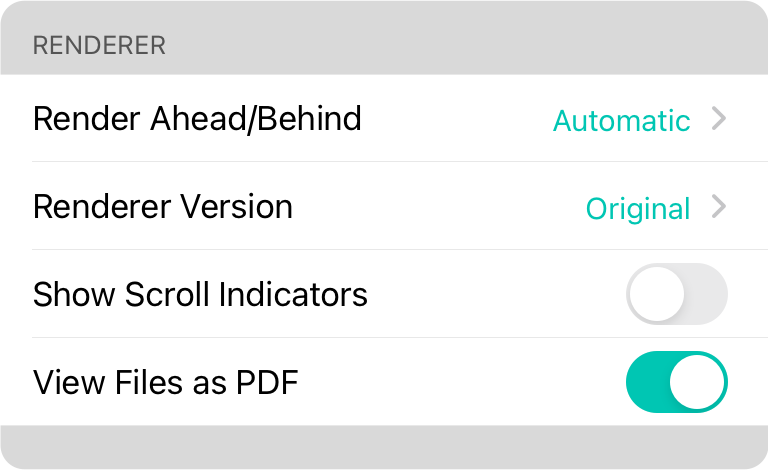
Render Ahead/Behind
When swiping through songs in a set, OnSong will render songs just before and after the current song. This results in smooth swiping through songs, but may also increase the memory overhead of the song viewer since it is drawing multiple songs at once. For performance reasons, you may wish to alter this behavior. Options include:
- Automatic allows OnSong to determine what is best. Normally this is turned on unless file formats dictate that it should be disabled for the current set. Default.
- Off results in only the current song being rendered. This results in swiping to blank pages but can improve performance when using external files that are not optimized for OnSong.
- On results in song pages before and after the current song page to be rendered and never disabled.
Renderer Version
OnSong features two renderers to handle different usage patterns. These options include:
- Original is the original renderer which draws external files using the web view component of iOS. The web view size is expanded to contain the entire contents of the document which may result in extra memory usage.
- New is the new renderer which draws external files using a view component allowing the component to handle the scrolling of content. This makes better use of memory but may cause issues on non-standard document types. Default.
Show Scroll Indicators
OnSong features multiple scrollable panes to display a set. The first is a horizontal scrollable pane which provides access to songs in a set. The second is the scrollable pane that contains each song. By default, the scroll indicators on the right side of a scrollview are disabled, but you can enable them through this setting.
Screen
Screen settings allow you to configure how the overall song viewer appears in the app. It features the following settings:

Desk Color
The desk color is what appears behind the virtual paper. Typically this is set to black and not visible, but if the border widths are altered, the desk color will peek through. Prepared colors are various shades of grayscale including black and white. Tapping on the option opens the Color Builder.
Borders
Borders allow you to designate empty space between the edge of the screen and the virtual paper that appears. This can be useful for setting up blank space to accommodate the OnSong status and menubar. This can also be used to provide spaces between songs.
Borders
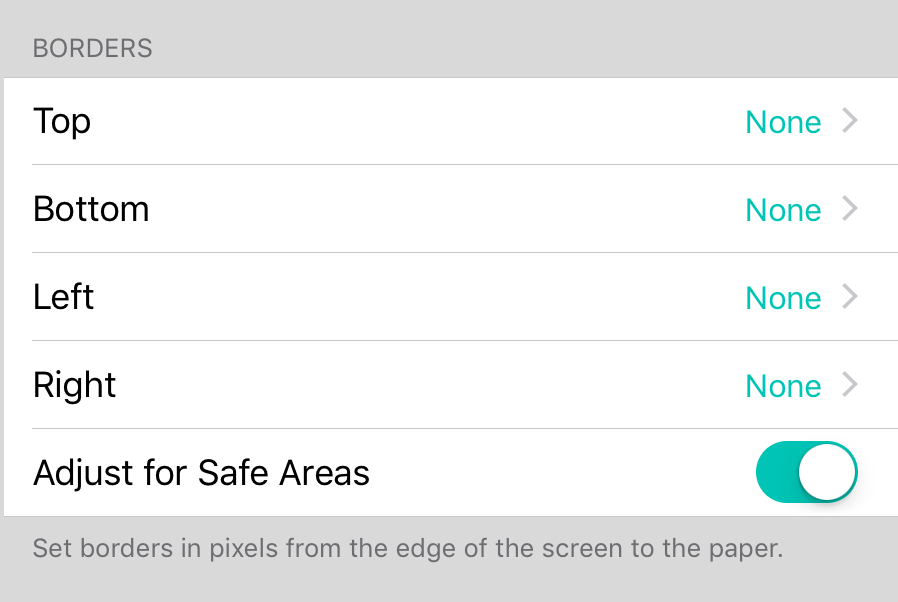
Borders are the space that can exist between the song viewer and the edge of the screen. Changing borders is a way to inset the song viewer to handle user interface preferences.
Borders
You can set the border of each edge of the song viewer. The values you can set for each edge are:
- None places no border between the virtual sheet of paper and the edge of the screen.
- Statusbar places a 20 pixel gap to accommodate for smooth hiding and showing of the menubar.
- Thin provides a 10 pixel border.
- Medium provides a 32 pixel border.
- Thick provides a 64 pixel border.
- Thicker provides a 96 pixel border.
- Thickest provides a 128 pixel border.
You can set these values on the following edges:
- Top is the border to place on the topmost edge of the screen. Default is statusbar to easy the transition of showing and hiding the menubar.
- Bottom is the border on the bottom edge of the song screen. Default is None.
- Left is the border on the left edge of the song screen. Default is None.
- Right is the border on the right edge of the song screen. Default is None.
Adjust for Safe Areas
On the iPhone X, the "notch" can cause issues when OnSong is running in landscape mode. Since OnSong makes use of the full screen, part of the song content could disappear behind the notch. This settings is on by default and automatically adds a border on the side of the notch to prevent content from being hidden under it. Available on iPhone or iPod Touch devices only.
Sections
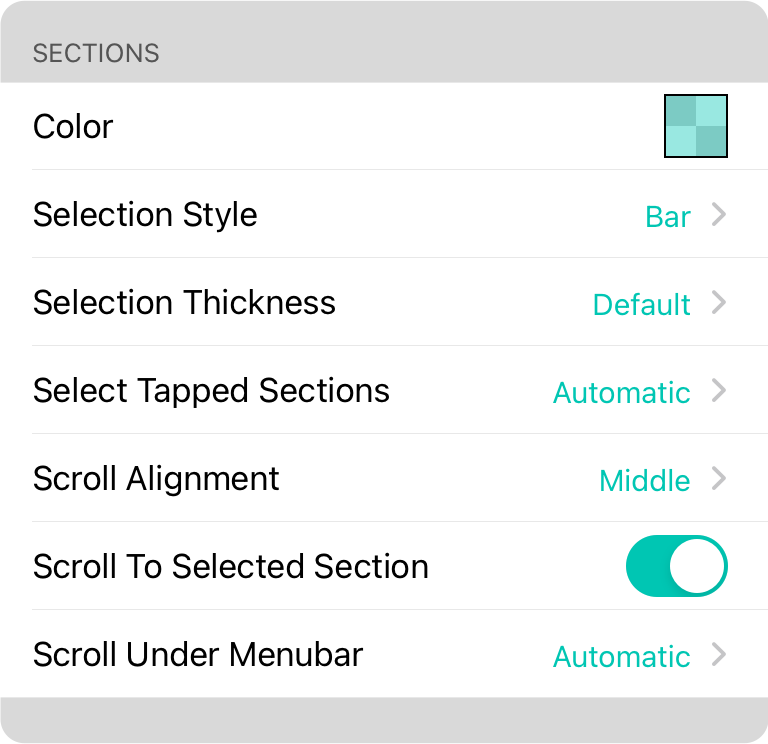
Tapping on the section of a song in the song viewer can select the section. These settings dictate the behavior and appearance of section selection.
Color
You can change the color of the section selector by tapping on the row to use the Color Builder. This will let you create a custom color or choose from the preset palette of these partially opaque colors: Transparent, Red (default), Orange, Green, Blue, Purple, Pink and Grey
Selection Style
The selection style option can be used to greatly improve the visibility of the selected section. You can change this to one of the follow options:
- None turns off visualization of the section selection.
- Bar displays the selection as a thin bar on the left side of the screen. The thickness of this bar is determined by the thickness of the vertical position indicator.
- Page highlights the section across the entire page as if a ruler was placed across the screen.
- Section places a rectangle around the selection section with slightly rounded corners.
Select Tapped Sections
However section selection take precedence over other user input events. OnSong determines automatically if a section should be selected. Options include:
- Never will prevent sections from ever being selected.
- Automatic will determine if the section should be selected based on active features including if MIDI or scenes are assigned to the section, if lyrics projection is enabled or if you are currently streaming to other recipients via OnSong Connect or OnCue. Default.
- Always will always select sections.
Scroll Alignment
When sections are selected, they usually scroll into view in the Song Viewer. This option allows you to define where they should appear in relationship to the viewport. The song viewer will be scrolled as close to the desired settings as possible as long as the song viewer has room to scroll.
- Top aligns the section to the top of the viewable area of the song viewer's view port.
- Middle aligns the section to the middle of the song viewer's viewport. (default)
- Bottom aligns the section to the bottom of the song viewer's viewport.
Scroll Under Menubar
In OnSong, the menubar and statusbar hover above the song viewer. This allows user interface components to smoothly hide for full screen mode. However, when selecting sections, this can cause the content to scroll under the menubar. You can choose from the following options for how content scrolls under the menubar.
- Never will prevent the section from ever scrolling under the menubar under all circumstances.
- Automatic will prevent the section from scrolling under the menubar and statusbar if the menubar is visible and if the menubar is fully opaque. Semi-transparent menubar colors will allow the content to flow underneath the menubar. (default)
- Always will allow content to scroll under the menubar without adjustment.
Note: If you are using an iPhone, the Scroll Under Menubar option also applies to the toolbar that appears at the bottom of the screen.
Live Settings
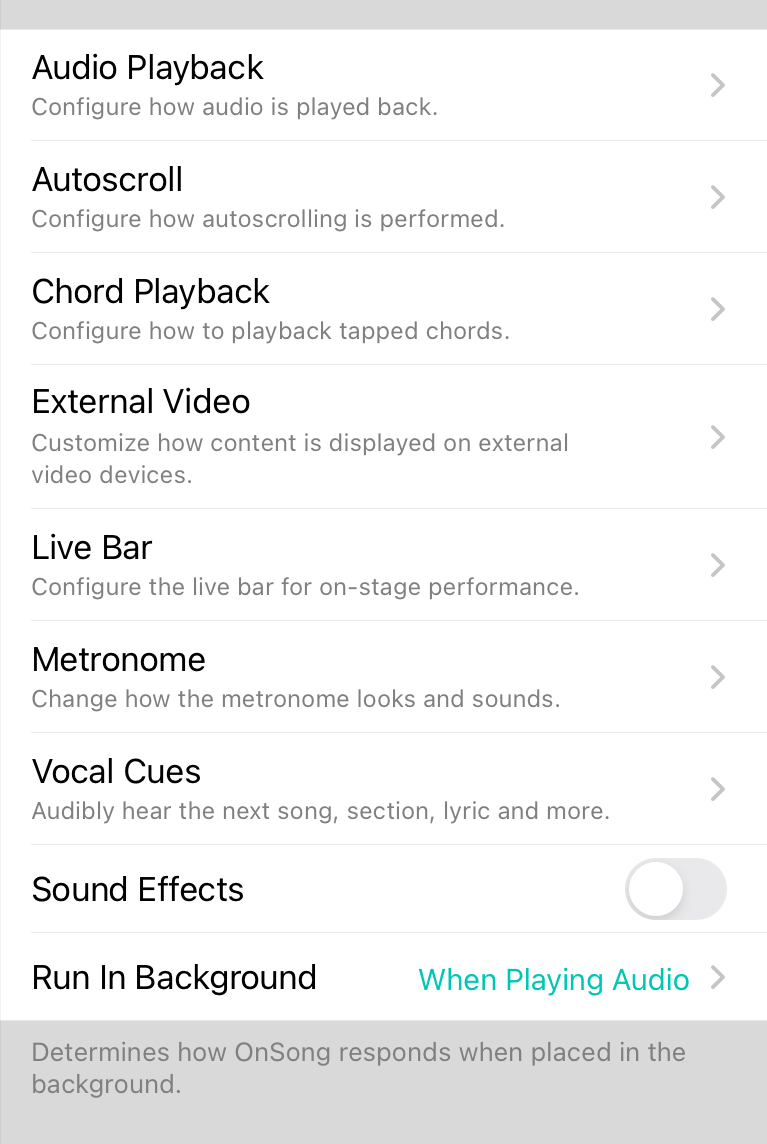
There are a number of tools at your disposal for playing live. Instead of making only one way to perform these functions, OnSong provides options to customize your live performance. These options are divided into the following major categories:
Audio Playback
Provides options for changing the way backing tracks are played back.
Autoscroll
Provides options to adjust how autoscroll is performed.
Chord Playback
Provides options for when and how chords are played back using the optional soundbanks or MIDI.
External Video
Use these settings to configure your setup if you are projecting lyrics, creating a virtual music stand or simply want to mirror your iPad screen.
Live Bar
The live bar provides large buttons that provide quick access to toggle common playback options. Toggle which buttons are displayed in the lower right corner.
Metronome
The metronome lets you play to a click track or use it practice. Here you can set up how the metronome sounds, looks and acts.
Sound Effects
OnSong can play back audio reinforcement to certain actions such as flipping pages or connecting an external video device. This is turned off by default.
MultiTrack Settings
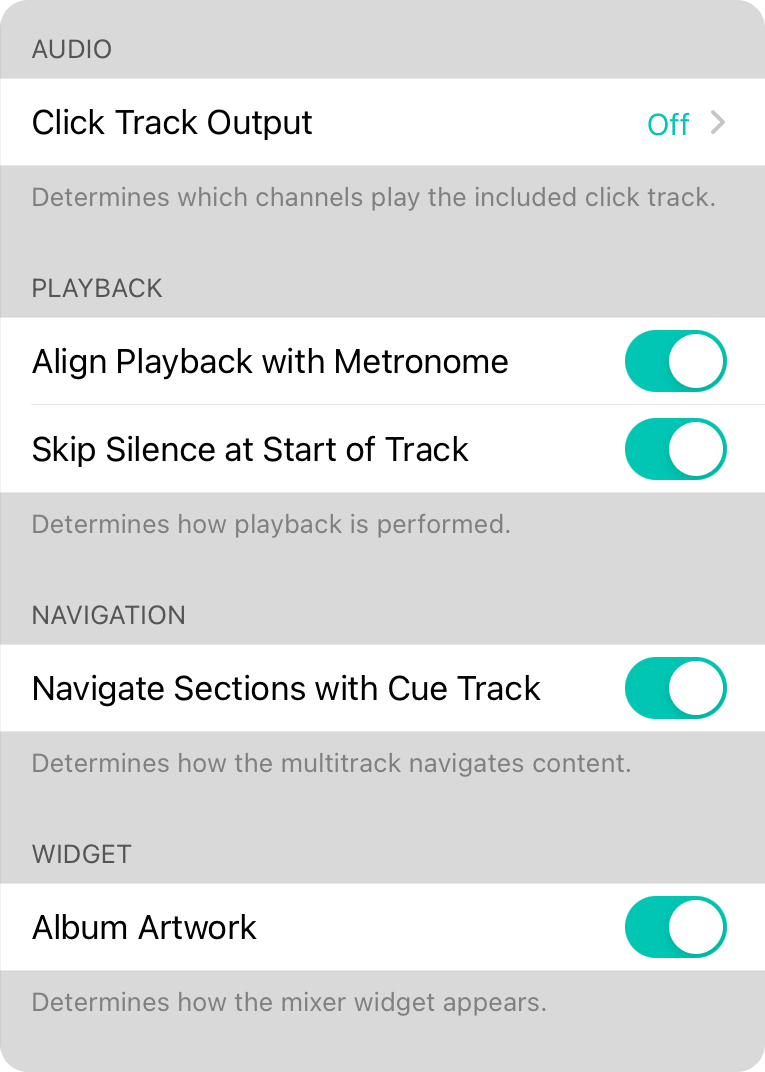
MultiTrack settings let you determine how MultiTracks are outputted and interact with other features of OnSong.
Click/Cue Output
Here you can choose if and how the click and cue tracks are outputted. This can be configured as:
*Â Off will play like a regular backing track with no click or cue (Default). * On will play the click and cue tracks in stereo with the rest of the mix. * Left will play the click and cue out the left channel with music playing out the right channel. * Right will play the click and cue out the right channel with music playing out the left channel.
Align Playback with Metronome
MultiTracks emit a click and that click can be processed as a pulse. Certain triggers are designed to toggle on these pulses. If this setting is on, OnSong will delay starting the metronome until a click from the MultiTrack is heard. If not click is active, the metronome will start immediately.
Skip Silence at Start of Track
MultiTracks have a click and cue track along with music. If click and cue is not being outputted, it's possible that the music does not begin until a few seconds after the track is started. When this is on, OnSong detects when music is first played and will skip over the silence at the start of the track where the click and cue would go.
Navigate Sections with Cue Track
MultiTracks often come with a guide or cue track. This is a voice that prompts musicians what's going next in the song like "Verse" or "Chorus". When this setting is enabled, OnSong can listen to this voice and automatically select and navigate to sections in a song. The first time you play a MultiTrack, you'll be prompted to allow OnSong to use speech recognition which will only be listening to the cue/guide tracks.
Album Artwork
This option will determine if OnSong should display album artwork in the mixer widget. If turned off, OnSong will display the mixer widget in the OnSong design with a dark background and the app color used for the mixer faders.
Vocal Cues Settings

This screen lets you configure what actions should be vocalized by a synthesized voice which can be useful to instruct the band what is happening if they use in-ear monitors.
Enabled Cues
Vocal cues can be sent for a number of different actions that happen within OnSong. They include: * Section will announce the selected section label or number. * Song will announce the song title and other information as configured in the Song Information section. * Set will announce the name of the set when it changes. * Count-In will verbally count in a metronome if count-in measures are configured in Metronome Settings * Sticky Note will say the contents of the sticky note when tapped. * Metadata will say the metadata in the upper right corner when tapped. For instance, the Key/Capo or Tempo/Time Signature. * Comments will say comments or musical instructions in text-based songs. * Lyrics will say the tapped line of lyrics. * Chords will say the name of the chord when tapped. * Messages will say the message that is selected.
Output Channels
This lets you configure which channel to use to output vocal cue audio. This defaults to stereo output but can expand with more options when connecting an audio interface.
- All Channels will announce on both left and right channels.
- Left will announce on just the left channel.
- Right will announce on just the right channel.
Song Information
This section determines what is said when song information vocal cues are enabled including: Title (default), Artist, Key, Capo, Tempo and Time Signature.
Options
These are options that can effect the behavior of the vocal cue system and include:
- Repeat Sections allows selected sections to be tapped repeatedly to announce the section information. The system will also say "repeat" before each repeated section. Default is off.
Sound Effects
OnSong features a few sound effects to reinforce certain actions. Since these sound effects can be unexpected when using OnSong live, they are disabled by default. If enabled, OnSong will play sounds for the following events:
Beaming Sets
When beaming sets using the Share Menu, a sound is played once the file has been sent to the peers.
External Video
OnSong plays a sound when an external video device is connected or disconnected. This is a similar sound, but the connection sound ascends and the disconnection sound descends.
Favoriting
OnSong plays an ascending sound when a song has been favorited or "starred". When this status is toggled off, a descending sound is played.
OnCue
When using the OnCue wireless sharing, OnSong will play a subtle ascending sound when sharing has been started, and a descending sound when sharing has stopped.
Page Turning
OnSong plays a sound similar to paper flipping when flipping through songs in the set.
Sticky Notes
OnSong plays a sound similar to a sticky note being removed from paper when a sticky note is added or removed from the chord chart.
Audio Playback
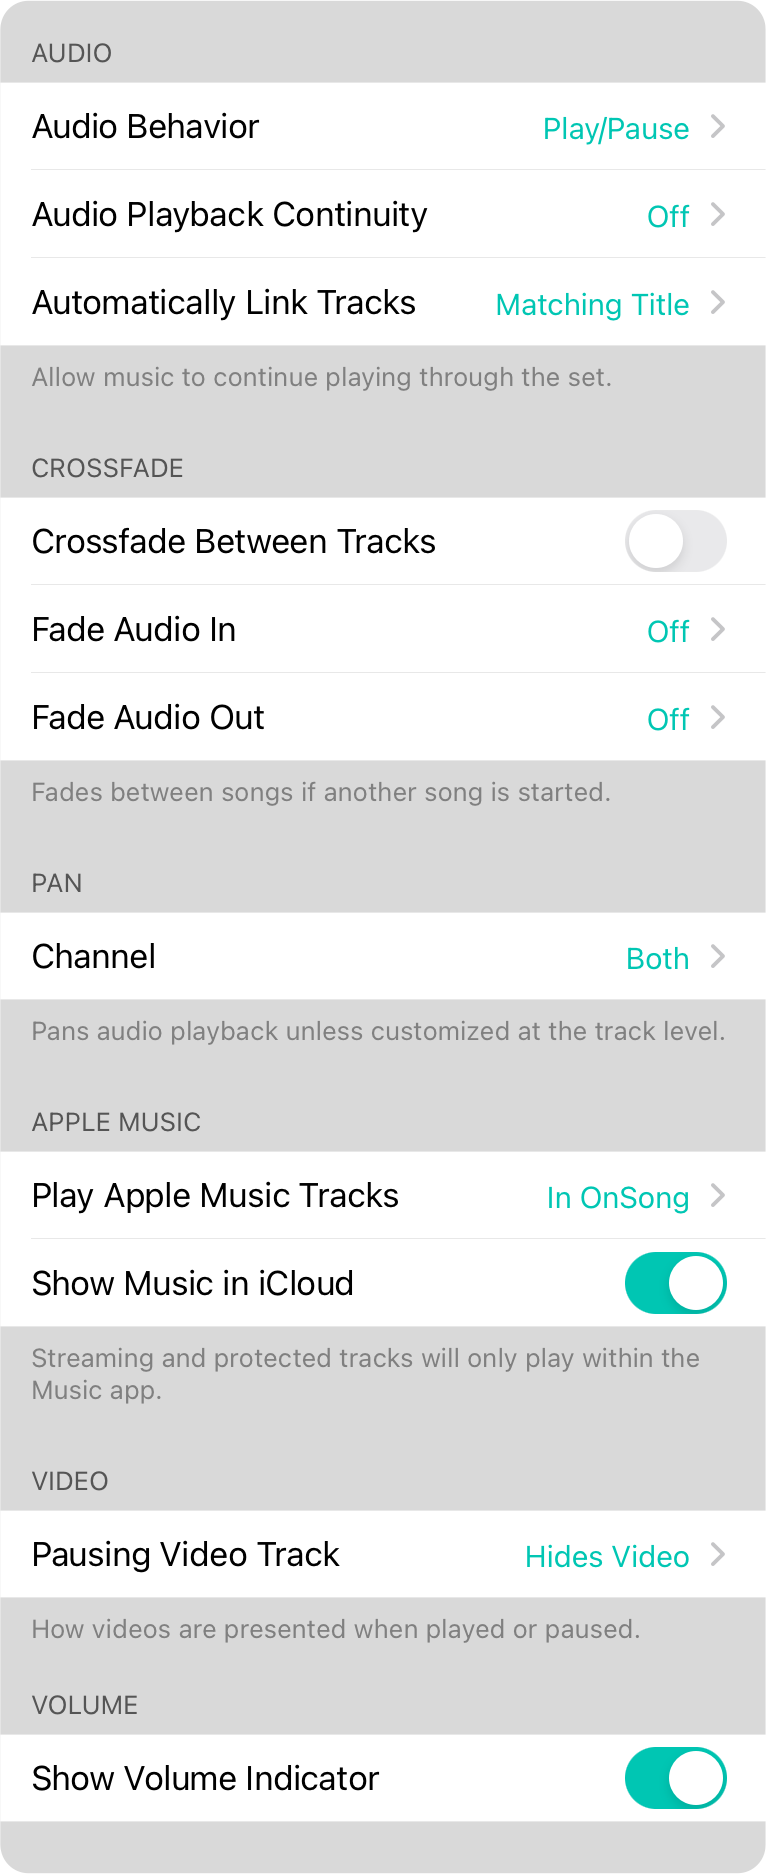
This section of live bar settings effect how audio playback functions in OnSong. The following settings can be used to change this behavior, if fading or crossfading of tracks should occur and if audio tracks in iCloud (iTunes in the Cloud or iTunes Music Match) are available for linking.
Audio Behavior
You can change the behavior of the live bar button from the default Play/Pause method here. Your options are:
- Play/Pause will start playing the audio track from the beginning. Tapping on the button again will cause the track to pause, allowing you to resume playback where you left off.
- Play/Stop will start playing the audio track from the beginning! Tapping on the button again will stop the track, returning the playhead to the beginning of the song. Tapping on the button again will start the track from the beginning.
- Play Only is designed to prevent the song from accidentally being stopped. Tapping on the button will start playing the track from the beginning and will not stop playing song until it ends, or until another song is started.
Audio Playback Continuity
Typically backing tracks are assigned to songs and can be played back by tapping on the audio live bar button, or by assigning an action to a foot pedal or hot corner.
Turning on this setting will allow audio tracks to play one after the other without user interaction, turning all backing tracks in a set into a playlist.
- Off requires that each audio track be played with user interaction or a trigger.
- On allows audio tracks to play through all songs in a set without user interaction.
- Repeat allows audio tracks in a set to be played back continuously. Once the last audio track in the set is played, the first audio track in the set will be started.
Crossfade Enabled
This feature allows the track from one song to fade out while fading in a track from the next song. This can be used for the smooth transition between songs. If this feature is not enabled, only one song will play at a time, although fading will still take place. When this feature is enabled, OnSong will use an app-based player for music tracks instead of the device's built-in music player in the Music app. Note that features of the built-in player will not be available.
Crossfading is available on audio tracks available on the device that are DRM-free. If you are trying to playback DRM tracks or tracks that are hosted on iCloud, OnSong is forced to use the device's built-in player. This means that Crossfading will not function although OnSong will still fade in and out as possible.
Fade Audio In
This option allows you to choose a duration with which to fade audio in. Audio tracks do not fade in when started at the beginning. This means that fading only occurs if the track is started in the middle of the track.
Options for fade in duration include:
- Off no fading occurs. Default.
- Fastest fading is set to span 0.1 seconds.
- Faster fading is set to span 0.2 seconds.
- Fast fading is set to span 0.3 seconds.
- Normal fading is set to span 0.8 seconds.
- Slow fading is set to span 1.4 seconds.
- Slower fading is set to span 2 seconds.
- Slowest fading is set to span 3 seconds.
Fade Audio Out
This option allows you to choose a duration with which to fade audio out. Audio tracks do not fade out when ending the song. This means that fading only occurs if the track is stopped or paused in the middle of the track.
Options for fade in duration include:
- Off no fading occurs. Default.
- Fastest fading is set to span 0.1 seconds.
- Faster fading is set to span 0.2 seconds.
- Fast fading is set to span 0.3 seconds.
- Normal fading is set to span 0.8 seconds.
- Slow fading is set to span 1.4 seconds.
- Slower fading is set to span 2 seconds.
- Slowest fading is set to span 3 seconds.
Pan
Pan lets you shift the output of backing tracks to both left and right channels (default) or to just the left or right channels of the output. This is useful for sending backing tracks to a sound system as a mono send in conjunction with a metronome.
Channel options include:
- Left outputs the audio only in the left channel.
- Both outputs the audio in stereo to both the left and right channels. Default.
- Right outputs the audio only in the right channel.
Show Music in iCloud
OnSong will display audio tracks whether they are physically stored on the device, or stored in iCloud. Tracks played from iCloud will experience a delay when playback is started. Because of this and then chance that audio will not continue during a network interruption, you may want to disable any tracks being played from iTunes in the Cloud or iTunes Music Match.
When this option is turned on, all tracks are displayed for playback. By turning this option off, tracks will not be able to be selected using the Audio Track Picker or the Choose Custom Track Window.
Default is on. This option has no function in iOS 5.1.1 and earlier since iTunes in the Cloud is only available in iOS 6.0 and higher.
Note: If a track is linked to your iTunes library, it will playback using the built-in Music app unless crossfade or pan is enabled. Tracks then playback through OnSong to allow for extended control of the tracks. Tracks under digital rights management (DRM) protection or being played back through iCloud must be played through the Music app and will not have crossfade or panning capabilities.
Autoscroll Settings
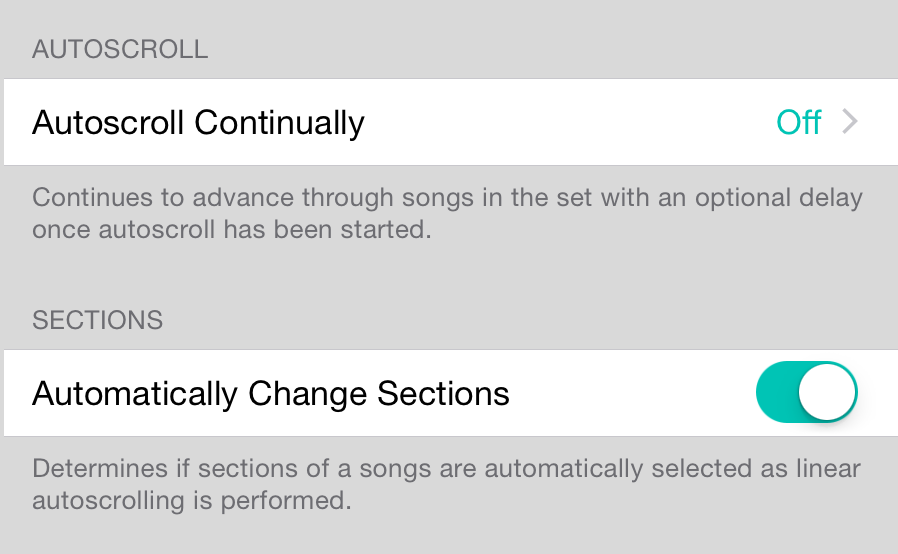
While autoscroll is fairly straightforward, there are a few options that can be customized. This section of live bar settings allows you to customize key aspects of autoscroll.
Autoscroll Continually
Autoscroll is normally used to scroll one song from top to bottom over a given duration. This means that you do need to switch to a new song in your set and toggle autoscroll on for each song.
When Autoscroll Continually is enabled, it allows OnSong to scroll through a song in the set and once then bottom of the song is reached, continue to the next song in the set. After an optional delay, autoscrolling continues. This allows an entire set to be navigated continually and hands-free.
Options include:
- Off disables continuous autoscroll, allowing only one song to be scrolled and requiring the user to navigate to the next song to continue. Default.
- Immediately switches to the next song in a set and immediately begins autoscrolling with no discernible delay.
- After n second(s) gives an optional duration of time to wait until autoscroll begins. This can be 1 to 5 seconds and then 10 to 30 seconds in increments of 5 seconds.
Automatically Change Sections
By default, this is turned on. This means that sections will be automatically selected as linear autoscroll is performed which will change lyrics or send MIDI commands. You can turn this off if you intend to control section selection manually.
Other Autoscroll Settings
Some settings relating to the autoscroll function are located in other settings.
- Autoscroll Trigger is found under Settings » Navigation Settings » Triggers.
- Vertical Position Color can be found under Settings » Display Settings » Song Viewer.
Chord Playback
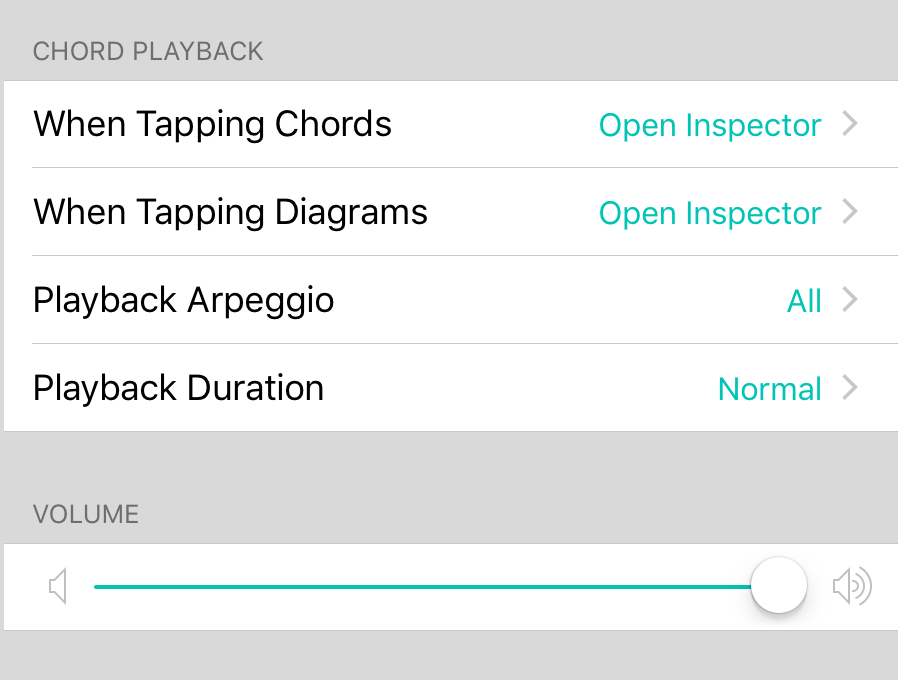
Chord playback can be used when learning to play new chords, or just to play some music when trying to learn a song. The following settings effect how chords are played.
When Tapping Chords
This setting determines what should happen when the user taps on the chord letter in a chord chart. Options include:
- Do Nothing does not perform any interaction when chords are tapped.
- Open Inspector allows you to see how the chord should be played on various instruments. Default.
- Play Chord plays the chord using the optional and available soundbanks.
- Do Both shows the chord inspector while also playing the chord back through the optional and available soundbank.
When Tapping Diagrams
This setting determines what should happen when the user taps on a chord diagram that is drawn the chord chart page. Options include:
- Do Nothing does not perform any interaction when diagrams are tapped.
- Open Inspector allows you to see how the chord should be played on various instruments. Default.
- Play Chord plays the chord diagram using the optional and available soundbanks.
- Do Both shows the chord inspector while also playing the chord back through the optional and available sound bank.
Playback Arpeggio
When strumming chords or playing them on a keyboard, an arpeggio pattern must used. You can select one of the following options:
- All randomly uses all the methods for a constant variation. Default.
- Picked Ascending picks the strings from the lowest to highest string.
- Picked Descending picks the strings from the highest to the lowest string.
- Picked Randomly picks through the strings in a random order.
- Strum Down strums the strings down from the lowest string to the highest.
- Strum Up strums the strings up from the highest string to the lowest.
Playback Duration
The notes on the instrument are played through with a slight pause between sounds. You can change the speed at which the chord playback occurs with this option. Change the duration to one of the following options:
- Immediate all the notes are played simultaneously.
- Fast plays the chord over a 1/2 second duration.
- Normal plays the chord over a 1 second duration.
- Slow plays the chord over a 2 second duration.
External Video
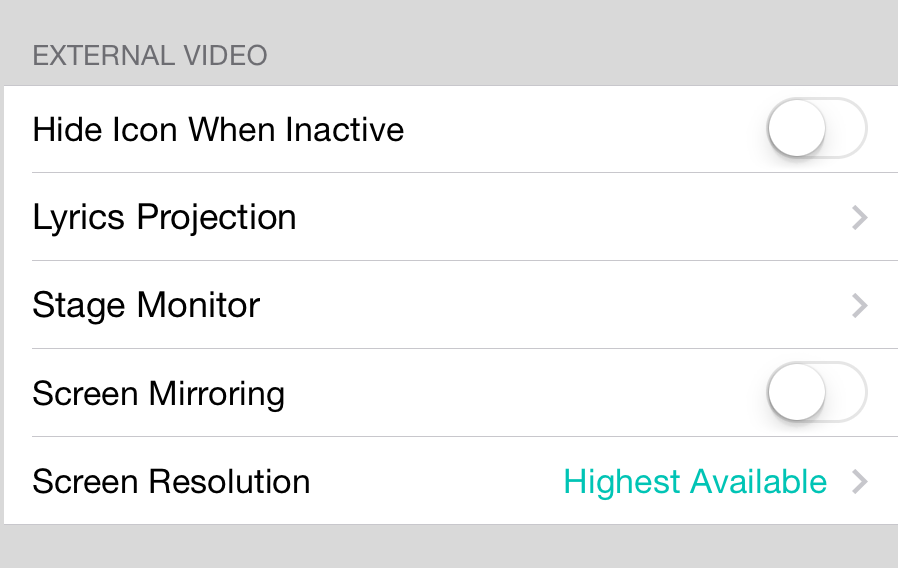
OnSong is designed to take full advantage of the external video capabilities of iOS devices. The output can be changed to three different modes depending on your needs. The external video settings screen provides advanced options for customizing external video output.
Hide Icon When Inactive
The Menubar contains the External Video Menu which is displayed at all times by default. Toggle this option on to only have the icon appear in the menubar when an external video device is connected.
Lyrics Projection
Lyrics projection allows you to use chord charts to display lyrics on a projector for congregational worship or group sing-a-longs.
Stage Monitor
Stage Monitor Mode allows your device to turn one or more HDTVs into virtual music stands. Configure options for output with these settings.
Screen Mirroring
When this is turned on, OnSong will act like other apps in iOS where the screen is simply mirrored. This is a handy feature if you are using the video output of the device to prepare tutorial videos or for training purposes. This is off by default since OnSong is designed to take control of the entire external display.
Screen Resolution
When a video device is connected, it's available modes are reviewed and the highest supported resolution is used by default. In some cases your video device may report modes that are not well supported. For instance, a 1280x1024 monitor may report support for 1920x1080, but will stretch or letterbox the output because of the change in aspect ratio. In that case you can set an explicit resolution to use. This may or may not be supported by the video device. The closest mode will be used in that case.
Please Restart
If you choose to switch OnSong to use screen mirroring, you may be prompted to restart OnSong. In that case, a prompt will appear allowing you to either cancel, restart or quit.
- Cancel will remove the prompt and require you to restart OnSong when you get a chance. The screen mirroring settings is still saved so the next time you restart OnSong, it will take effect.
- Restart will automatically restart OnSong for you. This option requires an Internet connection which allows OnSong to redirect itself to a web page to open OnSong again. After Safari is opened, OnSong will terminate itself resulting in a smooth restart operation.
- Quit will appear if an Internet connection cannot be determined. This will shut down OnSong and allow you to open OnSong again from the home screen.
Lyrics Projection
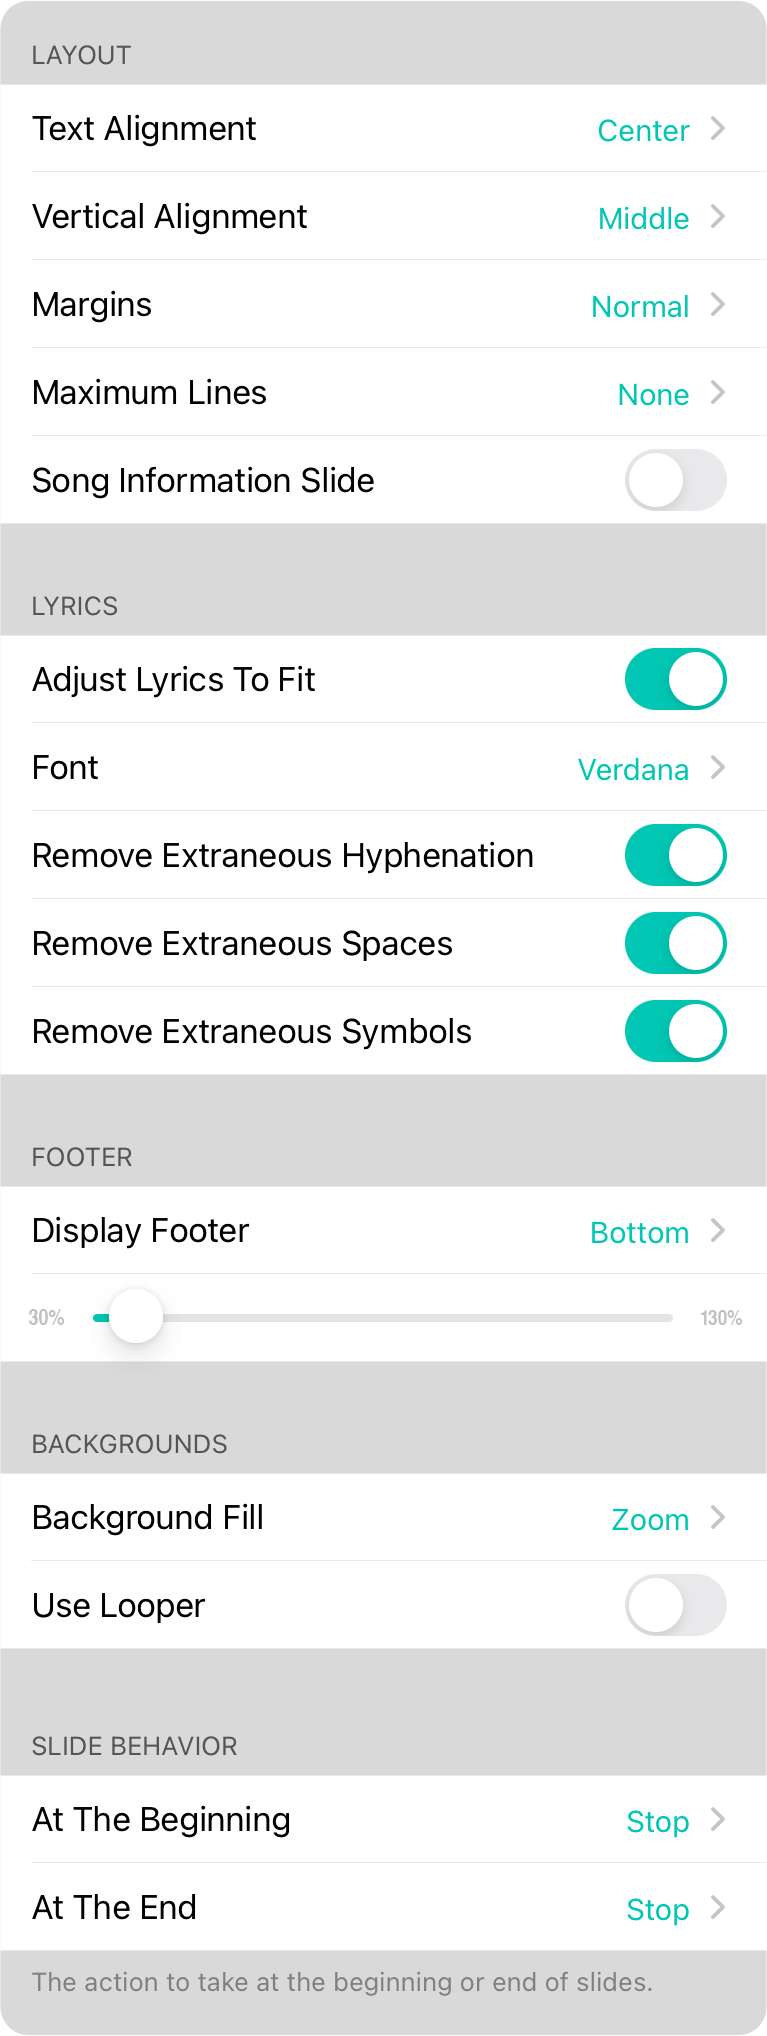
Most options for lyrics projection such as the background color, image, gradient and font selections are made in the External Video Menu. However, system-wide settings can be made in the settings screen for lyrics projection.
Font
Choose the font to use for lyrics projection. The standard font is Verdana. Options include:
- Baskerville
- Courier
- Georgia
- Helvetica
- Verdana
Text Alignment
Lyrics are horizontally centered on the screen by default but can also be aligned:
- Left aligns the text to the left side of the screen.
- Center the text in the middle of the screen. Default.
- Right aligns the text to the right side of the screen.
Vertical Alignment
Lyrics are placed in the middle of the height of the screen but can also be positioned:
- Top positions the text at the top of the screen.
- Middle positions the text in the middle of the screen. Default.
- Bottom positions the text at the bottom of the screen.
Margins
Use this to control how close the text of lyrics can come to the edge of the screen. Options include:
- None places the lyrics right up to the edge of the screen.
- Hairline makes the margins 1% of the width of the screen.
- Thin makes the margins 2% of the width of the screen.
- Normal makes the margins 4% of the width of the screen. Default.
- Thick makes the margins 6% of the width of the screen.
- Thicker makes the margins 8% of the width of the screen.
- Thickest makes the margins 10% of the width of the screen.
Maximum Lines
Use this option to allow longer sections of lyrics to be automatically divided into subsections. The use case for this is if you want to place two lines of lyrics below a live video feed. If enabled, you tap on the section repeatedly to move through the subsections of lyrics.
Options include:
- None turns off subsections and displays the full text of the section. Default.
- 1-5 lets you select how many lines to display maximum. OnSong uses this value to optimize the number of lines to display. For instance if your section has five lines and you set this to two lines, the section will be divided into three subsections containing the first two, the next two and the last one lines.
Adjust Lyrics To Fit
This option prevents text from wrapping lines when projecting lyrics. This is enabled by default since it is assumed that lines and stanzas are designed to aid in phrasing of the melody. If turned off, the lyrics may be wrapped if the font size is set too large.
Display Footer
The footer contains the song title, artist, license and copyright information. You can change the position of the footer to:
- Off turns the footer off completely.
- Bottom places the footer at the bottom left of the screen. Default.
- Top places the footer at the top left of the screen.
Footer Size
This slider allows you to adjust the size of the footer in relation to the font size used for the lyrics. The default value is 1/3 of the size of the lyrics font.
Background Fill
Determines how background images or videos are scaled when they are not the same aspect ratio of the video device. Options include:
- Fit changes the size of the background image within the bounds of the video screen, maintaining the aspect ratio of the background but allowing for letterboxing to occur.
- Stretch stretches the background to fit the size of the video screen, allowing for the image to be stretched beyond it's original aspect ratio.
- Zoom Increases the size of the background while maintain it's aspect ratio to fill the external screen without letterboxing. Default.
Stage Monitor Settings
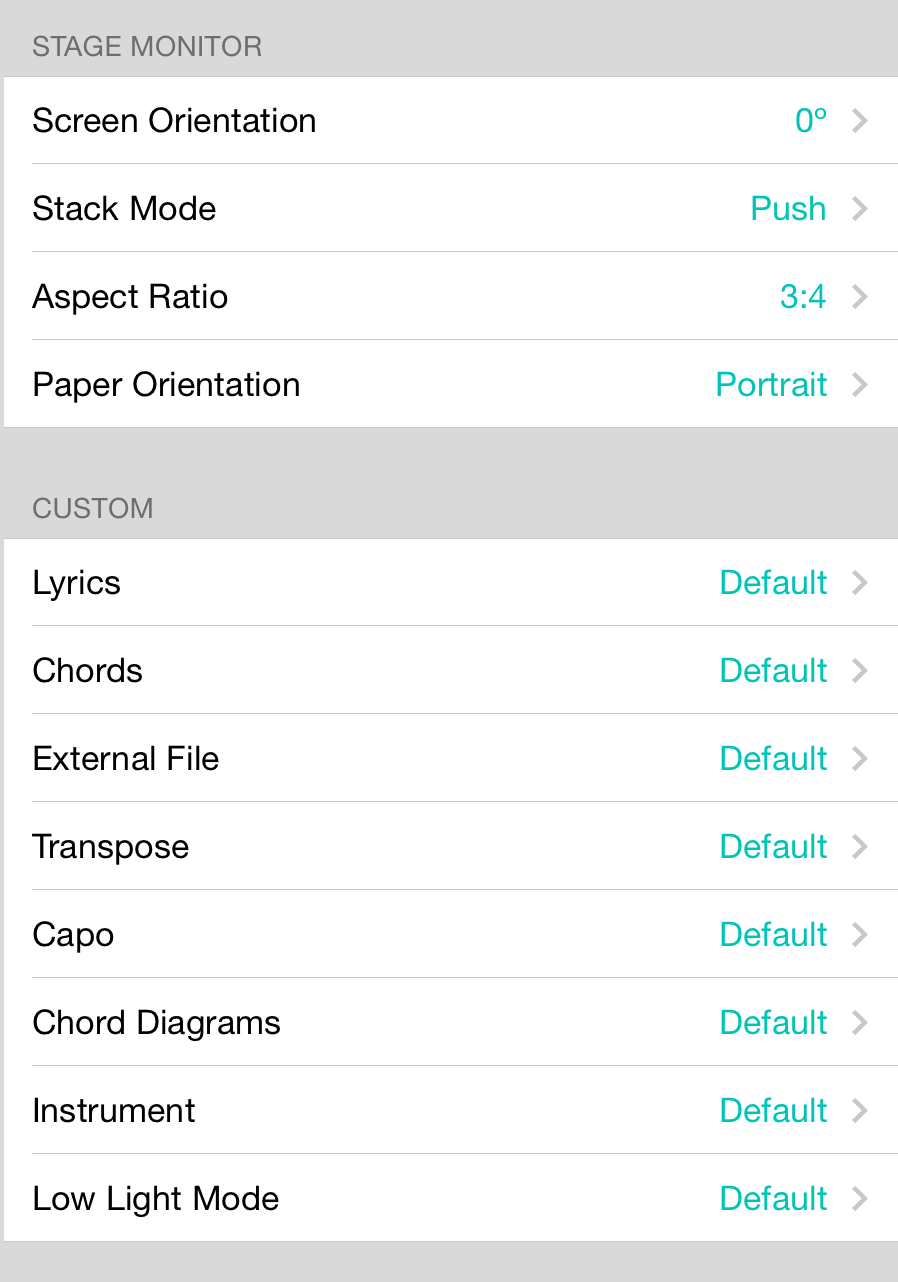
Stage monitor settings help you configure how chord charts appear on external displays when using stage monitor mode. You can switch to this using the Mode Buttons in the External Video Menu.
Screen Orientation
Use this to change the orientation of the screens you will be outputting. For instance, if you use a monitor in the portrait orientation, set this to either 90° or 270°. The default setting is 0°.
The number of chord charts that are displayed depends on what you select for Paper Orientation. For instance, if the paper orientation is portrait, but the orientation is landscape (0° or 180°) then two chord charts are displayed side-by-side. If the the landscape orientation is used, then only one sheet will be displayed.
The opposite logic applies when the screen orientation is portrait (90° or 270°). In that case, only one sheet is displayed if portrait is selected in Paper Orientation.
Stack Mode
If the Aspect Ratio of the screen is too narrow to hold paper side-by-side with space in between, then the paper must be stacked. The following methods can be selected:
- Push will push the next chord chart in the set off the page. This will provide a preview of most of the chord chart while keeping the current chord chart mostly on the screen. Default.
- Overlap places the next chord chart in the set over top of the current chord chart. This could cover up some of the right edge of the current chord chart.
- Underlap places the next chord chart in the set under the current chord chart. This could result in the left edge of the second chord chart being obscured by the current chord chart.
Aspect Ratio
This allows you to define the size of the paper you would like to use. This is expressed as standard resolution multipliers. In other words, the relative width of the size is the first value with the relative height of the size being the second component after the colon.
- Automatic uses the aspect ratio of the current device's screen.
- US Letter uses an aspect ratio equivalent to a letter-sized piece of paper - 8.5" by 11".
- A4 uses an aspect ration equivalent to an A4 sheet of paper - 210mm x 297mm.
- 9:16 is the standard HD resolution used on 720p and 1080p devices.
- 2:3 is the standard resolution of the original iPhone screen size.
- 3:4 is used on smaller monitors such as 1024x768 or 800x600. Most projectors use this aspect ratio.
- 1:1 will create a square sheet of paper.
Paper Orientation
This can be used to change the orientation of the paper on which chord charts are drawn. This along with the screen orientation will determine how many chord charts are displayed on the external monitors.
- Portrait results in a tall sheet of paper. Default.
- Landscape results in a wide sheet of paper.
Custom
What gets outputted to the stage monitors can be different than what appears on the device running the external video devices. Use the following to customize what your team sees.
- Lyrics allows you to turn lyric display on or off. Turn off if you are a guitarist that don't need no stinking lyrics. Turn it on otherwise. Default is "default" which uses the preference from the shared version.
- Chords allows you to turn chords on or off. If you are a vocalist, you can choose to turn the chords off for instance. Default is "default" which uses the preference from the shared version.
- External File will allow you to use or not use the external file of the song if it exists. Pianists may turn this on to receive a lead sheet or score while the rest of the team receives a chord chart. Default is "default" which uses the preference from the shared version.
- Transpose determines if the song to be transposed in its declared key or not. You can use this to write a song in a key that can be used for one instrument, and then transposed to another. Default is "default" which uses the preference from the shared version.
- Capo determines if capo should be applied to the chord chart. Guitarists should turn this on and bassists and pianists can turn it off. Default is "default" which uses the preference from the shared version.
- Chord Diagrams allow you to determine if chord diagrams are drawn on your chord chart. You're expert huh? Fine. Shut up and turn it off then. Default is "default" which uses the preference from the shared version.
- Instrument allows you to choose the instrument that you play. This is used for drawing chords differently from you. We all know you play jazz ukulele, so just set it here. No more guitar chords for you. Default is "default" which uses the preference from the shared version.
- Low Light Mode lets you independently determine if the external display uses low light mode or not. If set to default, it will use the low light mode set on the host device.
Live Bar Settings
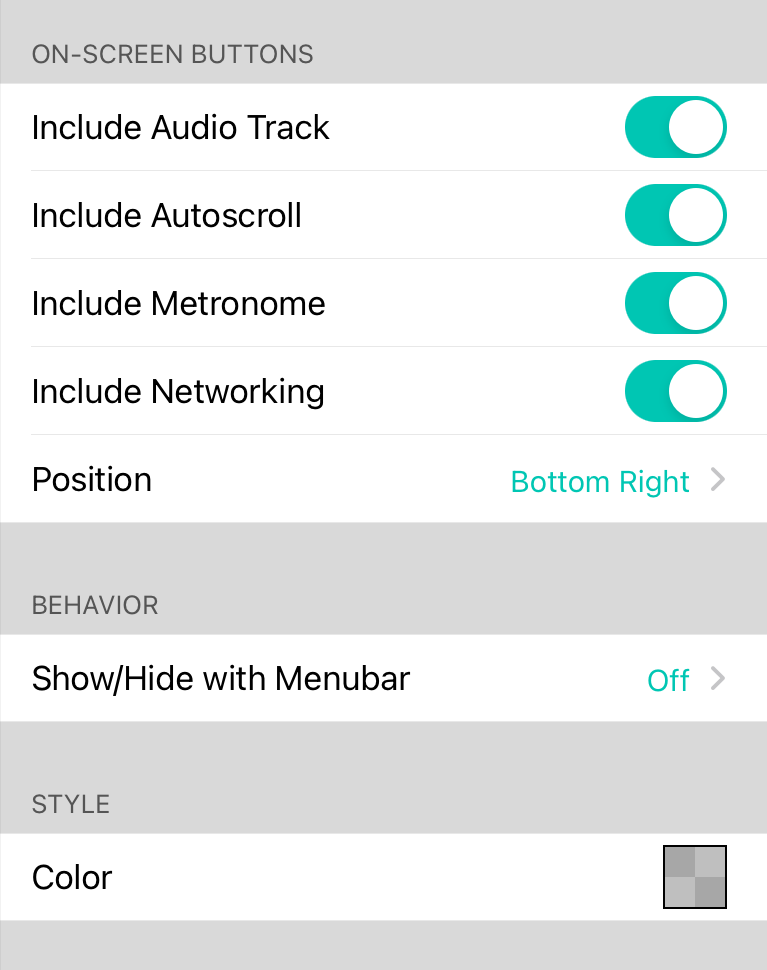
The live bar contains four buttons by default. These buttons are arranged in a square in the lower right corner of the screen. If you don't use all of the live bar functions, you may find it convenient to remove some of these buttons to avoid tapping them, or to remove visual clutter.
This section contains switches for each button, allowing you to turn them on and off as needed.
- Include Audio Track turns the audio live bar button on or off. Default is on.
- Include Autoscroll turns the autoscroll live bar button on and off. Default is on.
- Include Metronome turns the metronome live bar button on and off. Default is on.
- Include Networking turns the ad-hoc networking live bar button on and off. Default is on.
Configuring Live Bar Settings
Earlier versions of OnSong included additional sections on this screen. These have been moved to be accessed more readily from the settings screen as well as provide access from within the live bar menus.
- Audio options can now be found in Settings » Live Settings » Audio Playback.
- Autoscroll options can now be found in Settings » Live Settings » Autoscroll.
- Networking options can now be found under Settings » Menu Settings » Sharing.
These settings allow you to configure advanced options for live bar functions. Options are arranged by each live bar button with the topmost section reserved for changing the visibility of each button in the live bar on the lower right corner of the screen.
Audio
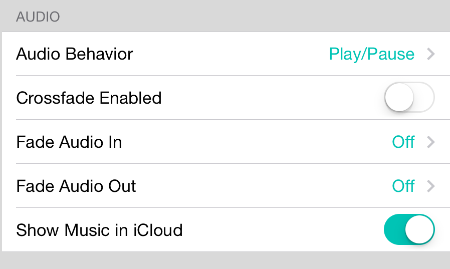
This section of live bar settings effect how audio playback functions in OnSong. The following settings can be used to change this behavior, if fading or crossfading of tracks should occur and if audio tracks in Apple Music (iTunes in the Cloud or iTunes Music Match) are available for linking.
Audio Behavior
You can change the behavior of the live bar button from the default Play/Pause method here. Your options are:
- Play/Pause will start playing the audio track from the beginning. Tapping on the button again will cause the track to pause, allowing you to resume playback where you left off.
- Play/Stop will start playing the audio track from the beginning! Tapping on the button again will stop the track, returning the playhead to the beginning of the song. Tapping on the button again will start the track from the beginning.
- Play Only is designed to prevent the song from accidentally being stopped. Tapping on the button will start playing the track from the beginning and will not stop playing song until it ends, or until another song is started.
Crossfade Enabled
This feature allows the track from one song to fade out while fading in a track from the next song. This can be used for the smooth transition between songs. If this feature is not enabled, only one song will play at a time, although fading will still take place. When this feature is enabled, OnSong will use an app-based player for music tracks instead of the device's built-in music player in the Music app. Note that features of the built-in player will not be available.
Crossfading is available on audio tracks available on the device that are DRM-free. If you are trying to playback DRM tracks or tracks that are hosted on iCloud, OnSong is forced to use the device's built-in player. This means that Crossfading will not function although OnSong will still fade in and out as possible.
Fade Audio In
This option allows you to choose a duration with which to fade audio in. Audio tracks do not fade in when started at the beginning. This means that fading only occurs if the track is started in the middle of the track.
Options for fade in duration include:
- Off no fading occurs. Default.
- Fastest fading is set to span 0.1 seconds.
- Faster fading is set to span 0.2 seconds.
- Fast fading is set to span 0.3 seconds.
- Normal fading is set to span 0.8 seconds.
- Slow fading is set to span 1.4 seconds.
- Slower fading is set to span 2 seconds.
- Slowest fading is set to span 3 seconds.
Fade Audio Out
This option allows you to choose a duration with which to fade audio out. Audio tracks do not fade out when ending the song. This means that fading only occurs if the track is stopped or paused in the middle of the track.
Options for fade in duration include:
- Off no fading occurs. Default.
- Fastest fading is set to span 0.1 seconds.
- Faster fading is set to span 0.2 seconds.
- Fast fading is set to span 0.3 seconds.
- Normal fading is set to span 0.8 seconds.
- Slow fading is set to span 1.4 seconds.
- Slower fading is set to span 2 seconds.
- Slowest fading is set to span 3 seconds.
Show Music in iCloud
OnSong will display audio tracks whether they are physically stored on the device, or stored in iCloud. Tracks played from iCloud will experience a delay when playback is started. Because of this and then chance that audio will not continue during a network interruption, you may want to disable any tracks being played from iTunes in the Cloud or iTunes Music Match.
When this option is turned on, all tracks are displayed for playback. By turning this option off, tracks will not be able to be selected using the Audio Track Picker or the Choose Custom Track Window.
Default is on.
Networking

While OnSong Connect is the preferred method of wireless networking, the OnCue method is still available for backwards compatibility. When using OnCue, you can choose to either use the version of a song made available by the master device, or to use your song.
If this option is enabled, OnSong will locate a chord chart in your library that matches the one used by the master device. This is done by matching on song title, CCLI # or number. If a match cannot be found, the master device's version is used instead.
By default, this is turned off.
If you are using OnSong Connect, you can customize how chord charts are viewed using the more robust Profile screen.
Autoscroll
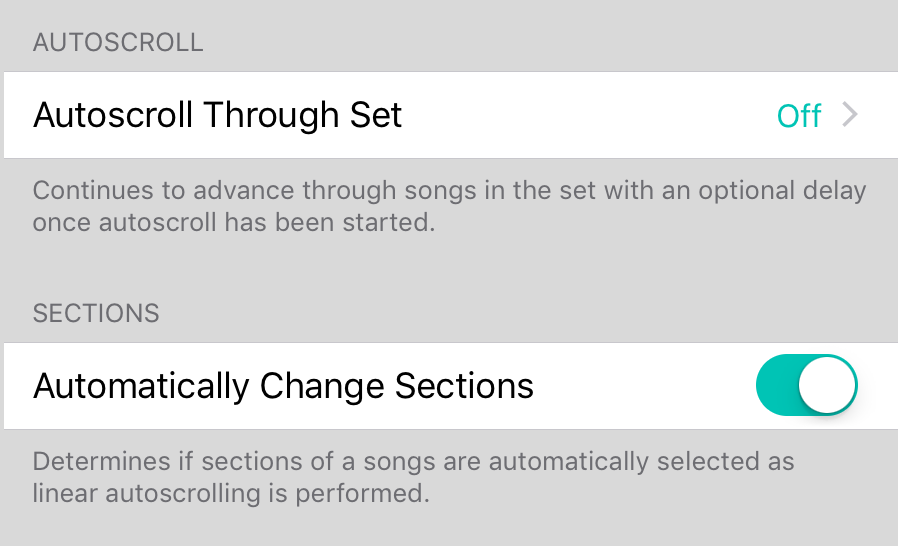
While autoscroll is fairly straightforward, there are a few options that can be customized. This section of live bar settings allows you to customize key aspects of autoscroll.
Autoscroll Continually
Autoscroll is normally used to scroll one song from top to bottom over a given duration. This means that you do need to switch to a new song in your set and toggle autoscroll on for each song.
When Autoscroll Continually is enabled, it allows OnSong to scroll through a song in the set and once then bottom of the song is reached, continue to the next song in the set. After an optional delay, autoscrolling continues. This allows an entire set to be navigated continually and hands-free.
Options include:
- Off disables continuous autoscroll, allowing only one song to be scrolled and requiring the user to navigate to the next song to continue. Default.
- Immediately switches to the next song in a set and immediately begins autoscrolling with no discernible delay.
- After n second(s) gives an optional duration of time to wait until autoscroll begins. This can be 1 to 5 seconds and then 10 to 30 seconds in increments of 5 seconds.
Autoscroll Trigger
Triggers allow an action to be perform simultaneously with another action. An autoscroll trigger perform an additional function when autoscroll is started. This can be used to start autoscrolling and backing track playback at the same time with a single action.
Options include:
- None no other action is performed. Default.
- Audio toggles the audio playback on when autoscroll starts.
- Metronome toggles the metronome on when autoscroll starts.
Vertical Position Color
When autoscrolling is occurring, it may be difficult to judge where you are located in a song. OnSong uses a colored line on the left side of the screen to indicate the relative position of the chord chart at the given time. The shape will align with the approximate place in the song according to the lyrics and chords.
You can change the color of this line with this option to one of the following options:
- None turns off the vertical position ruler.
- Red displays the ruler in red. Default.
- Orange displays the ruler in orange.
- Green displays the ruler in green.
- Blue displays the ruler in blue.
- Purple displays the ruler in purple.
- Pink displays the ruler in pink.
- Grey displays the ruler in grey.
Automatically Change Sections
By default, this is turned on. This means that sections will be automatically selected as linear autoscroll is performed which will change lyrics or send MIDI commands. You can turn this off if you intend to control section selection manually.
Metronome Settings
The metronome in OnSong is capable of both an audio metronome, as well as a visual version. Configuration of these two aspects of the metronome are handled separately.
Audio Settings
Configure the metronome sound to suit your tastes as well as other basic parameters in the audio section.
Visual Settings
Configure the way the metronome blinks on the screen when an audio metronome is not appropriate.
Haptic

Haptic feedback can be used to allow users on iPhone devices to feel the metronome beat.
Style
This is the style of feedback to expect on the device. This can be set to one of the following:
- None uses no haptic feedback.
- Light provides a light tap.
- Medium provides a medium tap.
- Heavy provides a heavy tap.
Audio Settings
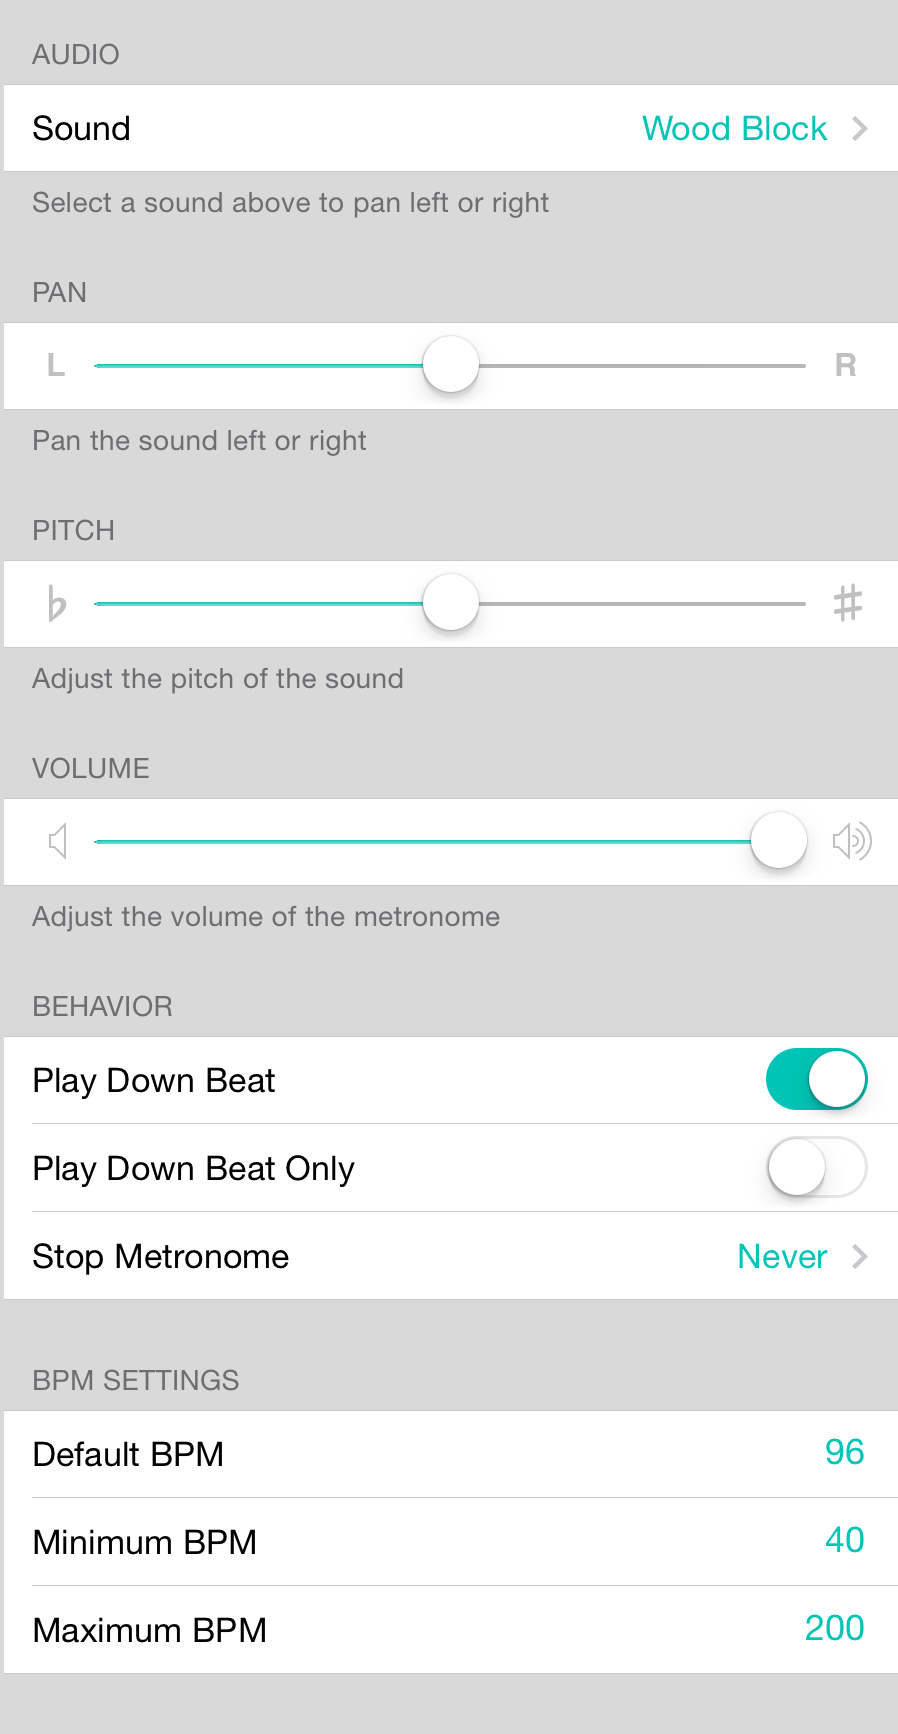
The metronome in OnSong can play audio to provide reinforcement for musicians to play to a click track. The audio settings section in metronome settings allows you to configure how the metronome sounds. It has the following options:
Sound
OnSong supports different sounds for the metronome including:
- Wood Block is the sound of the wood block instrument with the down beat being a higher pitched sound. Default.
- Claves is the sound of claves with the down beat being a higher pitch sound.
- Light Tap is a very subtle tap with the down beat having a higher pitch sound.
- Bass Drum with Snare plays a bass drum on the beats and a snare on the down beat.
- Bass Drum with Crash plays a bass drum on the beats and a crash cymbal on the down beat.
- Hi Hat and Snare plays a hi hat for the beats with a snare drum on the down beat.
- Hi Hat Open/Close plays the open and closing of a hi hat for the beats.
Pan
This is used to pan the metronome to the far left and right channels. There is a bug in iOS that does not permit audio to be completely panned out of one channel.
Pitch
This is used to increase or decrease the pitch of the metronome sound.
Volume
This is used to adjust the volume of the metronome independent from the master volume of OnSong.
Behavior
This controls how the metronome works. You can change the following options:
- Play Down Beat when turned on, a different sound is played for the down beat or first beat of the rhythm. When off, only the regular beat sound is played. Default is on.
- Play Down Beat Only while only play the first beat of the pattern if turned on. This results in the 2, 3 and 4 beats being omitted.
- Stop Metronome allows the metronome to play for a given number of measures and then stops the metronome to allow the song to be played without a click track. Default is set to Never which plays the metronome continuously.
BPM Settings
These settings are used to apply constraints to the metronome and tempo settings in the app.
- Default BPM is used for calculations requiring a tempo when none is set. Default value is 96 BPM.
- Minimum BPM is the lowest acceptable tempo that can be entered in the system. Default is set to 40 BPM.
- Maximum BPM is the highest acceptable tempo that can be entered in the system. Defautl is 200 BPM.
Visual Settings
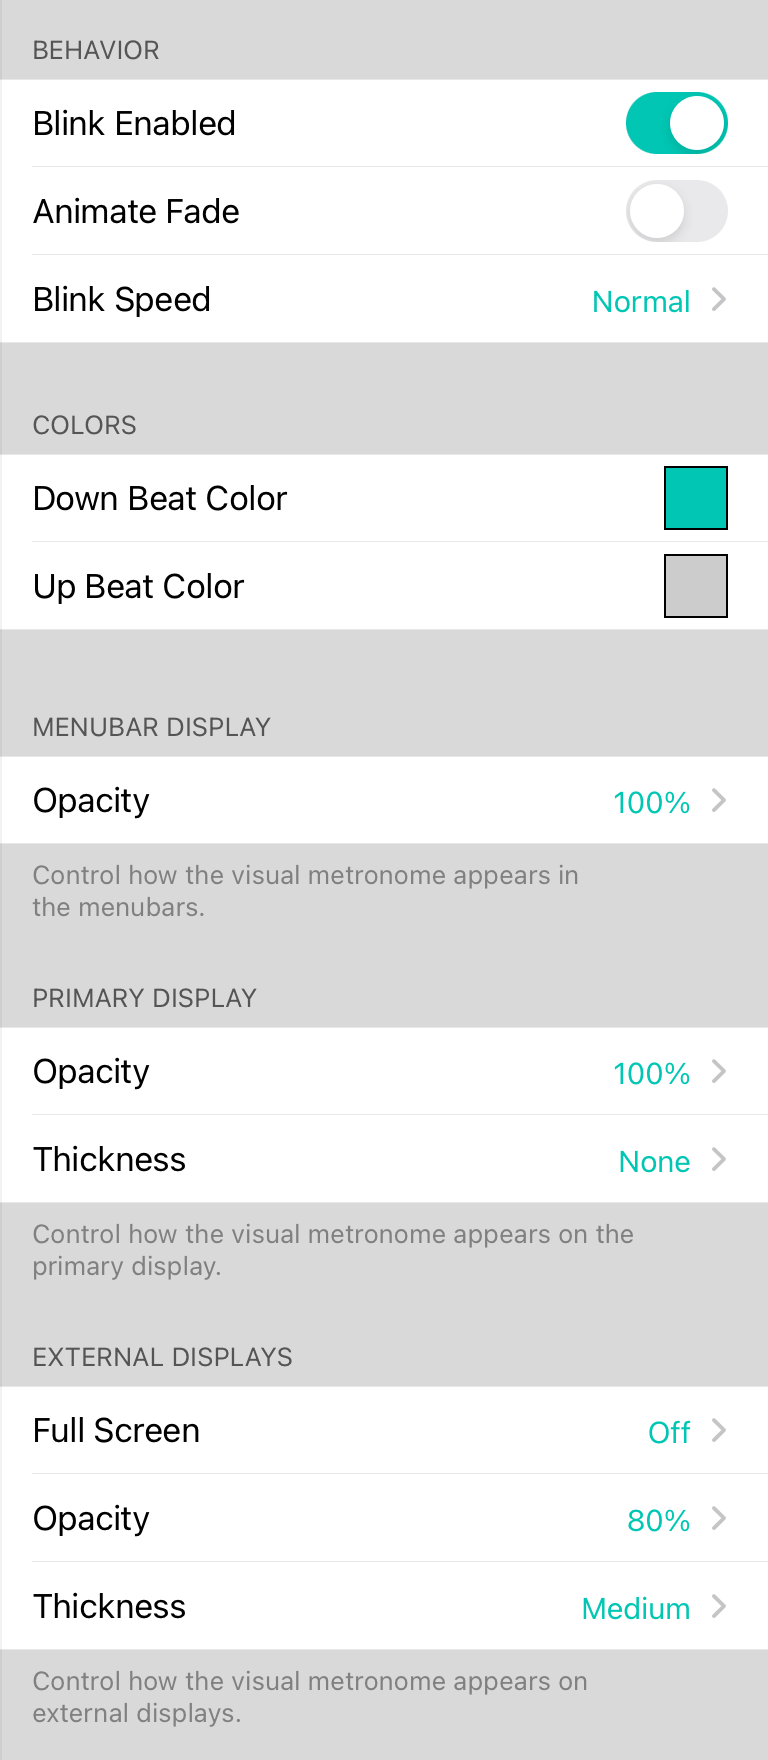
In some settings an audio metronome is not suitable. In this case, a visual metronome can be used to start a song in the right tempo. The visual settings section in metronome settings provides the following options to customize how the metronome appears.
Colors
This is the color that is flashed when a regular or down beat is played. Set the colors to be different to differentiate the down beat from the rest. The down beat color represents the first beat in the measure. The up beat color represents all other beats.
Tapping on a row will display the Color Builder allowing you to customize the color palette or pick from one of these preset colors:
- Black turns of the visual flash for the beat.
- Red flashes red. Default.
- Orange flashes orange.
- Green flashes green.
- Blue flashes blue.
- Purple flashes purple.
- Pink flashes pink.
- Grey flashes grey.
Menubar Display
The visual metronome blinks the menubar of OnSong. You can adjust the opacity of this blinking to make it less intense. Options include Off to 100% in 10% increments. Default is 100%.
Primary Display
In addition to blinking the menubar, OnSong can also flash the border of the primary display. This is useful if you are playing without a menubar or need additional visual reinforcement. You can change the opacity from Off to 100% in increments of 10%. By default, the opacity is set to 100%. You can also adjust the thickness of this flashing border. Thickness can be adjusted to:
- None turns off the border flashing of the metronome. Default.
- Hairline produces a very subtle border of one pixel.
- Thin produces a border of 2 pixels.
- Medium produces a border of 4 pixels.
- Thick produces a border of 8 pixels.
- Thicker produces a border of 12 pixels.
- Thickest produces a border of 24 pixels.
External Displays
When using stage monitor mode your musicians may also want to have a metronome. This section allows you to adjust how this appears. You can change the opacity from Off to 100% in increments of 10%. By default, the opacity is set to 80%. You can also adjust the thickness of this flashing border. Thickness can be adjusted to:
- None turns off the border flashing of the metronome.
- Hairline produces a very subtle border of one pixel.
- Thin produces a border of 2 pixels.
- Medium produces a border of 4 pixels. Default.
- Thick produces a border of 8 pixels.
- Thicker produces a border of 12 pixels.
- Thickest produces a border of 24 pixels.
Menu Settings
Menu settings are used to configure how the menubar in OnSong works along with customization options for each of the items controlled by the menubar. This screen is divided into the following areas:
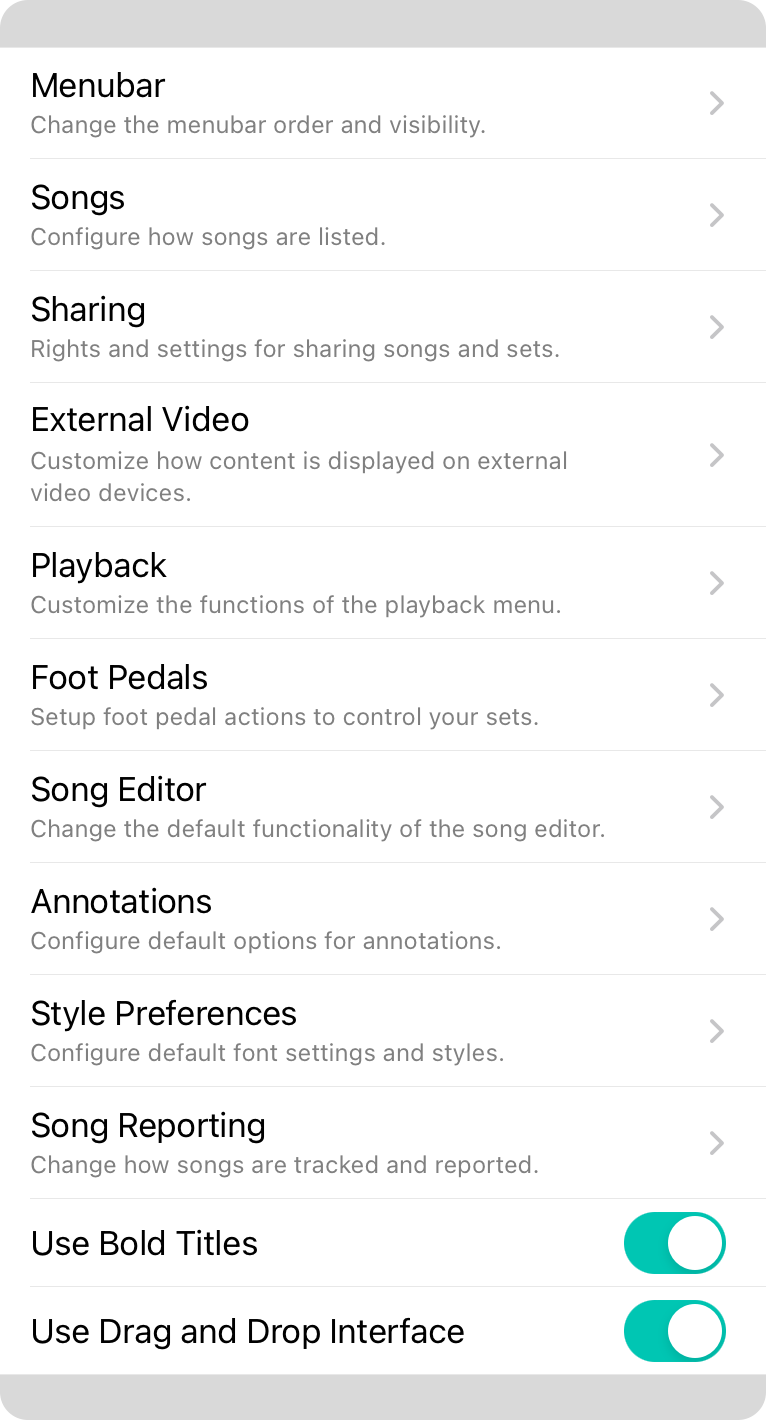
Menubar
Change the menubar icon order and it's visibility.
Songs
Configure how songs are listed.
Sharing
Rights and settings for sharing songs and sets.
External Video
Customize how content is displayed on external video devices.
Playback
Customize the functions of the playback menu.
Foot Pedals
Setup foot pedal actions to control your sets.
Song Editor
Change the default functionality and appearance of the song editor.
Sticky Notes
Configure the default appearance for new sticky notes.
Style Preferences
Configure default font settings and styles.
Song Reporting
Change how songs are tracked and reported.
Use Dark Menus in Low Light Mode
This switch is turned on by default and will give menus a black background with white text when using Low Light Mode. If turned off, the menus will appear with black text on a white background. The default setting is on.
Annotations
Annotations can have default parameters set so that every new annotation starts with default styling.
Clips
Allows you to configure default formatting for clips.
Sticky Notes
Allows you to configure default formatting for sticky notes.
Text
Allows you to configure default formatting for text annotations.
Drawings
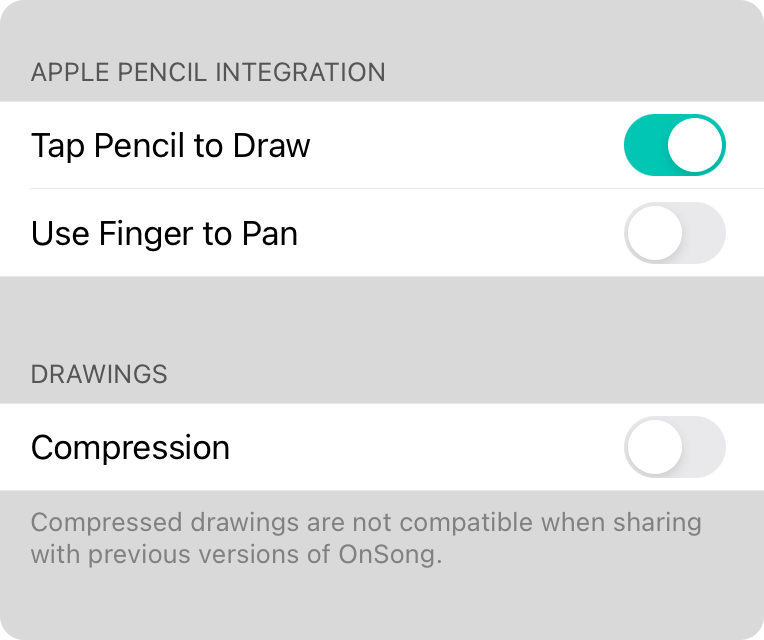
You can use these settings to determine how you can interact with the drawing too. It has the following settings:
Tap Pencil to Draw
This option allows an Apple Pencil to integrate with OnSong. You can tap on the screen with the Apple Pencil to switch to the drawing mode without having to navigate into the annotations menu. This is on by default.
Use Finger to Pan
This option lets you switch between the Apple Pencil and panning the drawing canvas area with your finger. This is off by default.
Compression
Drawings are saved as curve and point data and depending on the size of the drawings, can grow quite large. This feature will compress this data in the OnSong library to keep the size of the OnSong library smaller. This is off by default.
Clips
You can set up default formatting options for clips. This includes the following attributes:
Colors
These are attributes that effect how the clip is colored:
Tint Color
By default, no tint color is used and the natural colors of the image are used. If a tint color is specified, colors that are monochromatic colors are converted into the tint color instead. For instance, if a QR code is displayed, the black or gray portions are output in the tint color.
Background Color
By default, no background color is used and the image is displayed as-is. If a background color is used, the white, or background calculated background color of the image, is displayed with that color. If transparent is specified as this color, the image can be made semi-transparent.
Opacity
The default opacity of the sticky note. The opacity can be set between 25-100% (default).
Rotation
The rotation of the note that can be set between -90º and 90º. Default is 0º.
Scale
The scale of the clip. This can be set between 50% and 150%. Default is 100%.
Shadow
The shadow opacity of the clip. This can be set between 0-100% (default).
Sticky Notes
You can set up default formatting options for sticky notes. This includes the following attributes:
Font
These are attributes that effect how the text in the sticky note appears:
Font Family
The font to use for formatting the text. Default is Marker.
Font Size
The size of the font. Keep in mind that the font size automatically is adjusted to fit inside the sticky note. Default is 48pt.
Font Style
This lets you choose between normal, bold, italic, or bold and italic. This will be applied if supported by the font. Default is normal.
Text Alignment
Determines how the text is aligned inside of the sticky note. Options include Left (Default), Center, and Right.
Color
This is the color of the text in the sticky note.
Paper
This provides attributes about the virtual paper the sticky note is written on:
Color
This is the background or paper color of the sticky note. Default is yellow.
Opacity
The default opacity of the sticky note. The opacity can be set between 25-100% (Default).
Rotation
The rotation of the note that can be set between -90º and 90º. Default is 0º.
Scale
The scale of the sticky note. This can be set between 50% and 150%. Default is 100%.
Shadow
The shadow opacity of the sticky note. This can be set between 0-100% (Default).
Typing
This section allows you to configure how typing in the sticky note is performed.
Autocaptialize
Determines if text is automatically capitalized. This includes Never (Default), Words, or Sentences.
Autocorrect Spelling
Determines if spelling should be automatically corrected. Default is off.
Inline Editing
This determines how inline editing is performed.
- Available is the default option which allows inline editing to be performed, but the sticky note editor appears for new sticky notes. (Default)
- Always will always use inline editing for new sticky notes.
- Never disables inline editing similar to previous versions.
Text
You can set up default formatting options for sticky notes. This includes the following attributes:
Font
These are attributes that effect how the text in the sticky note appears:
Color
This is the color of the text.
Font Family
The font to use for formatting the text. Default is to use the color of the text on the page which reacts to low light mode.
Font Size
The size of the font. Keep in mind that the font size automatically is adjusted to fit inside the sticky note.
Font Style
This lets you choose between normal, bold, italic, or bold and italic. This will be applied if supported by the font.
Text Alignment
Determines how the text is aligned inside of the sticky note. Options include Left, Center, and Right.
Background
This provides background area behind the text. Default is transparent.
Color
This is the background displayed under the text area.
Opacity
The default opacity of the sticky note. The opacity can be set between 25-100% (Default).
Rotation
The rotation of the text that can be set between -90º and 90º. Default is 0º.
Scale
The scale of the text annotation. This can be set between 50% and 150%. Default is 100%.
Shadow
The shadow opacity of the text annotation. This can be set between 0-100%. Default is 0%.
Typing
This section allows you to configure how typing in the text annotation is performed.
Autocaptialize
Determines if text is automatically capitalized. This includes Never, Words, or Sentences (Default).
Autocorrect Spelling
Determines if spelling should be automatically corrected. Default is on.
Inline Editing
This determines how inline editing is performed.
- Available is the default option which allows inline editing to be performed, but the text editor appears for new text annotations. (Default)
- Always will always use inline editing for new text annotations.
- Never disables inline editing, requiring use of the text editor.
Playback Menu Settings

The playback menu settings allow you to toggle Apple Music Suggestions on and off. Turning this off will remove Apple Music Suggestions from the bottom of the Playback Menu and may speed up the loading of this menu in some cases.
Foot Pedals

The foot pedals setting screen allow you to perform many of the functions of the Foot Pedal Setup Screen without the graphical user interface. Options include:
Actions
In this section, you can choose actions for each pedal. Remember that pedals with two foot switches would be pedals 1 and 3.
Scroll Behavior
When a scroll down or scroll up action is performed, it can be handled in various ways. These include:
- Scroll Page scrolls down the screen a certain percentage of the height of the screen. By default this is 75% of the height and can be set in the scroll amount slider below. Default.
- Jump to Section moves through the sections of the song. Not only does this select the section, but also scrolls it into view.
- Jump to Page is used when viewing PDF files or text-based chord charts that have page breaks added. This will scroll the song to the top of each page.
- Jump to Song will not scroll the song but rather navigate back and forth through the set.
Half Page Scrolling
When pedal behavior is set to Jump to Page, it may miss content if the device is in the landscape orientation. Half page scrolling allows scrolling to occur halfway through a page with the following options:
- Automatic will use half page scrolling when the page is longer than the height of the screen and not scroll in half pages otherwise. Default.
- Off will never us half page scrolling.
- On will always use half page scrolling.
Disable Section Navigation
When lyrics projection is enabled in conjunction with foot pedals, OnSong will automatically switch to the Jump To Section scroll behavior to allow for controlling lyrics. You can disable this by toggling this option.
Disable Set Navigation
Scroll up and scroll down actions will normally go to the previous or next song in the set once the top or bottom of the chord chart is reached. To avoid allowing OnSong to navigate the songs in the set with the foot pedals, turn on this option. This will require you to swipe or tap the screen, or use another action to navigate through your set.
Scroll Amount
When using the Scroll Page pedal behavior, OnSong will scroll the page a specified percentage of the screen height. You can adjust this between 25% and 100%. The default value is 75% to allow some overlap.
Scroll Speed
Animation helps maintain context through the scrolling action. You can adjust this speed from zero seconds (no animation) to three seconds. Default is 0.3 seconds which is the standard animation speed of scrolling.
Forward Pedal Trigger
The forward pedal trigger is an action to take the first time the Scroll Down foot pedal is pressed. This allows one foot pedal to have multiple uses. After the action is triggered, the pedal returns to its normal scroll down action. Options include:
- None performs no action and scrolls down on the first press. Default.
- Audio starts the audio track playback.
- Autoscroll begins autoscrolling the chord chart. Note that you can also set an autoscroll trigger to perform more than one action at a time like starlings audio and autoscroll simultaneously.
- Metronome toggles the metronome.
Start Set Trigger
When using foot pedals to navigate to the start of the set, you can have an action performed when the scroll up pedal is pressed at the beginning of the set. Options include:
- None performs no action. Default.
- Show Songs List will display the songs menu to pick a different list or song.
- Previous Set will load the previous set in the currently selected list of sets. For instance, if you choose a set folder in a particular order, then the set preceding the current set will be loaded.
Finish Set Trigger
When using foot pedals to navigate to the end of the set, you can have an action performed when the scroll down pedal is pressed when on the last song of the set. Options include:
- None performs no action. Default.
- Show Songs List will display the songs menu to pick a different list or song.
- Next Set will load the next set in the currently selected list of sets. For instance, if you choose a set folder in a particular order, then the set succeeding the current set will be loaded.
Pedal Setup
When using the Foot Pedal Setup Screen, a graphical representation of the pedal model is used. However, you can set up other pedals using this screen.
Show Icon in Menubar
This option will show the Foot Pedal Setup icon in the Menubar. Turn this off to remove the icon form the menubar. Default is on.
Actions

You can set OnSong to perform different actions when certain events occur such as a screen tap or foot pedal press. The following options are displayed for selection within the settings screen.
- None no action is performed.
- Capo Up increases the capo for the song by one fret.
- Capo Down decreases the capo for the song by one fret.
- Scroll Up scrolls the song up. If using a foot pedal, performing this action once the top of a song is reached will navigate to the previous song in the set.
- Scroll Down scrolls the song down. If using a foot pedal, performing this action once the bottom of a song is reached will navigate to the next song in the set.
- Next Song navigates to the next song in the set.
- Previous Song navigates to the previous song in the set.
- Next Slide advances to the next slide when projecting lyrics.
- Previous Slide advances to the previous slide when projecting lyrics.
- Show/Hide Menubar toggles the menubar on and off for a full screen view.
- Show Songs List displays the song menu. When using non-keyboard input such as MIDI, this action will also hide the songs menu.
- Scroll Faster decreases the duration of the song by 30 seconds which causes autoscroll to speed up.
- Scroll Slower increases the duration of the song by 30 seconds which causes the autoscroll to slow down.
- Toggle Audio play, pause or stop the backing track associated to the song.
- Toggle Autoscroll starts or pauses the autoscroll.
- Toggle Capo turns the capo on or off.
- Toggle Low Light Mode turns low light mode on and off. When on, the background of the song is black with white foreground text.
- Toggle Metronome turns the metronome on and off.
- Toggle MIDI Start/Stop sends the MIDI start or stop command.
- Mute Metronome mutes the metronome, allowing it to continue to keep time and optionally blink the menubar. This is great to use for practice to see if the beat can be maintained without click reinforcement.
- Tap For Tempo use to change the tempo of the current song. This should not be used on high latency foot pedals like the AirTurn BT-105 since they are designed to forgive accidental foot taps or double entry.
- Tempo Up increase the tempo of the song by 1 BPM.
- Tempo Down decreases the tempo of the song by 1 BPM.
- Transpose Up transposes the song up by one half step including enharmonic variations.
- Transpose Down transposes the song up down one half step including enharmonic variations.
- Volume Up increases the master volume of the device by 5%.
- Volume Down decreases the master volume of the device by 5%.
- Blackout Lyrics blacks out the lyrics for lyrics project by hiding lyrics and removing the background.
- Clear Lyrics shows or hides the lyrics during lyrics project while retaining the background image or video.
- Playback Pitch plays the pitch of the song for a cappella groups. This can be configured using the Metadata Editor of the Song Editor.
- Shift Up shifts to the next gear in the configured gears.
- Shift Down shifts to the previous gear in the configured gears.
- Unshift shifts to the first gear in the configured gears.
Pedal Setup
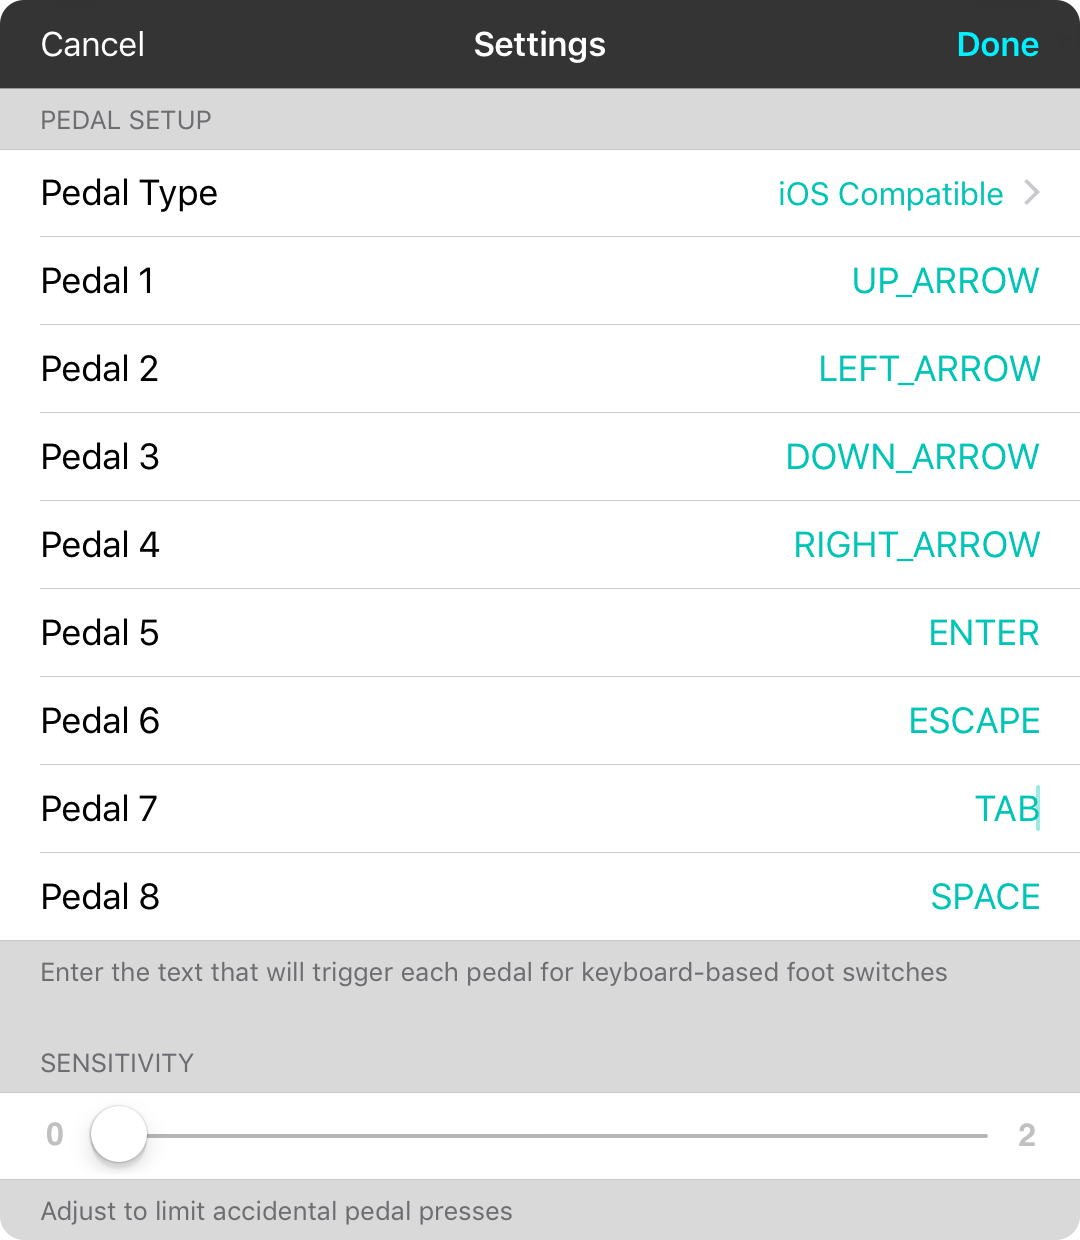
The pedal setup screen is used when configuring advanced options for foot pedals. Typically this screen doesn't need to be accessed since foot pedals can be easily configured for most applications in the Foot Pedal Setup Screen.
The following options are available when setting up custom foot pedals:
Pedal Type
OnSong has drivers that are used for different foot pedal types. These include:
- None which turns off any foot pedal communication.
- iOS Compatible can be configured to use up and down arrows as well as character input. You can configure foot pedals below to respond to different character inputs.
- AirTurn uses foot pedal drivers by AirTurn that can be used with all their foot pedal models. This uses the four arrow keys on a computer keyboard as pedals. Default.
Pedal 1-4
When using the iOS Compatible Pedal Type, you will need to configure character input to match pedals. For instance, you could set Pedal 1 as "a", Pedal 2 as "s", Pedal 3 as "w" and Pedal 4 as "z" (excluding quotes). OnSong will then send pedal notifications when those characters are encountered. OnSong can also listen for full phrases as well.
Once the characters are matched, the pedal action is performed as configured in the previous screen.
Sensitivity
This is used to prevent accidental pedal presses by waiting a moment before responding to duplicate requests. You can adjust the sensitivity between 0 and 2. This is the number of seconds to wait until allowing a duplicate pedal input. Default is zero seconds.
Menubar
Menubar settings allow you to configure how the menubar behaves in OnSong by setting the following options:

Auto Show/Hide Menubar
This switch allows the menubar to automatically hide when a song is picked using the Songs Menu. Toggling the menubar back on, will cause the Songs Menu to automatically reappear. This hides and shows the user interface with one tap. Default is off.
Prevent Menubar From Hiding
The visibility of the menubar automatically toggles on and off when you tap in the middle of the song viewer. You can disable any kind of menubar toggling by turning on this option. The first time the user taps in the middle of the screen, a prompt appears to configure this setting. Default is off.
Reverse Menubar
Some users prefer to have the Songs Menu on the right of the screen. You can flip the menubar to mirror it's contents by turning this option on. Default is off.
Song Editor
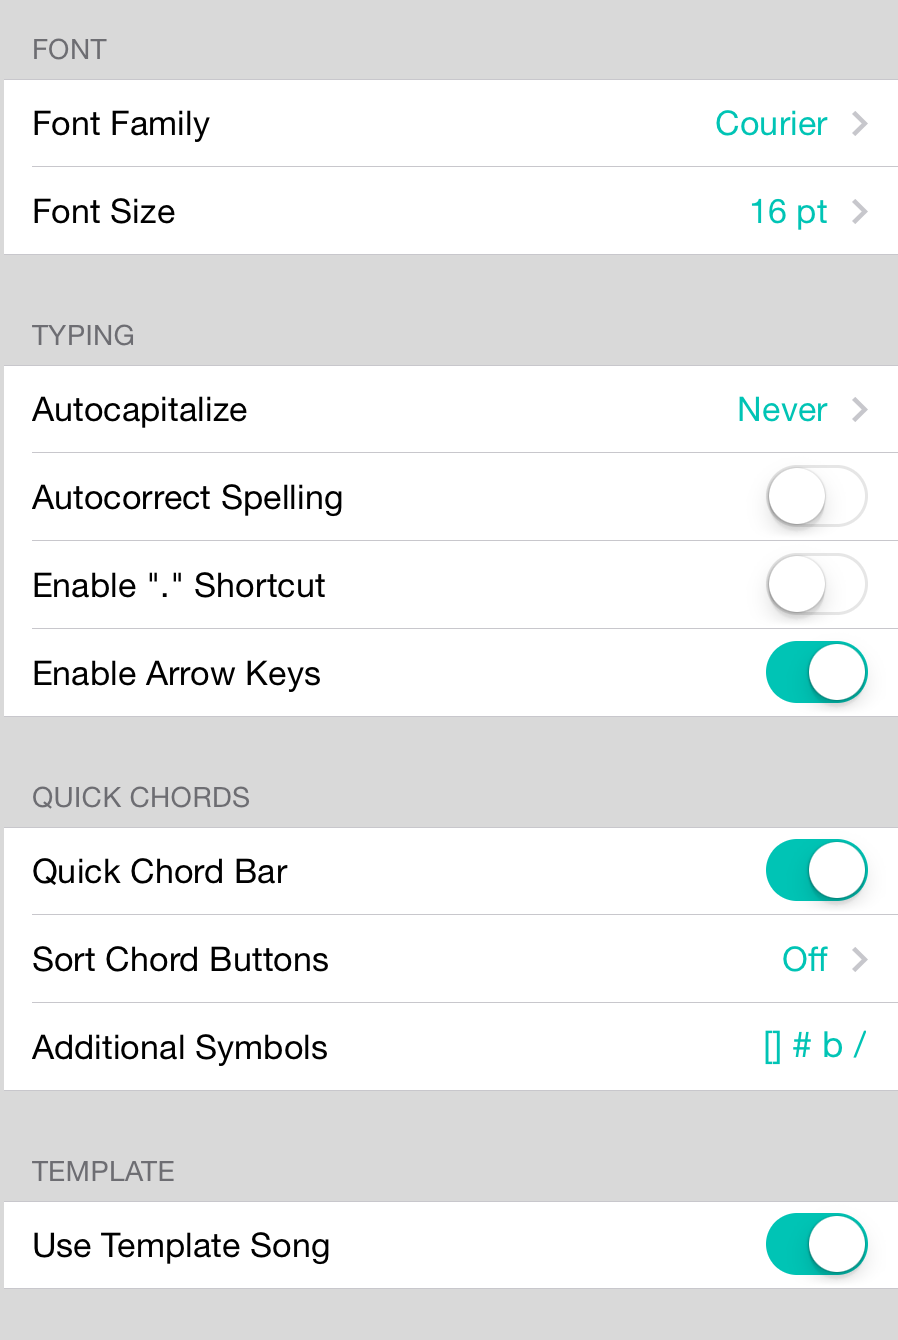
Song editor settings allow you to customize how the Song Editor looks and behaves. You can make the following modifications:
Font Family
The font used in the song editor is a fixed-width font which helps you align chords with lyrics. You can change the font to Anadale Mono, Courier, Courier New or Lucida Console. Default is Courier.
Font Size
This is the size of the song as it appears in the song editor. You may want to increase the font size for better visibility or to more easily place the text cursor. Make the font size smaller to fit more content on the screen. You can adjust the size between 6 point and 30 points. The default size is 16 points.
Autocapitalize
The built-in text editor in iOS automatically capitalized sentences. This is turned off by default in OnSong to allow more control over chords and lyrics. You can change this to:
- Never requires you to capitalize words and sentences manually. Default.
- Words will automatically capitalize every word.
- Sentences will automatically capitalize each sentence.
Autocorrect Spelling
The built-in text editor in iOS will automatically correct spelling. Because the song editor is used to type both lyrics and chords, this is turned off by default. You can turn it on to receive automatic spelling corrections.
Enabled "." Shortcut
The built-in text editor in iOS will automatically add a period when the spacebar is tapped twice. This can cause issues when using spaces to align chords. This shortcut is disabled in OnSong by default, but you can turn it back on here.
Enable Arrow Keys
The song editor features four arrow keys on the right just above the keyboard. You can use these to move the text cursor around the text editor more freely. These are turned on by default, but you can remove them by switching this option off.
Quick Chord Bar
As you enter chords in the song editor, they will appear just above the keyboard as quick buttons for inserting chords. You can turn this bar off if you need more room for typing. You can still use the Chord Builder to add chords.
Sort Chord Buttons
The chords that appear in the quick chord bar are not sorted and appear in the order they are encountered in the song content. You can change the order of these chords to:
- Off sorts the chords in the order that they are encountered in the song content.
- Alphabetically places chords like Am in the front of the list and G# at the end of the list.
- Popularity sorts the chords by their frequency of use in the song content. For instance, the root chord may appear first since it is used more often.
Additional Symbols
The quick chord bar can be used to insert other text other than chords. You can type characters separated by a space in this area. If you type two characters in a row such as [] or {}, then the quick bar will add that to the song content and place the text cursor in the middle of them. Default values are: [] # b /
Use Template Song
When you create a new song from scratch in OnSong, the song editor is opened and a template song is used. You can create your own template by creating a song, opening the Song Editor and switching the Use as template switch.
In some cases, you just want a blank song editor. In that case, turn this switch on.
Song Reporting
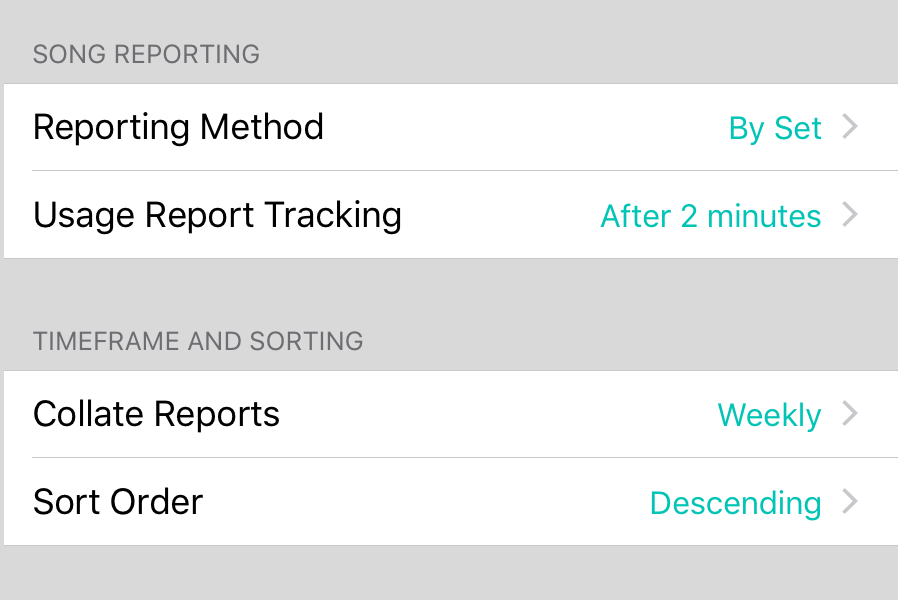
The song reporting settings screen changes the behavior of the Song Reporting Screen. It also effects how songs are tracked in the app for reporting purposes.
Reporting Method
Songs can be tracked in two different ways:
- By Set uses the date and time specified for a set to determine if a song was played on that day. For instance, if you create a set for June 15, 2015 and add songs, those songs will be reported as being used on that date. It is important to archive your sets instead of deleting them to allow this usage information to remain intact. This works best for users that always create a set before performance. Default.
- By Usage is a more sophisticated in that is tracks the usage of songs based on how long they have appeared on the screen. This can more accurately keep track of what songs were used whether sets are used or not.
Show Reports
This setting changes the timeframes used for aggregation in the reporting screen. Options include:
- Daily tracks songs day by day.
- Weekly tracks songs used each week. Default.
- Monthly tracks songs used each month.
- Quarterly tracks songs used each quarter of the year.
- Yearly tracks songs used each year.
Usage Report Tracking
When tracking by usage, OnSong adds a delay to not track songs that were only being previewed. You can change this delay in tracking to:
- Immediately tracks the song as soon as it's viewed.
- After 1 minute tracks the song after it has been viewed for one minute. Default.
- After 2-5 minutes tracks the song after it as been viewed for a longer period of time.
Note: OnSong does not report usage of your songs to services like CCLI. You will need to manually report usage to the appropriate licensing authorities.
Sticky Notes
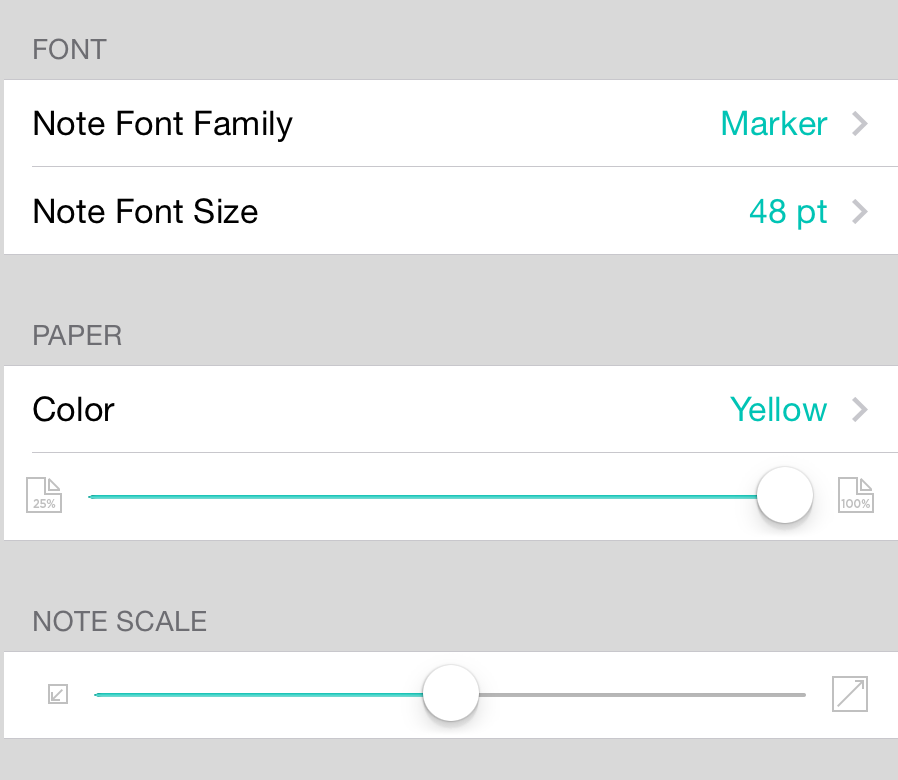
This settings screen lets you pick default values to use when adding new sticky notes. You can adjust the following attributes of sticky notes:
Note Font Family
This is the font to use for all sticky notes and will be applied to all existing and new sticky notes. Options include:
- Marker is a handwritten font that is compact. Default.
- Chalkboard is a handwritten font that is wider and more like chalk drawing.
- Helvetica is a standard sans-serif font that is not handwritten.
Note Font Size
This is the size of the song to display in the note. It's important to know that the font size used in the sticky note will shrink to allow the content to be drawn in the sticky note. You can pick a size ranging from 32 points to 96 points. The default value is 48 points.
Paper Color
This is the color of paper to use for the sticky note. Paper colors include white, yellow, orange, green, blue, purple, pink and grey. The default paper color is yellow.
Paper Opacity
This is the opacity of the sticky note. Unlike physical sticky notes, OnSong lets you make notes semi-translucent. Choose form between 25% and 100% translucent sticky notes. The default is 100% opaque like paper.
Note Scale
Notes are scaled to be the approximate size of a regular sticky note. You can change the size of this note form between 50% and 150% of the standard note size. The default scale is 100%.
Note: This does not effect existing sticky notes which can be changed using the Sticky Note Appearance Menu. One exception is the font family which is applied to all sticky notes.
Style Preferences
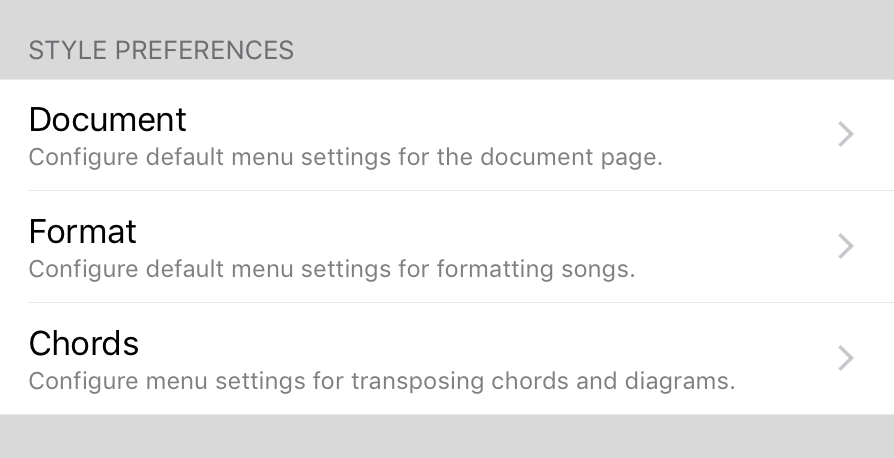
The style preferences screen in menu settings lets you configure default values for newly imported songs. This screen is divided into the following sections:
Font Settings
Changes the font family in which chord chart text is displayed as well as line spacing.
Header
Adjust the default font size and visibility of the header text of the song which is the song title.
Metadata
Adjust the default font size and visibility of the metadata of the song including the artist, key, tempo and time signature.
Lyrics
Adjust the default font size and visibility of the song's lyrics.
Chords
Adjust the default font size, visibility and style of the song's chords such as highlight color, text color and bold or italic attributes.
Tapping on either chord highlight color rows will open the Color Builder to choose from preset palette colors, create custom colors or manage presets in the color picker.
Transpose and Capo
This section not only determines if transposition and capo should be applied, but also enables numeric chord formats and how the key of the song is detected when not explicitly declared.
Notice
This menu only changes the default values of the style preferences menu and sets the styles of newly imported songs.
To change the appearance of existing songs, you will need to open those songs and open the Style Preferences Menu to make changes. To make changes to many song, use the Apply Style button.
Document
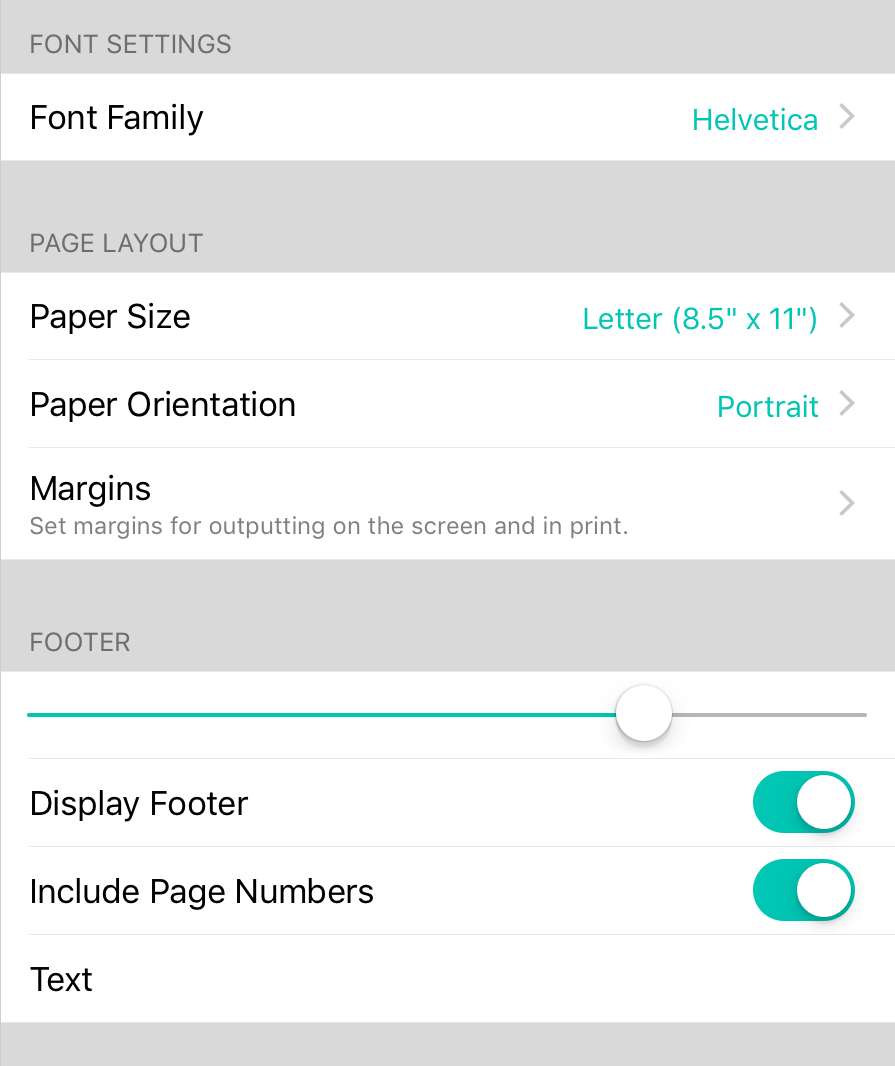
The document section of style preferences menu settings lets you configure default values for newly imported songs. This screen is divided into the following sections:
Font Settings
You can choose the default font to be used for new songs here. You can choose from: Georgia, Helvetica (default), Courier, and Marker.
Page Layout
OnSong renders your chord charts on the screen using metrics similar to printing on a physical page. You can adjust the size and orientation of the virtual paper here. This is also used as default settings for printing.
Footer
Footers appear at the bottom of the page and include copyright and licensing information. This configures an additional footer and how it is displayed.
Footer
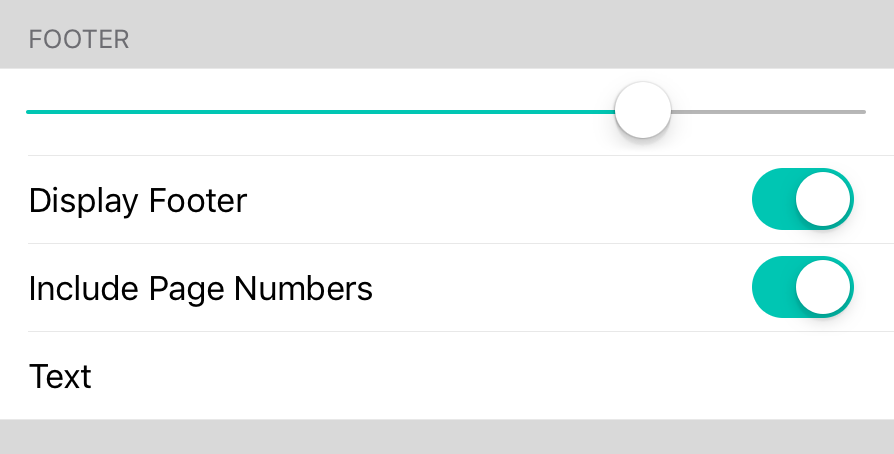
The footer is text that appears at the bottom of the page in the song viewer. The following settings can effect its behavior:
Scale
This slider determine the default size of the footer in relation to the lyrics font size. Values between 25% and 100% can be selected. Default is 75%.
Display Footer
This determines if the footer is displayed at the bottom of the song viewer page, or in printed or exported PDF documents. This is enabled by default.
Include Page Numbers
This option determines if page numbers should be displayed. This is enabled by default and is only used when printing documents as a default setting.
Text
If you wish to apply text across all song pages, type the text in this field. This will be added to the footer text after licensing information, if available.
Page Layout
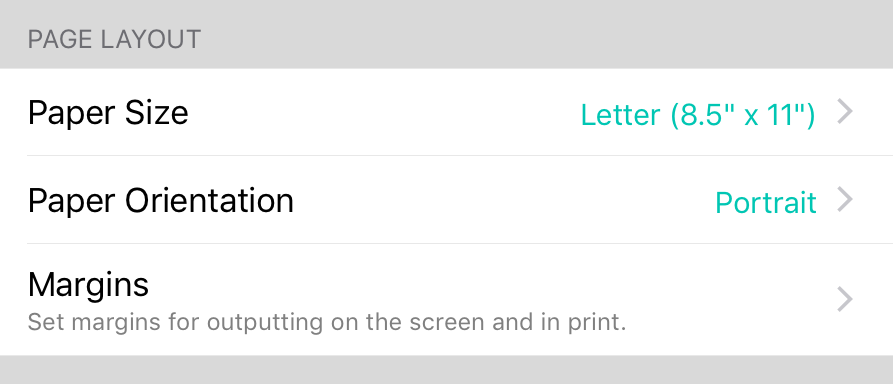
OnSong uses the concept of a sheet of paper to render chord charts. This allows the size of fonts and other elements to be measured relative to the paper size. OnSong displays this virtual sheet of paper with the width of the device reflecting the width of the sheet of paper. This means that rotating the device into landscape orientation will make the font appear larger.
The page layout section contains the following settings that effect not only how OnSong draws chord charts on the screen, but also as device settings for printing.
Paper Size
Paper size is used to determine the width and height of the song page. Options include:
- US Letter which is 8.5" by 11". Default.
- US Legal which is 8.5" by 14".
- Tabloid which is 11" by 17".
- A5 which is 148mm by 210mm.
- A4 which is 210mm by 297mm.
- A3 which is 297mm by 420mm.
Paper Orientation
The paper orientation refers to if the page is in portrait or landscape orientation. Portrait is selected by default.
Margins
Adjust the margins of the page to inset the chords and lyrics from the edge. Margins can be set for the left, right, top and bottom margins separately. Options include 0", 1/8", 1/4", 3/8", 1/2", 3/4", 1", 1-1/4" and 1-1/2". Default is 3/4". Remember to maintain some top margin to compensate for the menubar and status bar which overlap the chord chart.
Font Settings

The font settings section controls the font for the entire chord chart including:
Font Family
Change the default font family including:
- Georgia is a serif font that may be easier to read for some users.
- Helvetica is a sans-serif font that is perfect for displaying chord charts. Default.
- Courier is a fixed-width font that is useful in some cases for aligning chords.
- Marker is a handwritten font that is very narrow, allowing more content to fit on the page.
Line Spacing
When you want to fit more onto the screen, consider reducing the line spacing, or space between lines. You can also increase the line spacing for more room between lines for better visibility. Adjusts between 0.7 and 1.3 lines. Default is 1.0.
Header

The header section lets you change the font size of the header and toggle it's visibility. You can choose font sizes from 12 points to 38 points. The default value is 21 points and visible.
Metadata

In the metadata section you can change the font size of the metadata and toggle it's visibility. You can choose font sizes from between 6 points and 30 points. The default value is 10 points and visible.
Lyrics

The lyrics section lets you change the font size of the song's lyrics and toggle their visibility. You can choose from font sizes between 6 points to 30 points. The default value is 14 points and visible.
Chords
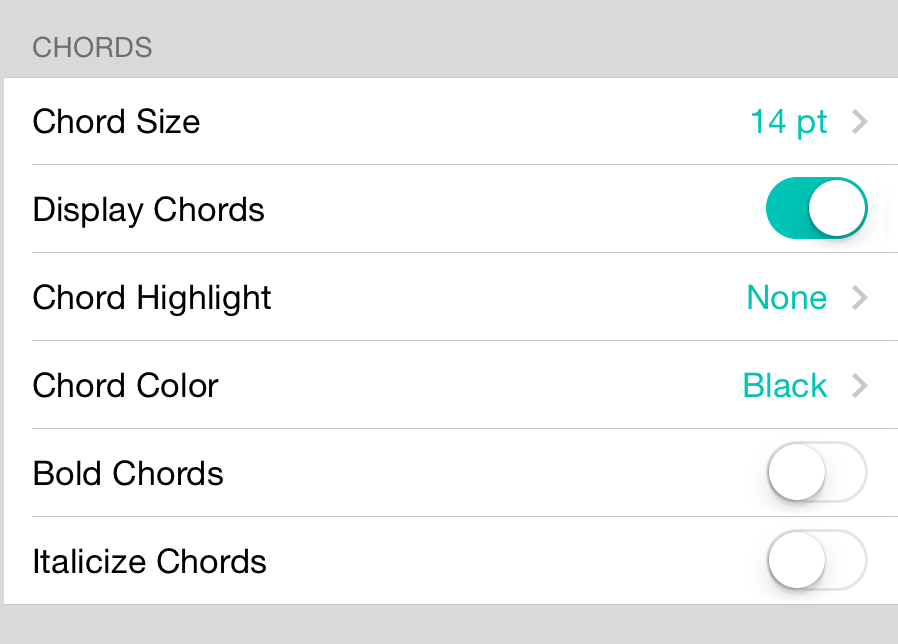
The chords section lets you adjust the default appearance of chords in newly imported songs. Options include:
Chord Size
Change the font size of the song's chords. You can choose from font sizes between 6 points and 30 points. The default value is 14 points.
Display Chords
Here you can toggle the visibility of chords on newly imported songs. The default value is on.
Chord Highlight
Choose a default color to use for highlighting the chords on the page. Options include None, Yellow, Orange, Green, Blue, Purple, Pink and Grey. The default is none and chords are not highlighted by default.
Chord Color
Choose a default color when outputting chords. Options include Black, Red, Blue, Green, Turquoise and Purple. The default color is Black.
Bold Chords
Determines if chords are bolded for newly imported songs. Default is off.
Italicize Chords
Determines if chords are italicized for newly imported songs. Default is off.
Chords
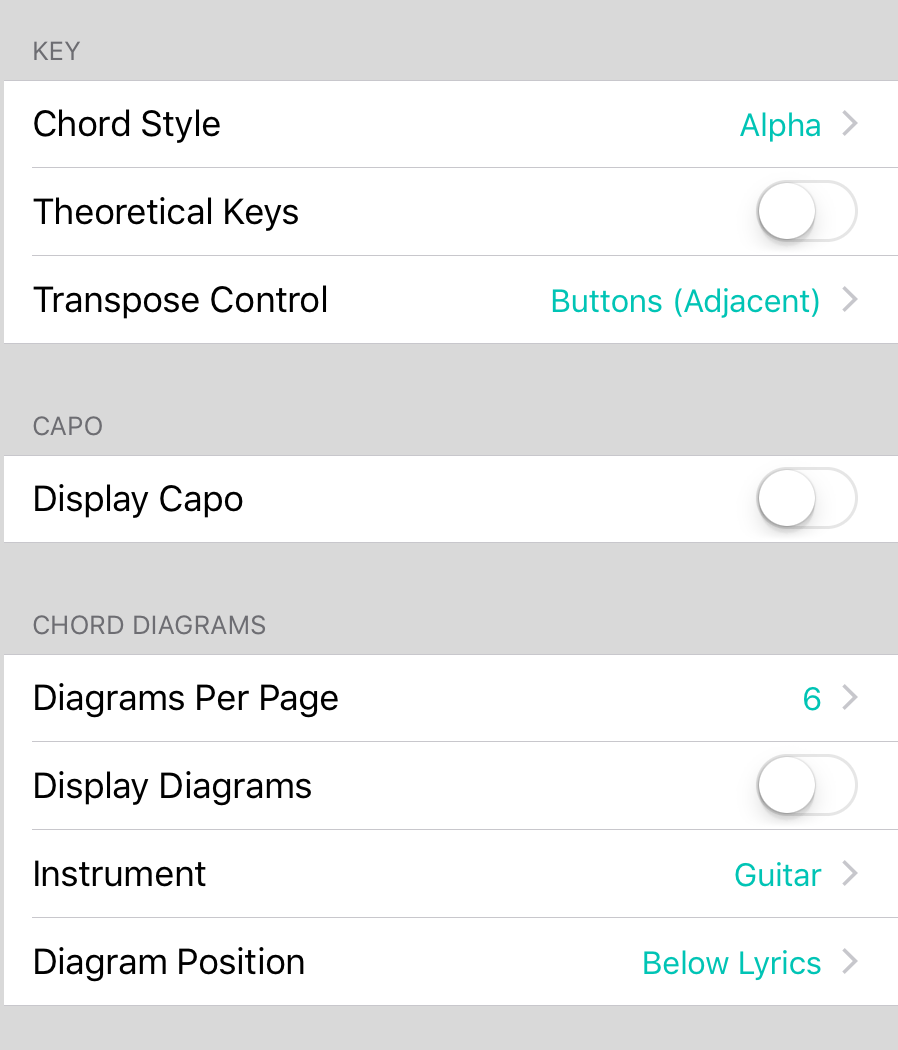
The chord section determines the default behavior and interface options for the Style Preferences Menu Chords tab.
Chord Style
This allows you to choose the default chord style for newly imported songs. You can choose from:
- Alpha displays chords as an alphabetic character (A-G) including enharmonic preference (sharp or flat). Default.
- Nashville displays chords as numbers (1-7) based on their position in the key.
- Roman displays chords as Roman numerals (I, ii, iii, IV, V, vi, vii) based on their position in the key.
- Italian displays chords as numbers using Latin (do, re, mi, fa, so, la, ti) based on their position in the key.
Theoretical Keys
The key chooser or slider contains the most common keys by default. If you would like to enable less commonly used keys, or keys that contain more than 7 sharps or flats, enable this setting. Default is off.
Transpose Control
Determines the user interface preference for key selection. Options include: * Buttons (adjecent) displays keys that are adjacent to each other according to the circle of fifths. (Default) * Buttons (chromatic) displays keys that are in chromatic/alphabetic order. * Slider uses the original OnSong slider interface control.
Display Capo
Determines if the capo should be turned on or off by default. The default value is off.
Diagrams Per Page
Determines the number of chord diagrams that should appear for the width of the page. When choosing piano diagrams, this number is effectively half as the diagram is twice the width of a standard diagram.
Display Diagrams
Determines if diagrams should be displayed on the chord chart by default. Default is off.
Instrument
Determines the default instrument to use when drawing chord diagrams. Options include Banjo, Bass (4-string), Bass (5-string), Guitar (Default), Mandolin, Piano, Ukulele, Ukulele (baritone).
Diagram Position
Determines the position of chord diagrams when enabled. Options include: Below Lyrics (default), Above Lyrics, and Within Lyrics.
Capo

The following options are used to determine the default behavior for the capo function:
Display Capo
Determines if the the capo is enabled by default on newly imported songs.
Chord Diagrams
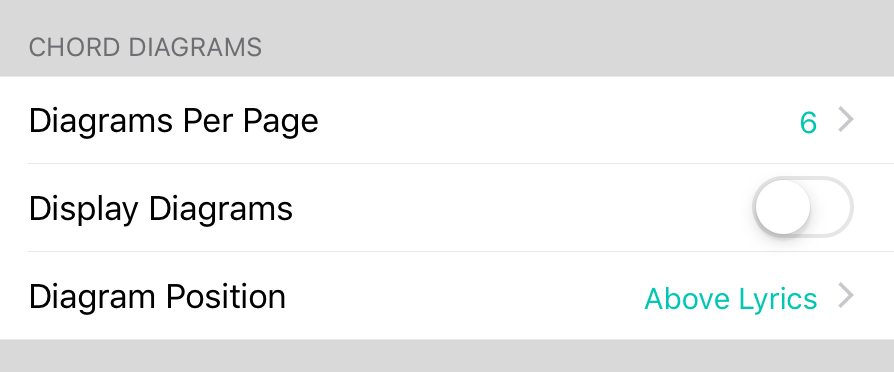
Diagrams Per Page
Determines the number of chord diagrams that should appear for the width of the page. When choosing piano diagrams, this number is effectively half as the diagram is twice the width of a standard diagram.
Display Diagrams
Determines if diagrams should be displayed on the chord chart by default. Default is off.
Diagram Position
Determines the position of chord diagrams when enabled. Options include:
- Below Lyrics displays chord diagrams at the bottom of the page. Default.
- Above Lyrics displays chord diagrams at the top of the page between the header and first section.
- Within Lyrics displays chord diagrams above the lyrics in place of the chord letter.
Instrument

The instrument section allows you to configure the default instrument to use when playing songs in your library. This effects how chord diagrams and transposing occur.
Instrument
You can change the default instrument used throughout the library with this option. Options include:
- Banjo
- 4-string bass guitar
- 5-string bass guitar
- Guitar (Default)
- Mandolin
- Piano
- Ukulele
- Baritone ukulele
Transposing Instrument
If you are playing an instrument that does not play at concert pitch, you can set this to adjust the chords that appear throughout the song to adjust for those instruments. Options include:
- Off used for concert pitch and most stringed or percussion instruments like piano.
- B-flat used for B-flat instruments such as trumpet, clarinet, bass clarinet, and soprano and tenor saxophones.
- E-flat used for E-flat tuned instruments such as soprano clarinet, or alto and baritone saxophones.
- F used for F tuned instruments such as French and English horns.
- G used for alto flute.
Key
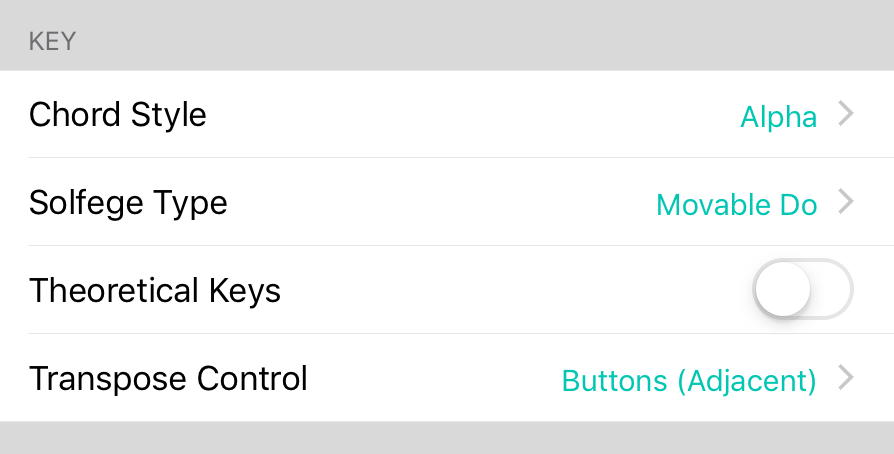
The key section keys you adjust how the chords appear by default as well as how the key chooser works.
Chord Style
This allows you to choose the default chord style for newly imported songs. You can choose from:
- Alpha displays chords as an alphabetic character (A-G) including enharmonic preference (sharp or flat). Default.
- Nashville displays chords as numbers (1-7) based on their position in the key.
- Roman displays chords as Roman numerals (I, ii, iii, IV, V, vi, vii) based on their position in the key.
- Solfege displays chords as numbers using Latin (do, re, mi, fa, so, la, ti) based on their position in the key.
Solfege Type
When using the Solfege chord style (do, re, mi, ...) this determine how "do" aligns to the root chord of the key.
- Locked Do displays "do" as always aligning with the C note. For instance, if the song is in the key of D, the D chord displays as "re".
- Movable Do displays the "do" as the root chord of the key. For instance, if the song is in the key of D, the D chord displays as "do".
Theoretical Keys
The key chooser or slider contains the most common keys by default. If you would like to enable less commonly used keys, or keys that contain more than 7 sharps or flats, enable this setting. Default is off.
Transpose Control
Determines the user interface preference for key selection. Options include:
- Buttons (adjecent) displays keys that are adjacent to each other according to the circle of fifths. (Default)
- Buttons (chromatic) displays keys that are in chromatic/alphabetic order.
- Slider uses the original OnSong slider interface control.
Format
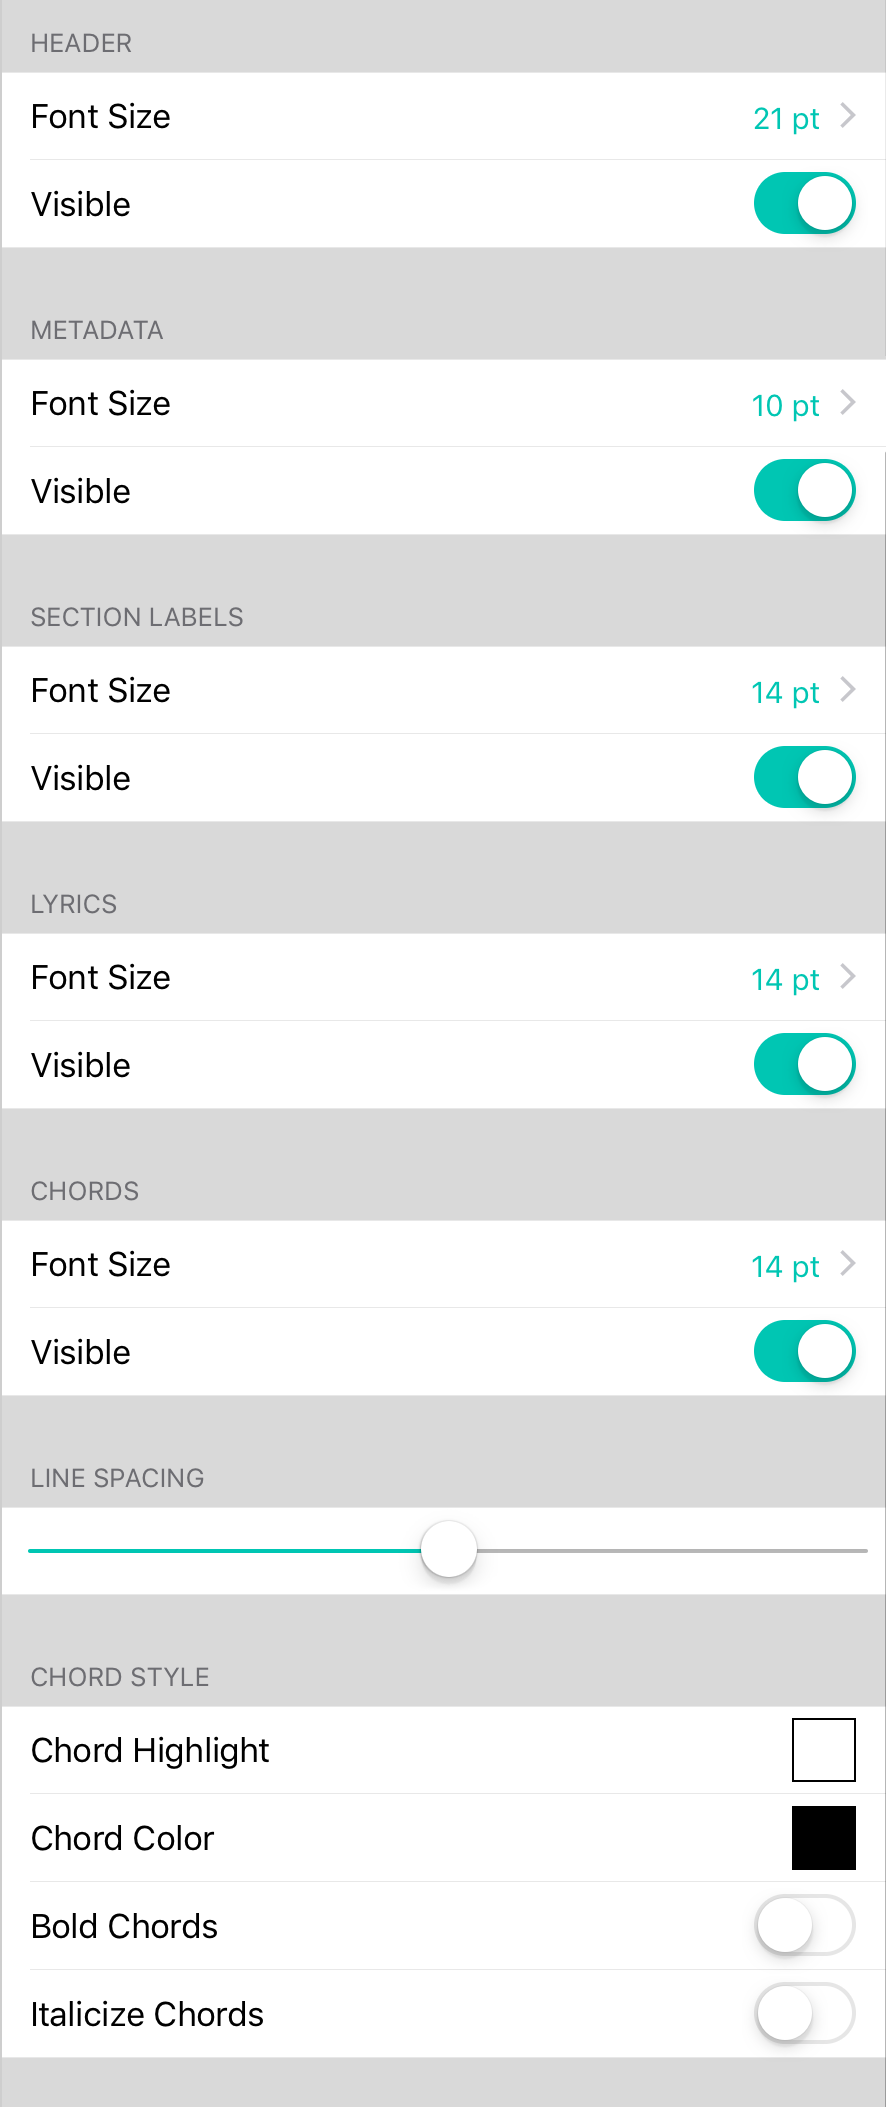
The format section of style preferences menu settings lets you configure default values for newly imported songs. This screen is divided into the following sections:
Font Settings
Changes the font family in which chord chart text is displayed as well as line spacing.
Header
Adjust the default font size and visibility of the header text of the song which is the song title.
Metadata
Adjust the default font size and visibility of the metadata of the song including the artist, key, tempo and time signature.
Lyrics
Adjust the default font size and visibility of the song's lyrics.
Chords
Adjust the default font size, visibility and style of the song's chords such as highlight color, text color and bold or italic attributes.
Tapping on either chord highlight color rows will open the Color Builder to choose from preset palette colors, create custom colors or manage presets in the color picker.
Transpose and Capo
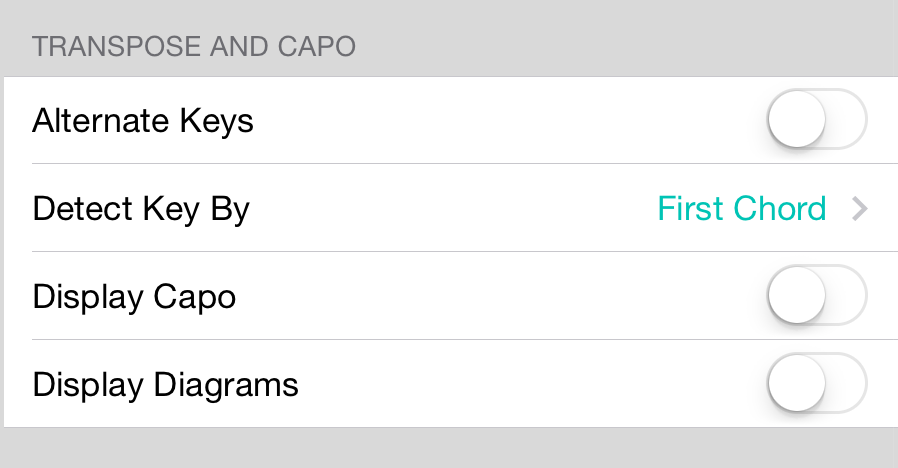
The transpose and capo section determines if transposition and capo are applied by default. In addition, it has settings that can effect how keys are detected and allow numeric chord formats to be used in the Style Preferences Menu.
Alternate Keys
OnSong can display chords in numeric formats such as Nashville, Roman Numeral and Italian. The transpose slider does not include these options by default. Turning on this switch will allow you to pick keys N, R or I using the transpose slider.
Detect Key By
If the key of the song is not explicitly declared in the song's metadata, OnSong will need to find the key in another way to enable transposition. OnSong detects the key using one of the following methods:
- First Chord uses the first chord in the song as a basis for the key. For instance, if the first chord is Am7, then the key of the song is set to Am. Default.
- Last Chord uses the last chord in the song as a basis for the key. For instance, if the last chord in the song is a Bbsus4, the key will be set to Bb.
- Note Counts is a method of determining the key of the song by accumulating all the notes used by the chords in the song and then counting sharps and flats to determine the key. This can be more accurate than the first or last chord in the song, but can still be false if not enough chords are in the song.
- Metadata Only will only use the metadata of the song for the basis of the key. That means that if the key is not declared, transposition will not be available.
Display Capo
Determines if the capo should be turned on or off by default. The default value is off.
Display Diagrams
Determines if diagrams should be displayed on the chord chart by default. Position of the chord charts is determined in the Chord Diagrams settings section.
Songs
The songs menu settings is used to change the appearance and function of the Songs Menu and has the following settings:

Appearance
The songs menu is typically 320 points wide which is the standard popover width. Turning this feature on allows the menu to appear at 600 points wide, or roughly twice the width. This allows more content to be displayed. Default is off.
In addition to changing the width of the songs menu, other menus in OnSong will also become wider such as those in the Song Editor.
List Settings
The following options are available for changing the way songs are listed.
- International Characters Last will place any songs that begin with an international character such as ü or é to be placed last in the list of songs. If turned off, the songs are sorted next to their non-accented cousins. Default is off.
- Prevent Deletions is used to prevent users from accidentally deleting songs from their list. This removes the slide to delete method and requires you to tap on the Edit button to perform a deletion.
- Remove "The" is used to sort songs that start with the word "The " using the next word in their name. For instance, "The Reckoning" would be placed next to "Return to Narnia" in a song list.
Navigation
In the past, if you tap on a tab in the songs menu once it's already selected, iOS will take you to the start of the navigation controller. This has confused many users so it is disabled by default. You can reenable this using the Double Tap To Root option.
Remote Songs
The songs menu can be used to display not only song content in your local OnSong library, but also cloud-based content. You can configure the repository to use for accessing cloud content here. Options include:
- Off no cloud repository is used and the local/remote toggle is removed.
- ChordVault uses the ChordVault chord chart repository.
- RWTC uses the Rockin' With The Cross chord chart repository.
Sets
The sets section is used to change how the My Sets tab of the Songs Menu operates. Options include:
- Auto-Archive Sets allows sets to automatically be moved to the Archived tab. This reduces clutter and improves performance. The first time that archivable sets are encountered in the tab, you are asked what preferences to use. You can change this to one of the listed time frames from 1 day to 3 months.
- Display Song Order is used to place a number next to the songs in a set. Default is off.
- Separate Set/Song Styles configures the default behavior of sets. When turned on, songs added to a set save their preferences and settings to the set. For instance, you can transpose a song within a set and not effect the key of the song in your master library.
Sharing
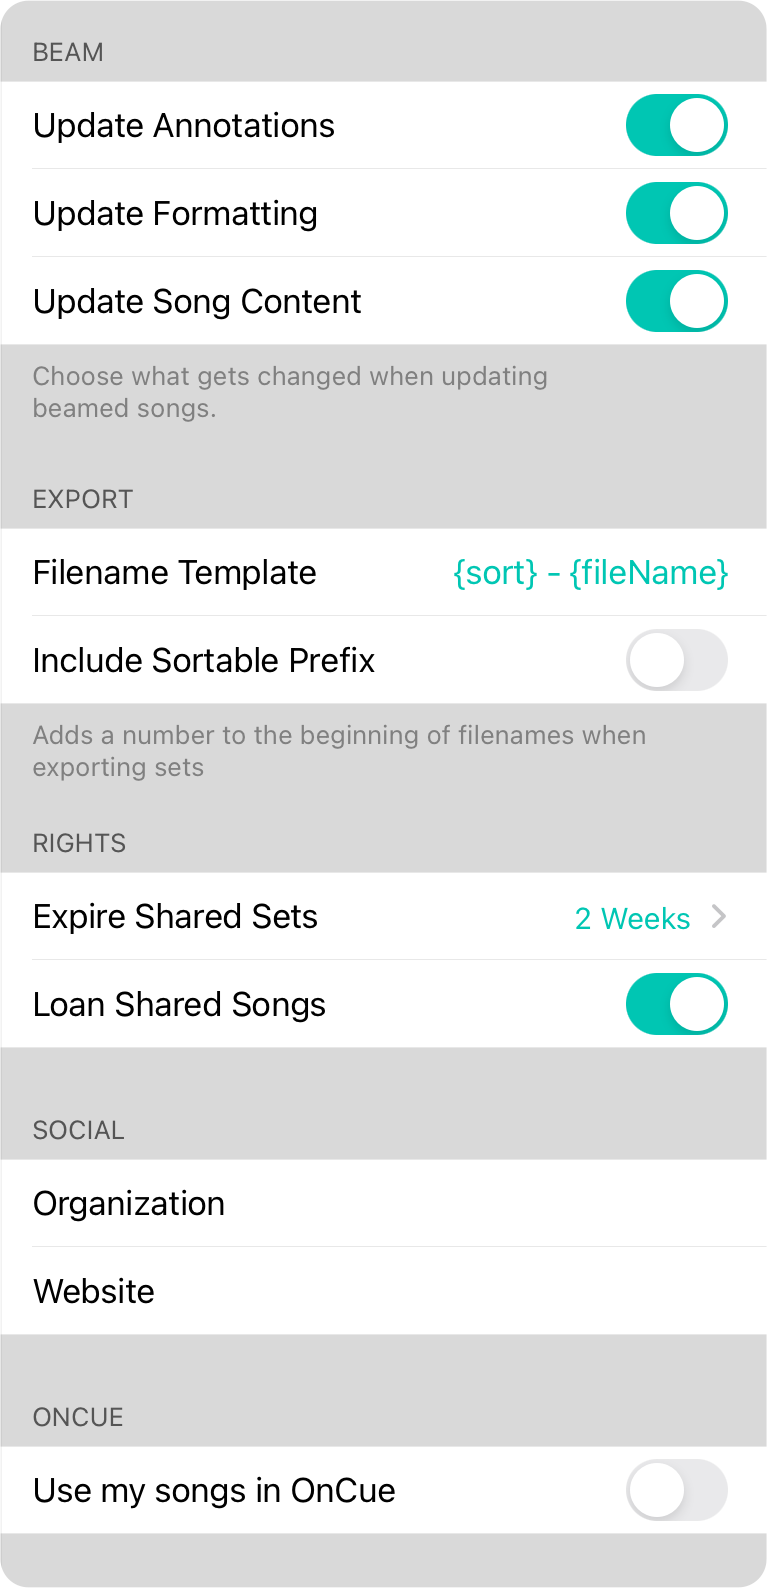
The sharing menu settings configures information to use when sharing songs, sets and set lists.
CCLI License
This is your church's CCLI license number that should be displayed on all lyrics projection and outputted songs.
Expire Shared Sets
When you export a song or set in OnSong using either the wireless sharing or an archive file, OnSong will enable that set to be imported by will expire it after a given amount of time. This ensures that content is not being permanently distributed. You can change the expiration duration. Options include 1 day to 1 month. You can also choose Never to allow the sets to be distributed permanently.
Note: choosing Never turns off the expiration of sets. Make sure you have the right to distribute the chord charts to those members of your team before enabling this option.
Loan Shared Songs
When turned on, songs that are sent via wireless sharing or archive files can be viewed, but will not be added to the recipient's OnSong library. This allows music to be loaned for viewing and not distributed. The default value is on. You can turn this off, but be certain that you have the right to distribute the potentially copyrighted works in the set.
Organization
Type the name of the organization that is doing the sharing. This will appear on the custom web page that hosts your set list for others to view on Facebook or Twitter.
Website
Type the web address of your organization's web site here. This will appear on the custom web page that hosts your set list, allowing others to click into your web site.
OnCue Version
OnSong provides two versions of OnCue to allow for backwards compatibility to older versions while also allowing the use of newer technology as iOS evolves. OnSong defaults to the original version of OnCue which supports all versions of iOS.
- Off turns off OnCue altogether. Use this if you do not want to participate in OnCue sessions.
- Original works with older devices using the original OnCue version which is based on the iOS GameKit framework. This framework is deprecated and may not be supported in future versions of iOS.
- New works with newer devices running iOS 7 and higher. This version of OnCue is based on the new Multipeer Connectivity Framework.
Use My Songs in OnCue
While OnSong Connect is the preferred method of wireless networking, the OnCue method is still available for backwards compatibility. When using OnCue, you can choose to either use the version of a song made available by the master device, or to use your song.
If this option is enabled, OnSong will locate a chord chart in your library that matches the one used by the master device. This is done by matching on song title, CCLI # or number. If a match cannot be found, the master device's version is used instead.
By default, this is turned off.
If you are using OnSong Connect, you can customize how chord charts are viewed using the more robust Profile screen.
Beam
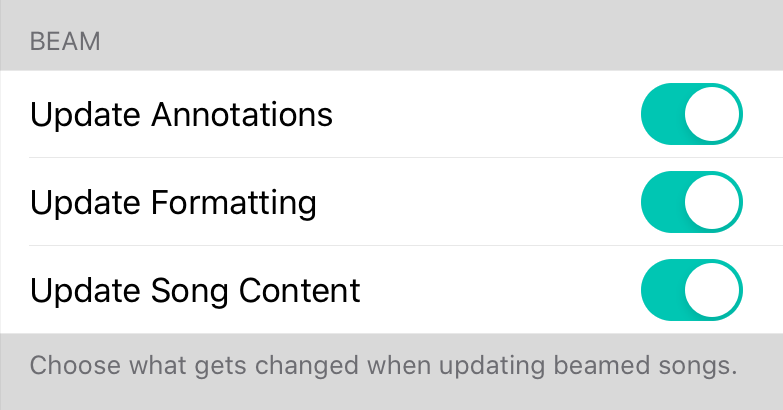
When a song is beamed to you using either OnSong Connect or OnCue, the entire song is delivered and could overwrite any changes you had since made to your charts. These options let you decide what gets updated.
- Update Annotations lets you keep your sticky notes, drawings, and other annotations.
- Update Formatting lets you maintain the formatting or style preferences of your song.
- Update Song Content determines if the underlying song content or file is updated.
Export
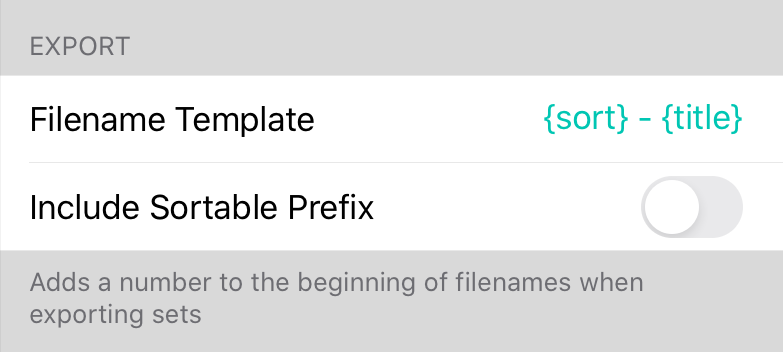
When you export songs and sets from OnSong, the filenames required for the specified file formats is automatically generated. These settings determine how that file name is generated.
Filename Template
This field allows you to customize the filename using variables. By default, this is set to prefix the filename with the sortable prefix called sort and then title separated by a dash. You can customize this with the following variables:
- title is the song title.
- capo the current capo applied to the song.
- key the key that the song is currently displayed in which may be either the original or transposed key.
- originalKey is the key in which the song is written.
- transposedKey is the key in which the song is transposed.
- author is the author of the content.
- ccli will contain the CCLI number of the song.
- composer is the musician who composed the work.
- copyright includes copyright information.
- duration is the duration of the song in seconds.
- lyricist is the person who wrote the lyrics.
- number is the song number set to the song.
- timeSignature is the time signature of the song.
- tempo is the BPM of the song.
- sort can be used to append the sortable prefix to the filename.
Include Sortable Prefix
When exporting a set of songs, OnSong will append a sortable prefix to the filename to maintain the sort order of the songs. This is numeric value padded with zeros. If songs are not exported as a set, or if this is turned off, OnSong will remove the sort variable specified at the front of the filename template.
OnCue

Use My Songs in OnCue
While OnSong Connect is the preferred method of wireless networking, the OnCue method is still available for backwards compatibility. When using OnCue, you can choose to either use the version of a song made available by the master device, or to use your song.
If this option is enabled, OnSong will locate a chord chart in your library that matches the one used by the master device. This is done by matching on song title, CCLI # or number. If a match cannot be found, the master device's version is used instead.
If you are using OnSong Connect, you can customize how chord charts are viewed using the more robust Profile screen.
OnCue Version
OnSong provides two versions of OnCue to allow for backwards compatibility to older versions while also allowing the use of newer technology as iOS evolves. OnSong defaults to the original version of OnCue which supports all versions of iOS.
- Off turns off OnCue altogether. Use this if you do not want to participate in OnCue sessions.
- Original works with older devices using the original OnCue version which is based on the iOS GameKit framework. This framework is deprecated and may not be supported in future versions of iOS. It is strongly recommended that you do not use this version unless you are using older devices or are having connectivity issues.
- New works with newer devices running iOS 7 and higher. This version of OnCue is based on the new Multipeer Connectivity Framework.
We recommend that you use OnSong Connect when possible for wireless connectivity. OnSong Connect supports dozens of connected devices (instead of 5-6), is based on web-based services and standards and is customizable for each musician.
Rights
Using content in OnSong means that you've agreed to the terms and conditions for using licensed content. You can make adjustments to how that content is displayed and used here.
CCLI License
This is your church's CCLI license number that should be displayed on all lyrics projection and outputted songs.
Expire Shared Sets
When you export a song or set in OnSong using either the wireless sharing or an archive file, OnSong will enable that set to be imported by will expire it after a given amount of time. This ensures that content is not being permanently distributed. You can change the expiration duration. Options include 1 day to 1 month. You can also choose Never to allow the sets to be distributed permanently.
Note: choosing Never turns off the expiration of sets. Make sure you have the right to distribute the chord charts to those members of your team before enabling this option.
Loan Shared Songs
When turned on, songs that are sent via wireless sharing or archive files can be viewed, but will not be added to the recipient's OnSong library. This allows music to be loaned for viewing and not distributed. The default value is on. You can turn this off, but be certain that you have the right to distribute the potentially copyrighted works in the set.
Social
When sharing your set list on social media, you can provide more information about your church or organization here.
Organization
Type the name of the organization that is doing the sharing. This will appear on the custom web page that hosts your set list for others to view on Facebook or Twitter.
Website
Type the web address of your organization's web site here. This will appear on the custom web page that hosts your set list, allowing others to click into your web site.
External Video

OnSong is designed to take full advantage of the external video capabilities of iOS devices. The output can be changed to three different modes depending on your needs. The external video settings screen provides advanced options for customizing external video output.
Hide Icon When Inactive
The Menubar contains the External Video Menu which is displayed at all times by default. Toggle this option on to only have the icon appear in the menubar when an external video device is connected.
Lyrics Projection
Lyrics projection allows you to use chord charts to display lyrics on a projector for congregational worship or group sing-a-longs.
Stage Monitor
Stage Monitor Mode allows your device to turn one or more HDTVs into virtual music stands. Configure options for output with these settings.
Screen Mirroring
When this is turned on, OnSong will act like other apps in iOS where the screen is simply mirrored. This is a handy feature if you are using the video output of the device to prepare tutorial videos or for training purposes. This is off by default since OnSong is designed to take control of the entire external display.
Screen Resolution
When a video device is connected, it's available modes are reviewed and the highest supported resolution is used by default. In some cases your video device may report modes that are not well supported. For instance, a 1280x1024 monitor may report support for 1920x1080, but will stretch or letterbox the output because of the change in aspect ratio. In that case you can set an explicit resolution to use. This may or may not be supported by the video device. The closest mode will be used in that case.
Please Restart
If you are using an earlier version of iOS you may need to restart the app for screen mirroring to take place. This prompt has the following options.
- Cancel dismisses the prompt and does not restart OnSong. You will need to shut down OnSong and launch again for the change to take place.
- Restart is available if you are connected to the Internet. This runs a process to shut down OnSong and restart it using a web page.
- Quit if an Internet connect cannot be determined, you will be prompted to quit OnSong. This will force OnSong to close and require you to restart manually.
Lyrics Projection

Most options for lyrics projection such as the background color, image, gradient and font selections are made in the External Video Menu. However, system-wide settings can be made in the settings screen for lyrics projection.
Font
Choose the font to use for lyrics projection. The standard font is Verdana. Options include:
- Baskerville
- Courier
- Georgia
- Helvetica
- Verdana
Text Alignment
Lyrics are horizontally centered on the screen by default but can also be aligned:
- Left aligns the text to the left side of the screen.
- Center the text in the middle of the screen. Default.
- Right aligns the text to the right side of the screen.
Vertical Alignment
Lyrics are placed in the middle of the height of the screen but can also be positioned:
- Top positions the text at the top of the screen.
- Middle positions the text in the middle of the screen. Default.
- Bottom positions the text at the bottom of the screen.
Margins
Use this to control how close the text of lyrics can come to the edge of the screen. Options include:
- None places the lyrics right up to the edge of the screen.
- Hairline makes the margins 1% of the width of the screen.
- Thin makes the margins 2% of the width of the screen.
- Normal makes the margins 4% of the width of the screen. Default.
- Thick makes the margins 6% of the width of the screen.
- Thicker makes the margins 8% of the width of the screen.
- Thickest makes the margins 10% of the width of the screen.
Maximum Lines
Use this option to allow longer sections of lyrics to be automatically divided into subsections. The use case for this is if you want to place two lines of lyrics below a live video feed. If enabled, you tap on the section repeatedly to move through the subsections of lyrics.
Options include:
- None turns off subsections and displays the full text of the section. Default.
- 1-5 lets you select how many lines to display maximum. OnSong uses this value to optimize the number of lines to display. For instance if your section has five lines and you set this to two lines, the section will be divided into three subsections containing the first two, the next two and the last one lines.
Adjust Lyrics To Fit
This option prevents text from wrapping lines when projecting lyrics. This is enabled by default since it is assumed that lines and stanzas are designed to aid in phrasing of the melody. If turned off, the lyrics may be wrapped if the font size is set too large.
Display Footer
The footer contains the song title, artist, license and copyright information. You can change the position of the footer to:
- Off turns the footer off completely.
- Bottom places the footer at the bottom left of the screen. Default.
- Top places the footer at the top left of the screen.
Footer Size
This slider allows you to adjust the size of the footer in relation to the font size used for the lyrics. The default value is 1/3 of the size of the lyrics font.
Background Fill
Determines how background images or videos are scaled when they are not the same aspect ratio of the video device. Options include:
- Fit changes the size of the background image within the bounds of the video screen, maintaining the aspect ratio of the background but allowing for letterboxing to occur.
- Stretch stretches the background to fit the size of the video screen, allowing for the image to be stretched beyond it's original aspect ratio.
- Zoom Increases the size of the background while maintain it's aspect ratio to fill the external screen without letterboxing. Default.
Stage Monitor Settings

Stage monitor settings help you configure how chord charts appear on external displays when using stage monitor mode. You can switch to this using the Mode Buttons in the External Video Menu.
Screen Orientation
Use this to change the orientation of the screens you will be outputting. For instance, if you use a monitor in the portrait orientation, set this to either 90° or 270°. The default setting is 0°.
The number of chord charts that are displayed depends on what you select for Paper Orientation. For instance, if the paper orientation is portrait, but the orientation is landscape (0° or 180°) then two chord charts are displayed side-by-side. If the the landscape orientation is used, then only one sheet will be displayed.
The opposite logic applies when the screen orientation is portrait (90° or 270°). In that case, only one sheet is displayed if portrait is selected in Paper Orientation.
Stack Mode
If the Aspect Ratio of the screen is too narrow to hold paper side-by-side with space in between, then the paper must be stacked. The following methods can be selected:
- Push will push the next chord chart in the set off the page. This will provide a preview of most of the chord chart while keeping the current chord chart mostly on the screen. Default.
- Overlap places the next chord chart in the set over top of the current chord chart. This could cover up some of the right edge of the current chord chart.
- Underlap places the next chord chart in the set under the current chord chart. This could result in the left edge of the second chord chart being obscured by the current chord chart.
Aspect Ratio
This allows you to define the size of the paper you would like to use. This is expressed as standard resolution multipliers. In other words, the relative width of the size is the first value with the relative height of the size being the second component after the colon.
- Automatic uses the aspect ratio of the current device's screen.
- US Letter uses an aspect ratio equivalent to a letter-sized piece of paper - 8.5" by 11".
- A4 uses an aspect ration equivalent to an A4 sheet of paper - 210mm x 297mm.
- 9:16 is the standard HD resolution used on 720p and 1080p devices.
- 2:3 is the standard resolution of the original iPhone screen size.
- 3:4 is used on smaller monitors such as 1024x768 or 800x600. Most projectors use this aspect ratio.
- 1:1 will create a square sheet of paper.
Paper Orientation
This can be used to change the orientation of the paper on which chord charts are drawn. This along with the screen orientation will determine how many chord charts are displayed on the external monitors.
- Portrait results in a tall sheet of paper. Default.
- Landscape results in a wide sheet of paper.
Custom
What gets outputted to the stage monitors can be different than what appears on the device running the external video devices. Use the following to customize what your team sees.
- Lyrics allows you to turn lyric display on or off. Turn off if you are a guitarist that don't need no stinking lyrics. Turn it on otherwise. Default is "default" which uses the preference from the shared version.
- Chords allows you to turn chords on or off. If you are a vocalist, you can choose to turn the chords off for instance. Default is "default" which uses the preference from the shared version.
- External File will allow you to use or not use the external file of the song if it exists. Pianists may turn this on to receive a lead sheet or score while the rest of the team receives a chord chart. Default is "default" which uses the preference from the shared version.
- Transpose determines if the song to be transposed in its declared key or not. You can use this to write a song in a key that can be used for one instrument, and then transposed to another. Default is "default" which uses the preference from the shared version.
- Capo determines if capo should be applied to the chord chart. Guitarists should turn this on and bassists and pianists can turn it off. Default is "default" which uses the preference from the shared version.
- Chord Diagrams allow you to determine if chord diagrams are drawn on your chord chart. You're expert huh? Fine. Shut up and turn it off then. Default is "default" which uses the preference from the shared version.
- Instrument allows you to choose the instrument that you play. This is used for drawing chords differently from you. We all know you play jazz ukulele, so just set it here. No more guitar chords for you. Default is "default" which uses the preference from the shared version.
- Low Light Mode lets you independently determine if the external display uses low light mode or not. If set to default, it will use the low light mode set on the host device.
Navigation Settings
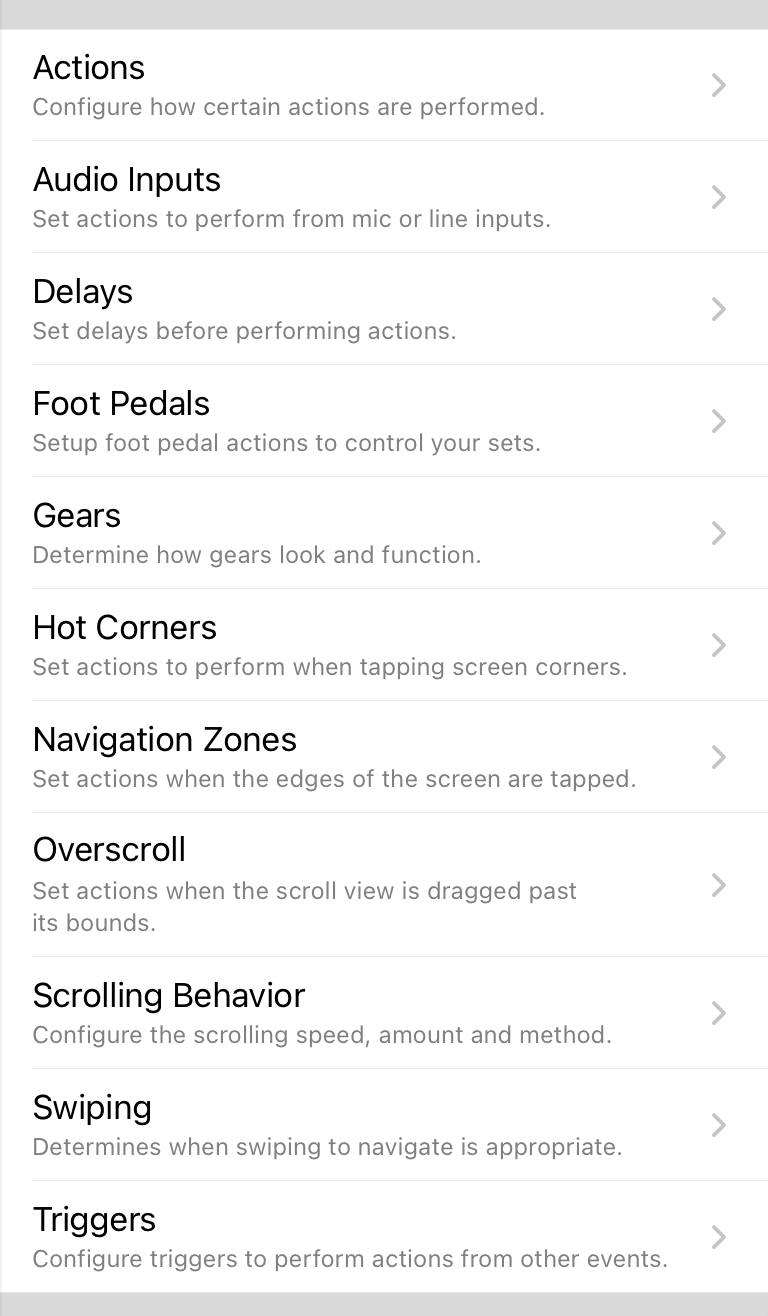
Navigation in OnSong is the use of the screen, foot pedals or other input to control your set and perform actions. The Navigation Settings section helps you control navigation through:
Audio Inputs
Set actions to perform when audio input levels are heard through the built-in microphone, line-in port or other hardware.
Delays
Set delays before certain actions like sending MIDI or changing lyrics are performed. This prevents changes from happening while navigating through songs and sections.
Foot Pedals
Set up foot pedals to navigate through songs and sets or perform actions.
Hot Corners
Set actions to perform when tapping on the four corners of the song viewer.
Navigation Zones
Set actions to perform when tapping on the edges of the song viewer.
Scrolling Behavior
Configure scrolling speed, the amount of scrolling and the method used.
Triggers
Map triggers that perform actions when other events occur.
Gears
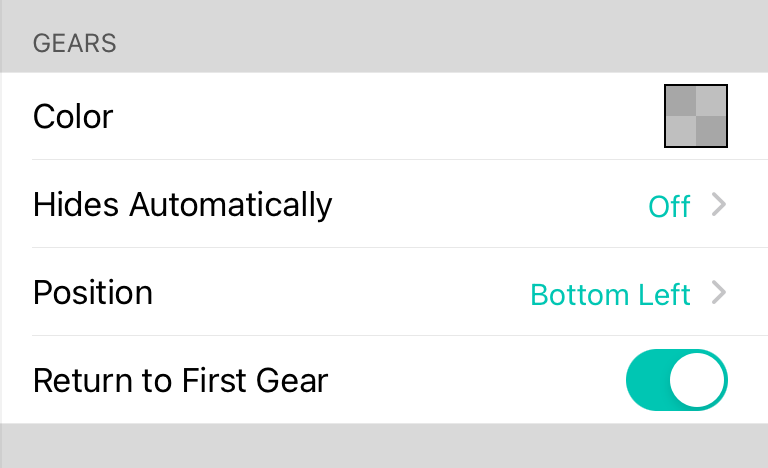
These settings dictate how Gears are visualized and perform in the interface.
Color
This is the color of the gear text that is displayed.
Hides Automatically
By default, the gear name or number appears in the lower left corner and remains. This setting lets you automatically hide the gear name or number after a set period of time from a half a second to 30 seconds.
Position
By default the gear name or number appears in the lower left corner. You can change where the gear name appears. The name can appear on the left, right, or center, as well as on the top, middle, or bottom providing nine different options include off.
Return to First Gear
When enabled (default), performing an action in another gear will immediately return to the first gear in the list. You can disable this to remain in each gear to have access to those particular options.
Actions
Actions are tasks that may be performed when pressing a foot pedal, touching the screen or by other inputs into OnSong. Some actions can be configured further to change how the action is performed.

Reset Song
The reset song action is used to "take it from the top" and start a song over. This is perfect for practicing. While the song is always scrolled to the top of the song viewer, other actions can also take place including:
- Restart Autoscroll will cause autoscrolling to continue after the song is scrolled to the top. If autoscroll was not running prior to the action, it will not be started. If this is turned off, autoscroll will need to be toggled again.
- Restart Backing Track will cause the linked backing track to start at the beginning. This happens whether the track is being actively played back or not. If the track was playing, it will continue playing only from the beginning of the track.
- Restart Metronome will cause the metronome to start from the first beat if it's already playing.
- Select Metadata Section will select the first section of the song, thereby triggering MIDI events and scenes that are assigned to the song.
Overscroll
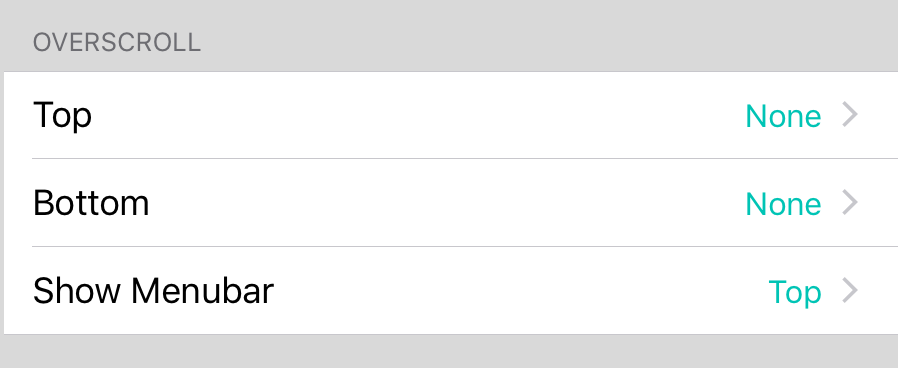
This settings screen allows you to choose an action to perform when either the top or bottom of the song viewer is over scrolled. This occurs when the song viewer is dragged past its bounds. The action is performed immediately when the finger is released to allow the song viewer to "bounce" back into bounds.
- Top lets you assign an action to perform when an overscroll is detected at the top of the song viewer.
- Bottom lets you assign an action to perform when an overscroll is detected at the bottom of the song viewer.
- Show Menubar is configured to show a hidden menubar when an overscroll is detected at the top of the song viewer. You can change this behavior to: None, Top, Bottom or Both.
Actions

You can set OnSong to perform different actions when certain events occur such as an overscroll. The following options are displayed for selection within the settings screen.
- None no action is performed.
- Capo Up increases the capo for the song by one fret.
- Capo Down decreases the capo for the song by one fret.
- Scroll Up scrolls the song up. If using a foot pedal, performing this action once the top of a song is reached will navigate to the previous song in the set.
- Scroll Down scrolls the song down. If using a foot pedal, performing this action once the bottom of a song is reached will navigate to the next song in the set.
- Next Song navigates to the next song in the set.
- Previous Song navigates to the previous song in the set.
- Random Song loads a random song from the currently selected book or set. Use for practicing songs in your library without a pattern.
- Reset Song scrolls the current song to the top and optionally resets toggled events such as autoscroll, backing tracks, the metronome and section assignments. These can be customized in Settings » Navigation Settings » Actions » Reset Song.
- Next Slide advances to the next slide when projecting lyrics.
- Previous Slide advances to the previous slide when projecting lyrics.
- Show/Hide Menubar toggles the menubar on and off for a full screen view.
- Show Quick Pick displays the Quick Pick screen for quickly searching and loading songs.
- Show Songs List displays the song menu. When using non-keyboard input such as MIDI, this action will also hide the songs menu.
- Scroll Faster decreases the duration of the song by 30 seconds which causes autoscroll to speed up.
- Scroll Slower increases the duration of the song by 30 seconds which causes the autoscroll to slow down.
- Toggle Audio play, pause, or stop the backing track associated to the song.
- Toggle Autoscroll starts or pauses the autoscroll.
- Toggle Capo turns the capo on or off.
- Toggle Low Light Mode turns low light mode on and off. When on, the background of the song is black with white foreground text.
- Toggle Metronome turns the metronome on and off.
- Toggle MIDI Start/Stop sends the MIDI start or stop command.
- Mute Metronome mutes the metronome, allowing it to continue to keep time and optionally blink the menubar. This is great to use for practice to see if the beat can be maintained without click reinforcement.
- Tap For Tempo is used to change the tempo of the current song. This should not be used on high latency foot pedals like the AirTurn BT-105 since they are designed to forgive accidental foot taps or double entry.
- Tempo Up increase the tempo of the song by 1 BPM.
- Tempo Down decreases the tempo of the song by 1 BPM.
- Transpose Up transposes the song up by one half step including enharmonic variations.
- Transpose Down transposes the song up down one half step including enharmonic variations.
- Volume Up increases the master volume of the device by 5%.
- Volume Down decreases the master volume of the device by 5%.
- Blackout Lyrics blacks out the lyrics for lyrics projection by hiding lyrics and removing the background.
- Clear Lyrics shows or hides the lyrics during lyrics projection while retaining the background image or video.
- Continue Scene will continue the playback of a scene if a step is encountered that has an infinite duration. Use this for more advanced playback without the creation of addition scenes.
- Play Scene is used to restart playback of the currently loaded scene.
- Stop Scene is used to stop the playback of the currently playing scene.
- Toggle Scene Playback can be used to toggle the playback state of the currently loaded scene.
- Playback Pitch plays the pitch of the song for a cappella groups. This can be configured using metadata.
- Shift Up shifts to the next gear in the configured gears.
- Shift Down shifts to the previous gear in the configured gears.
- Unshift shifts to the first gear in the configured gears.
Swiping
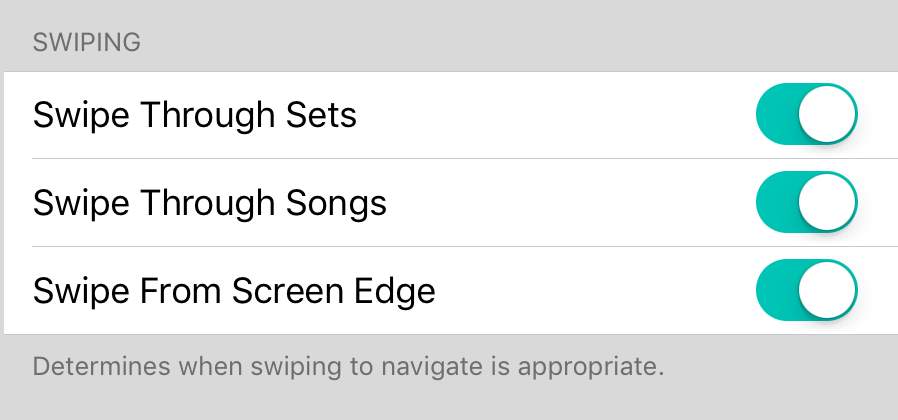
Swiping the song viewer typically results in either navigating through the set or song. OnSong places songs horizontally in the song viewer and outputs the content of the songs vertically. Swiping horizontally on the song viewer will take you to the next or previous songs. Likewise, swiping up vertically will move you through the content of the song.
Swiping
If you rely on OnSong to trigger lyrics changes or actions, swiping may get in the way of what you are trying to do. These two options allow you to disable swiping in situations where touch-based dexterity may be limited.
- Swipe Through Sets is enabled by default and lets you swipe to the next and previous songs. If turned off, you will need to use a foot pedal, hot corner, or navigation zone to move to the next and previous songs in the set.
- Swipe Through Songs is enabled by default and lets you swipe up and down within the content of the song. If turned off, you will need to use a foot pedal, hot corner, or navigation zone to scroll up and down in the song.
Audio Inputs
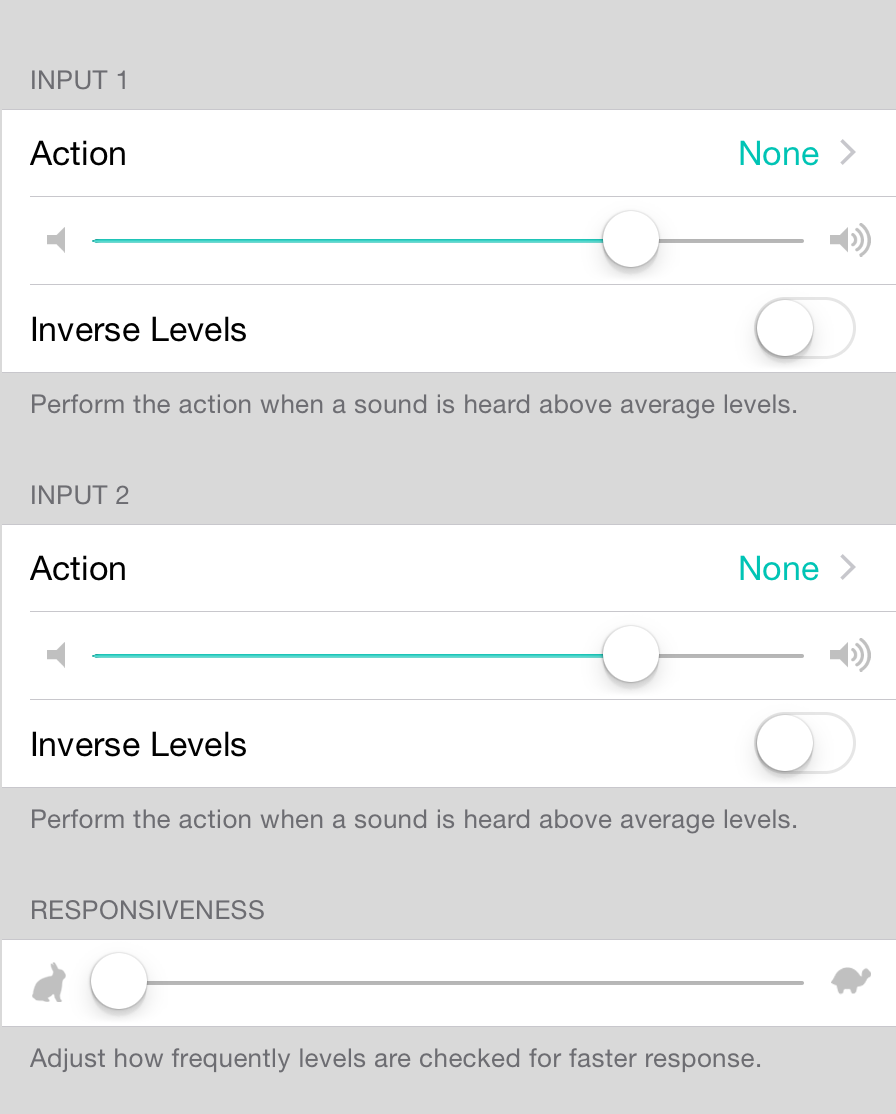
The audio inputs settings screen lets you perform actions when input is heard through the built-in microphone, line-in headphone jack or other audio hardware.
Using audio as a way to control OnSong has a number of great uses including:
- Setting a Tap For Tempo action to determine the tempo of the song by clapping your hands or tapping the device.
- Dynamically change stage lighting using the Scenes add-on by creating sequences with multiple steps and then performing the Continue Scene action.
- Connect multiple inputs to drum triggers or other input methods for controlling OnSong from a drum pad.
Inputs
OnSong supports up to two channels of input. Typically only Input 1 can be used with the built-in microphone or line-in jack. To configure each input, adjust the following options:
- Action lets you choose an action to perform when input from the audio device exceeds the threshold in comparison to the average sound volume.
- Threshold lets you adjust the threshold at which audio level input should result in the specified action. This is set to 75% by default which requires a decibel change of 75% above average levels. Note: use lower thresholds for retrieving variable sound values to map to actions.
- Inverse Levels will invert the value that is sent to the action. For instance, if the sound levels are at 67%, the value sent would be 33% instead.
Responsiveness
The audio listening engine polls audio input at regular intervals. By default the audio listening engine is very responsive to immediately respond to audio events. This allows it to be used for tempo settings. However this high polling rate may reduce performance on older devices. You may also want to avoid accidental actions if you accidentally roll a drum pad. Change the responsiveness slider to balance response times with system performance and your audio input method.
Actions

You can set OnSong to perform different actions when certain events occur such as a screen tap or foot pedal press. The following options are displayed for selection within the settings screen.
- None no action is performed.
- Capo Up increases the capo for the song by one fret.
- Capo Down decreases the capo for the song by one fret.
- Scroll Up scrolls the song up. If using a foot pedal, performing this action once the top of a song is reached will navigate to the previous song in the set.
- Scroll Down scrolls the song down. If using a foot pedal, performing this action once the bottom of a song is reached will navigate to the next song in the set.
- Next Song navigates to the next song in the set.
- Previous Song navigates to the previous song in the set.
- Next Slide advances to the next slide when projecting lyrics.
- Previous Slide advances to the previous slide when projecting lyrics.
- Show/Hide Menubar toggles the menubar on and off for a full screen view.
- Show Songs List displays the song menu. When using non-keyboard input such as MIDI, this action will also hide the songs menu.
- Scroll Faster decreases the duration of the song by 30 seconds which causes autoscroll to speed up.
- Scroll Slower increases the duration of the song by 30 seconds which causes the autoscroll to slow down.
- Toggle Audio play, pause or stop the backing track associated to the song.
- Toggle Autoscroll starts or pauses the autoscroll.
- Toggle Capo turns the capo on or off.
- Toggle Low Light Mode turns low light mode on and off. When on, the background of the song is black with white foreground text.
- Toggle Metronome turns the metronome on and off.
- Toggle MIDI Start/Stop sends the MIDI start or stop command.
- Mute Metronome mutes the metronome, allowing it to continue to keep time and optionally blink the menubar. This is great to use for practice to see if the beat can be maintained without click reinforcement.
- Tap For Tempo use to change the tempo of the current song. This should not be used on high latency foot pedals like the AirTurn BT-105 since they are designed to forgive accidental foot taps or double entry.
- Tempo Up increase the tempo of the song by 1 BPM.
- Tempo Down decreases the tempo of the song by 1 BPM.
- Transpose Up transposes the song up by one half step including enharmonic variations.
- Transpose Down transposes the song up down one half step including enharmonic variations.
- Volume Up increases the master volume of the device by 5%.
- Volume Down decreases the master volume of the device by 5%.
- Blackout Lyrics blacks out the lyrics for lyrics project by hiding lyrics and removing the background.
- Clear Lyrics shows or hides the lyrics during lyrics project while retaining the background image or video.
- Playback Pitch plays the pitch of the song for a cappella groups. This can be configured using the Metadata Editor of the Song Editor.
- Shift Up shifts to the next gear in the configured gears.
- Shift Down shifts to the previous gear in the configured gears.
- Unshift shifts to the first gear in the configured gears.
Delays
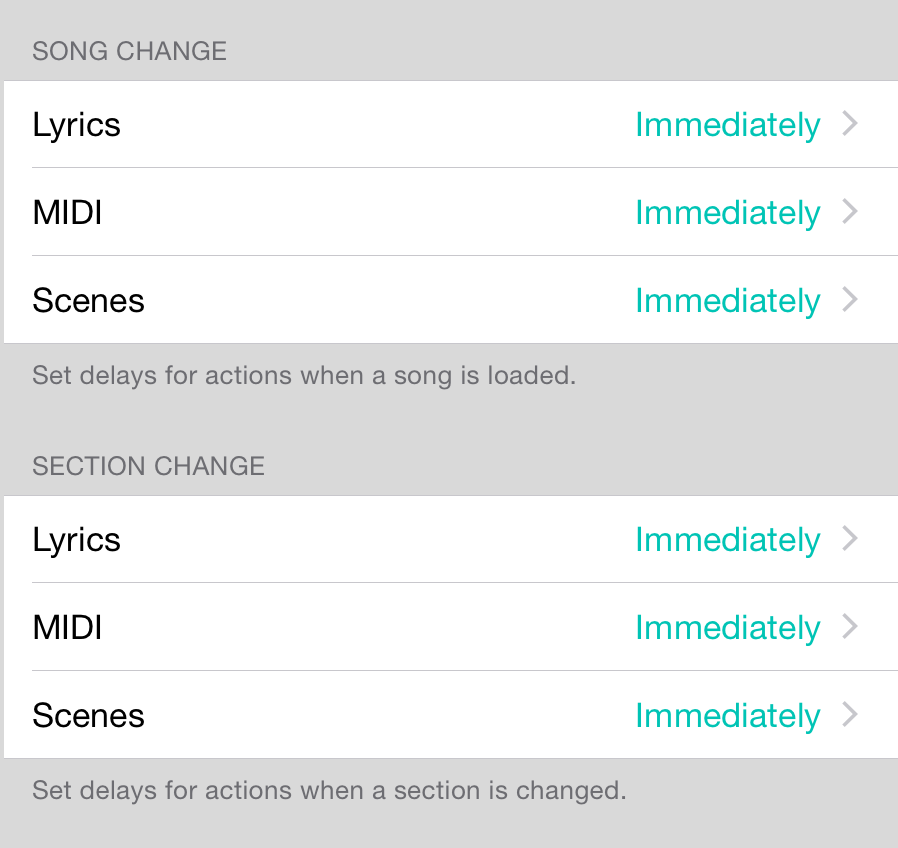
Delays are used to allow songs and sections to change without immediately firing changes. For instance, you may not want to send MIDI or change lighting scenes as soon as a song is loaded in your set. By adding a delay, the song will be required to be viewed without changing for the specified length of time.
Song Change
When you load a song from your library or navigate to a song in a set, that's considered a song change. You can prevent song change actions from occurring immediately by settings a delay.
Section Change
When you tap on a section or choose a section with a foot pedal, it can perform action such as changing lyrics or sending MIDI. You can prevent section actions from firing immediately by setting a delay. This is especially useful when you need to use foot pedals to skip through sections.
Actions
The following actions can have delays set:
- Lyrics adjusts the delay before changes in lyrics projection are performed.
- MIDI adjusts when MIDI changes are sent to MIDI devices when songs or sections are changed.
- Scenes adjusts when scenes are changed. Settings a delay will prevent stage lighting or lyrics projection backgrounds from changing too quickly.
Notes: Delays can be set to Immediately (no delay), or after 1/2, 1, 2, 3, 4, 5, 10, 15 20, 25, 30 seconds.
Foot Pedals

The foot pedals setting screen allow you to perform many of the functions of the Foot Pedal Setup Screen without the graphical user interface. Options include:
Actions
In this section, you can choose actions for each pedal. Remember that pedals with two foot switches would be pedals 1 and 3.
Scroll Behavior
When a scroll down or scroll up action is performed, it can be handled in various ways. These include:
- Scroll Page scrolls down the screen a certain percentage of the height of the screen. By default this is 75% of the height and can be set in the scroll amount slider below. Default.
- Jump to Section moves through the sections of the song. Not only does this select the section, but also scrolls it into view.
- Jump to Page is used when viewing PDF files or text-based chord charts that have page breaks added. This will scroll the song to the top of each page.
- Jump to Song will not scroll the song but rather navigate back and forth through the set.
Half Page Scrolling
When pedal behavior is set to Jump to Page, it may miss content if the device is in the landscape orientation. Half page scrolling allows scrolling to occur halfway through a page with the following options:
- Automatic will use half page scrolling when the page is longer than the height of the screen and not scroll in half pages otherwise. Default.
- Off will never us half page scrolling.
- On will always use half page scrolling.
Disable Section Navigation
When lyrics projection is enabled in conjunction with foot pedals, OnSong will automatically switch to the Jump To Section scroll behavior to allow for controlling lyrics. You can disable this by toggling this option.
Disable Set Navigation
Scroll up and scroll down actions will normally go to the previous or next song in the set once the top or bottom of the chord chart is reached. To avoid allowing OnSong to navigate the songs in the set with the foot pedals, turn on this option. This will require you to swipe or tap the screen, or use another action to navigate through your set.
Scroll Amount
When using the Scroll Page pedal behavior, OnSong will scroll the page a specified percentage of the screen height. You can adjust this between 25% and 100%. The default value is 75% to allow some overlap.
Scroll Speed
Animation helps maintain context through the scrolling action. You can adjust this speed from zero seconds (no animation) to three seconds. Default is 0.3 seconds which is the standard animation speed of scrolling.
Forward Pedal Trigger
The forward pedal trigger is an action to take the first time the Scroll Down foot pedal is pressed. This allows one foot pedal to have multiple uses. After the action is triggered, the pedal returns to its normal scroll down action. Options include:
- None performs no action and scrolls down on the first press. Default.
- Audio starts the audio track playback.
- Autoscroll begins autoscrolling the chord chart. Note that you can also set an autoscroll trigger to perform more than one action at a time like starlings audio and autoscroll simultaneously.
- Metronome toggles the metronome.
Start Set Trigger
When using foot pedals to navigate to the start of the set, you can have an action performed when the scroll up pedal is pressed at the beginning of the set. Options include:
- None performs no action. Default.
- Show Songs List will display the songs menu to pick a different list or song.
- Previous Set will load the previous set in the currently selected list of sets. For instance, if you choose a set folder in a particular order, then the set preceding the current set will be loaded.
Finish Set Trigger
When using foot pedals to navigate to the end of the set, you can have an action performed when the scroll down pedal is pressed when on the last song of the set. Options include:
- None performs no action. Default.
- Show Songs List will display the songs menu to pick a different list or song.
- Next Set will load the next set in the currently selected list of sets. For instance, if you choose a set folder in a particular order, then the set succeeding the current set will be loaded.
Pedal Setup
When using the Foot Pedal Setup Screen, a graphical representation of the pedal model is used. However, you can set up other pedals using this screen.
Show Icon in Menubar
This option will show the Foot Pedal Setup icon in the Menubar. Turn this off to remove the icon form the menubar. Default is on.
Actions

You can set OnSong to perform different actions when certain events occur such as a screen tap or foot pedal press. The following options are displayed for selection within the settings screen.
- None no action is performed.
- Capo Up increases the capo for the song by one fret.
- Capo Down decreases the capo for the song by one fret.
- Scroll Up scrolls the song up. If using a foot pedal, performing this action once the top of a song is reached will navigate to the previous song in the set.
- Scroll Down scrolls the song down. If using a foot pedal, performing this action once the bottom of a song is reached will navigate to the next song in the set.
- Next Song navigates to the next song in the set.
- Previous Song navigates to the previous song in the set.
- Next Slide advances to the next slide when projecting lyrics.
- Previous Slide advances to the previous slide when projecting lyrics.
- Show/Hide Menubar toggles the menubar on and off for a full screen view.
- Show Songs List displays the song menu. When using non-keyboard input such as MIDI, this action will also hide the songs menu.
- Scroll Faster decreases the duration of the song by 30 seconds which causes autoscroll to speed up.
- Scroll Slower increases the duration of the song by 30 seconds which causes the autoscroll to slow down.
- Toggle Audio play, pause or stop the backing track associated to the song.
- Toggle Autoscroll starts or pauses the autoscroll.
- Toggle Capo turns the capo on or off.
- Toggle Low Light Mode turns low light mode on and off. When on, the background of the song is black with white foreground text.
- Toggle Metronome turns the metronome on and off.
- Toggle MIDI Start/Stop sends the MIDI start or stop command.
- Mute Metronome mutes the metronome, allowing it to continue to keep time and optionally blink the menubar. This is great to use for practice to see if the beat can be maintained without click reinforcement.
- Tap For Tempo use to change the tempo of the current song. This should not be used on high latency foot pedals like the AirTurn BT-105 since they are designed to forgive accidental foot taps or double entry.
- Tempo Up increase the tempo of the song by 1 BPM.
- Tempo Down decreases the tempo of the song by 1 BPM.
- Transpose Up transposes the song up by one half step including enharmonic variations.
- Transpose Down transposes the song up down one half step including enharmonic variations.
- Volume Up increases the master volume of the device by 5%.
- Volume Down decreases the master volume of the device by 5%.
- Blackout Lyrics blacks out the lyrics for lyrics project by hiding lyrics and removing the background.
- Clear Lyrics shows or hides the lyrics during lyrics project while retaining the background image or video.
- Playback Pitch plays the pitch of the song for a cappella groups. This can be configured using the Metadata Editor of the Song Editor.
- Shift Up shifts to the next gear in the configured gears.
- Shift Down shifts to the previous gear in the configured gears.
- Unshift shifts to the first gear in the configured gears.
Pedal Setup

The pedal setup screen is used when configuring advanced options for foot pedals. Typically this screen doesn't need to be accessed since foot pedals can be easily configured for most applications in the Foot Pedal Setup Screen.
The following options are available when setting up custom foot pedals:
Pedal Type
OnSong has drivers that are used for different foot pedal types. These include:
- None which turns off any foot pedal communication.
- iOS Compatible can be configured to use up and down arrows as well as character input. You can configure foot pedals below to respond to different character inputs.
- AirTurn uses foot pedal drivers by AirTurn that can be used with all their foot pedal models. This uses the four arrow keys on a computer keyboard as pedals. Default.
Pedal 1-4
When using the iOS Compatible Pedal Type, you will need to configure character input to match pedals. For instance, you could set Pedal 1 as "a", Pedal 2 as "s", Pedal 3 as "w" and Pedal 4 as "z" (excluding quotes). OnSong will then send pedal notifications when those characters are encountered. OnSong can also listen for full phrases as well.
Once the characters are matched, the pedal action is performed as configured in the previous screen.
Sensitivity
This is used to prevent accidental pedal presses by waiting a moment before responding to duplicate requests. You can adjust the sensitivity between 0 and 2. This is the number of seconds to wait until allowing a duplicate pedal input. Default is zero seconds.
Navigation Zones
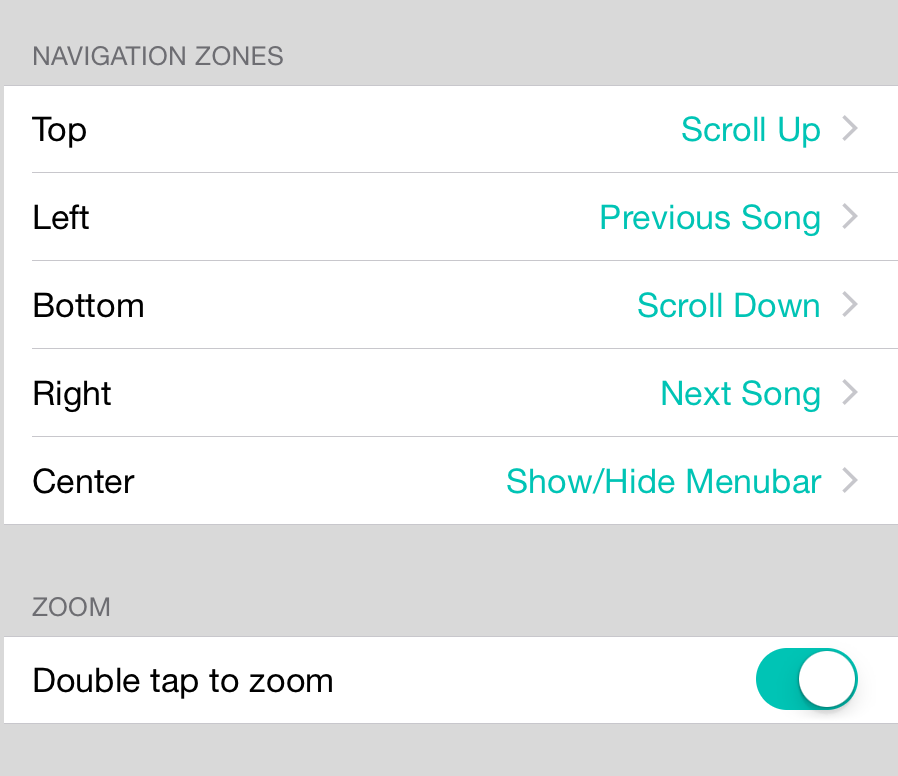
Navigation zones are placed at the edges of the song viewer.
Navigation Zones
You can configure any one of these edges by tapping on one of the options below to choose actions from a list.
- Top performs an action when the top edge is tapped. The default action is Scroll Up.
- Left performs an action when the left edge is tapped. The default action is Previous Song.
- Bottom performs an action when the bottom edge is tapped. The default action is Next Song.
- Center performs an action when the center of the screen is tapped. The default action is Show/Hide Menubar.
Zoom
Double tapping in the middle of the screen causes OnSong to zoom in 200% and then, if zoomed in, zooms out to 100%. Use the Double tap to zoom switch to disable or enable this zoom behavior.
Note: Navigation zones will take priority to other interactive content such as chords or sections placed underneath.
Actions

You can set OnSong to perform different actions when certain events occur such as a screen tap or foot pedal press. The following options are displayed for selection within the settings screen.
- None no action is performed.
- Capo Up increases the capo for the song by one fret.
- Capo Down decreases the capo for the song by one fret.
- Scroll Up scrolls the song up. If using a foot pedal, performing this action once the top of a song is reached will navigate to the previous song in the set.
- Scroll Down scrolls the song down. If using a foot pedal, performing this action once the bottom of a song is reached will navigate to the next song in the set.
- Next Song navigates to the next song in the set.
- Previous Song navigates to the previous song in the set.
- Next Slide advances to the next slide when projecting lyrics.
- Previous Slide advances to the previous slide when projecting lyrics.
- Show/Hide Menubar toggles the menubar on and off for a full screen view.
- Show Songs List displays the song menu. When using non-keyboard input such as MIDI, this action will also hide the songs menu.
- Scroll Faster decreases the duration of the song by 30 seconds which causes autoscroll to speed up.
- Scroll Slower increases the duration of the song by 30 seconds which causes the autoscroll to slow down.
- Toggle Audio play, pause or stop the backing track associated to the song.
- Toggle Autoscroll starts or pauses the autoscroll.
- Toggle Capo turns the capo on or off.
- Toggle Low Light Mode turns low light mode on and off. When on, the background of the song is black with white foreground text.
- Toggle Metronome turns the metronome on and off.
- Toggle MIDI Start/Stop sends the MIDI start or stop command.
- Mute Metronome mutes the metronome, allowing it to continue to keep time and optionally blink the menubar. This is great to use for practice to see if the beat can be maintained without click reinforcement.
- Tap For Tempo use to change the tempo of the current song. This should not be used on high latency foot pedals like the AirTurn BT-105 since they are designed to forgive accidental foot taps or double entry.
- Tempo Up increase the tempo of the song by 1 BPM.
- Tempo Down decreases the tempo of the song by 1 BPM.
- Transpose Up transposes the song up by one half step including enharmonic variations.
- Transpose Down transposes the song up down one half step including enharmonic variations.
- Volume Up increases the master volume of the device by 5%.
- Volume Down decreases the master volume of the device by 5%.
- Blackout Lyrics blacks out the lyrics for lyrics project by hiding lyrics and removing the background.
- Clear Lyrics shows or hides the lyrics during lyrics project while retaining the background image or video.
- Playback Pitch plays the pitch of the song for a cappella groups. This can be configured using the Metadata Editor of the Song Editor.
- Shift Up shifts to the next gear in the configured gears.
- Shift Down shifts to the previous gear in the configured gears.
- Unshift shifts to the first gear in the configured gears.
Scrolling Behavior
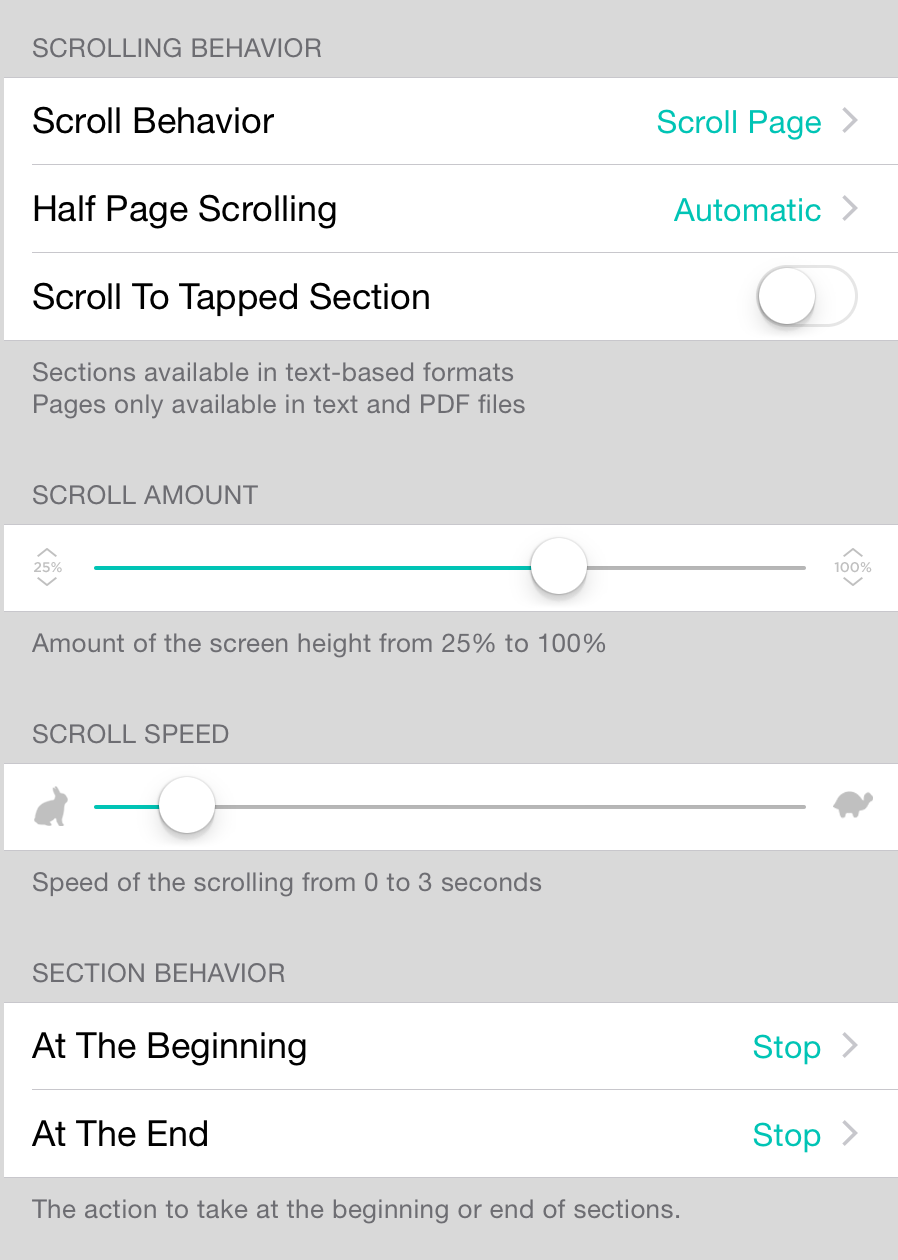
The scrolling behavior screen includes options also found in the Foot Pedals section, but duplicates them here since scrolling behavior is also used when tapping on the screen. This settings screen contains the following options:
Scroll Behavior
When a scroll down or scroll up action is performed, it can be handled in various ways. These include:
- Scroll Page scrolls down the screen a certain percentage of the height of the screen. By default this is 75% of the height and can be set in the scroll amount slider below. Default.
- Jump to Section moves through the sections of the song. Not only does this select the section, but also scrolls it into view.
- Jump to Page is used when viewing PDF files or text-based chord charts that have page breaks added. This will scroll the song to the top of each page.
- Jump to Song will not scroll the song but rather navigate back and forth through the set.
Half Page Scrolling
When pedal behavior is set to Jump to Page, it may miss content if the device is in the landscape orientation. Half page scrolling allows scrolling to occur halfway through a page with the following options:
- Automatic will use half page scrolling when the page is longer than the height of the screen and not scroll in half pages otherwise. Default.
- Off will never us half page scrolling.
- On will always use half page scrolling.
Scroll To Tapped Section
When you tap on a section, it is selected and sends associated MIDI events, changes scenes and presents lyrics. By turning this option on, tapping on a section will also reposition it into view on the screen. The default is off which selects the section without scrolling.
Scroll Amount
When using the Scroll Page pedal behavior, OnSong will scroll the page a specified percentage of the screen height. You can adjust this between 25% and 100%. The default value is 75% to allow some overlap.
Scroll Speed
Animation helps maintain context through the scrolling action. You can adjust this speed from zero seconds (no animation) to three seconds. Default is 0.3 seconds which is the standard animation speed of scrolling.
Triggers
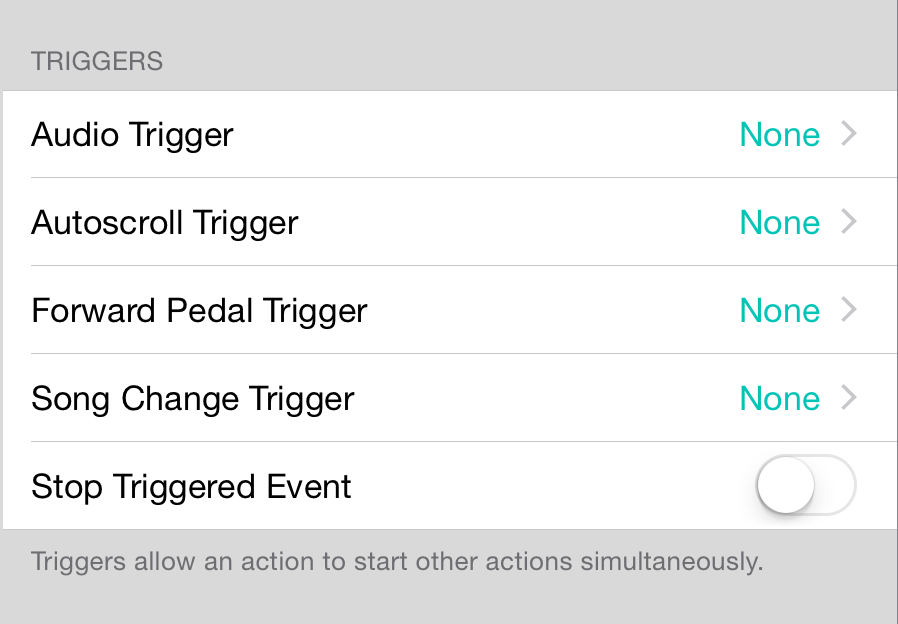
Triggers perform actions when other events or actions occur. You can use triggers to perform multiple actions at once or when an action should occur.
The following triggers can be configured in this screen:
Audio Trigger
The audio trigger allows you to specify an action to perform when the audio is played from the live bar button. Options include:
- None performs no action and scrolls down on the first press. Default.
- Autoscroll begins autoscrolling the chord chart. Note that you can also set an autoscroll trigger to perform more than one action at a time for starting audio and autoscroll simultaneously.
- Metronome toggles the metronome.
Autoscroll Trigger
The autoscroll trigger allows you to specify an action to perform when autoscroll is started. Options include:
- None performs no action and scrolls down on the first press. Default.
- Audio starts the audio track playback.
- Metronome toggles the metronome.
Forward Pedal Trigger
The forward pedal trigger is an action to take the first time the Scroll Down foot pedal is pressed. This allows one foot pedal to have multiple uses. After the action is triggered, the pedal returns to its normal scroll down action. Options include:
- None performs no action and scrolls down on the first press. Default.
- Audio starts the audio track playback.
- Autoscroll begins autoscrolling the chord chart. Note that you can also set an autoscroll trigger to perform more than one action at a time for starting audio and autoscroll simultaneously.
- Metronome toggles the metronome
Song Change Trigger
The song change trigger starts an action when a song is loaded into the song viewer. This allows an action to take place immediately without user intervention. You can choose from:
- None performs no action and scrolls down on the first press. Default.
- Audio starts the audio track playback.
- Autoscroll begins autoscrolling the chord chart. Note that you can also set an autoscroll trigger to perform more than one action at a time like starlings audio and autoscroll simultaneously.
- Metronome toggles the metronome
Stop Triggered Event
When other actions are triggered, they will continue to function until stopped separately. In the event that you want to stop the triggered event when autoscroll stops, turn this option on. This works as follows when enabled:
- When audio is triggered from an autoscroll trigger and autoscrolling is stopped, the backing track is also paused or stopped according to the audio behavior.
- When the metronome is triggered from an autoscroll trigger and autoscrolling is stopped, the metronome is also stopped.
Hot Corners
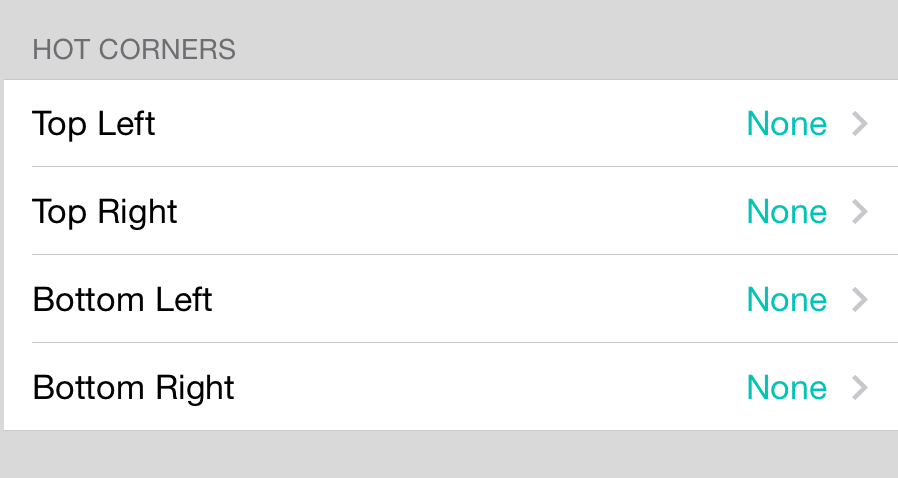
The hot corners settings screen can be used to map actions to each hot corner. Tap on either the Top Left, Top Right, Bottom Left or Bottom Right options options to display a list of actions that can be performed.
By default, no action is mapped to hot corners. When no actions are mapped, the area of the navigation zones are extended to provide maximum surface area for touch detection.
Actions

You can set OnSong to perform different actions when certain events occur such as a screen tap or foot pedal press. The following options are displayed for selection within the settings screen.
- None no action is performed.
- Capo Up increases the capo for the song by one fret.
- Capo Down decreases the capo for the song by one fret.
- Scroll Up scrolls the song up. If using a foot pedal, performing this action once the top of a song is reached will navigate to the previous song in the set.
- Scroll Down scrolls the song down. If using a foot pedal, performing this action once the bottom of a song is reached will navigate to the next song in the set.
- Next Song navigates to the next song in the set.
- Previous Song navigates to the previous song in the set.
- Next Slide advances to the next slide when projecting lyrics.
- Previous Slide advances to the previous slide when projecting lyrics.
- Show/Hide Menubar toggles the menubar on and off for a full screen view.
- Show Songs List displays the song menu. When using non-keyboard input such as MIDI, this action will also hide the songs menu.
- Scroll Faster decreases the duration of the song by 30 seconds which causes autoscroll to speed up.
- Scroll Slower increases the duration of the song by 30 seconds which causes the autoscroll to slow down.
- Toggle Audio play, pause or stop the backing track associated to the song.
- Toggle Autoscroll starts or pauses the autoscroll.
- Toggle Capo turns the capo on or off.
- Toggle Low Light Mode turns low light mode on and off. When on, the background of the song is black with white foreground text.
- Toggle Metronome turns the metronome on and off.
- Toggle MIDI Start/Stop sends the MIDI start or stop command.
- Mute Metronome mutes the metronome, allowing it to continue to keep time and optionally blink the menubar. This is great to use for practice to see if the beat can be maintained without click reinforcement.
- Tap For Tempo use to change the tempo of the current song. This should not be used on high latency foot pedals like the AirTurn BT-105 since they are designed to forgive accidental foot taps or double entry.
- Tempo Up increase the tempo of the song by 1 BPM.
- Tempo Down decreases the tempo of the song by 1 BPM.
- Transpose Up transposes the song up by one half step including enharmonic variations.
- Transpose Down transposes the song up down one half step including enharmonic variations.
- Volume Up increases the master volume of the device by 5%.
- Volume Down decreases the master volume of the device by 5%.
- Blackout Lyrics blacks out the lyrics for lyrics project by hiding lyrics and removing the background.
- Clear Lyrics shows or hides the lyrics during lyrics project while retaining the background image or video.
- Playback Pitch plays the pitch of the song for a cappella groups. This can be configured using the Metadata Editor of the Song Editor.
- Shift Up shifts to the next gear in the configured gears.
- Shift Down shifts to the previous gear in the configured gears.
- Unshift shifts to the first gear in the configured gears.
Tools
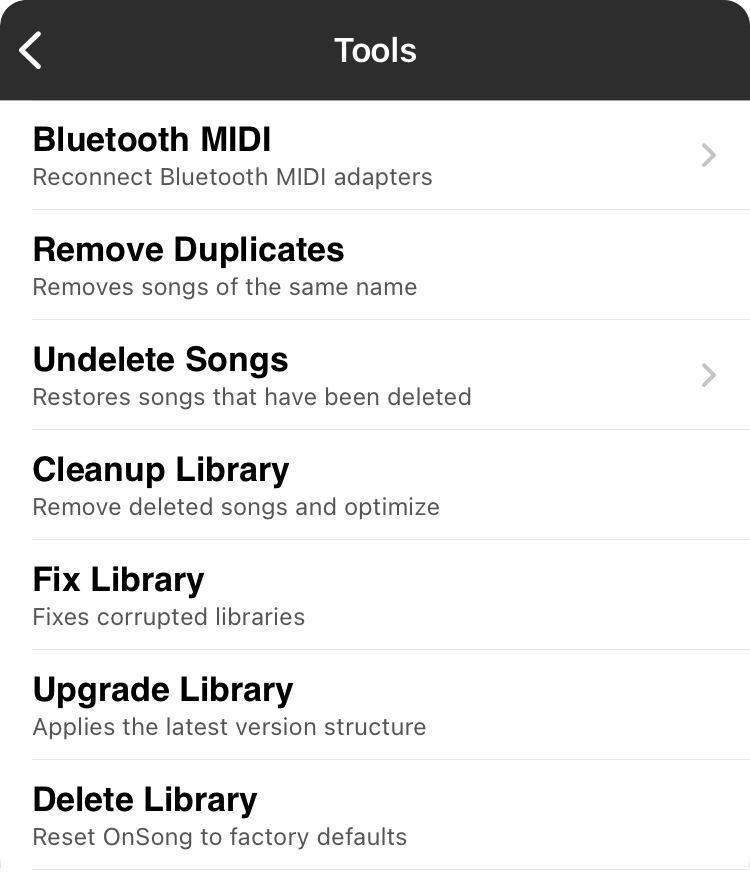
The tools menu contains library management functions that can help keep your OnSong library healthy. This menu contains the following options:
Reconnect Pedals
Choosing this function will disable and reenable the foot pedal system. This is useful to try in the rare event that foot pedals are disconnected or switched.
Reset Settings
This function will clear your user preferences, resetting to factory defaults. This will keep your OnSong library, but all settings you have made in the Settings screen will be reset. In addition, user interface prompts will reappear.
Remove Duplicates
This function will iterate through your OnSong library and locate songs that are duplicates for removal. Duplicates are found on song title alone and the most recently modified song is kept.
Undelete Songs
When songs are deleted in OnSong, they are not immediately removed from the library. You can undelete songs you have deleted by choosing this function. All songs that have been deleted since the library was last cleaned up will be restored.
Cleanup Library
This function performs a number of tasks. It will primarily delete songs that have been marked for deletion as well as delete externally imported files associated with those songs. It also reindexes the library and optimizes for performance. Through a series of prompts, it also enables you to delete imported files that have since been converted to text.
Fix Library
In rare cases, your OnSong library may become corrupted or start to experience issues. This happens if OnSong is shut down in the middle of a database operation. This function will evaluate your database to determine if there are issues or not. Upon reporting these issues, you will have the opportunity to fix the issues. This will repair your library and close the menu when complete.
Upgrade Library
With every new version of OnSong, some changes are made to the OnSong library database file. This is performed automatically upon update, but you can opt to run through the upgrade process separately.
Delete Library
This function will delete your library. After agreeing to the prompt, the library is removed and set back to the default library. During this process, OnSong jettisons a backup of you library just in case you deleted by accident. You can restore the library by importing the last backup made to file sharing.
Undelete Songs
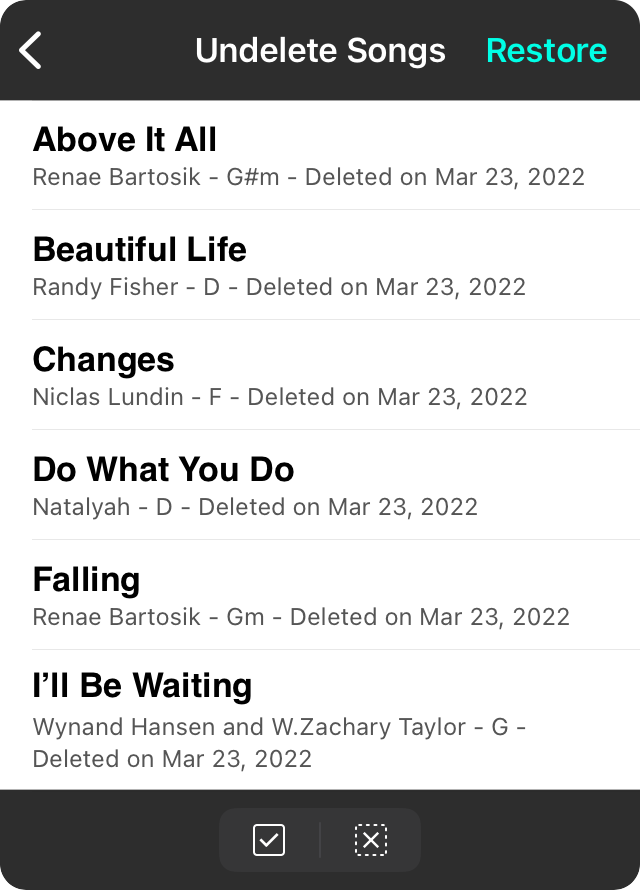
When you choose to undelete songs, OnSong gives you the opportunity to pick and choose which songs to restore to your library. Place a checkmark next to each song you would like to undelete and then tap on the Undo button in the upper right corner.
Be sure to use the Select All and Deselect All buttons on the bottom of the screen to select or deselect songs in bulk. OnSong selects all deleted songs to be restored when the screen is used. If you want to undelete only certain songs, tap on Deselect All and then choose the songs to delete.
Registration Screen
Our customers are important to us. Our goal at OnSong is to build an app that meets the needs of musicians worldwide. The most important component of any relationship is communication. That's why we request you to register OnSong. Provide your full name and email address so that we can keep in touch.
What Will I Receive and How Often?
OnSong sends an email when there are major updates to the app so you know it's time to update. We typically include video tutorial on new features as well as special deals on products that work great with OnSong. These emails are typically sent once per month and we try very hard to not be annoying.
Am I Signing Up For Spam?
No. Our goal with registered users is to help you make the most out of OnSong and your iPad or iPhone on stage. This is used to communicate important news and updates about our software. We may also send information from companies that have related products that you may be interested in. For instance, if a new product comes to market that works with OnSong, we want to keep you in the loop. You can always unsubscribe from these emails at any time by clicking on a link in the footer of the email.
Are You Going To Sell My Information?
No. We don't like when people do that to us, and we refused to do that to you. Any email that is sent will be coming from OnSong. Again, we may let you know about third-party products, but only ones that we think are worth the cost of postage, so to speak.
What If I Don't Register?
No problem. Registration is completely optional and doesn't effect the operation of OnSong. If you want to prevent the registration screen from opening, you can turn this off at the bottom of the Getting Started screen. You can get to this screen by tapping on the Maybe Later link.
Song Viewer
The song viewer is where your songs appear. You can load a song or set into the view using the Songs Menu.
Navigate your song and set by swiping up and down or left and right. OnSong displays songs vertically on the screen. This means to view the contents of the song, you can scroll the screen up and down. You can flip between songs in your set by swiping left and right. This model lets you know exactly where you are at in a set.
Navigation
While swiping is the standard method of navigating documents on mobile devices, it is challenging to perform these functions while playing an instrument. The song viewer also features areas of the screen that can be tapped for navigation called Navigation Zones and Hot Corners
Chords
If you are using a text-based chord chart, you can also tap on chords to open the Chord Inspector. This lets you see different ways to play the chord on various instruments.
While you can change the action that is performed when you tap on a chord in Settings » Live Settings » Chord Playback, tapping and holding on the chords will always open the Chord Inspector.
Sections
If you are using Lyrics Projection, you can tap on sections of lyrics to choose what is displayed on the connected video display. The currently selected section is highlighted using a colored bar on the left side of the screen. You can change the color of this bar in Settings » Live Settings » Live Bar » Autoscroll » Vertical Position Color.
You can tap and hold sections in the song viewer to open the Section Mapping Menu. This menu allows you to map Scenes and MIDI Events to a section of the song. When the section is selected, the scene is set and the MIDI events are sent.
Layout
You can change the way your chord charts appear using the Style Preferences Menu which changes the font and styles for the chord chart. You can also change the page layout using the Layout Screen found in the Navigation Editor in the Utilities Menu.
Chord Inspector
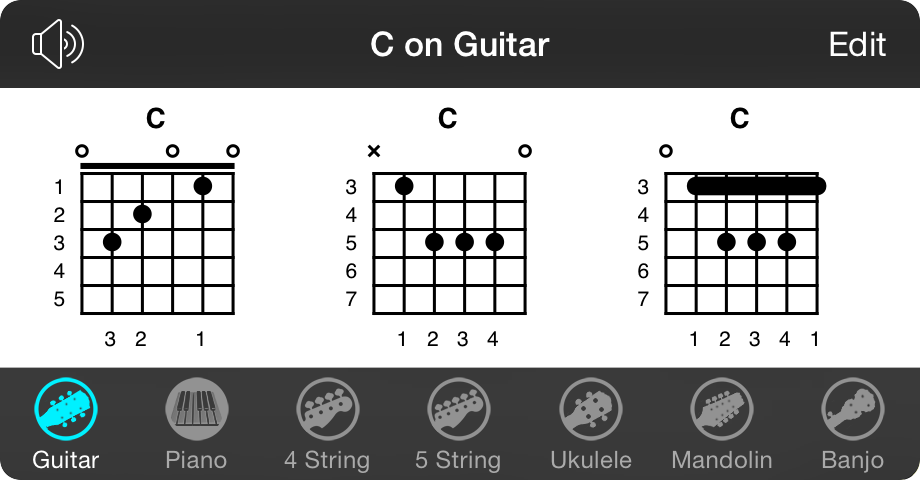
The chord inspector appears when a chord or chord diagram is tapped in the Song Viewer. This allows you to see various ways to place the chord on different instruments.
Viewing Chords
You can scroll through variations of a chord by swiping left to right in the viewer.
Selecting Chords
Tap on a diagram in the viewer to select it as the preferred variation for the song. When you select a song, the chord can be played back using a sound bank.
Playing Chords
Tap on the speaker icon in the upper left corner to toggle chord playback on and off. Playback does require a sound bank to be installed. You can purchase sound banks in the Add-Ons Screen. You can alter the way chords are played under the Utilities Menu » Settings » Live Settings » Chord Playback.
Editing Chords
Tap on the Edit button in the upper right corner to open the Chord Diagram Library with the selected chord loaded.
Choosing an Instrument
Choose an instrument in the tab bar on the bottom of the chord inspector to view chords for that instrument. Supported instruments are:
Guitar
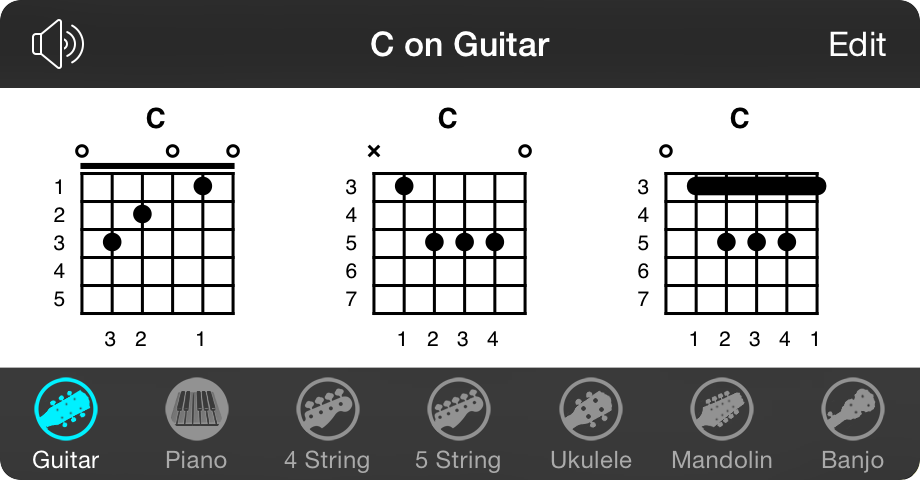
The default instrument selected for the chord inspector and diagrams is guitar.
Guitar chord diagrams contain six strings tuned to the standard E A D G B E tuning.
Piano
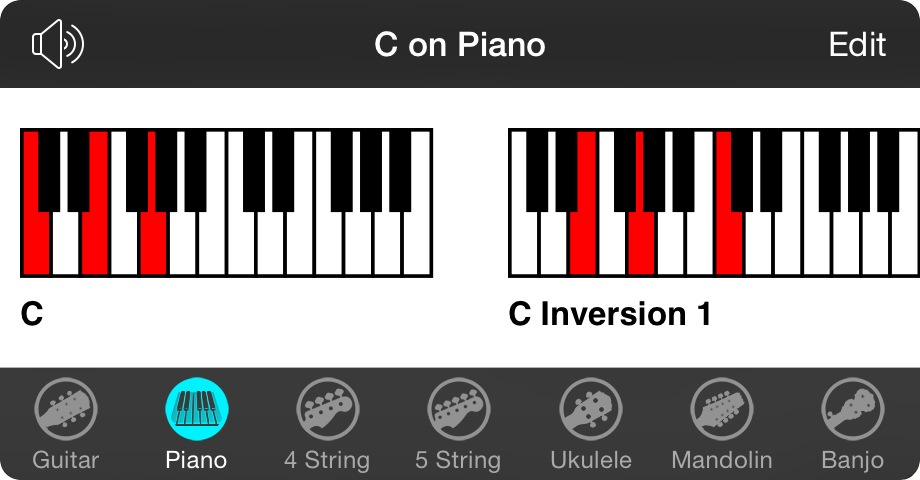
The piano instrument displays chord diagrams as miniature, two-octave versions of the piano keyboard. The keys to be played are highlighted in red.
Inversions are created from the standard chord when the first key is the root of the chord. Inversions are created for each note in the chord. For instance, in a standard major triad, this results in three chord inversions. More complex chords result in more inversions.
4-String Bass
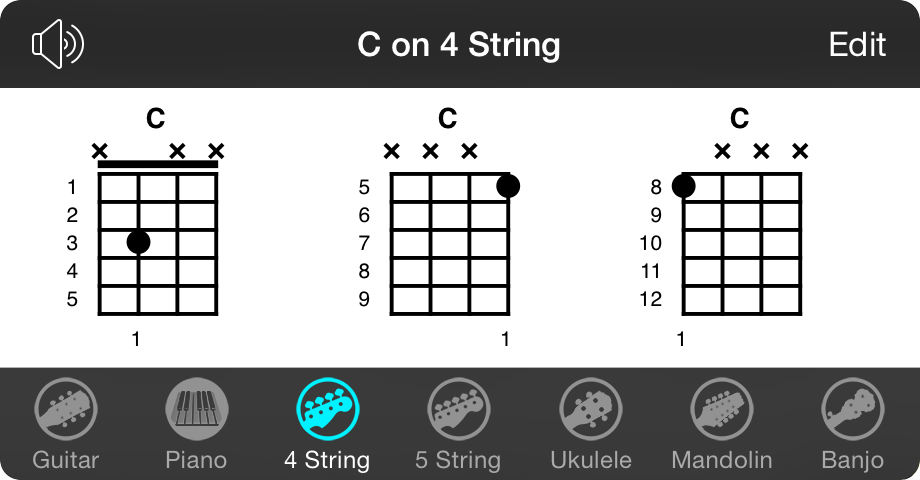
Diagrams for bass guitars are rare since you typically only play one string at a time. OnSong provides chord diagrams for bass guitar for completeness and to help teach bass guitar to students.
The chord diagrams show are for the standard 4-string bass tuning of E A D G.
5-String Bass
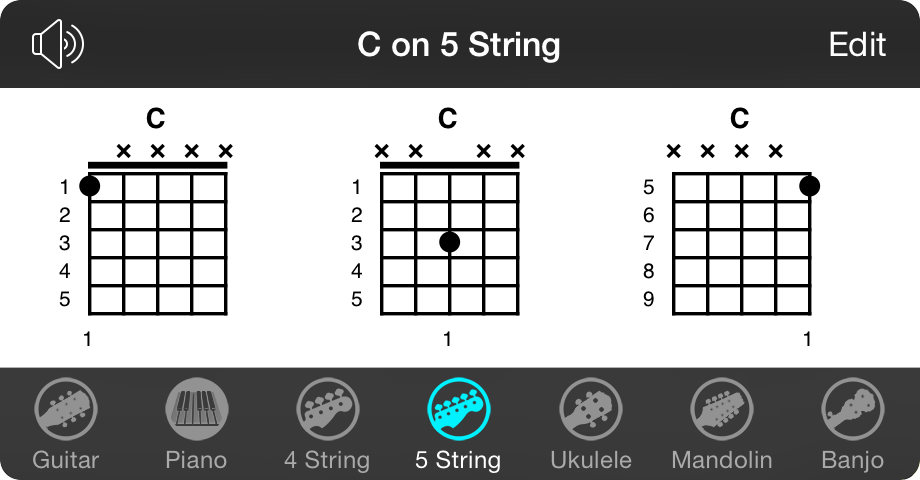
Diagrams for bass guitars are rare since you typically only play one string at a time. OnSong provides chord diagrams for bass guitar for completeness and to help teach bass guitar to students.
The chord diagrams show are for the standard 5-string bass tuning of B E A D G.
Ukulele
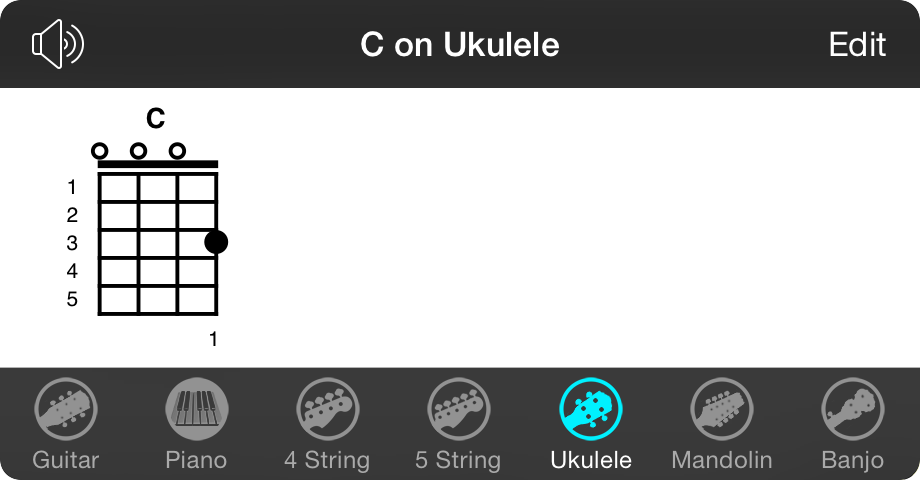
The ukulele instrument displays chords using four strings. This is done with the standard ukulele of G C E A.
Banjo
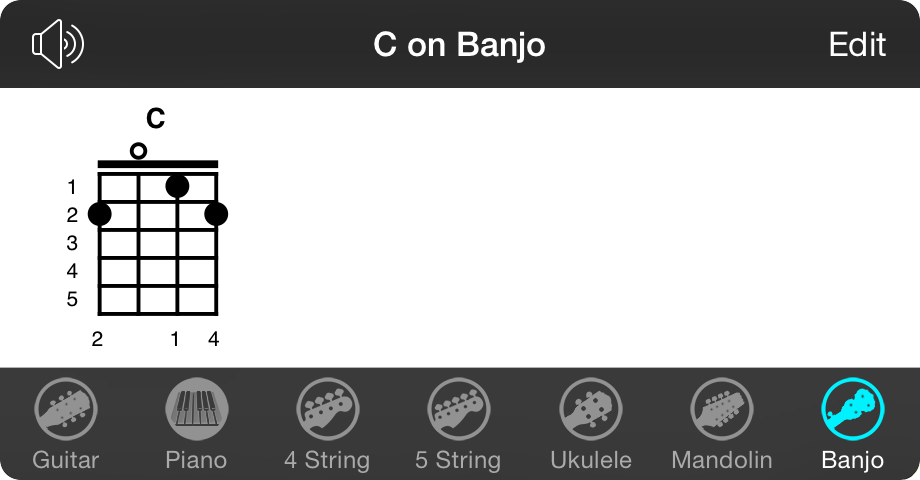
The banjo instrument displays chords using four strings. This is done with the standard banjo tuning of D G B D.
Mandolin
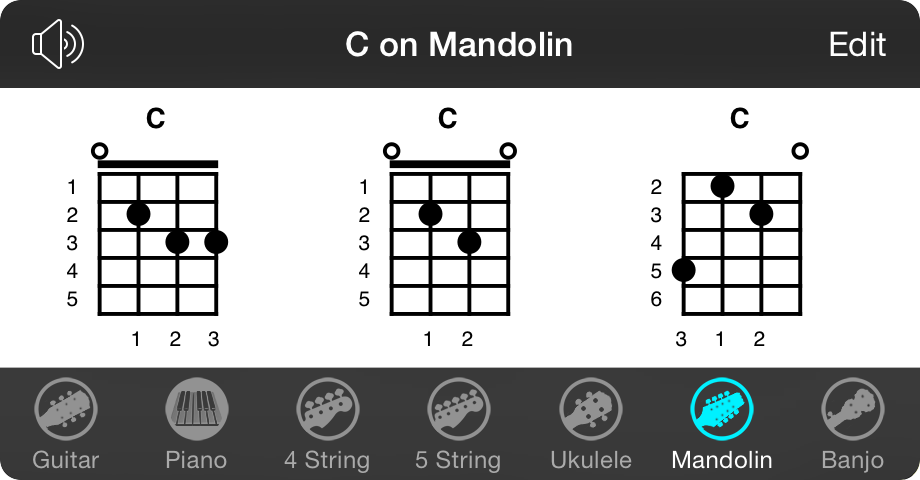
The mandolin instrument displays chords using four strings. These strings are tuned to the standard mandolin tuning of G D A D.
Hot Corners
OnSong is designed for performance. It can do many things to help you in your performance. The trouble is that you have limited dexterity and time while playing an instrument.
Hot corners allow you to assign the four corners of the song viewer to perform actions in OnSong. For instance, you can configure a hot corner to handle lyrics projection tasks, or to send messages to other members of your team.
To configure hot corners, go into the Utilities Menu » Editors » Navigation and then use the Screen Tab.
You can also access hot corners in Settings » Navigation Settings » Hot Corners.
Navigation Zones
Navigation zones are found along the four edges of the device and also includes the center of the screen. Tap on any edge to scroll up and down in the current song, or to switch songs in your set. This is their default function, but can be configurable.
To change the function of the navigation zones, go into the Utilities Menu and open the Navigation Editor to choose the Screen Tab. There you can tap on the navigation zones to change their function.
You can also setup navigation zones in Settings » Navigation Settings » Navigation Zones.
Section Mapping Menu
This menu allows you to map actions to be performed when a section is selected or when the song is viewed. You tap and hold in other of the following sections within the Song Viewer.
- Tapping and holding in the header/metadata section of the song to map actions when the song is viewed. For instance, each time the song appears when tapped in the Songs Menu or when flipping through a set.
- Tap and hold in a lyric section of the song to map actions to when that section is selected either by tapping on it, using foot pedals or autoscroll.
You can map the following types of actions to sections:
MIDI Events
MIDI can be used to configure your stage instruments and perform other automation such as setting guitar effects or synthesizer programs. Mapping MIDI events to sections requires the MIDI add-on to be enabled.
Scenes
Scenes let you change lighting and images on your stage. This is great for visually reinforcing the emotion of each song, or even each portion of a song. Mapping scenes to a section requires the Scenes add-on to be enabled.
MIDI Events
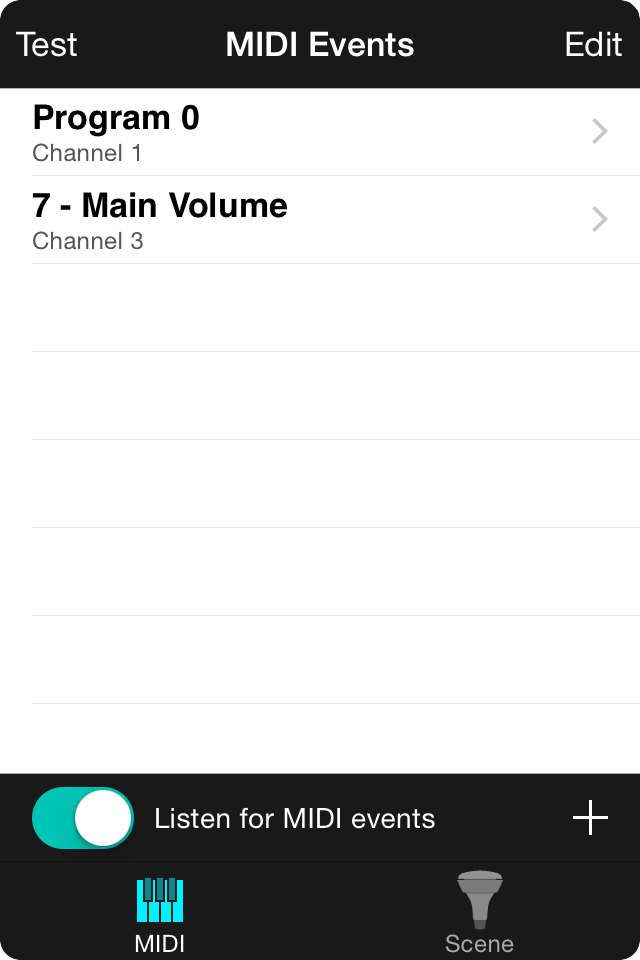
The MIDI Events menu lets you set up MIDI to be sent when a song is loaded, or when a specific section is selected.
Adding
To add a MIDI command to the event list, tap on the + button in the lower right corner to open the MIDI Editor to add new commands.
Acquiring
Instead of manually creating MIDI commands using the MIDI editor, you can turn on the Listen for MIDI events switch to have OnSong listen for incoming commands from a MIDI device.
Deleting
To delete a MIDI command from the list, swipe right to left over an item in the list to reveal a Delete button. Tap to delete the item from the list.
Editing
You can edit an item in the list by tapping on it to open the MIDI Editor.
Reordering
You can reorder the MIDI event list by tapping on the Edit button in the upper right corner. This places the list in editing mode. In this mode you can tap and drag the reordering handles on the right to change the order that MIDI events are sent. You can also tap on the red minus icon on the left to delete MIDI events.
Testing
Tap on the Test button in the upper right corner to test the MIDI events by sending them.
Scene Picker
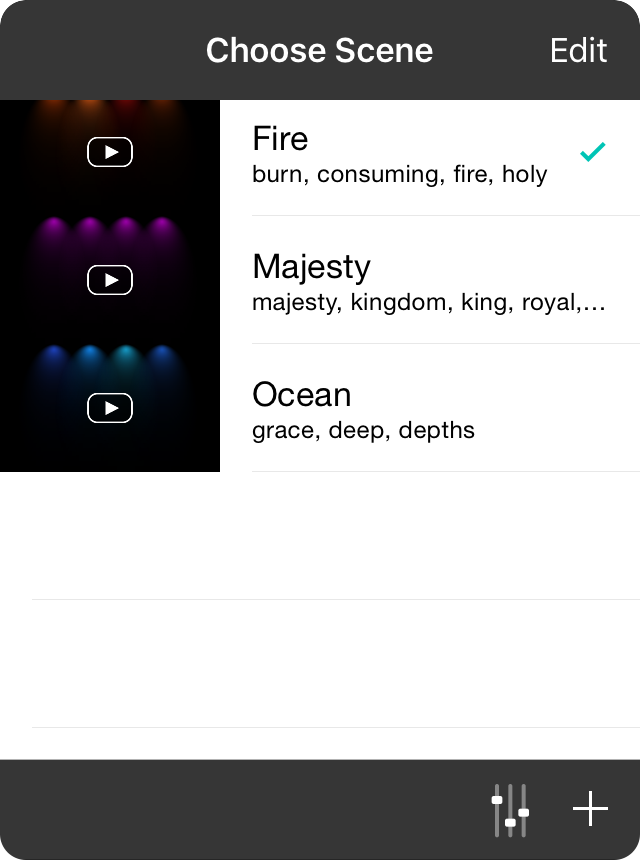
Scenes let you assign color washes, lighting programs and lyrics projection backgrounds for each song, or each section of a song. Not only that, but you can use OnSong's advanced navigation features to switch scenes seamlessly during a performance.
Picking Scenes
Place a checkmark next to the scene you would like to map to the section by tapping on it in the list. To remove a scene from the section, tap on the marked scene to uncheck it. Tap on the preview on the left to see a preview of the scene.
Adding Scenes
You can create new scenes right from this menu. Tap on the + button in the upper right corner to open the Scene Editor
Editing Scenes
To edit a scene, open the Scenes Editor and choose a scene from the list to make changes. Any changes you make the scene will be automatically applied to the section the next time the scene is set.
When you are done picking a scene, tap on the Done button (iPhone) or tap off of the menu in the Song Viewer (iPad) to close the menu.
Statusbar
An underlying status bar is made available through iOS to show important features of your device such as the current time, battery life, network activity, and Bluetooth status. If you are operating a device that uses iOS 7 or later versions, the status bar will automatically hide when the menubar is hidden. Want to turn off this function? Simply go under Utilities » Editors » Navigation » Screen tab. Then, you can tap the menubar to toggle the Hides Status Bar option.


